Today I woke up feeling very creative and decided to make a cover for my math notebook. I wanted to decorate it my way and with a design that I created entirely using my drawing materials and put my creativity to the test.
tion to my math notebook, taking advantage of the fact that it is a new notebook and there is nothing like opening it up by decorating it in my own style. For some time now I have been making my own covers that I learned by looking at images on the internet, but this time I got creative and made one myself. I hope you like my drawing style, now I will show you the steps I took to make it and the materials.
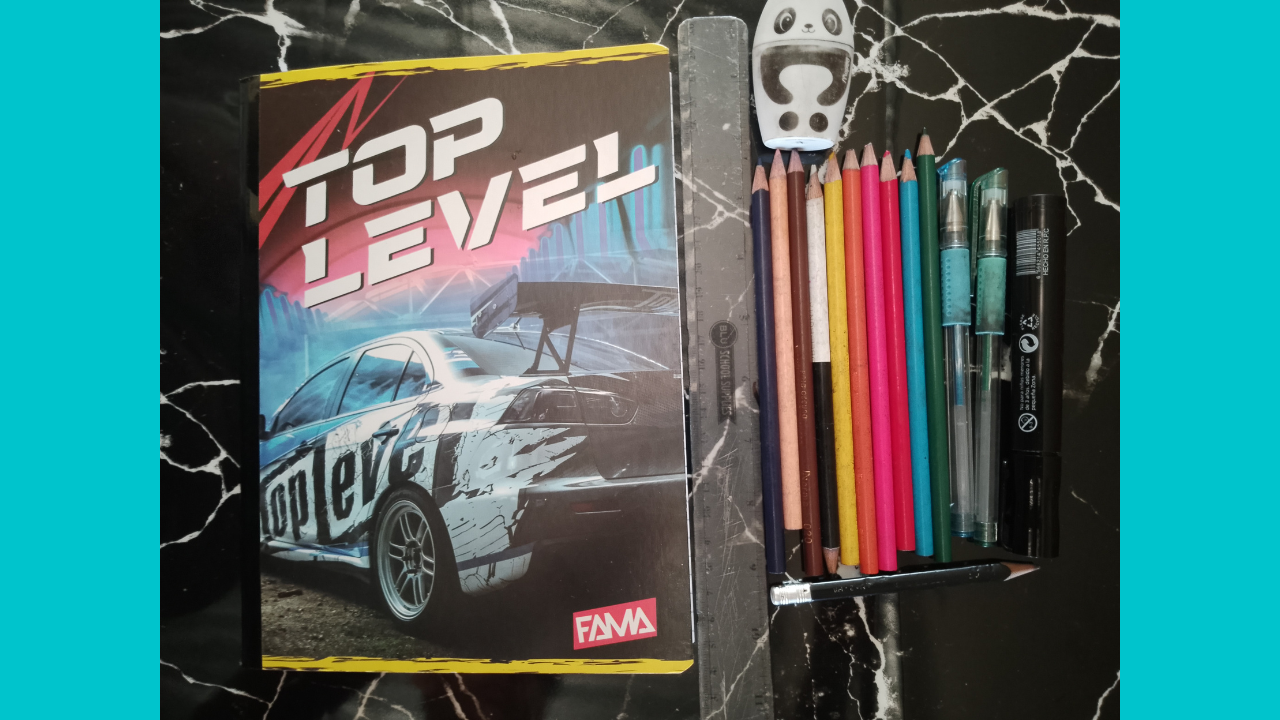
(Materiales:)||(Materials:)
- Cuaderno cuadricular
- Lápiz
- Colores
- Marcador negro
- Marcadores en gel (verde, azul y plateado)
- Una regla
- Borrador y sacapuntas
- Squared notebook
- Pencil
- Colored pencils
- Black marker
- Gel markers (green, blue and silver)
- A ruler
- Eraser and sharpener
(Procedimiento:)||(Procedure:)
Paso nro 1
Paso nro 1
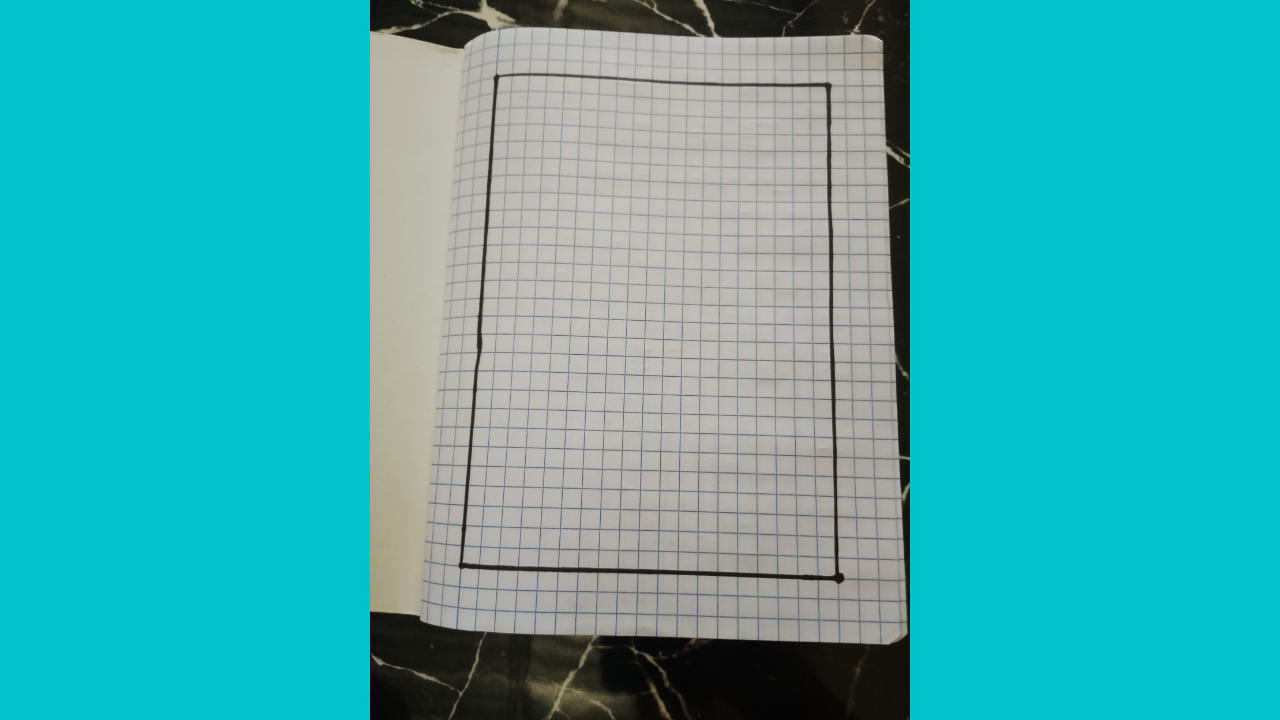
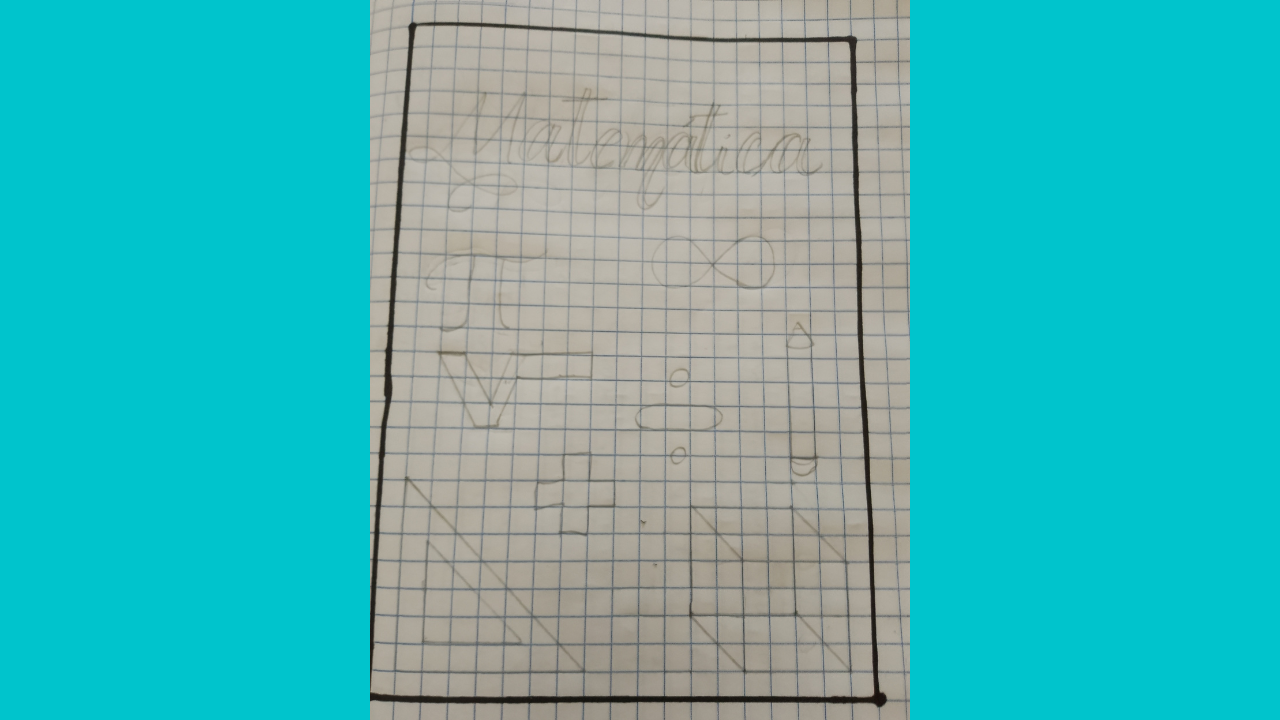
First of all, I looked for inspiration to create the cover. I started by making a margin with a ruler and black marker, leaving a space of 3 centimeters on each side, so that it was centered in the middle.
Paso nro 2
Paso nro 2
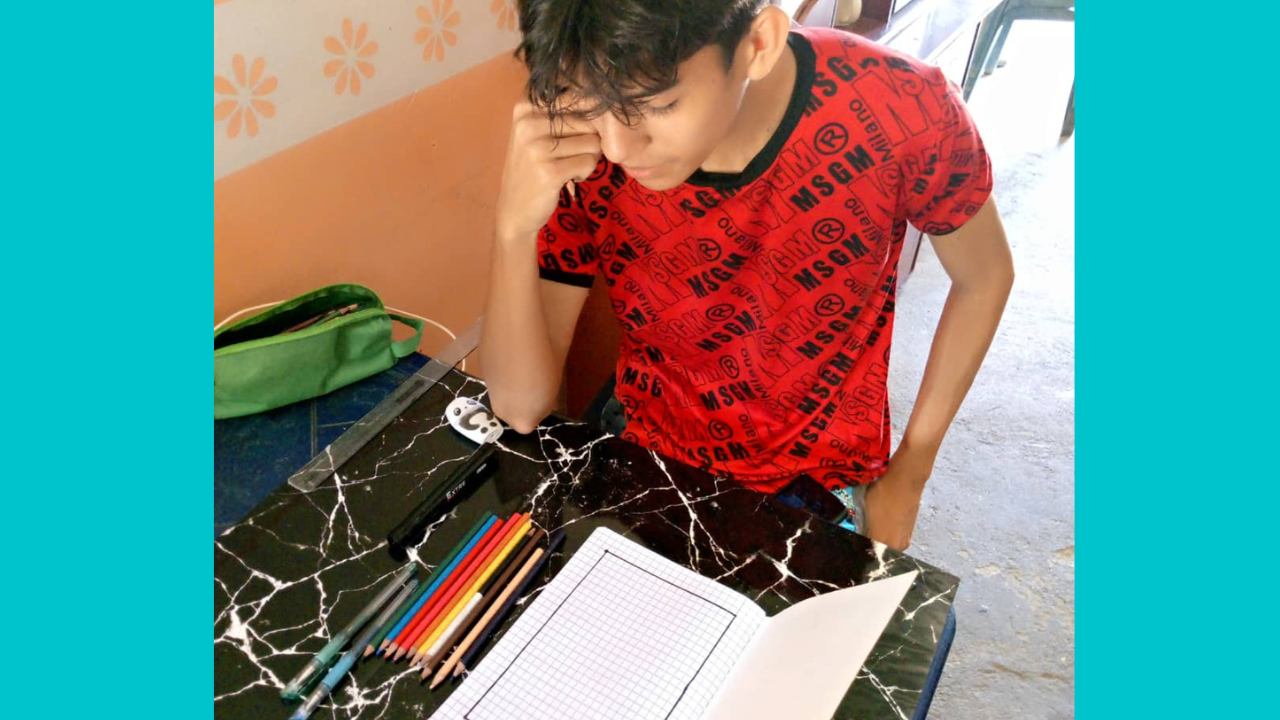
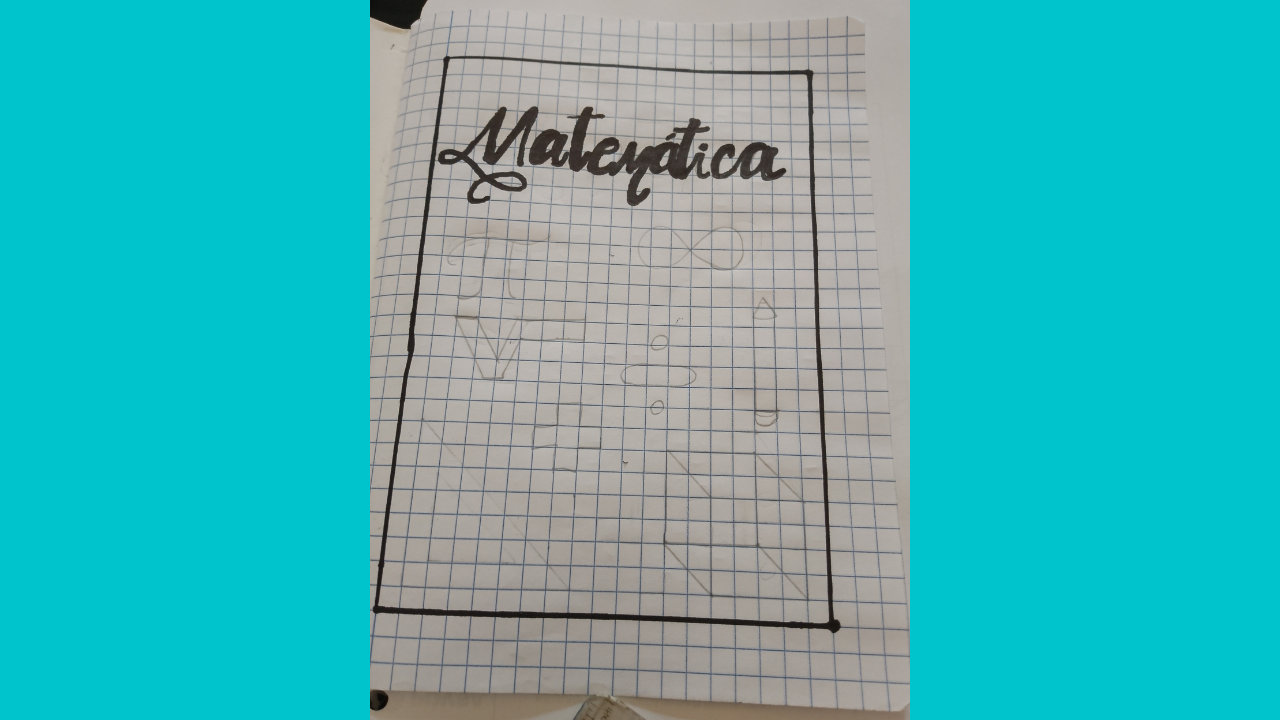
I started making the sketch with the pencil so as not to make any mistakes when adding color and to see what else I can add. The letters that I am going to use for the title are in lettering, since it seemed better to me for this one.
Paso nro 3
Paso nro 3
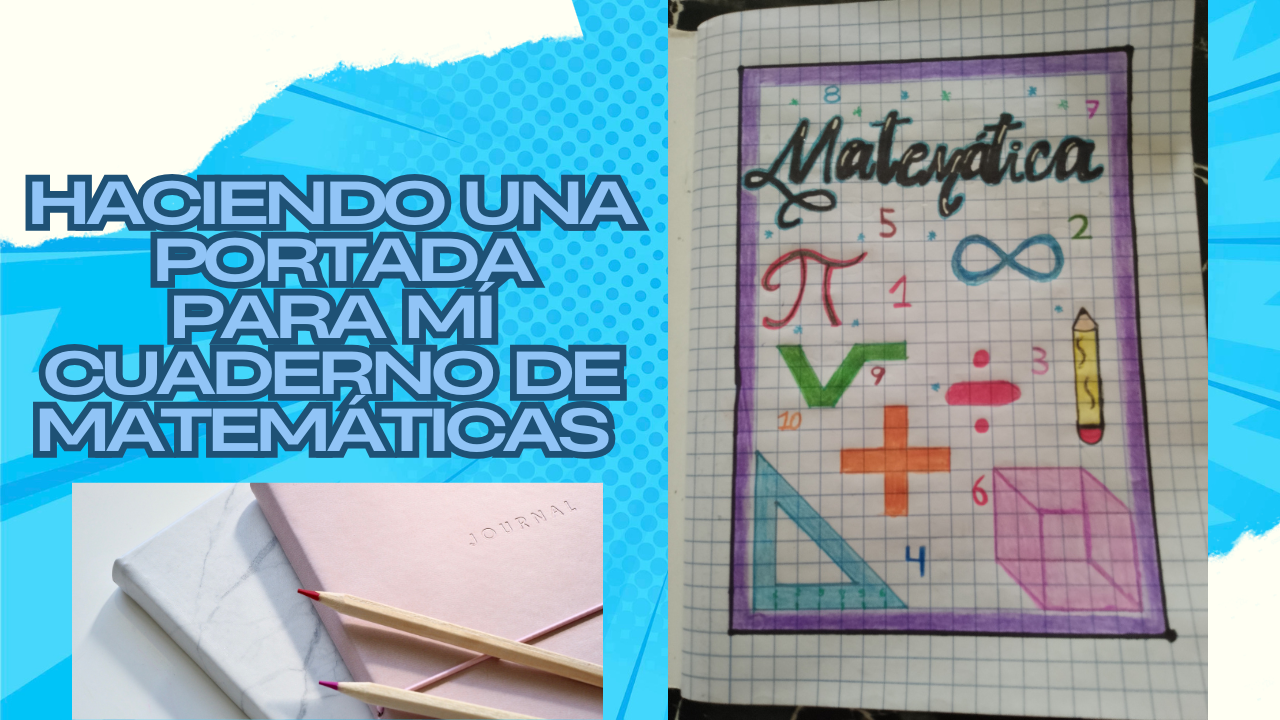
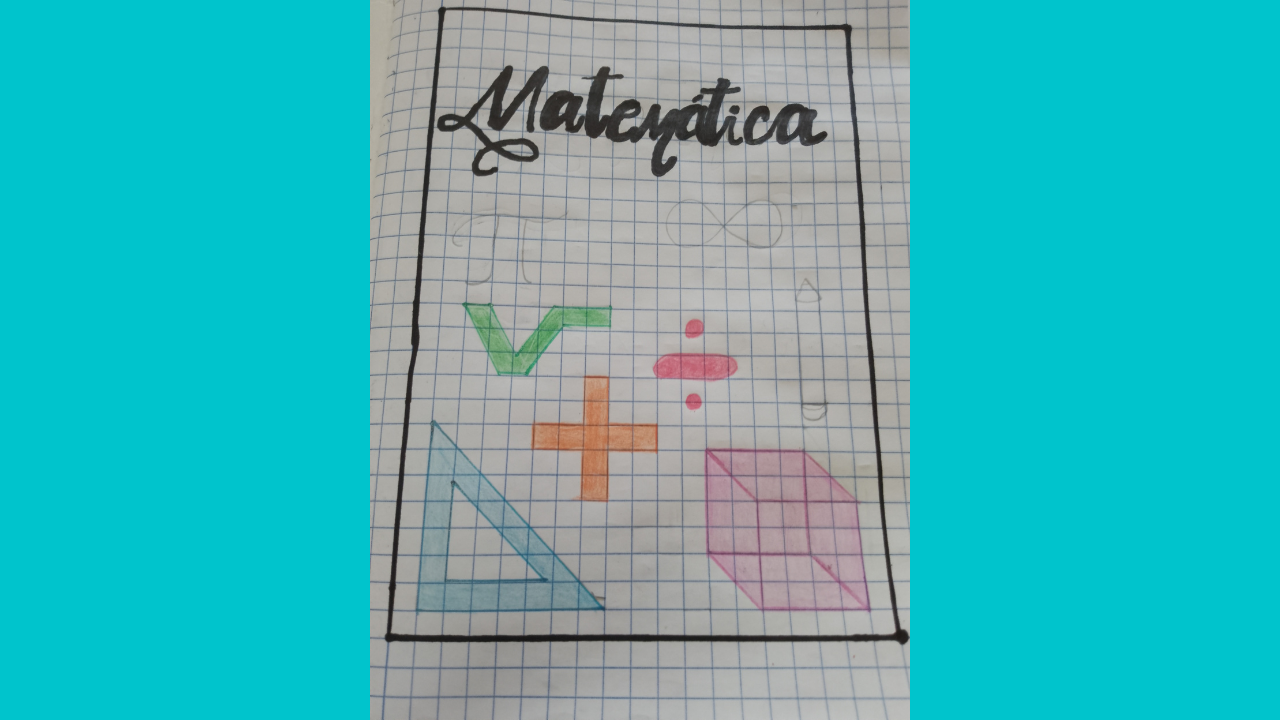
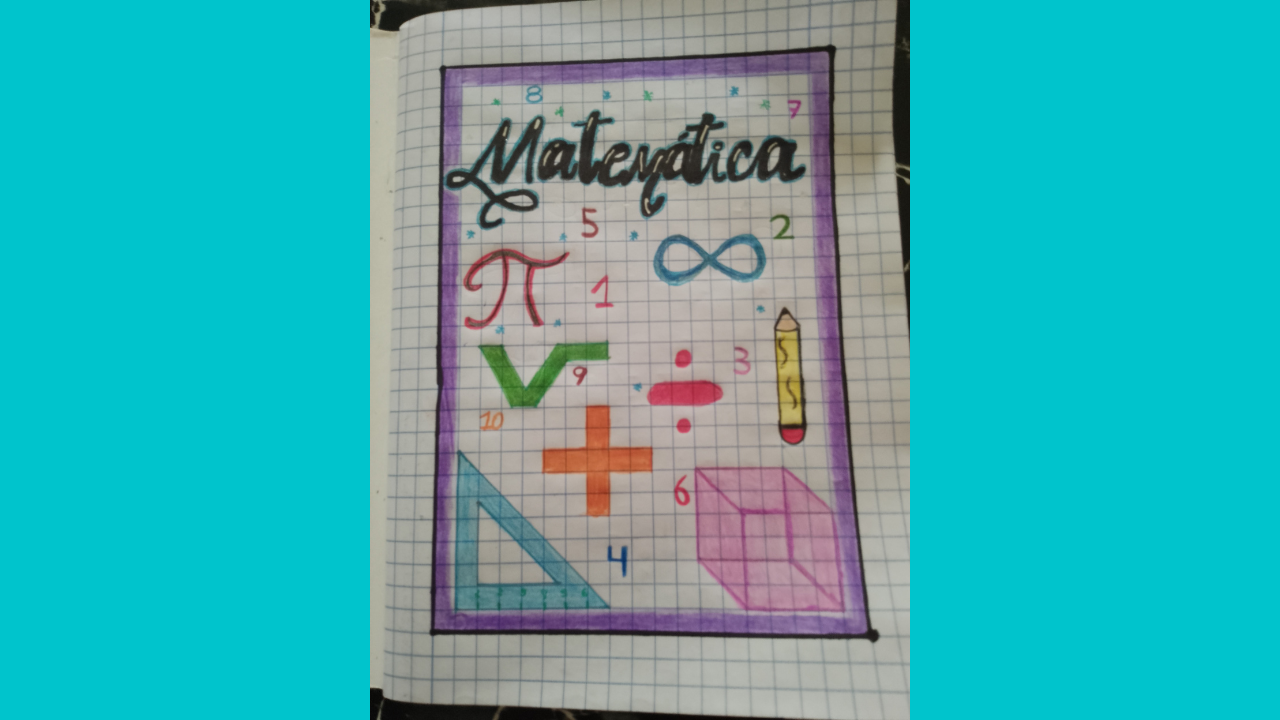
In this part I already started to add color, I put a black marker on the letters, the figures that can be seen have a lot to do with what mathematics is in general, such as signs, and some geometric figures, a drawing of a ruler, a pencil and numbers, I tried to put colors that would stand out as much as possible, so that they would be seen clearly, I put the first thing that occurred to me at the moment and I see that it is looking good.
Paso nro 4
Paso nro 4
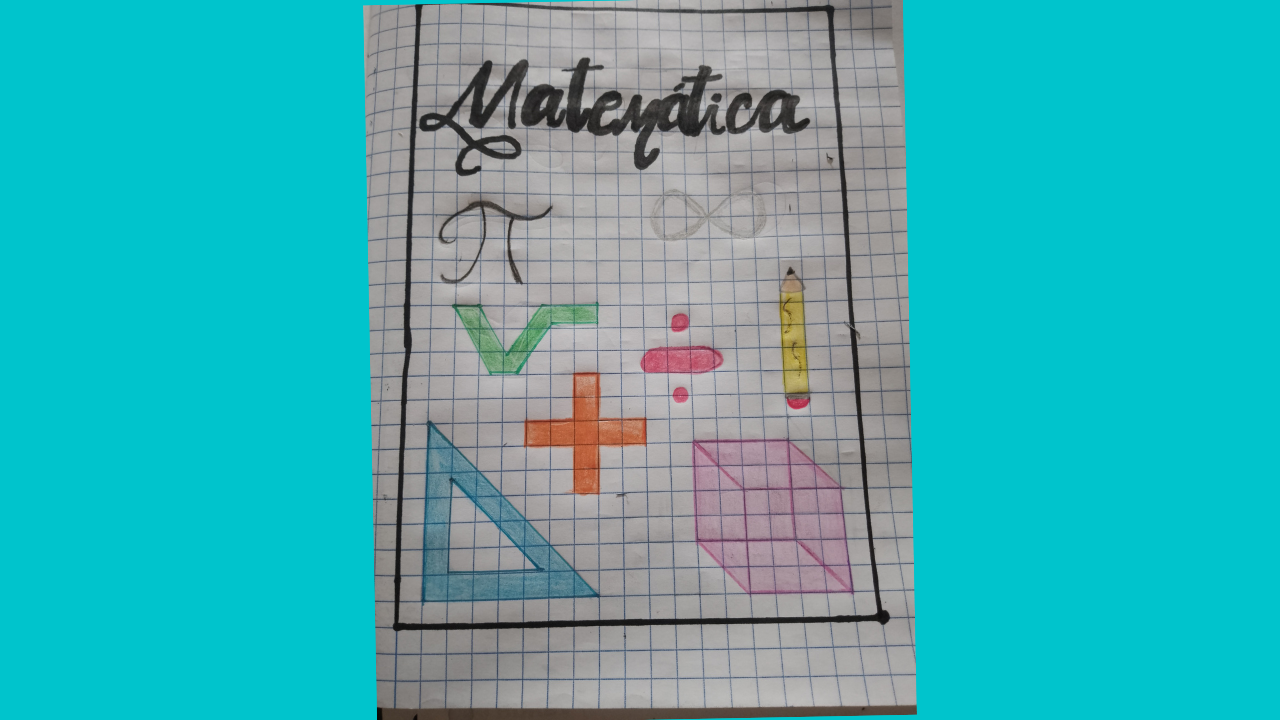
Now here in this part I was making the final touches, I added more color and some glitter that I made with the gel markers, and I also put glitter on the title with the gel marker, making an outline around the letters.
This is how my notebook turned out. I hope you liked the step-by-step instructions. If you have any recommendations, please leave them in the comments and your opinions on how to improve. Thank you.
Las fotografías presentadas en este blog son de mi autoría. He editado las imágenes utilizando Canva, y todas fueron capturadas con mi celular Infinix 30 i. Además, el contenido ha sido traducido con el traductor de Google.
The photographs presented in this blog are my own. I have edited the images using Canva, and all were captured with my Infinix 30 i cell phone. In addition, the content has been translated with Google Translate.
Te quedó cálidad @jhonny1711 el infinito, el pi, la raíz cuadrada, muy original🎉 bendiciones 🙏
Gracias ☺️
Your math notebook cover looks a lot more like a math notebook cover now, haha. That's a nice way to personalize it. Well done.