¡Bienvenidos a mi blog!
Welcome to my blog!
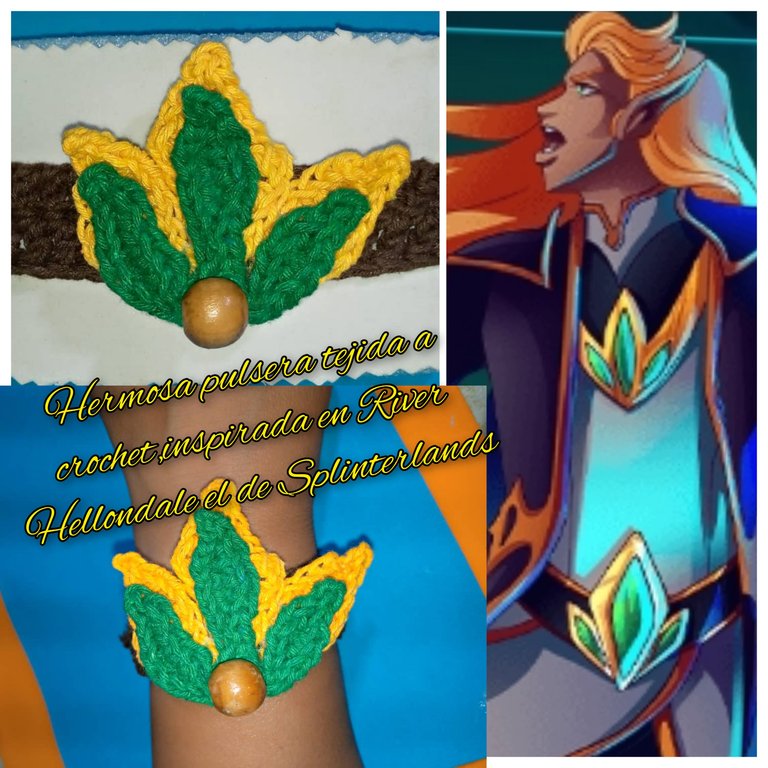
Buenas noches a todos , los miembros de esta linda comunidad de #diyhub, deseo que estén bien. Muchas bendiciones. Dios bendiga cada día sus vidas.
Hoy quiero mostrar cómo hacer una linda pulsera tejida a crochet, inspirada en Raiven Hellondale de @splinterlands .
Está pulsera es especial para mi ,la hice con todo el amor del mundo. Espero que sea de su agrado.
Good evening to all , members of this nice #diyhub community, I wish you all well. Many blessings. God bless your lives every day.
Today I want to show you how to make a cute crocheted bracelet, inspired by Raiven Hellondale from @splinterlands .
This bracelet is special for me ,I made it with all the love in the world. I hope you like it
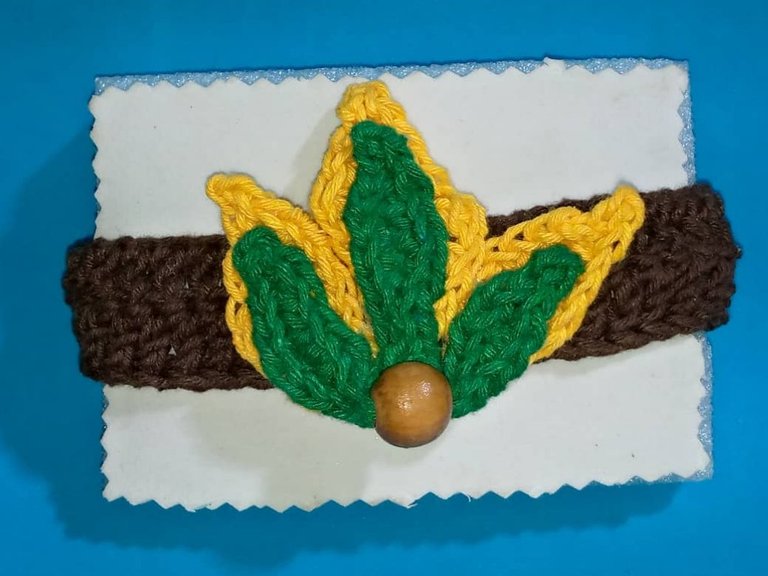
Linda pulsera
Cute bracelet
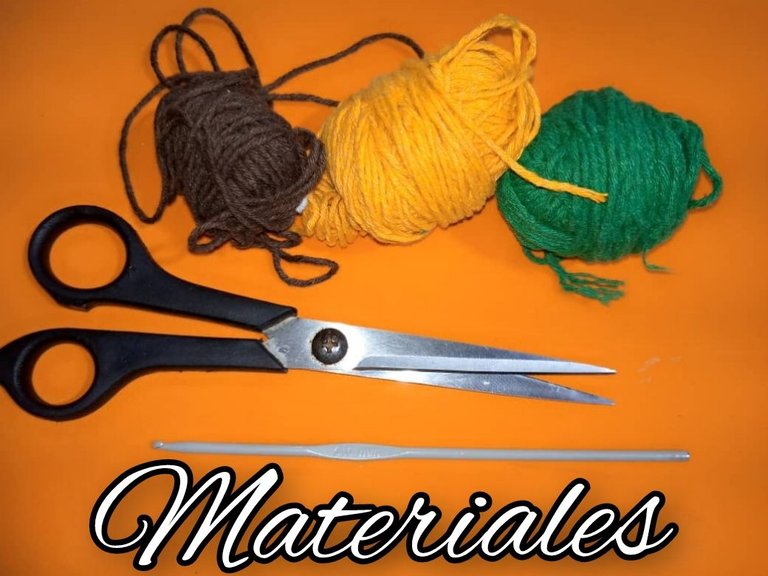
Materiales para realización de la pulsera:
- Hilo de tejer , color: verde amarillo y marrón.
- Aguja de tejer ,número 3.
- Aguja lanera.
- Silicona liquido.
- Tijera.
- Mostacilla grande de color beige.
Materials for making the bracelet:
- Weaving thread, color: green, yellow and brown.
- Knitting needle, number 3.
- Wool needle.
- Liquid silicone.
- Scissors.
- Large beige mustard.
Realización de la pulsera :
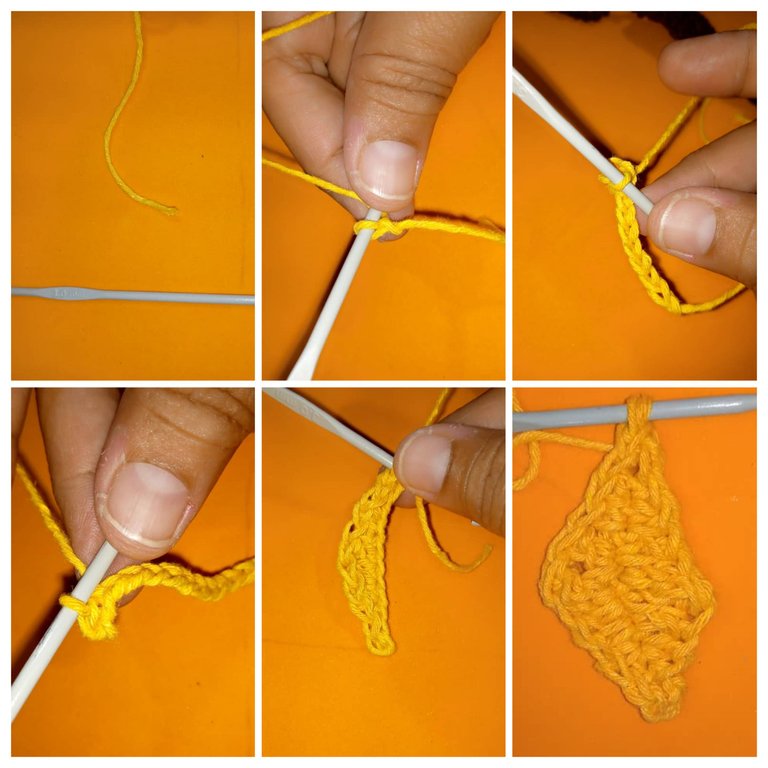
- Lo primero que se hace es tomar el hilo amarillo para hacer el primer motivo: una cadena de 15 puntos, luego hecha la cadena , ir tejiendo ,dejar 2 puntos y en el siguiente ,hacer un punto deslizado,en el otro otro punto,hacer un deslizado. - Un punto bajo, le sigue un punto alto, luego un punto bajo y dos deslizado. Tenemos listo de un lado el motivo.
- Hacer lo mismo del otro lado.
- De estas deben hacer 3 motivos.
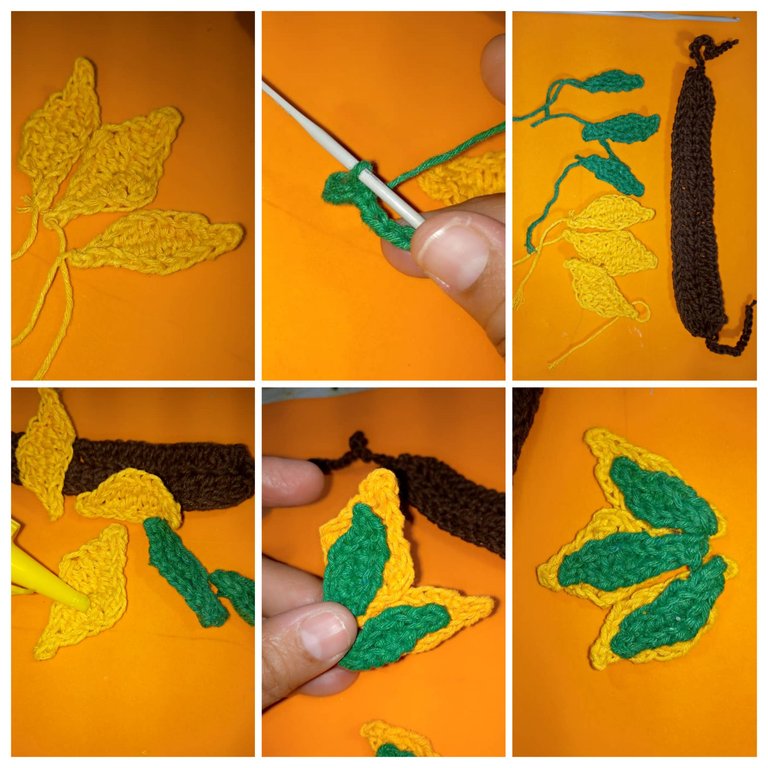
- Ahora con el hilo color verde , deben hacer 3 motivos más pero pequeñas , en ves de ponerle 15 de largo . Le colocaremos 10 cadenas.
- Para hacer completa la pulsera haremos el motivo que va a ir en la mano.
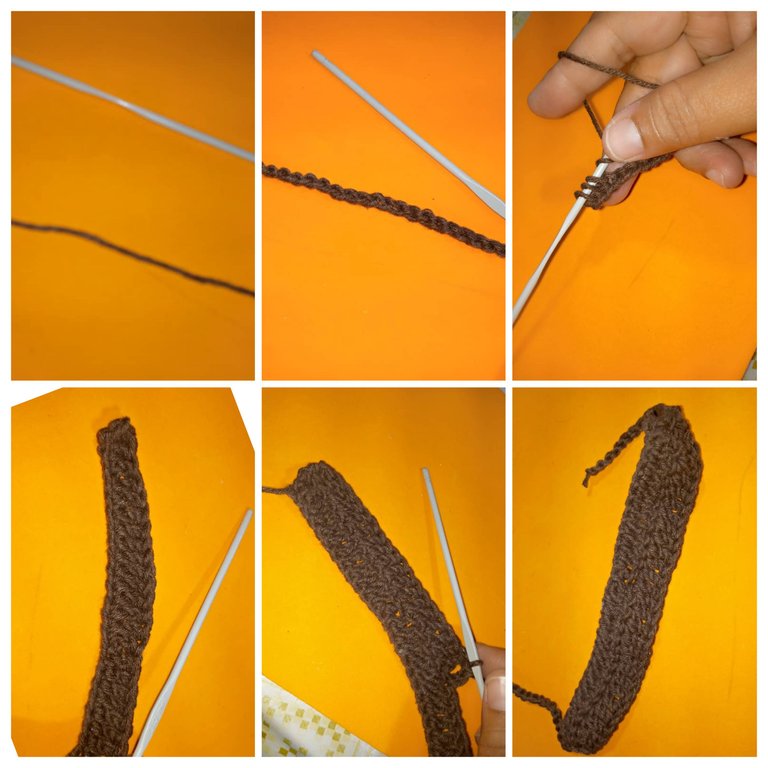
- Con el hilo marrón ,se hace 20 cadenas , luego para la segunda vuelta ,se van haciendo puntos altos.
- Tercera vuelta: se hace lo mismo que en la segunda ( puntos altos) y queda linda.
- Luego a cada extremo ,se le hacen 10 cadenas, esto es para amarrar la pulsera.
- Ahora se van pegando con silicon las partes y por último con la aguja lanera , se pega la mostacilla grande color beige.
Y ya tenemos la linda pulsera lista.
Making the bracelet:
- The first thing to do is to take the yellow yarn to make the first motif: a chain of 15 stitches, then made the chain , go knitting ,leave 2 stitches and in the next one ,make a slip stitch,in the other stitch,make a slip stitch. A single crochet, then a double crochet, then a single crochet and two slip stitches. The motif is ready on one side. Do the same on the other side.
- From these you should make 3 motifs.
- Now with the green thread, you must make 3 more motifs but small, instead of putting 15 long. We will put 10 chains.
- To complete the bracelet we will make the motif that will go on the hand.
- With the brown thread, we make 20 chains, then for the second round, we make high stitches.
- Third round: do the same as in the second round (high stitches) and it looks nice.
- Then at each end, make 10 chains, this is to tie the bracelet.
- Now glue the parts with silicon and finally with the wool needle, glue the big beige beads.
- And now we have the beautiful bracelet ready.
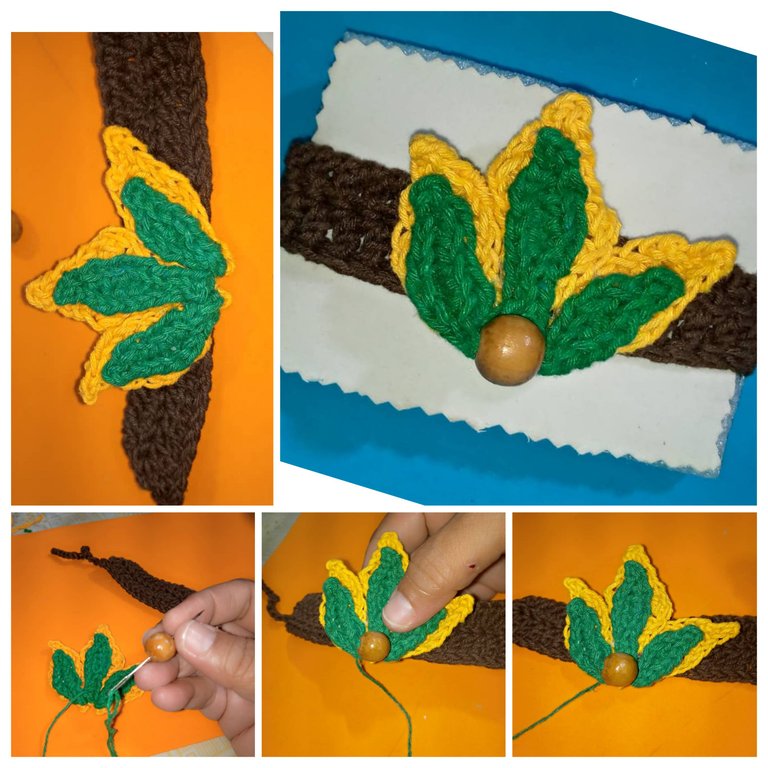
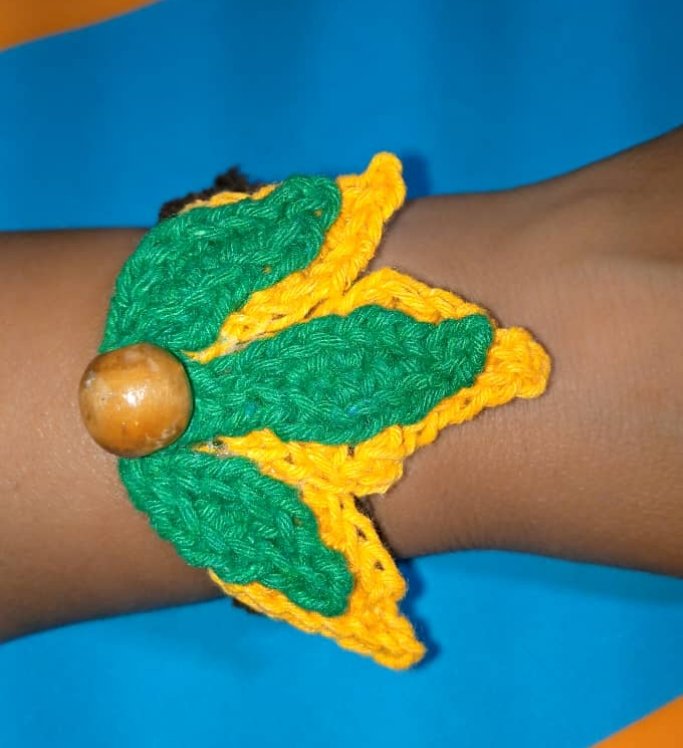
Aquí el resultado final de la linda pulsera.
Here is the final result of the beautiful bracelet.
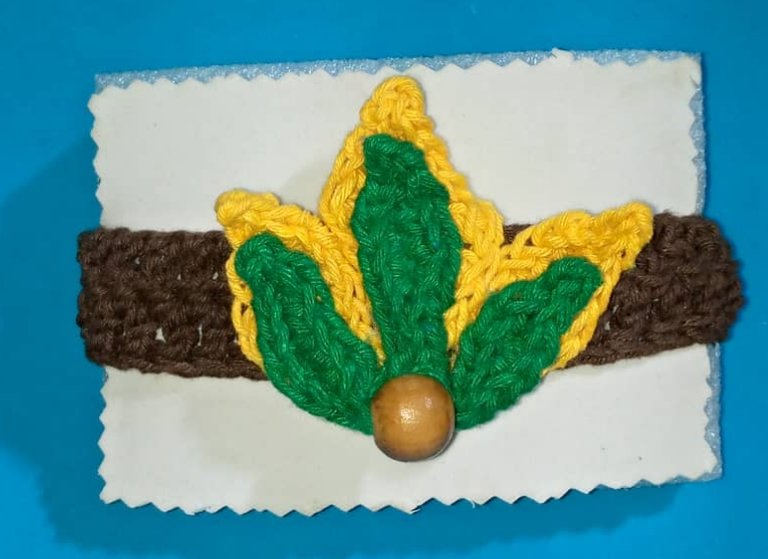
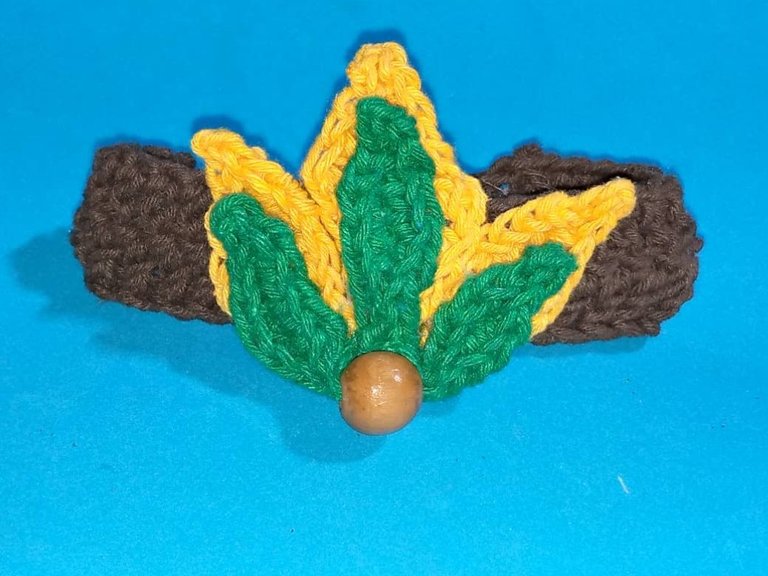
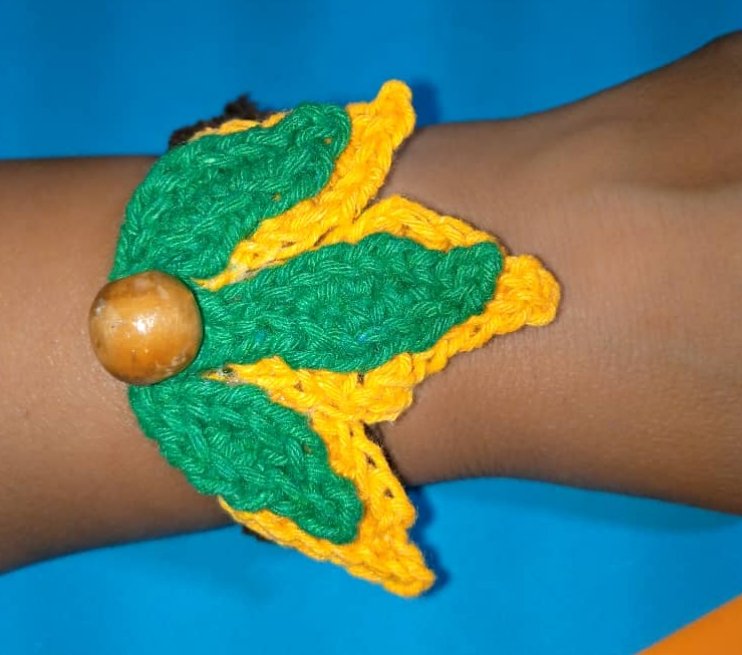
Gracias por leer mi post, hasta la próxima, las fotos son mias , tomadas con teléfono Infinix, editado con incollage y traducido con Deepl.
Thanks for reading my post, see you next time, the pictures are mine, taken with Infinix phone, edited with incollage and translated with Deepl.
Gracias por el apoyo @splinterboost . Muchas bendiciones.
Delegate Tokens and HP to Fallen Angels to earn weekly rewards!
Delegate | Join to the guild
Muchas gracias por el apoyo @fallen.angels . Saludos.
The bracelet is beautiful and thanks to you for sharing the step by step tutorial.
Me alegra que les guste @diyhub . 🤗
You are so creative,your work is indeed incredible
Thanks for sharing your steps with us.
Gracias a ti por leer y comentar mi post @praiselove , bendiciones 🤗
Thanks for sharing! - @isaria

Congratulations @josdelmi! You have completed the following achievement on the Hive blockchain And have been rewarded with New badge(s)
Your next target is to reach 165000 upvotes.
You can view your badges on your board and compare yourself to others in the Ranking
If you no longer want to receive notifications, reply to this comment with the word
STOPCheck out our last posts: