

Hello my dear readers, I hope you are well and that you have or have had an excellent day.
Christmas is very close and as a song very popular at this time of the year here in Venezuela says, it is a gaita that we can not stop listening to for this date.
I tried to put a piece of the song in a video or audio and as I am not very familiar with that part, I did not know how to do it, here is a link where you can listen to the song, it is called: "The Calendar Sheets" de los Gaiteros de Pillopo.
But I write a little bit of the song and it goes like this:
🎵🎼🎶
***The sheets of the calendar
They fell one by one
How many suns, how many moons
To live the emotion...
The last of November
And feel the sensation
Of the first day of December.
🎵🎼🎶
This song takes me back to the past, where as a child the excitement for the arrival of Christmas was the best part of the year. The decorations began, setting up the tree, the nativity scene, the visits of relatives who came to spend the holidays at home.
It was the best time of the year, although nowadays, they are no longer the same, some relatives are out of the country, my father, my brother and my older sister are no longer physically here on the earthly plane, because no matter how much you don't want to, a tear always escapes, remembering all that.
But we are fortunate that the family is still growing, in my house I have my 8 year old niece, my 3 year old nephew and my main reason to live, which is my 6 year old daughter. Just for them, we have to make them also live the beautiful time we lived as children and make them feel loved and happy too. They participate in all the activities we do on these dates, the decorations are what they are most excited about and of course making the hallacas and eating, in the process, one or another ingredient.
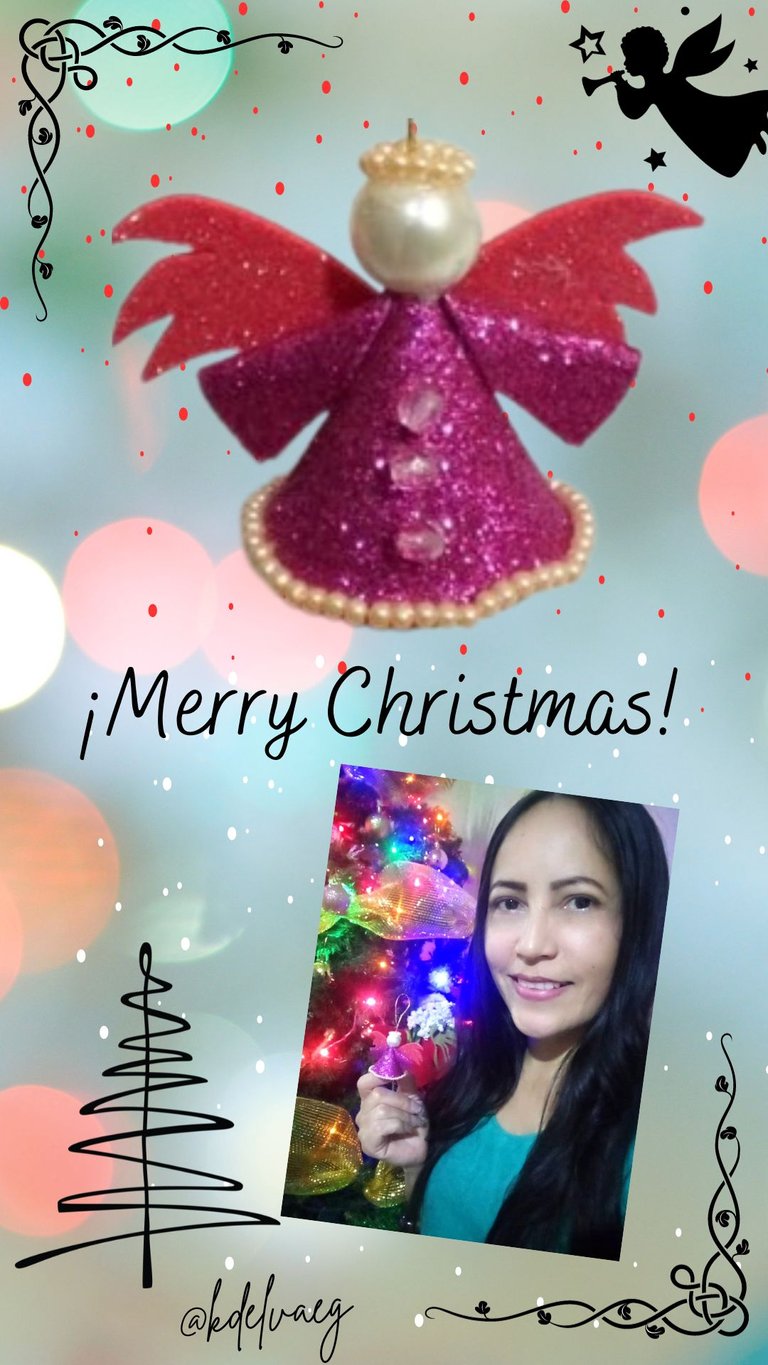
Here I want to share with you, a Christmas ornament that I made for my daughter, which she gave as a gift to her teacher. And I take the opportunity to participate in this contest, which fell like a glove, and here I share the link for you to join.
I'm sorry if I took so long writing the intro, but I got so excited that I didn't even realize how much I had written. Now, without further ado, I leave you the step by step.


STEP BY STEP:
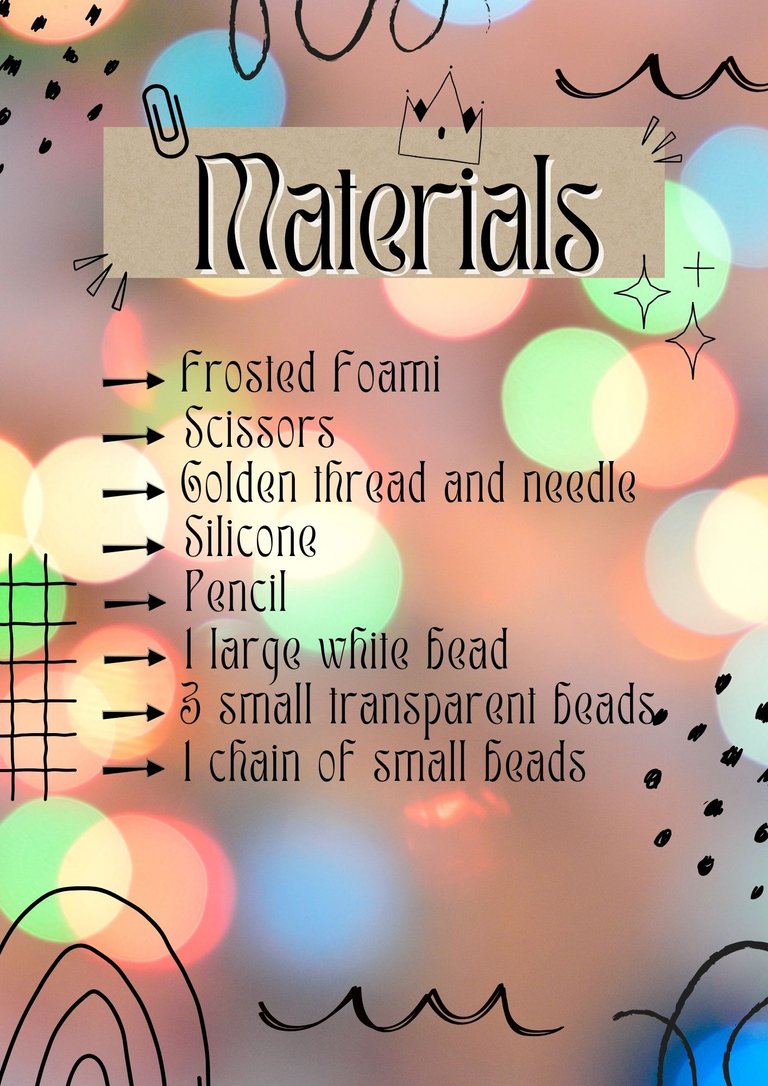
As you can see, I only have scraps of foami from previous works, so there is no need to spend a lot of money to make an ornament. I will take a piece of foami and with the help of a lid I will cut out a circle, it is about 6 cm in diameter.


The circle I cut earlier, I will cut it in two and work the angel with one of those halves.

First I will cut the golden thread about 10 cm long, which I will glue with the silicone, in the center, just in the straight part of the half circle.


Then I will thread the needle with the golden thread, it has to be a needle with a large opening. And then I will introduce the big white bead, which will be the head of the angel.
Also with the help of the silicone, I will glue the foami, forming a cone, as you can see in the image.


To keep the bead from moving, rolling or slipping off, I will put some silicone on the tip of the cone and glue the bead on.

Now the chain of beads, I will glue it with silicone, all around the cone at the bottom.


With the other half circle I had left, I will make the arms of the angel. To do this I will cut into two pieces and then one half of them I will cut in two again.
I will take one cutout and glue it as shown in the picture, and then cut the tip diagonally.


I will glue the arms to the body with great care and let them dry very well, looking like this.

With the string of beads, I will make a small ring, smaller than the size of the bead on the head, this will be the angel's halo and I will glue it with silicone. Also decorate with the three transparent beads and place them on the costume.


With another piece of silicone, I will make the wings. I made a pattern of wings on paper, which I placed on top of the foami and cut out. Then glue it on the back of the angel.


And as you can see, I have my beautiful angel ready. It's pretty easy to make and you don't spend a lot of material.


I hope you liked this tutorial that I gladly prepared for you.
I say goodbye as always, but not before thanking you for taking a little of your valuable time to visit my blog and support me. Do good, without looking at whom.

Content of original creation:
👼🏻 All photos are mine, taken and edited with my Alcatel phone.
🎅 The cover image and materials, were made with the Canva app and edited by me.
🎄 The divider images were taken from glitter-graphics.com.
❄️ The English translation was made with the help of DeepL.
⛄️ The letters indicating the languages were taken from cooltext.com.


Hola mis queridos lectores, espero que se encuentren bien y que tengan o hayan tenido un excelente día.
Ya la navidad está muy cerca y como dice una canción muy sonada en esta época aquí en Venezuela, es una gaita que no podemos dejar de escuchar para esta fecha.
Intente colocar un pedazo de la canción en un video o un audio y como aún no estoy muy familiarizada en esa parte, no supe como hacerlo, acá les dejo un enlace donde pueden escuchar la canción, se llama: "Las Hojas del calendario" de los Gaiteros de Pillopo.
Pero les escribo un poquito de la canción y dice así:
🎵🎼🎶
"Las hojas del calendario
Cayeron una por una
Cuantos soles, cuantas lunas
Para vivir la emoción…
El último de noviembre
Y sentir la sensación
Del primer día de diciembre".
🎵🎼🎶
Esta canción me hace viajar al pasado, donde de niña la emoción por la llegada de la navidad, era lo mejor del año. Se empieza las decoraciones, armar el arbolito, el nacimiento, las visitas de los familiares que vienen a pasar las fiestas decembrinas en la casa.
Era la mejor época del año, aunque actualmente hoy en día, ya no son iguales, algunos familiares están fuera del país, mi padre, mi hermano y mi hermana mayor ya no están físicamente aquí en el plano terrenal, pues por más que no se quiera, siempre se escapa una lágrima, recordando todo eso.
Pero tenemos la fortuna de que aun la familia sigue creciendo, en mi casa tengo a mi sobrina de 8 años, está mi sobrino de 3 años y mi principal motivo de vivir, que es mi hija de 6 años. Solo por ellos, hay que hacer, que ellos también vivan la época bonita que vivimos nosotros de niños y hacerlos sentir amados y felices también. Que participen en todas las actividades que hacemos en estas fechas, las decoraciones son con las que más se emocionan y por supuesto hacer las hallacas y comerse en el proceso, uno que otro ingrediente.
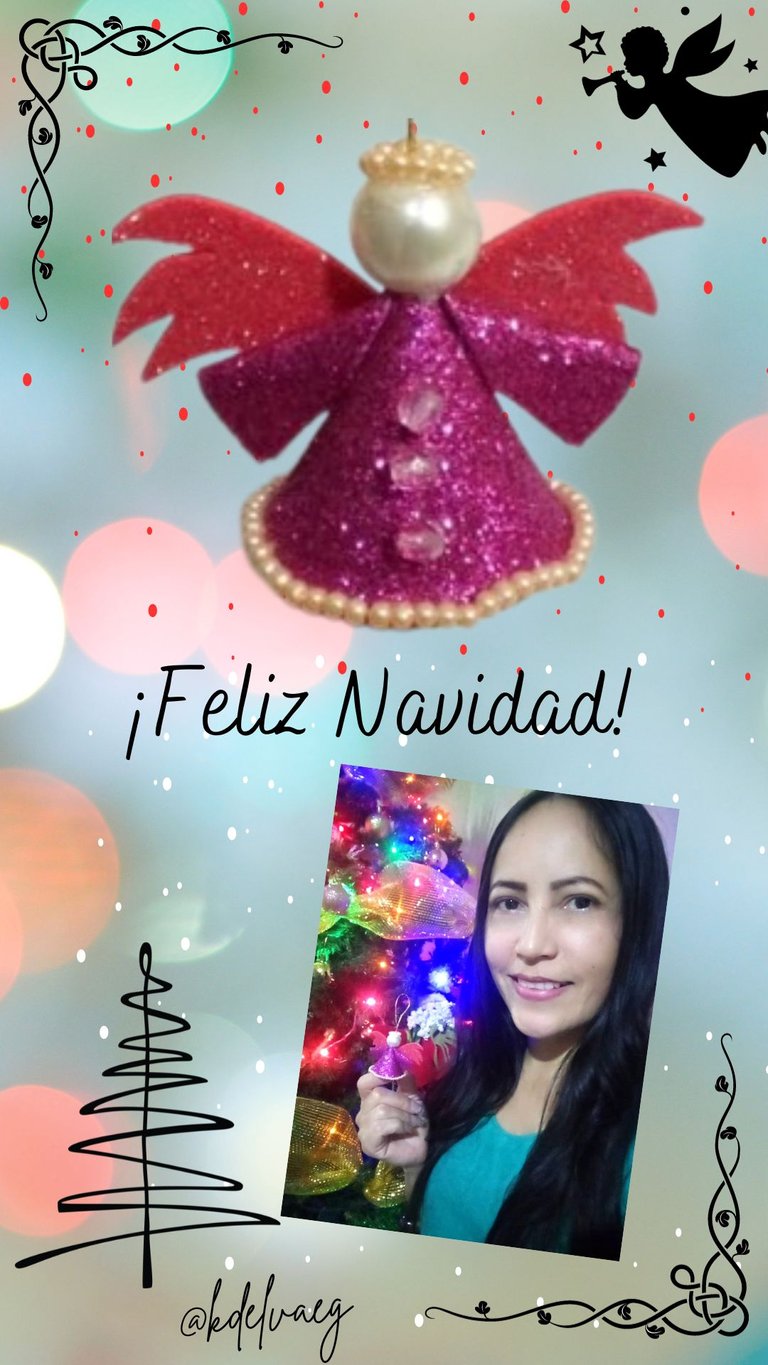
Aquí quiero compartir con ustedes, un adorno navideño que realice para mi hija, el cual se lo obsequiara a su maestra. Y aprovecho la oportunidad de participar en este concurso, que me cayó como anillo al dedo y aquí les comparto el enlace para que se unan.
Disculpen si me extendí escribiendo el intro, pero es que me emocione y ni cuenta me di de todo lo que había escrito. Ahora, ya sin más preámbulos, les dejo el paso a paso.


PASO A PASO:
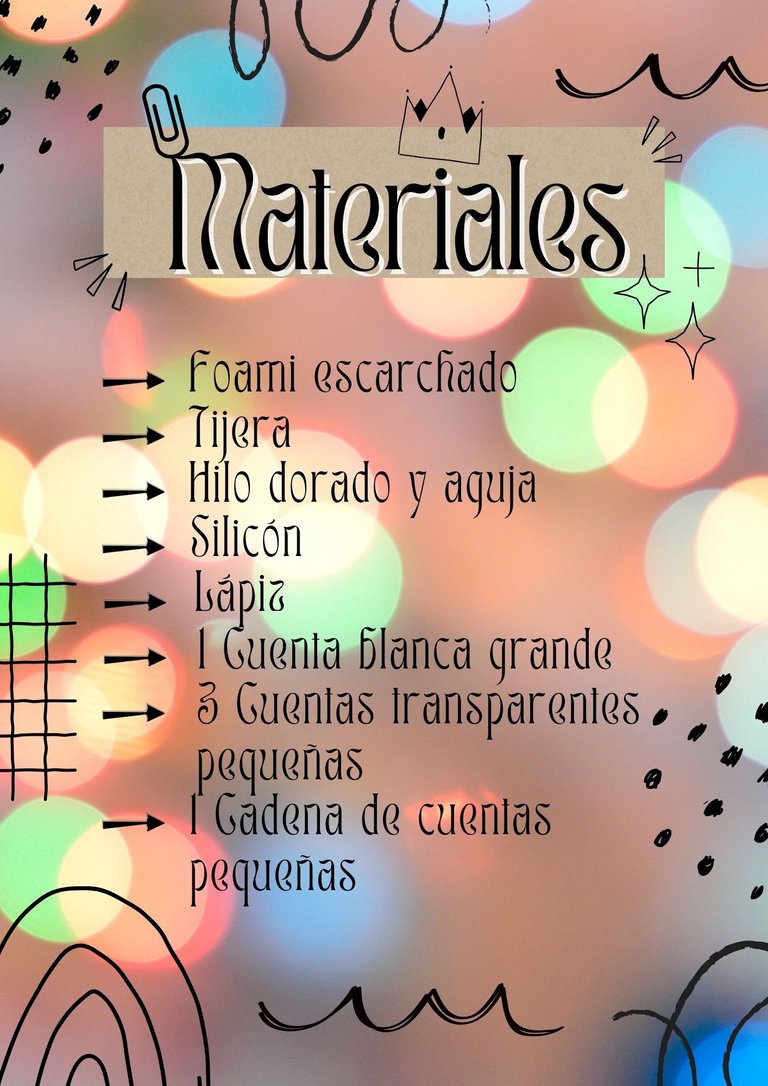
Como se pueden dar cuenta, solo tengo retazos de foami de trabajos anteriores, así que no se necesita de hacer un gasto enorme para hacer un adorno. Tomaré un retazo de foami y con la ayuda de una tapa recortaré un círculo, tiene como aproximadamente 6 cm de diámetro.


El círculo que corte anteriormente, lo cortaré en dos y trabajaré el ángel con una de esas mitades.

Primero recortaré el hilo dorado como un aproximado de 10 cm, el cual lo pegaré con el silicòn, en el centro, justo en la parte recta del medio círculo.


Luego enhebraré la aguja con el hilo dorado, tiene que ser una aguja que tenga la abertura grande. Y después introduciré la cuenta blanca grande, que será la cabeza del ángel.
También con la ayuda del silicón, pegaré el foami, formando un cono, tal como pueden ver en la imagen.


Para que no se mueva, se ruede o se salga la cuenta, le pondré un poco de silicón en la punta del cono y pegaré la cuenta.

Ahora la cadena de cuentas, la pegaré con silicón, por todo el alrededor del cono en la parte de abajo.


Con el otro medio círculo que me quedaba, realizaré los brazos del ángel. Para ello recortaré en dos pedazos y luego una mitad de ellos la recortaré en dos nuevamente.
Tomaré un recorte y lo pegaré tal como se muestra en la imagen, para luego cortarle la punta en forma diagonal.


Pegaré los brazos al cuerpo con mucho cuidado y dejaré secar muy bien, quedando de esta manera.

Con la cadena de cuentas, realizaré un anillo pequeño, más pequeño que el tamaño de la cuenta de la cabeza, esto será, la aureola del ángel y la pegaré con silicón. Aproveche también decorar con las tres cuentas transparentes y se las coloque en el traje.


Con otro retazo de silicón, realizaré las alas. Hice un patrón de unas alas en papel, el cual coloque encima del foami y recorte. Para luego pegarlo en la parte de atrás del ángel.


Y como pueden ver, ya tengo listo mi hermoso ángel. Es bastante fácil de hacer y no se gasta mucho en material.


Espero que les haya gustado este tutorial que con mucho gusto preparé para ustedes.
Me despido como siempre, no sin antes agradecerles por tomarse un poco de su valioso tiempo para visitar mi blog y apoyarme. Hagan bien, sin mirar a quién.

Contenido de creación original:
👼🏻 Todas las fotos son mías tomadas y editadas con mi teléfono Alcatel.
🎅 La imagen de portada y de los materiales, fue realizada con la aplicación Canva y editada por mí.
🎄 Las imágenes divisorias fueron tomadas de la página de glitter-graphics.com.
❄️ La traducción al inglés fue hecha con la ayuda de DeepL.
⛄️ Las letras que indican los idiomas, fueron tomadas de la página cooltext.com.
Congratulations @kdelvaeg! You have completed the following achievement on the Hive blockchain And have been rewarded with New badge(s)
Your next target is to reach 15000 upvotes.
You can view your badges on your board and compare yourself to others in the Ranking
If you no longer want to receive notifications, reply to this comment with the word
STOPCheck out our last posts:
Quedan muy lindos estos angelitos, es una excelente idea para decorar, gracias por compartir, saludos 🥰
Muchas gracias a ti, por tu visita y apoyo.
¡Felicitaciones!
Estás participando para optar a la mención especial que se efectuará el domingo 3 de diciembre del 2023 a las 8:00 pm (hora de Venezuela), gracias a la cual el autor del artículo seleccionado recibirá la cantidad de 1 HIVE transferida a su cuenta.
¡También has recibido 1 ENTROKEN! El token del PROYECTO ENTROPÍA impulsado por la plataforma Steem-Engine.
1. Invierte en el PROYECTO ENTROPÍA y recibe ganancias semanalmente. Entra aquí para más información.
2. Contáctanos en Discord: https://discord.gg/hkCjFeb
3. Suscríbete a nuestra COMUNIDADEntra aquí para más información sobre nuestro trail. y apoya al trail de @Entropia y así podrás ganar recompensas de curación de forma automática.
4. Visita nuestro canal de Youtube.
Atentamente
El equipo de curación del PROYECTO ENTROPÍA
Muchas gracias por siempre apoyarme.
It looks wonderful. Nice work! Keep it up! Thanks!
Thank you very much for your support.
Beautiful origami made by genius as a symbol of vibrant love. Thank you very much for gifting us this wonderful origami. Each step has turned into a wonderful honey. The snakes have demonstrated extraordinary skills by presenting through English and Spanish. Greetings Origami friends.
Thank you very much for your visit and support.
you are most welcome my dear friend. may God bless you with my heart