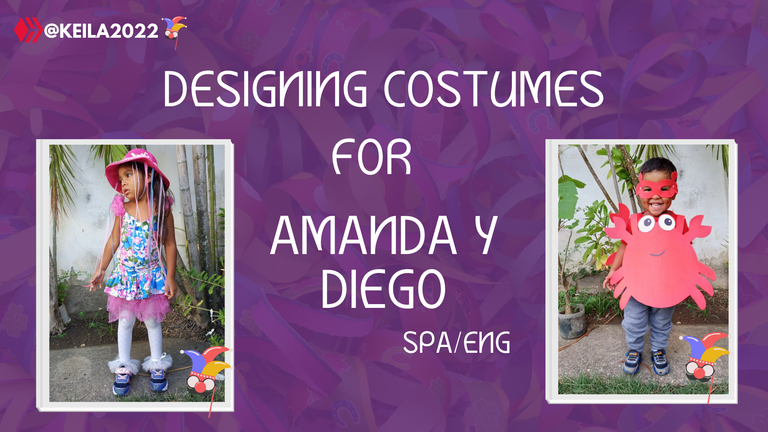
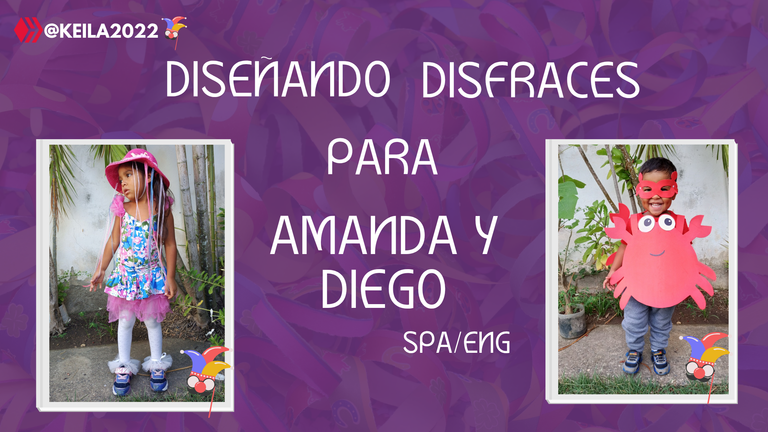
Designing costumes for Amanda and Diego
Greetings to all the members of this wonderful community, where the sky is the limit when it comes to letting our imagination fly and putting our creativity into practice.
Today, as always, I am proud to share this post because it is the result of the motivation and desire to create things for my children even when, at first, I don't even know where to start.
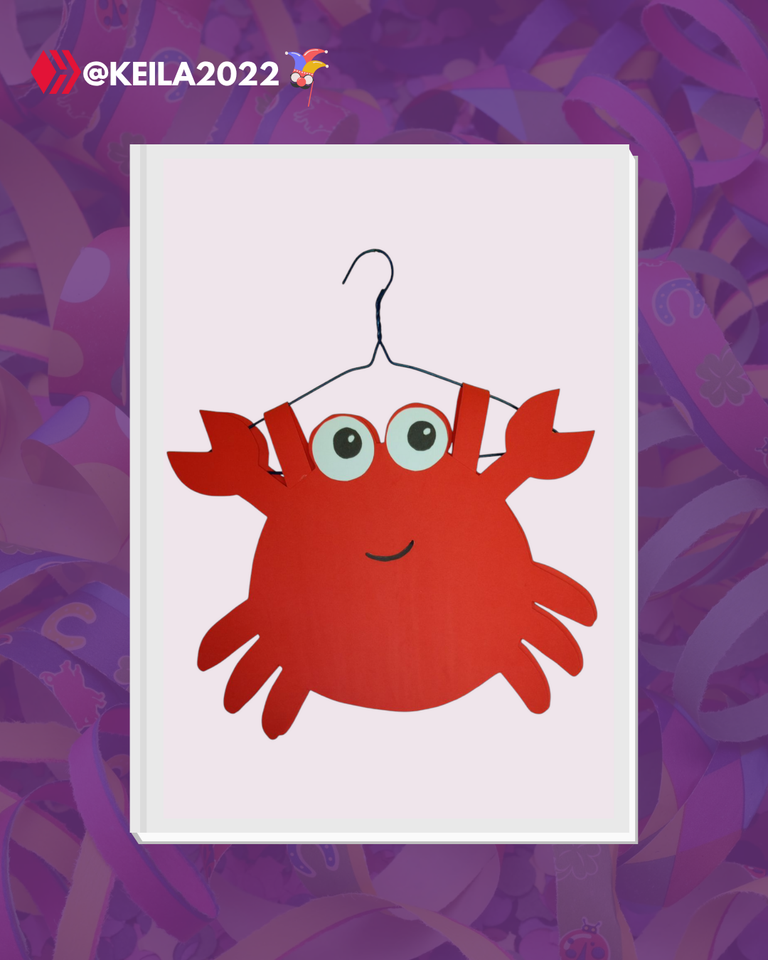
This time I show you how I made a crab costume for my 2 year old son Diego.
Materials used:
2 large sheets of foami
1/2 white cardboard (letter size)
Silicone.
Scissors.
Graphite pencil.
Black marker.
Compass or some round object (to draw the eyes).
4 sheets of recycled paper.
Procedure
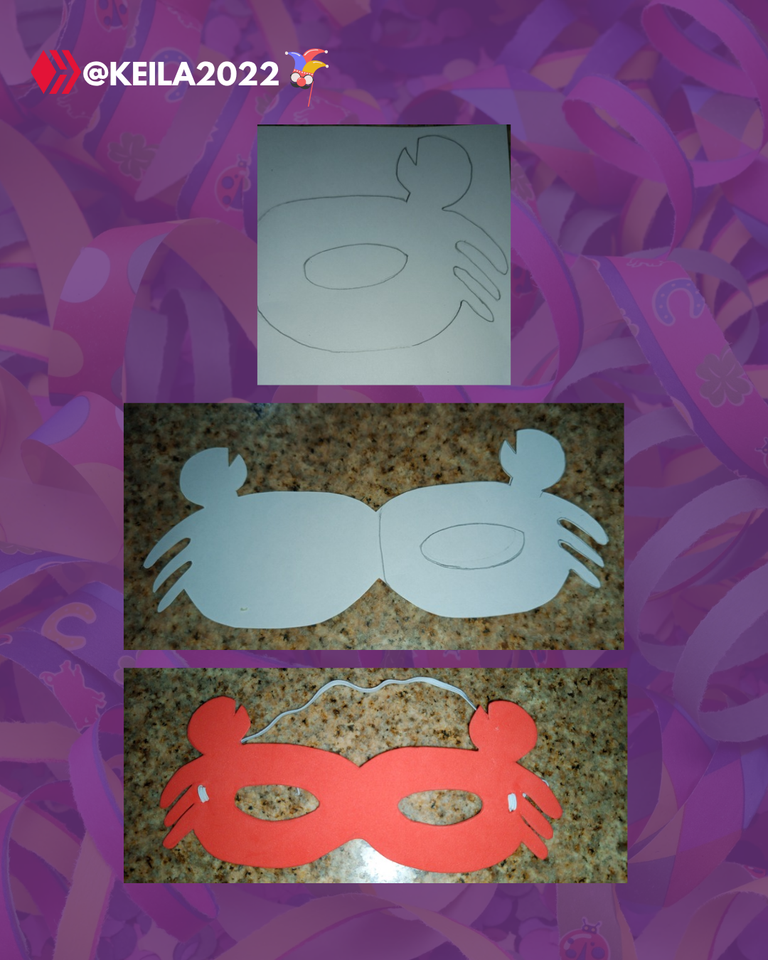
1- The first thing I did, was to glue the white sheets to make the pattern.
2- I started by drawing a 33 cm circle and in the upper part I drew two circles, leaving part of it to stick the eyes.
3- To make the tongs I drew a 9 cm circle and the rectangle that holds them is 4 cm wide and 5 cm long, while the triangle that we see in these measures 5 cm.
4- The legs measure 4cm wide by 8cm long.
Both the legs and the pincers I drew them separated from the body to trace them individually on the foami.
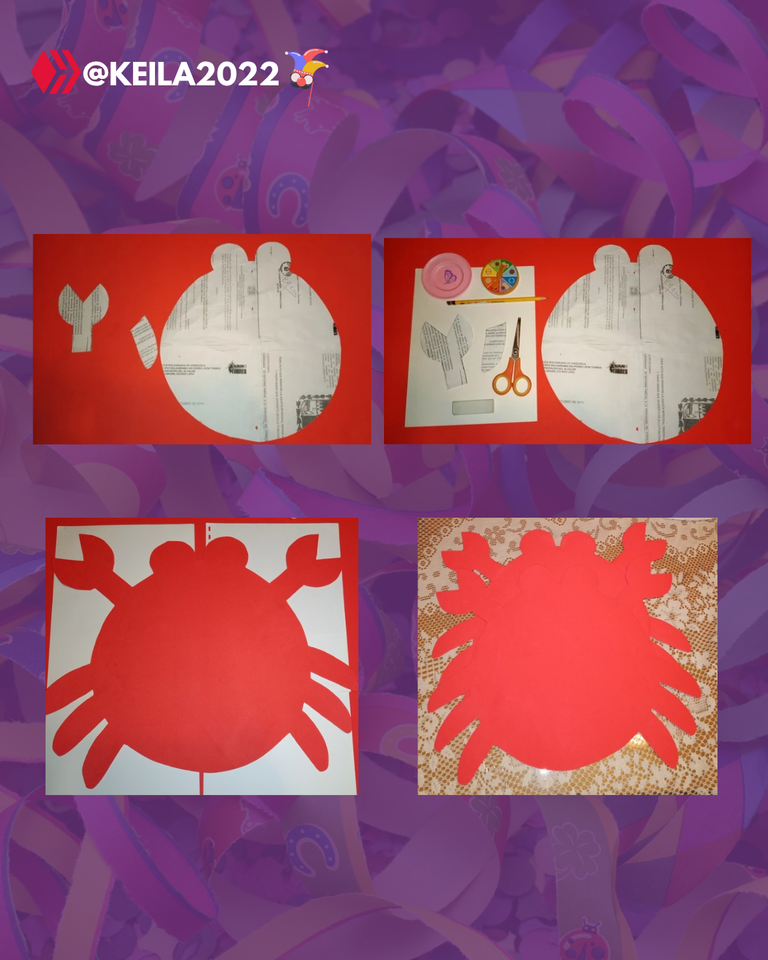
5- Once the pattern was cut, I proceeded to trace on the foami making two pieces exactly the same.
6- I drew the eyes on a white cardboard, using two round objects: one of 7cm and the other of 3cm. I painted the 3 cm circle in black using a marker and taking care to leave a small circle in white.
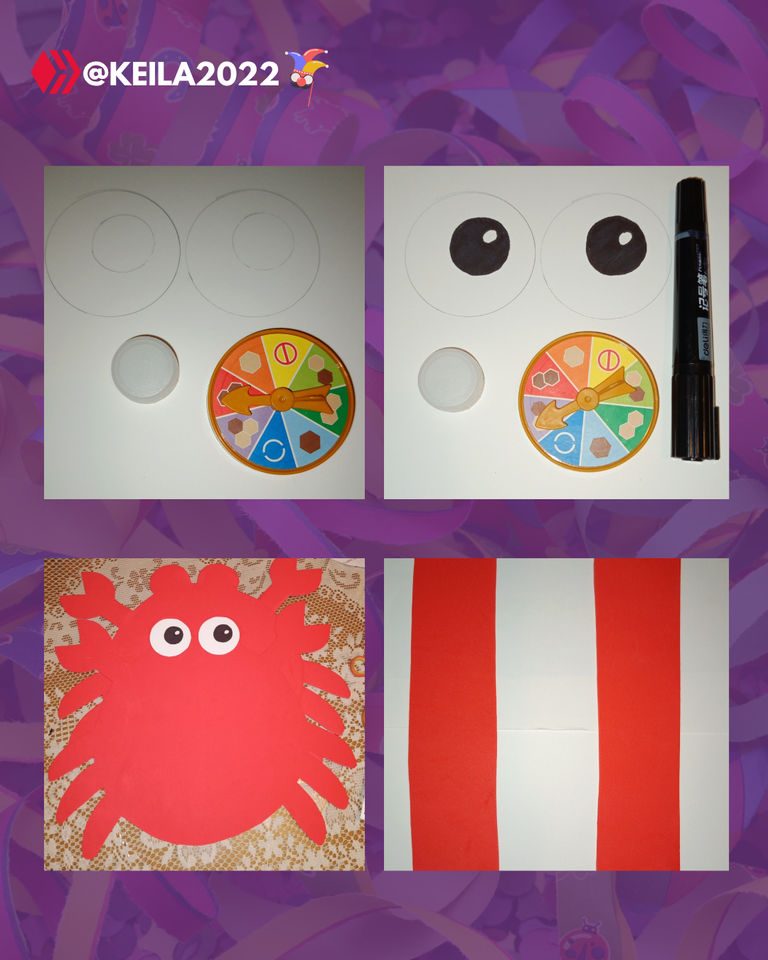
7- Once ready, I adhered it to the foami using hot silicon.
8- For the straps I used two 3cm wide by 28cm long foami strips that I adhered to each piece using Silicon.
What took me more time was to make the crab pattern because it required taking Diego's measurements and calculating others, however, I think it's a pretty easy costume.
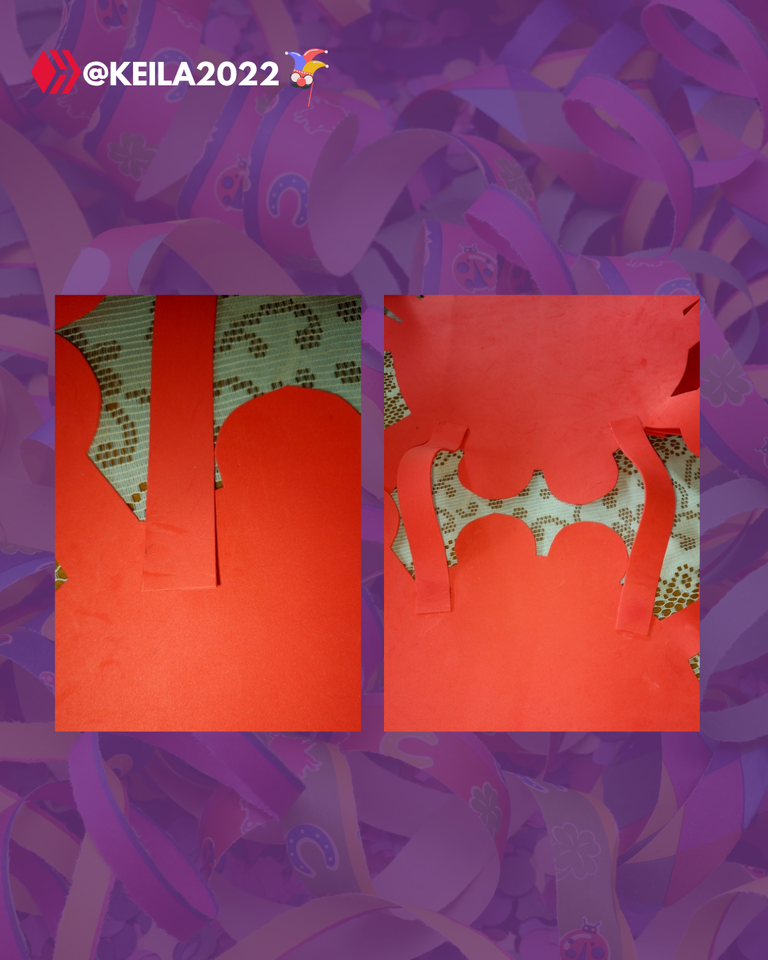
For the mask:
I made the pattern freehand (without taking measurements, calculating the size for Diego), then transferred it to the foami, cut and ready.
And that's it, it couldn't be easier.
Let's go with Amanda Medusa Costume.
To tell you the truth Amanda surprised me with her choice, but I think she made it super easy.
The first thing I did was to look through her clothes for a suitable outfit that could be combined with a hat.
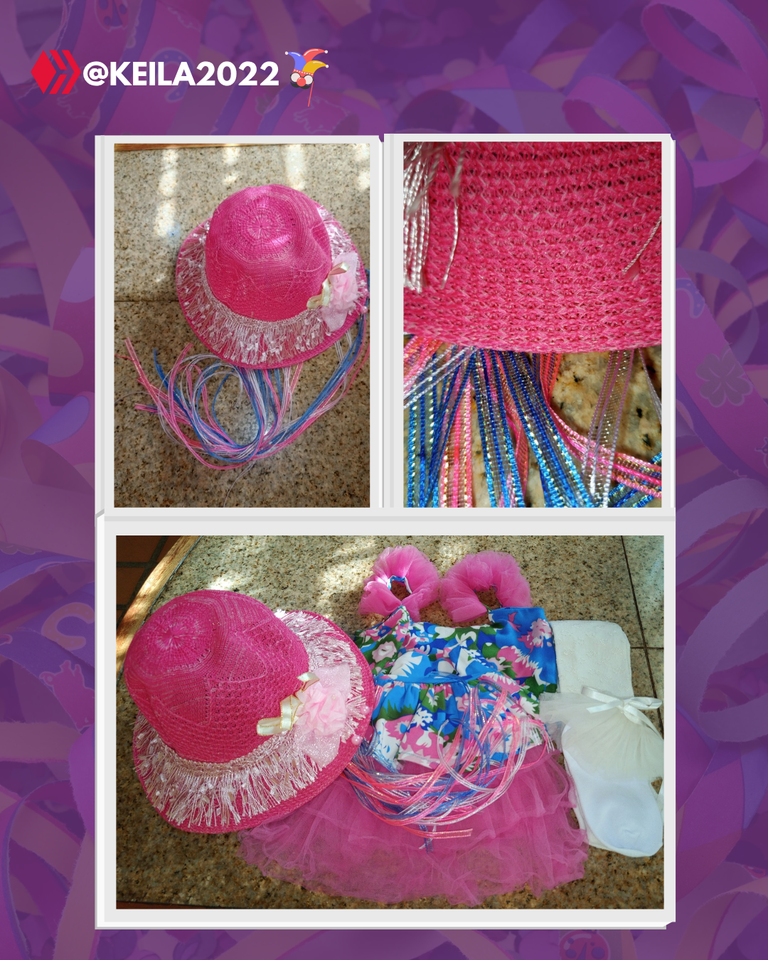
I got a very beautiful ballerina outfit and some long white stockings, I was missing the hat and something to decorate the shoes.
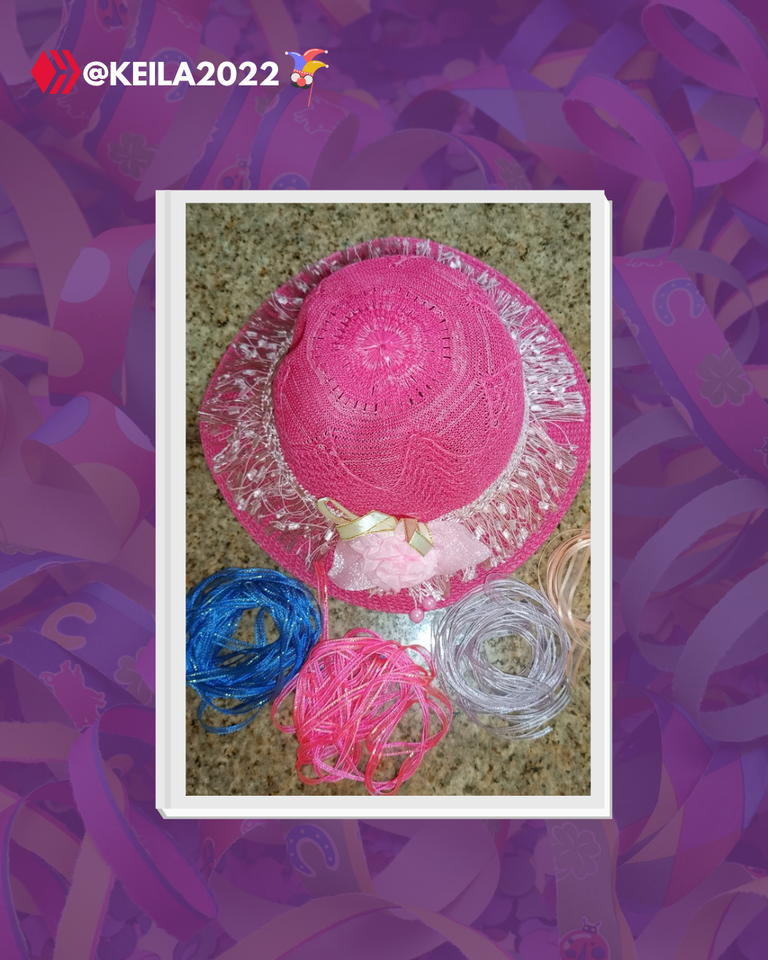
The hat was extremely simple
I bought a pink one and ribbons: 4 meters for each color and to attach it to the hat I used needle and thread.
How did I do it?
1- I divided the ribbons into 1 meter strips.
2- I located the center (50cm) and tied using thread and needle.
3- Then I passed the needle and thread through the hat fiber until the ribbon was fixed.
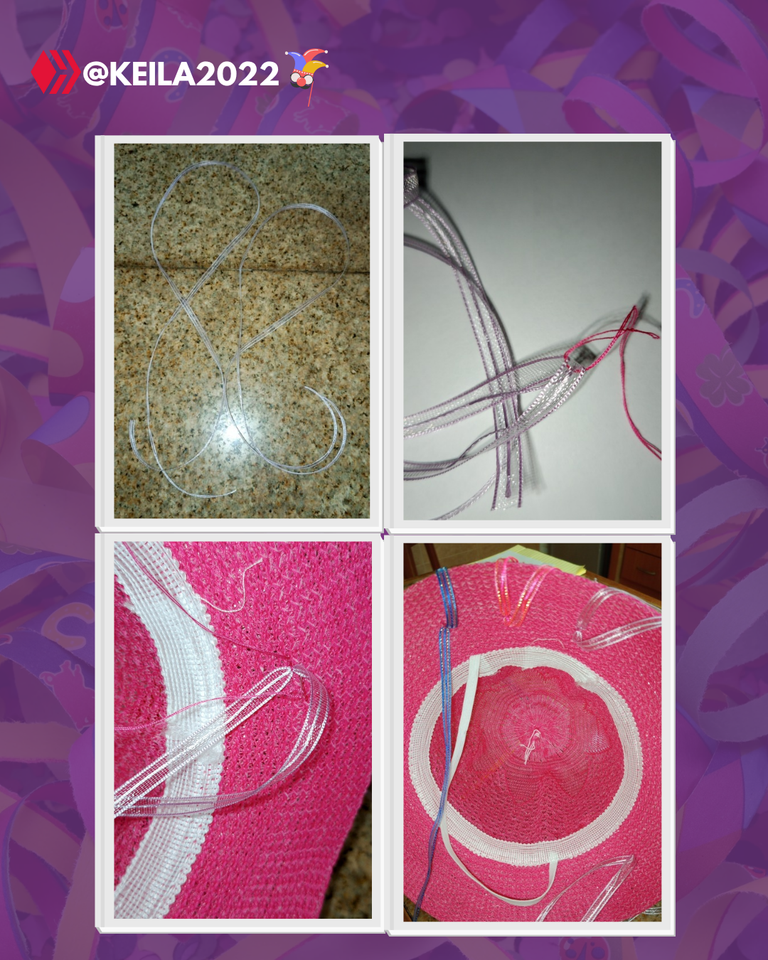
The measurements were taken by calculating half the brim of the hat and the distance between one ribbon and the other is approximately 3cm.
I alternated the three colors to give it colorfulness and that's it.
I was very careful when passing the needle so as not to damage the hat and to make it as esthetic as possible.
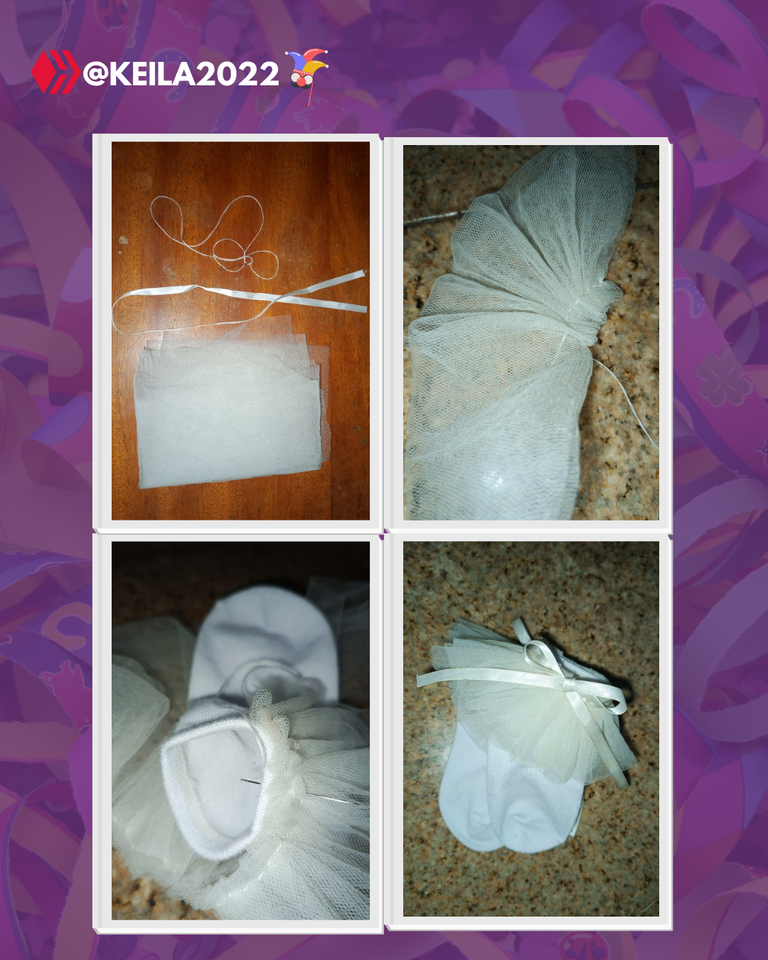
Decorating stockings
I decorated the stockings using
tulle fabric of 28 cm by 120cm long and
length
Scissors
Thread and needle.
Ribbon (60 cm)
Procedure:
1- I folded the fabric very carefully (in 4 parts).
2- I started by making small loops and fixing them with needle and thread until I finished the whole ribbon.
This step can be done directly on the stocking or on an elastic.
3- Once finished with the ribbon, I attached it to the stocking with water and thread, taking care to stretch the stocking a little so that it would not be too small and would fit the foot easily.
04- I finished by placing a ribbon to make a small bow.
Beyond the result obtained is the satisfaction of pleasing the children and making them feel happy to participate in the Carnival, share with their classmates and spend a different and pleasant day worthy of being remembered.
For my part I am satisfied, because the smile and happiness of Amanda and Diego is everything for me.
Thank you for making it to the end of this post.
For me it is always a pleasure to share with everyone.
I will appreciate your comments and suggestions.
I embrace you in the distance.
Design imagen: Canva, version Free y Photoroom.
Translator used: DeepL versión Free.
Spanish Version
Diseñando Disfraces para Amanda y Diego
Saludos a todos los miembros de esta maravillosa comunidad, donde el cielo es el límite cuando se trata de dejar volar nuestra imaginación y poner en práctica nuestra creatividad.
Hoy, como siempre, me enorgullece compartir esta publicación porque es el resultado de la motivación y deseo de crear cosas para mis hijos aún cuando en principio, no sé ni por dónde comenzar.
En esta oportunidad les muestro cómo elaboré un disfraz de cangrejo para mi hijo Diego de 2 años.
Materiales utilizados:
2 laminas grandes de foami
1/2 cartulina blanca (tamaño carta)
Silicon.
Tijeras.
Lápiz de grafito.
Marcador negro.
Compás o algún objeto redondo (para dibujar los ojos).
4 hojas de reciclaje.
Procedimiento
1- Lo primero que hice, fue pegar las hojas blancas para hacer el patrón.
2- Inicié dibujando un círculo de 33 cm y en la parte superior dibujé dos círculos dejando sobresalir parte del mismo para pegar los ojos.
3- Para lograr las tenazas dibujé un círculo de 9 cm y el rectángulo que las sostienen es de 4cm de ancho y 5 de largo, mientras que el triángulo que vemos en éstas mide 5cm.
4- Las patitas miden 4cm de ancho por 8cm de largo.
Tanto las patas como las tenazas las dibujé separadas del cuerpo para trazar de manera individual en el foami.
5- Una vez cortado el patrón procedí a trazar en el foami haciendo dos piezas exactamente iguales.
6- Los ojos los dibujé sobre una cartulina blanca, utilizando dos objetos redondos: uno de 7cm y el otro de 3cm. El círculo de 3 cm lo pinte de negro utilizando marcador y cuidando de dejar un pequeño círculo en blanco.
7- Una vez listos lo adherí al foami utilizando Silicon caliente.
8- Para los tirantes utilice dos listones de foami de 3cm de ancho por 28cm de largo que adherí a cada pieza utilizando Silicon.
Lo que me quitó más tiempo fue elaborar el patrón del cangrejo porque requería tomar medidas a Diego y calcular otras, sin embargo, considero que es un disfraz bastante fácil.
Para la máscara:
Elaboré el patrón a mano alzada (sin tomar medidas, calculando el tamaño para Diego), luego lo transferí al foami, corté y listo.
Y eso es todo, más fácil imposible.
Vamos con el Disfraz de Medusa de Amanda.
A decir verdad Amanda me sorprendió su elección, pero creo que me la puso super fácil.
Lo primero que hice fue buscar en su ropa alguna prenda adecuada y que pudiese combinarse con un sombrero.
Conseguí un atuendo de bailarina muy hermosa y unas medias largas blancas, me faltaba el sombrero y algo para decorar los zapatos.
El sombrero fue sumamente sencillo
Compré uno de color rosado y cintas: 4 metros por cada color y para adherirlo al sombrero utilicé aguja e hilo.
¿Cómo lo hice?
1- Dividí las cintas en listones de 1 metro.
2- Ubiqué el centro (50cm) y até usando hilo y aguja.
3- Luego fui pasando la aguja y el hilo por entre la fibra del sombrero hasta que el listón quedó fijado.
Las medidas las tomé calculando la mitad del ala del sombrero y la distancia entre un listón y otro es de 3cm aproximadamente.
Alterné los tres colores para darle vistosidad y listo.
Tuve mucho cuidado al pasar la aguja de manera que no dañará el sombrero y quedará lo más estético posible.
Decorando las medias
Las medias las decoré utilizando
Tela de tul de 28 cm por 120cm de
largo
Tijera
Hilo y aguja.
Cinta (60 cm)
Procedimiento:
1- Doblé la tela con mucho cuidado (en 4 partes).
2- Inicié haciendo pequeños bucles y fijándolos con aguja e hilo hasta terminar todo el listón.
Este paso se puede hacer directamente en la media o en un elástico.
3- Una vez terminado con el listón, lo fije a la media con agua e hilo, teniendo cuidado de estirar un poco la media para que no me quedara muy pequeña y entrara al pie con facilidad.
4- Finalicé colocando una cinta para hacerle un pequeño lazo.
Más allá del resultado obtenido está la satisfacción por complacer a los niños y que se sientan felices de participar en el Carnaval, compartan con los compañeros y pasen un día diferente y agradable digno de ser recordado.
Por mi parte quedo satisfecha, porque la sonrisa y la felicidad de Amanda y Diego lo es todo para mí.
Gracias por llegar hasta el final del Post.
Para mi siempre es un placer compartir con todos.
Sabré apreciar los comentarios y sugerencias.
Les abrazo en la distancia.
Diseño de Imágenes: Canva y Photoroom versión gratuita.
Traductor utilizado: DeepL versión gratuita.

The costume designs for Amanda and Diego are so creative. Great work.
Hello.
Thank you very much.
A big hug
https://bsky.app/profile/did:plc:rag2mftdy2alo7rtmyttmpk4/post/3lj7wam44qm2e
The rewards earned on this comment will go to the author of the blog post.https://bsky.app/profile/did:plc:rag2mftdy2alo7rtmyttmpk4/post/3lj7wam44qm2e
the result is very beautiful.