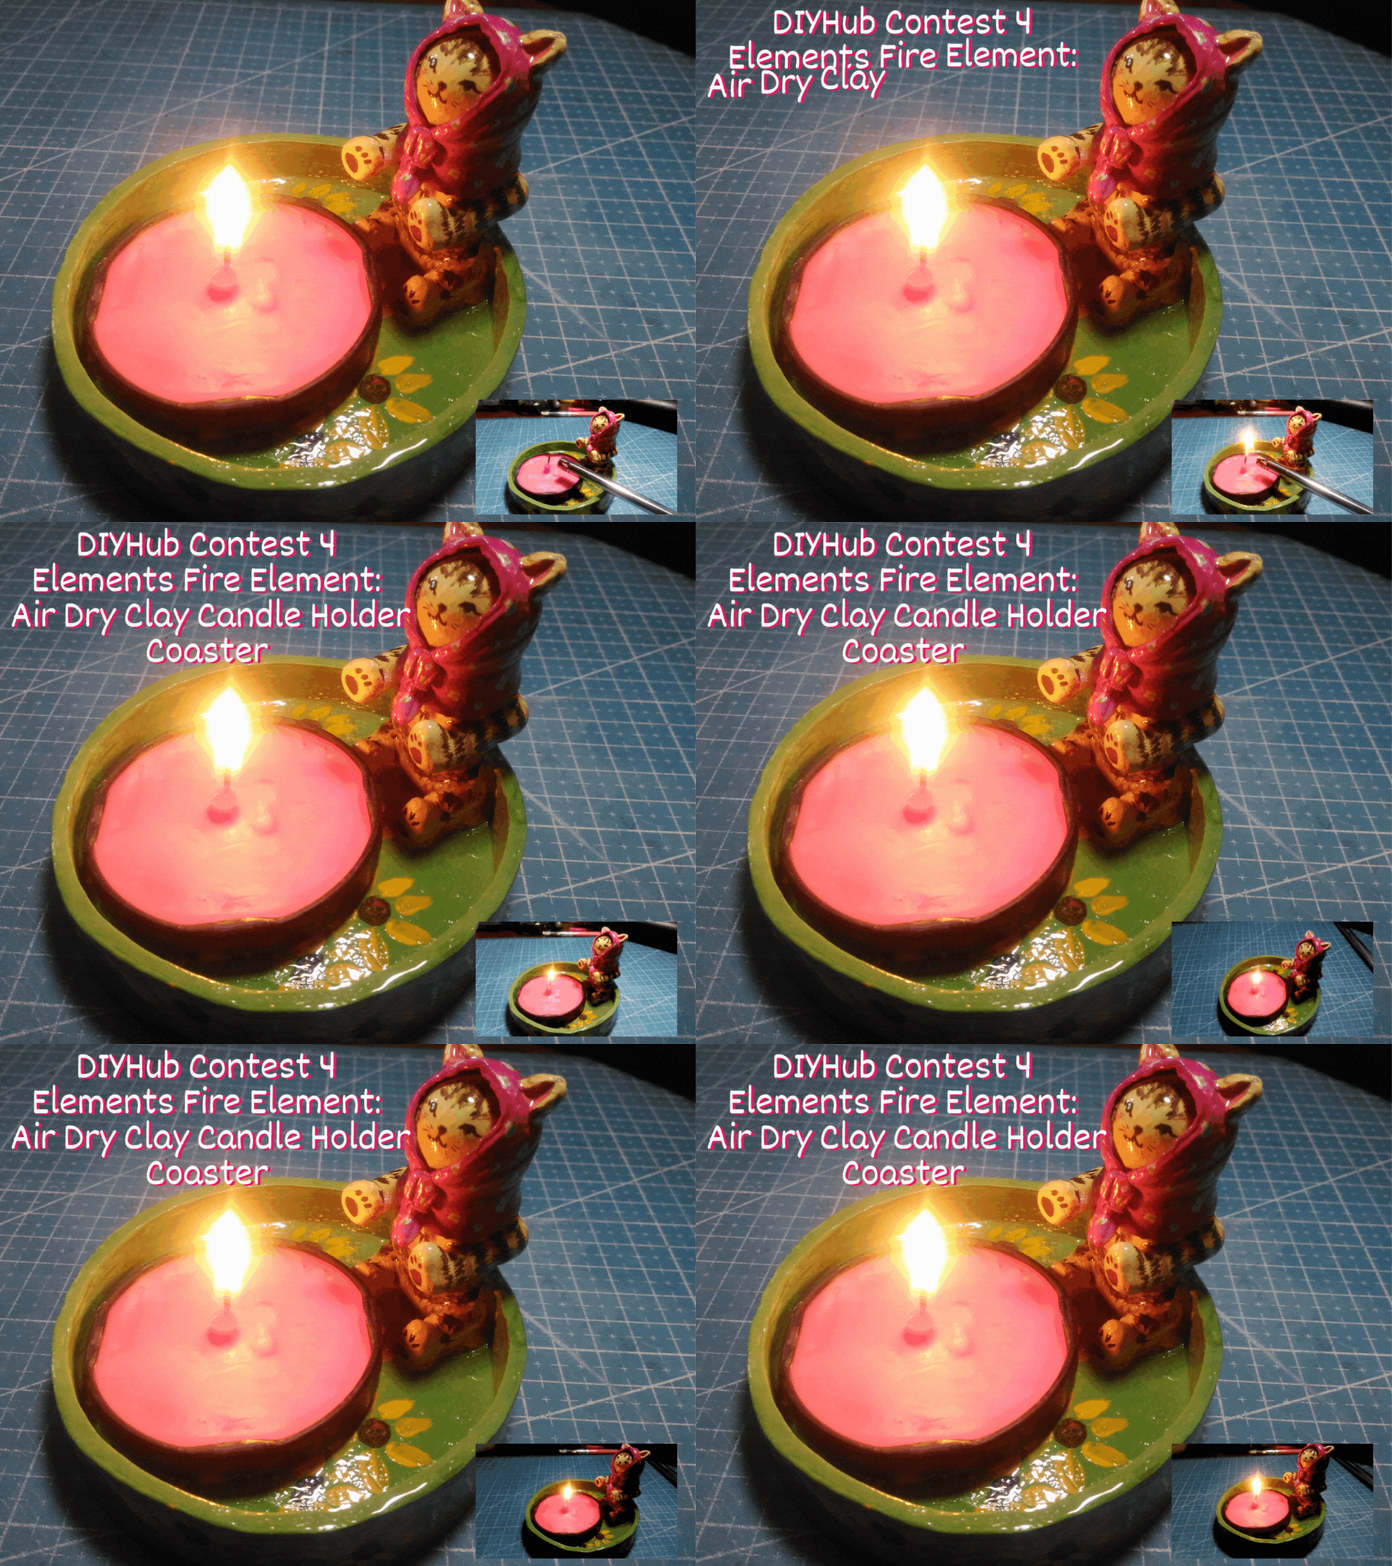
Hello DIY! How are you? I saw that you're having a contest about making crafts using the four elements which I decided to participate in three days before it ended LOL Maybe this blog will be posted before the contest end. By the way, I saw this a long time ago I've been planning and planning and I have nothing to start with so I was scrolling through Pinterest and I saw a post that someone made a candle holder using airdry clay, which happens I just bought new one for no this reason so why not do it right? Hehe.
So yeah, working using airdry clay is not an easy one I need to be dry the whole day, if you are not a patient person do not attempt to use this medium LOL but I have a little bit of experience with it so I will show you that experience of mine.
So for my entry, I made a candle holder to make it more interesting I added a character which is a cat wearing a babushka cat that is acting like it is warming itself to the bonfire aka a candle. I hope you like this blog enjoy! :D
Materials I Used:
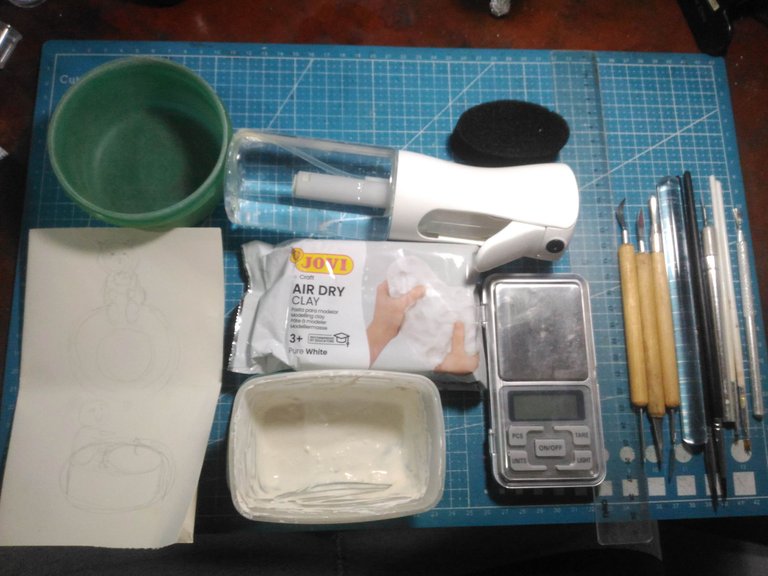
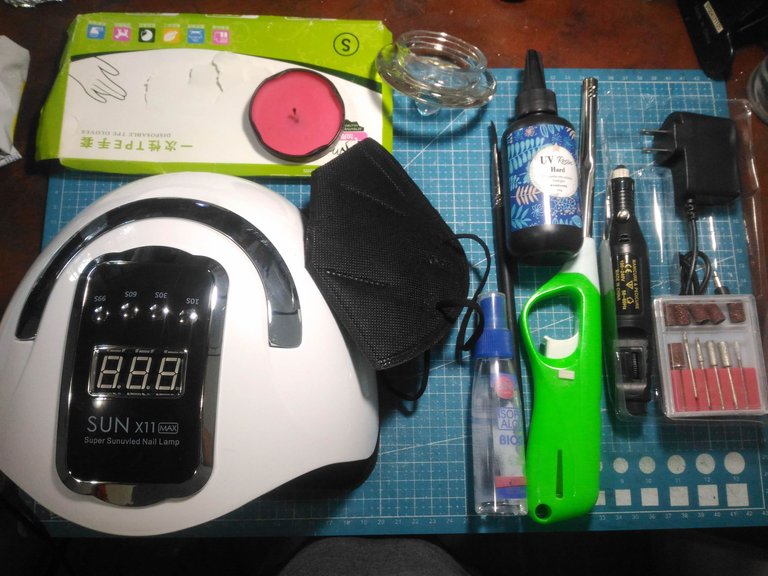
- Air Dry Clay
- Clay Tools
- X Acto Knife
- Acrylic Rolling Pin
- Cutting Mat
- Water
- Sponge
- Candle
- Ruler
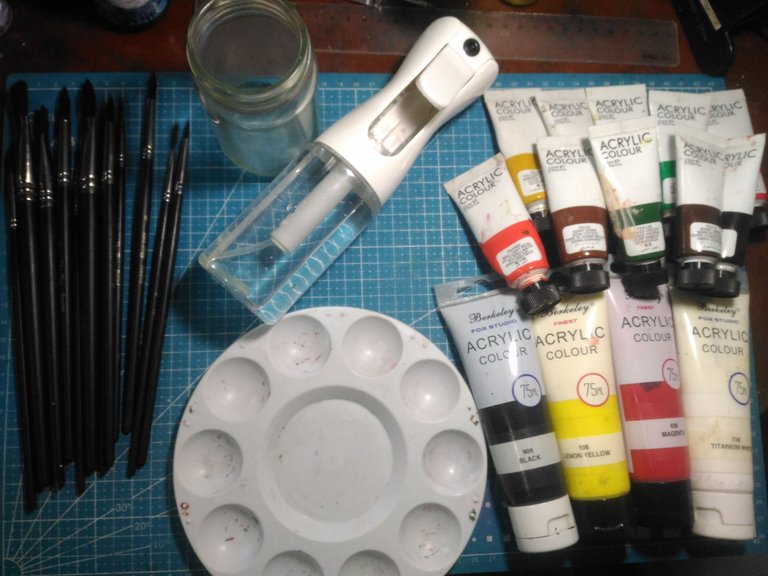
- Acrylic Paint
- Glass Container
- Brush
- UV Resin
- UV Lamp
- Lighter
- Plastic Gloves
- Mask
- Weighing Scale
- Alcohol
- Mixing Pallete
Clay Time:
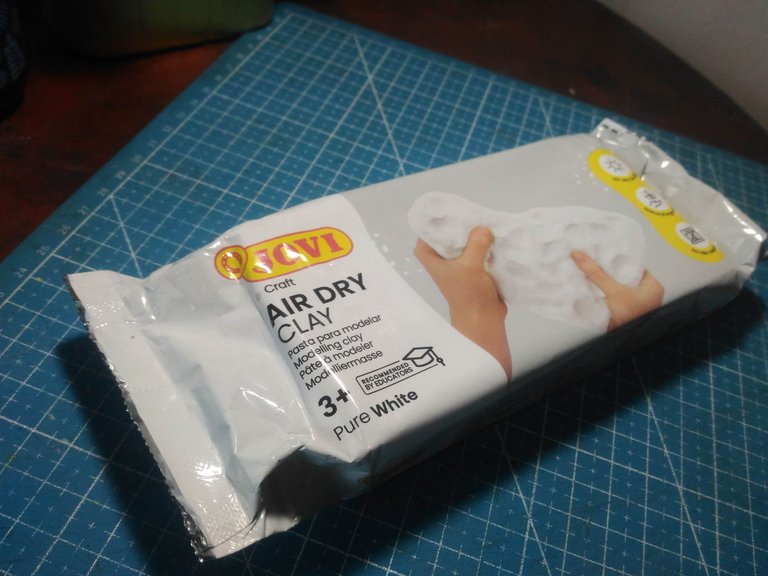
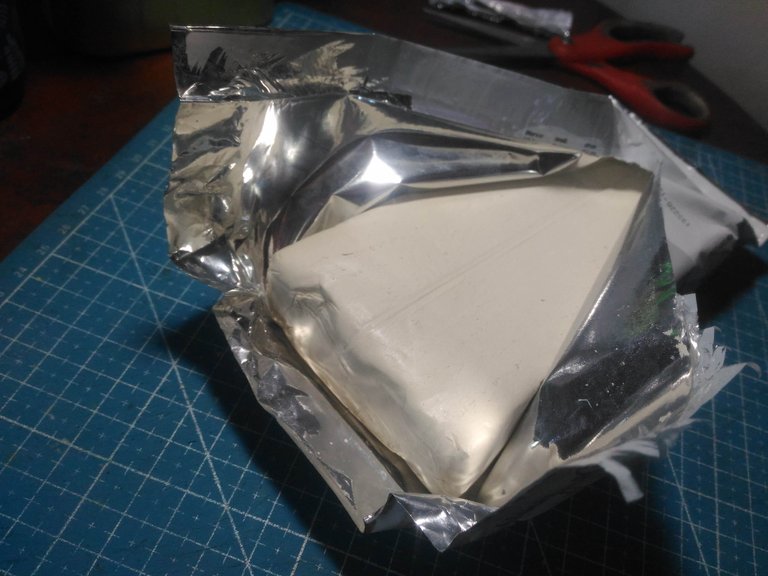
First I opened the airdry clay base on the instructions on the packaging to prevent the airdry clay from hardening.
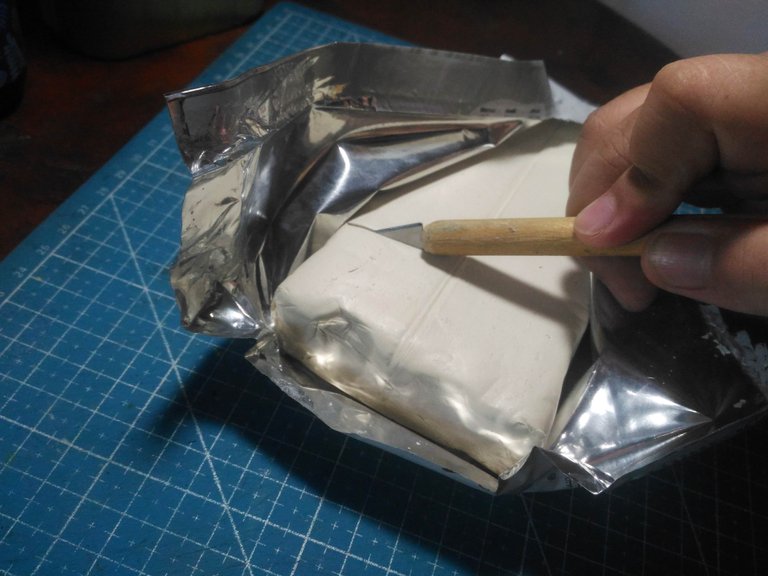
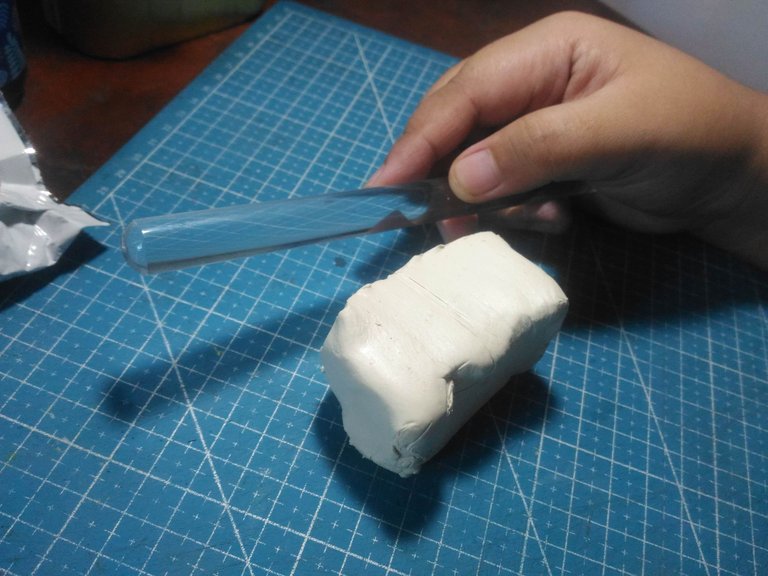
I lay a cutting mat, then cut enough airdry clay using the cutting tools next I grab the acrylic rolling pin.
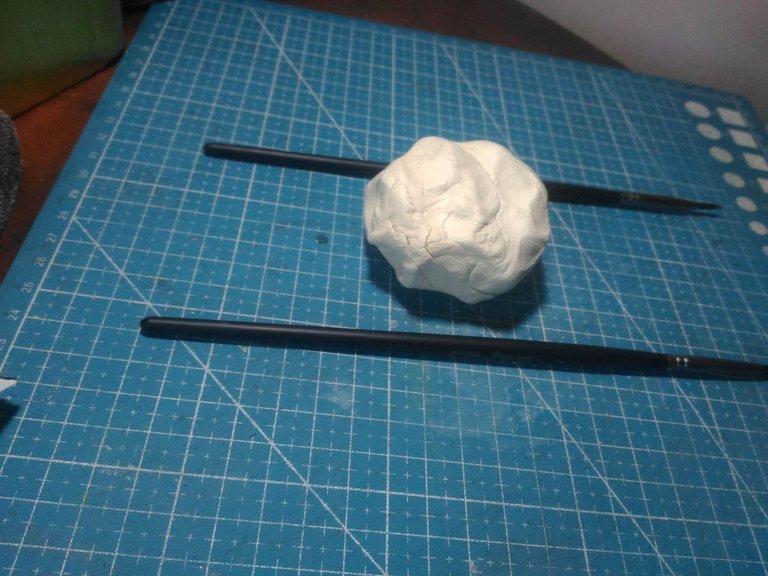
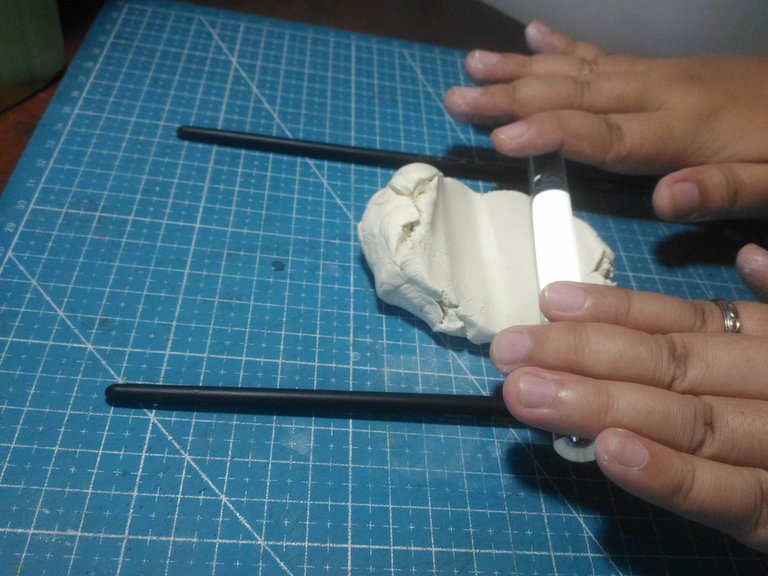
And then I put down two brushes that have the same thickness as a guide to make the air-dry clay have equal thickness.
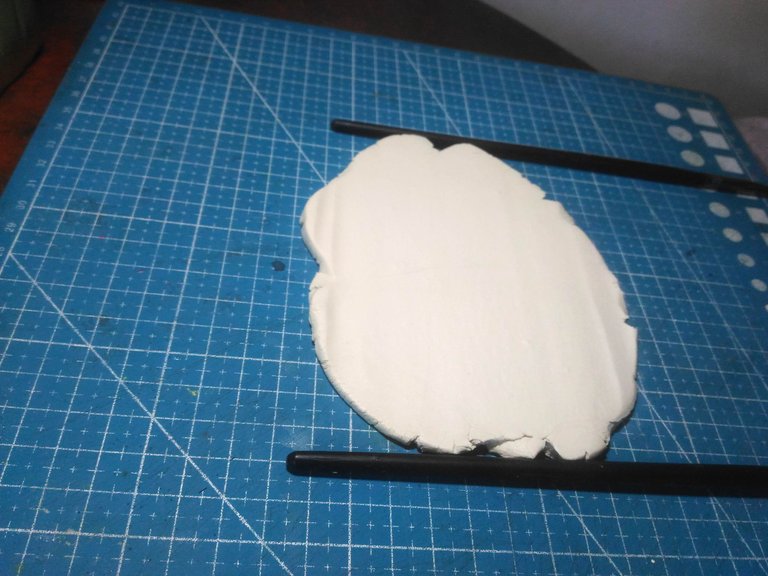
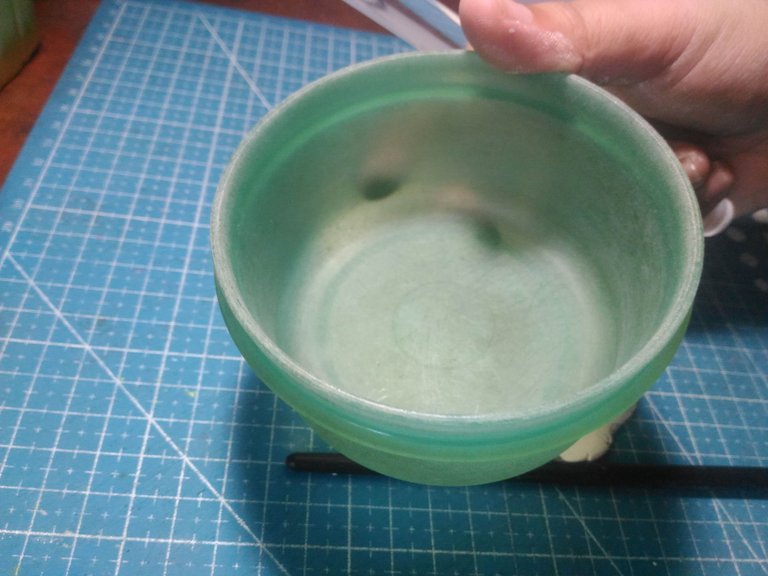
Now that the air-dry clay is rolled equally, I grab a circle-shaped container as my guide.
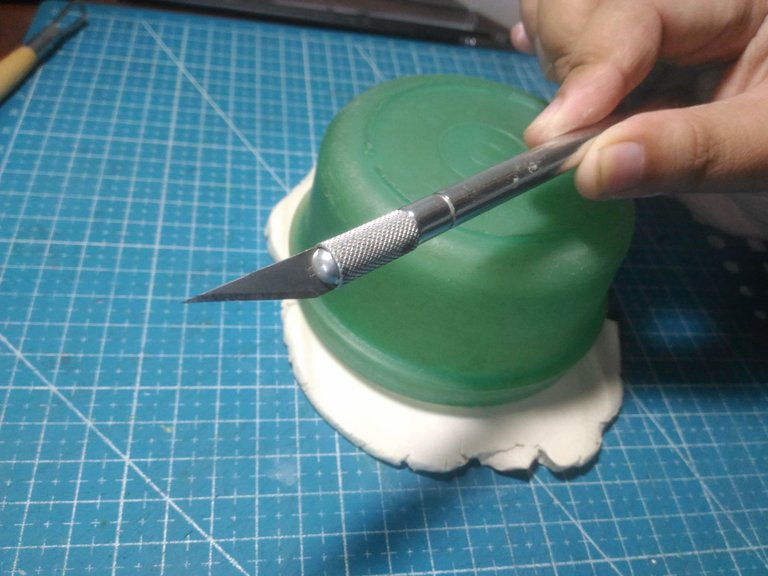
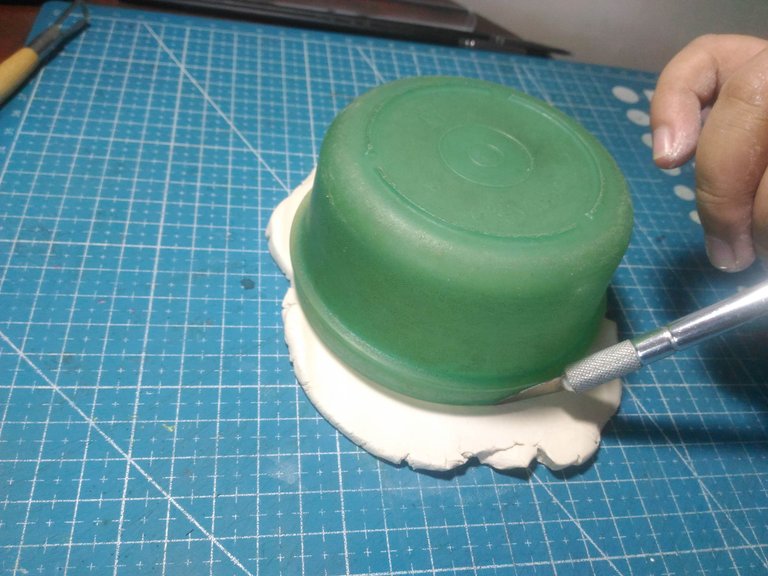
I put it on top of the airdry clay and I make sure it is placed correctly to avoid any problems. Next, I grab an X-acto knife to cut it into a circle shape like the guide.
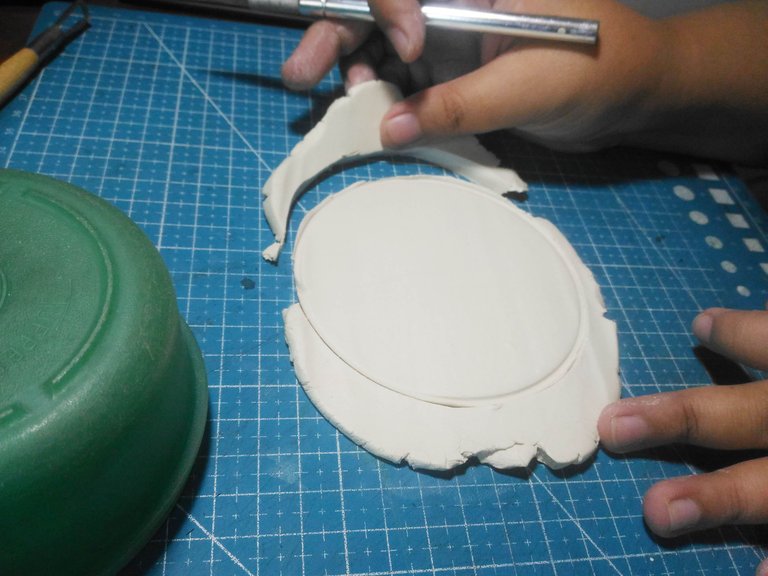
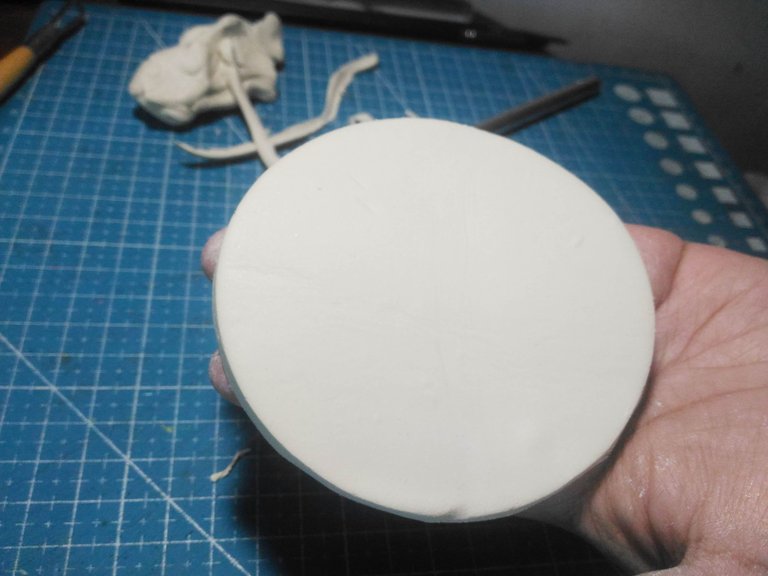
I carefully drag the knife around it, and after that, I remove the excess airdry clay.
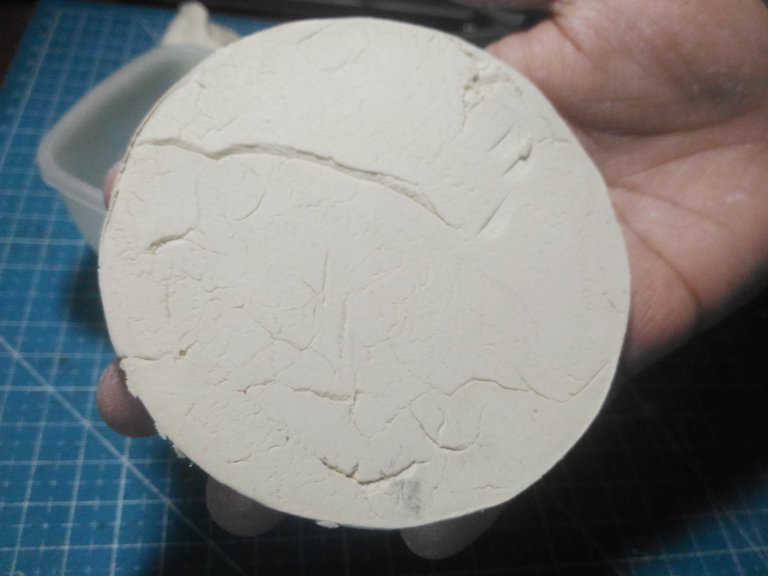
Now I have that base of the candle holder. Airdry clay is a fragile medium so Sometimes cracks happen in the process.
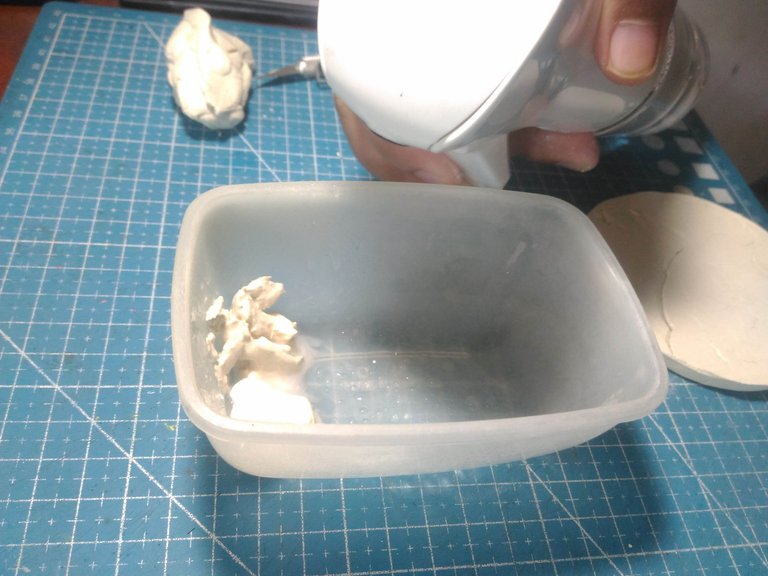
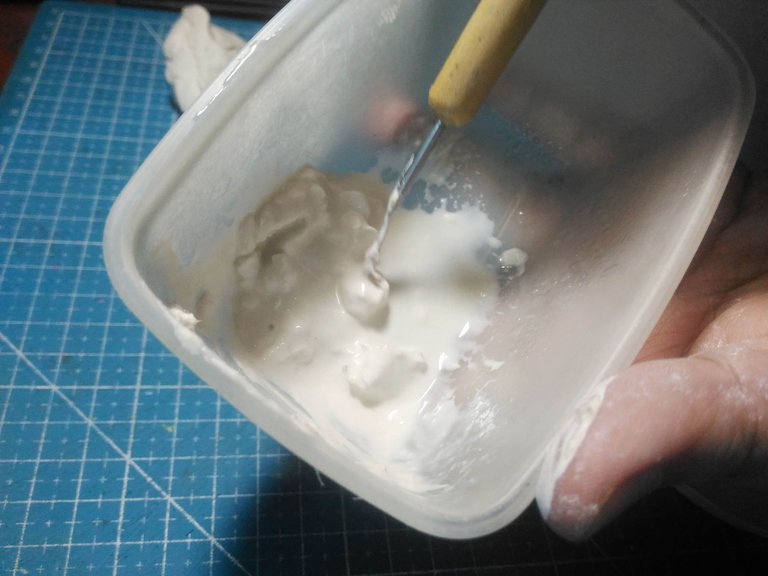
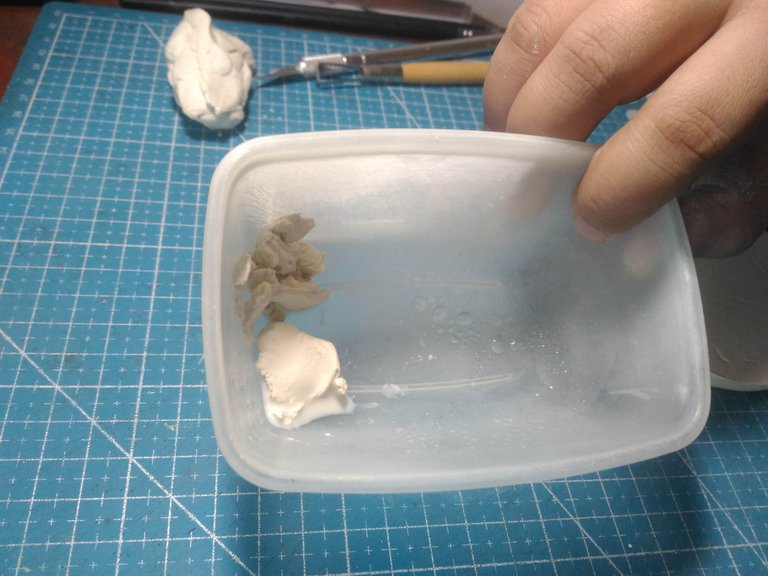
I will make a paste out of the air dry that is how to fix the crack on the air dry clay. I air-dry clay in a mixing container and spray it with water little by little.
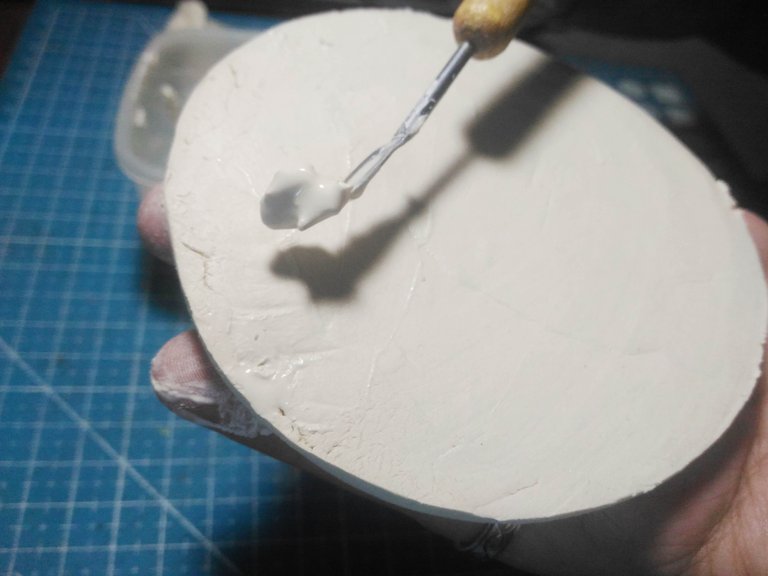
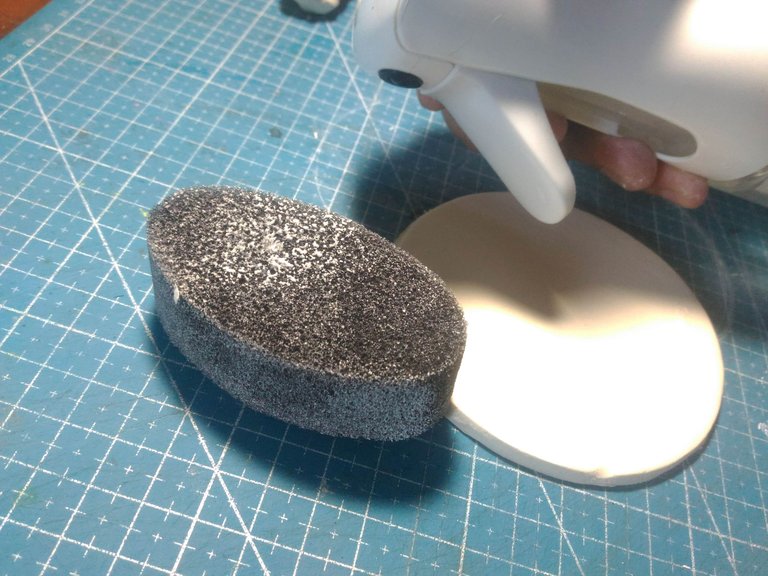
This is what it looks like and then I grab a flat clay tool to use to even out the airdry clay to make it smoother I use a sponge and a spray to smoothen the surface of it.
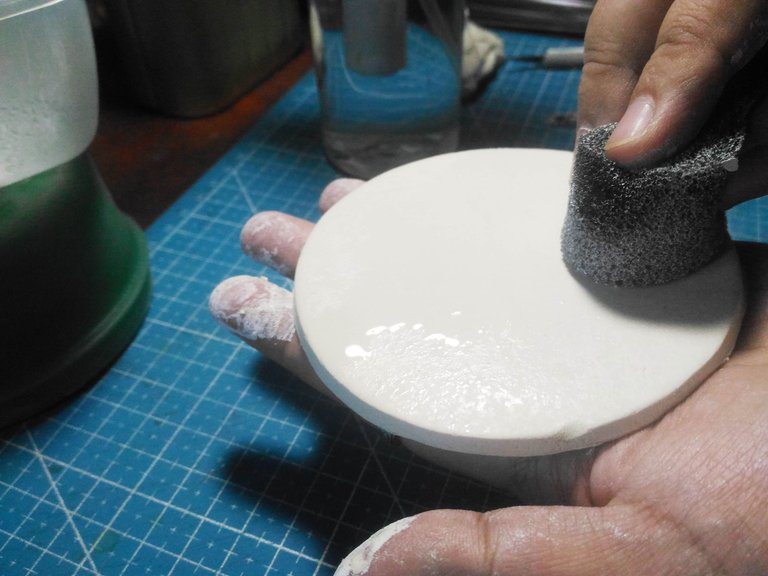
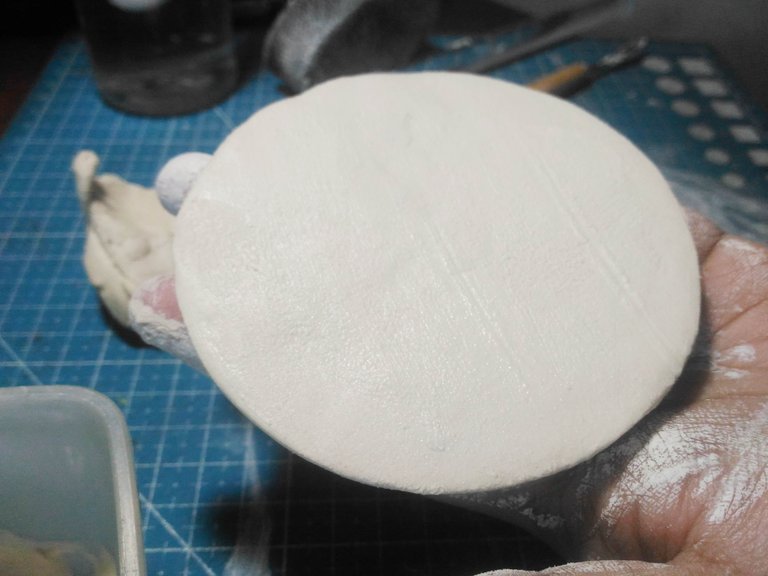
I smooth it with a wet sponge until no cracks are visible this is what it looks like.
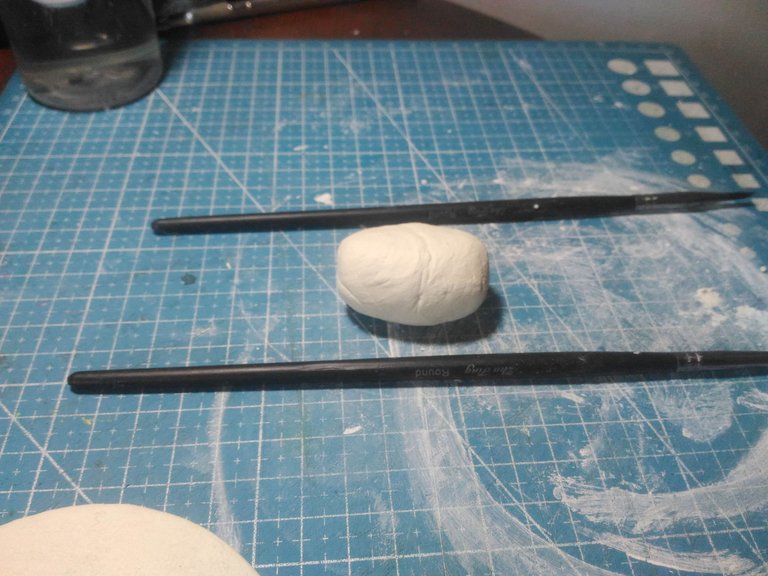
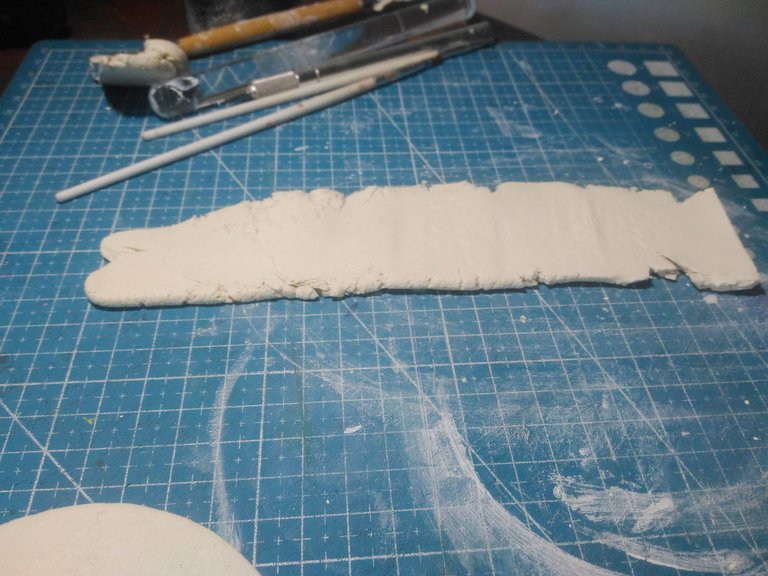
For the corner part of the candle holder, I put air-dry clay again in between two brushes and rolled it out again just like I did in the first process. Smoothen it with a wet sponge.
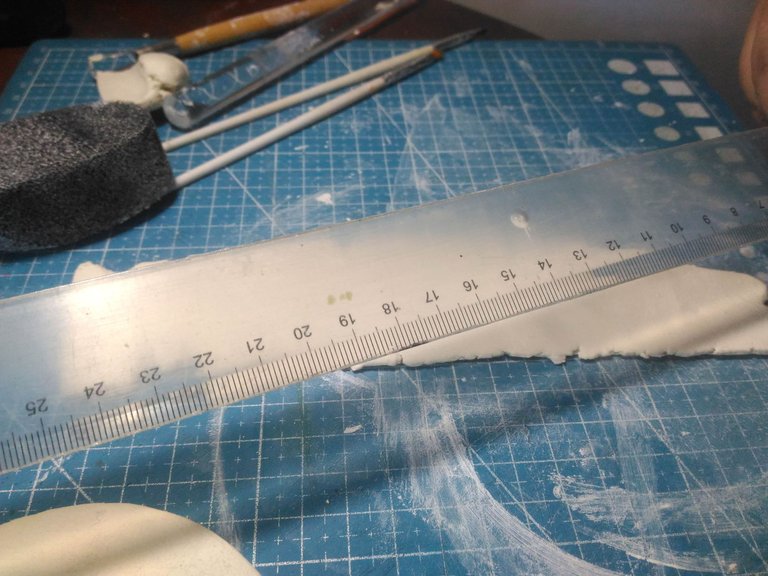
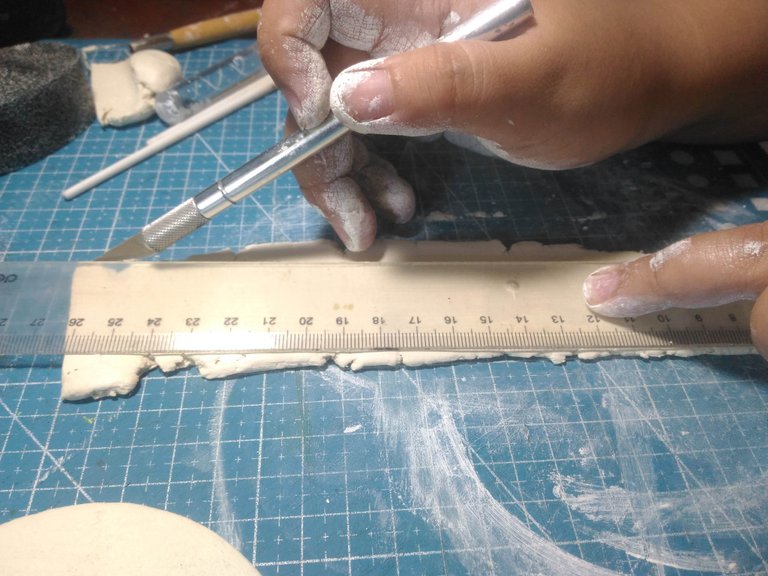
Using a ruler as my guide this time then cut it with an X-acto knife.
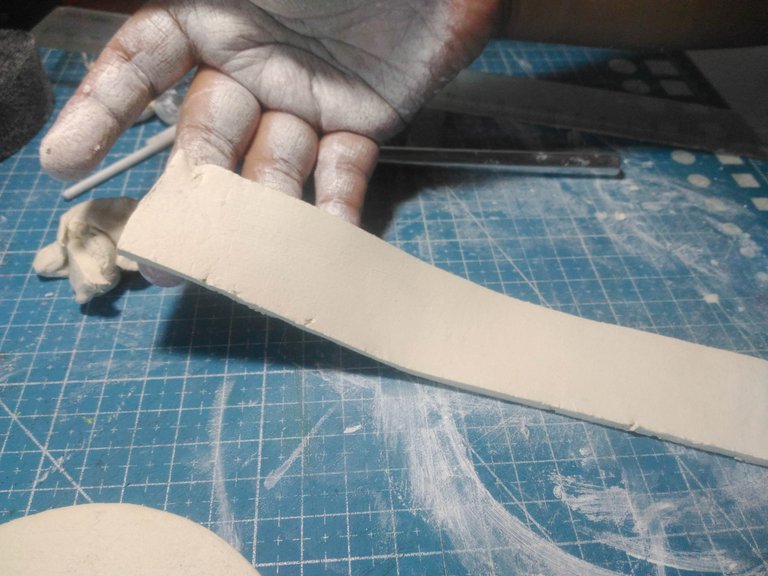
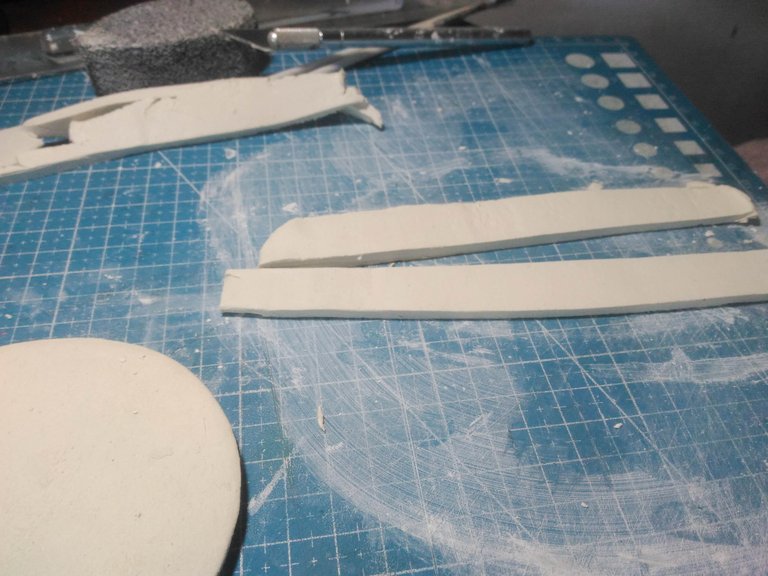
I realized that I cut it too big so I cut it in half.
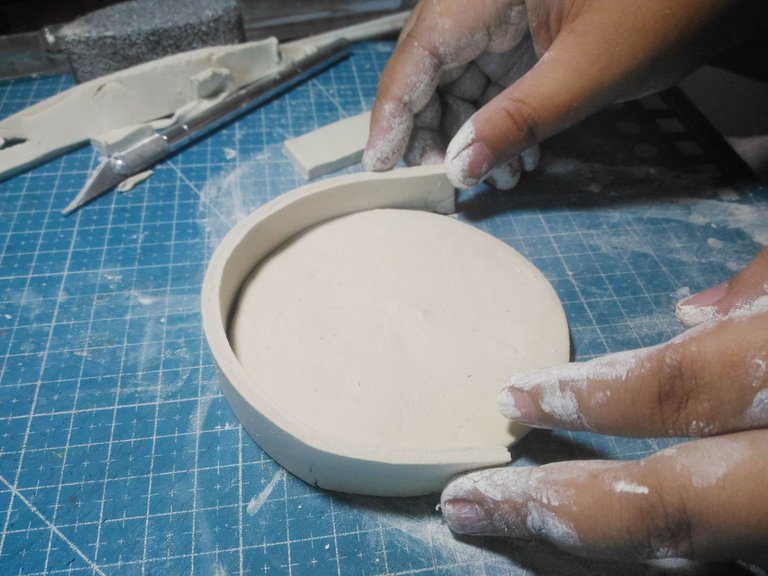
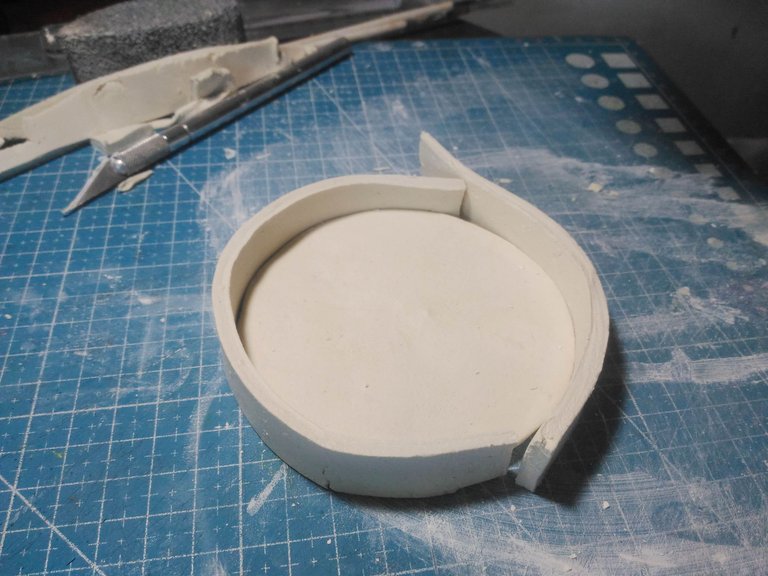
I do a test on it first before pasting it in.
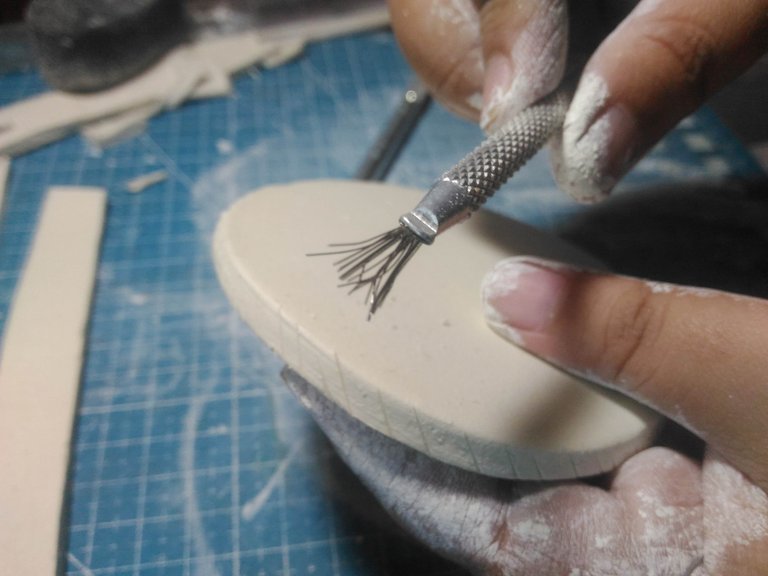
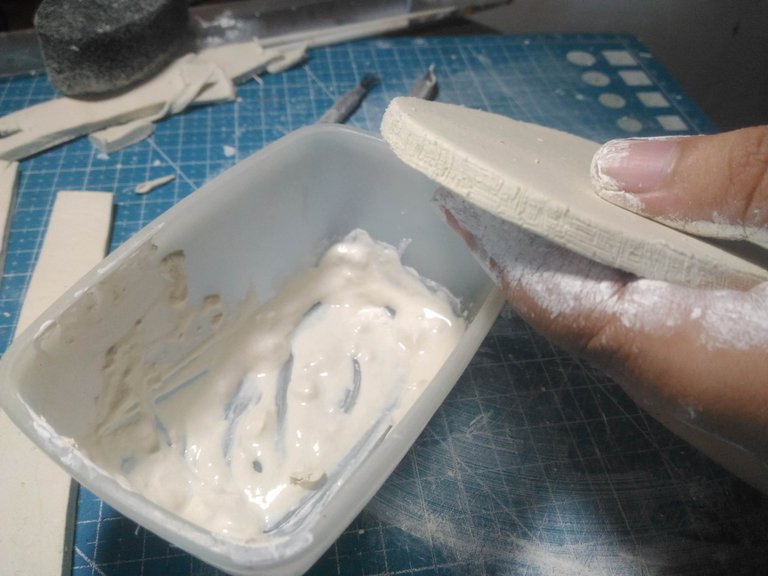
Using the wire tool I scorch the side of the base air-dry clay.
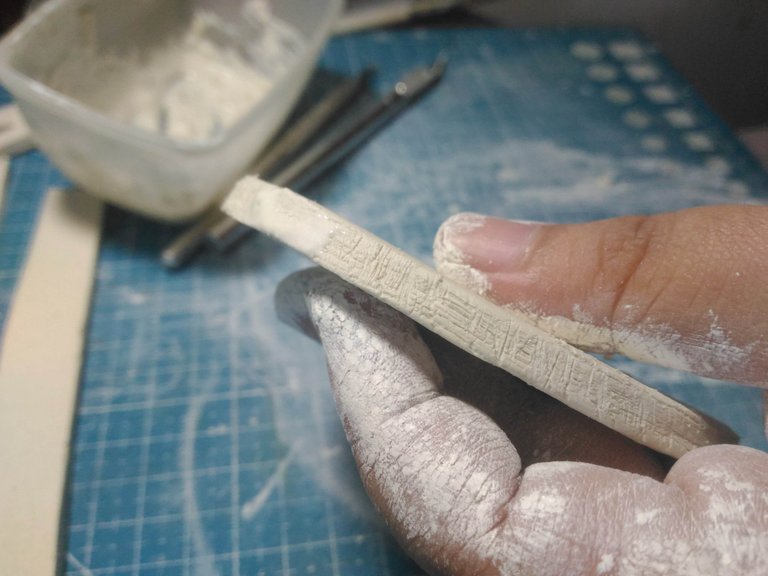
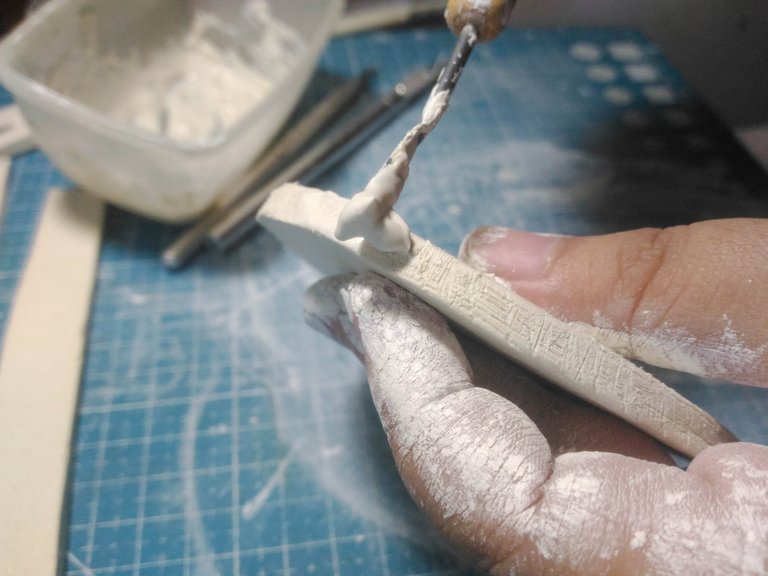
Then I put a paste mixture on the base clay.
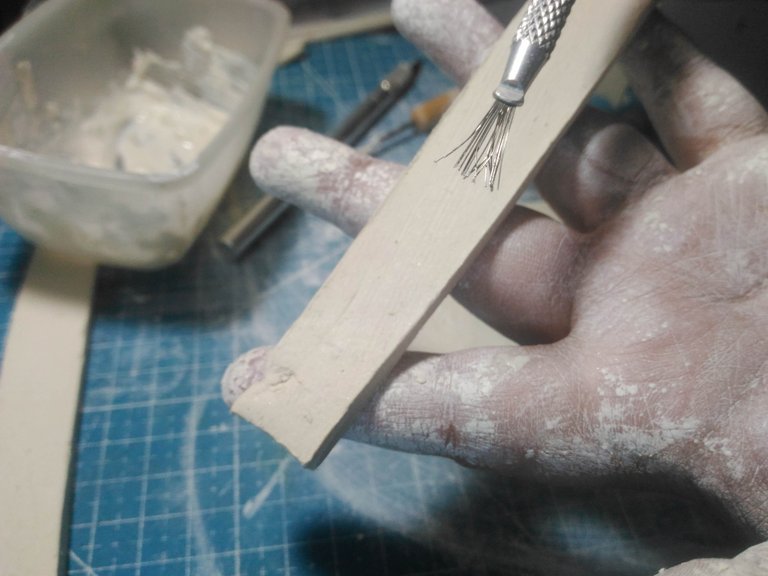
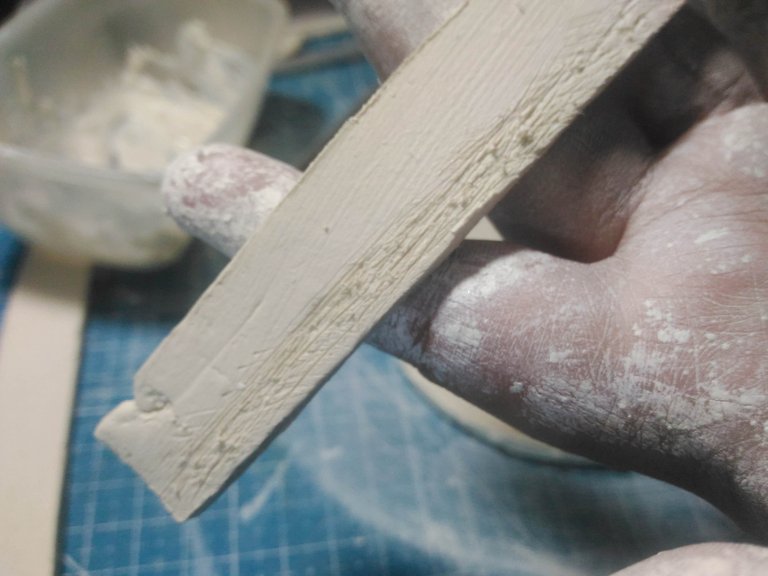
Next, I scorched the corner part the same as I did the base.
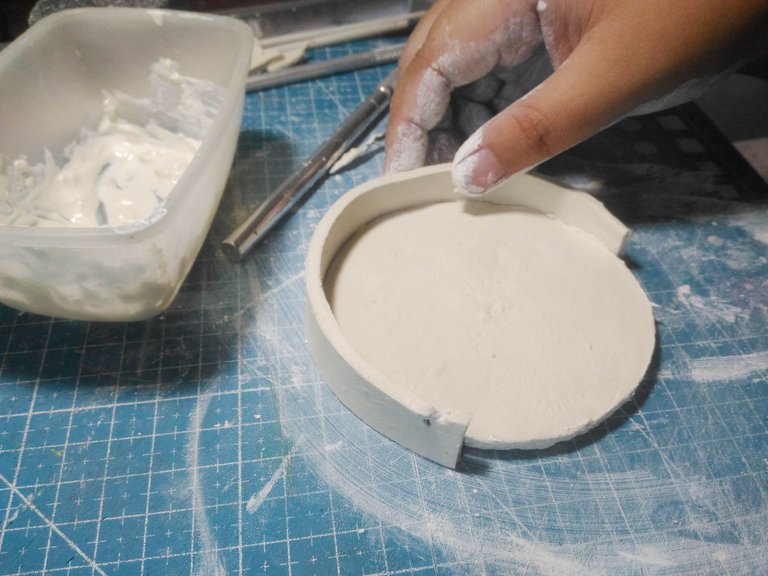
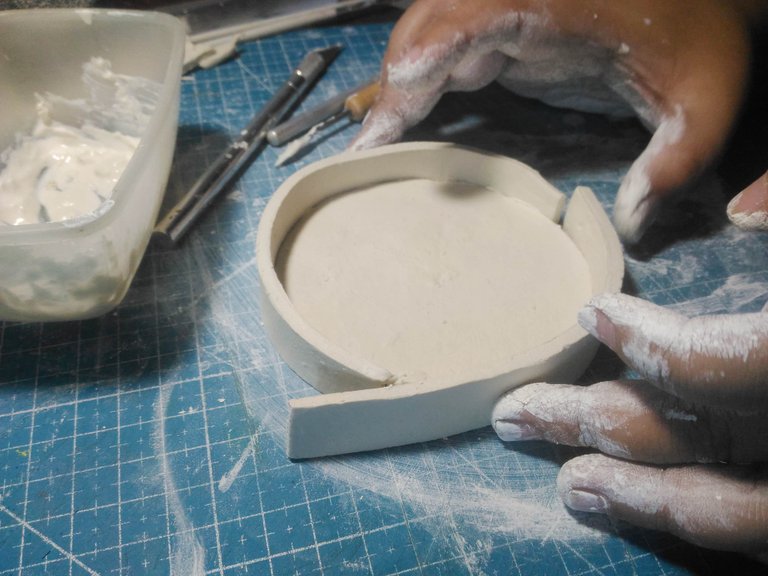
Then I paste it in carefully the first base first then the second one.
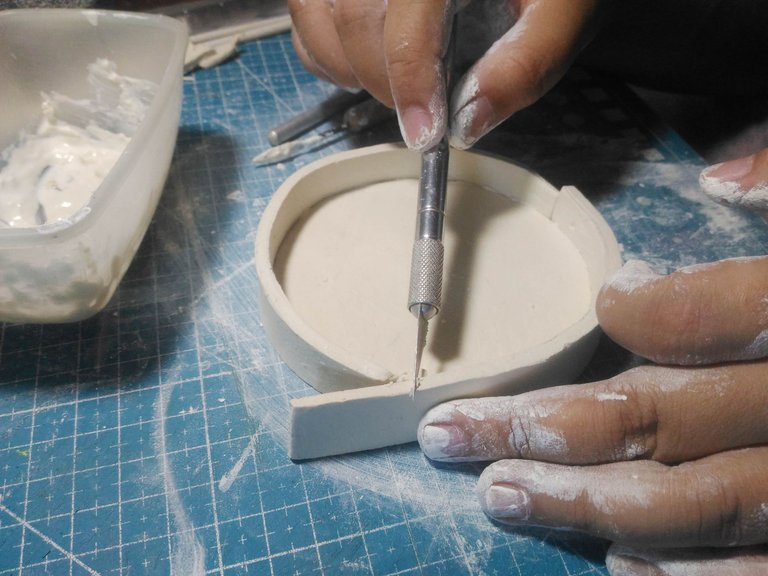
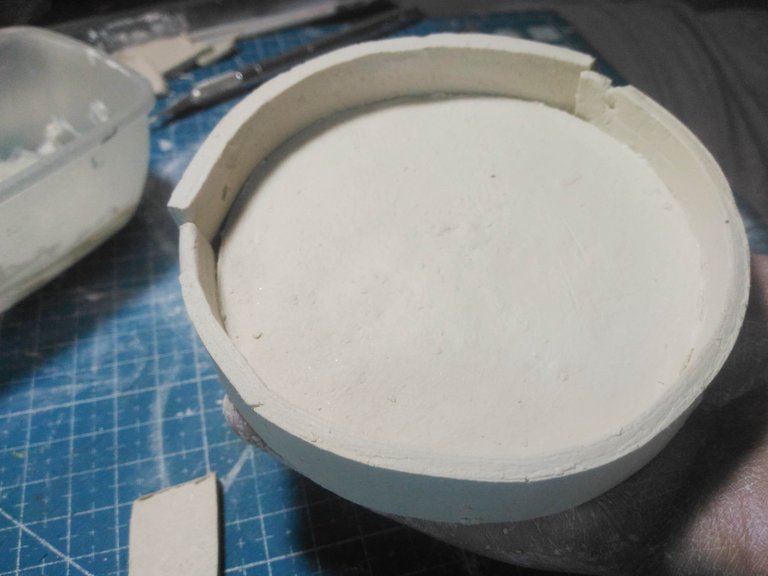
And then I cut the excess part.
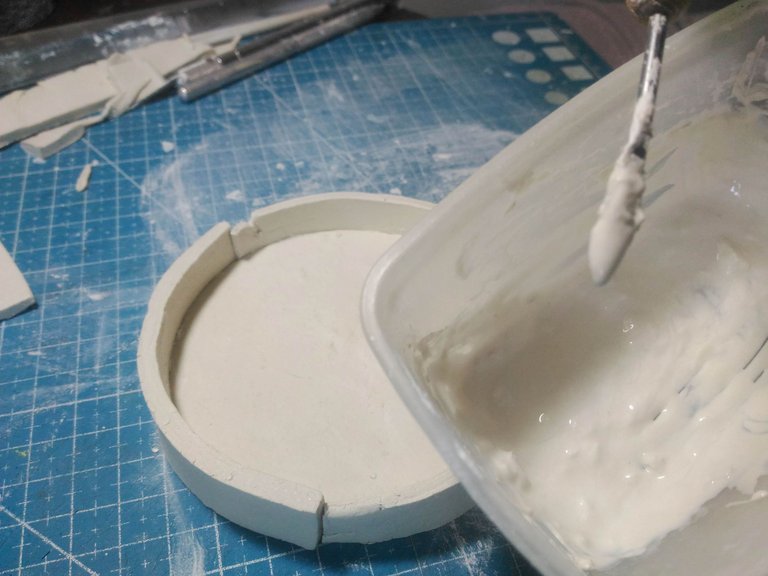
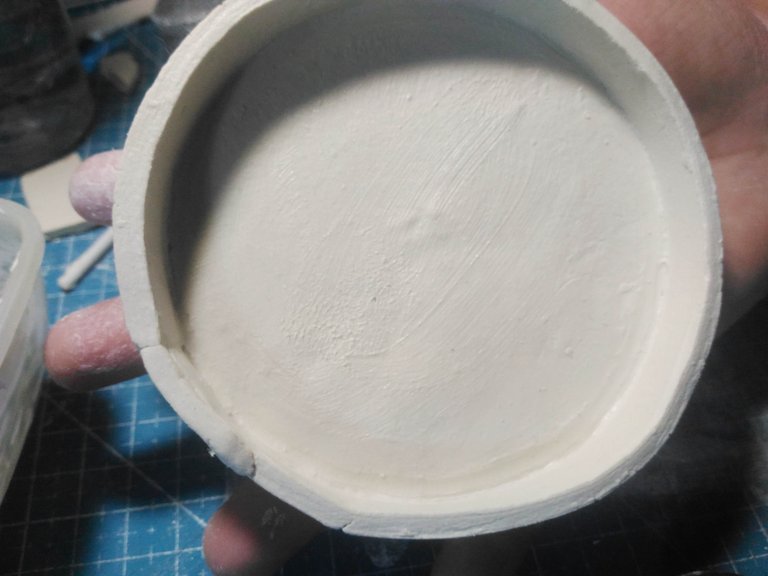
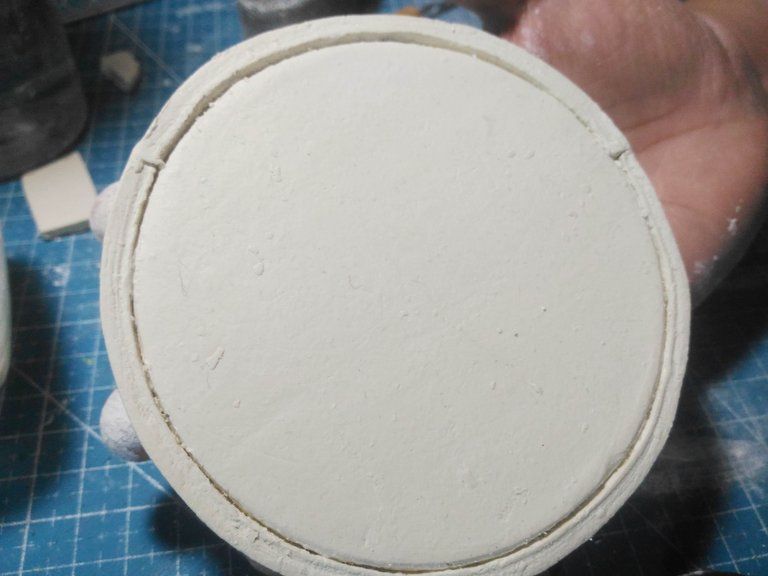
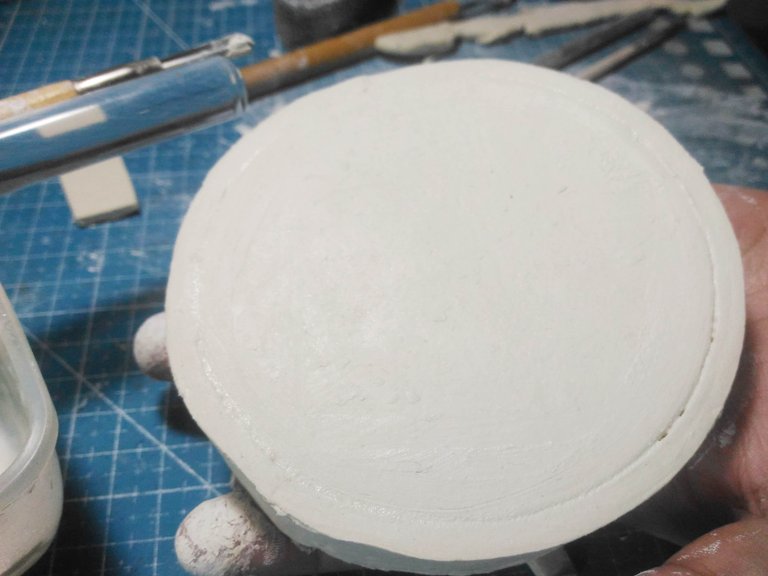
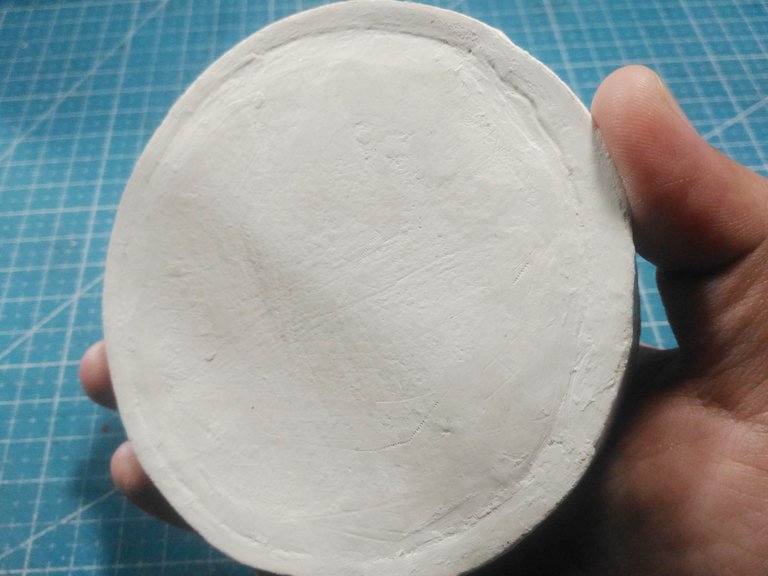
The next step I am going to is to paste the part where the edge ends. Now it looks decent and I will not forget to finish the bottom part I smoothen it with paste too. This is what it looks like.
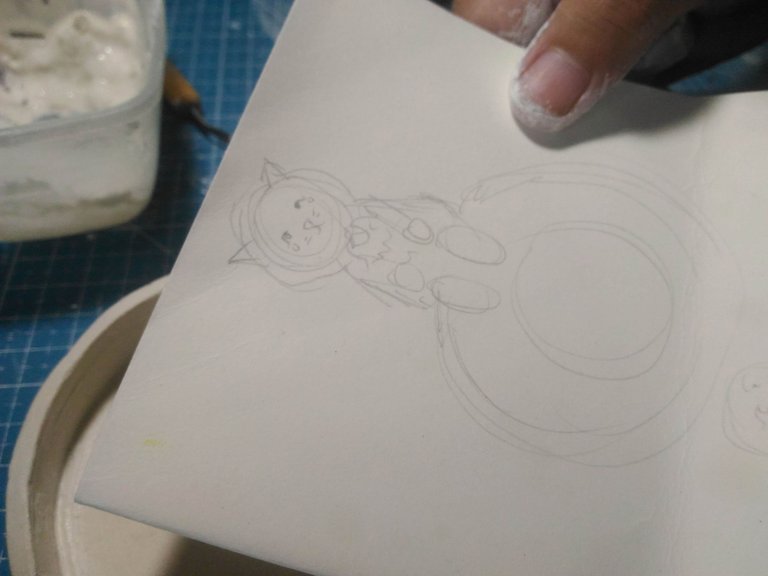
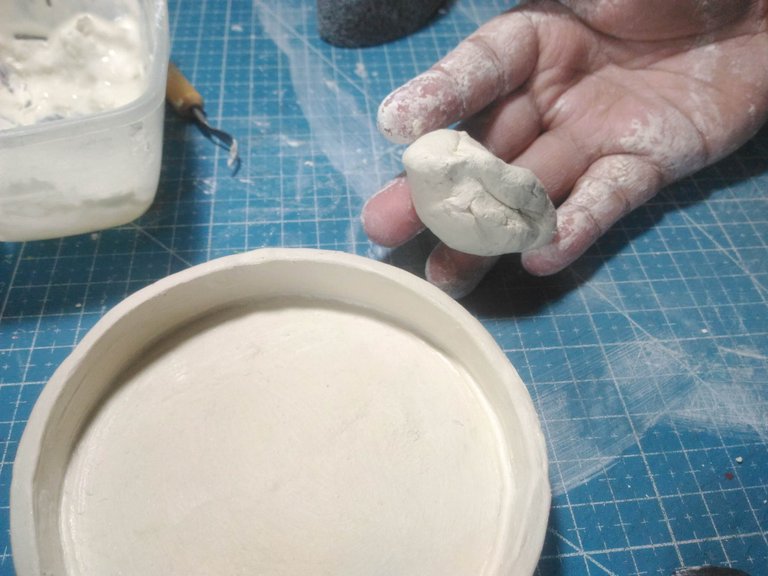
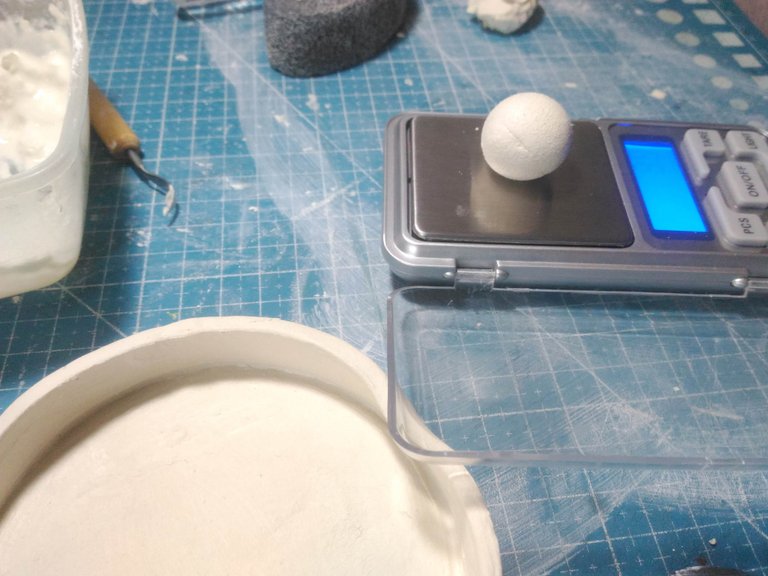
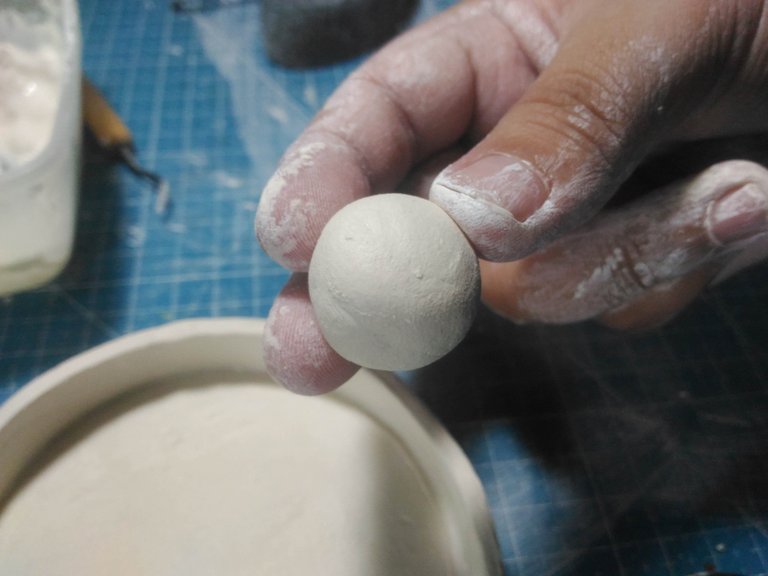
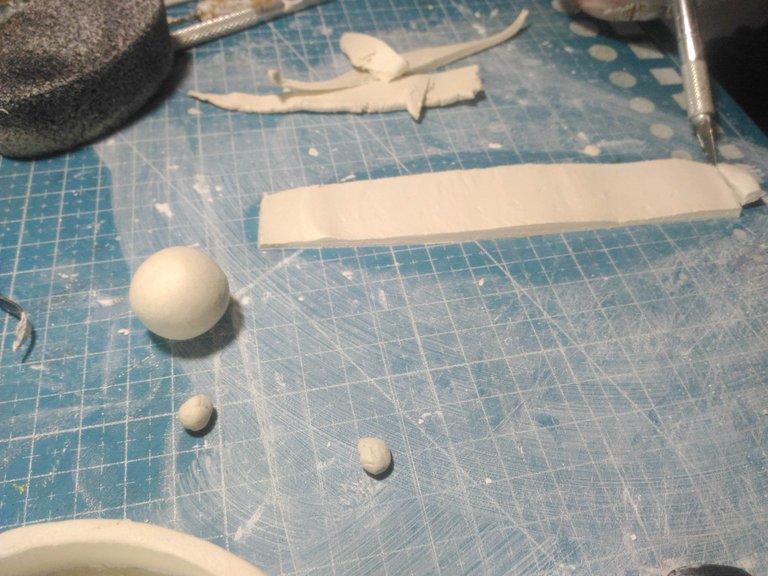
The next thing I am going to make is the cat character this is a sketch idea I made. LOL. I grab airdry clay again and weigh it with the weight I wanted and I smoothen it with a sponge to look like that.
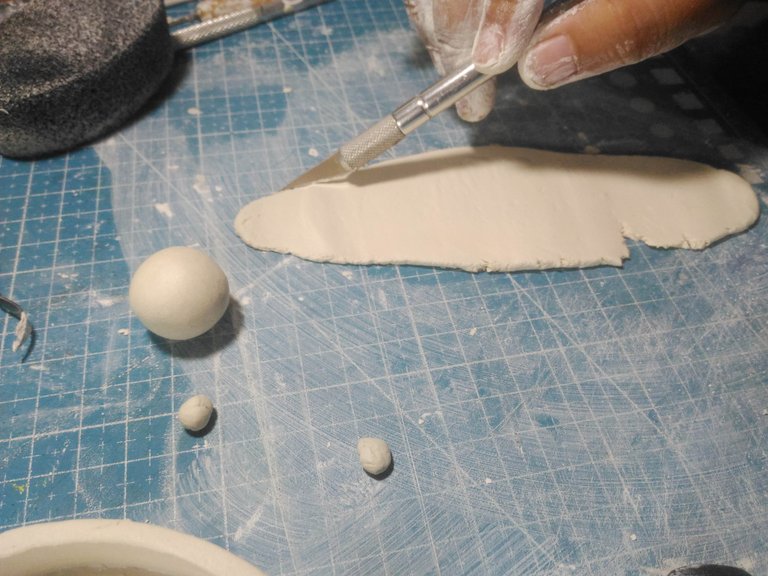
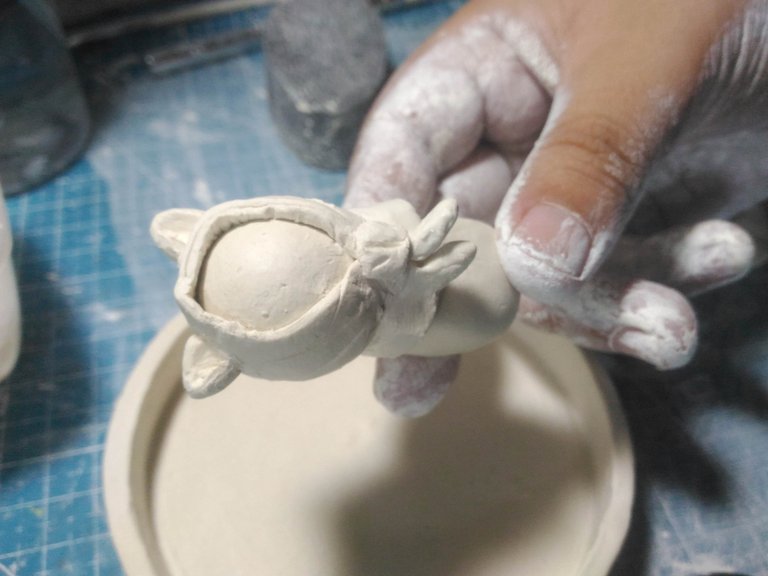
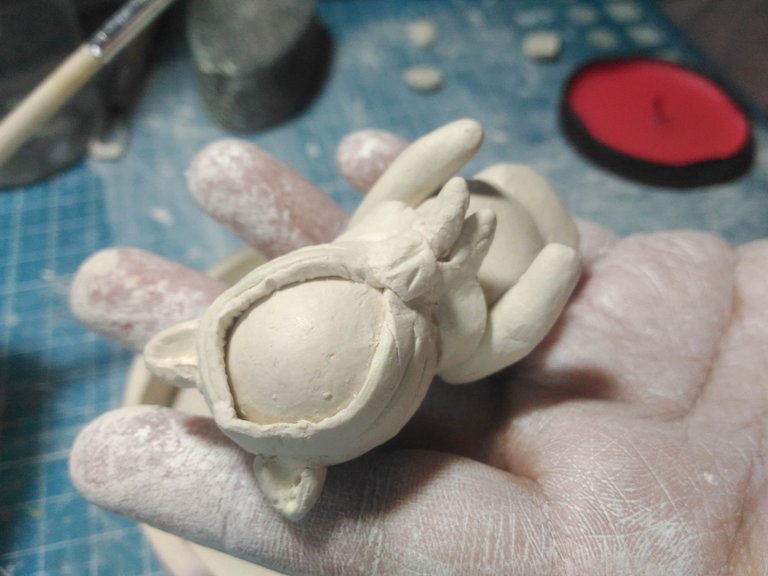
Then I made the scarf and ears and I forgot to take a photo of the other part of its body.
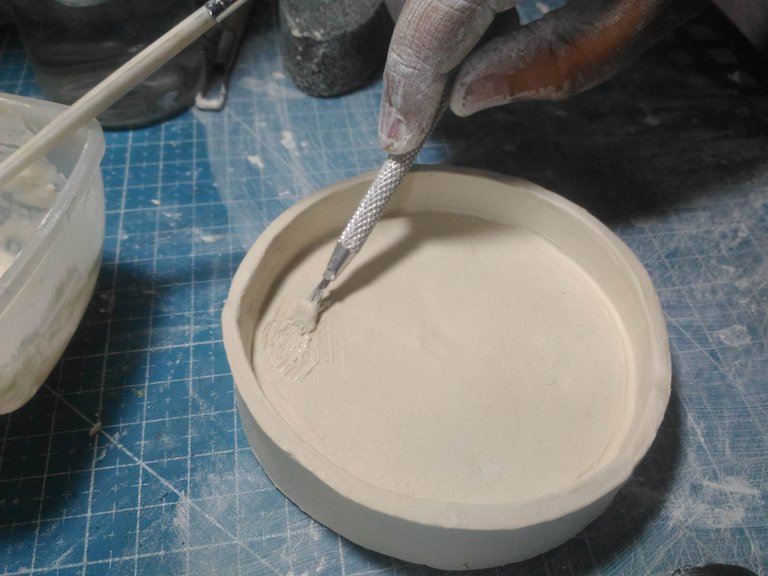
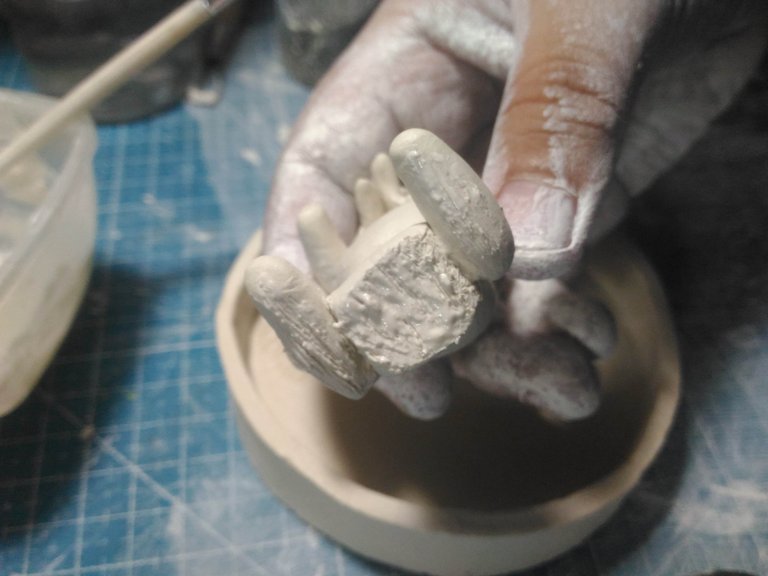
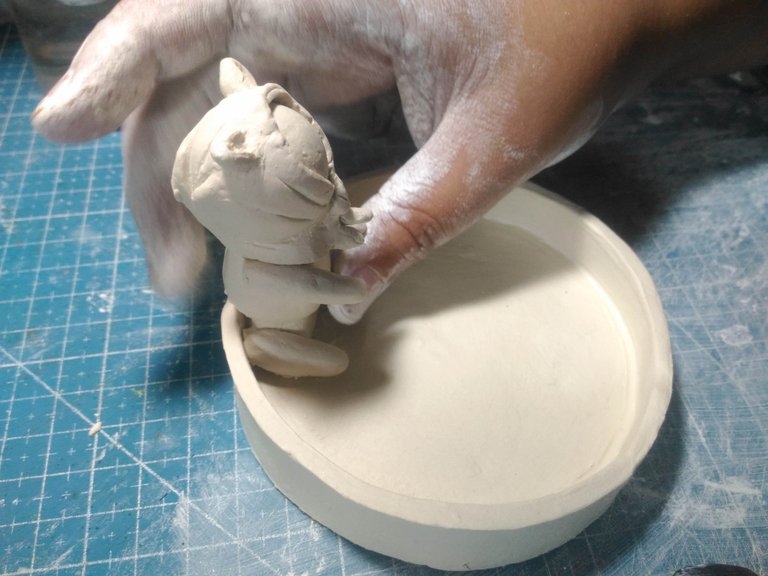
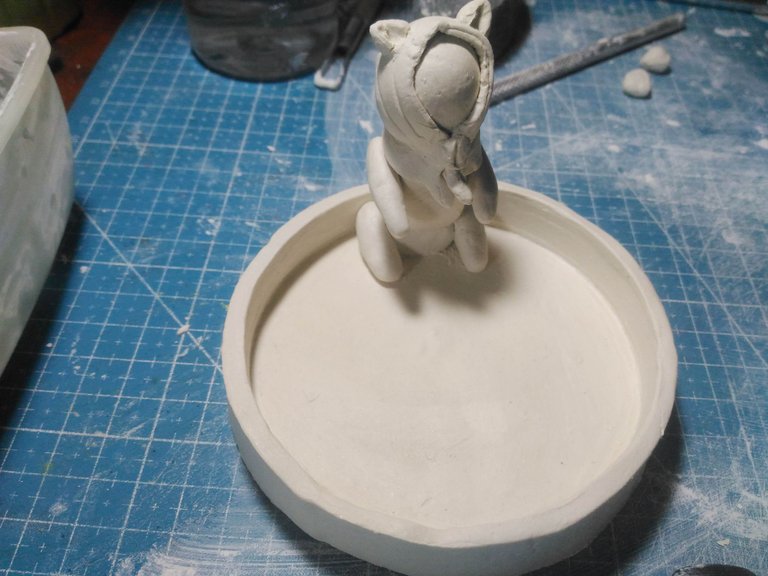
I scorch the area where I'll place the item and the bottom of the cat. Then, I apply the paste and carefully set it in the air-dry clay holder. and carefully place it in the holder.
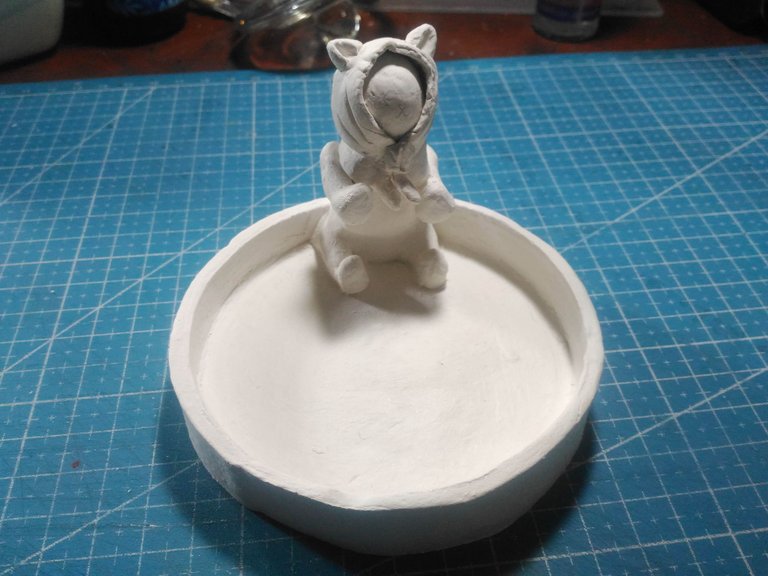
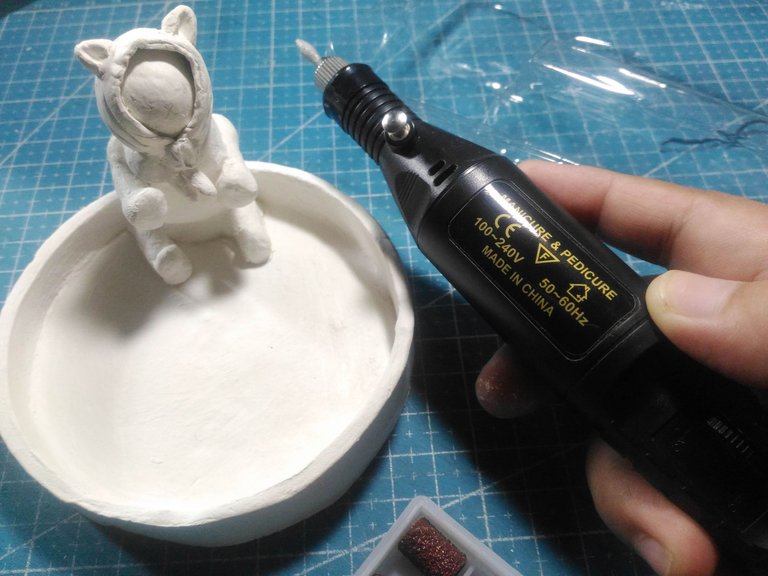
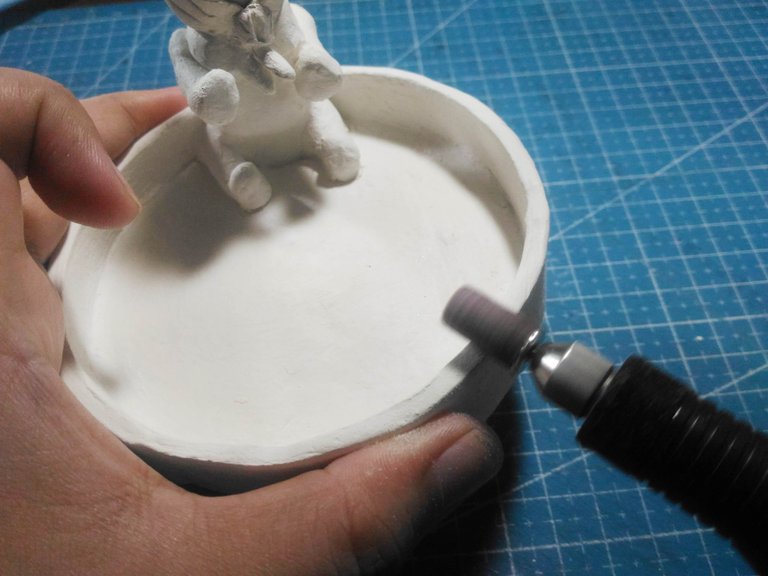
Now that the air dry clay is dried I use the sanding device to even out the clay.
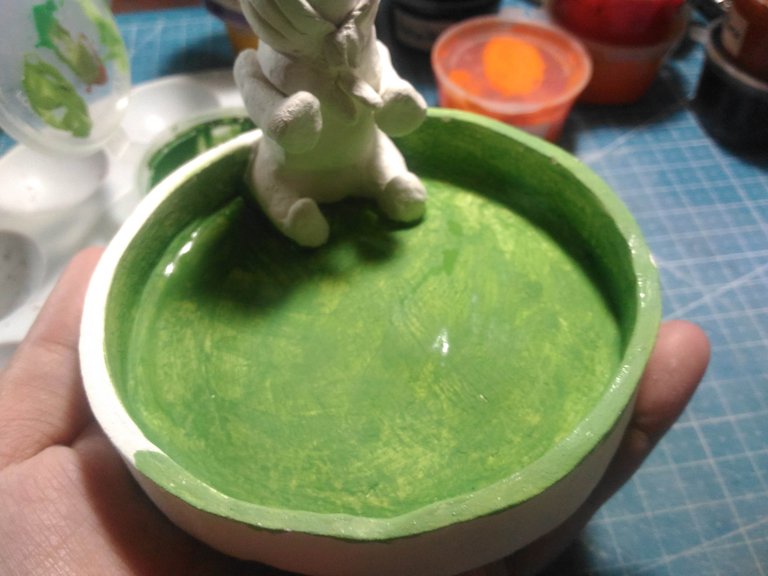
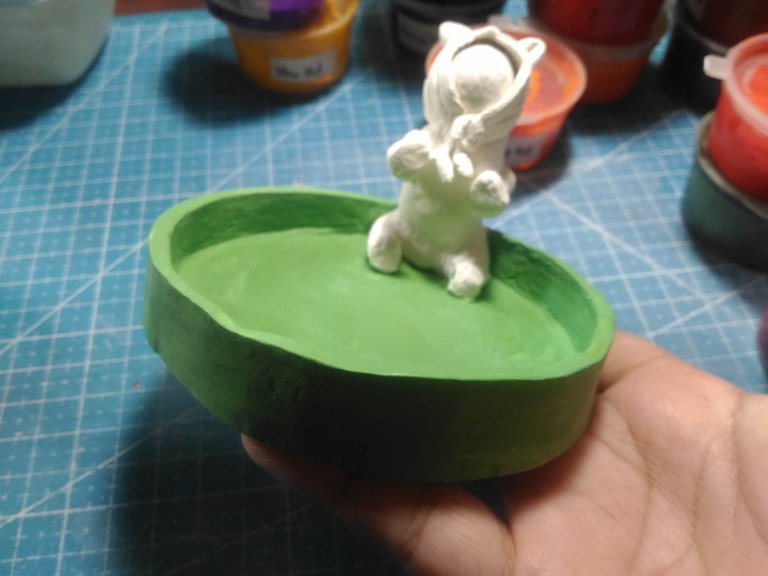
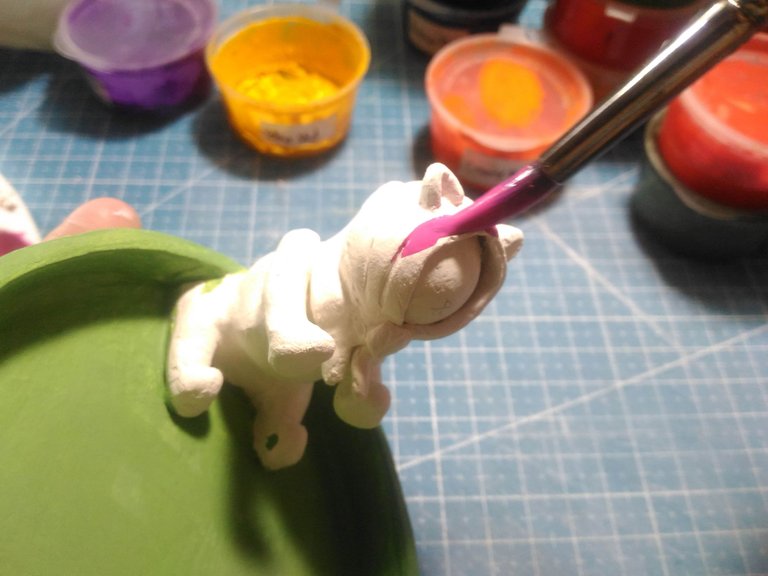
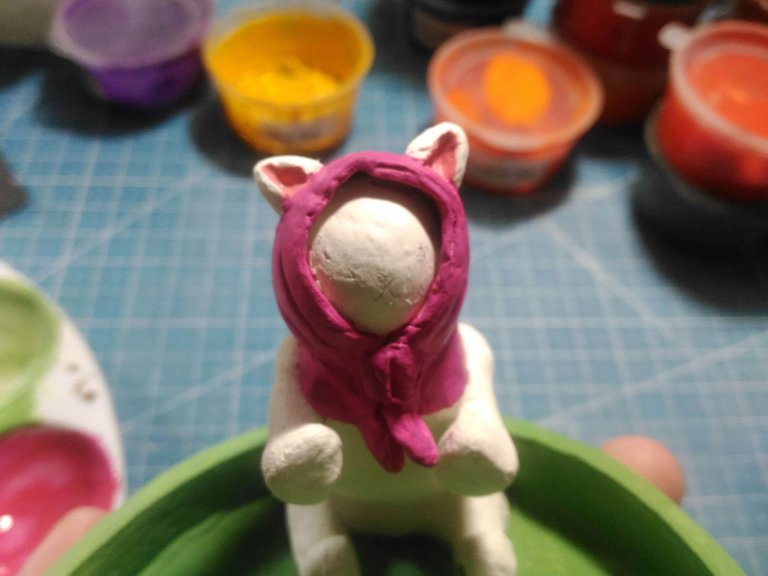
It is ready to be painted I premixed the paint I used I first painted the coaster part and then the scarf.
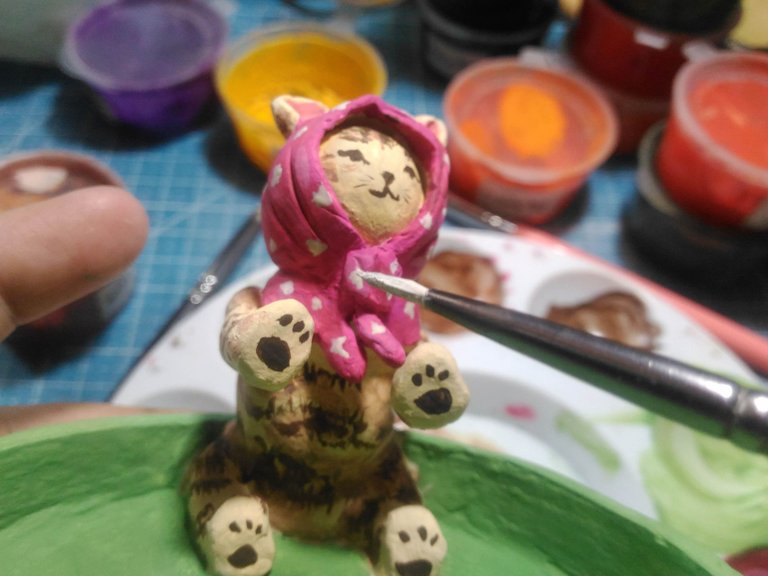
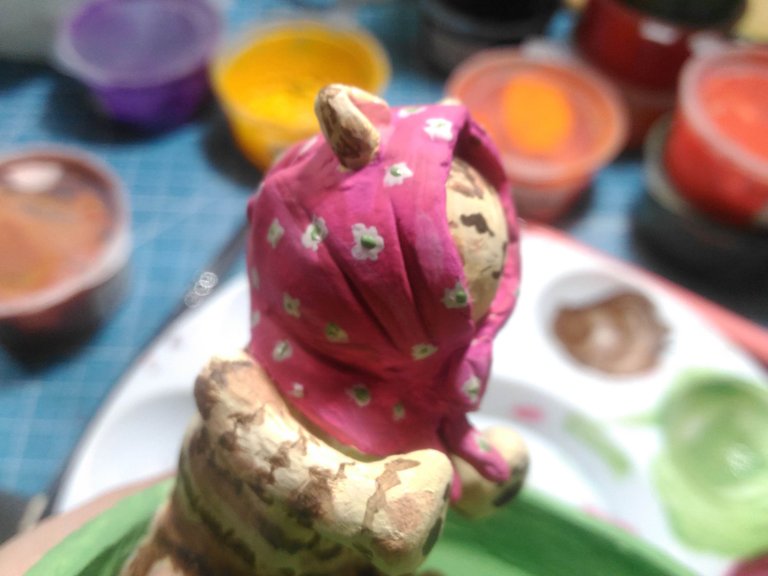
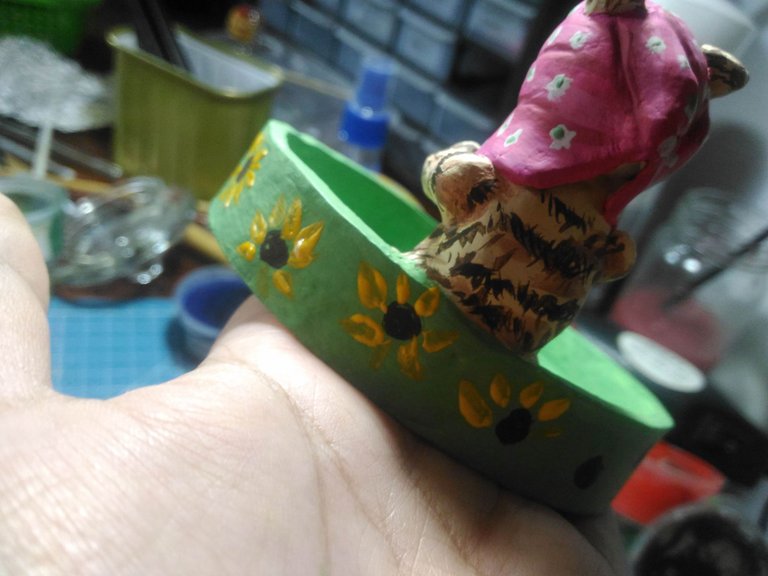
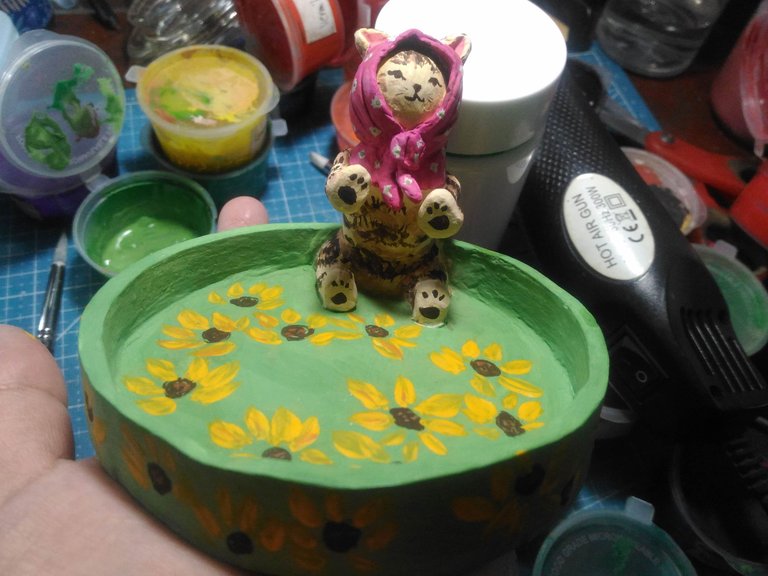
And then I painted the remaining part that I needed to.
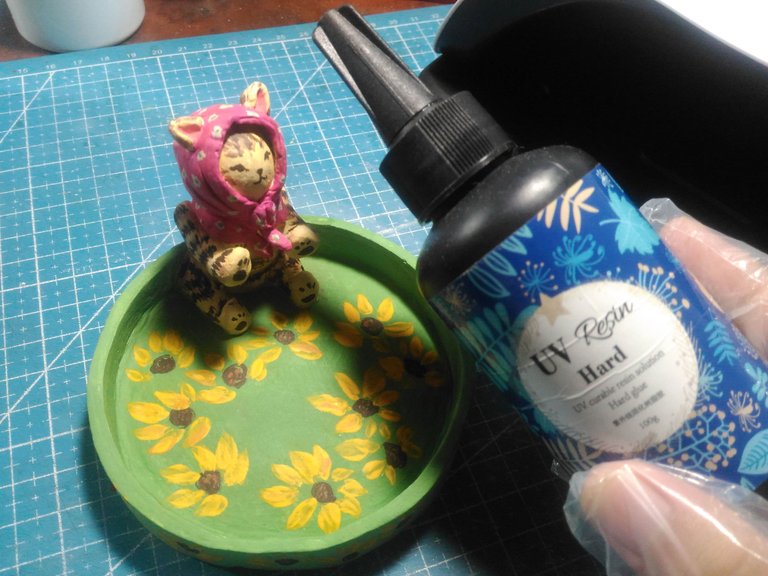
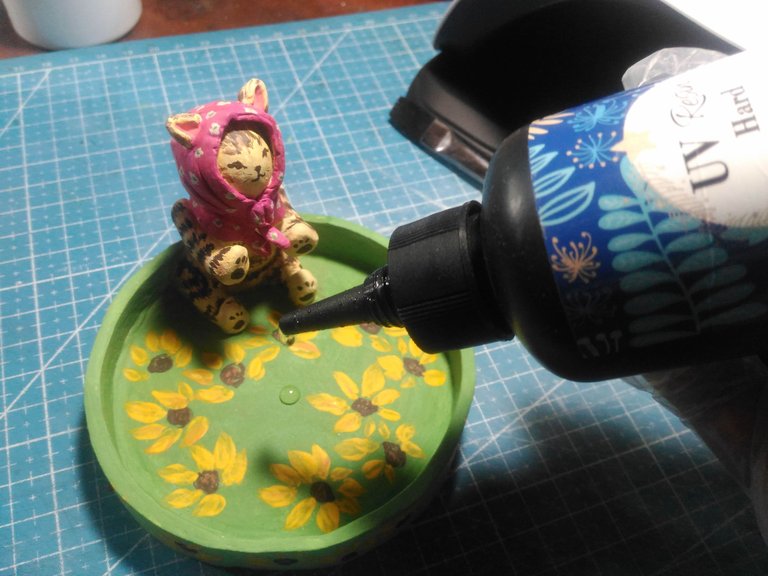
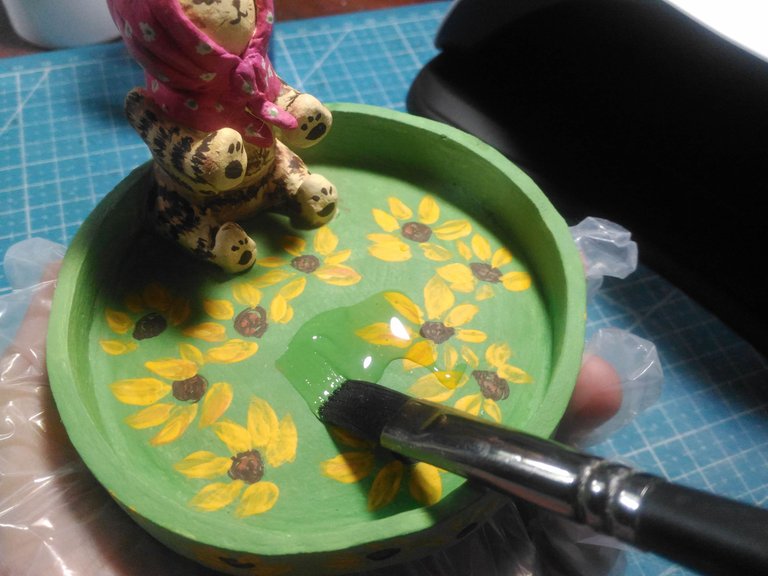
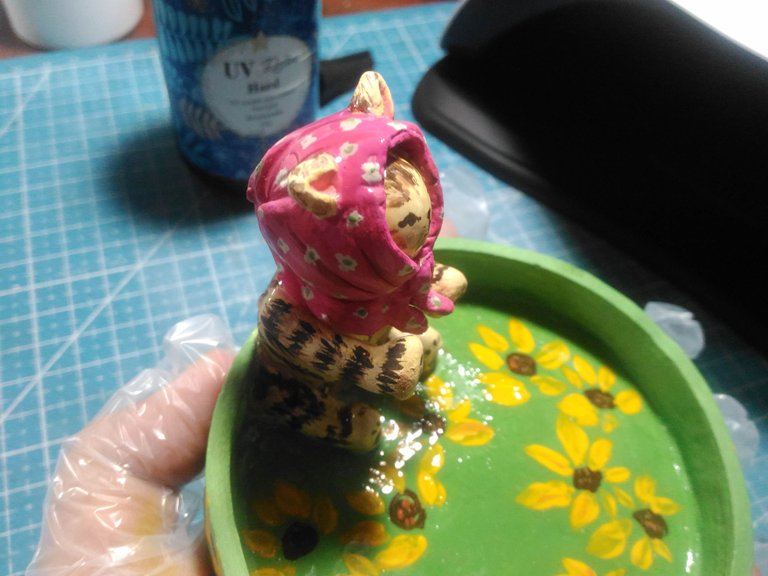
I then use UV Resin and brush to coat the clay it will help to seal the color and to make the clay durable. After I used the brush I put alcohol on the glass lid I had and cleaned it.
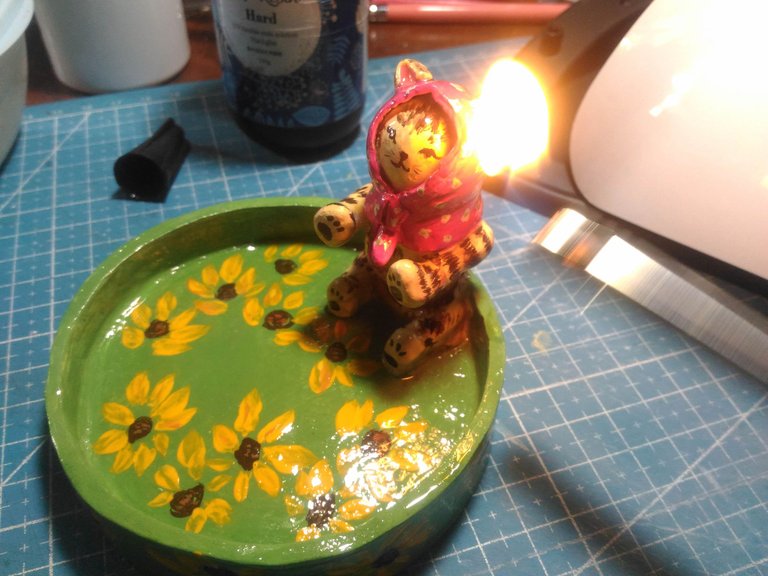
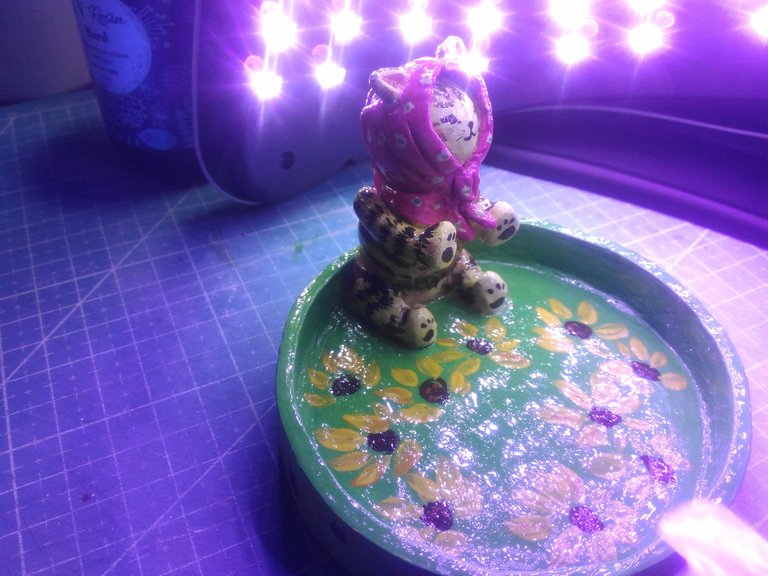
Before I cure it using the UV Lamp I first use a lighter around it to remove any bubbles created during applying the UV Resin. And then I cure it until it is not sticky anymore.
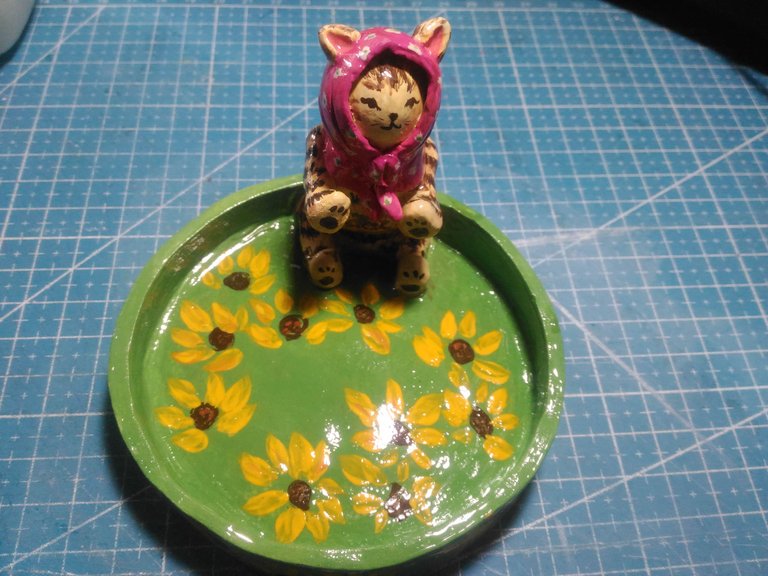
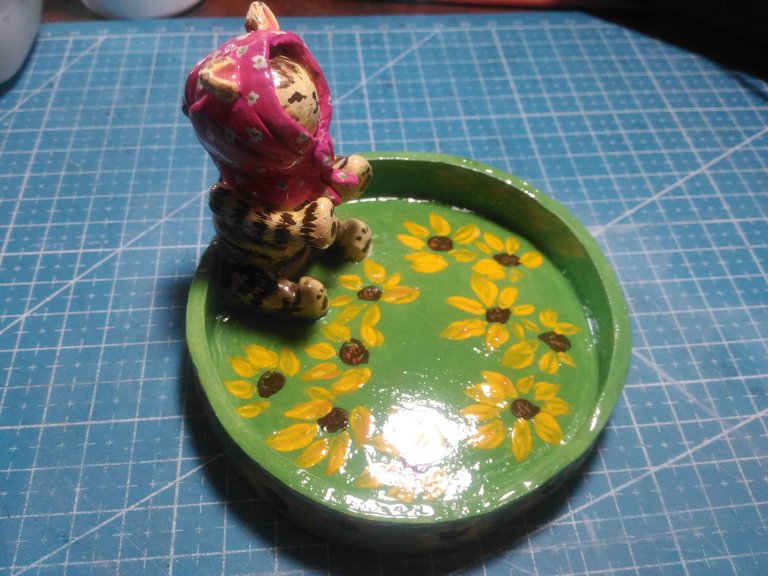
View from the front and the side.
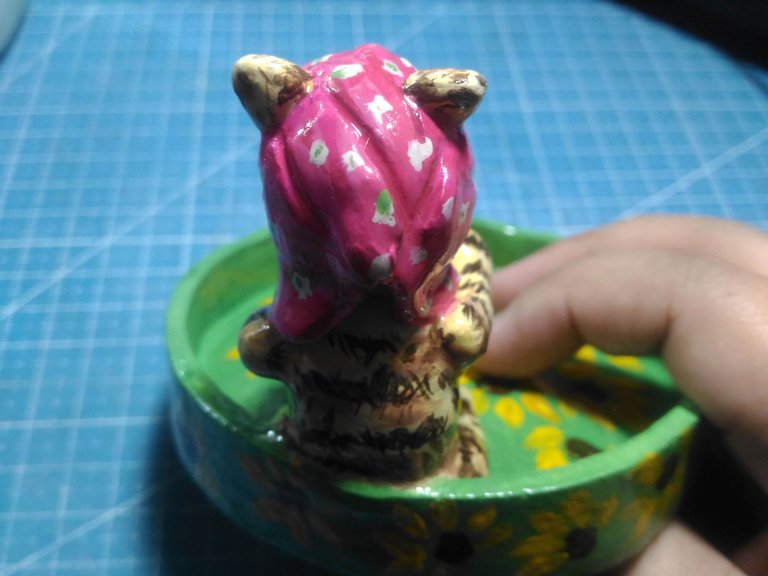
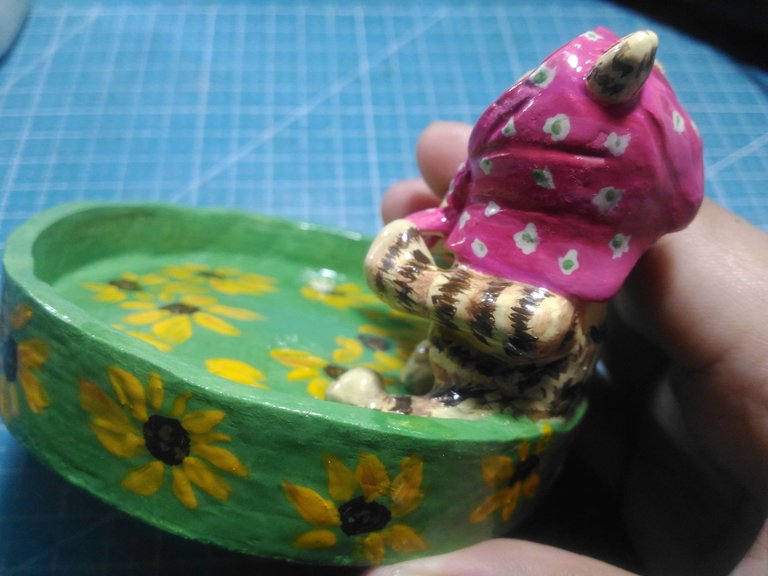
Close-up from the back and side.
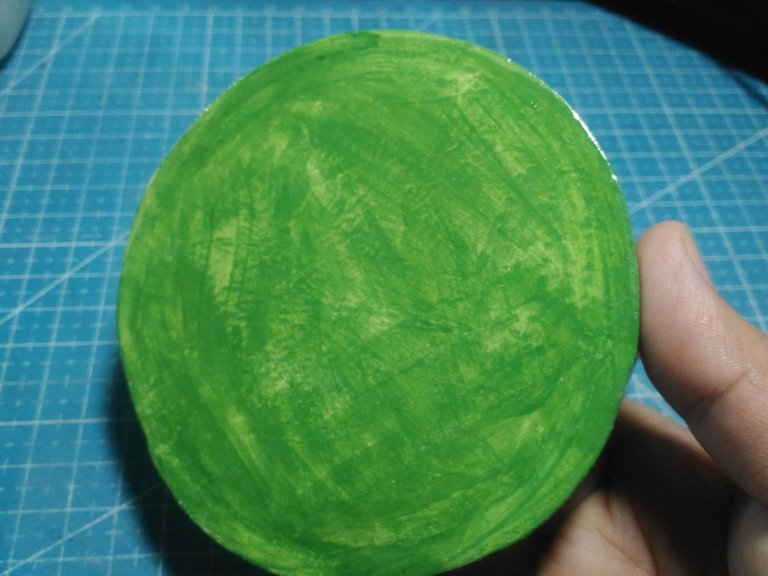
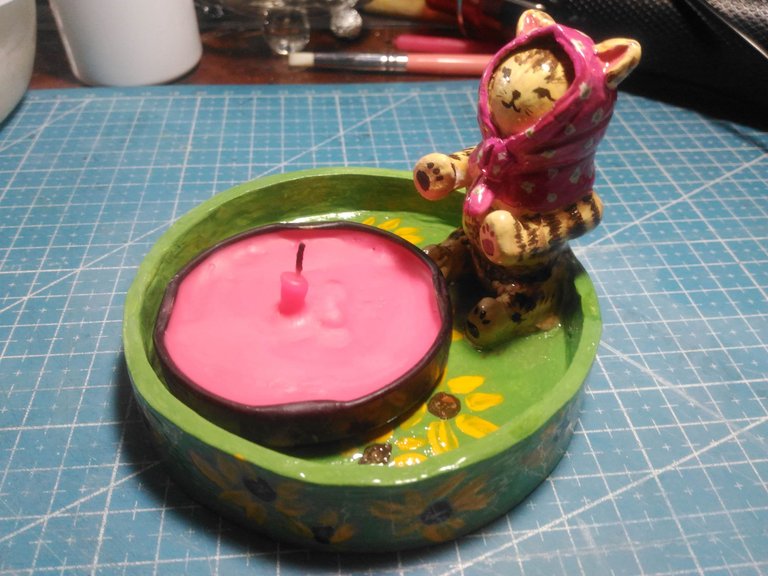
I did not forget to paint and coat the bottom part of it. And this is what it looks like when I put the candle in.
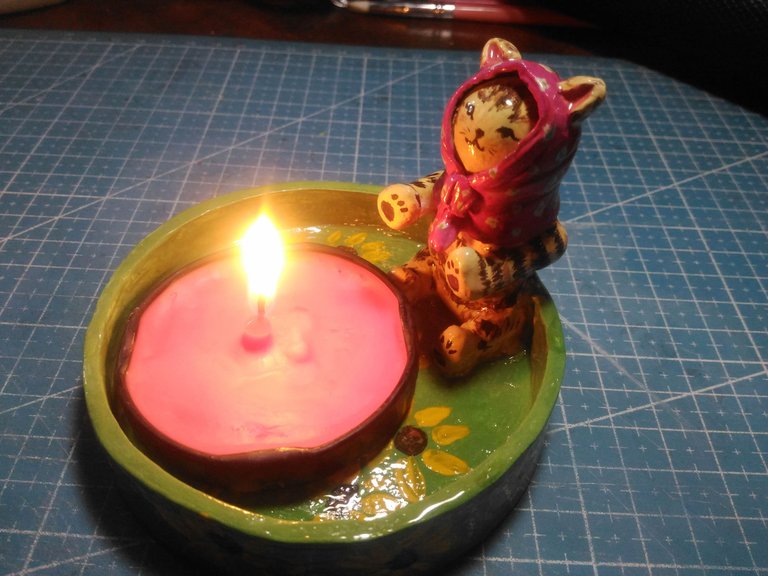
Now I have a cute and funny candle holder coaster.

Let's light her up.
Thank you for visiting, see you on my next blog. :D
Please take care of your mental health as well.
I hope you are okay today :))
Please take care of your mental health as well.
I hope you are okay today :))

Man, that's a long process, it needs tools too. Painting it is my favorite part, love the color combination you used there. And this is soooo pretty, the kitty cat is cute too 🤩
Yeah took took me days to finish it :D worth it naman hehe. yeah it was kinda messy at first but good naman thank you :D thank you :D
It is impressive how much work you've put into this. The candle light would be great as a nice corner decoration and even to illuminate a space. Thank you for entering the contest. Good luck.
Thank you. Thank you for the advice I will do better next time :D