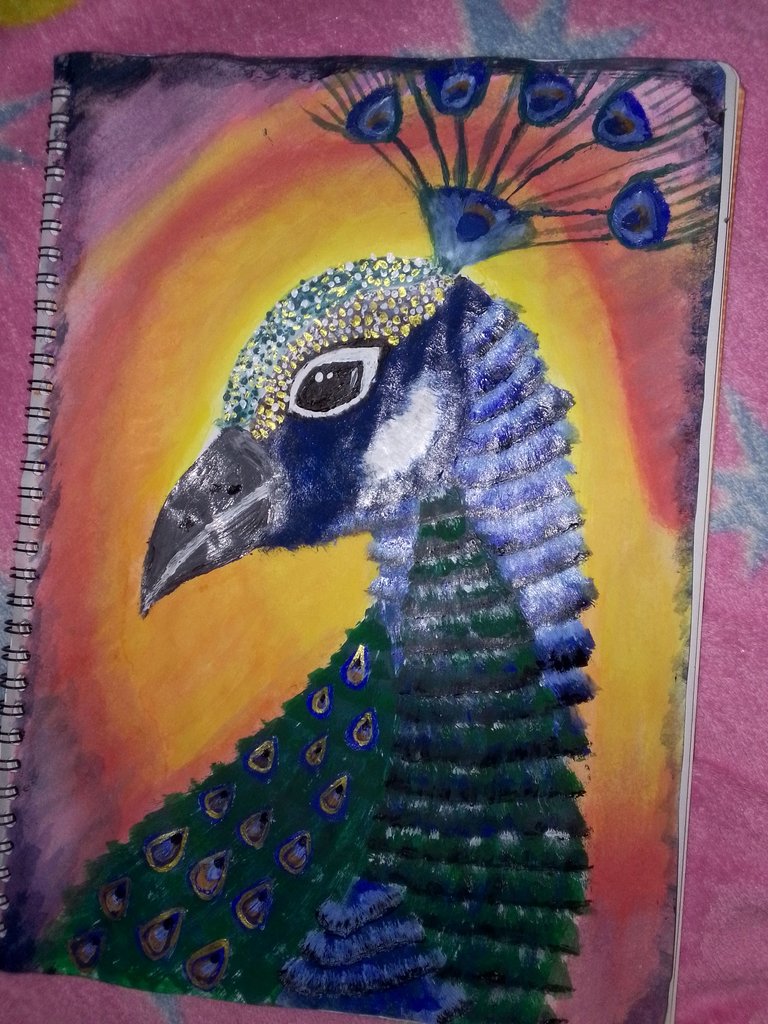
Hola amigos de #Diyhub en esta oportunidad quiero mostrarles el paso a paso de una ilustración de un pavo real, espero les guste.
Hello friends of #Diyhub in this opportunity I want to show you the step by step of an illustration of a peacock, I hope you like it.
Materiales | Materials
-Pinturas acrílicas
-Acuarelas
-pinceles plano y lengua de gato
-pintura acrílica brillante
-Acrylic paints
-Candles
-Flat and cat's tongue brushes
-Glossy acrylic paint
Procedimiento | Procedure
Paso 1 | Step 1
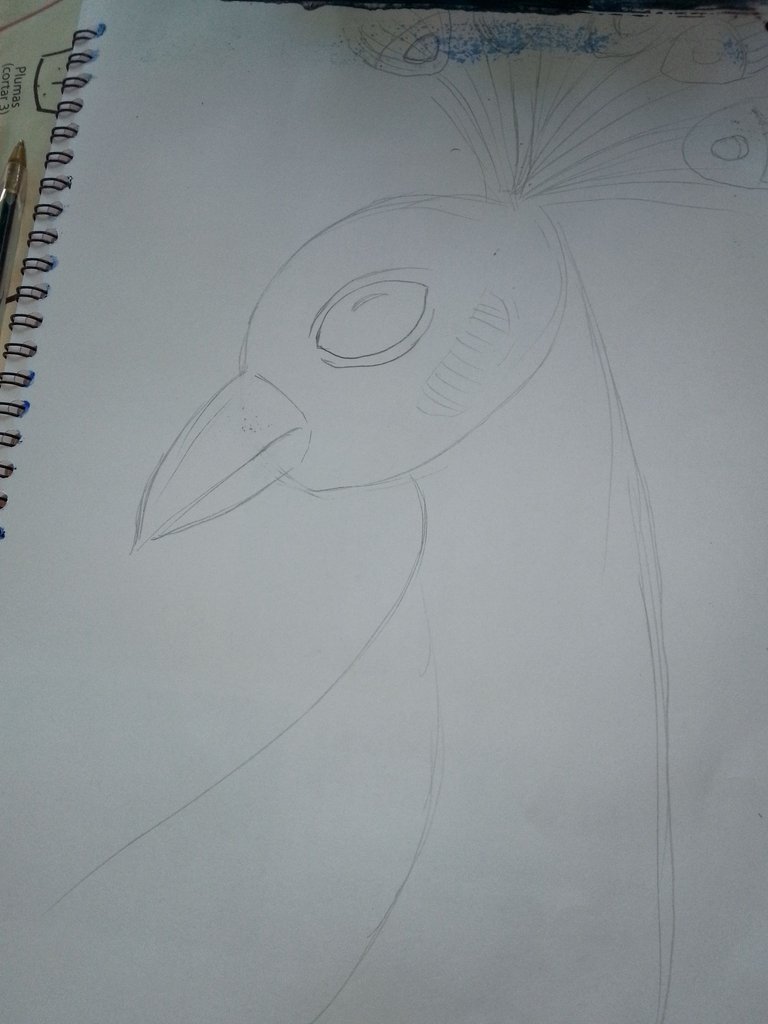
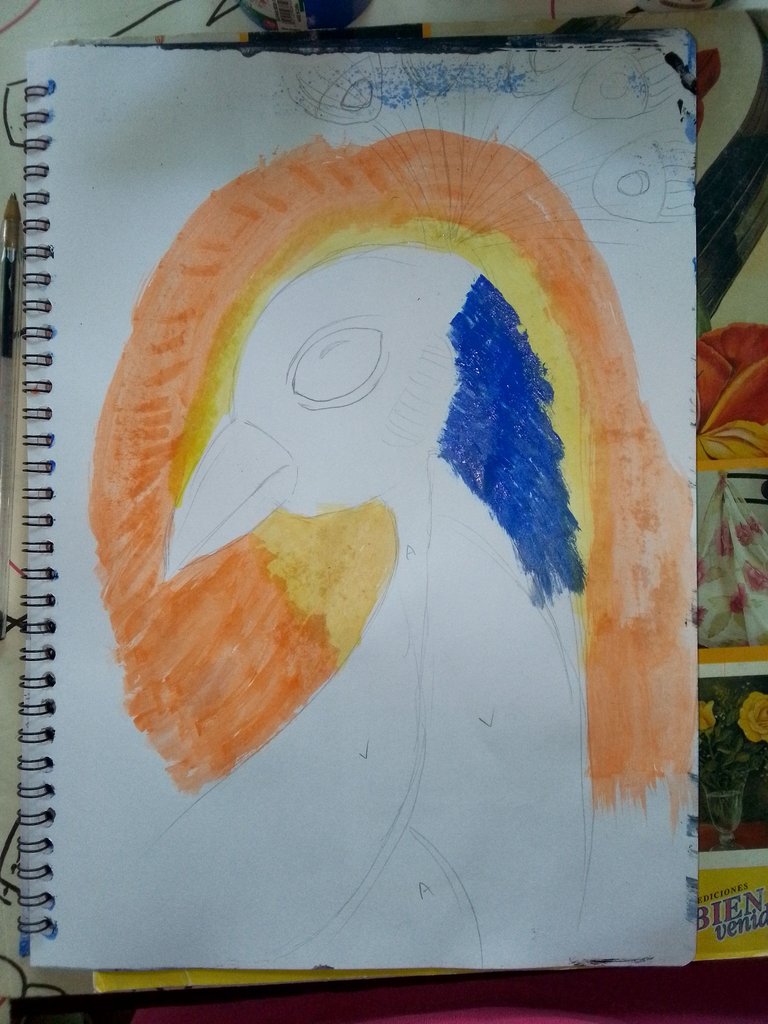
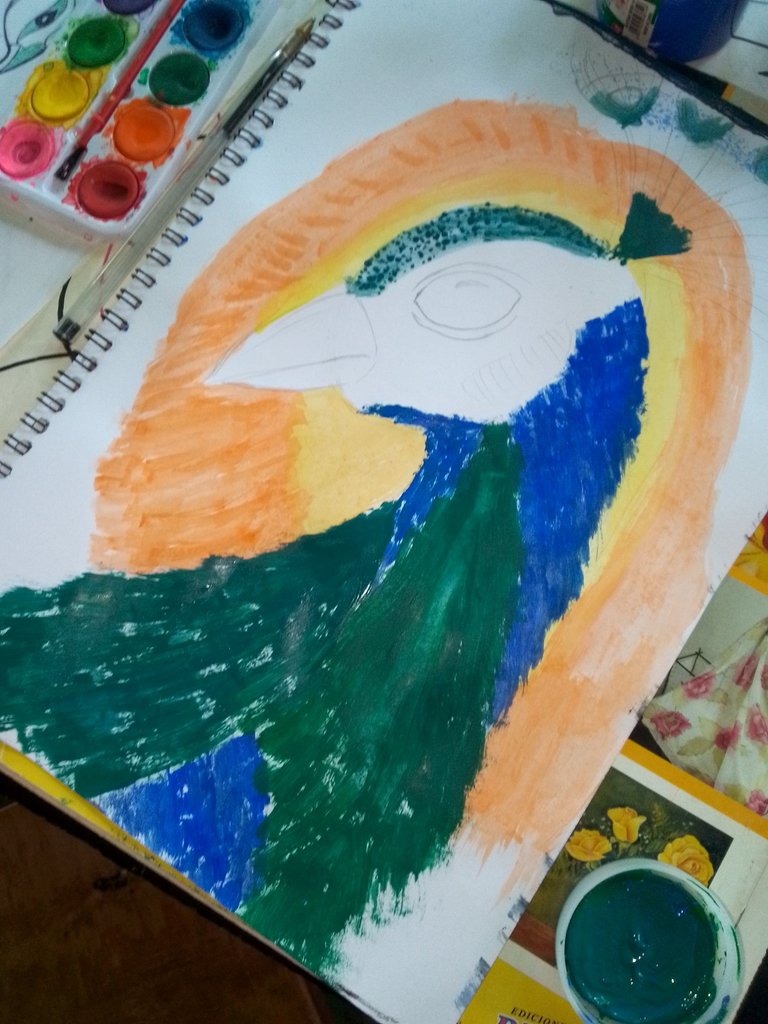
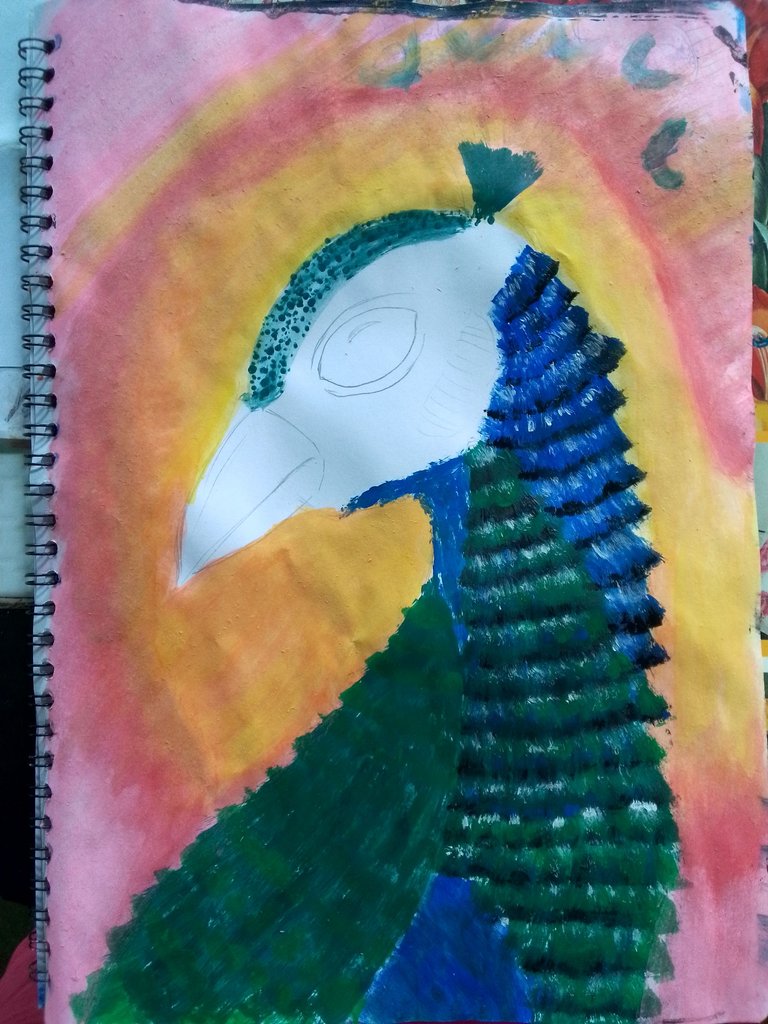
Empezamos haciendo un dibujo con lápiz, luego seguimos con el fondo , amarillo, anaranjado (acuarela) y luego el azul (pintura acrílica) del pavo real.
We started with a pencil drawing, then followed with the background, yellow, orange (watercolor) and then blue (acrylic paint) of the peacock.
|
|
|
|
|
|
Paso 2 | Step 2
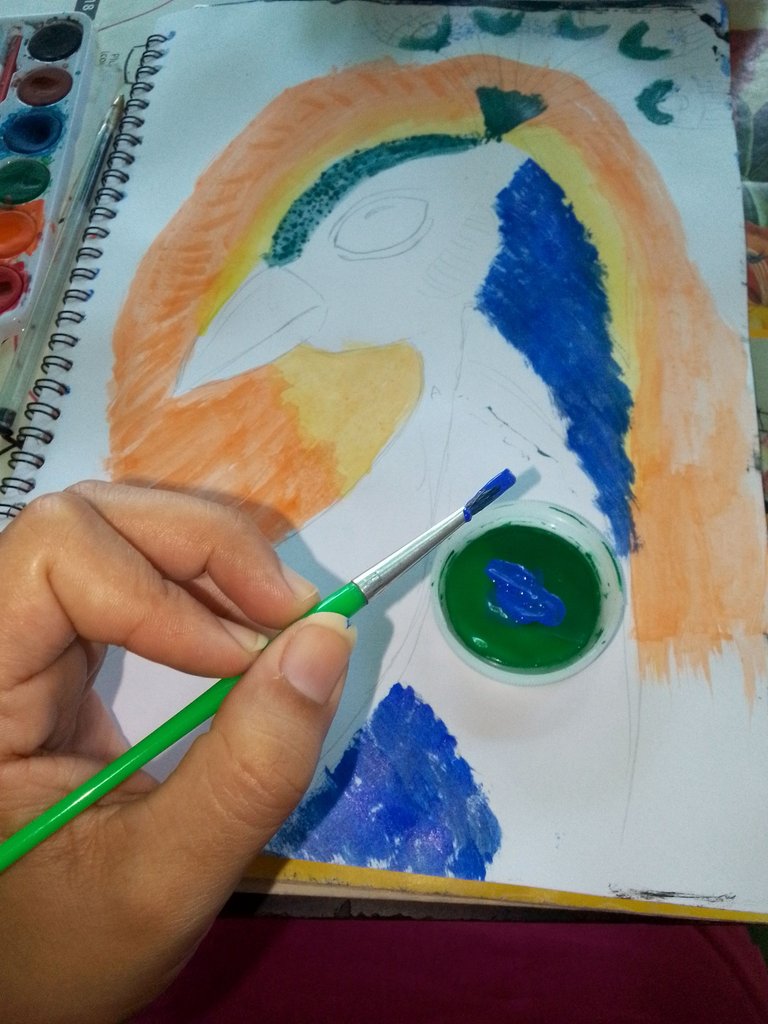
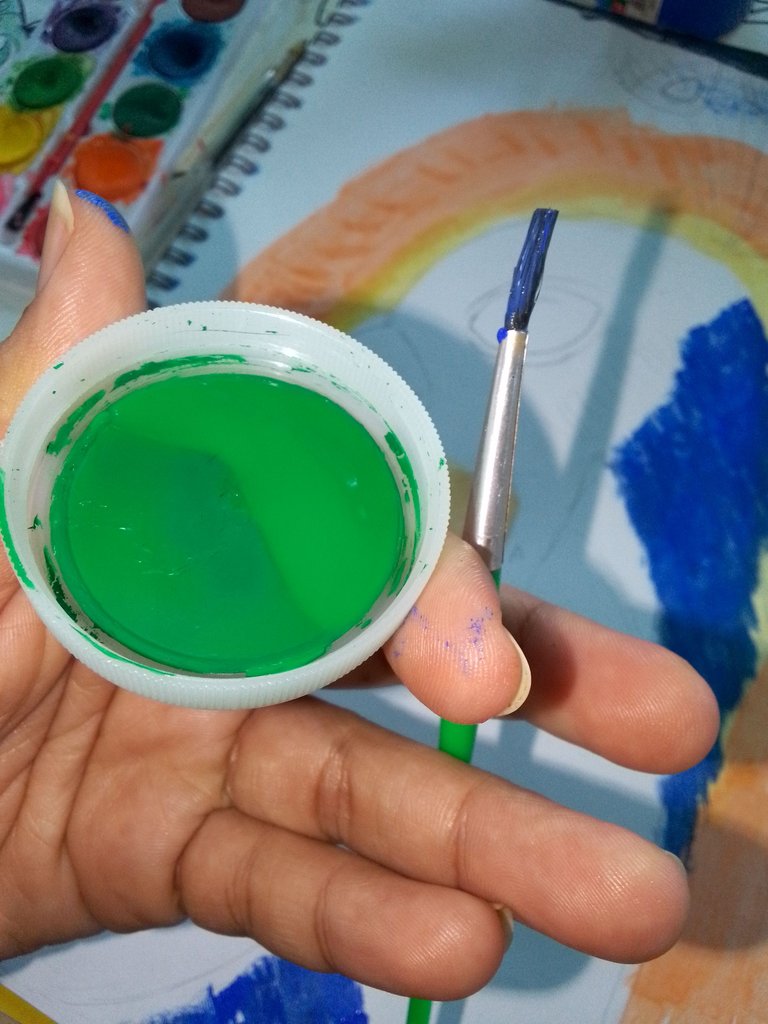
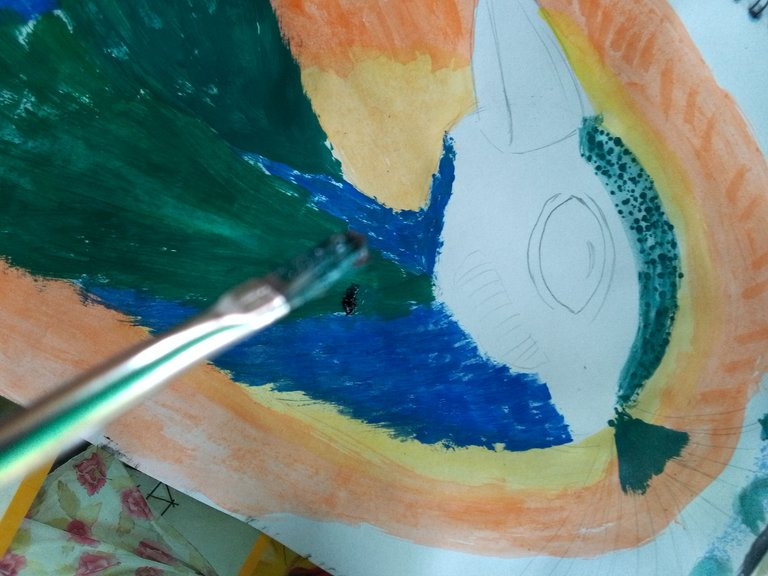
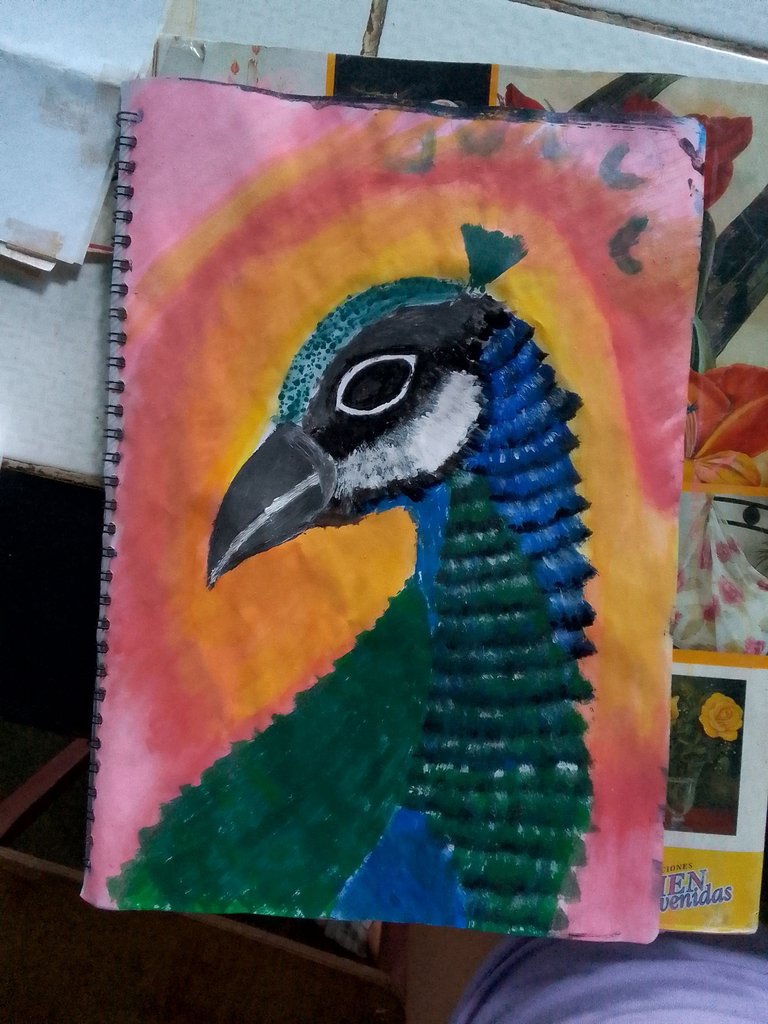
Luego colocamos el verde, vamos a empezar a aplicar el efecto de las plumas. El efecto se logra aplicando primero azul y luego un poco de negro en la punta del pincel, luego encima se coloca azul más claro y da un efecto degradado.
Then we place the green, we are going to start applying the feather effect. The effect is achieved by first applying blue and then a little black on the tip of the brush, then on top of it we place lighter blue and give a gradient effect.
|
|
|
|
|
|
Paso 3 | Step 3
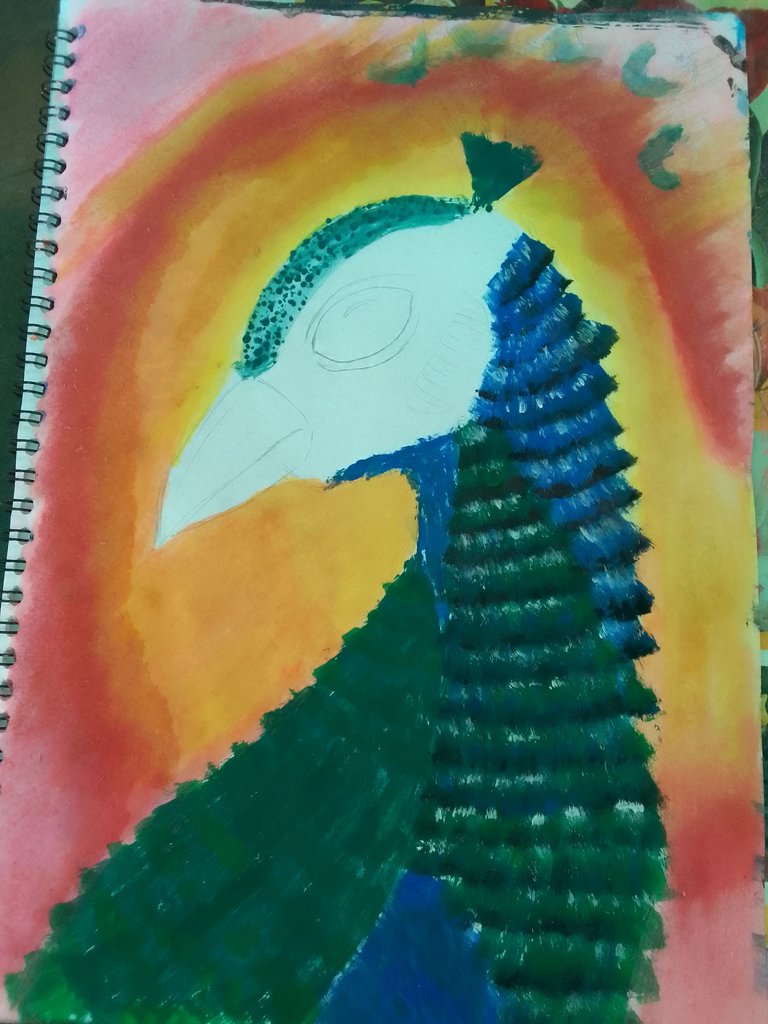
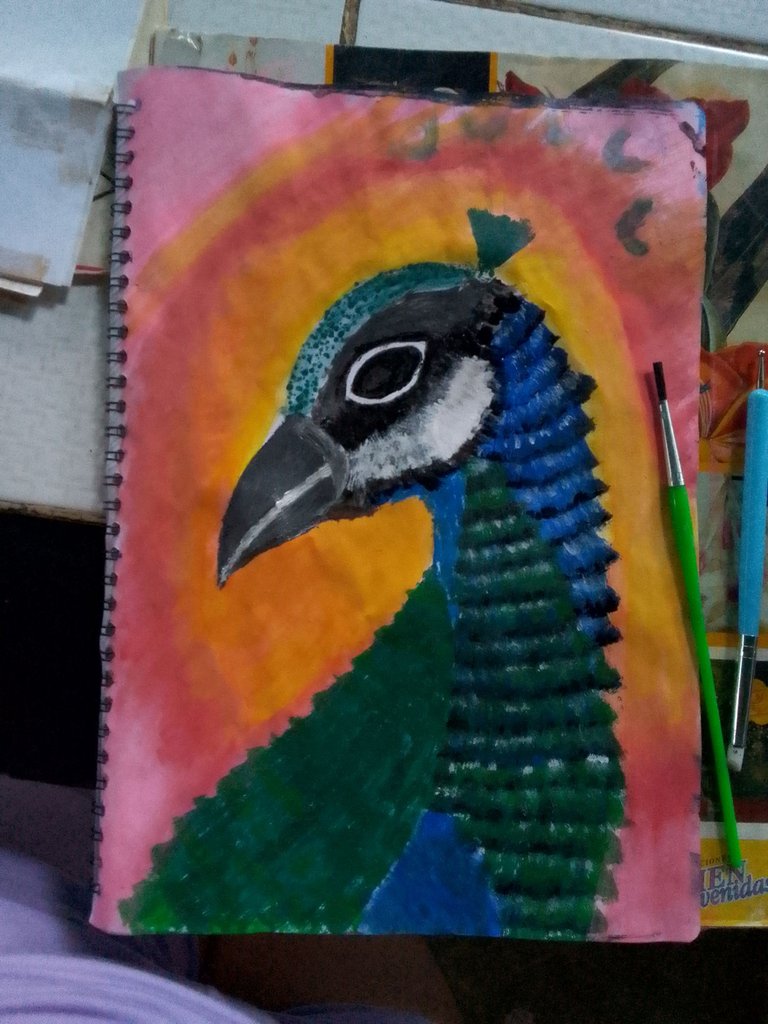
Agregamos más colores al fondo, rojo y rosado, luego hacemos el mismo efecto con las plumas en las plumas verdes.
We add more colors to the background, red and pink, then do the same effect with the feathers on the green feathers.
|
|
|
Paso 4 | Step 4
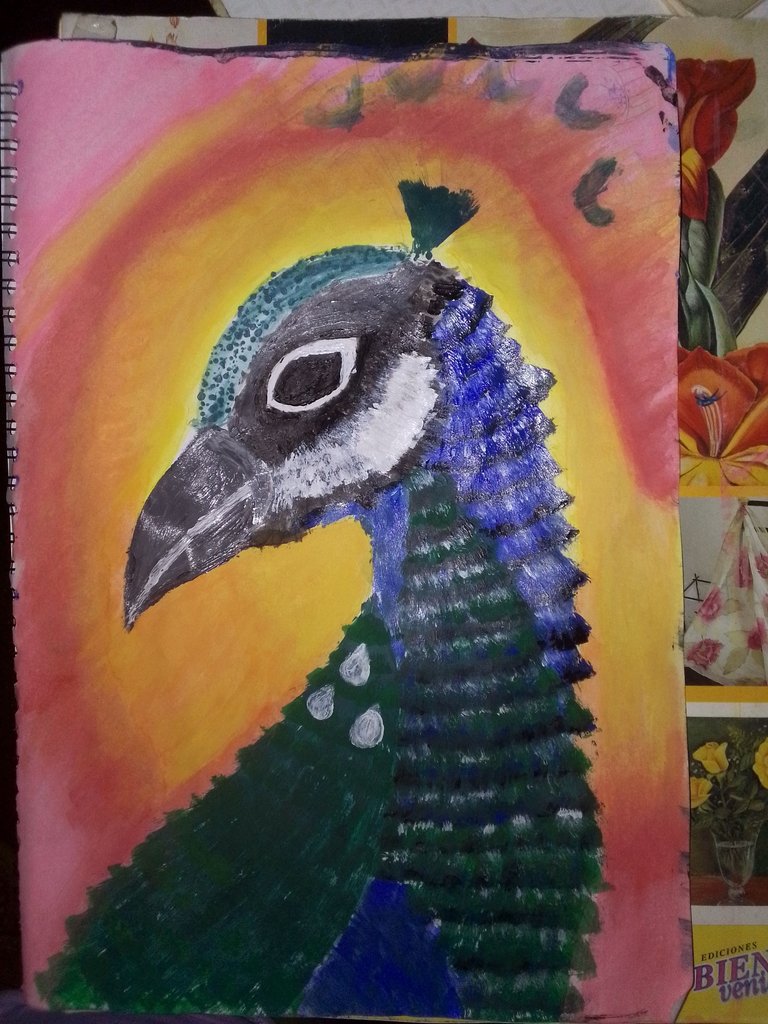
Para las ultimas plumas que parecen ojos usamos pintura acrílica blanca, luego azul oscuro, luego dorado en los bordes, luego azul claro adentro, luego naranja y por ultimo naranja, lo mismo hice en las plumas de la parte de arriba de la cabeza.
For the last feathers that look like eyes we used white acrylic paint, then dark blue, then gold on the edges, then light blue inside, then orange and finally orange, the same thing I did on the feathers on the top of the head.
Finalmente con un pincel de punta redonda colocamos puntitos dorados y verdes en la cabeza y hacemos unos detalles en el fondo.
Finally with a round tip brush we place golden and green dots on the head and make some details on the bottom.
|
|
|
|
|
|
Resultado | Result
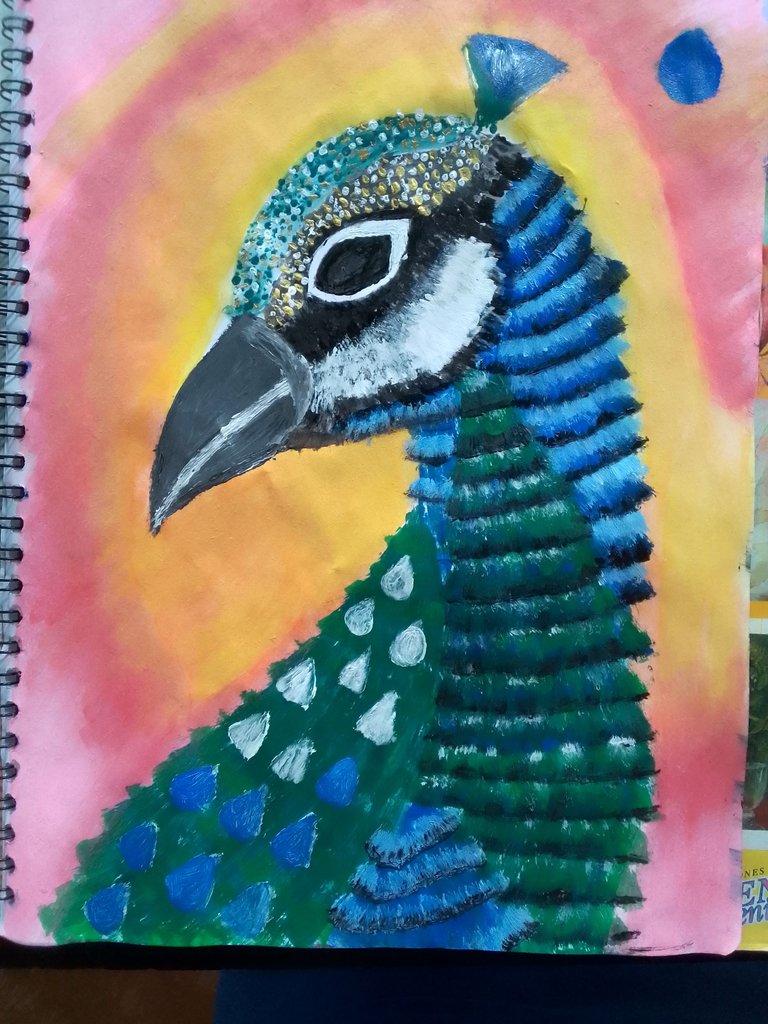
Y así es como queda este bello pavo real, eso es todo por hoy espero les haya gustado.
And this is how this beautiful peacock looks like, that's all for today, I hope you liked it.

Gracias por visitar mi blog.
Thanks for visiting my blog.
No te detengas, no dejes de creer en ti y de buscar ideas y opciones para salir adelante.
Don't stop, don't stop believing in yourself and looking for ideas and options to get ahead.
Creditos | Credits
Use https://www.deepl.com/es para la traducción.
I used https://www.deepl.com/es to traduction.
Las imagenes son propias y sujetas a derechos de autor.
The images are our own and subject to copyright.
I love that painting and I can see how much work is done on this piece .
Thanks
una belleza, se ve tan real, es un increíble trabajo!
a beauty, it looks so real, it's an amazing job!
Gracias
Super awesome!
Thank you
Thank you
Your painting is so beautiful and we love how you paid attention to every part of the peacock and as a result of that, it came out pretty well. You sure are talented and we hope to see more of your amazing paintings, until next time, take good care of yourself and remember that you are truly gifted and the world just isn't ready for your greatness and everything you possess😃
Ohhh tank you for your comment