I just finished packing a plant for shipping to my buyer tomorrow and I thought I would write here about how it is done.
Just for a quick recap, I mentionend in at least one of my previous posts that I am selling live plants. I just got an order for medallion calathea and I will show you how to pack live plants. Doing this requires extra care to ensure that the plant will reach the buyer in good condition. This is with especial consideration that the couriers may not do so.
First thing to do is reduce the soil where the plant is. Just a thin cover for the roots will be fine. Put the plant in a seedling bag and moisten the soil. This is to keep the roots moistened while enclosed in a box during shipment. Make sure not to over-water so it won't drip in the box.
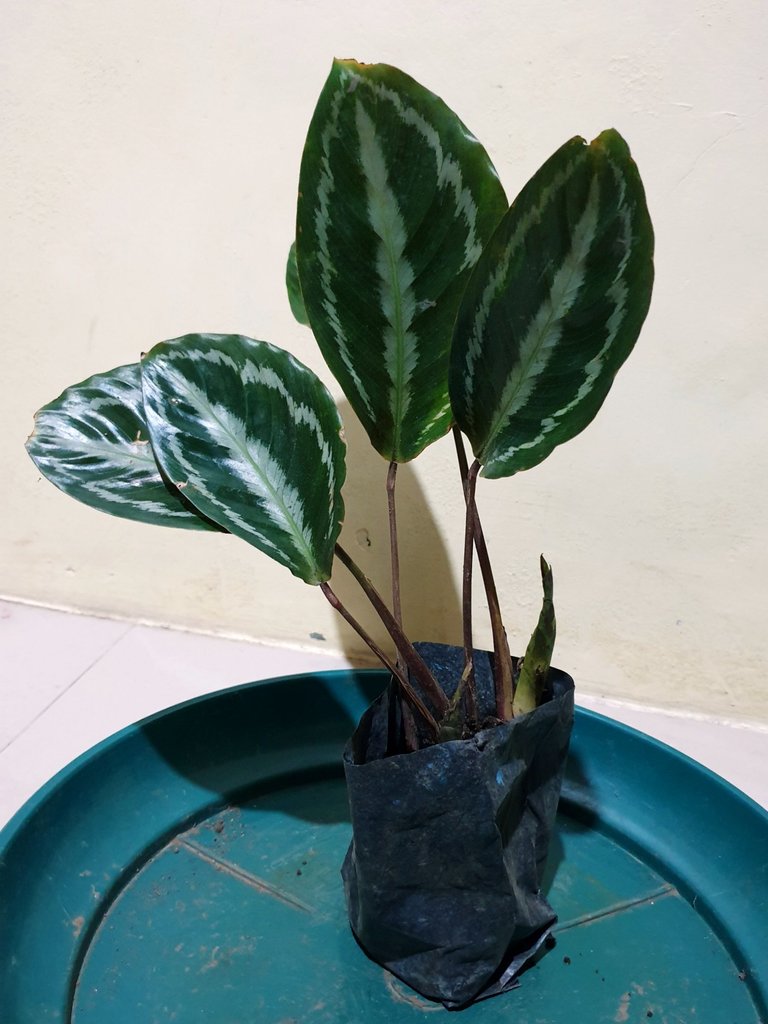
Put the seedling bag into a plastic bag. Ensure that the plastic bag does not have any hole no matter how small. This is to avoid water slips and drenching the box. Tie the upper part of the plastic bag. Ensure that the tie is tight just right to keep the soil from spilling out in case the box is turned upside down but not too tight to choke the plant.
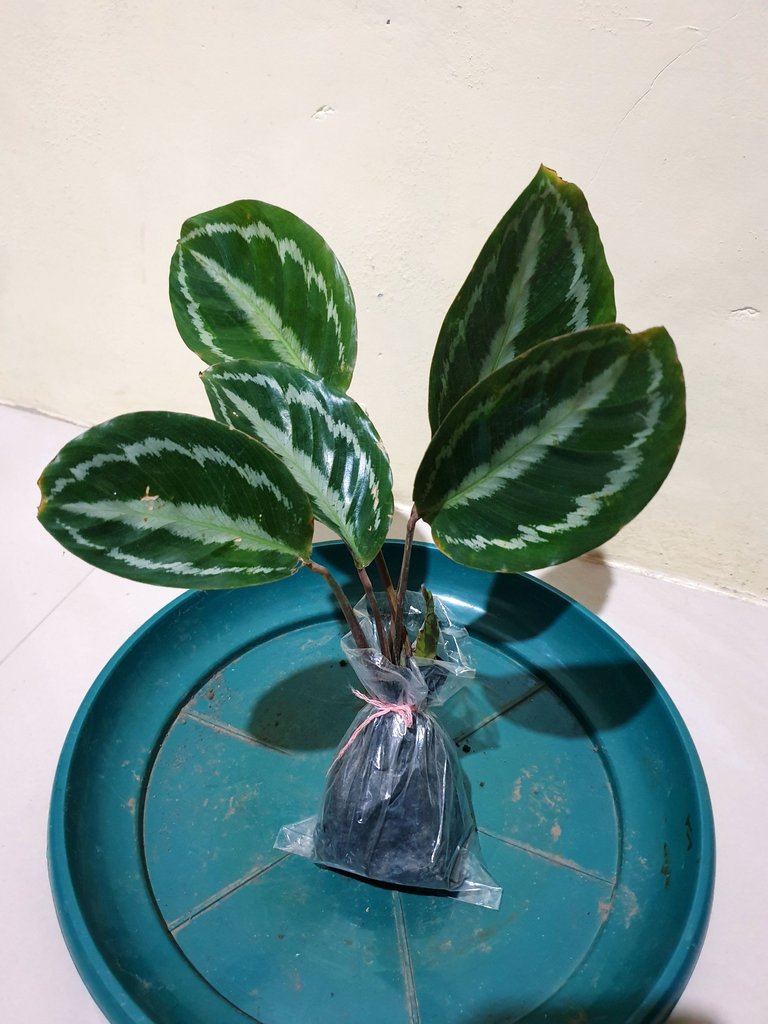
Gently pull all the leaves upright and measure the length of the tallest one from the bottom of the plastic bag. Cut a cardboard strip as long as the tallest leaf. The width would be the same as the diameter of the plastic bag. Securely tape the strip on to the plastic bag. The bottom of the bag should be aligned with the edge of the strip. The strip will be useful to prevent the plant from breaking just in case the box where it is in is turned upside down.
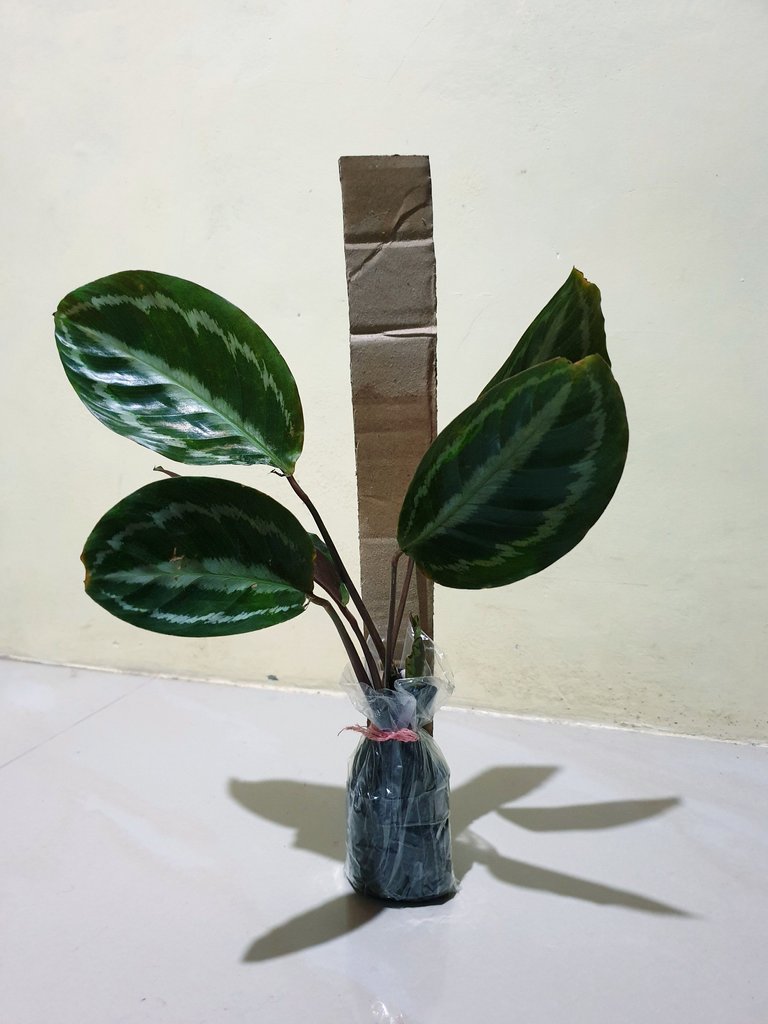
Get a page of old newspaper and measure the length the same as the cardboard strip. The width should be enough to wrap around the plant twice. Just one wrap can be torn easily so at least two will be good.
Wrap the newspaper around the plant and mark the spot where the first edge of the paper closes up on the other side. Remove the plant and create the tube using the newspaper.
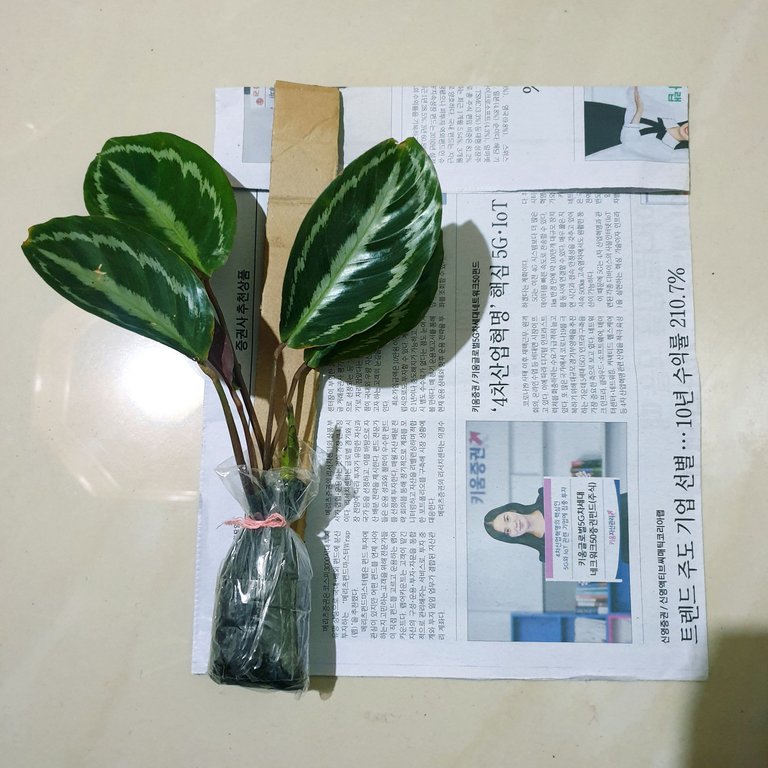
Slowly slip the plant from one opening of the paper tube. Be careful not to crumple or tear the leaves. Guide them through in upright position as you slip the plant into the tube.
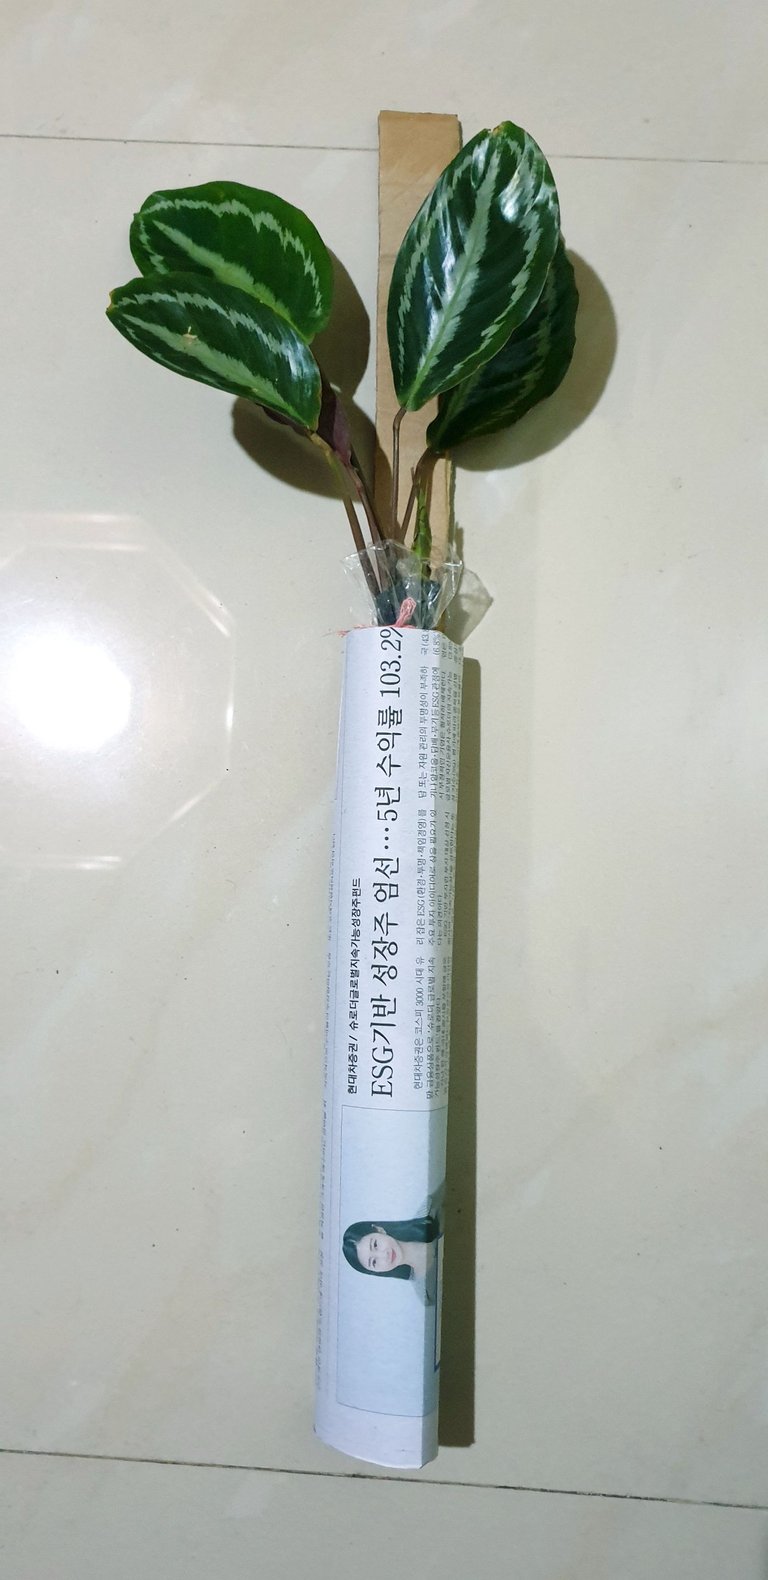
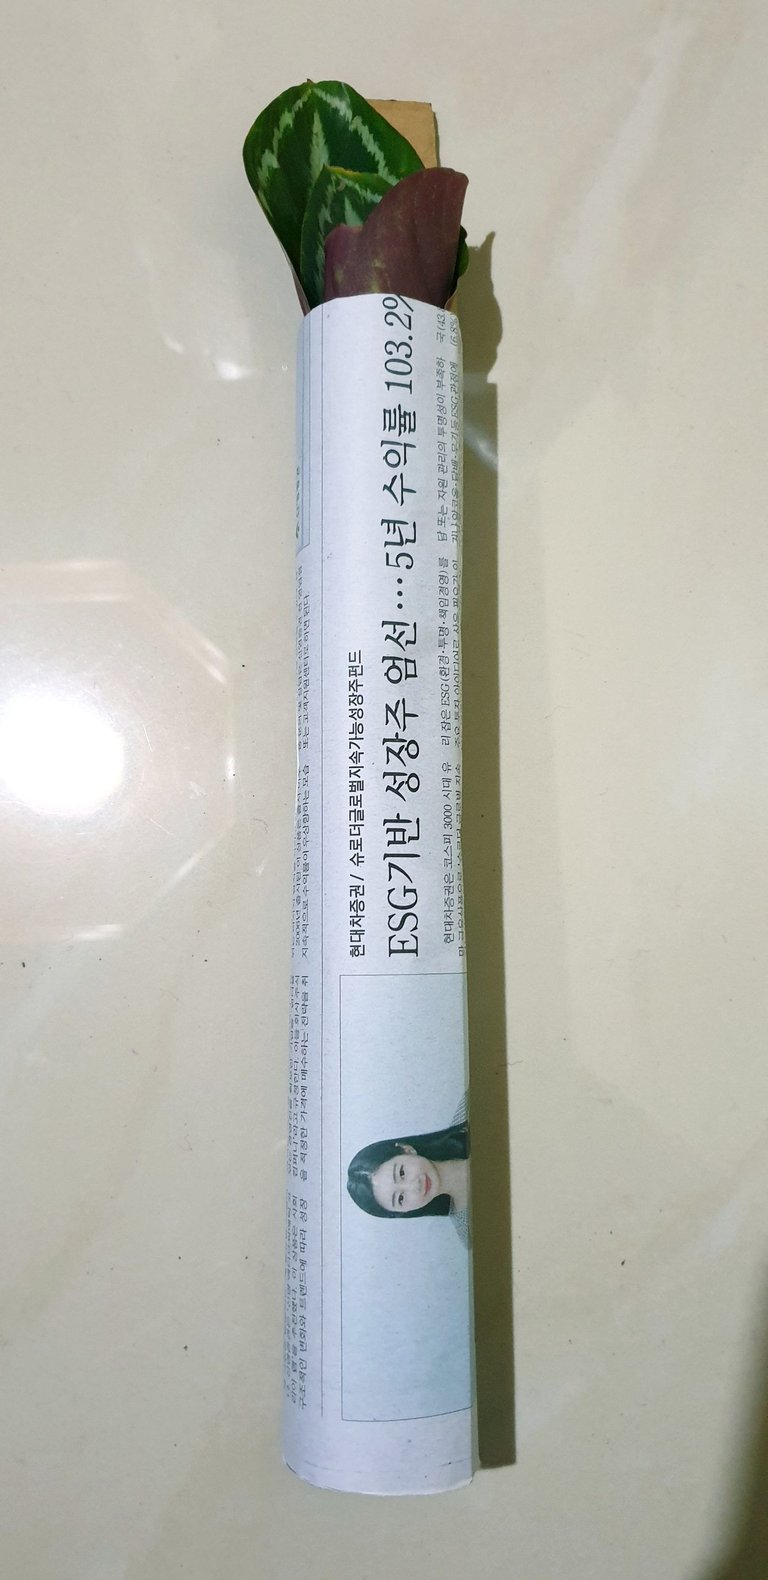
Tape the cardboard strip with the newspaper on the top opening of the tube. Tape the plastic bag to the newspaper at the bottom opening. This will secure the plant in place. Test it by turning the tube upside down and make sure that the plastic bag with soil does not fall down.
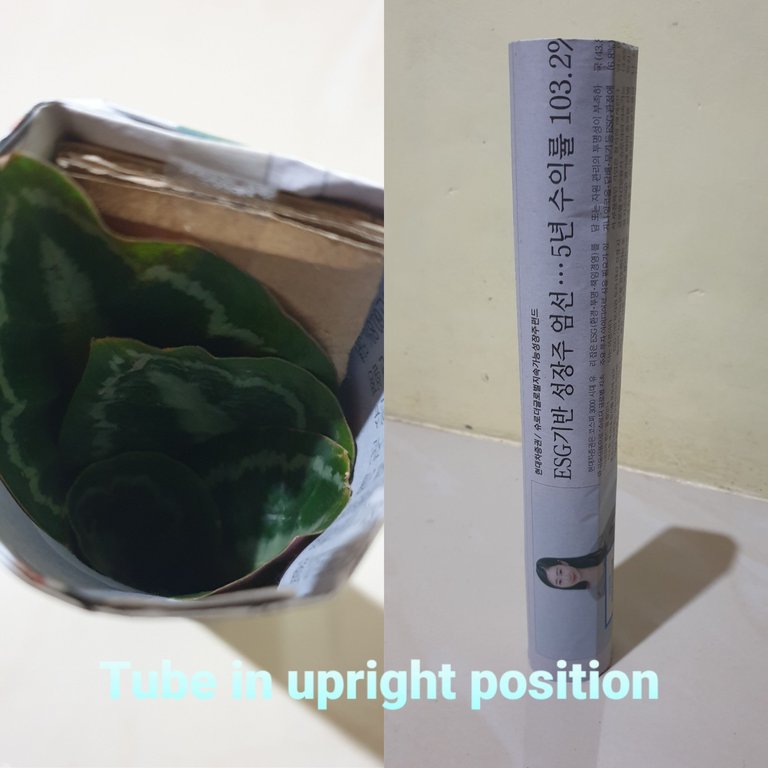
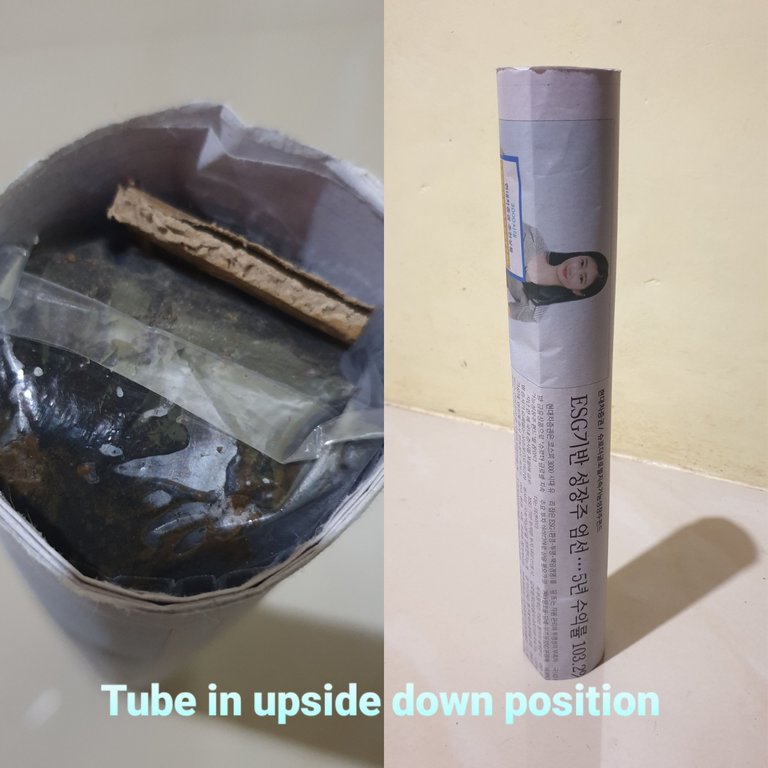
Next is to create the box. I create the box as and when the order comes in because the plants have no fixed size. I recycle boxes for this purpose.
To create the box, measure the length and width of the plastic bag of the plant. These will be the length (BL) and width (BW) of the box to be created. The height (BH) will be the same as the length of the cardboard strip plus extra for the cover.
The size of the cardboard needed for the box will be:
Width = (BL + BW) x 2 plus at least 1 cm (the extra 1 cm is to connect 1 corner of the box)
Length = BH plus whichever is smaller between BL and BW
Work on the front or outside of cardboard so the clean side will come out when it is turned inside out as the final box.
Measure across the width of the cardboard and mark the BL and BH alternately, twice each to complete the sides of the box, then the extra 1 cm.
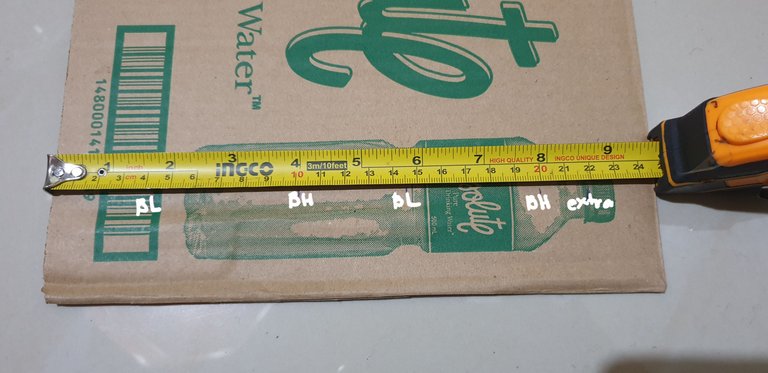
Mark the measurements and fold the cardboard like a dismantled box.
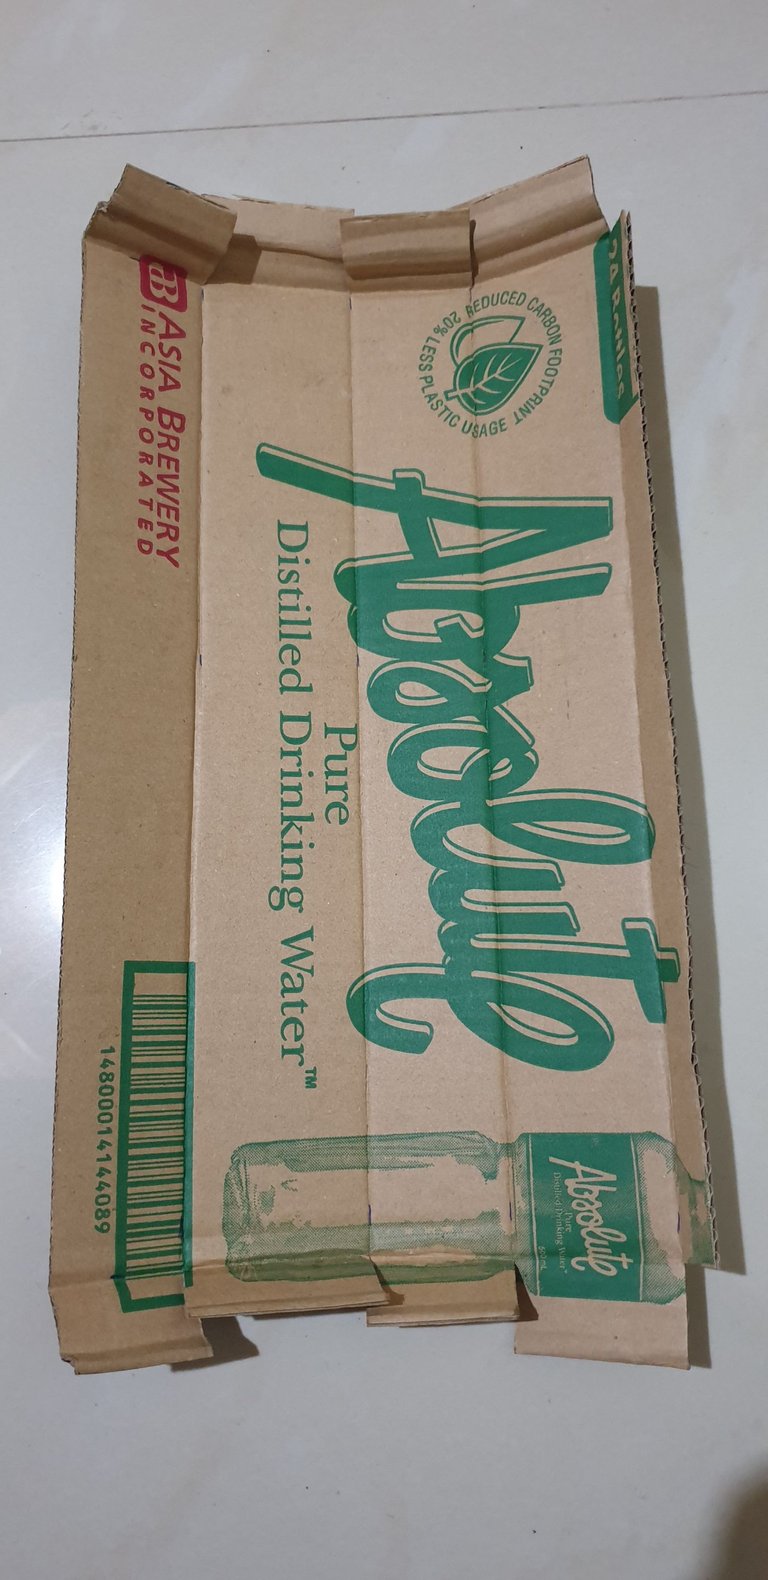
Put the plant tube in the dismantled box. Putting it inside before closing the box is better to ensure close hold of the tube and that the tube will not get crumpled while being put inside the box.
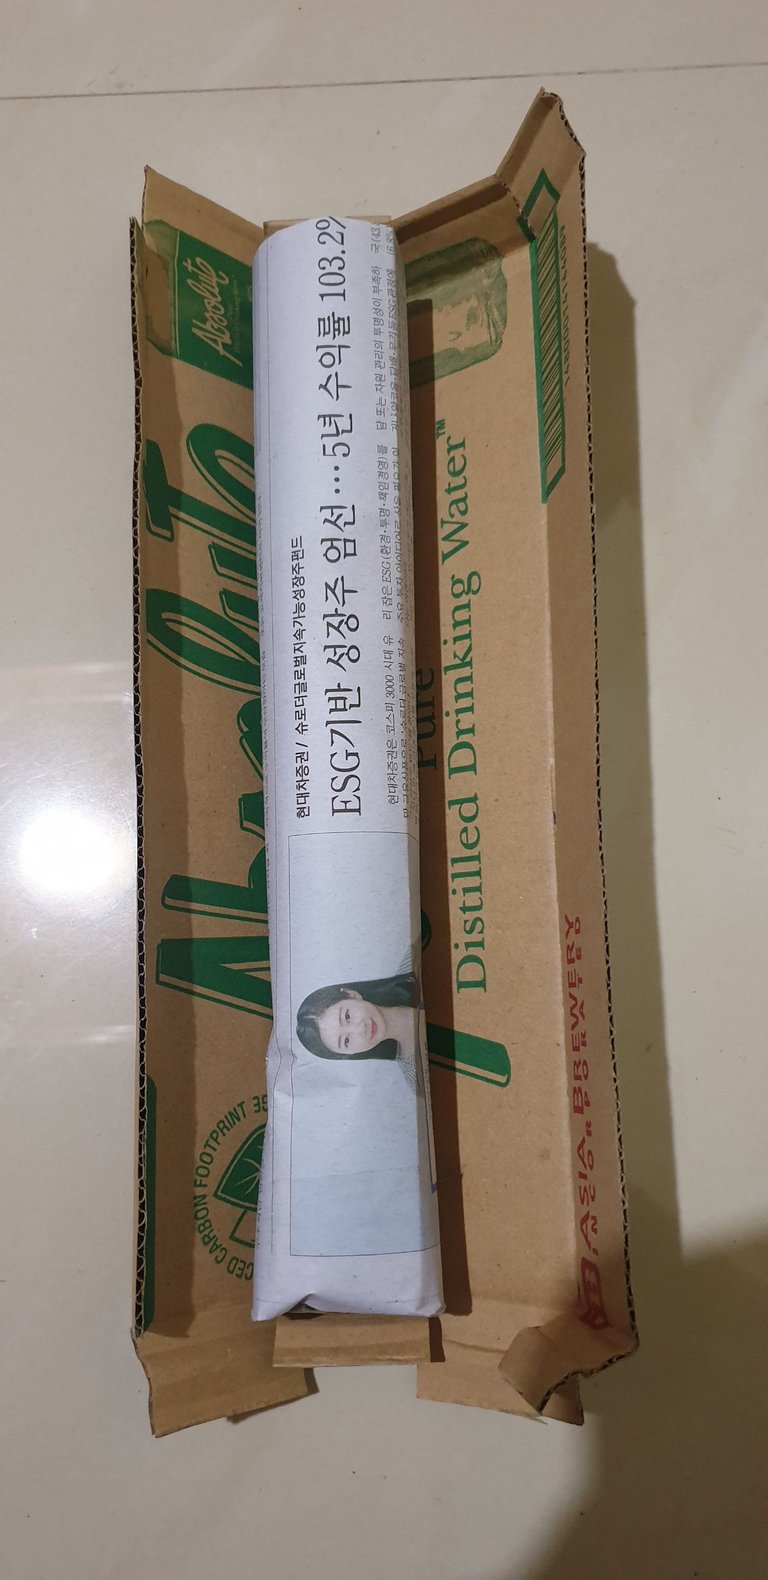
Close the side of the box by taping the extra 1 cm with the other end of the cardboard. Use a double-sided tape and on three spots - one on both ends and one on the middle - for better hold. Also close the bottom side of the box. Ensure strong hold of the tapes on all spots so the box won't open up while in transit.
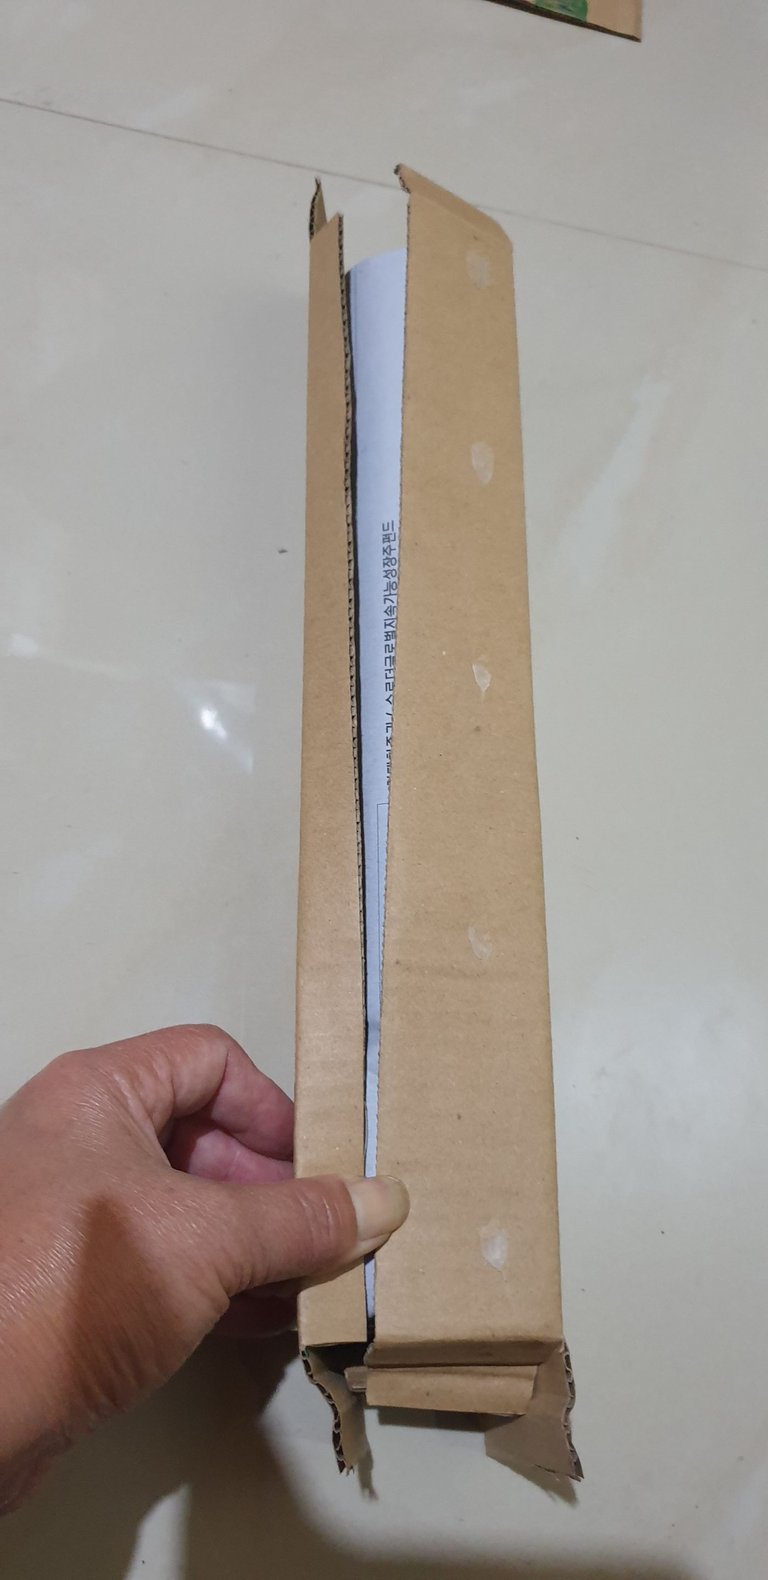
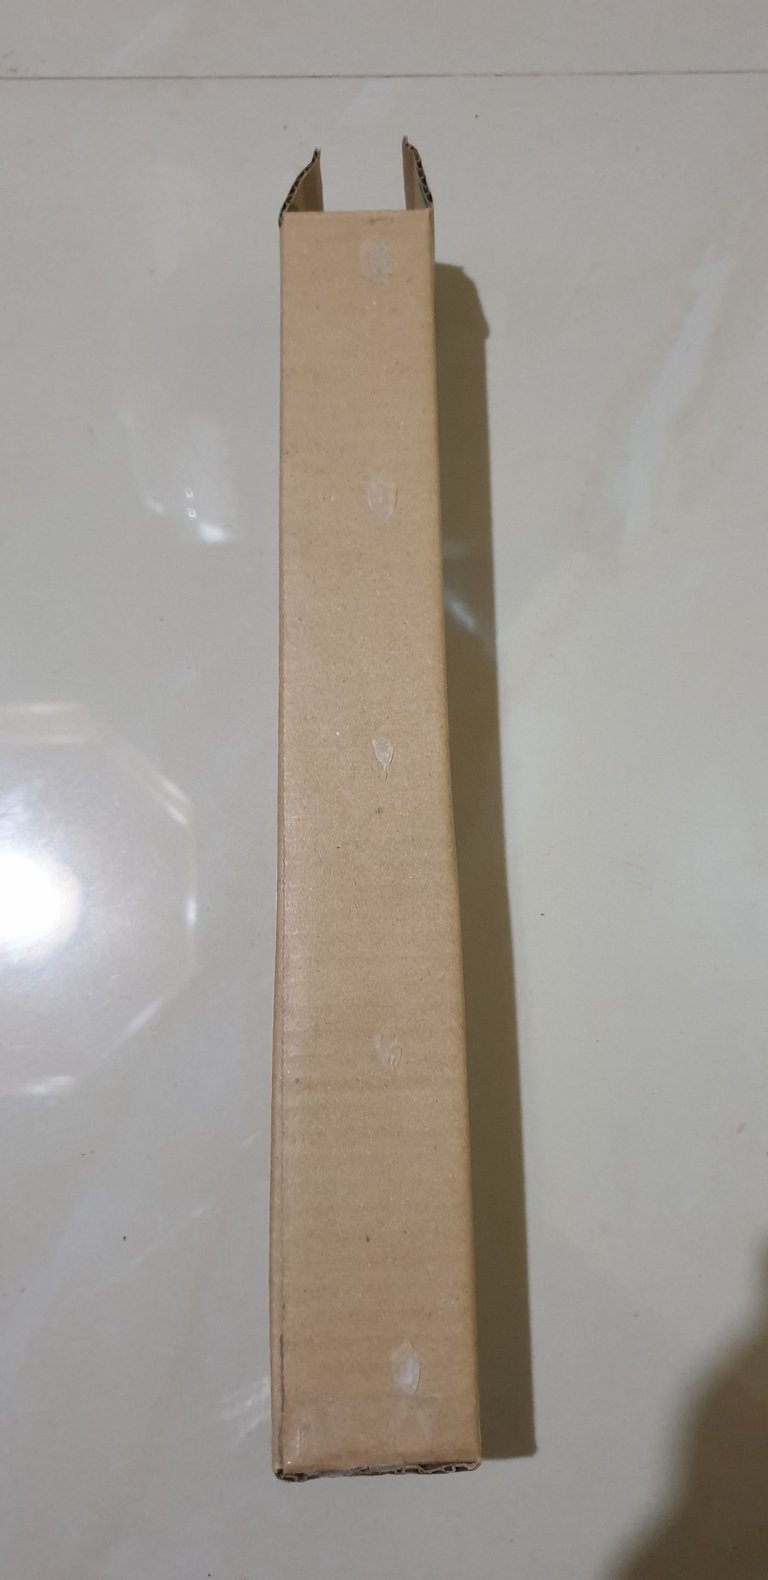
On the top portion of the box, put a note to let the receiver know that is the top side. This will let the receiver know which side to open.
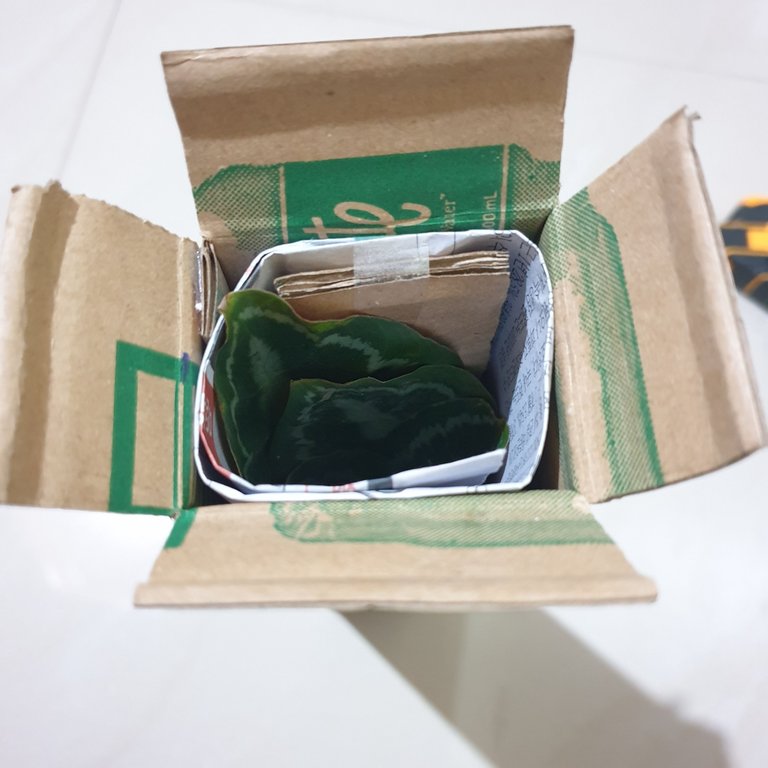
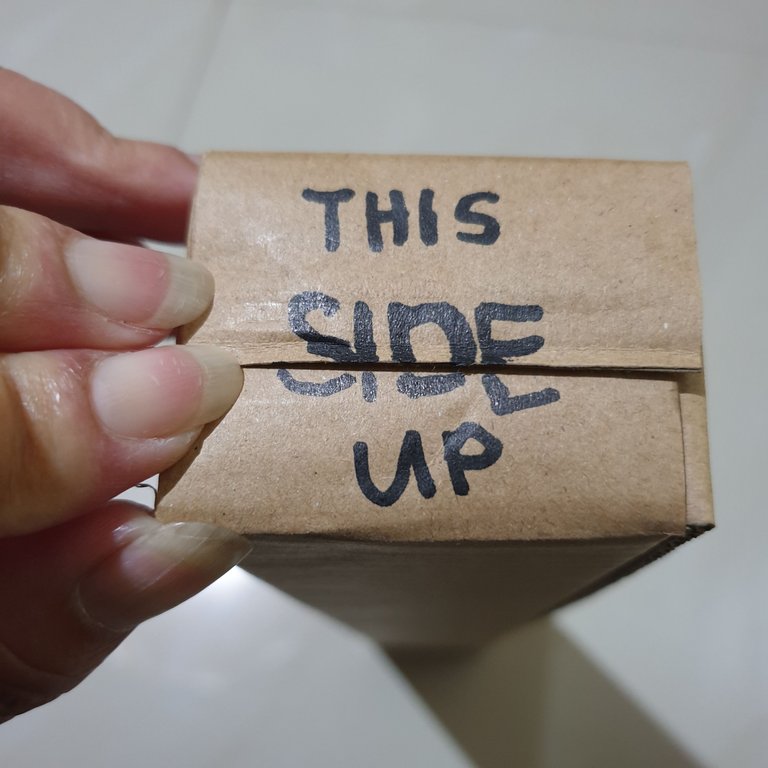
This is my last photo for now. I keep the box open and will just finally seal it when the courier rider arrives to pick it up.
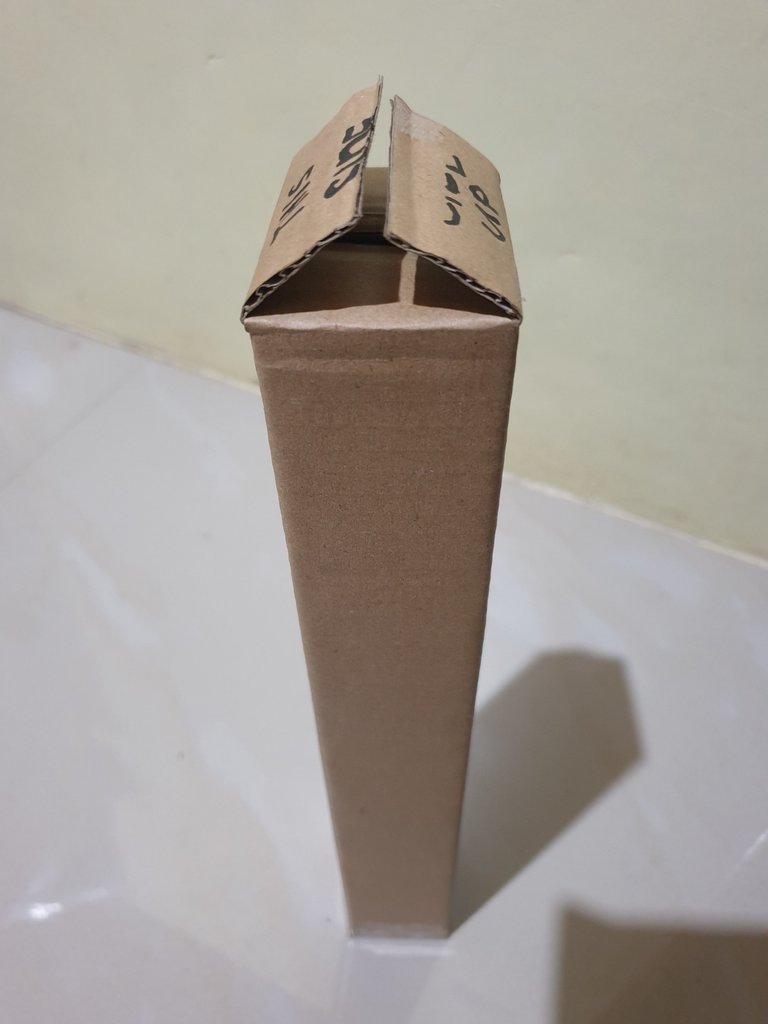
It was very challenging at first then got much easier as orders kept coming. I get used to what I do and I get better. 😊
Thank you for sharing this post in the DIYHUB Community!
Your content got selected by our fellow curator tibfox & you just received a little thank you upvote from us for your great work! Your post will be featured in one of our recurring compilations which are aiming to offer you a stage to widen your audience within the DIY scene of Hive. Stay creative & HIVE ON!
Thank you very much @tibfox and @diyhub for your support! 😊💖
You're welcome. That packaging is really good. 😊
Congratulations @macoolette! You have completed the following achievement on the Hive blockchain and have been rewarded with new badge(s):
You can view your badges on your board and compare yourself to others in the Ranking
If you no longer want to receive notifications, reply to this comment with the word
STOPThank you
You are welcome @macoolette, that's with pleasure! We wish you a happy buzzy week 😊👍🐝🌹