
Felíz domingo comunidad DiyHub, saludos para cada uno de los miembros que hacen parte de este espacio creativo, espero se encuentren bien también quiero desearles un buen comienzo de semana, lleno de oportunidades y cosas buenas, hoy les quiero compartir mi participación en el concurso de arte Splinterlands semanal a través de las manualidades, en cada carta podemos encontrar detalles únicos que se pueden transformar en una bella creación hecha con nuestras propias manos.
Happy Sunday DiyHub community, greetings to each of the members who are part of this creative space, I hope you are well. I also want to wish you a good start to the week, full of opportunities and good things. Today I want to share with you my participation in the weekly Splinterlands art contest through crafts. In each letter we can find unique details that can be transformed into a beautiful creation made with our own hands.
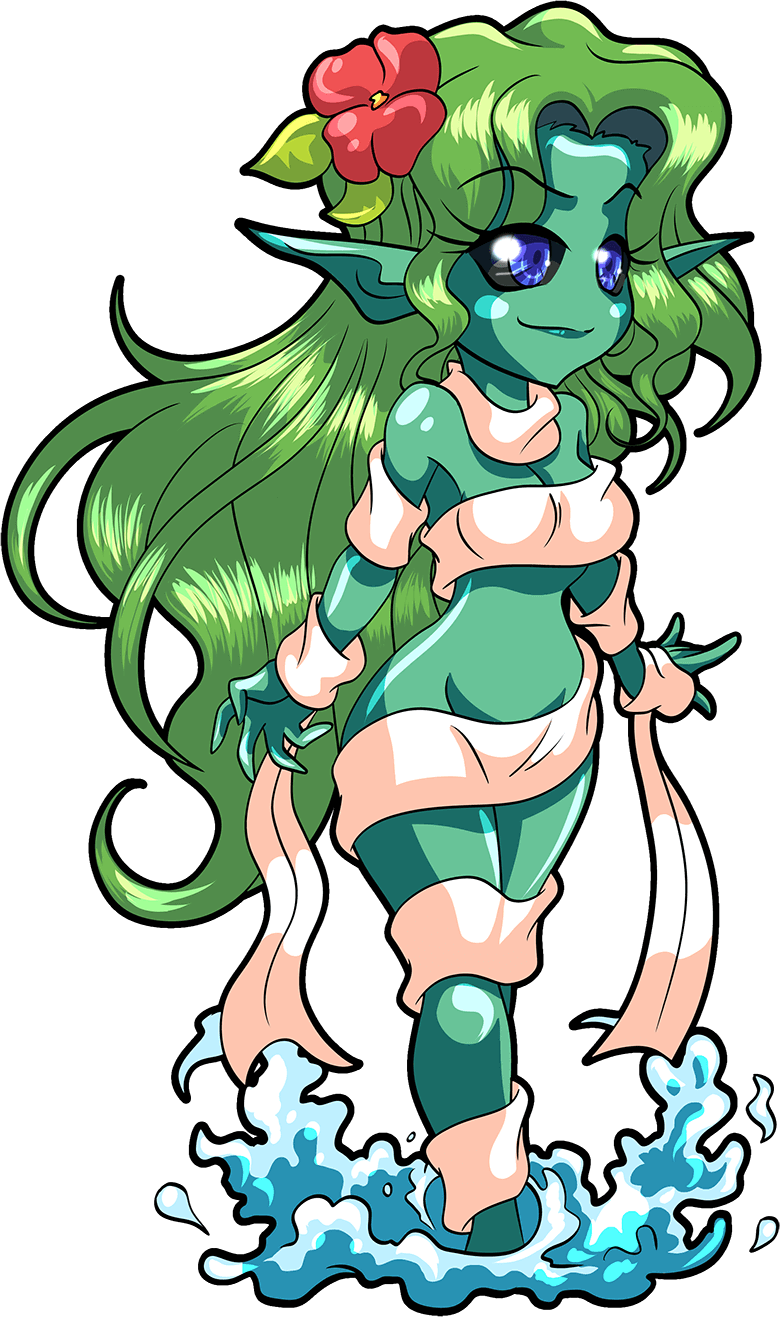
En esta oportunidad para el concurso de arte Splinterlands semana 337 realicé una flor en limpiapipas inspirada en la ninfa del bosque, al observar su aspecto de color de piel y accesorios me gustó la flor roja que lleva en su cabello, es por ello que realicé un llavero de flor en limpiapipas, este bello colgante lo puedes usar para llaves o bolso, a continuación los materiales y el paso a paso.
This time for the Splinterlands art contest week 337 I made a pipe cleaner flower inspired by the wood nymph, looking at her skin color and accessories I liked the red flower she wears in her hair, that's why I made a pipe cleaner flower keychain, you can use this beautiful pendant for keys or a bag, below are the materials and the step by step.
| Materiales | Materials |
|---|---|
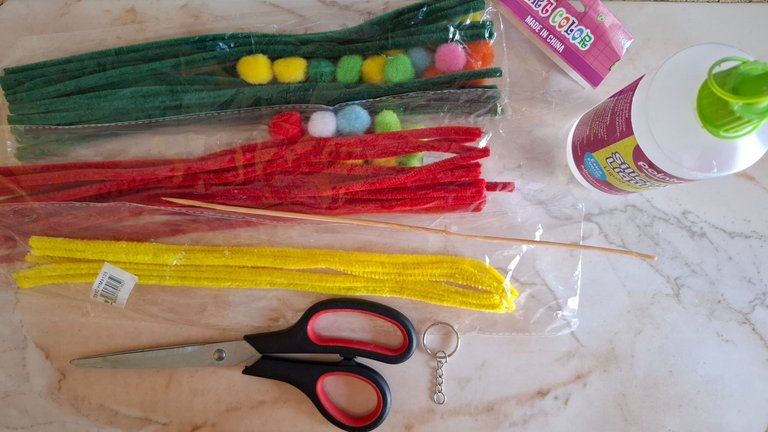
| Limpiapipas rojos | red pipe cleaners |
| Limpiapipas verdes | green pipe cleaners |
| Limpiapipas amarillos | Yellow pipe cleaners |
| Palillo | Toothpick |
| Tijera | Scissors |
| Silicón | Silicone |
| Aro para llavero | Keychain ring |
Paso a paso / Step by step
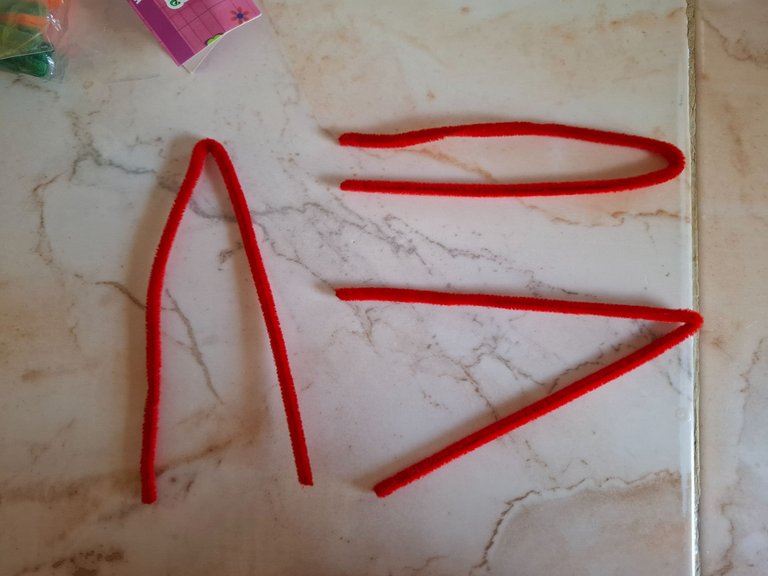
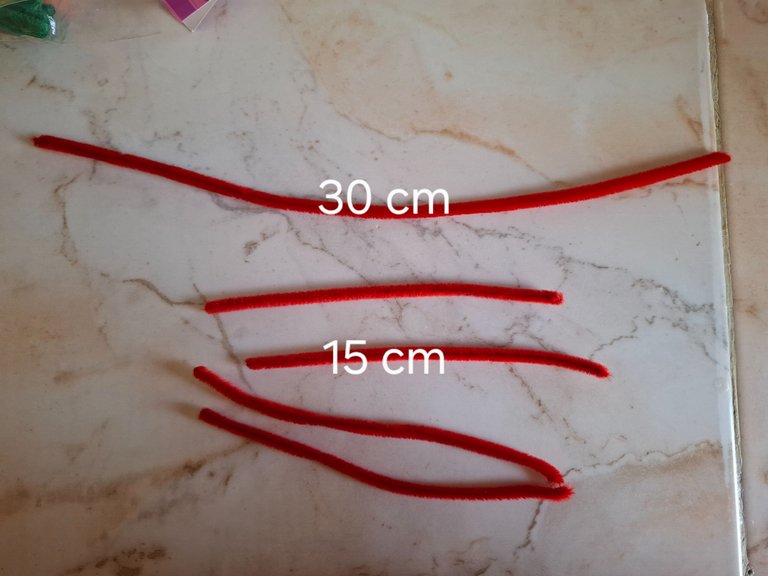
Voy a realizar cinco pétalos y para cada uno utilizaré tres limpiapipas, para el primer petalo voy a cortar dos limpiapipas en la mitad cada uno mide 15 cm y un limpiapipas completo de 30 cm.
I'm going to make five petals and for each one I'll use three pipe cleaners. For the first petal I'm going to cut two pipe cleaners in half, each one measuring 15 cm, and a complete pipe cleaner measuring 30 cm.
 |  |
|---|
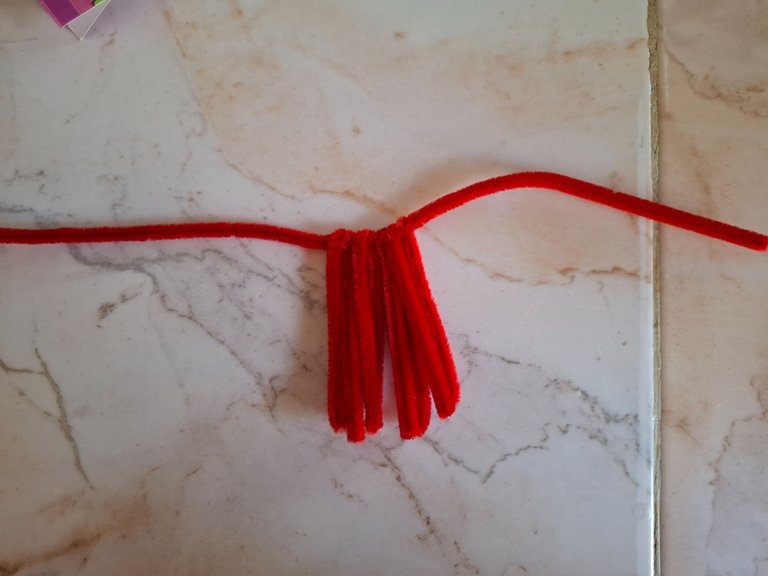
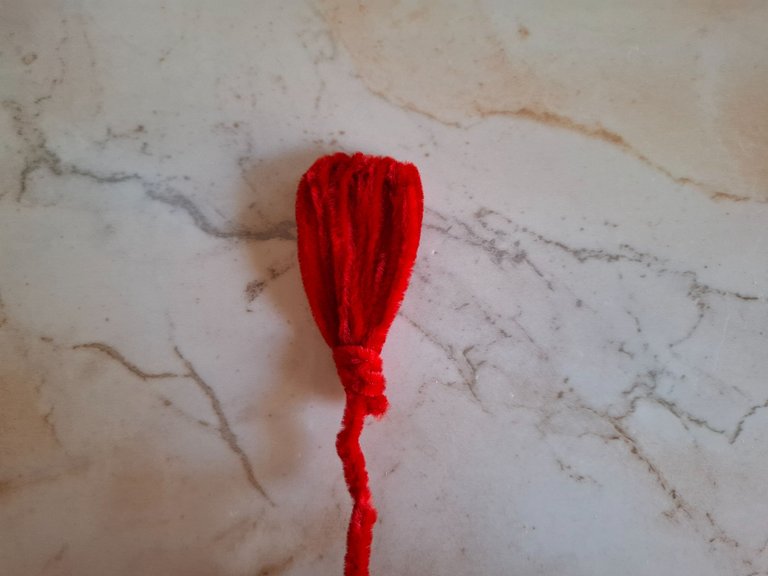
Voy a colocar las cuatro mitades de limpiapipas en el centro del limpiapipas completo, y voy a unir todas las partes, con una de las puntas del limpiapipas grande voy a enrollar en la parte final para sostener y formar el pétalo.
I'm going to place the four pipe cleaner halves in the center of the complete pipe cleaner, and I'm going to join all the parts together. With one of the tips of the large pipe cleaner, I'm going to wrap it around the end to hold it and form the petal.
 |  |
|---|
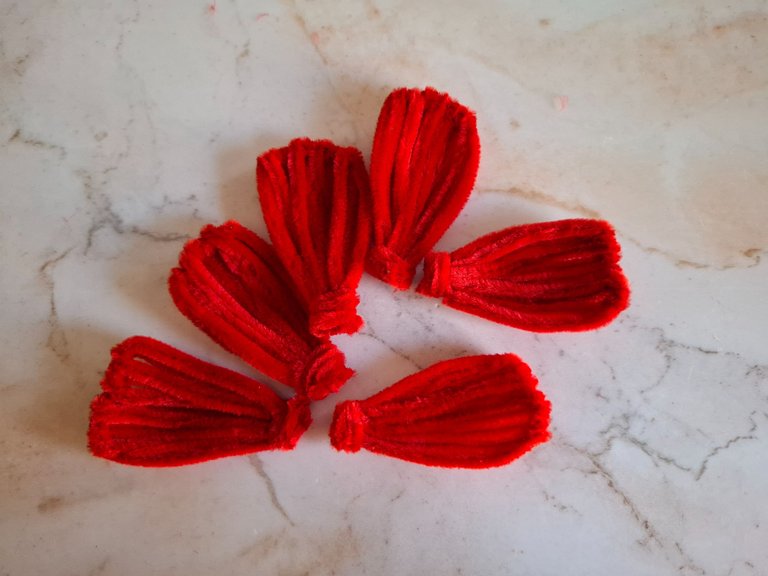
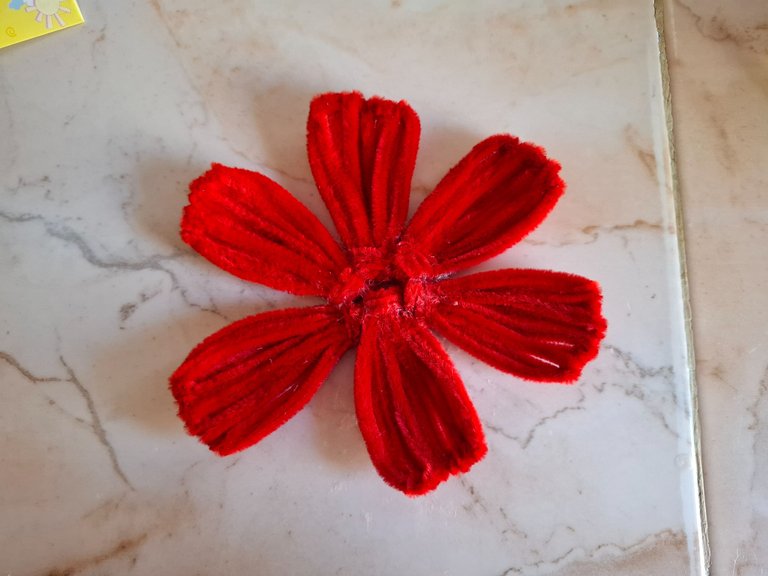
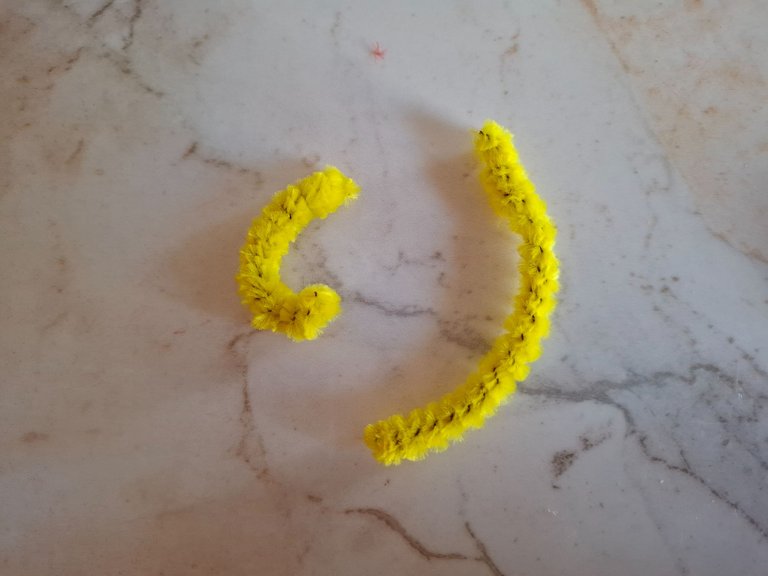
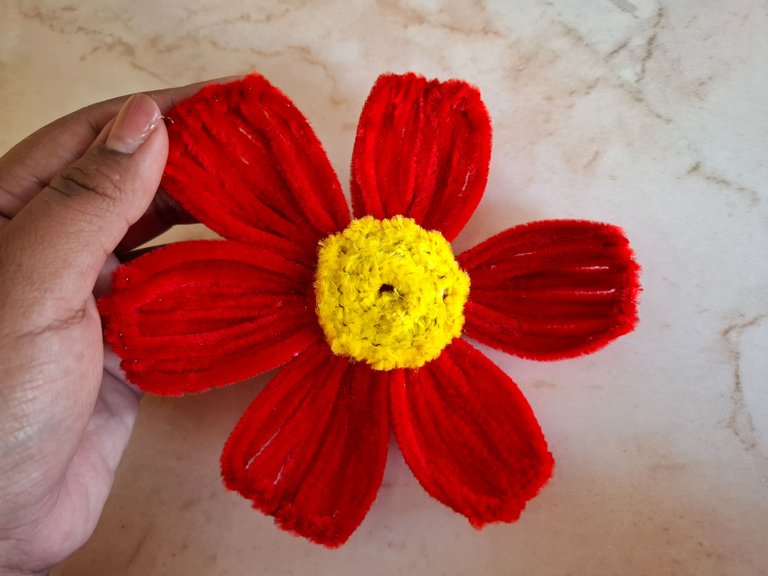
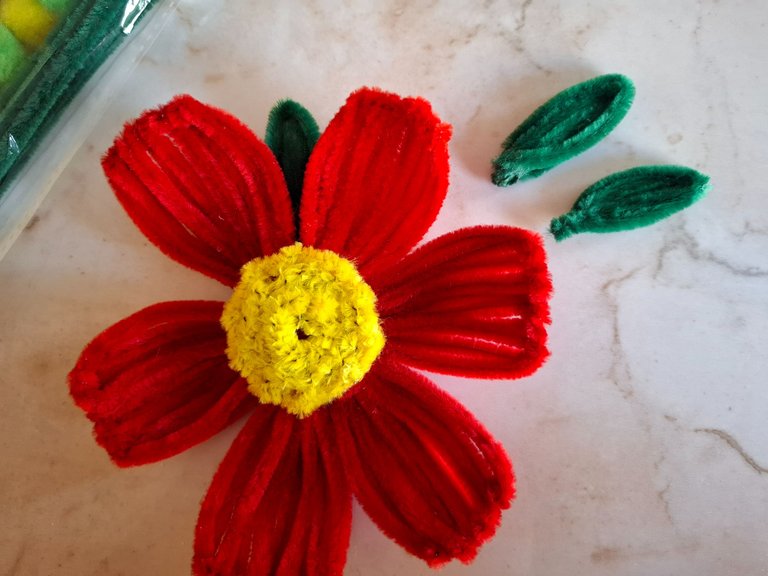
Este paso lo voy a realizar cuatro veces más, cortamos la parte final sobrante y pegamos los pétalos, para realizar el centro de la flor voy a enrollar tres limpiapipas amarillos en un palillo y los pegamos de forma circular hasta cubrir el espacio por completo.
I'm going to repeat this step four more times. We cut off the excess end and glue the petals. To make the center of the flower, I'm going to wrap three yellow pipe cleaners around a toothpick and glue them in a circular shape until the space is completely covered.
 |  |
|---|
 |  |
|---|
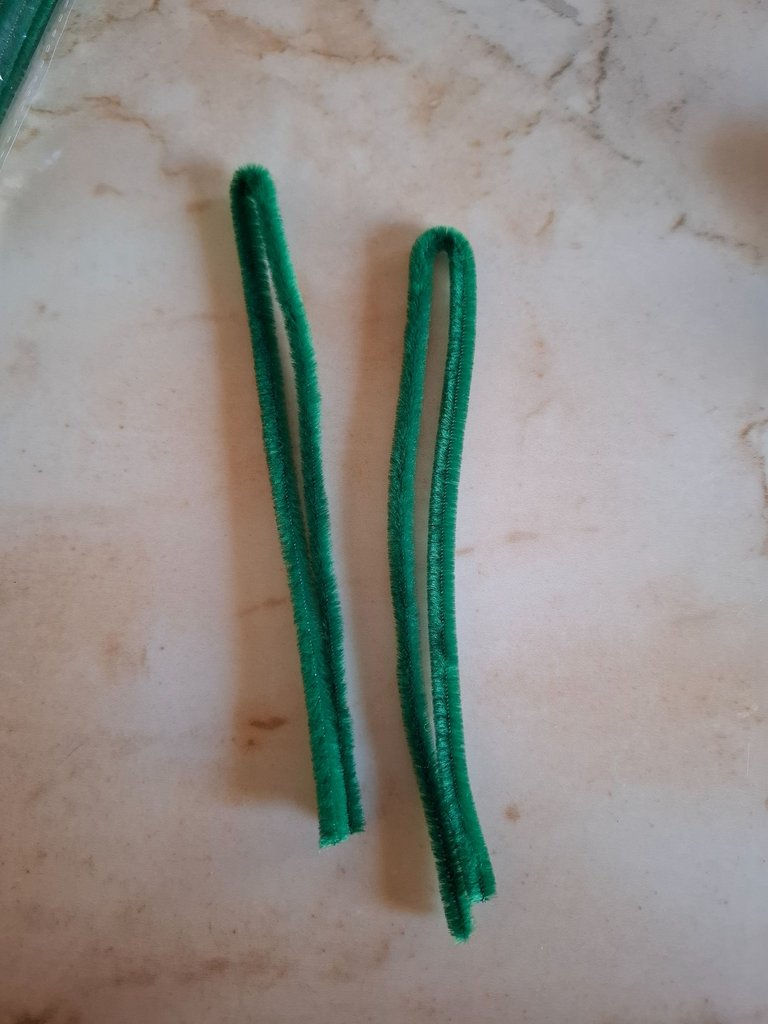
Ahora voy a realizar las hojas de la flor, para esto utilicé tres limpiapipas, doblamos en la mitad, tomamos una medida de unos 2 cm y doblamos hasta formar una hoja, pegamos en la parte trasera y colocamos el aro para llavero.
Now I'm going to make the leaves of the flower, for this I used three pipe cleaners, we folded them in half, took a measurement of about 2 cm and folded them until they formed a leaf, glued them on the back and attached the key ring.
 |  |
|---|
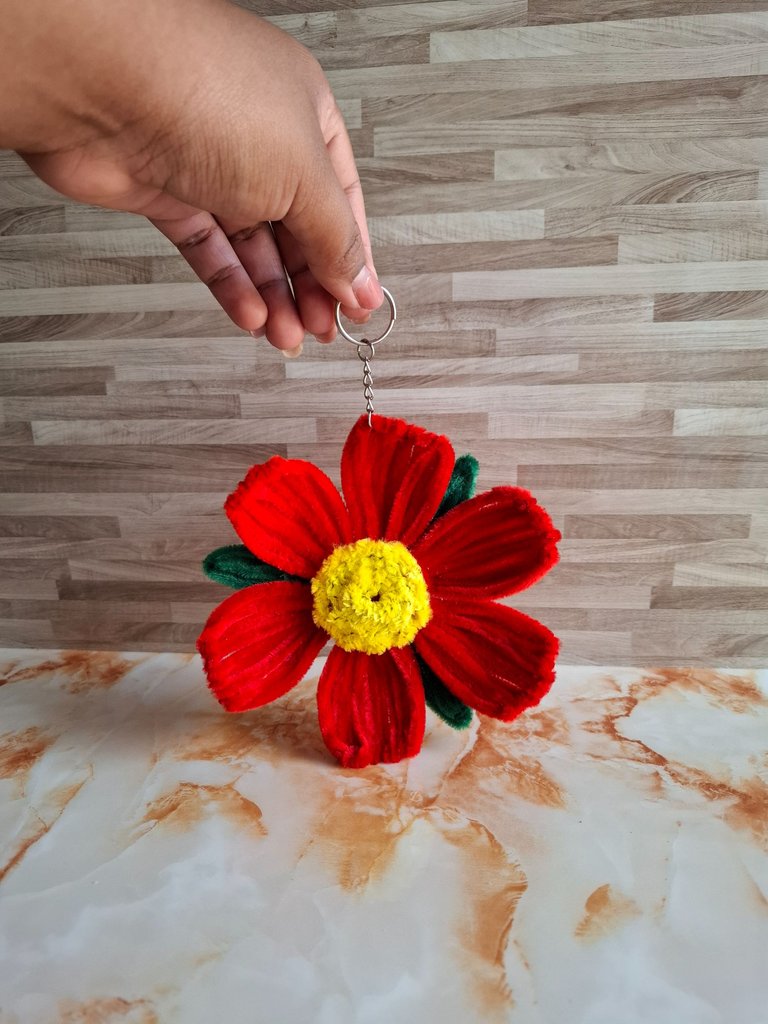
De ésta forma culminé la flor inspirada en la ninfa del bosque, espero les haya gustado el resultado, nos vemos en una próxima oportunidad con más ideas creativas. Muchísimas gracias por el apoyo.
This is how I finished the wood nymph-inspired flower. I hope you like the result. See you next time with more creative ideas. Thank you so much for the support.

Delegations welcome! You've been curated by @amazingdrinks!
Delegate Tokens and HP to Fallen Angels to earn weekly rewards!
Delegate | Join to the guildThis post has been supported by @fallen.angels guild!
The perfect combination of red and yellow, cheerful colors💥
Amazing
Great steps taken to achieve this
Wow, you sure found a lot of inspiration on this one, the end result is not only beautiful, but it looks perfect. Thank you so much for always giving your best, we at DIYHub are happy to have you.
I've never been a part of the Splinterlands world, but I'm familiar with so many iconic characters through artists like you who enhance them on DIYHub Community. It's nice to see them inspired by some detail to create content, and you're one of the best at it. Thanks for sharing it in the community...
https://bsky.app/profile/did:plc:rag2mftdy2alo7rtmyttmpk4/post/3lkl4pd5yb62r
The rewards earned on this comment will go to the author of the blog post.https://bsky.app/profile/did:plc:rag2mftdy2alo7rtmyttmpk4/post/3lkl4pd5yb62r