Saludos miembros de la comunidad DiyHub, espero se encuentren bien y que hayan tenido excelente día, hoy me encuentro en este espacio donde abunda la creatividad para compartirles una nueva publicación, también quiero desearles un excelente inicio de semana lleno de oportunidades y bendiciones.
Greetings members of the DiyHub community, I hope you are well and that you have had a great day, today I find myself in this space where creativity abounds to share a new publication with you, I also want to wish you an excellent start to the week full of opportunities and blessings.
En esta ocasión les comparto mi participación en el concurso de arte Splinterlands semana 334 en dónde me inspiré en la carta de Lobstradamus en lo que pude investigar entendí que, en el océano se puede encontrar un arrecife en dónde hay diversas cuevas allí viven varias criaturas entre ellas Lobstradamus gracias a sus estudios en una escuela especializada el podrá batallar en las guerras.
On this occasion I share with you my participation in the Splinterlands art contest week 334 where I was inspired by Lobstradamus's letter. In what I was able to investigate, I understood that, in the ocean you can find a reef where there are various caves, several creatures live there, among them Lobstradamus, thanks to his studies in a specialized school, he will be able to fight in wars.
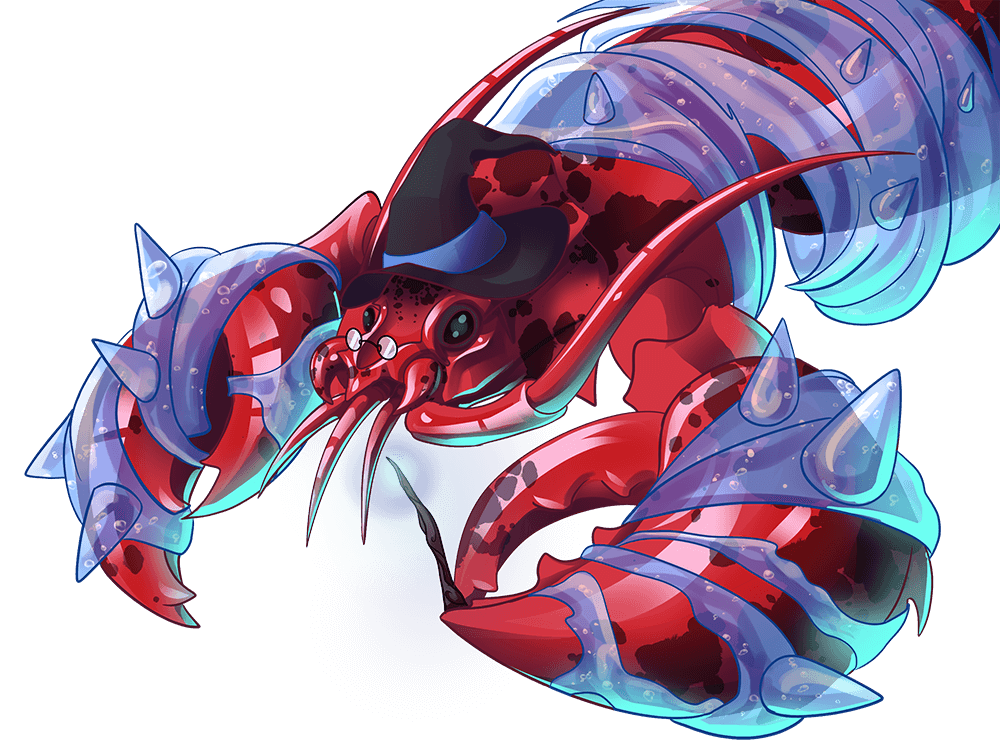
Para esta creativa manualidad me inspiré en el sombrero que lleva en su cabeza es llamativo y me pareció una buena idea realizarlo, utilicé foami y cinta, la verdad me gustó mucho ya que quedó muy parecido, espero les guste, a continuación los materiales y el paso a paso.
For this creative craft I was inspired by the hat he wears on his head, it is striking and I thought it was a good idea to do it, I used foam and tape, I really liked it since it turned out very similar, I hope you like it, below are the materials and the step by step.

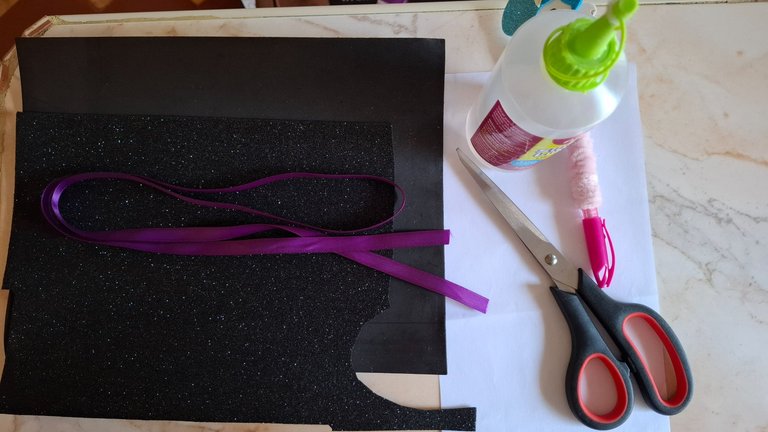
| Materiales | Materials |
|---|---|
| Foami negro escarchado y simple | Simple frosty black foam |
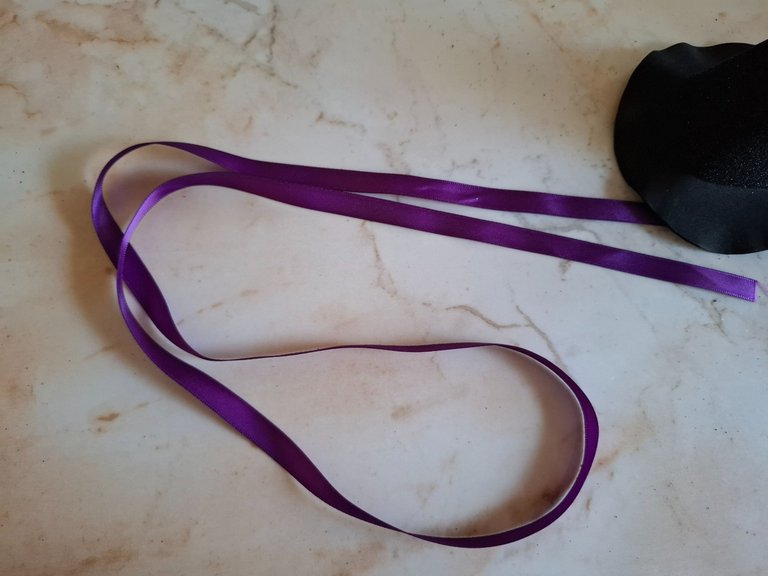
| Cinta morada | purple ribbon |
| Tijera | Scissors |
| Silicón | Silicone |
| Lapiz | Pencil |
| Exacto | Exact |
Paso a paso / Step by step
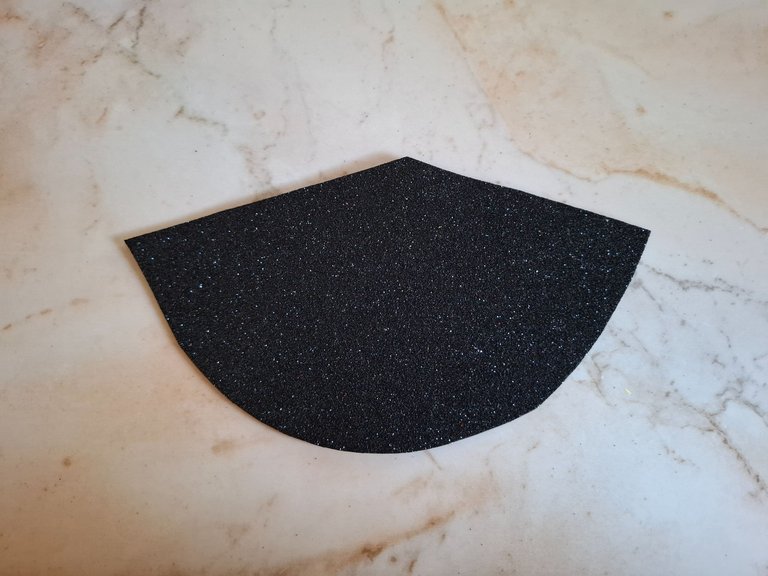
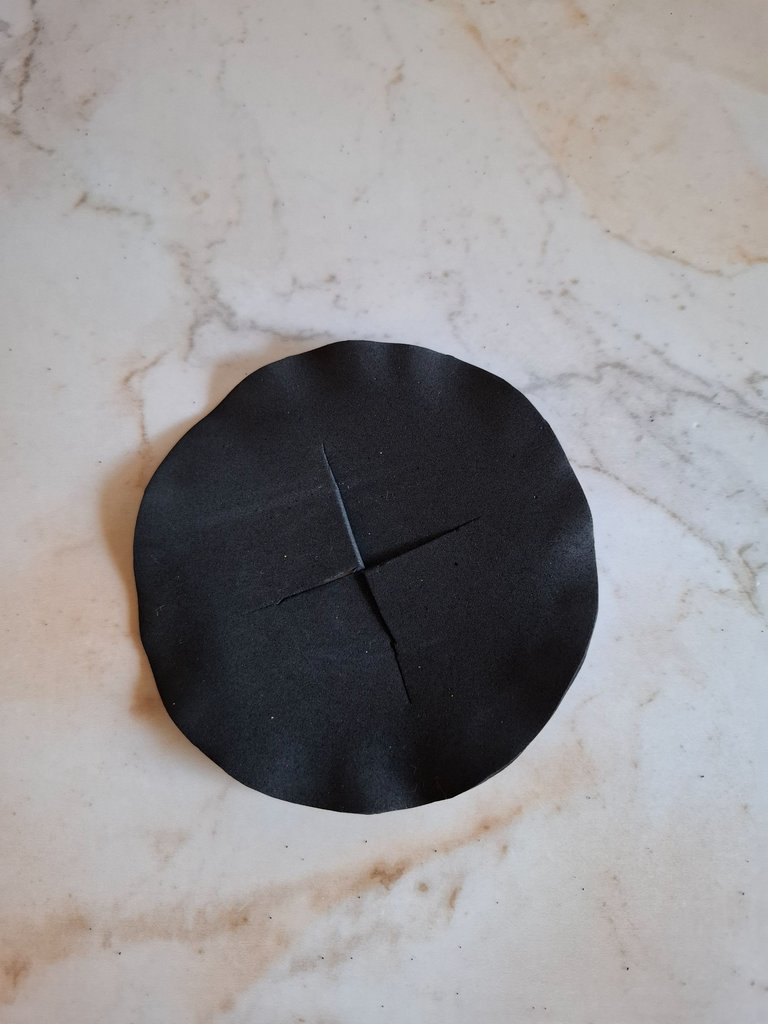
El primer paso se trata de dibujar en en el foami negro escarchado en la parte trasera un especie de abanico, con esta figura será más fácil realizar la parte principal del sombrero.
The first step is to draw a kind of fan on the frosted black foam on the back, with this figure it will be easier to make the main part of the hat.
 |  |  |
|---|
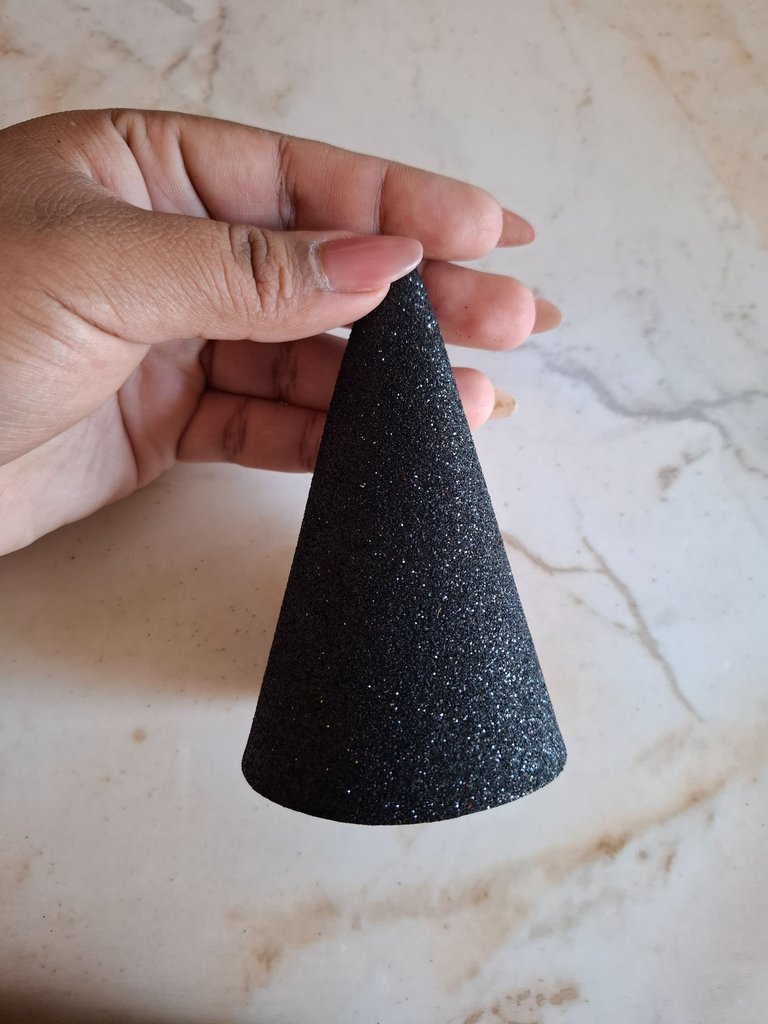
Luego de esto me voy ayudar con silicón líquido o también pueden utilizar caliente voy a unir las puntas del foami, veremos cómo se forma una especie de cono, ahora con una tijera voy a emparejar para que nos quede simétrico.
After this I'm going to help myself with liquid silicone or you can also use hot silicone, I'm going to join the tips of the foam, we'll see how a kind of cone is formed, now with a pair of scissors I'm going to match it so that it's symmetrical.
 |  |  |
|---|
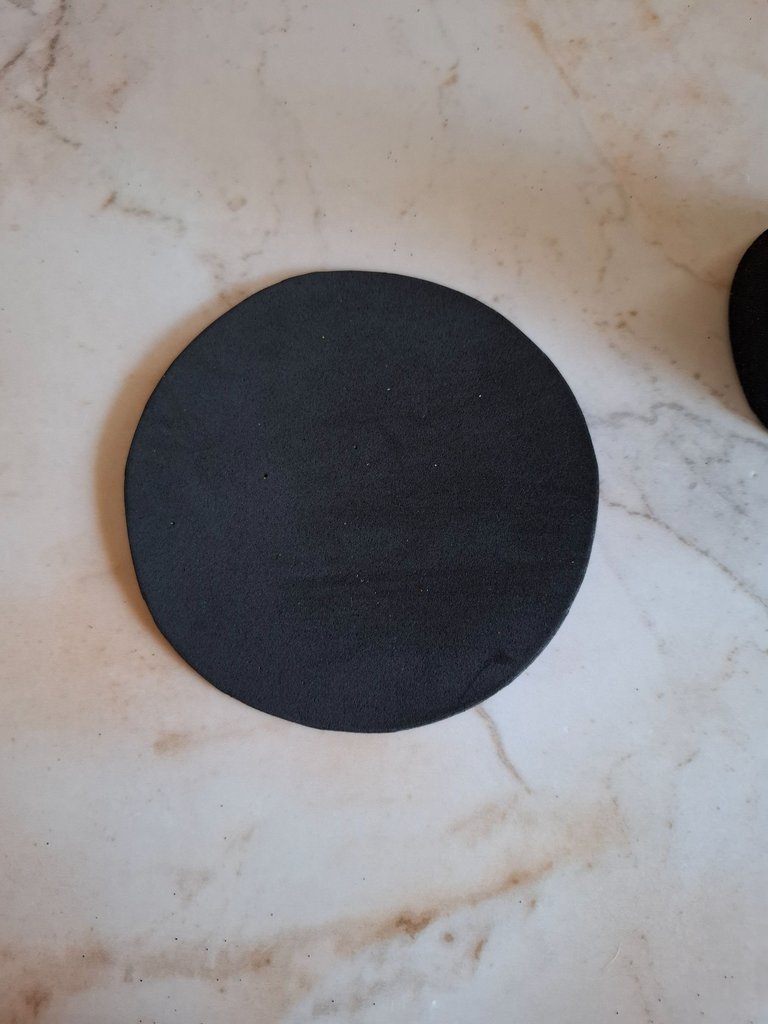
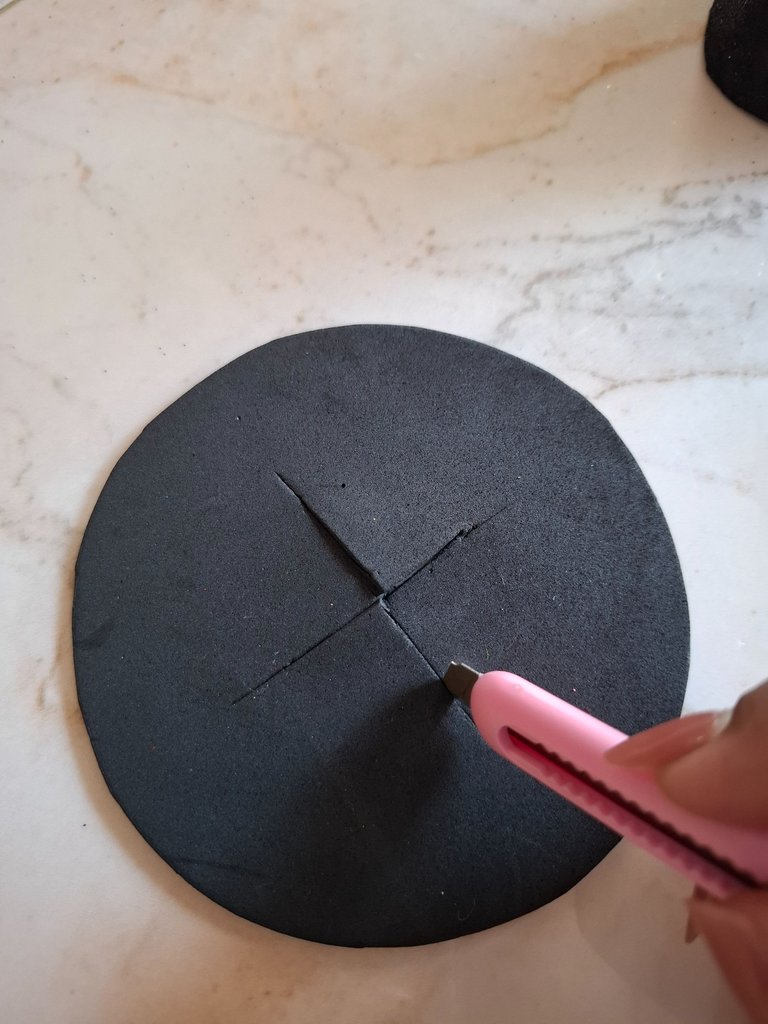
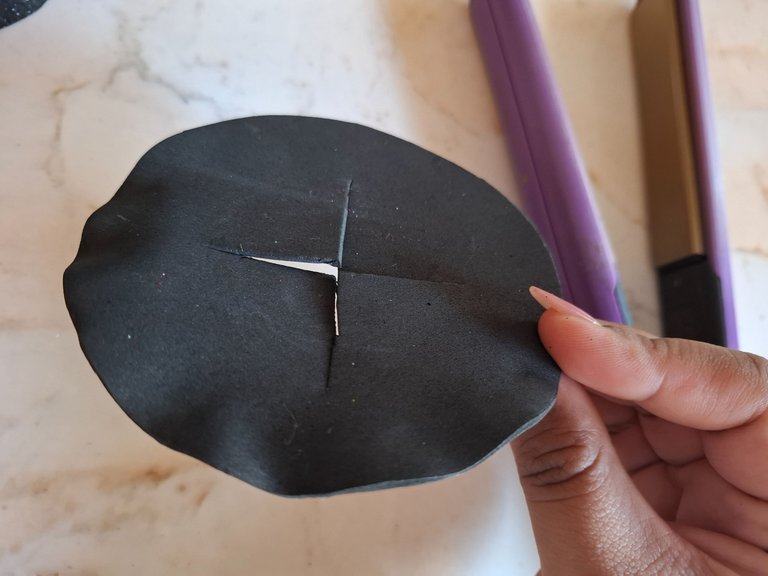
Luego voy a cortar un círculo de foami negro y con ayuda de un exacto voy a marcar dos líneas en forma de cruz en el centro, esto con el fin de poder unir al cono que realizamos anteriormente.
Then I am going to cut a circle of black foam and with the help of an exact I am going to mark two cross-shaped lines in the center, this in order to be able to join the cone that we made previously.
 |  |  |
|---|
 |  |
|---|
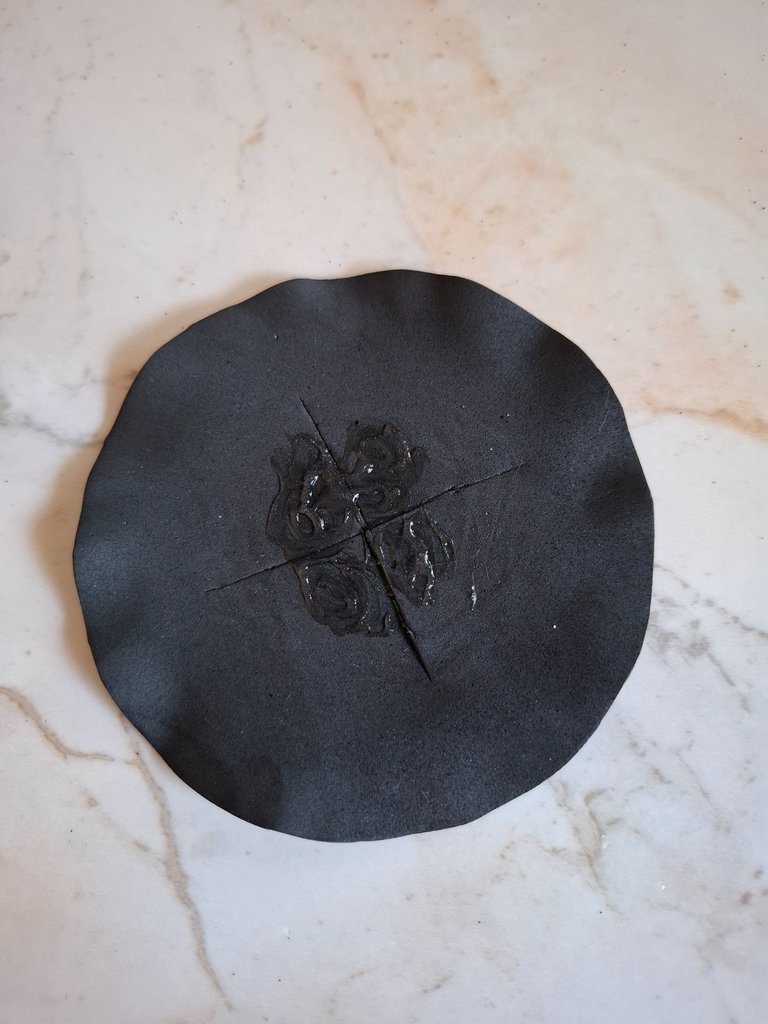
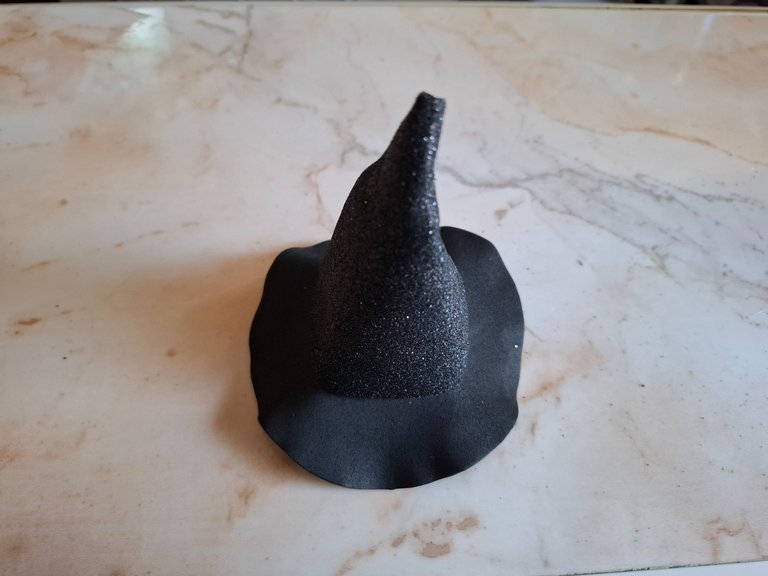
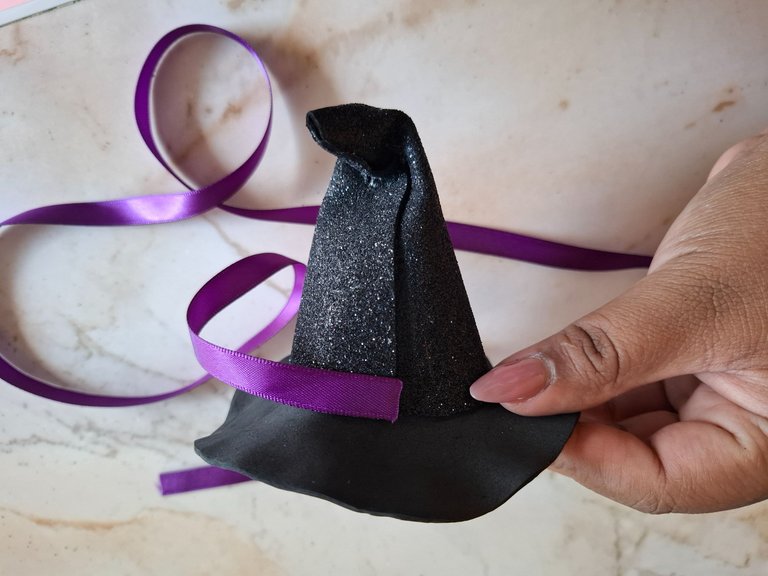
Ahora voy a termoformar con una plancha el borde del circulo, colocamos silicón en el centro y unimos al cono, luego voy a tomar la punta del sombrero y la voy a inclinar un poco hacia un lado colocamos unos puntos de silicón para fijar mejor.
Now I am going to thermoform the edge of the circle with an iron, we place silicone in the center and join it to the cone, then I am going to take the tip of the hat and I am going to tilt it a little to one side and place some silicone dots to fix it better.
 |  |
|---|
 |  |
|---|
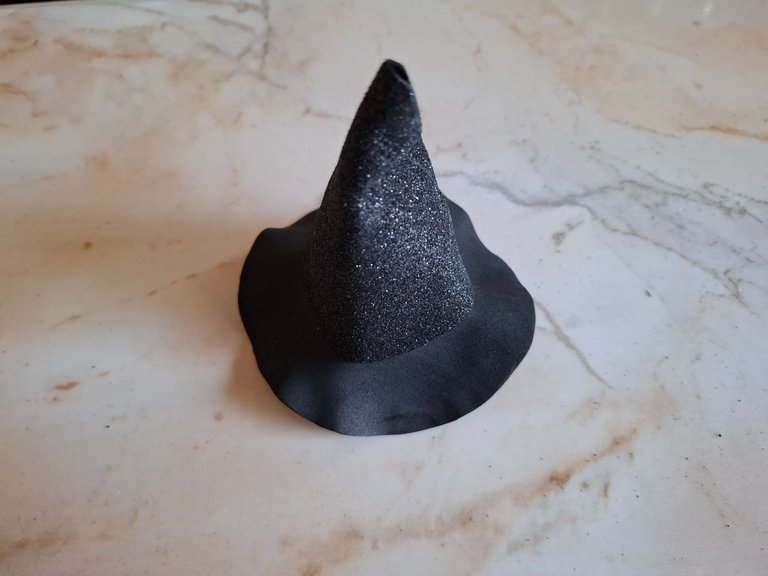
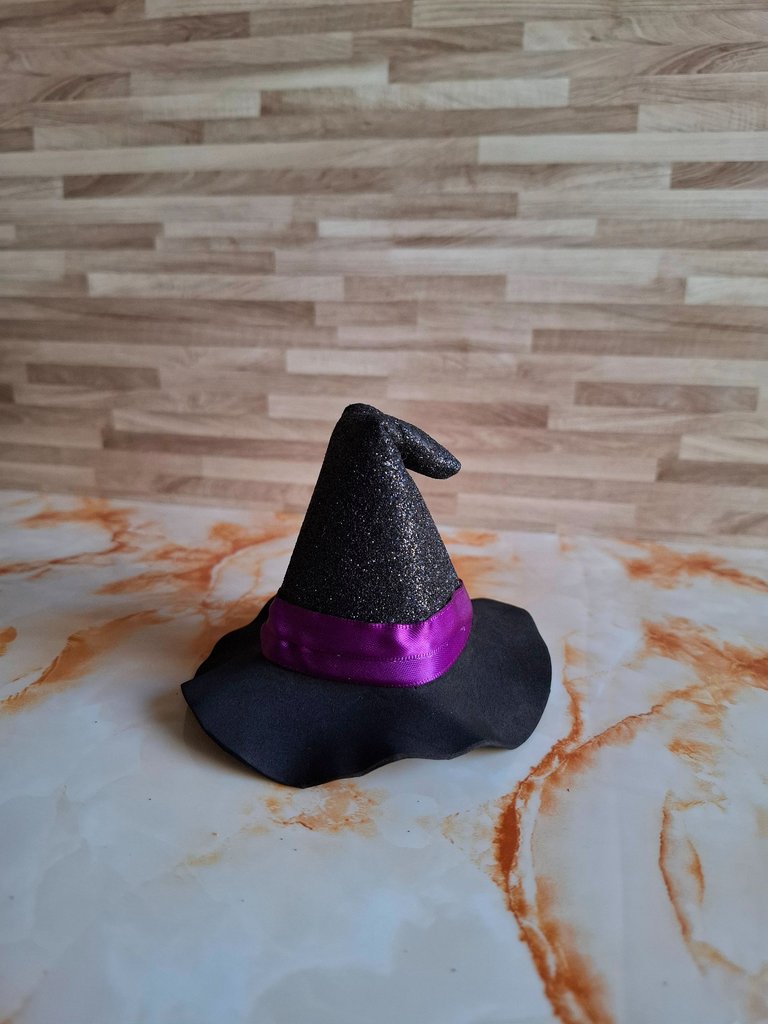
El último paso es colocar la cinta de color morado en la parte inferior, y así terminé este creativo sombrero inspirado en Lobstradamus, espero les haya gustado el resultado final, muchas gracias por visitar mi publicación nos vemos en una próxima oportunidad.
The last step is to place the purple ribbon at the bottom, and that's how I finished this creative hat inspired by Lobstradamus. I hope you liked the final result. Thank you very much for visiting my publication. See you next time.

Contenido original. - original content.
Los separadores y banner fueron realizados en Canva. - The dividers and banner were made in Canva.
Fotografías tomadas con mi Samsung A55. - Photographs taken with my Samsung A55.
Gif creado desde Giphy / Gif created from Giphy
Traducción de: Google traductor - Translation of: Google translator.
Posted Using INLEO
This post was shared and voted inside the discord by the curators team of discovery-it
Join our Community and follow our Curation Trail
Discovery-it is also a Witness, vote for us here
Delegate to us for passive income. Check our 80% fee-back Program
You are creative, when I was a kid, I made a bag with glitter sheet🥰
Congratulations @marile21! You have completed the following achievement on the Hive blockchain And have been rewarded with New badge(s)
You can view your badges on your board and compare yourself to others in the Ranking
If you no longer want to receive notifications, reply to this comment with the word
STOP!discovery 30
Wow, it's nice to see how you represent Splinterlands through your creativity. Thanks for sharing it on DIYHub, there is a lot of quality in your work and it is an example for everyone.
https://bsky.app/profile/did:plc:rag2mftdy2alo7rtmyttmpk4/post/3livyquif532j
The rewards earned on this comment will go to the author of the blog post.https://bsky.app/profile/did:plc:rag2mftdy2alo7rtmyttmpk4/post/3livyquif532j
I love your creativity. The tutorial is so well explained that it makes me want to make a hat. Thank you for sharing.