Happy 2025 dear friends of DIYHUB ❤️
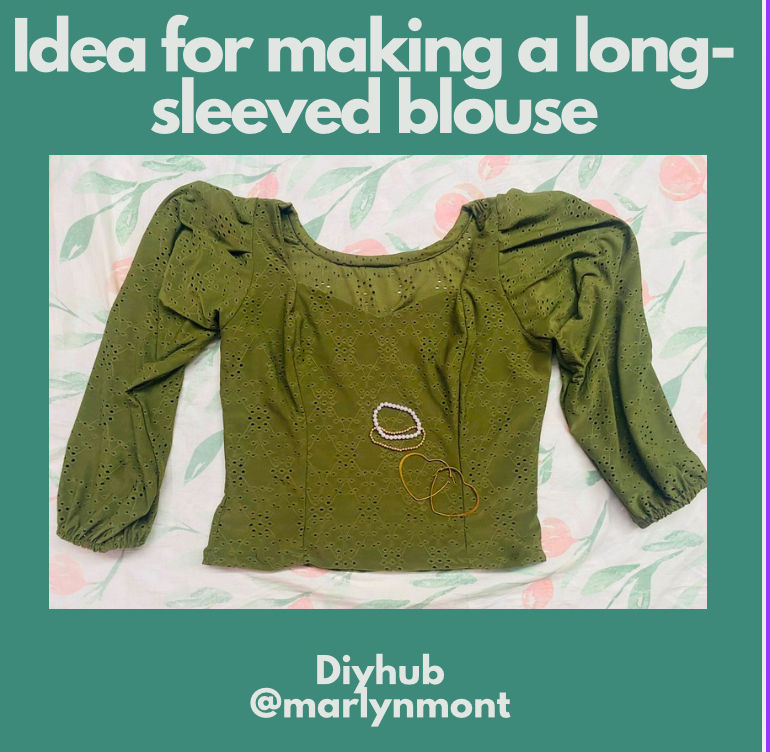
Hoping that this New Year comes loaded with many successes for everyone, today I want to show you an idea to make a nice long-sleeved blouse and start the year with what I am most passionate about, the art of sewing 🪡🧵, come and I will show you how to make it:
Feliz 2025 queridos amigos de DIYHUB ❤️
Deseando que este Año Nuevo venga cargado de muchos éxitos para todos, hoy quiero mostrarles una idea para hacer una linda blusa manga larga y arrancar el año con lo que más me apasiona, el arte de la costura 🪡🧵, ven y te muestro como confeccionarla:
MATERIALS
MATERIALES
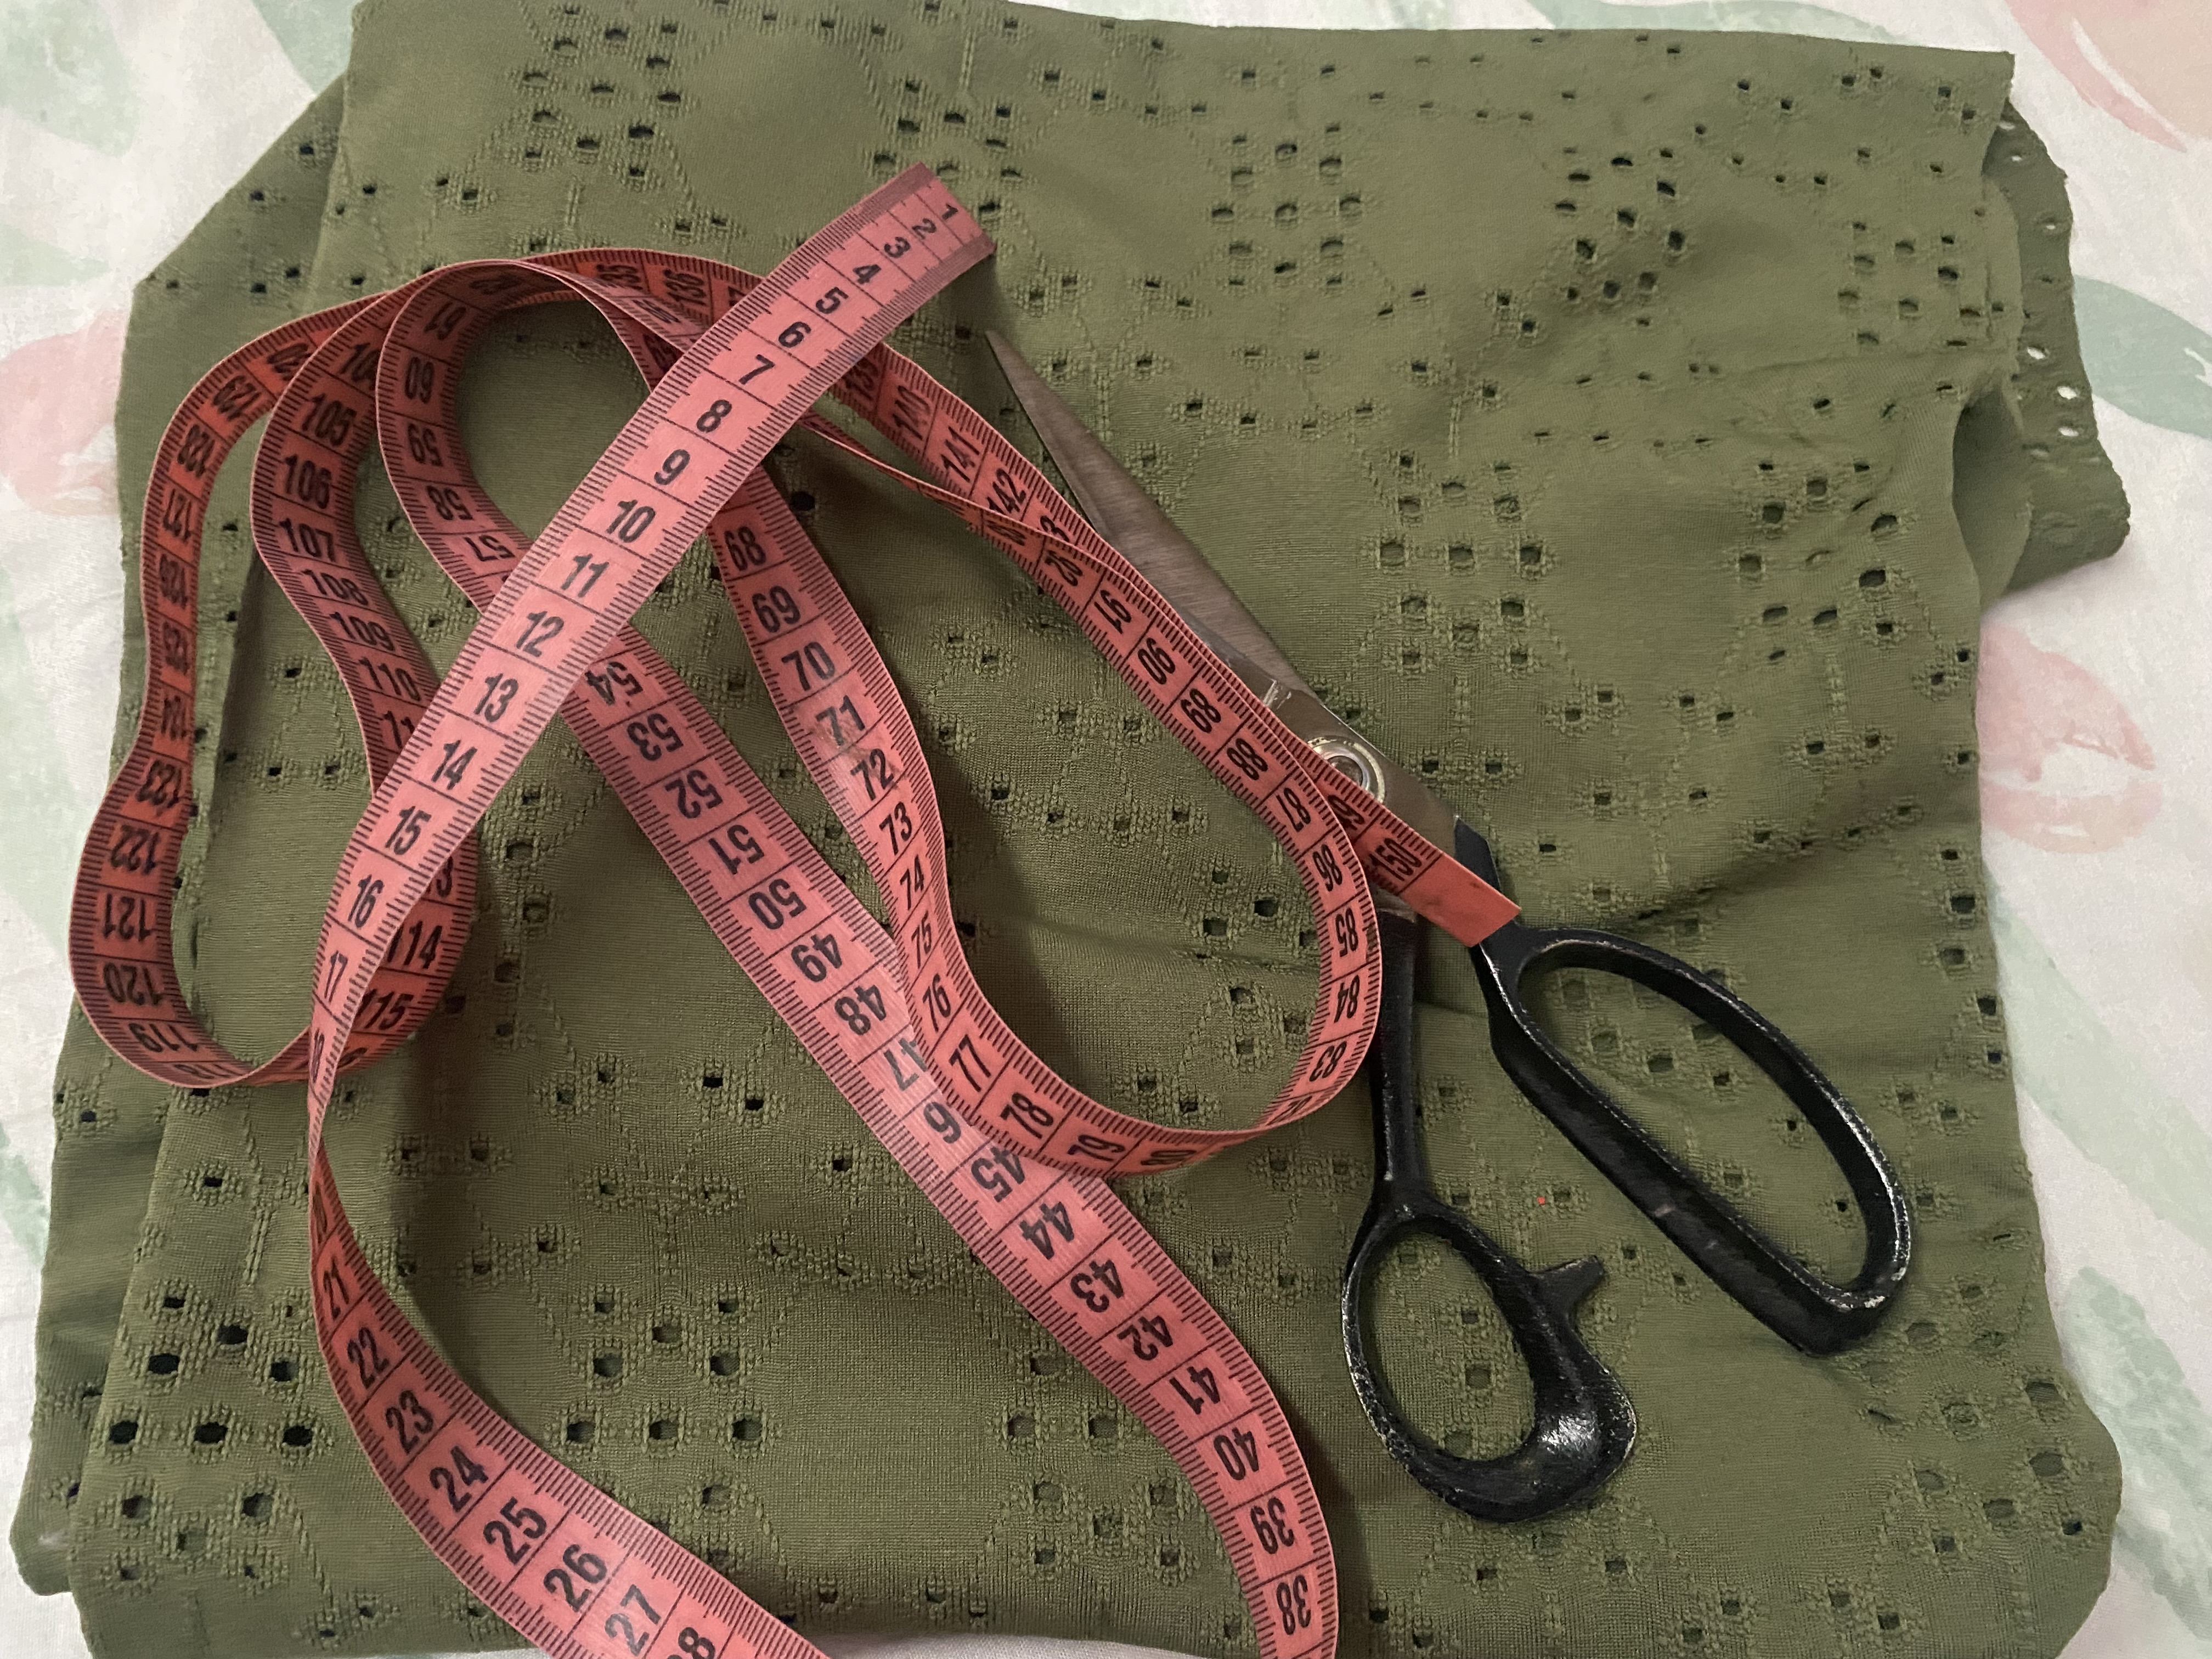
To make this blouse I'm going to use or be guided by one of my crop top patterns that I have. I really enjoyed working with this pattern since the shape of the bust is very pretty. This will only be a guide since I have to make the size modifications. The materials to use are the following:
- 1.5m of elastic fabric
- Thread in the color of the fabric
- 1cm elastic
- Crop top pattern
- Sewing machine
Para la confección de esta blusa voy utilizar o guiarme con uno de mis patrones que tengo de crop top, me ha gustado mucho trabajar con este patrón ya que la forma del busto es muy bonita, este será sólo una guía ya que tengo que hacerle las modificaciones de tamaño, los materiales a utilizar son los siguientes
- 1,5m de tela elástica
- Hilo del color de la tela
- elástico de 1cm
- Patrón de crop top
- Máquina de coser
STEP BY STEP
PASO A PASO
STEP 1 / PASO 1
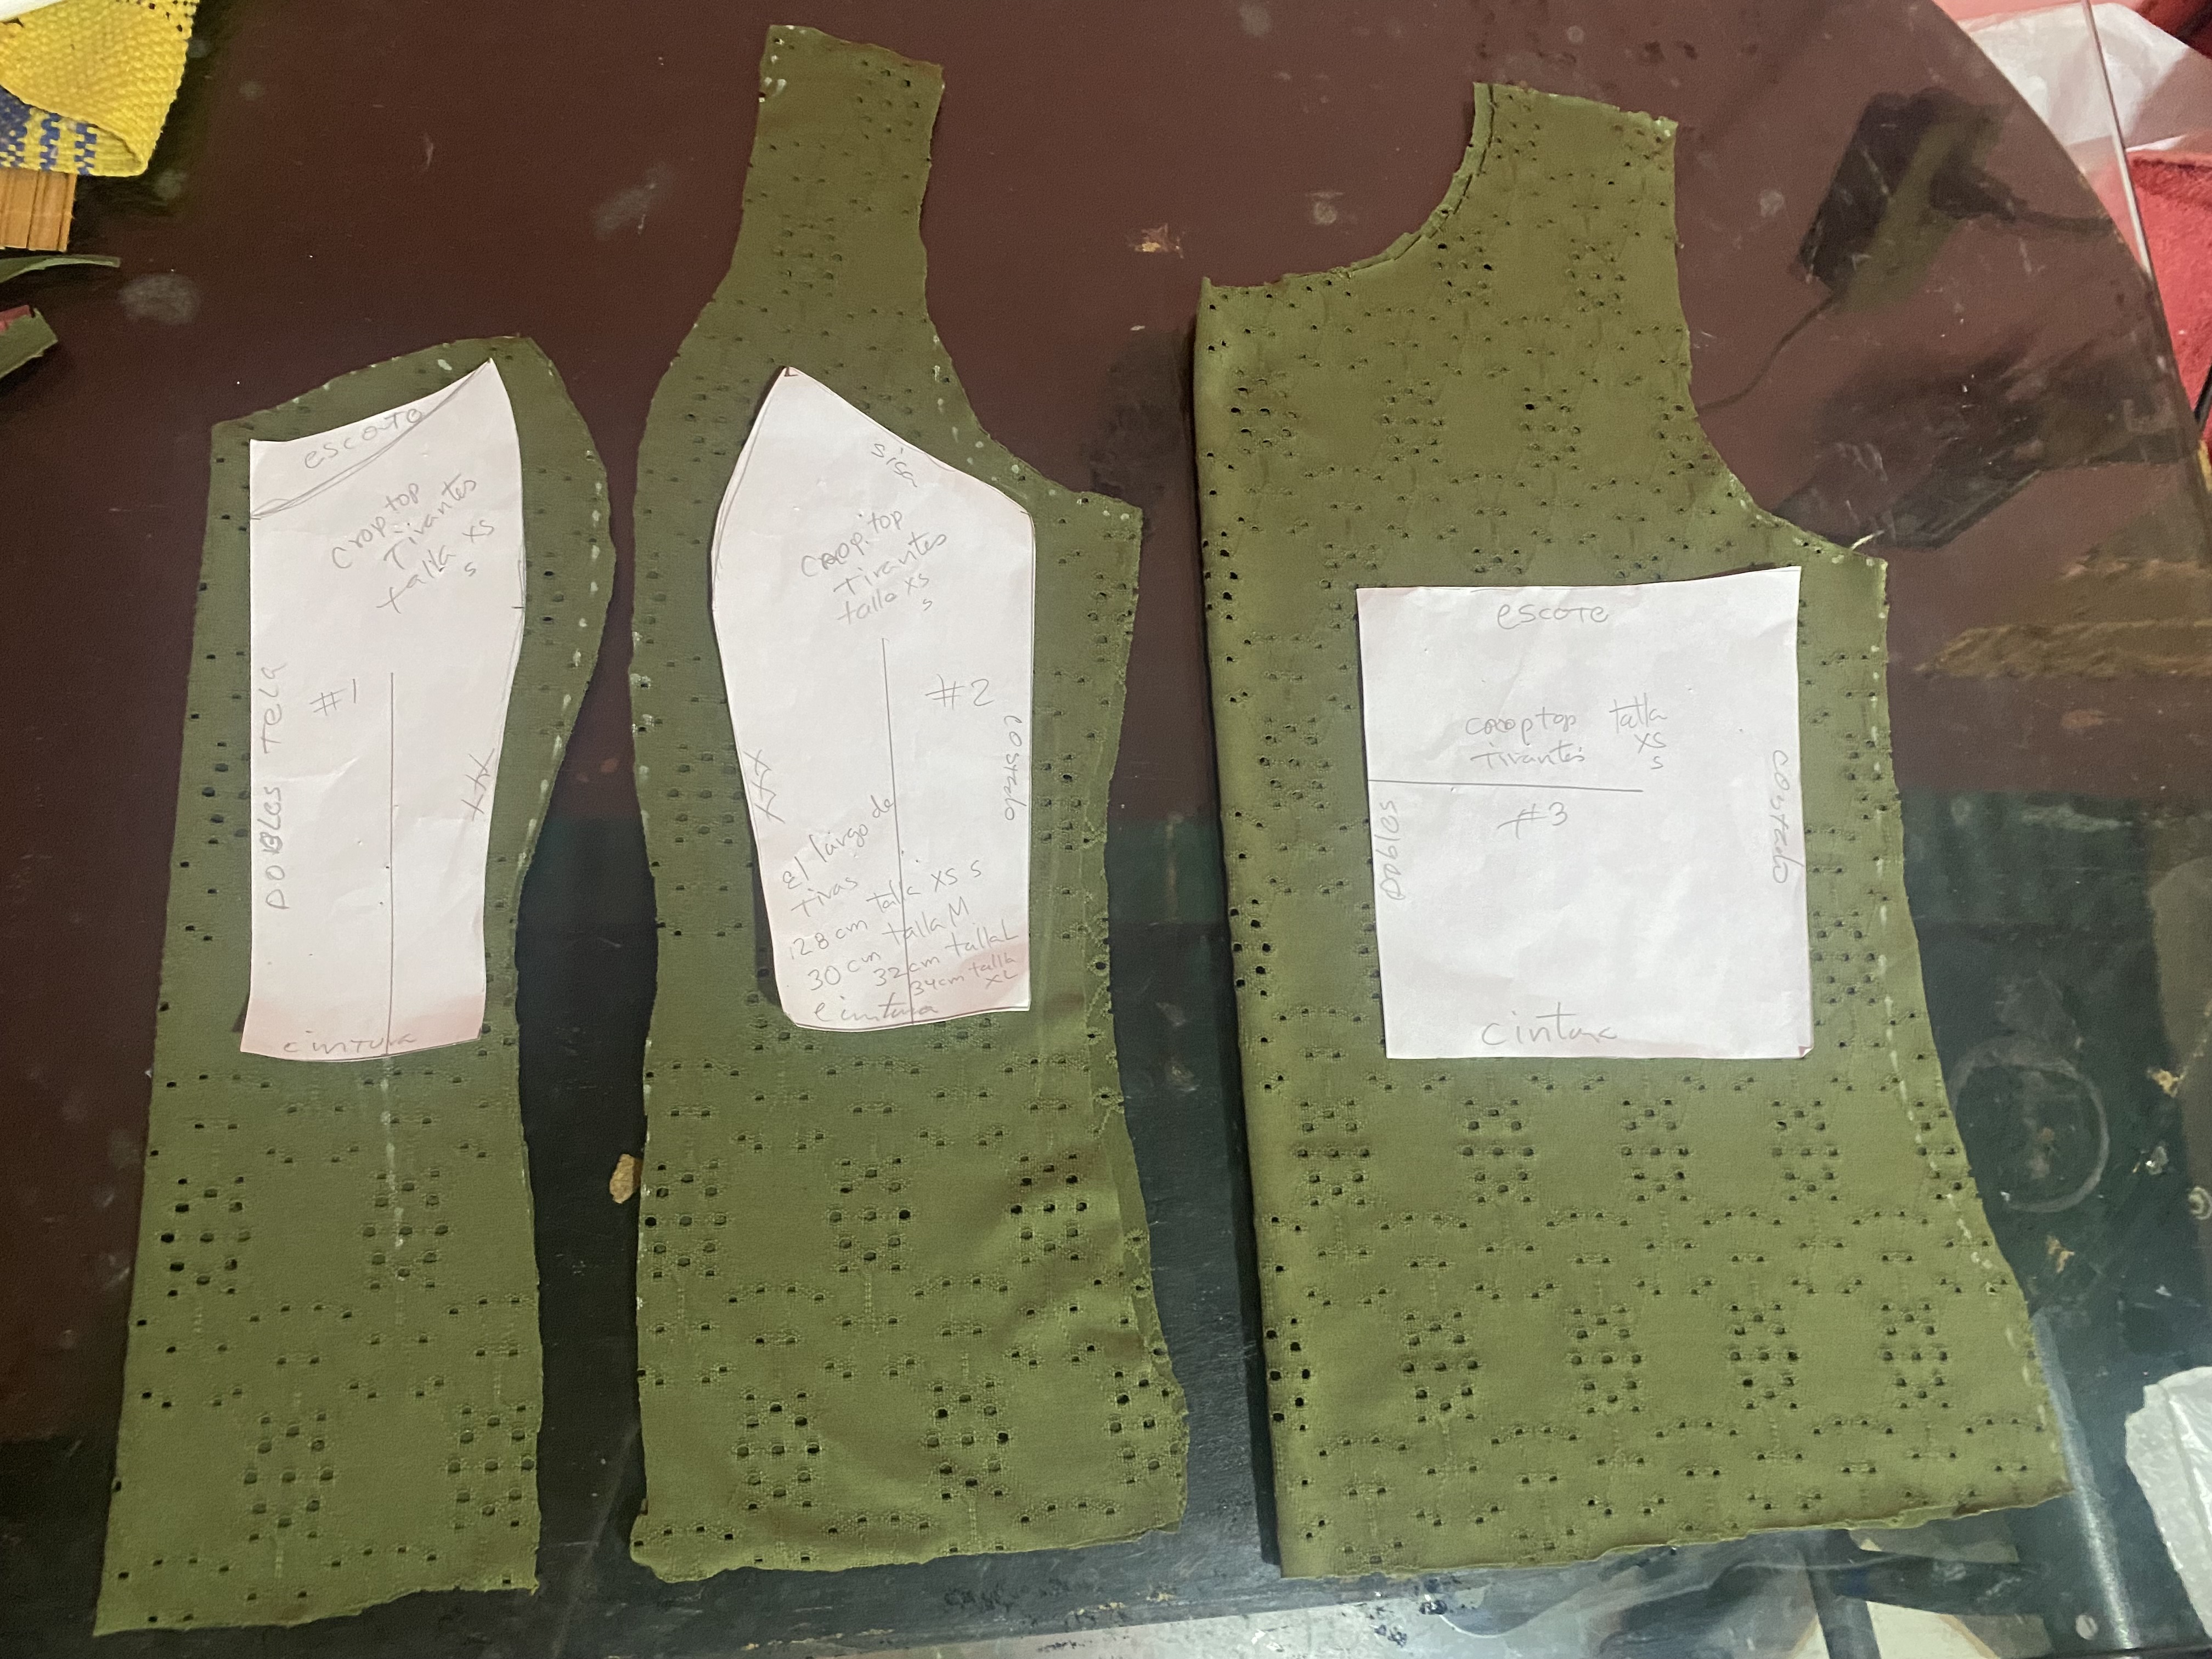
In my first step I'm going to draw and cut the pattern on the fabric. This pattern I'm using is very small so I'm going to make all the modifications to make it size L. I'm going to increase it by about 3 cm on each side of the pattern and about 15 cm in length since I want the blouse to be long. I'm going to give it a rounded shape on the neckline and on the side I'm going to make it shoulder length. On the front we'll cut two pieces for each part of our blouse, so we can make a fit.
For the back of my blouse I'm going to use the Basic blouse pattern, making the back neckline a little wider.
En mi primer paso voy a dibujar y cortar sobre la tela el patrón, este patrón que estoy usando es muy pequeño así que le haré todas las modificaciones para llevarlo a la talla L, le voy a aumentar unos 3 cm por cada lado del patrón y de largo unos 15 cm ya que la blusa la quiero larga, en la parte del escote le voy a dar forma redondeada y en el lateral le voy a hacer el largo de hombro, de la parte delantera cortaremos dos piezas por cada parte de nuestra blusa, esto para que podamos hacer un embonado.
Para la parte de atrás de mi blusa voy a utilizar el patrón de blusa Básico haciéndole un poco más amplio la parte del cuello trasero.
STEP 2 / PASO 2
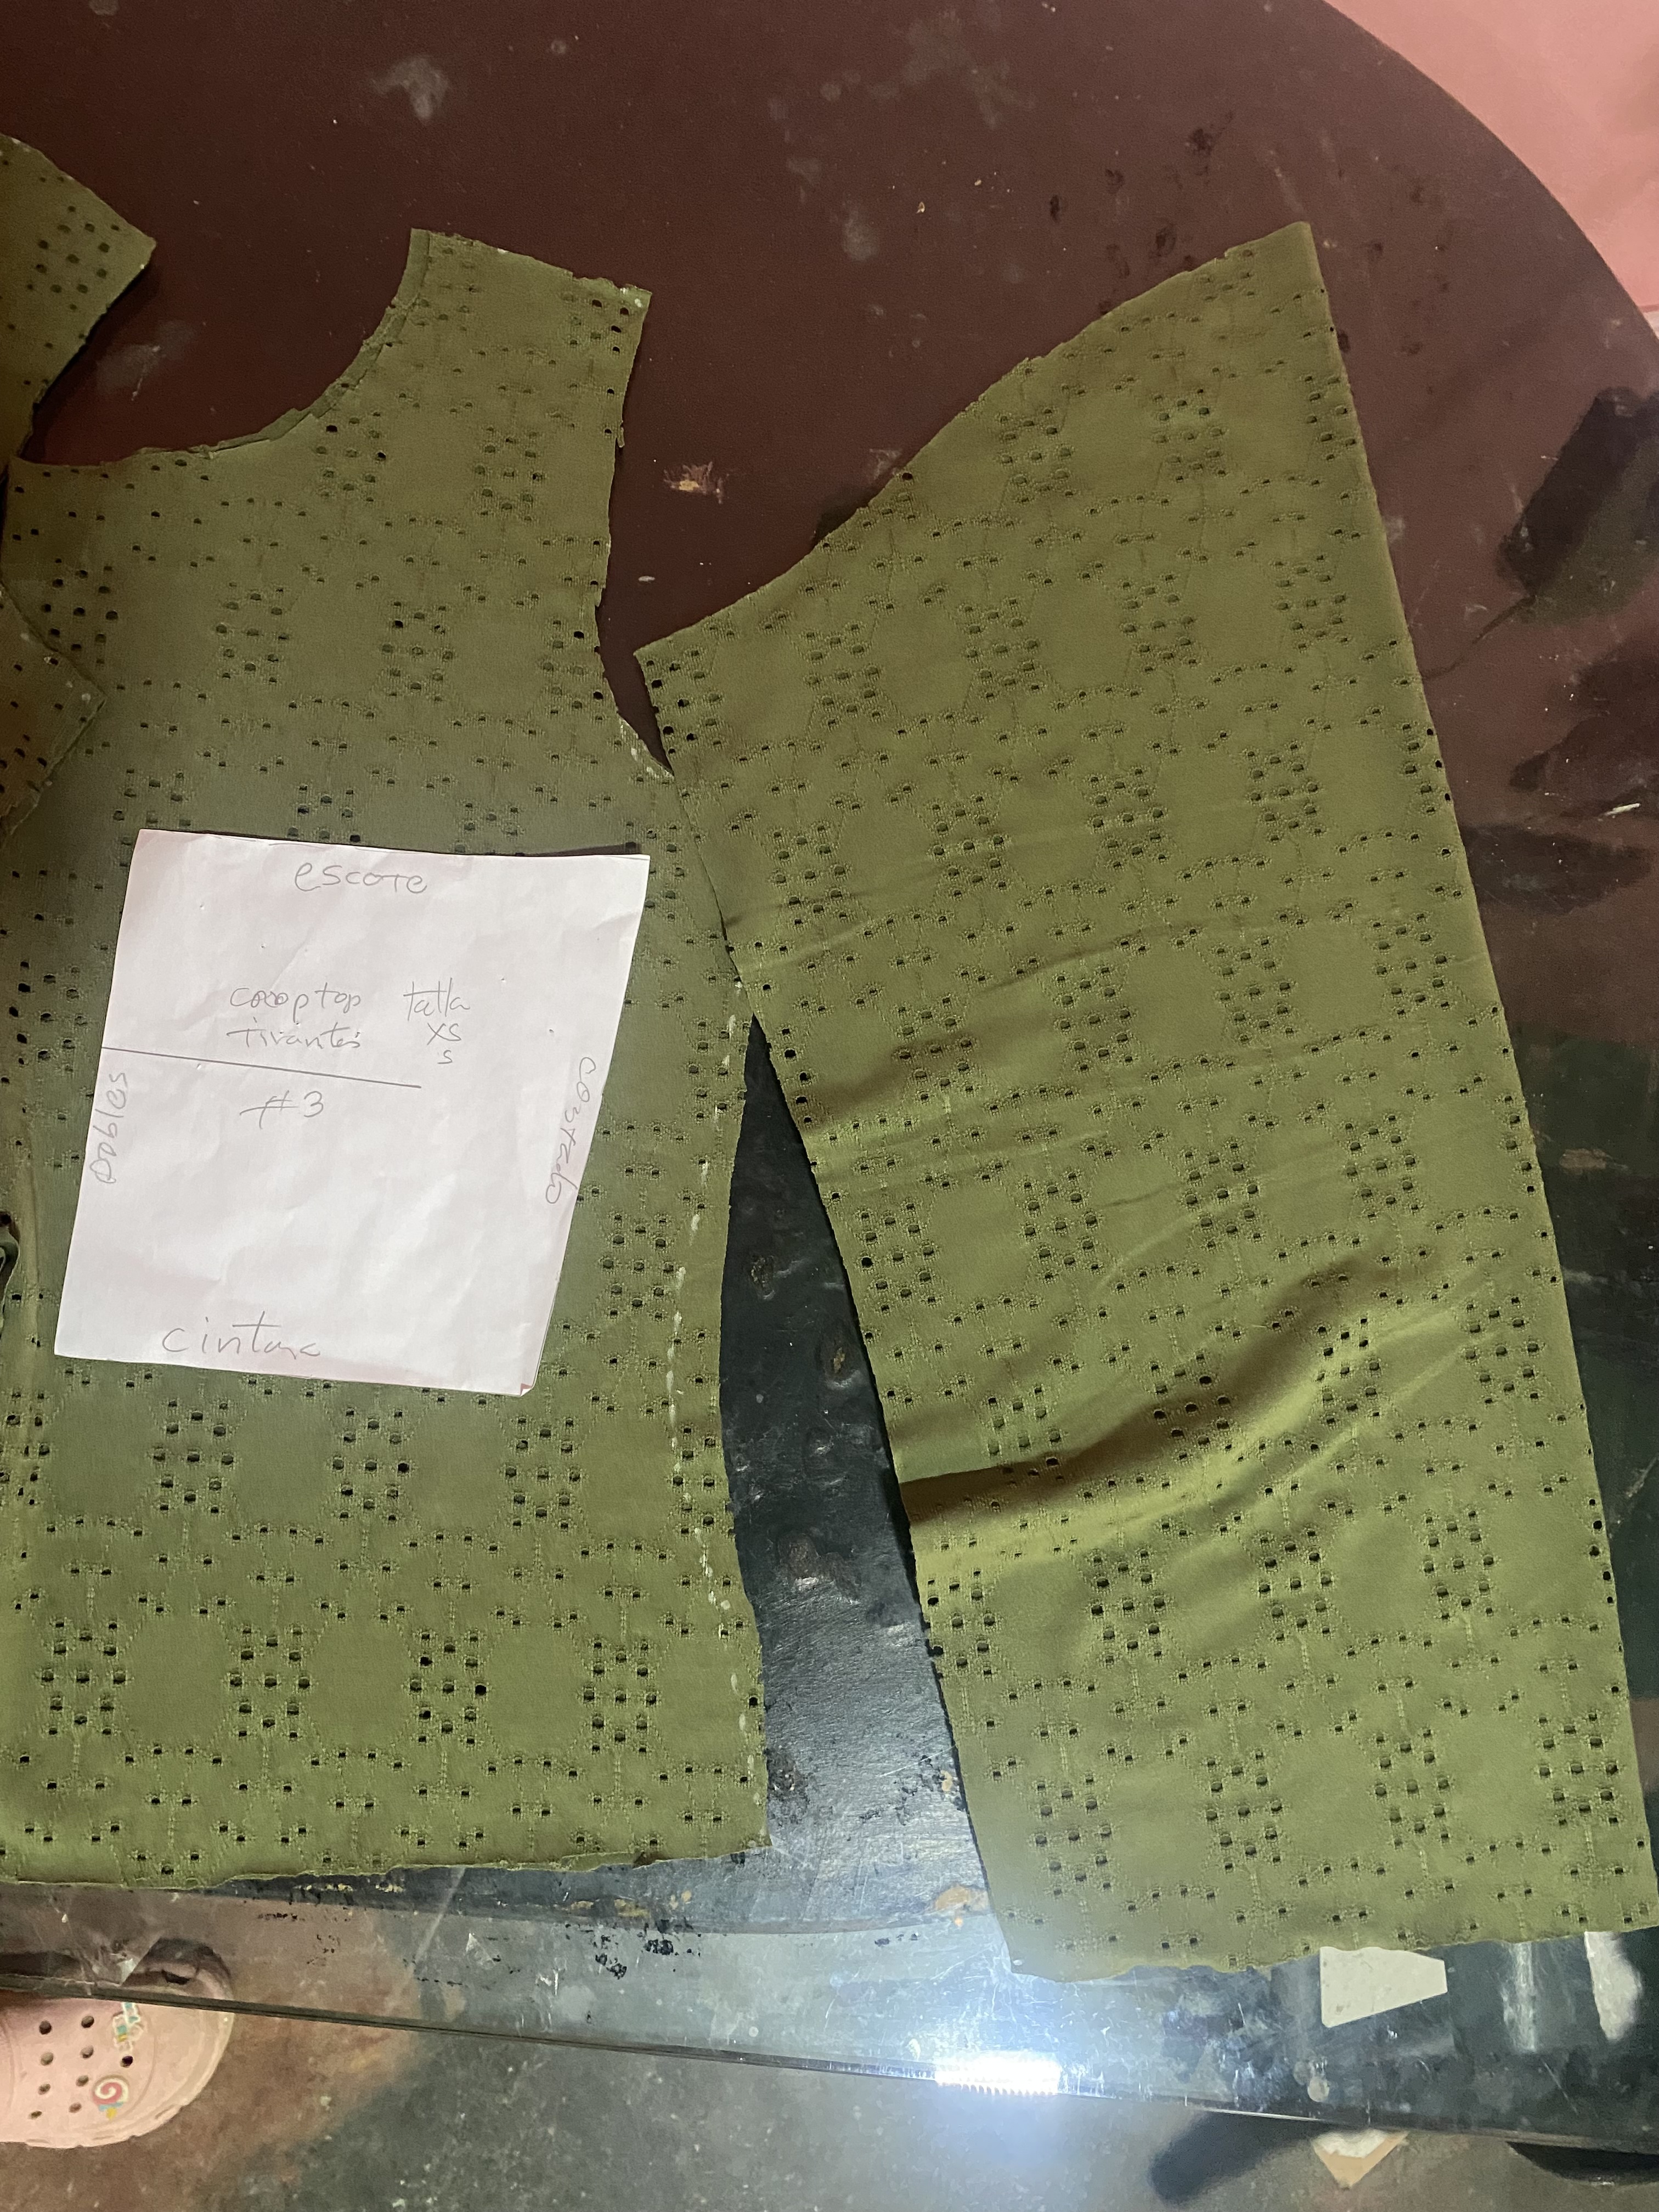
To make the sleeve we will measure the desired length, in my case it will be 90 cm, we measure the sleeve circumference and add a few centimeters to make some folds on the shoulder area, in my case it was 66 cm, the cut of this sleeve is almost straight as it has elastic on the edges and this gives it a very nice puffed shape, on the wrists the circumference was 40 cm and we will place the 24 cm elastic.
Para la confección de la manga vamos a medir el largo deseado en mi caso serán 90 cm, medimos el contorno de manga y le aumentamos unos centímetros para hacer unos pliegues en la parte del hombro, en mi caso quedó de 66 cm, el corte de esta manga es casi recto ya que lleva elástico en las orillas y esto le da una forma abombada muy bonita, en las muñecas el contorno quedó de 40cm y le colocaremos el elástico de 24 cm.
STEP 3 / PASO 3
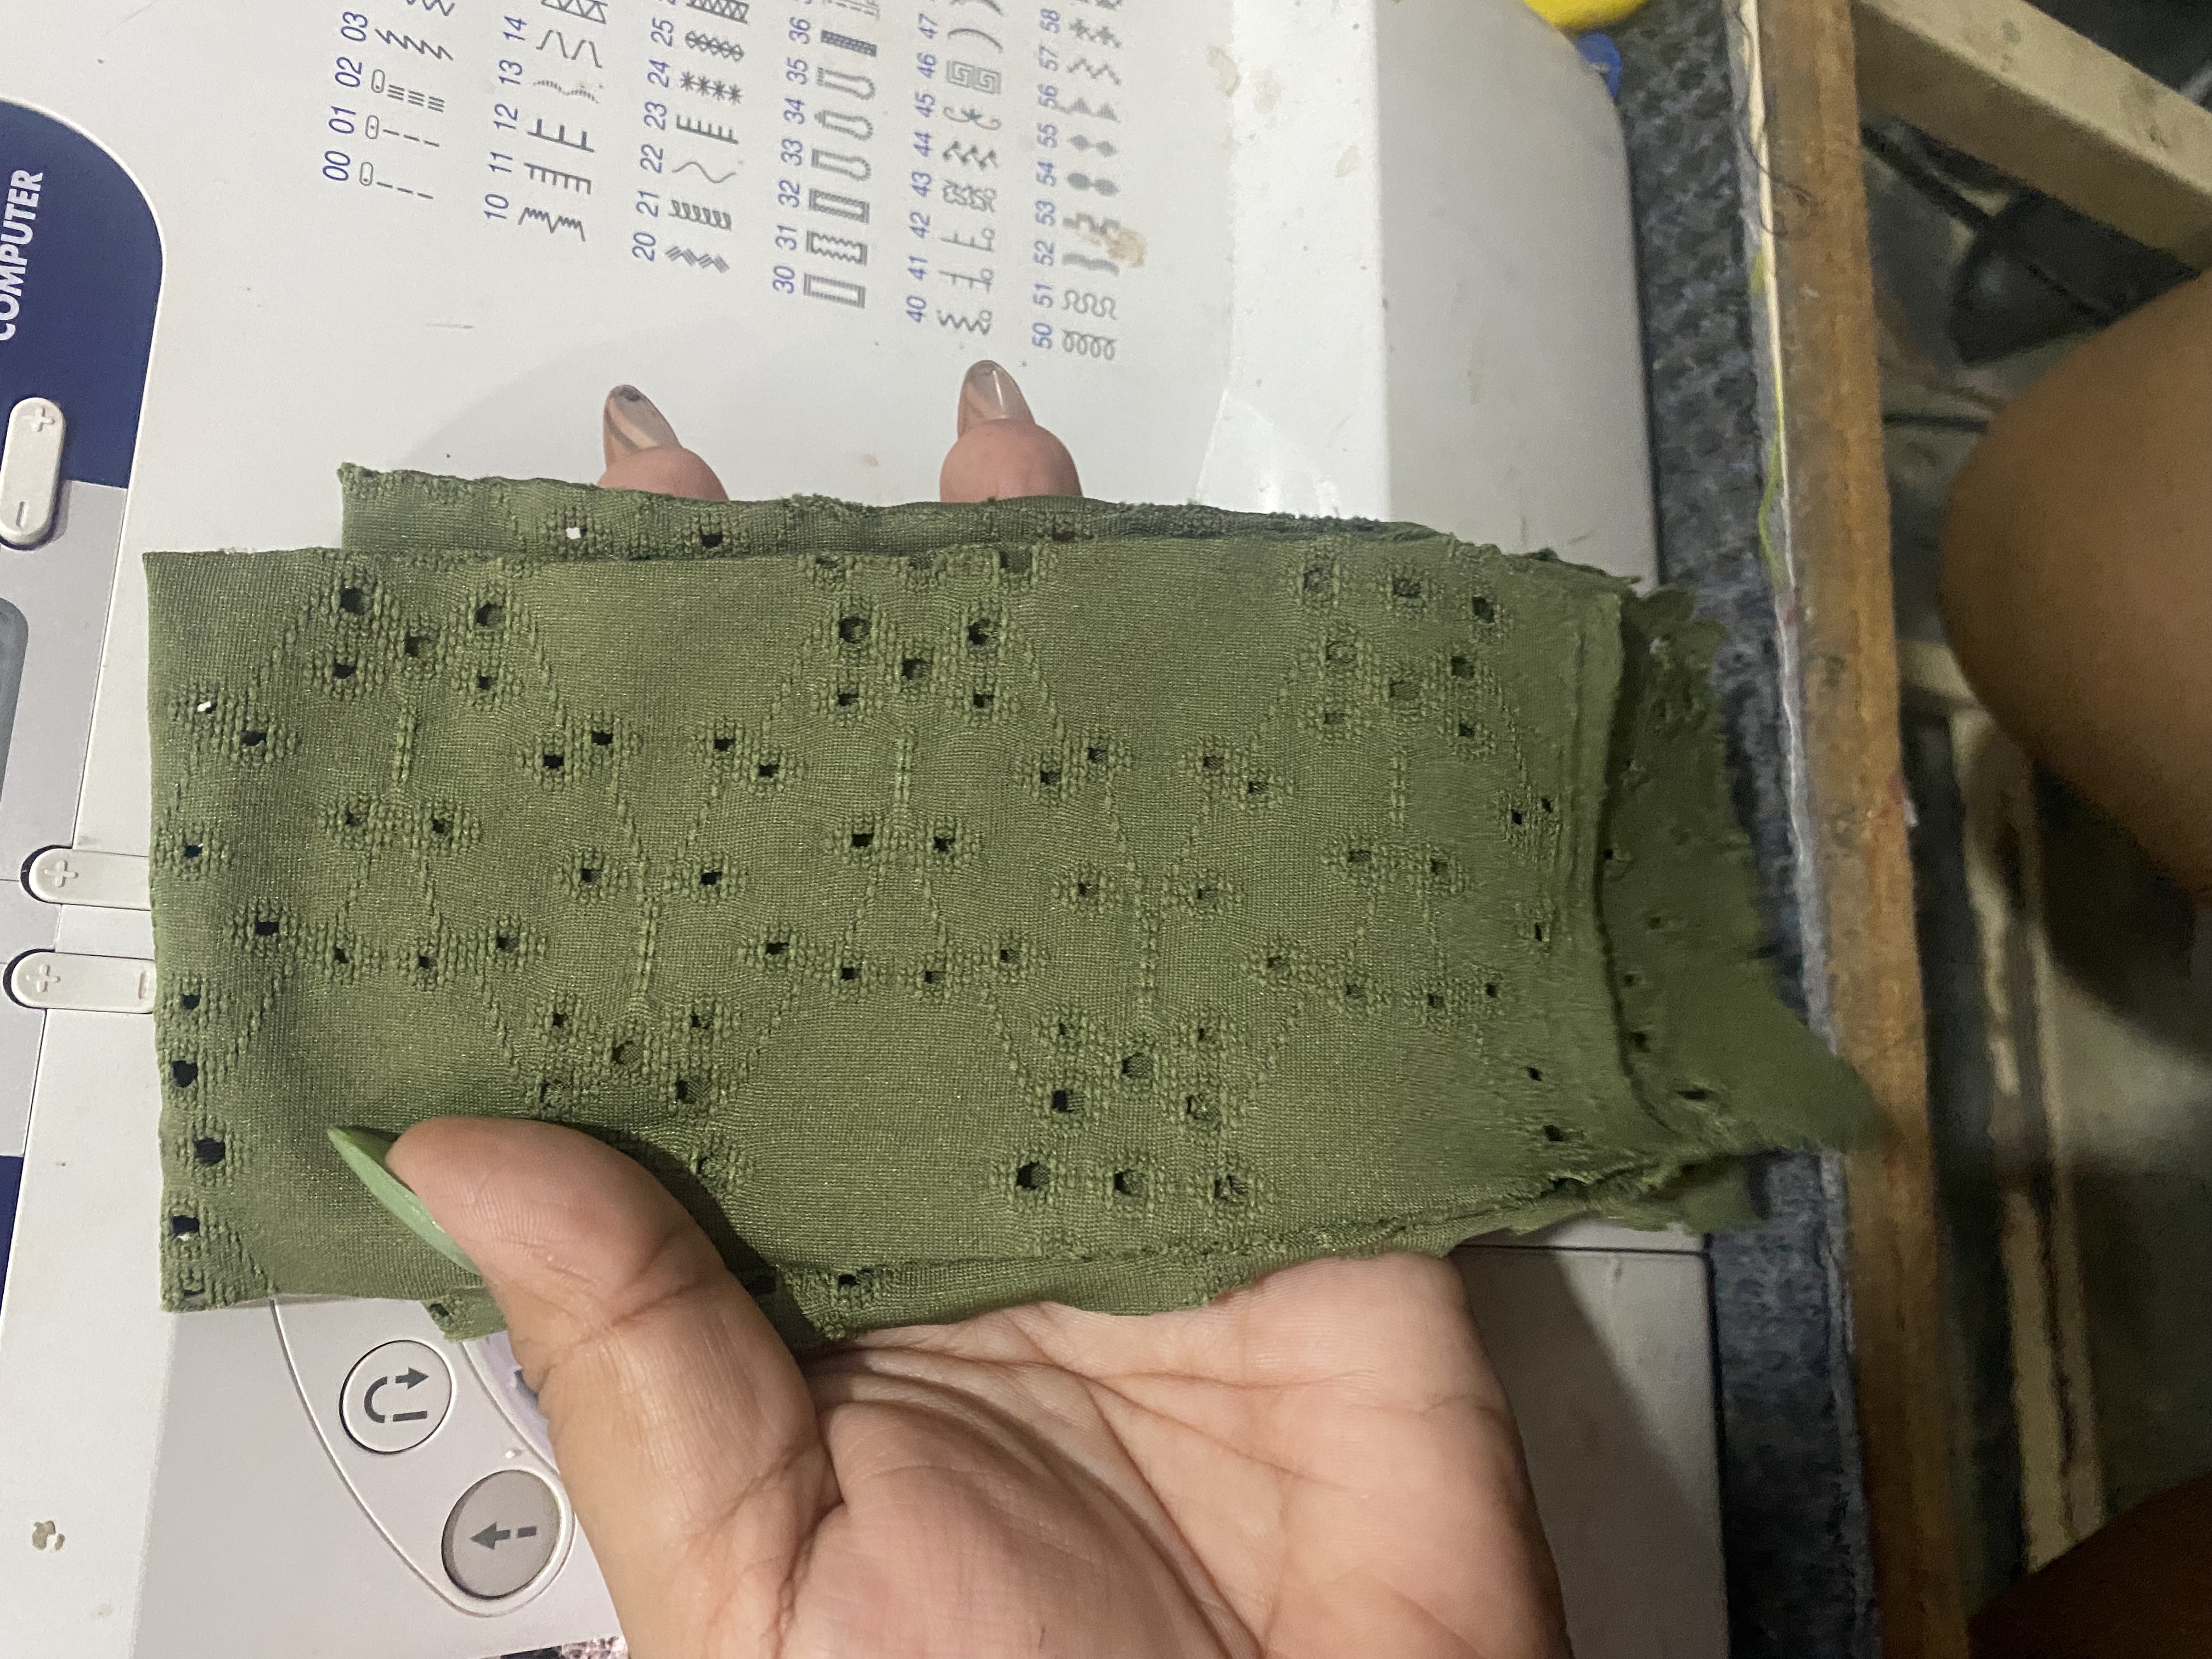
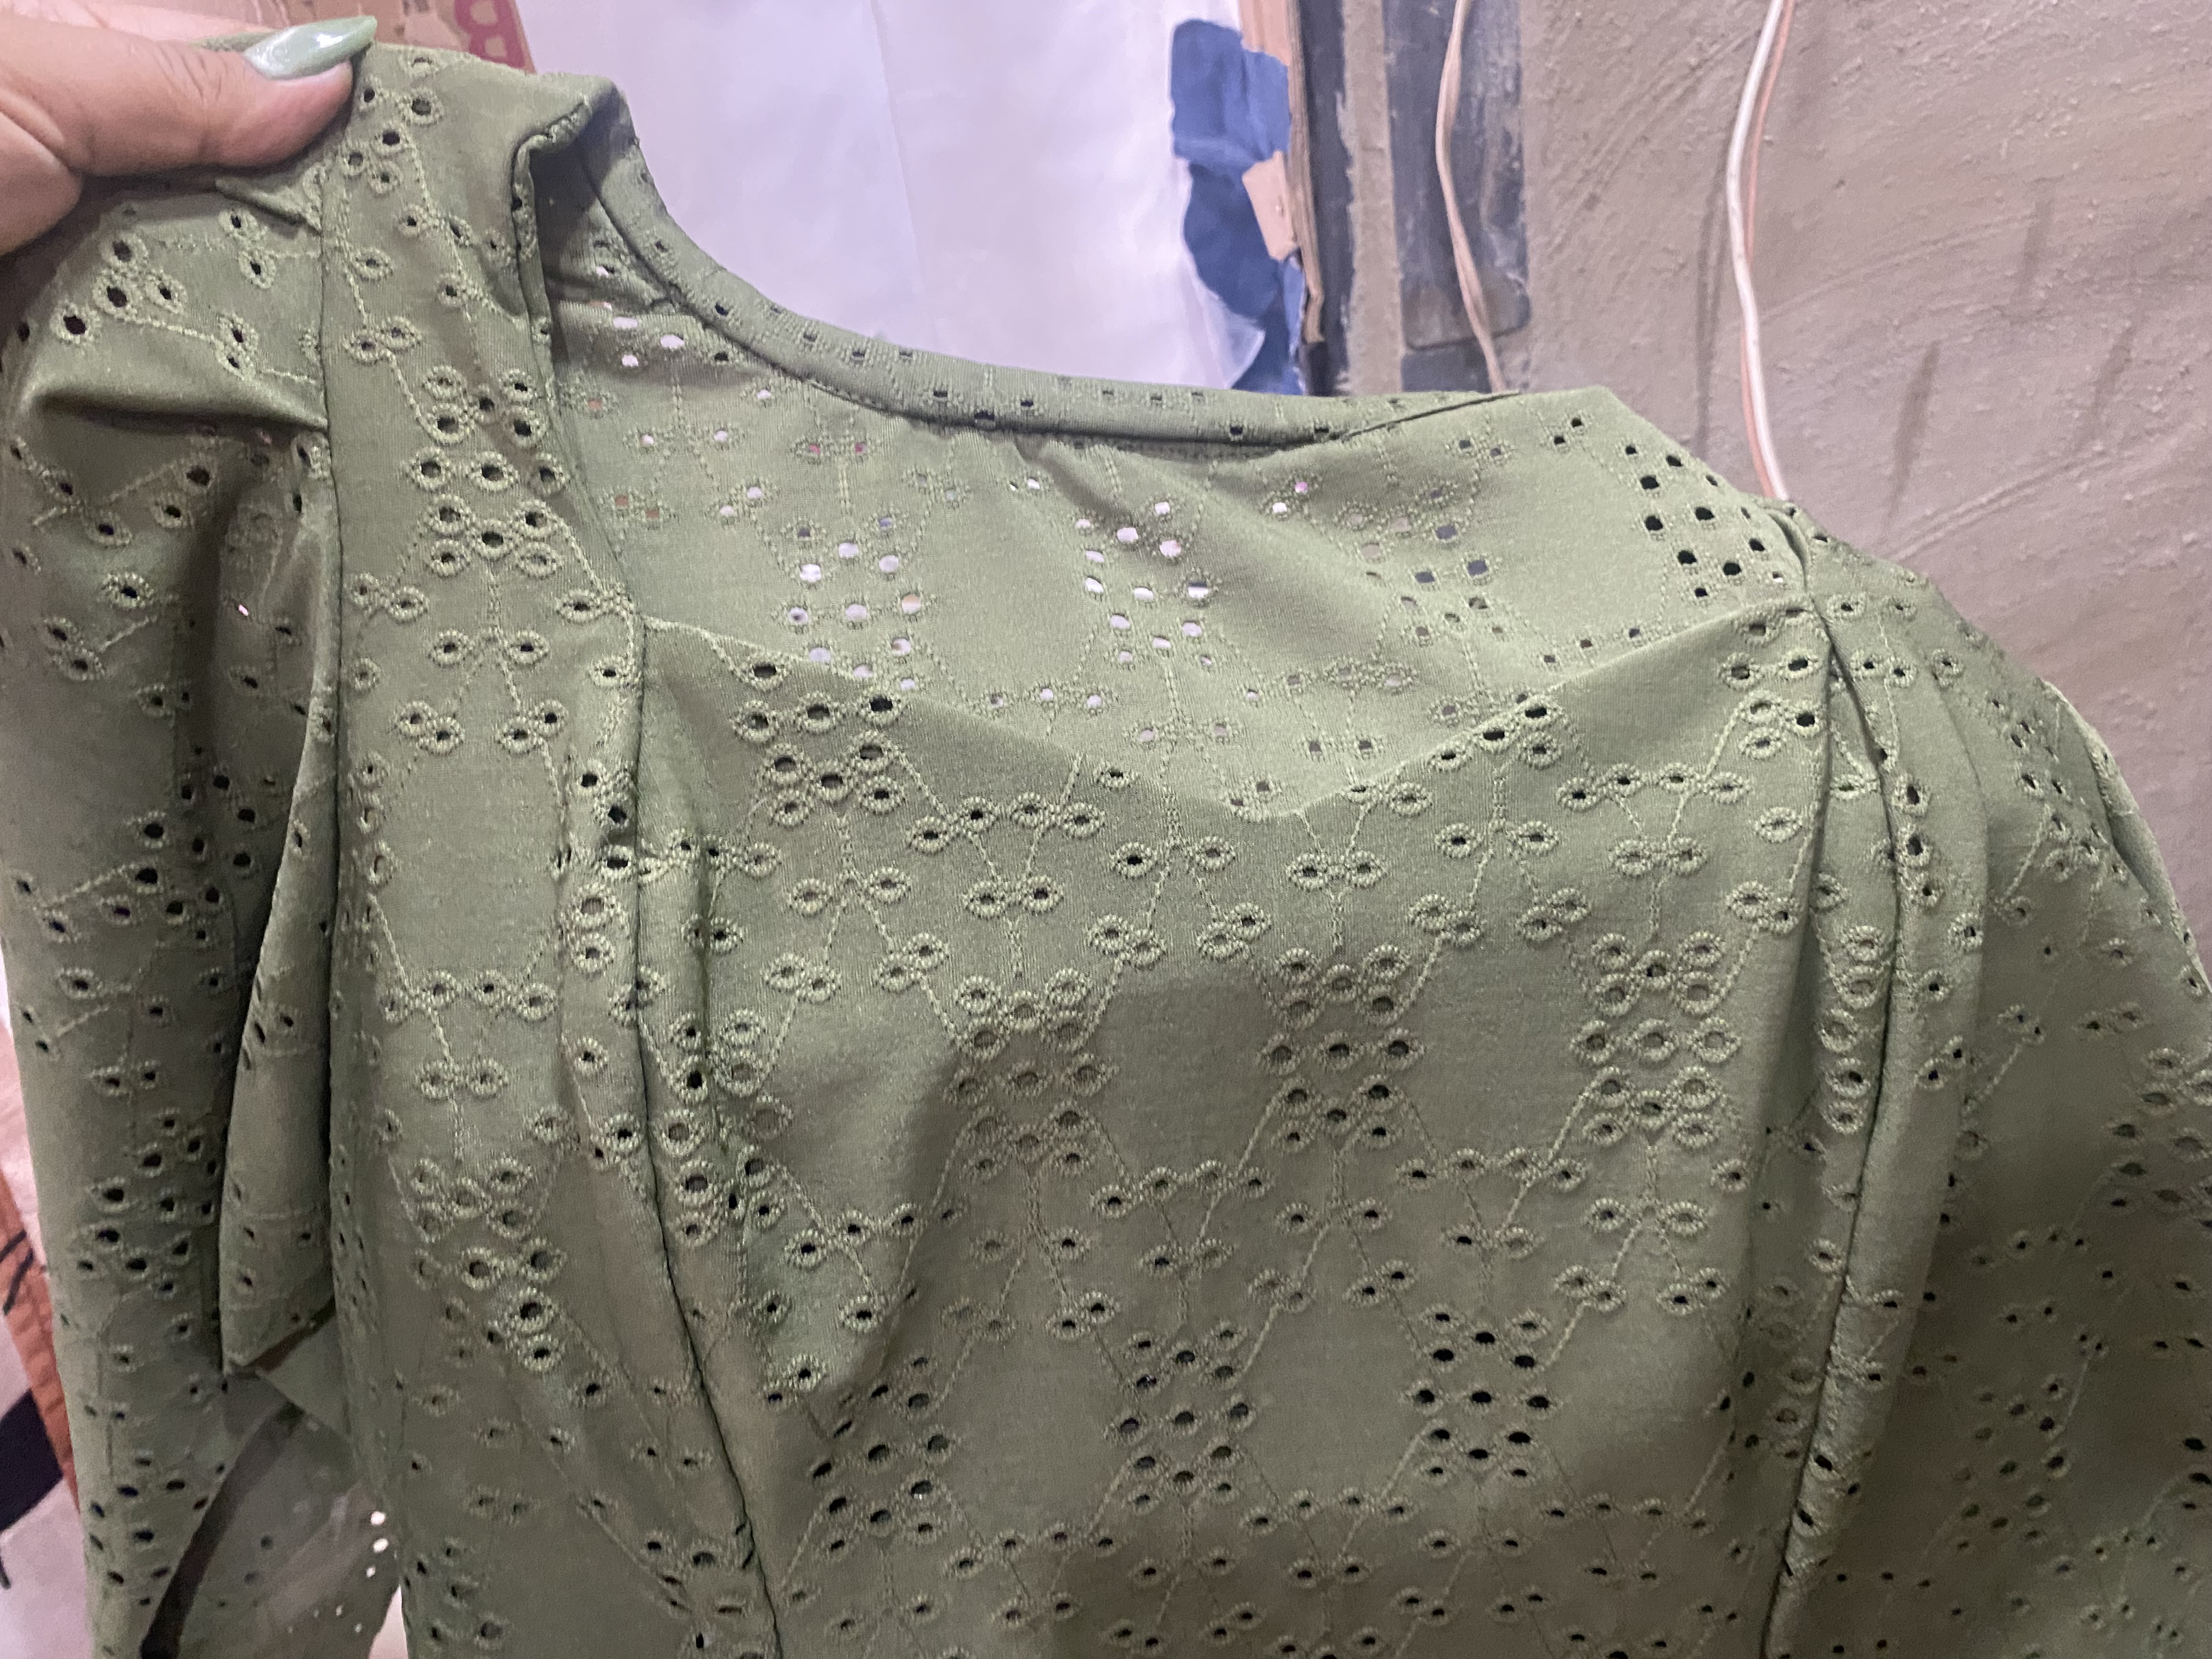
As a third step we are going to start with the seams, we are going to join the two pieces from the center of the bust and then we join the sides to this part making the seam, this will make our blouse not have visible seams and gives a more beautiful and elegant effect.
For the back of the blouse we are going to cut 6 cm wide strips to make a bias on the edge of the neck then we are going to join the front part matching the sides of our blouse, I could not take enough photos in this process because I was in a bit of a hurry, after this I joined the sleeves and made some folds on the shoulders and this makes it look really good, I love this type of sleeves.
Cómo tercer paso vamos a comenzar con las costuras, vamos a unir las dos piezas del centro del busto y luego unimos a esta parte los laterales haciendo el embonado, esto hará que nuestra blusa no se le vean las costuras y da un efecto más bonito y elegante.
Para la parte de atrás de la blusa vamos a cortar tiras de 6 cm de ancha para hacerles sesgo en la orilla del cuello luego vamos a unir a la parte delantera igual embonando con los laterales de nuestra blusa, no pude tomar suficiente fotografías en este proceso ya que estaba algo apurada, luego de esto uní las mangas le hice unos pliegues en la parte de los hombros y esto hace que se vea muy bien, me encanta este tipo de mangas.
 |  |
|---|---|
 |
STEP 4 / PASO 4
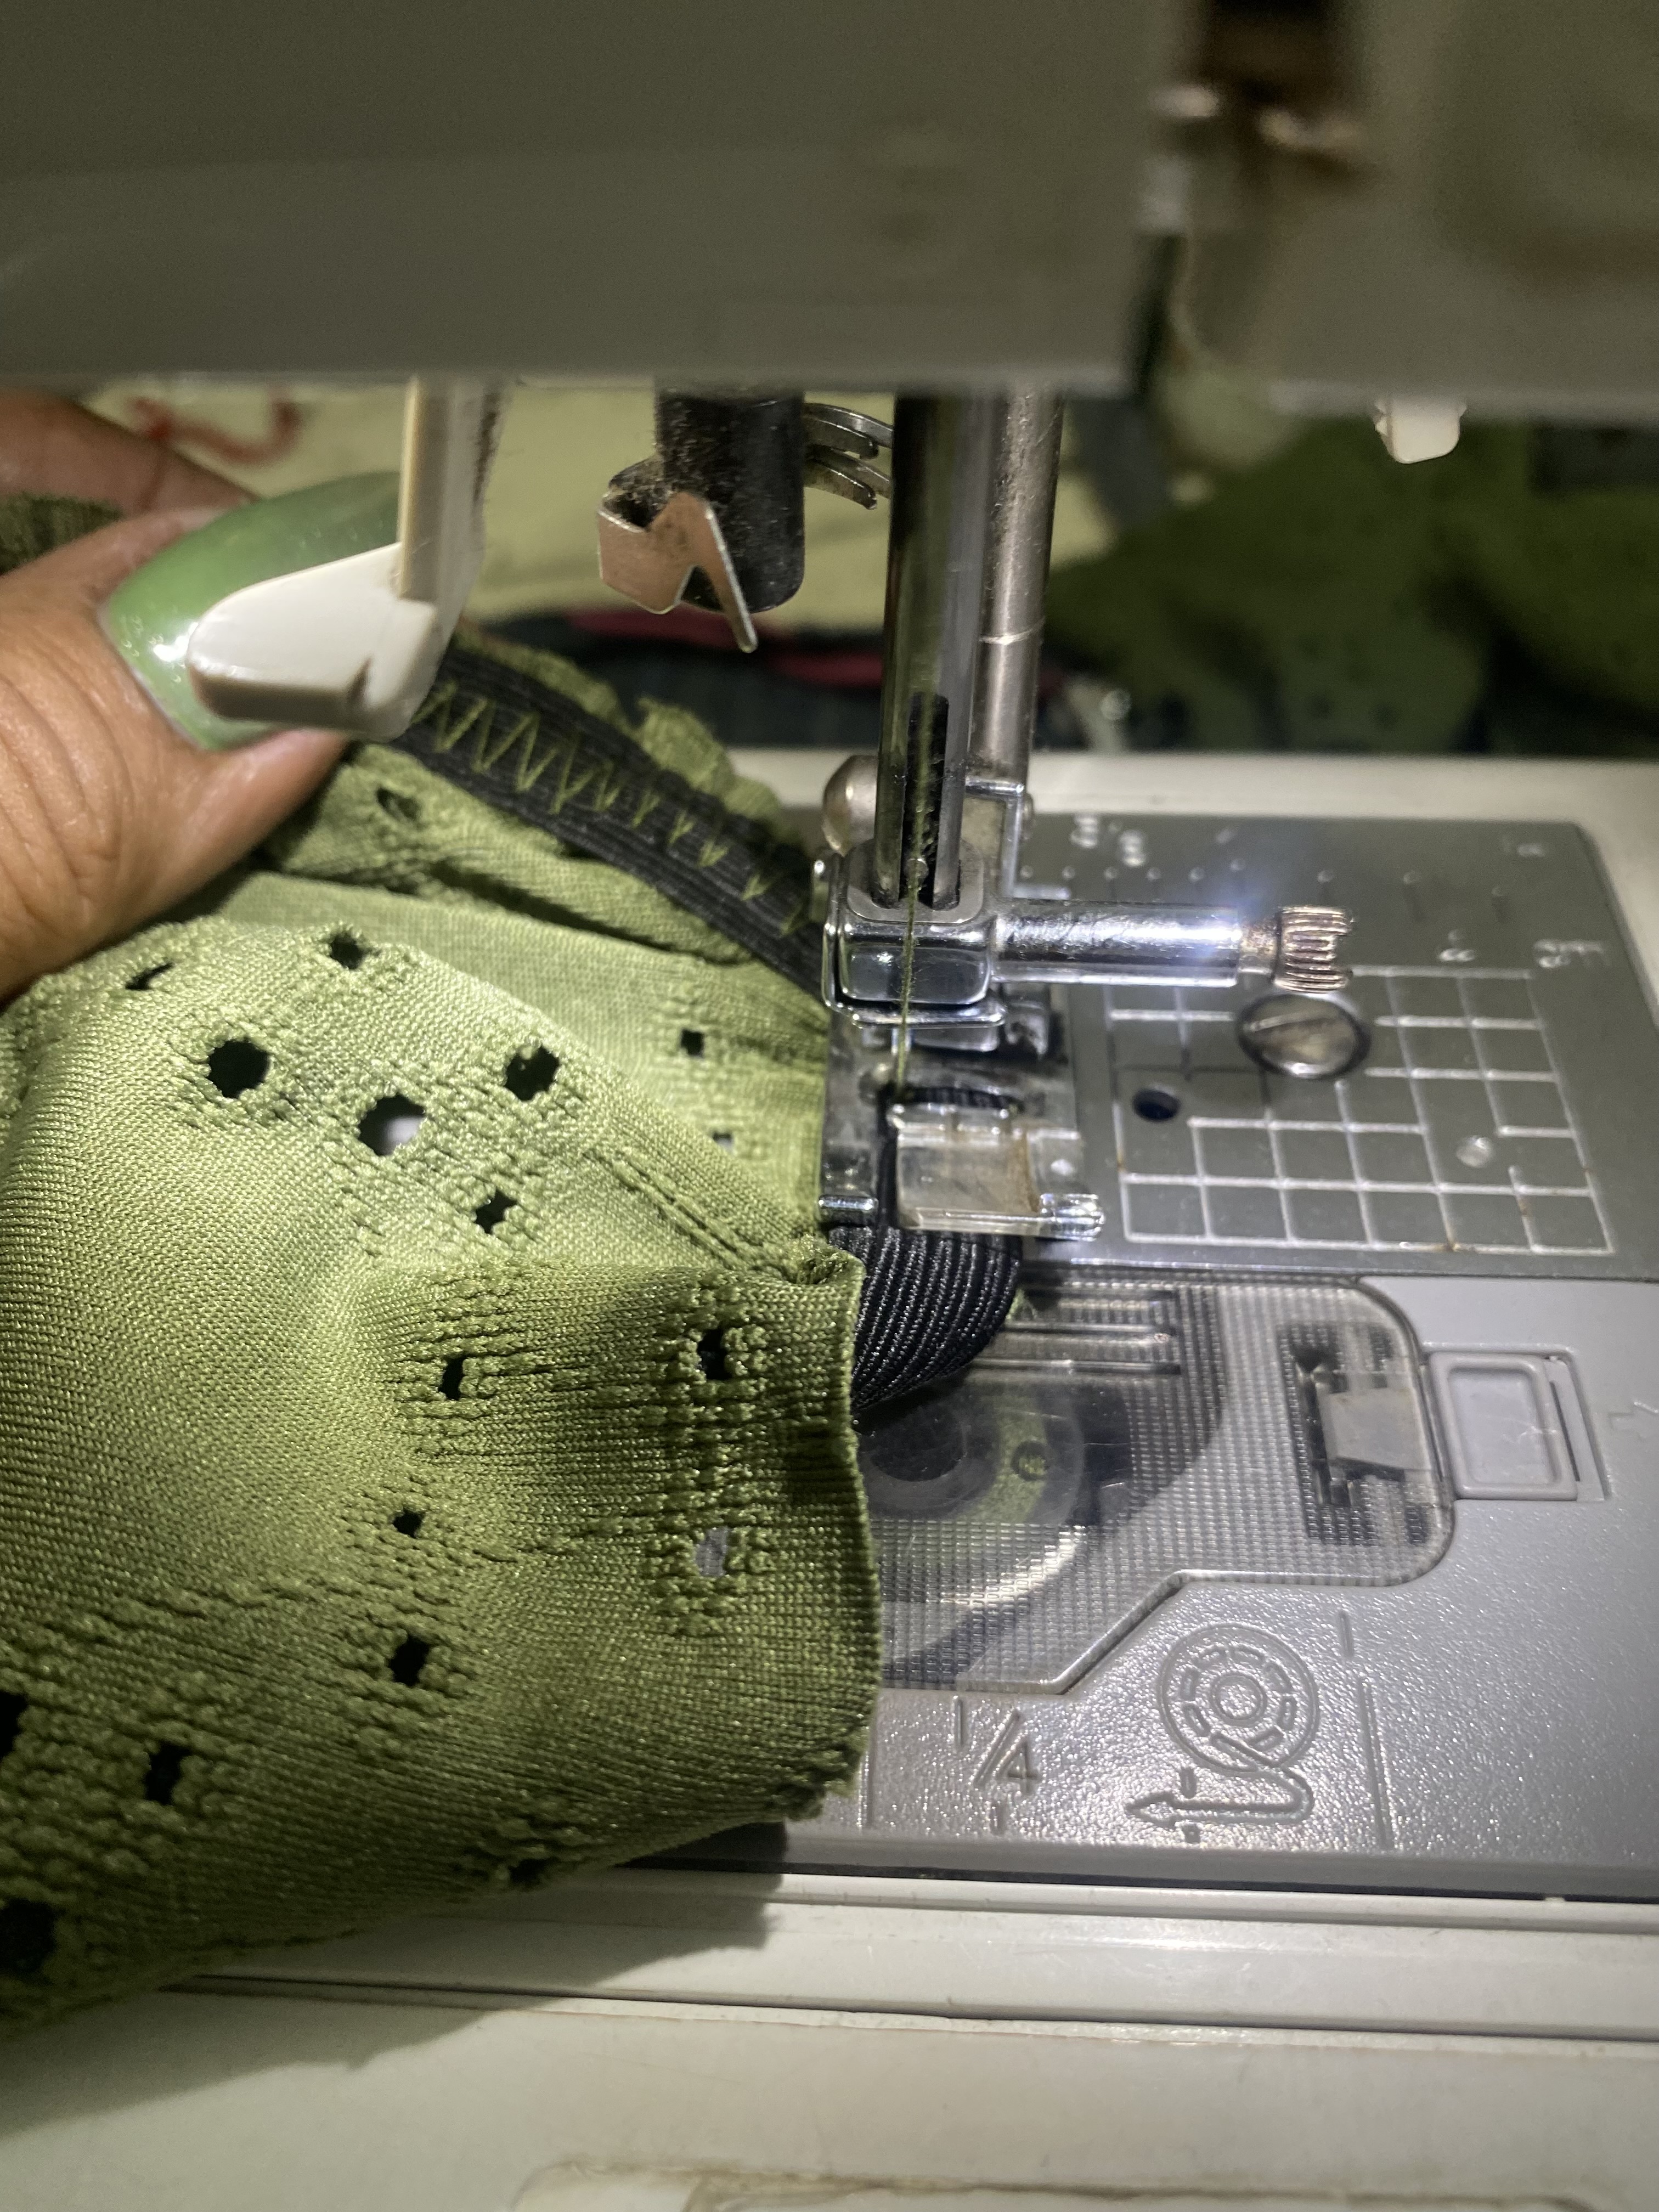
I cut the elastic for the sleeve measuring 26 cm with a seam and then joined it to the edge of the sleeve of my blouse. I always zigzag the first seam, then fold it and sew it straight. This makes it look nicer on the outside and makes the first seam less noticeable.
El elástico para la manga lo corté de 26 cm único con costura y luego uní a la orilla de la manga de mi blusa, en la primera costura siempre paso zig zag, luego doblo y paso costura recta esto hace que por el lado de afuera se vea más bonito y no se note la primera costura.
STEP 5 / PASO 5
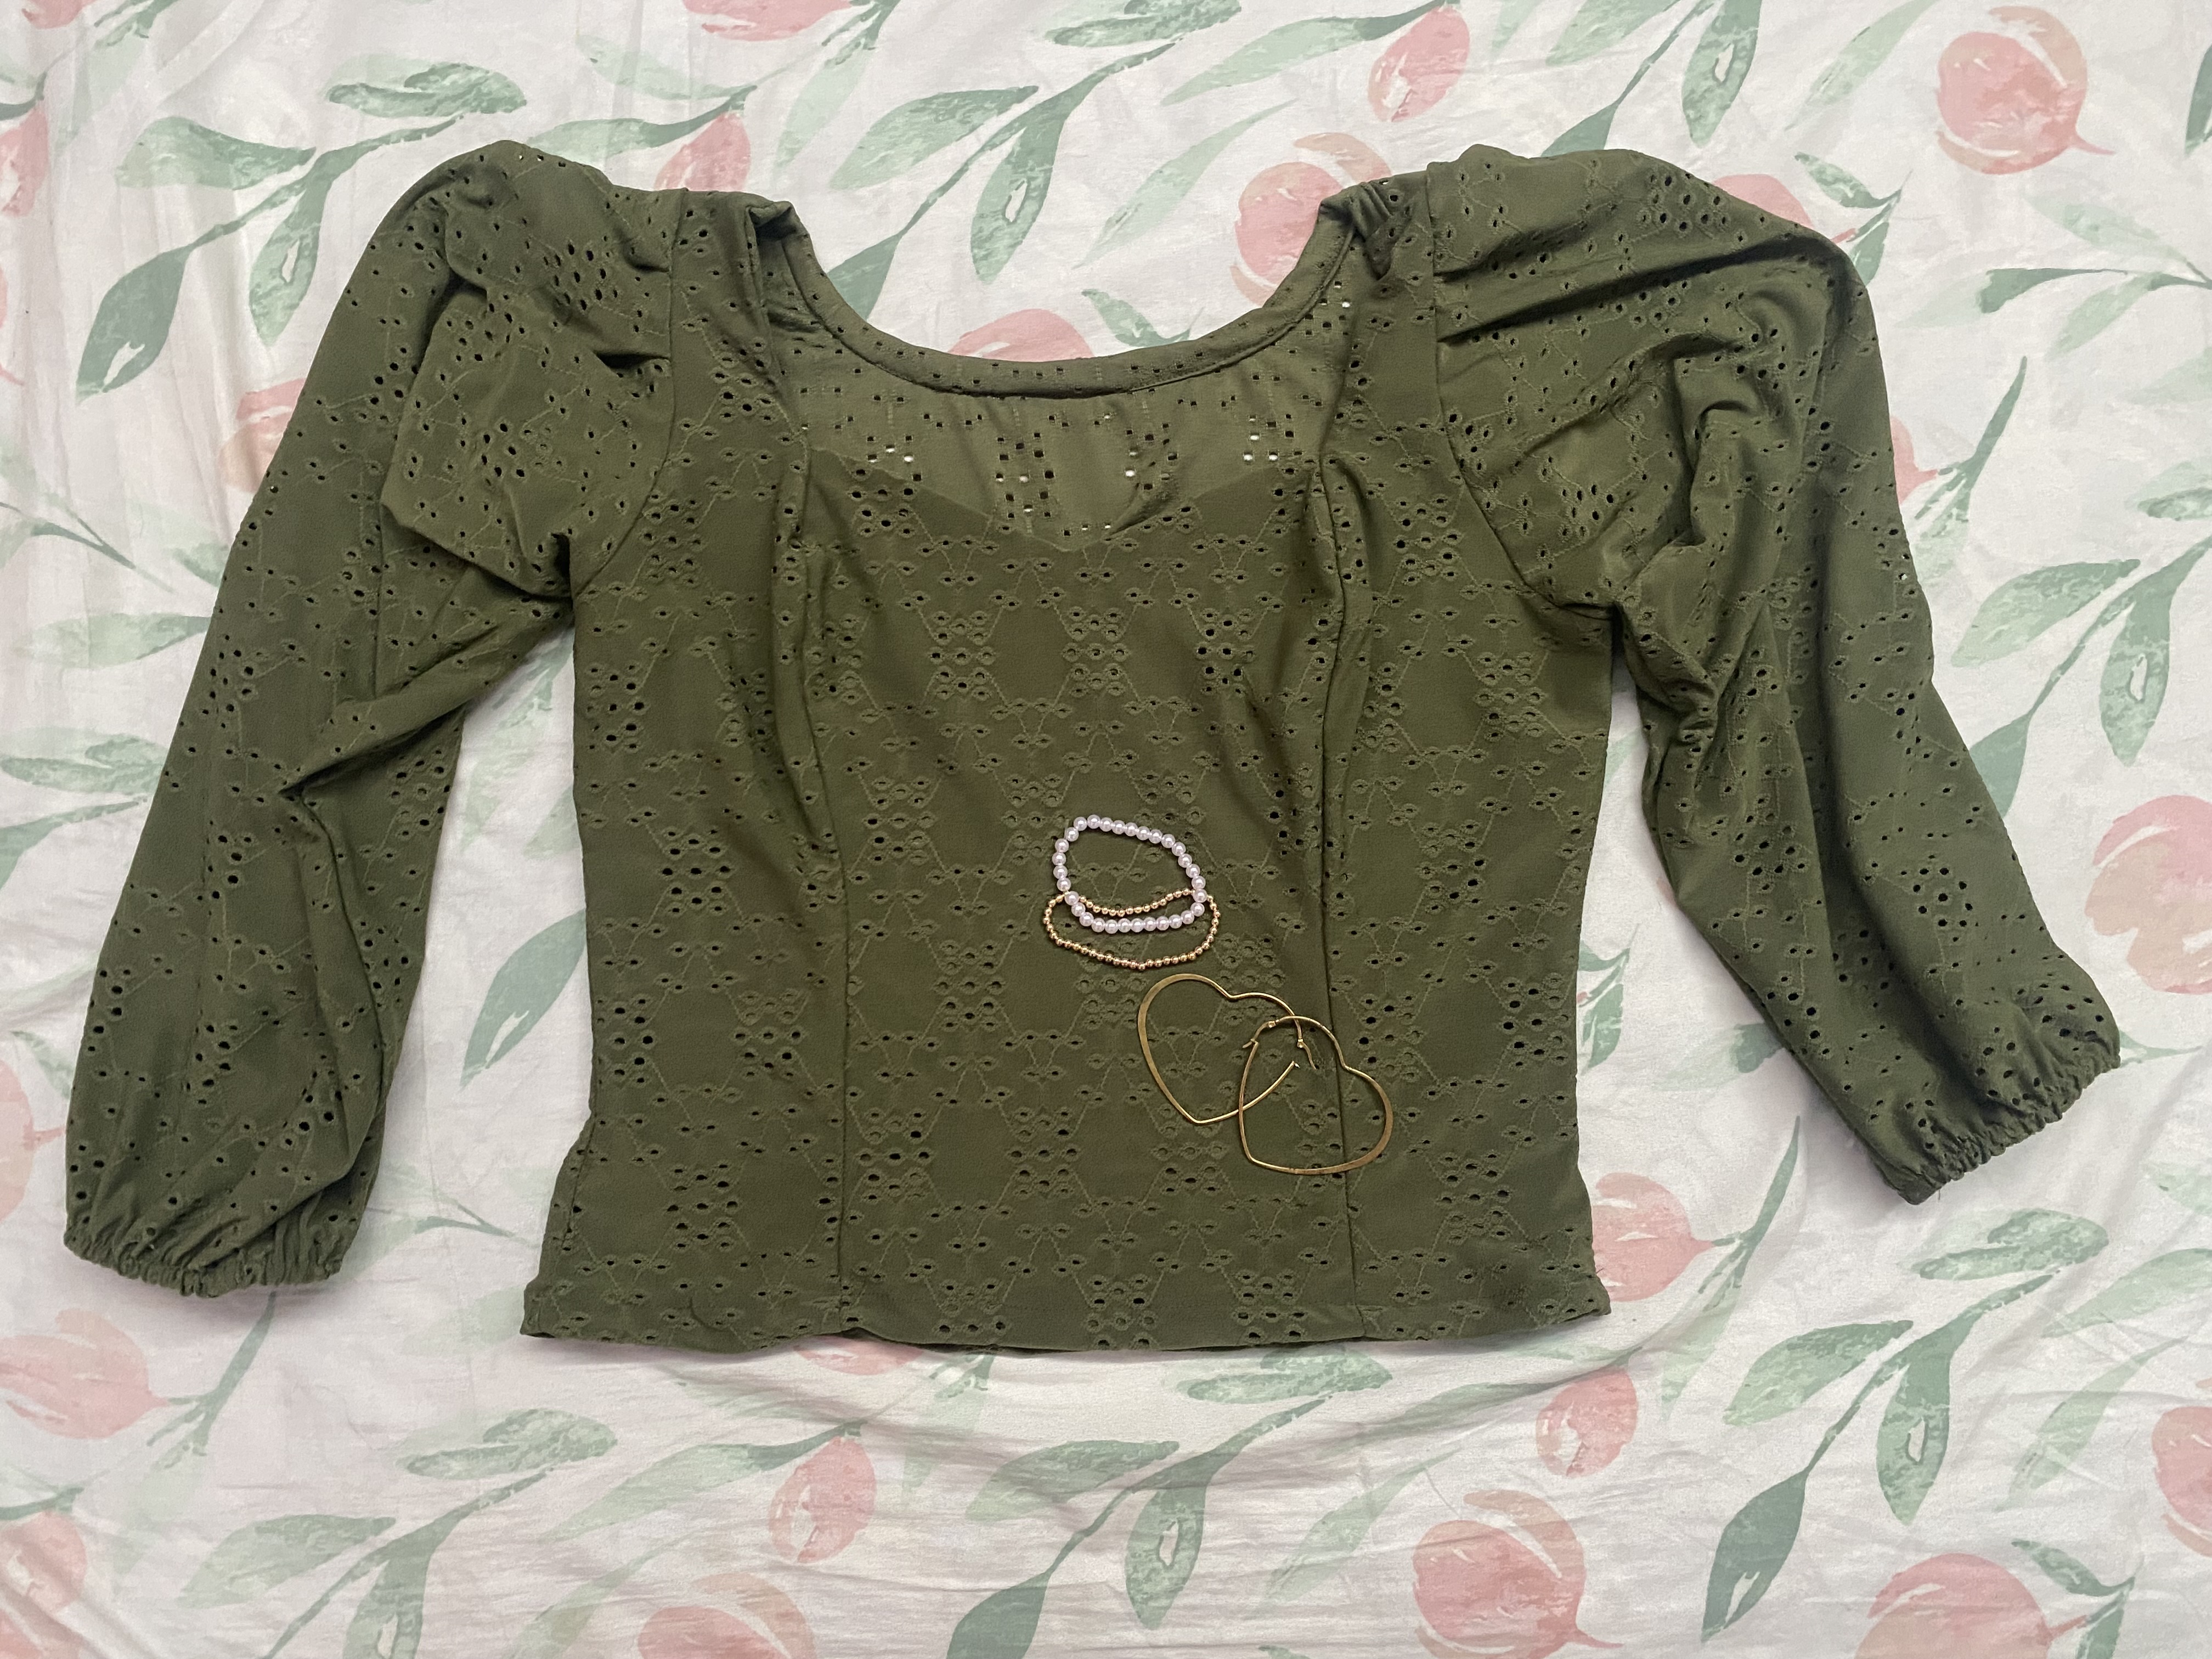
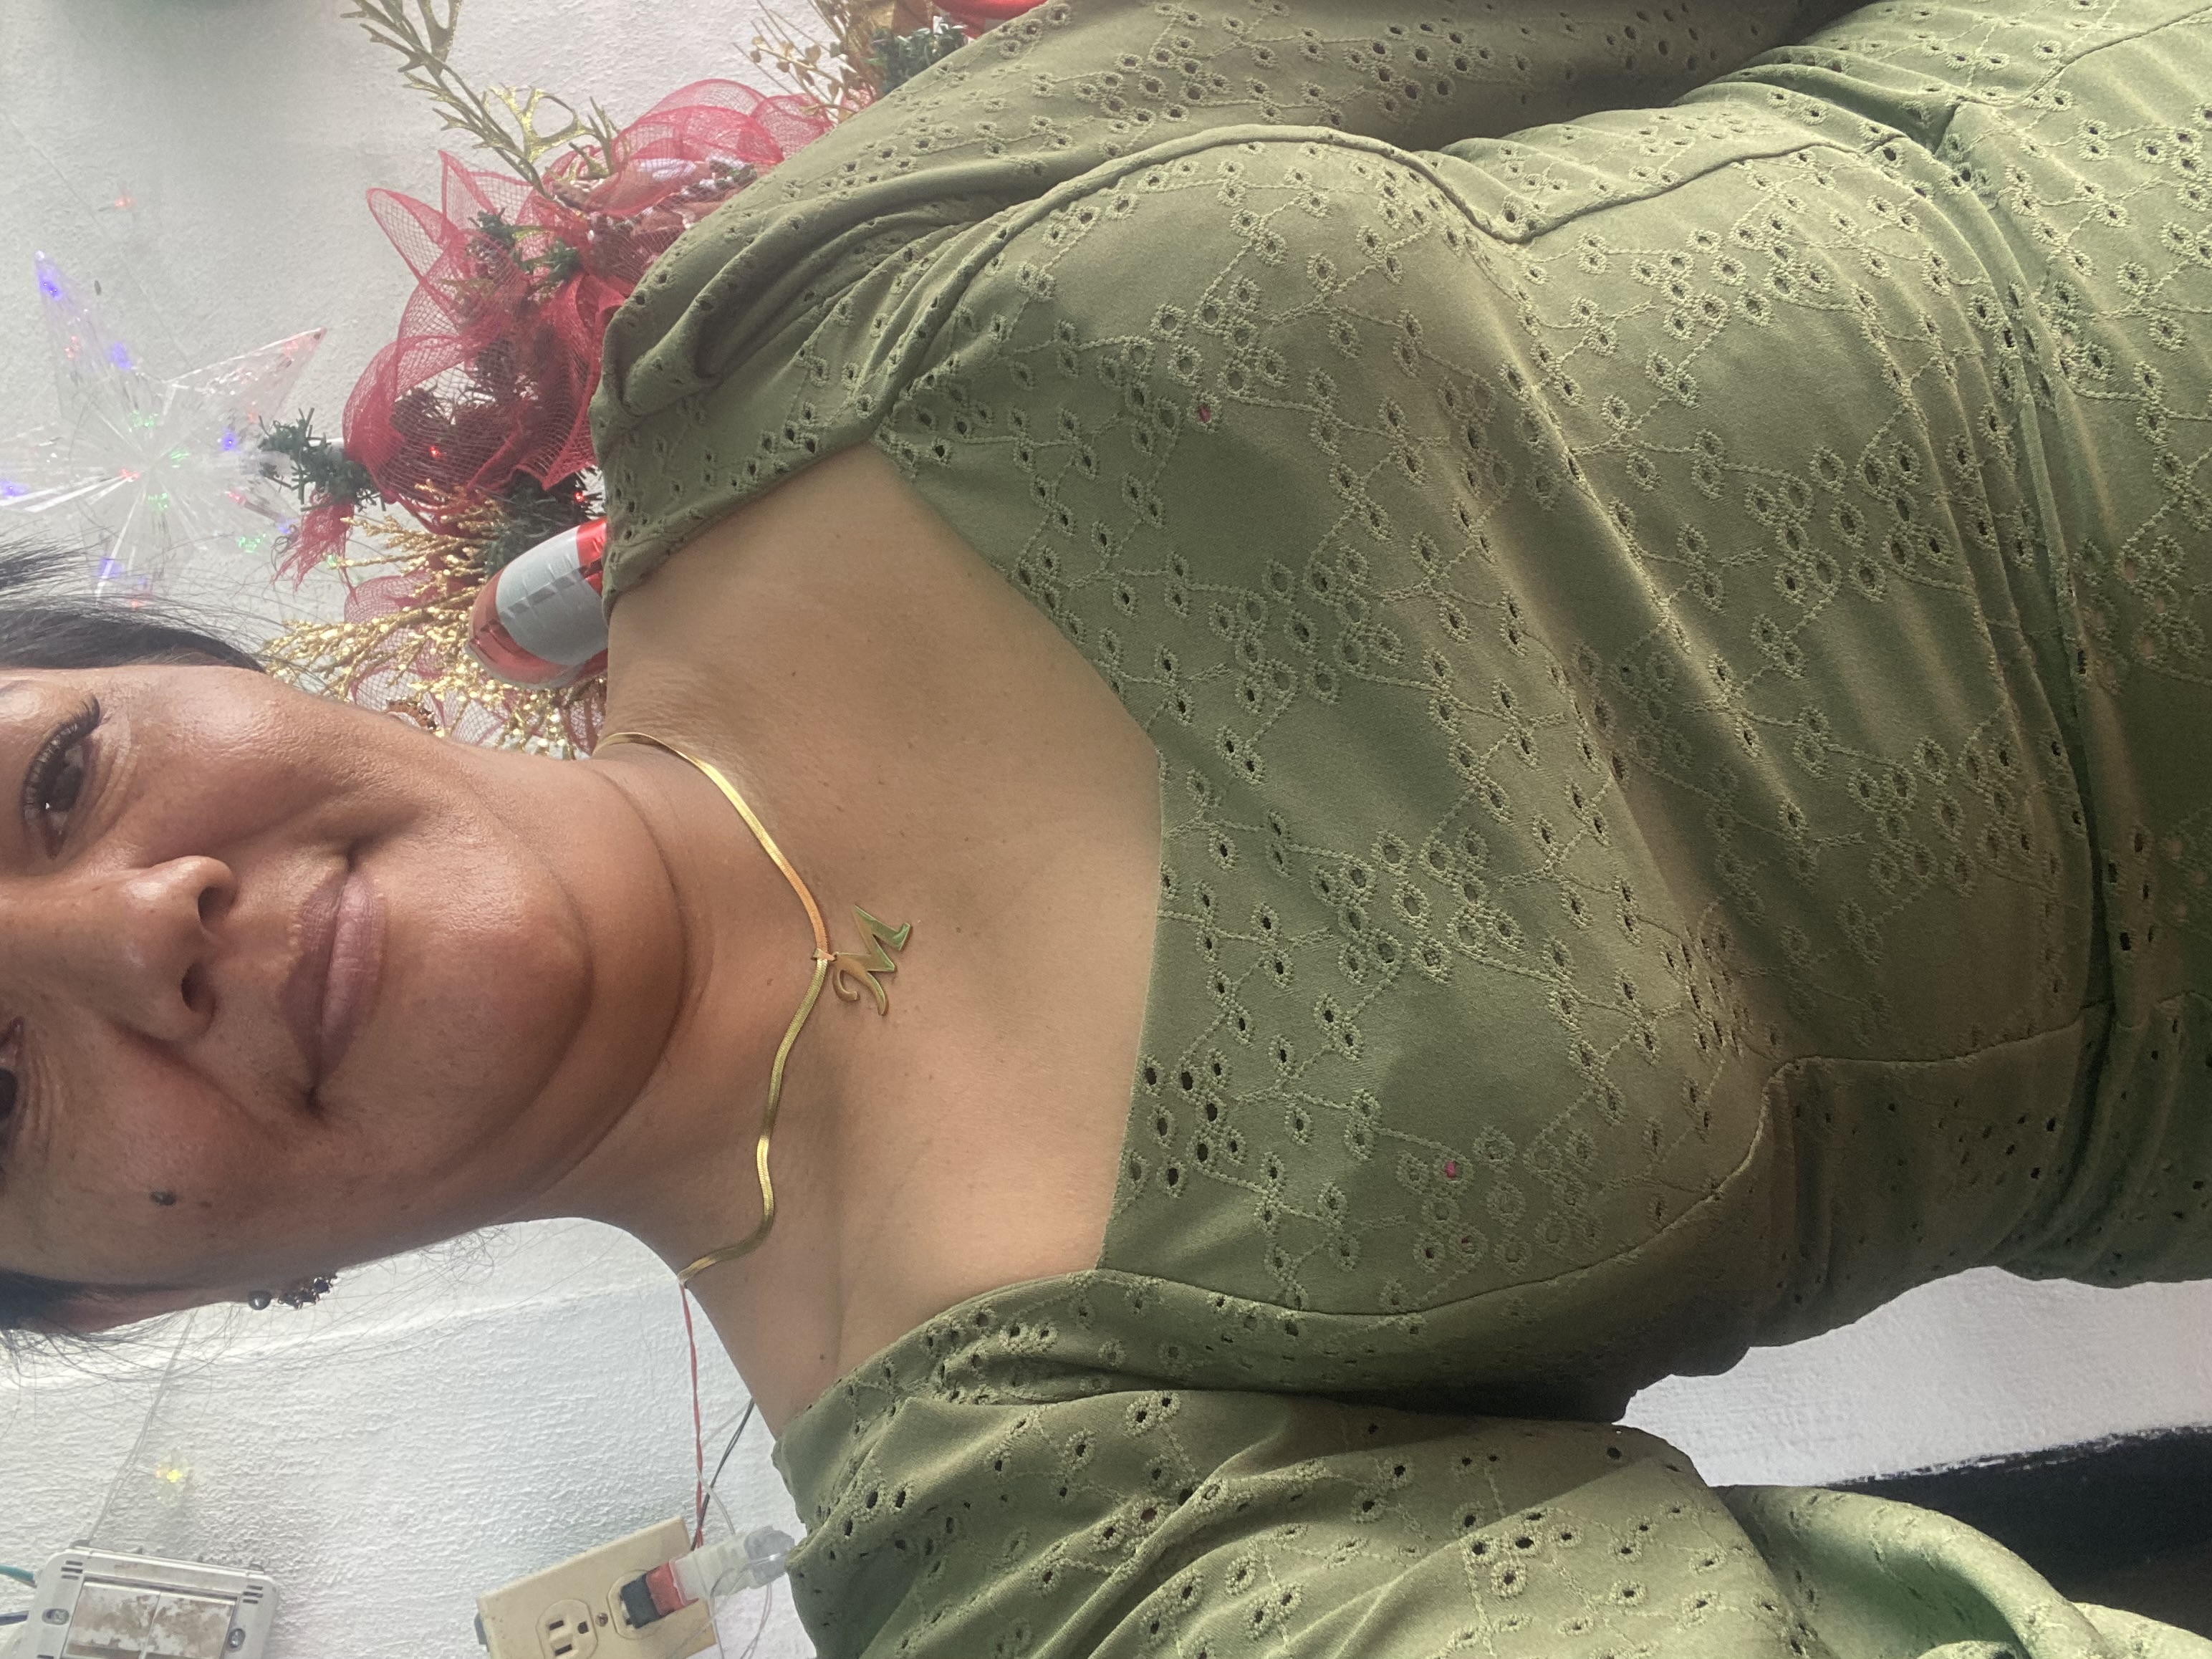
For our fifth and final step we are going to join the sides and make a hem, and with this we finish making this beautiful long-sleeved blouse. I loved the result, I hope you like it too.
Para nuestro quinto y último paso vamos a unir por los laterales y le hacemos ruedo, y con esto finalizamos la confección de esta hermosa blusa manga larga, el resultado me encantó, espero que ustedes les guste también
 |  |
|---|
I love sewing and I like everything I achieve with this beautiful craft, I wish with all my heart that this year brings us all much success and prosperity and that we will be able to fulfill all those projects that we set for ourselves, I say goodbye for today, in advance I am very grateful that you have visited my Post 🥰❤️🪡🧵
Amo la costura y me gusta todo lo que logro con este hermoso oficio, deseo de todo corazón que este año nos traiga a todos muchos éxitos y prosperidad y que logremos cumplir todos esos proyectos que nos propongamos, me despido por hoy, de antemano estoy muy agradecida de qué hayas visitado mi Publicación 🥰❤️🪡🧵

Este diseño está precioso amiga gracias por compartirlo ya tengo una idea para hacerme una blusa de este modelo,que lindo quedó,🥰saludos
Me alegra que le guste amiga, gracias por comentar 🥰
This is a very good blouse you have made and it is well made and the process involved are very clear and simple. Well done and I admire your creativity.
Thank you very much for your comment, friend, greetings 🥰
Es maravilloso ver la materia prima que es la tela en este caso y luego ver la transformación Y ya convertida en una hermosa prenda de vestir. Te felicito por este don que tienes para confeccionar.
Thanks for teaching us how to make a long-sleeved blouse as this would come in handy for anyone who wishes to make a long-sleeved blouse. The blouse looks so beautiful and you look nice in it. Great job.
I'm glad you liked it and thanks for the compliment 😊, greetings 🥰
muy lindo, se ve fresco y cómodo!
very nice, looks fresh and comfortable!
Gracias 🥰
A beautiful lond shirt it is, Weldon Job dr. 😊
Thank you 😊