Happy Thursday DIYHUB friends, I hope you are having a great day 🥰, today I am pleased to make my first participation in the Final Contest of 2024, Christmas ft. Ecency, grateful to Ecency and the Diyhub community for providing us with great content❤️🎄🎅 🎄🎅
I have always loved Christmas, throughout my life I have bought many Christmas decorations including Christmas balls, these over time become discolored and many times we end up throwing them in the trash because they look very ugly, so stop and don't throw them away, today I bring you an idea to restore them and make those beautiful Christmas spheres look good again, come and I'll show you how to do it:
Feliz jueves amigos de DIYHUB, espero estés disfrutando de un excelente día 🥰, hoy me complace hacer mi primera participación en el Concurso final del 2024, Christmas ft. Ecency, agradecida con Ecency y la comunidad Diyhub por brindarnos gran contenido❤️🎄🎅
Siempre me ha encantado la Navidad, a lo largo de mi vida he comprado muchos adornos navideños entre estos las bolas navideñas, estas con el paso del tiempo se van decolorando y muchas veces terminamos tirándolas a la basura ya que se ven muy feas, así que alto no las tires , hoy les traigo una idea para restaurarlas y volver a lucir esas lindas esferas navideñas, ven y te muestro cómo hacerlo:
MATERIALS
MATERIALES
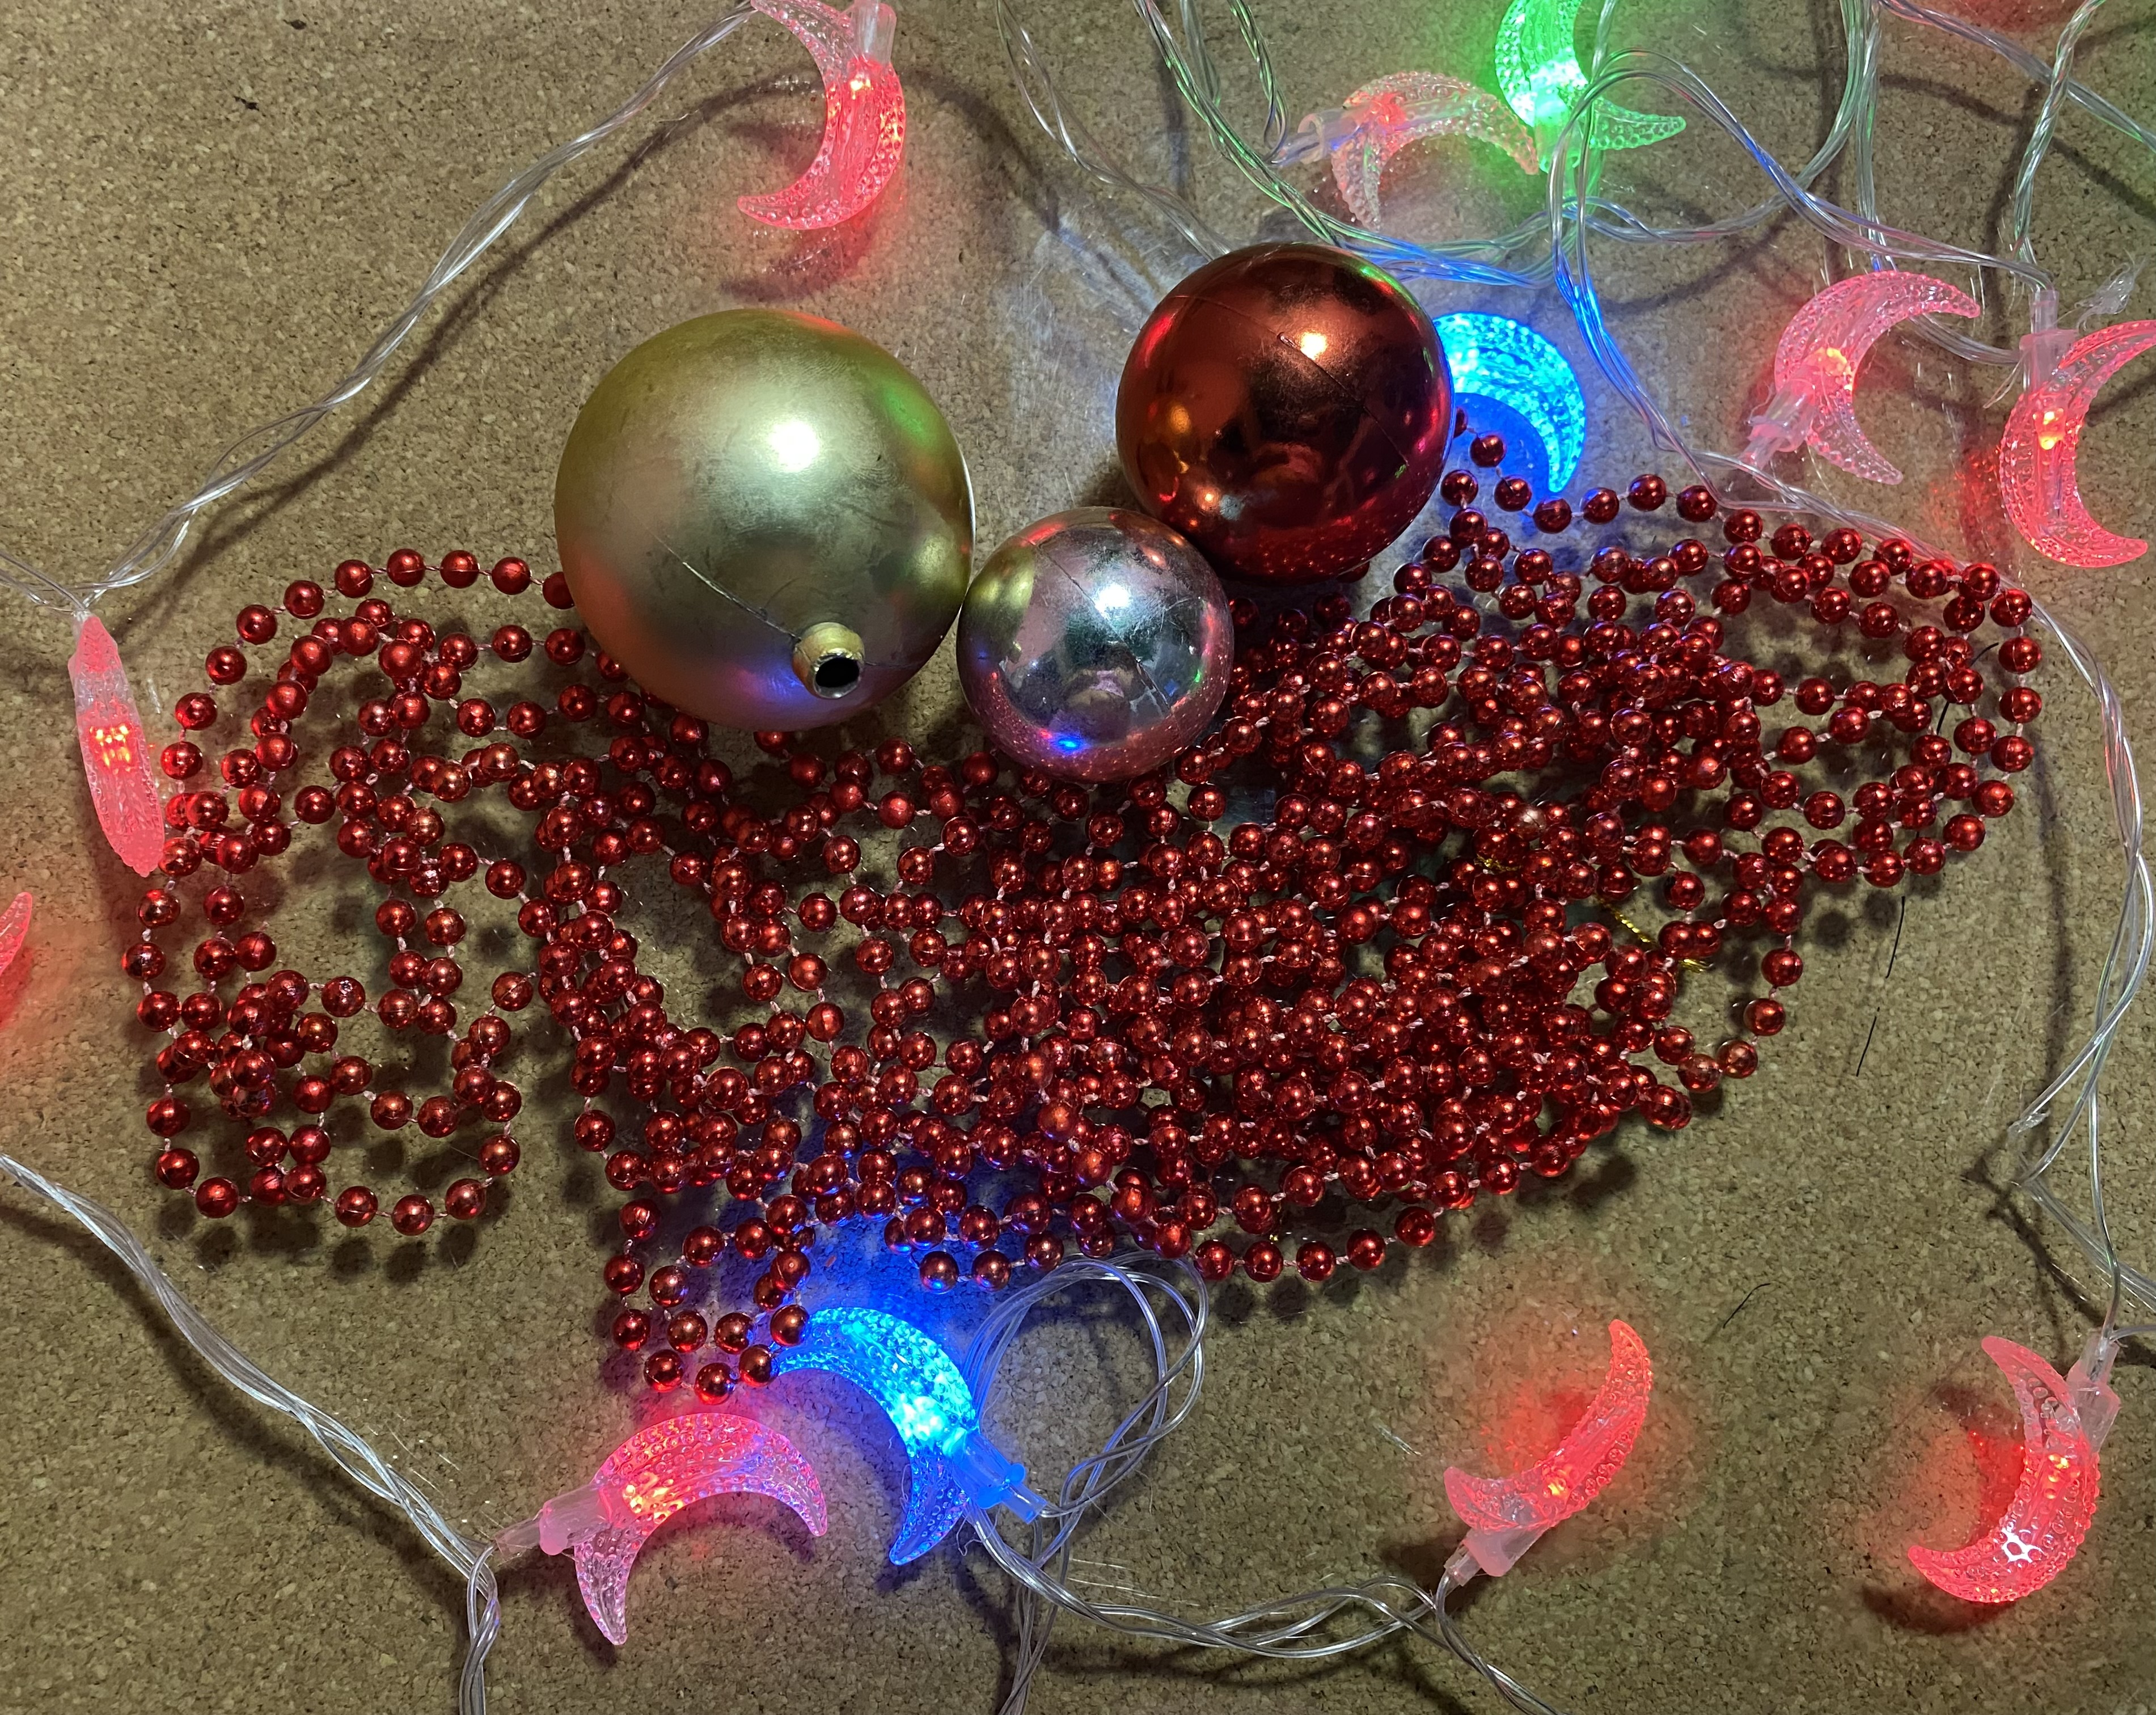
For this restoration we will need few materials, and the best of all is that we can restore Christmas balls of any size, here is the list of materials to use:
- Christmas balls
- continuous pearl, the one used in Christmas decorations, these are quite cheap and can be found in different colors
- silicone
- decorative tape
Para esta restauración vamos a necesitar pocos materiales, y lo mejor de todo es que podemos restaurar bolas navideñas de cualquier tamaño, aquí te dejo la lista de materiales a utilizar:
- bolas navideñas
- perla corrida la que se utiliza en las decoraciones navideñas, estas son bastante económicas y se pueden conseguir en diferentes colores
- silicone
- cinta decorativa
STEP BY STEP
PASO A PASO
STEEP 1
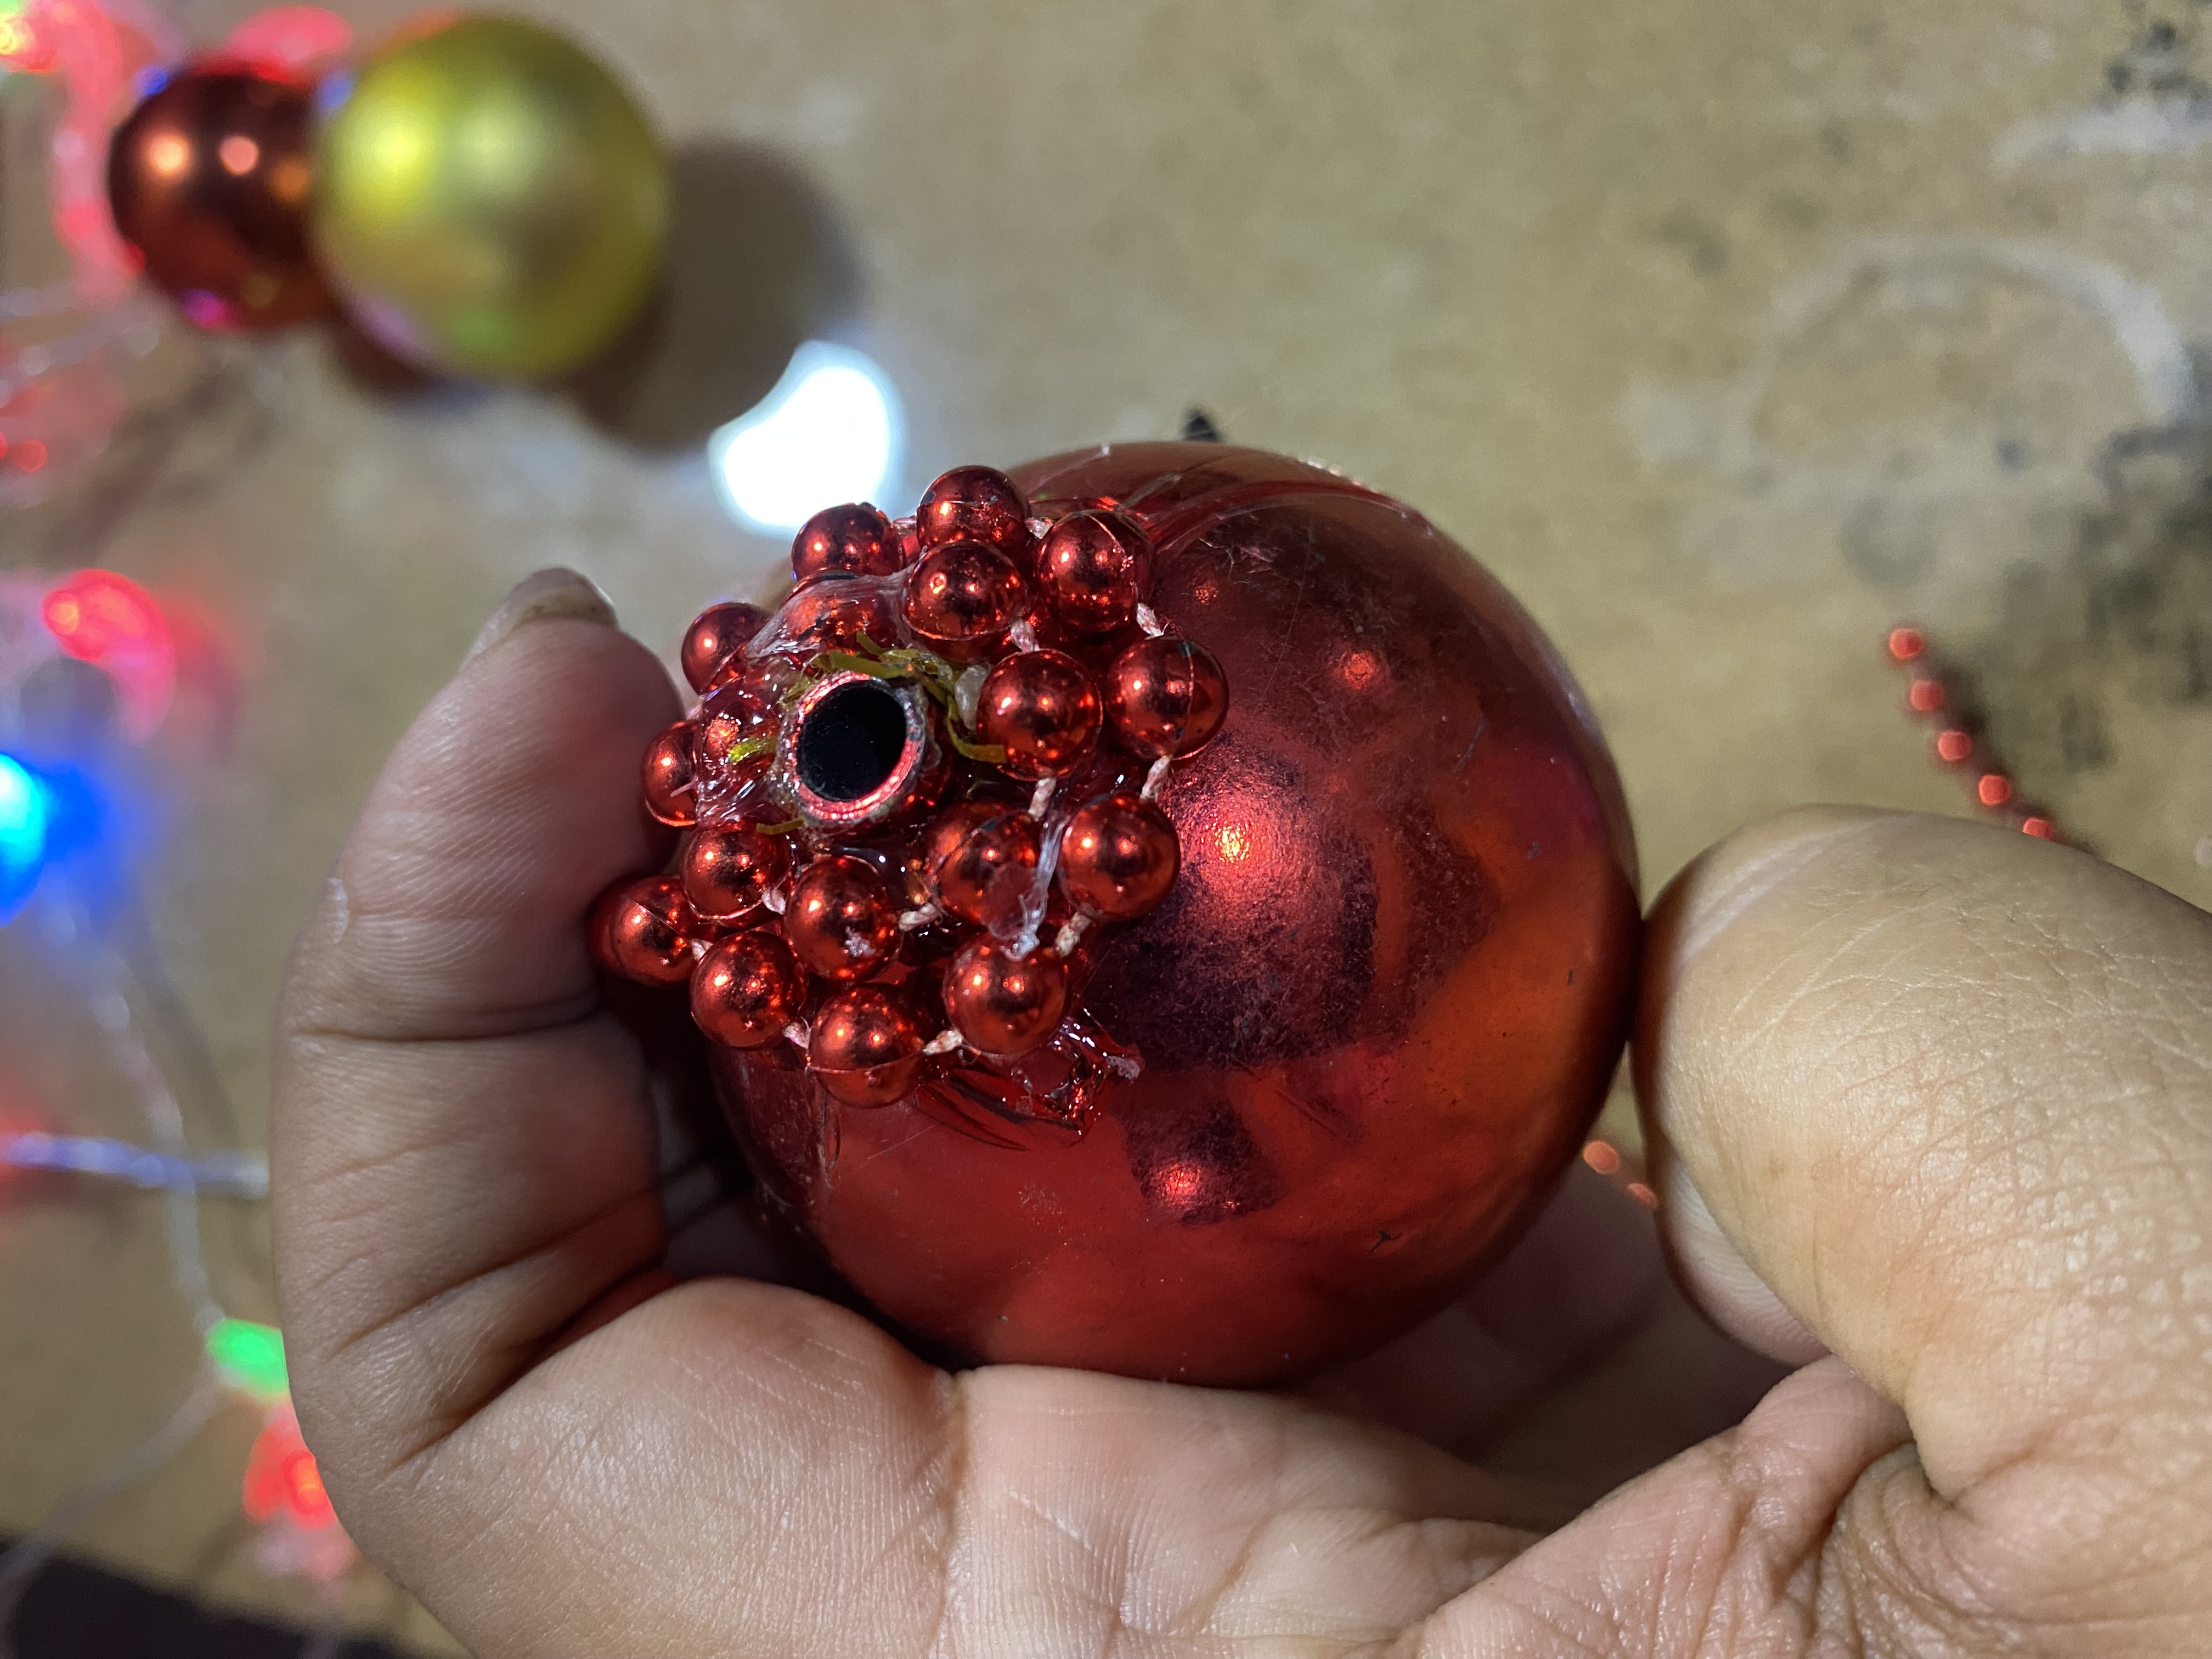
We are going to start by placing Silicon on the top of our ball, it doesn't matter if the top pin is broken, or if it doesn't have the little bell where it hangs, the important thing is to leave the hole, it is also important to glue our pearl with hot Silicon since with cold or liquid Silicon it will take a little longer to dry and it may not turn out right, we will start to glue the pearl and make a small ring on the top.
Vamos a comenzar colocando Silicon en la parte de arriba de nuestra bola, no importa si tiene quebrado el pin de arriba , o si no tiene la campanita por donde se cuelga, lo importante es dejar el orificio, también es importante pegar nuestra perla corrida con Silicon caliente ya que con el Silicon frío o líquido tardará un poco más en secar y quizás no quede bien, comenzaremos a pegar la perla corrida hacemos un pequeño aro en la parte superior.
 |  |
|---|
STEEP 2
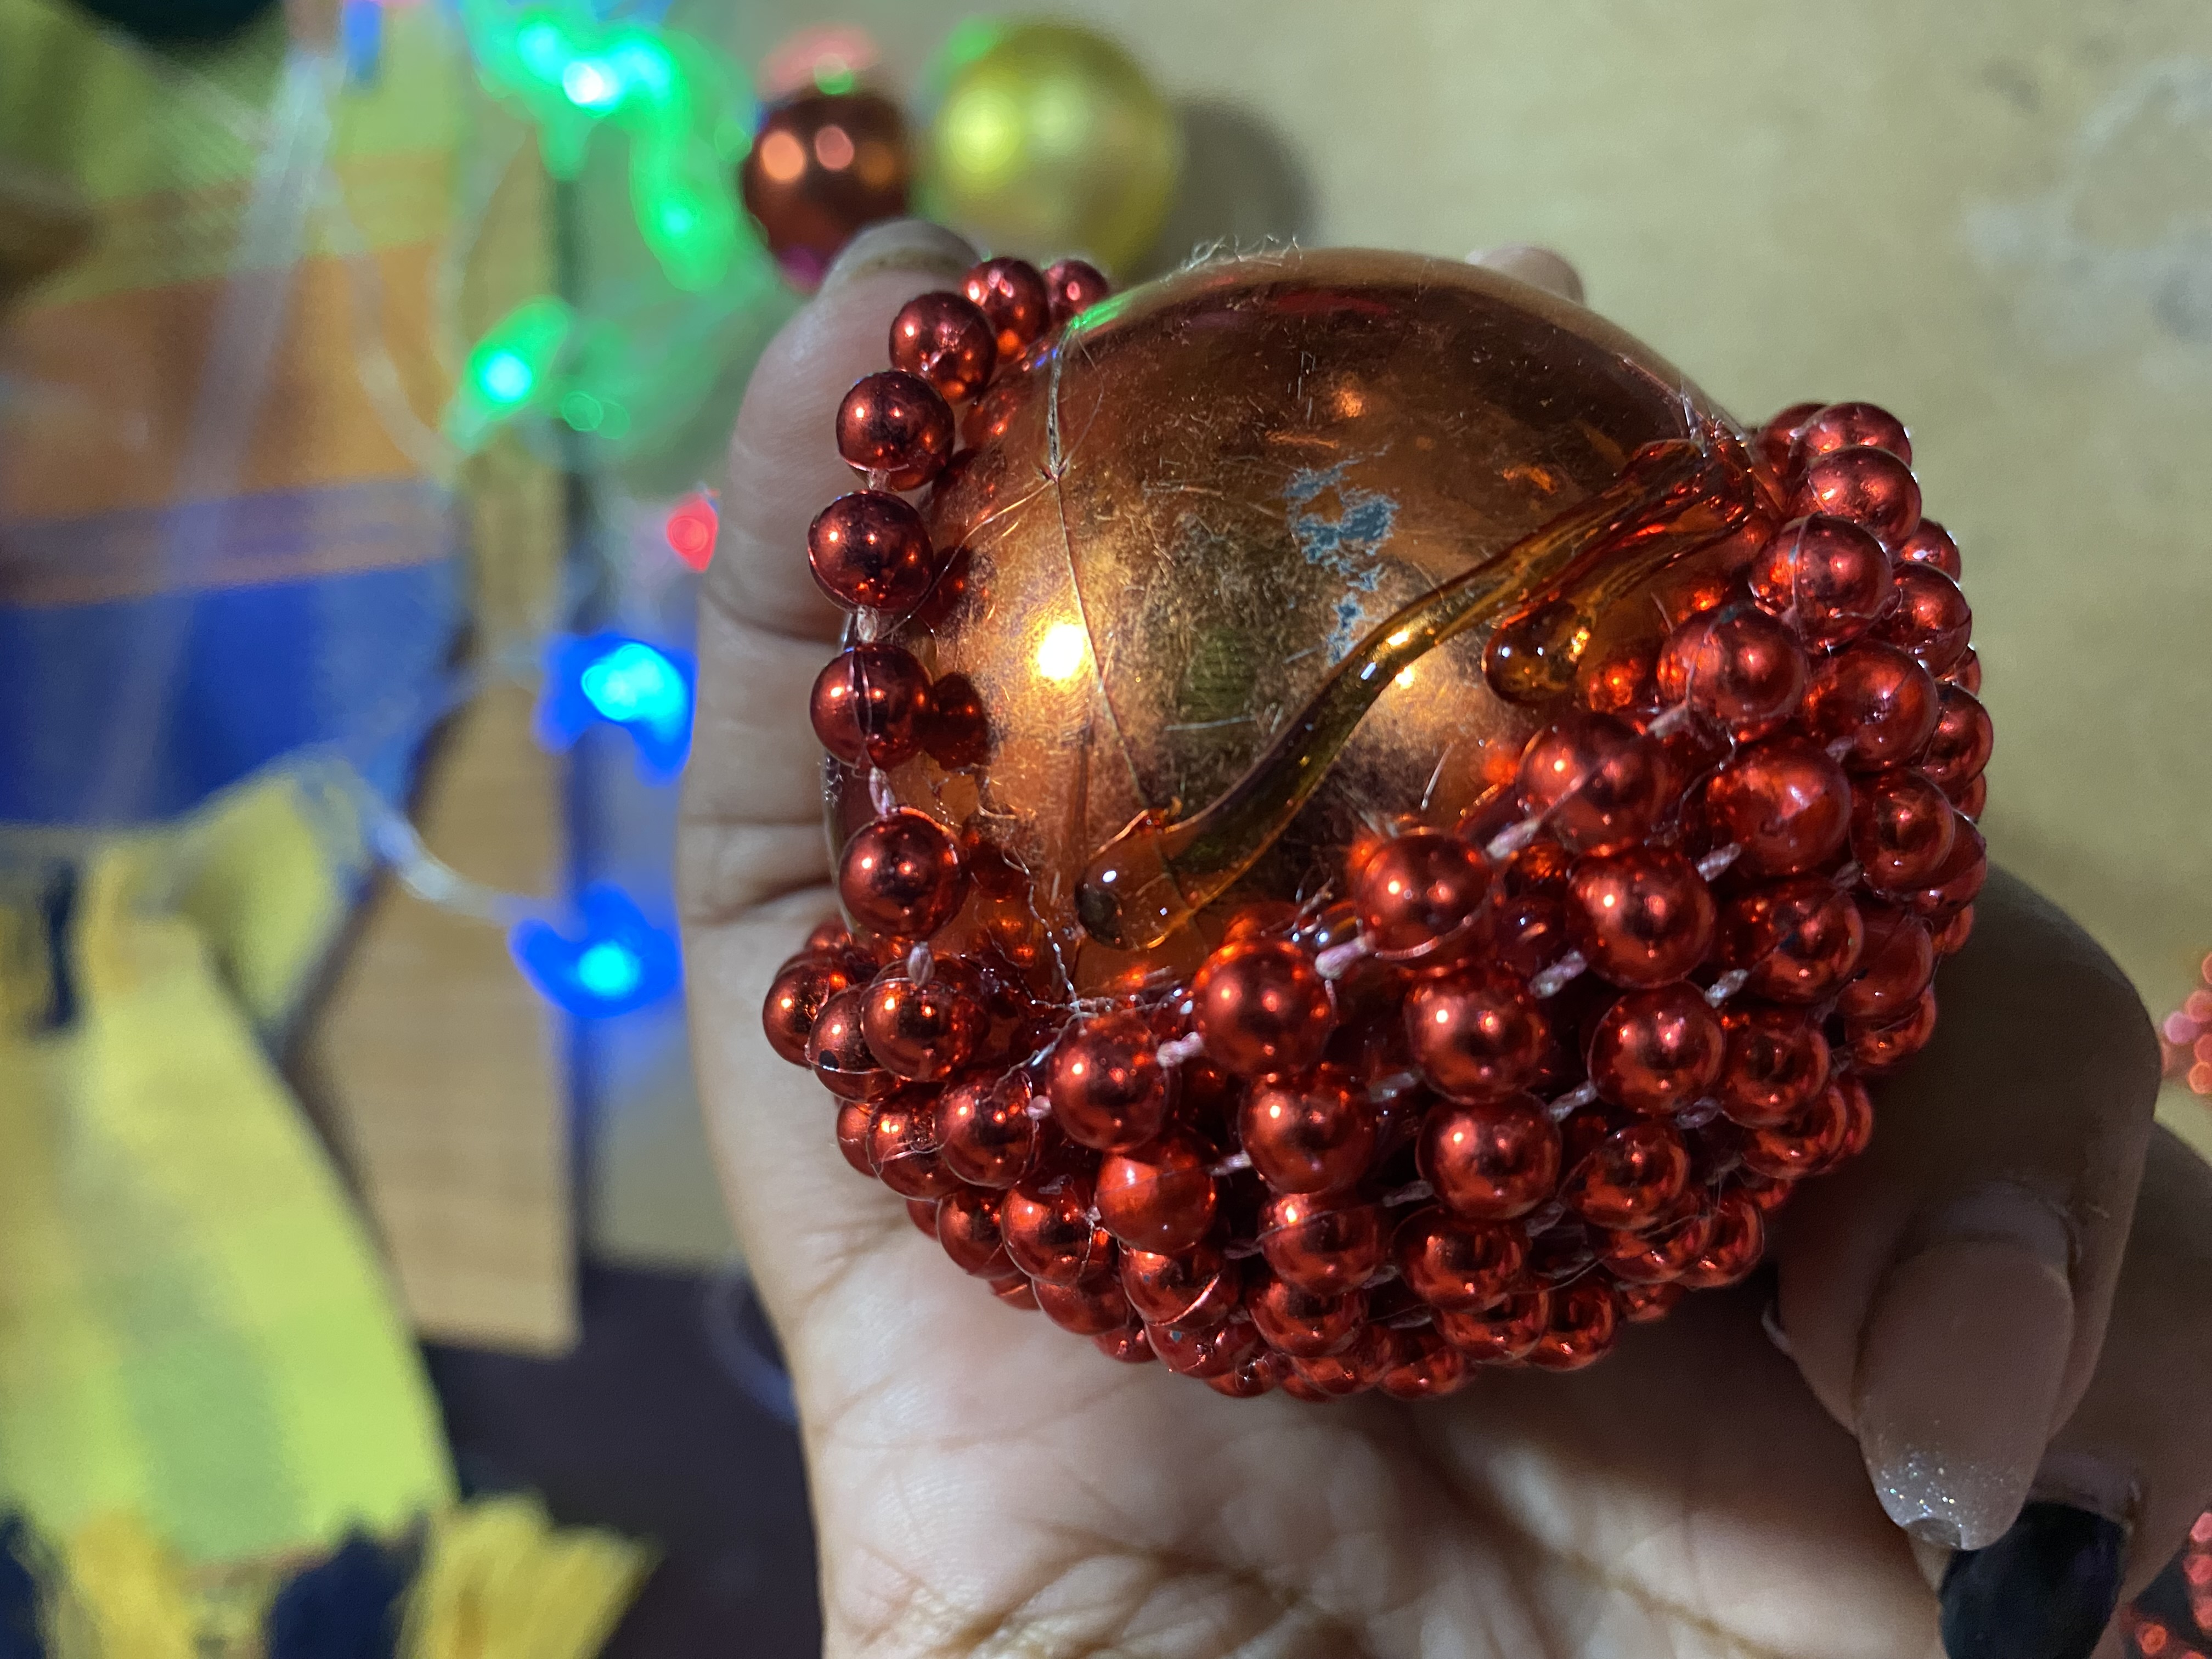
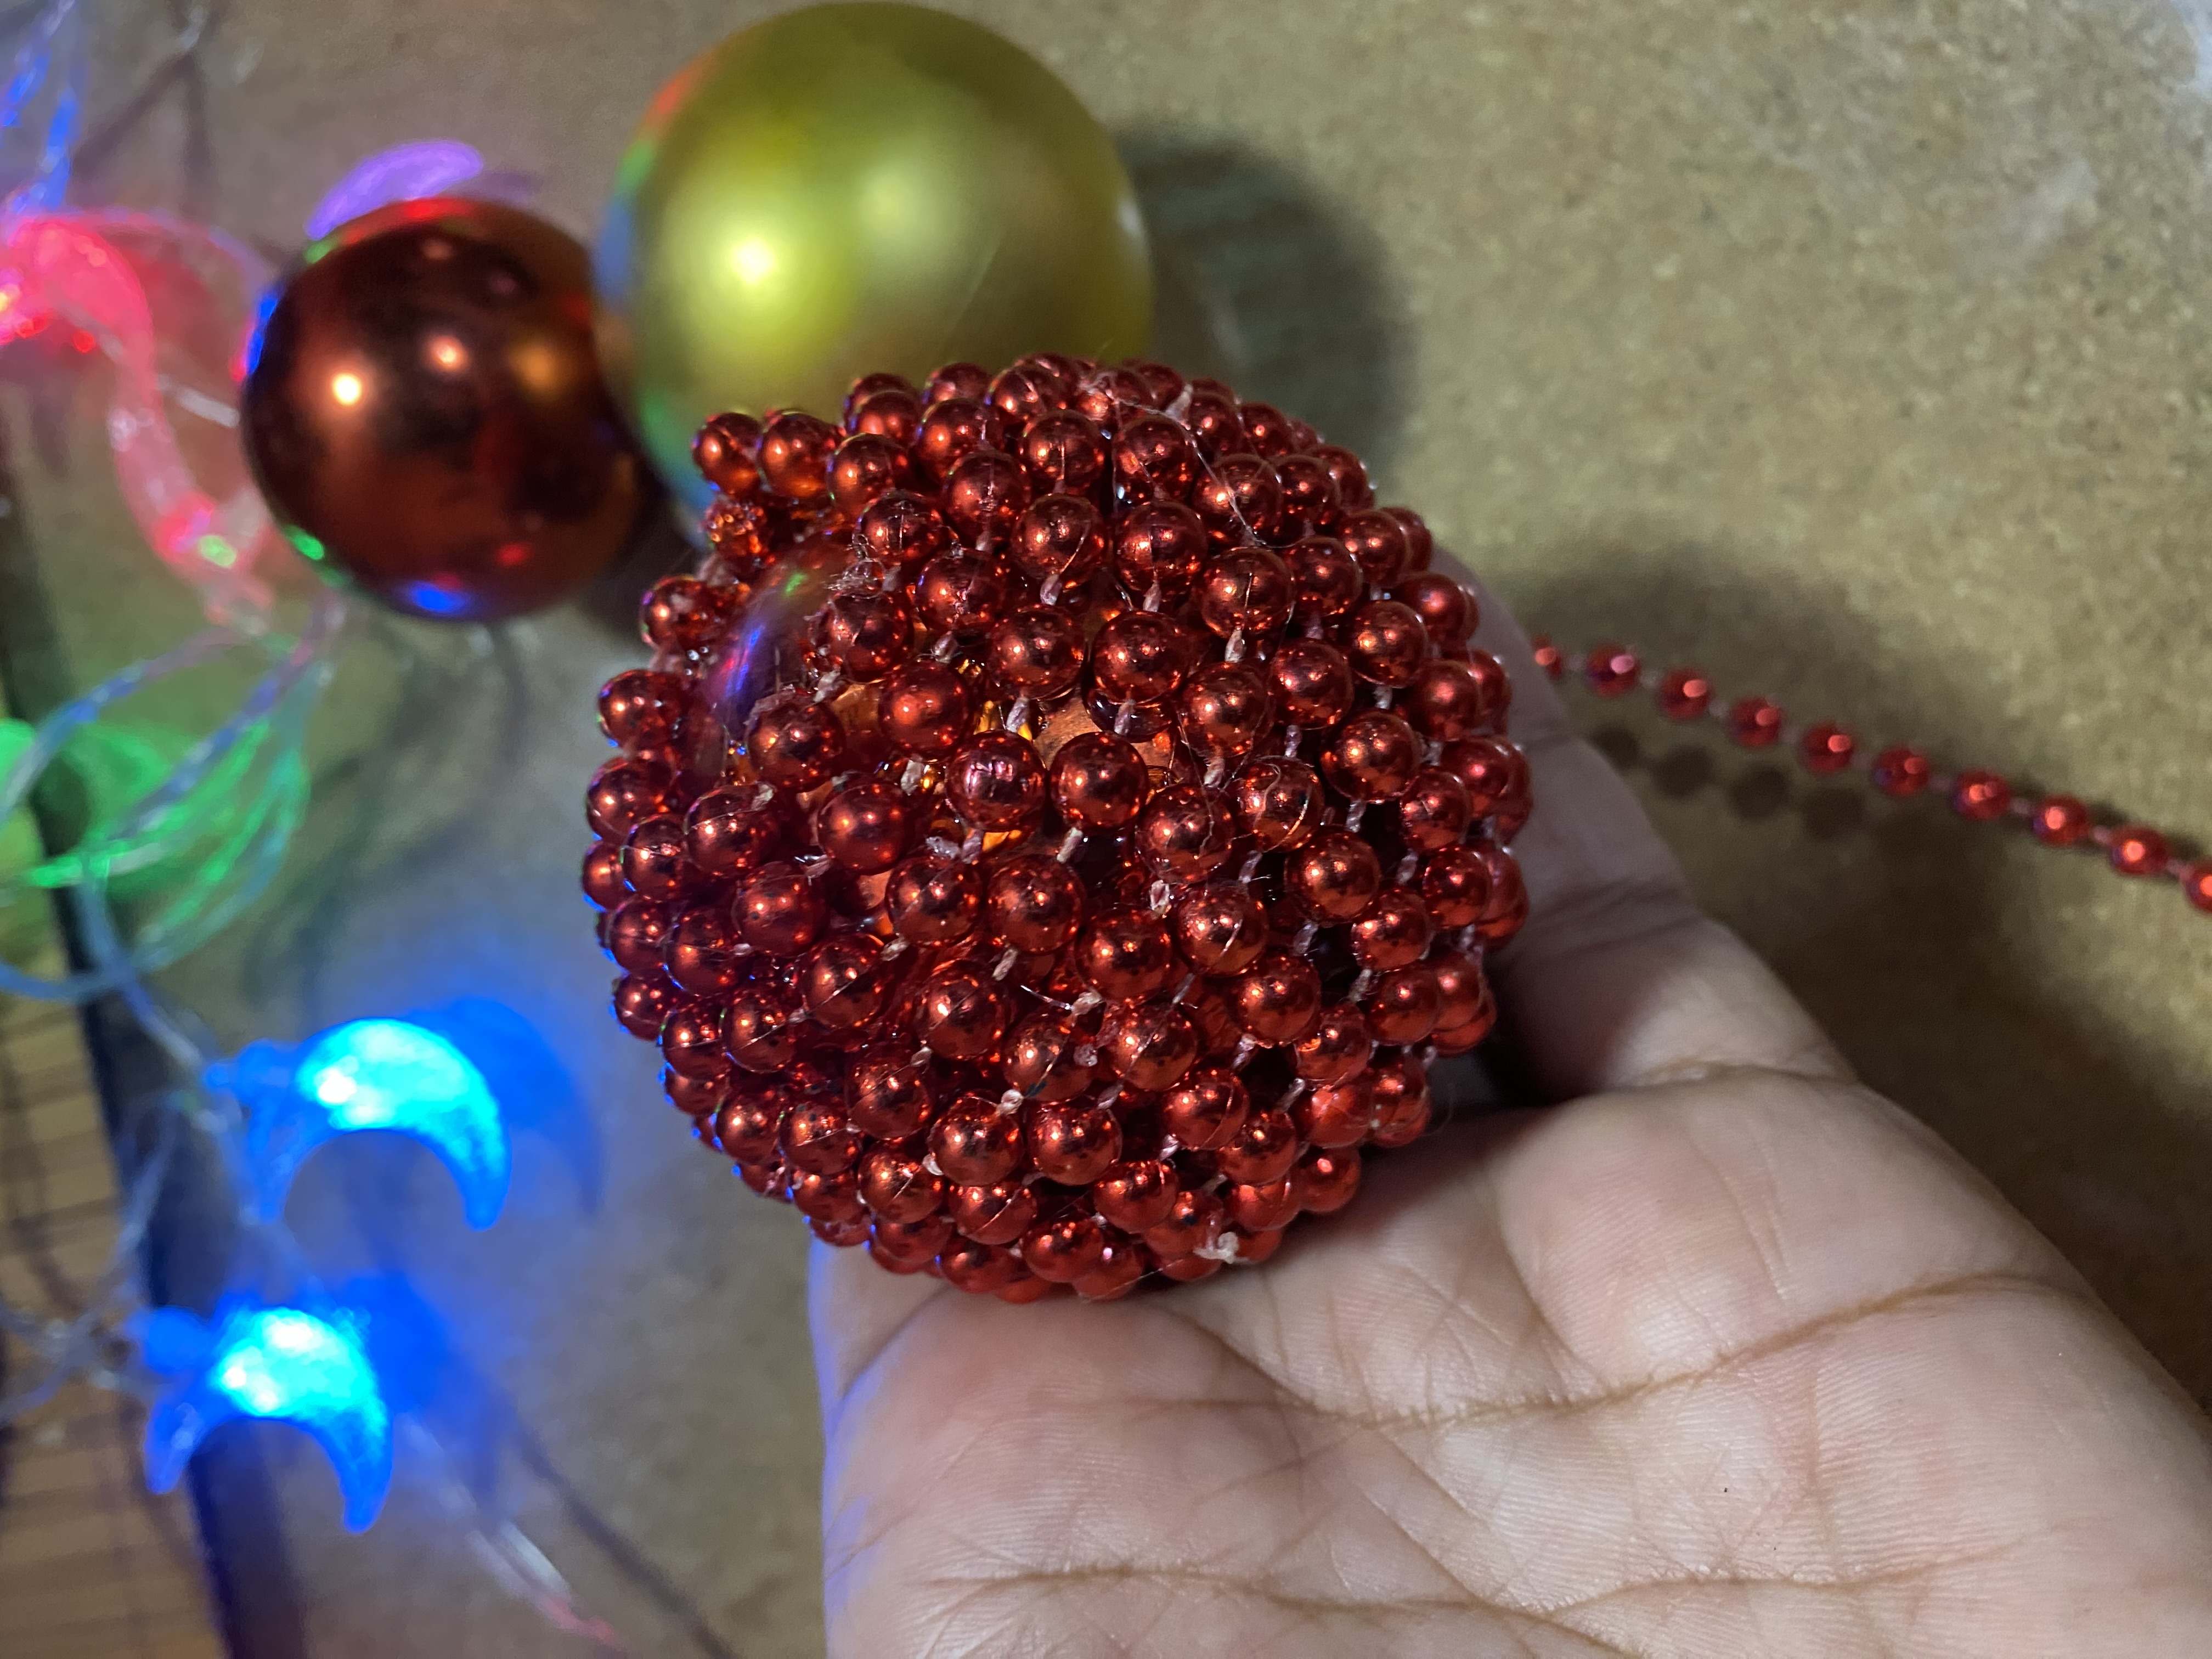
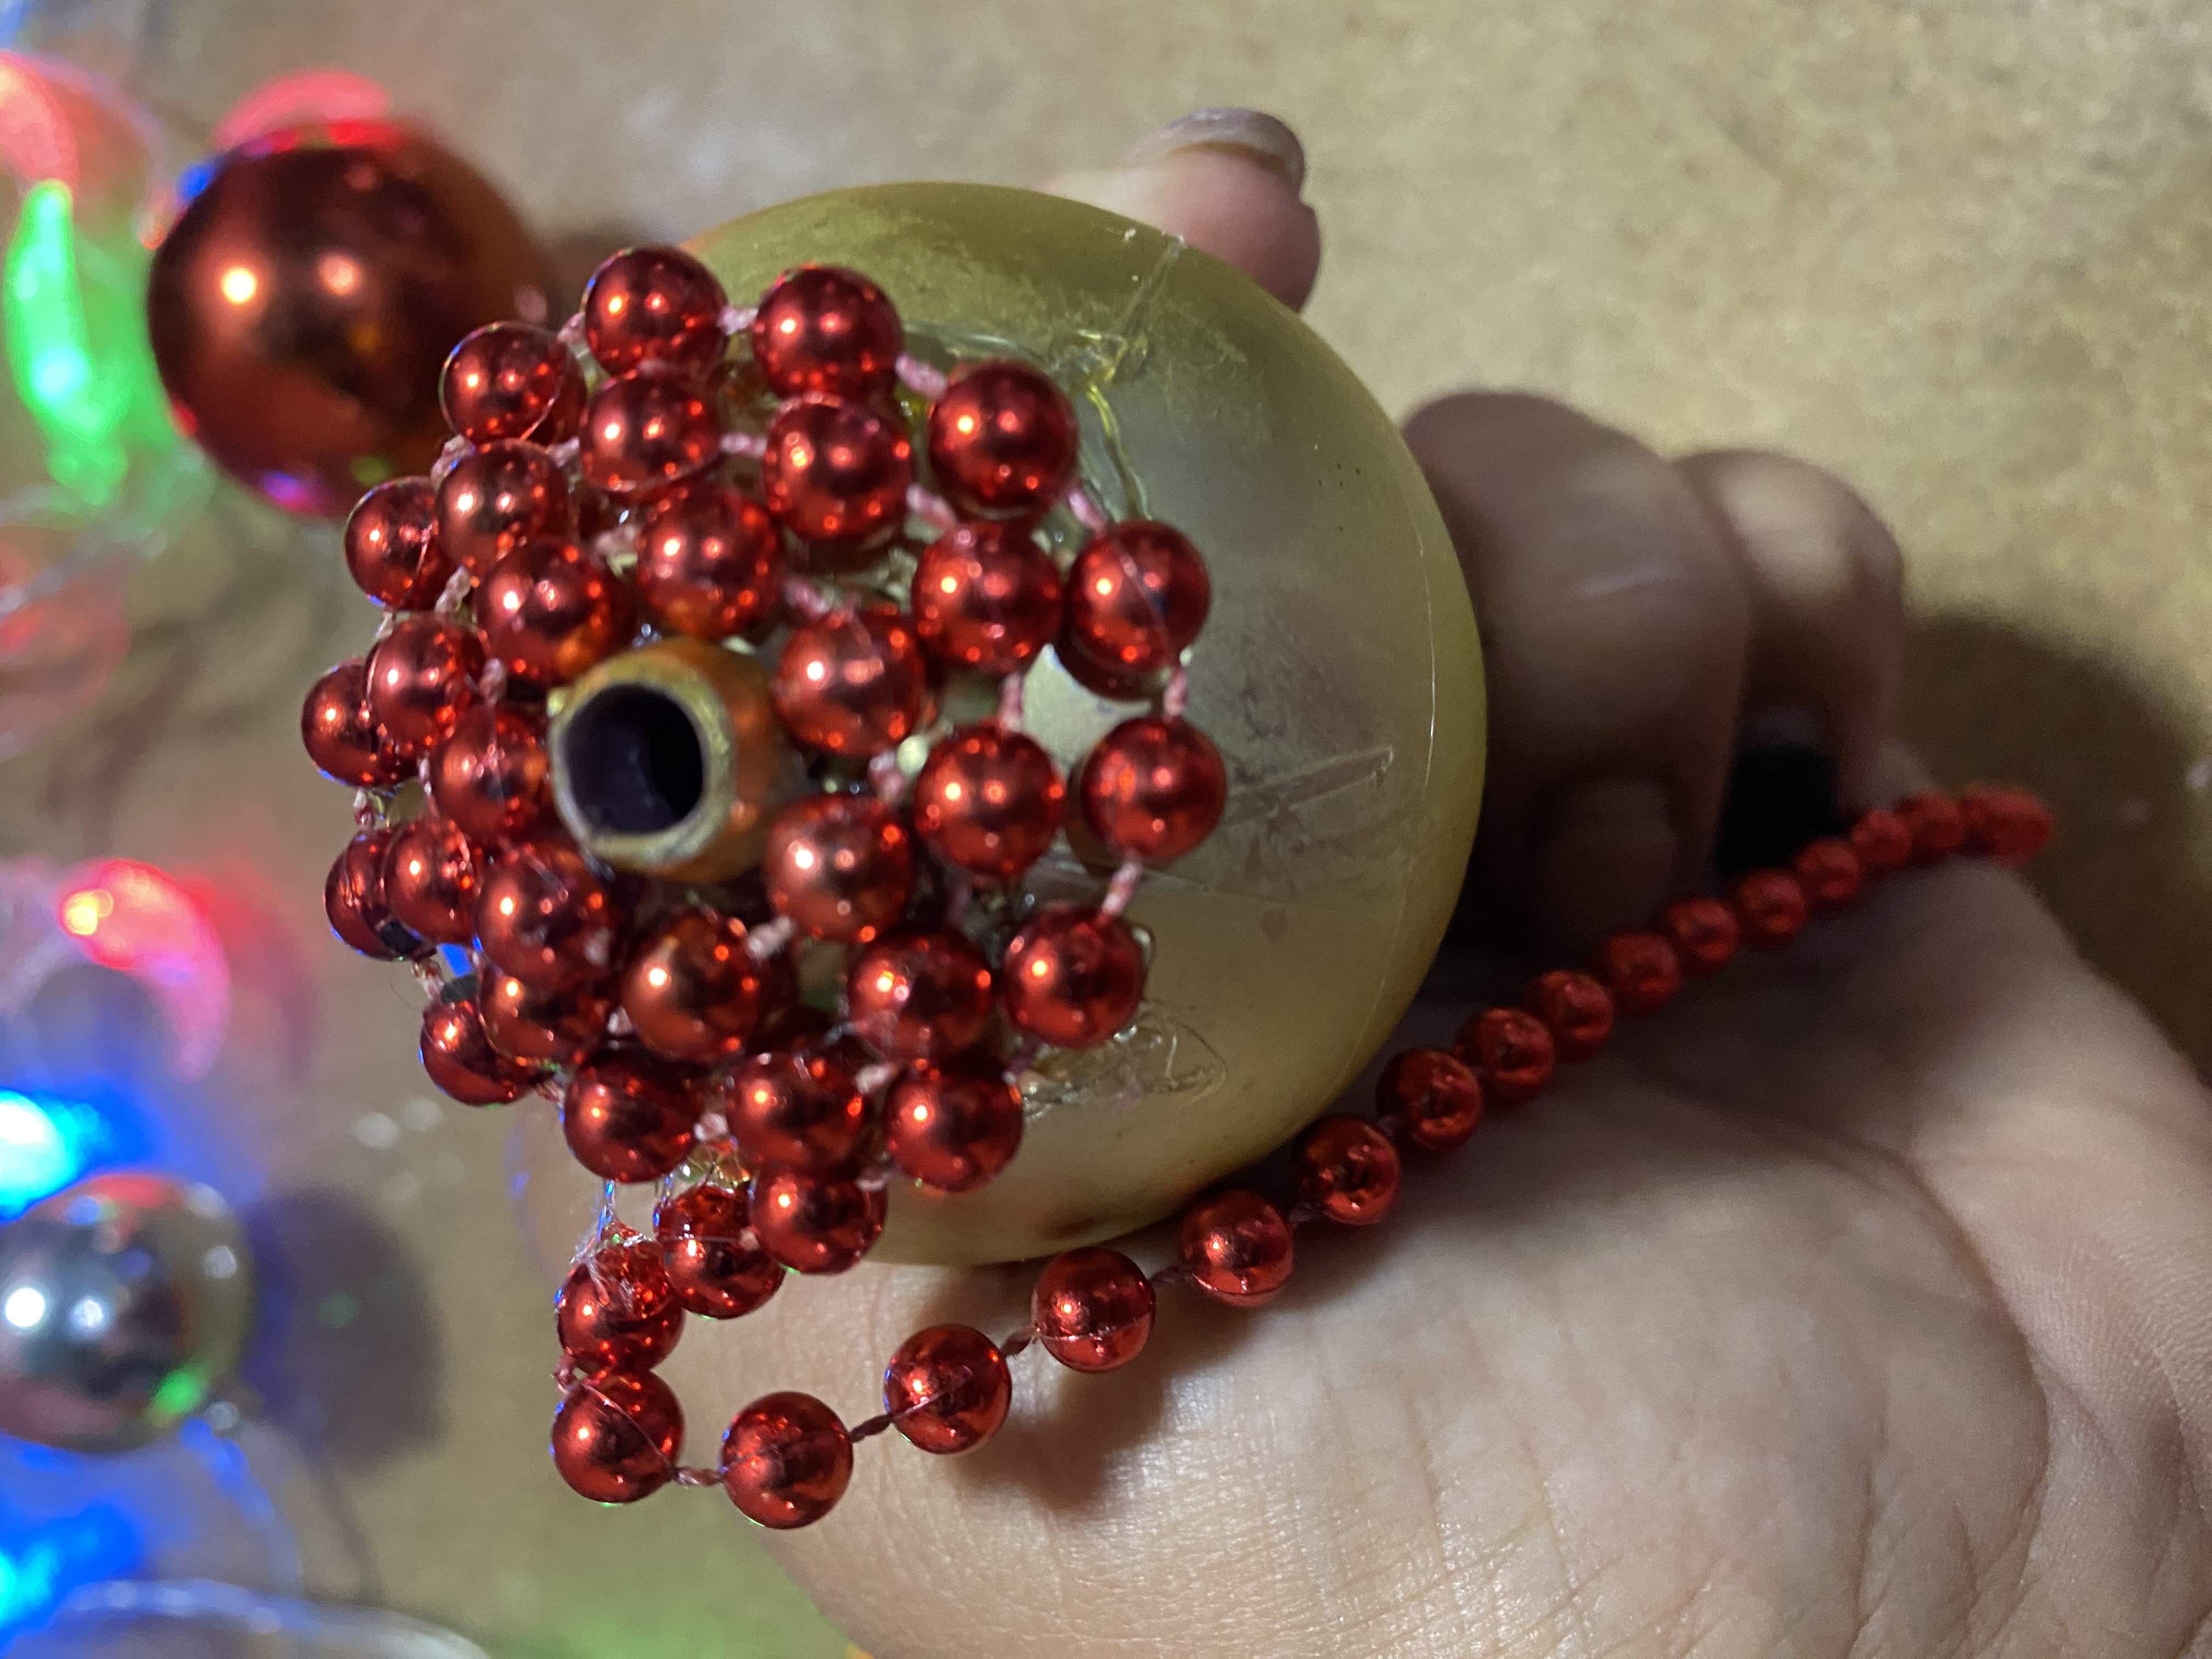
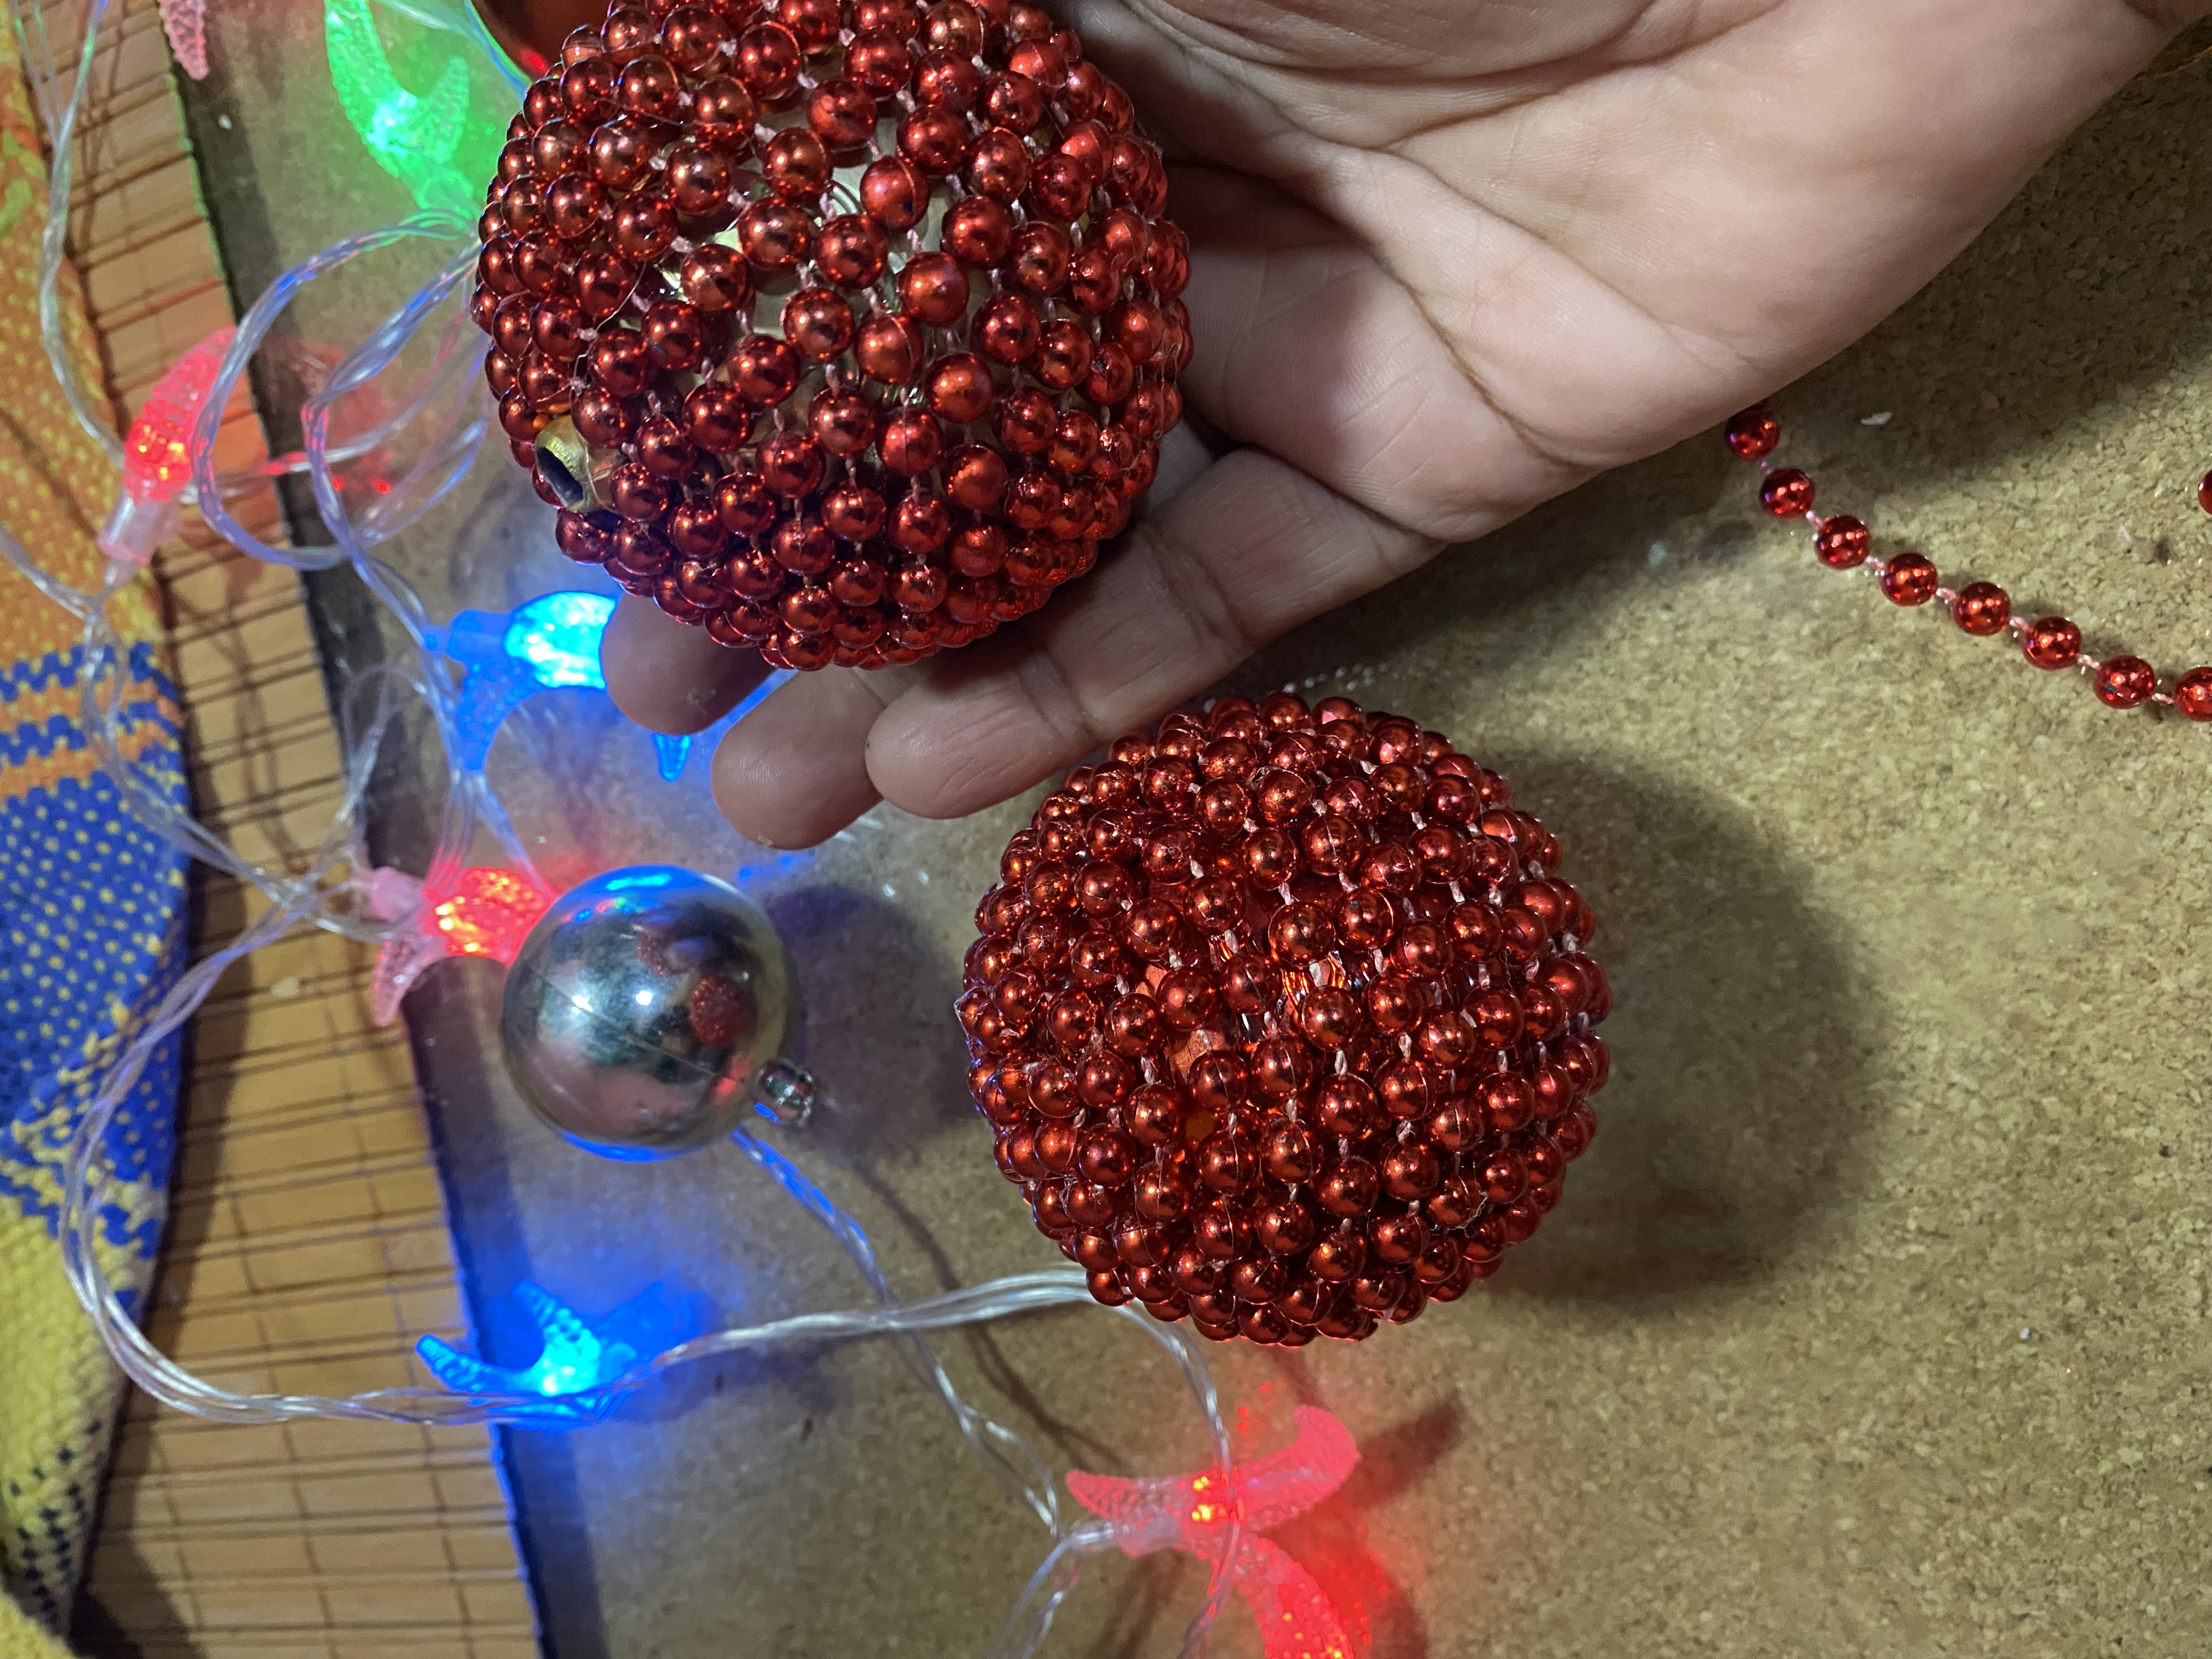
We will continue to place silicone as we turn the strip of pearl around, it is important to keep placing silicone on it or else it will come off or become watery and will not look pretty, when we get to the bottom of our ball we will mold the pearl until we complete it all, we cut it and put a dot of silicone to secure the end well.
We will do the same procedure with all the spheres that we are going to decorate, these spheres can be of any color and they will still look beautiful.
Continuaremos colocando Silicon a medida que le vamos dando la vuelta a la tira de perla corrida, es importante irle colocando Silicon o sino se despegará o quedará aguado y no se verá bonito, cuando lleguemos a la parte inferior de nuestra bola le vamos a ir moldeando la perla corrida hasta completarla toda cortamos y ponemos un punto de Silicon para fijar bien el final.
El mismo procedimiento lo vamos a hacer con todas las esferas que vamos a decorar, estas esferas pueden ser del color que sea e igual te quedarán hermosas
 |  |
|---|---|
 |  |
STEEP 3
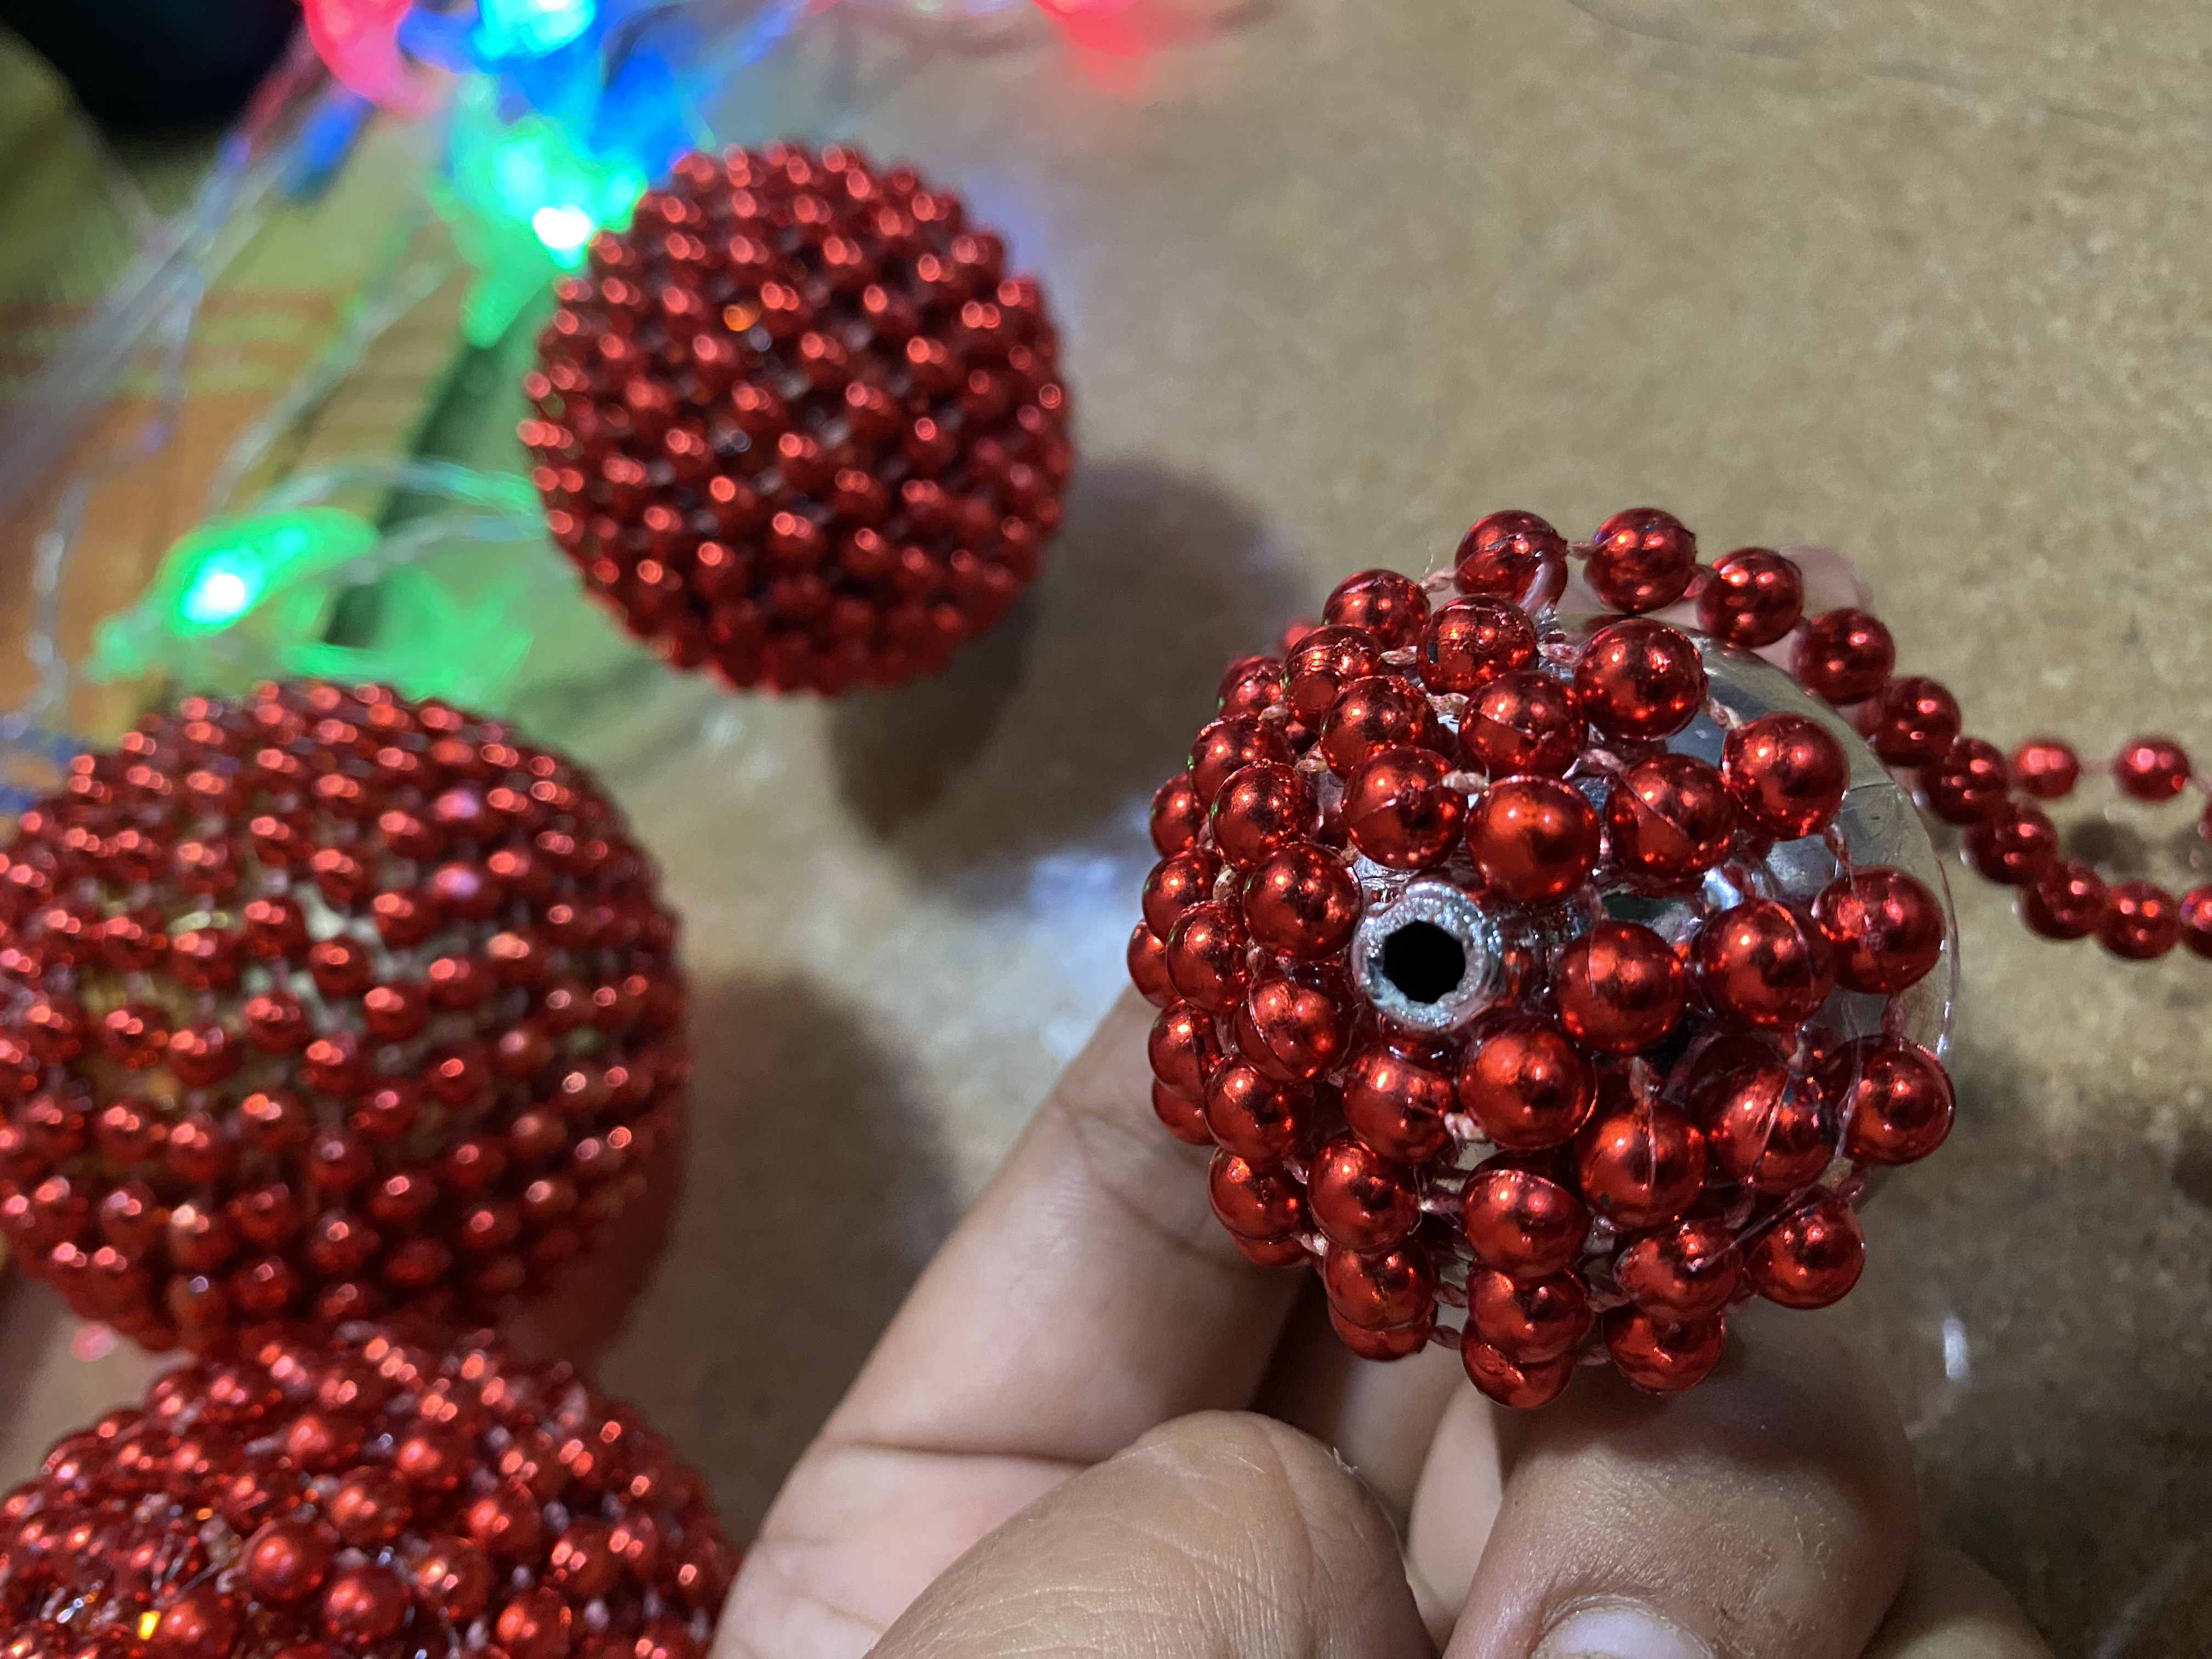
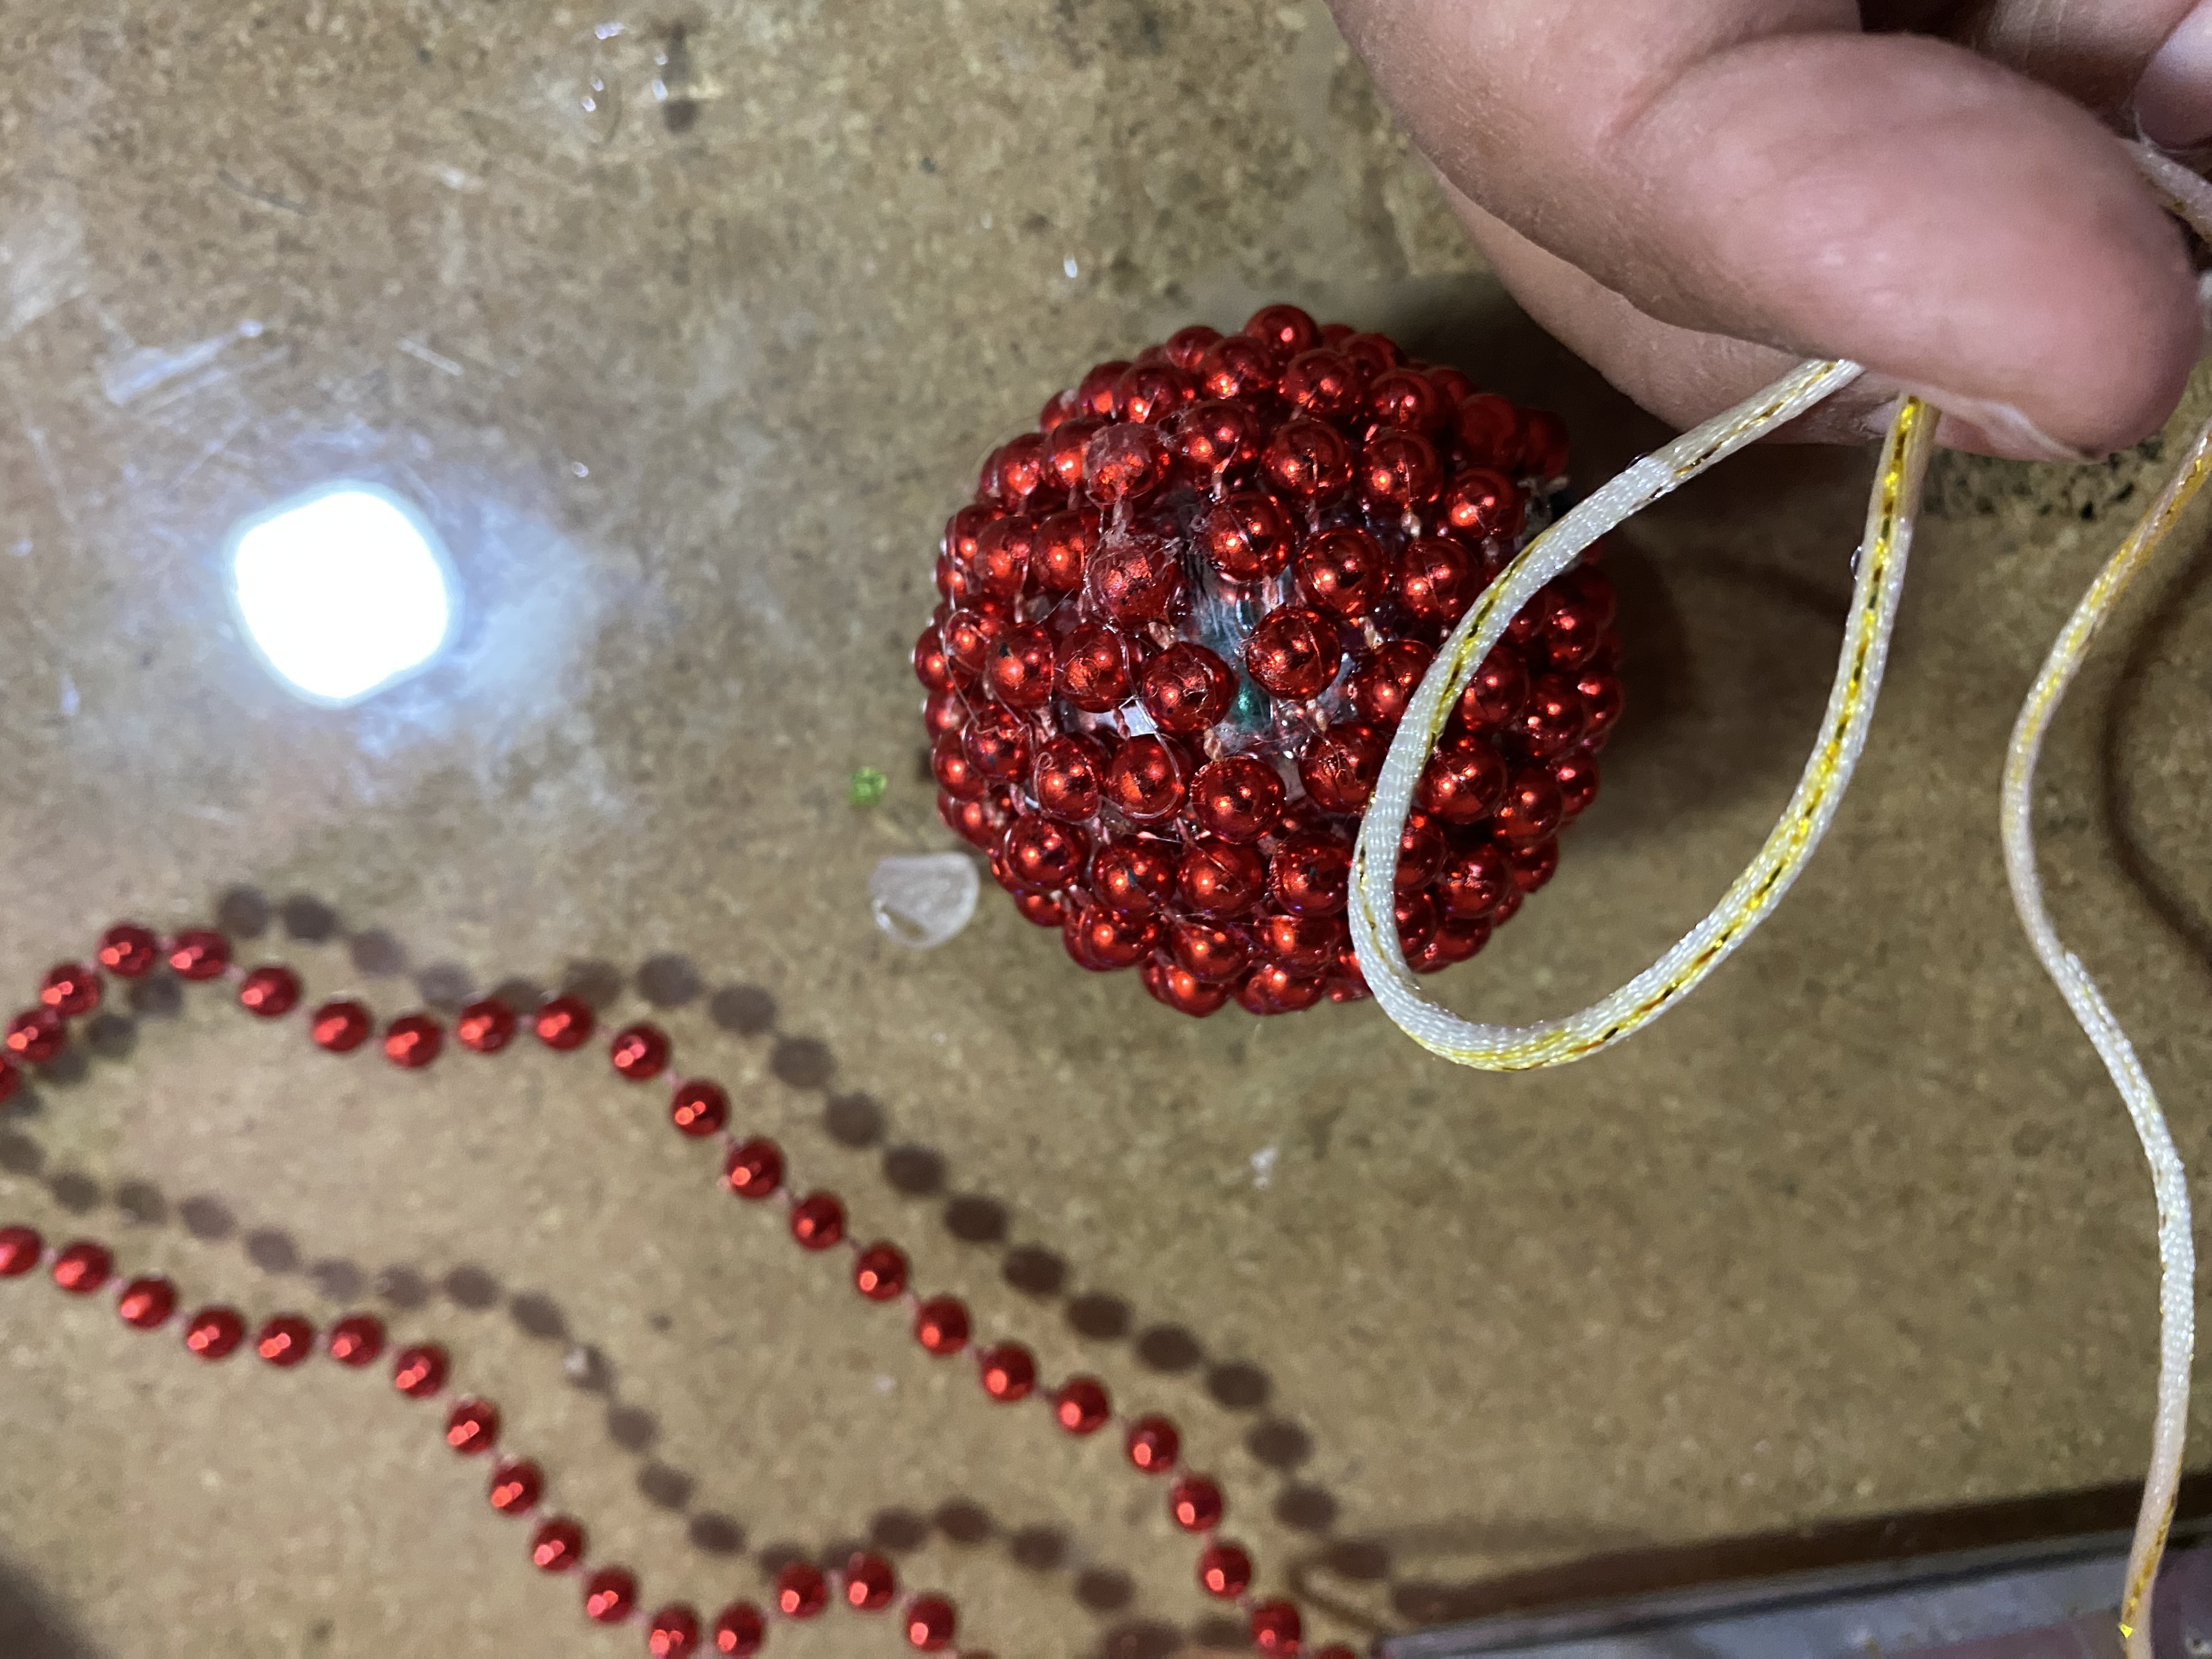
Once our spheres are ready, we will place a little Silicon in the upper hole and put a small piece of ribbon to hang it. I am using a ribbon called mouse tail, I cut approximately 8 cm and placed it in the hole of my Christmas ball, and that's it. These beautiful Christmas balls are ready, a new style to look beautiful this Christmas, I hope you like the result.
Al tener lista nuestras esferas le vamos a colocar en el orificio superior un poco de Silicon y le colocamos un pequeño pedazo de cinta para colgar, yo estoy utilizando una cinta llamada rabo de ratón, la corté de aproximadamente 8 cm y la coloqué en el orificio de mi bola navideña, y así ya Están listas estas lindas bolas navideñas, un nuevo estilo para lucir hermosas en estas Navidades, espero les guste el resultado
 |  |
|---|---|
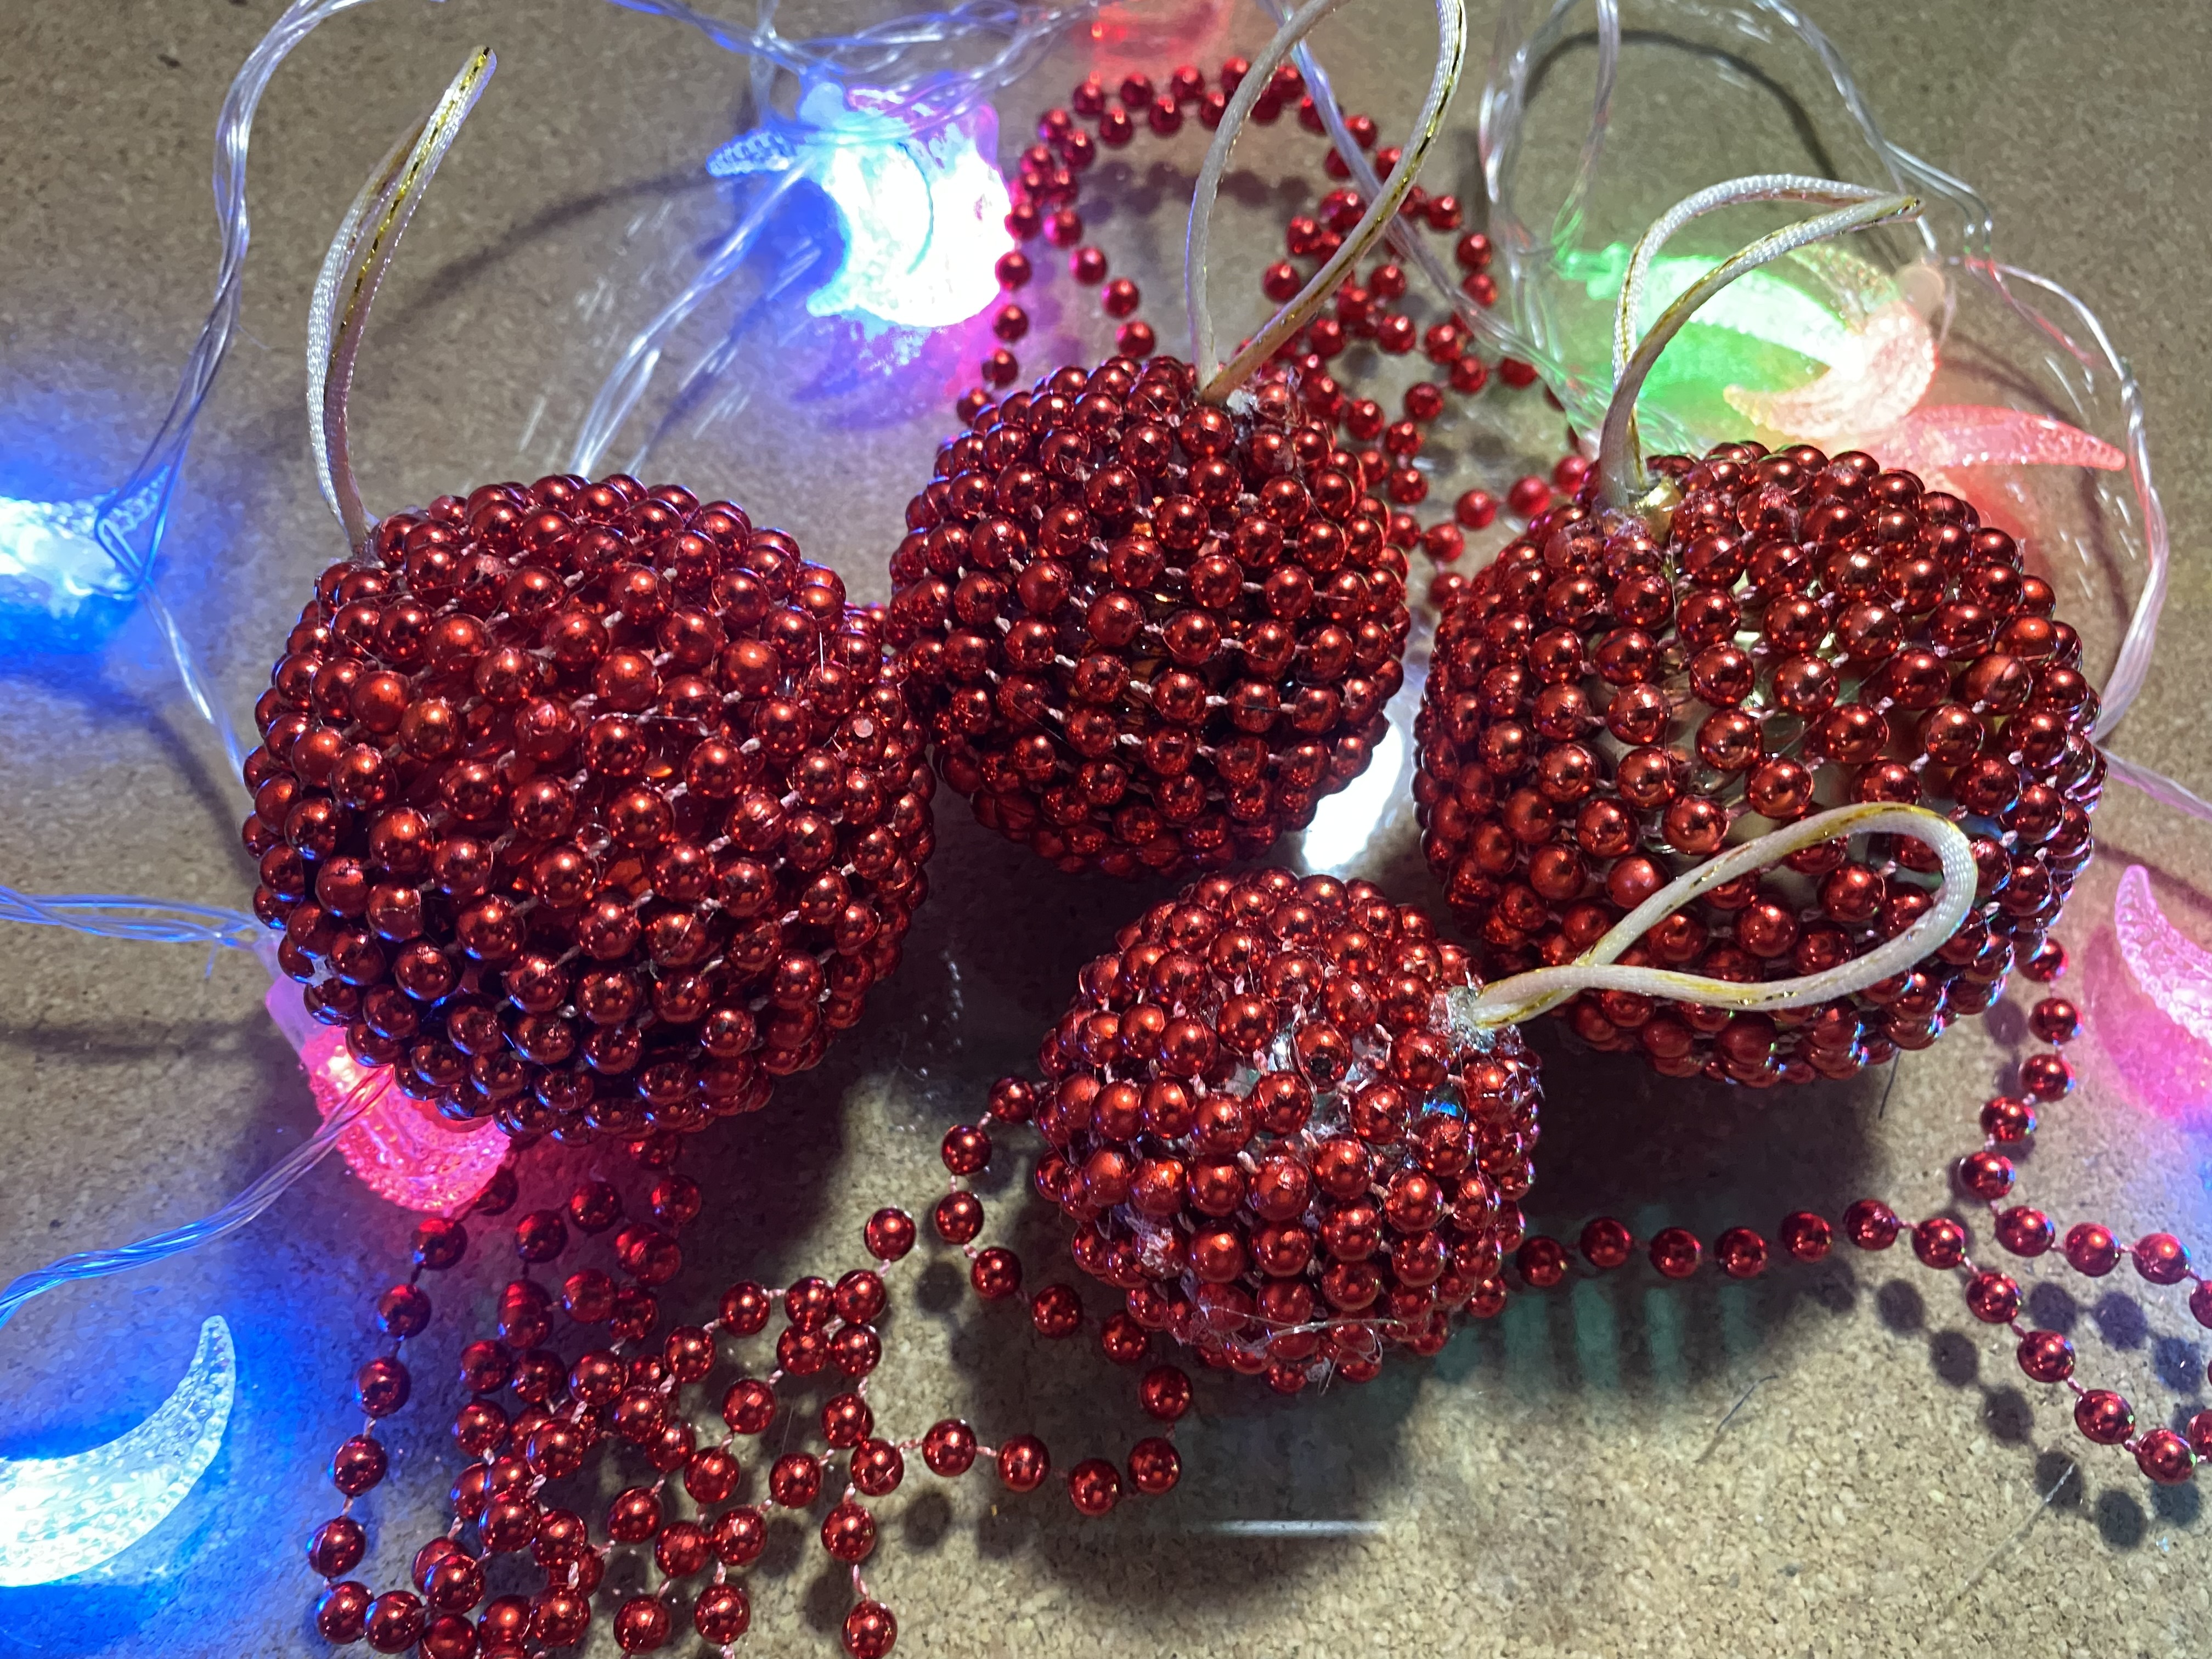 |
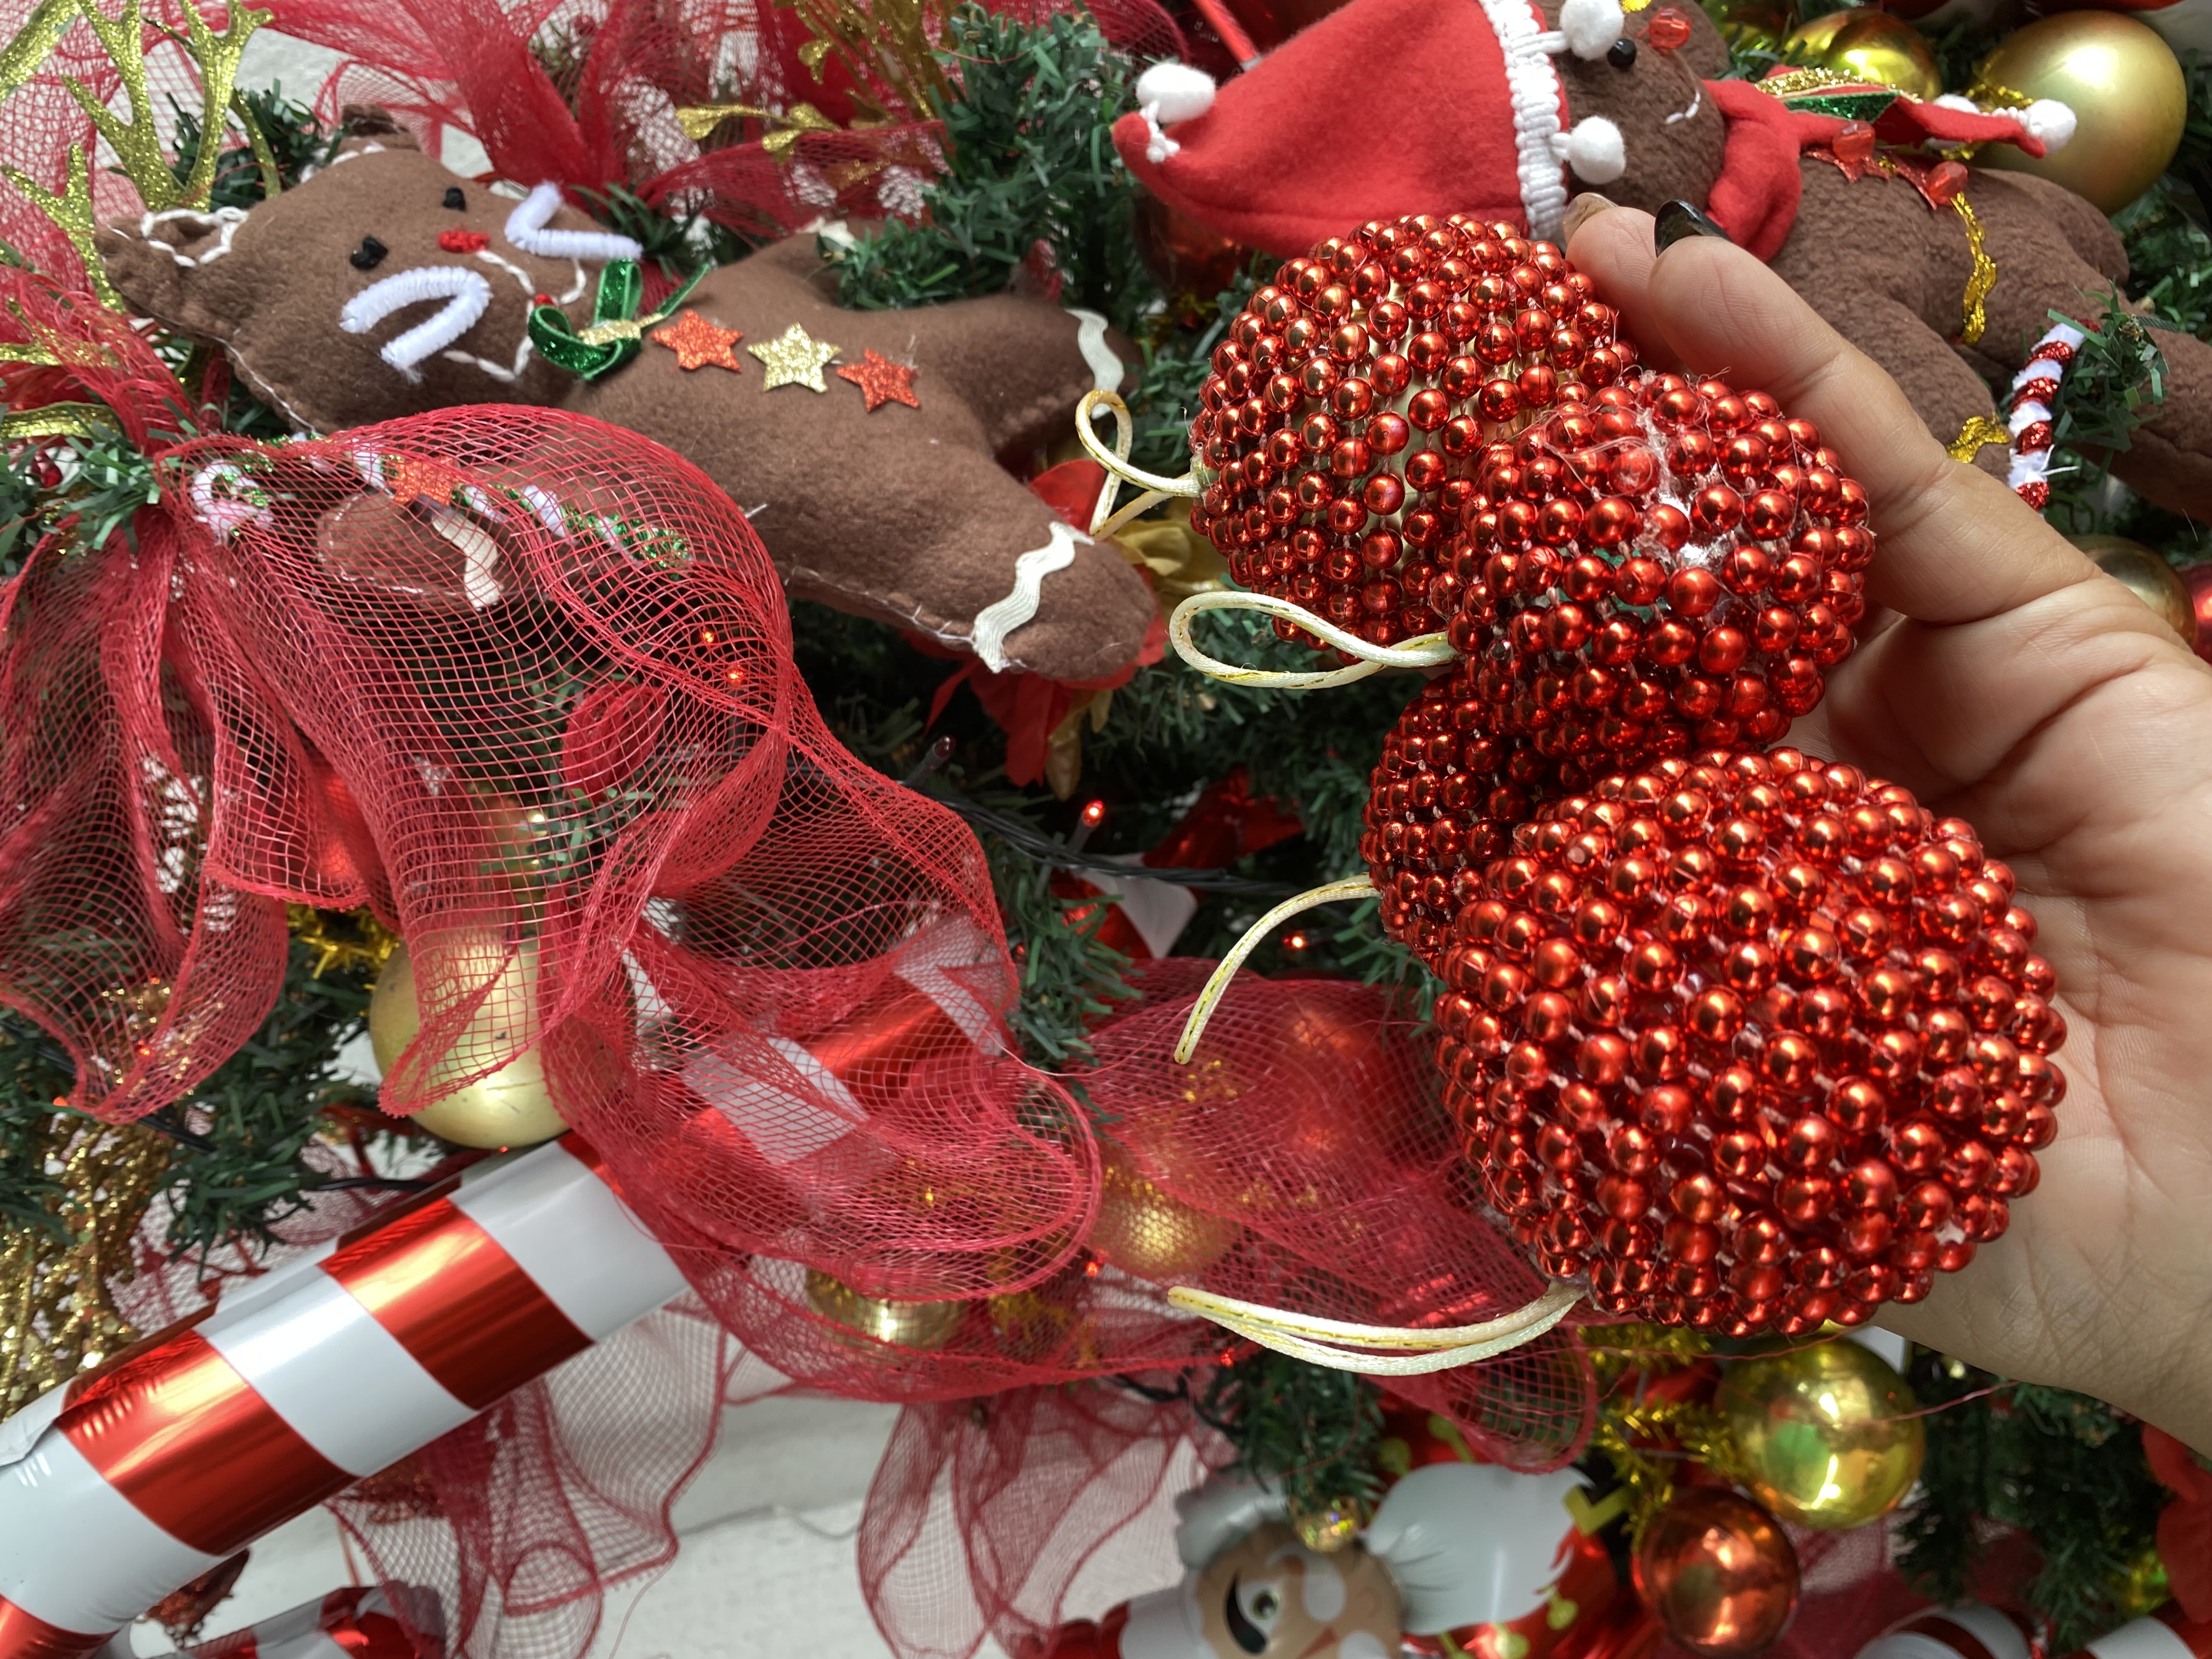
The result of these Christmas balls seemed very beautiful and elegant to me, I would like to be able to place them on all my Christmas balls 🤭 and look different and very original, I hope you also liked it, I say goodbye wishing you days full of joy and success.
El resultado de estas bolas navideñas me pareció muy hermoso y elegante, me gustaría poder colocarle a todas mis bolas navideñas 🤭 y lucir de una manera diferente y muy original, espero que ustedes también les haya gustado, me despido deseándoles unos días llenos de alegría y éxitos
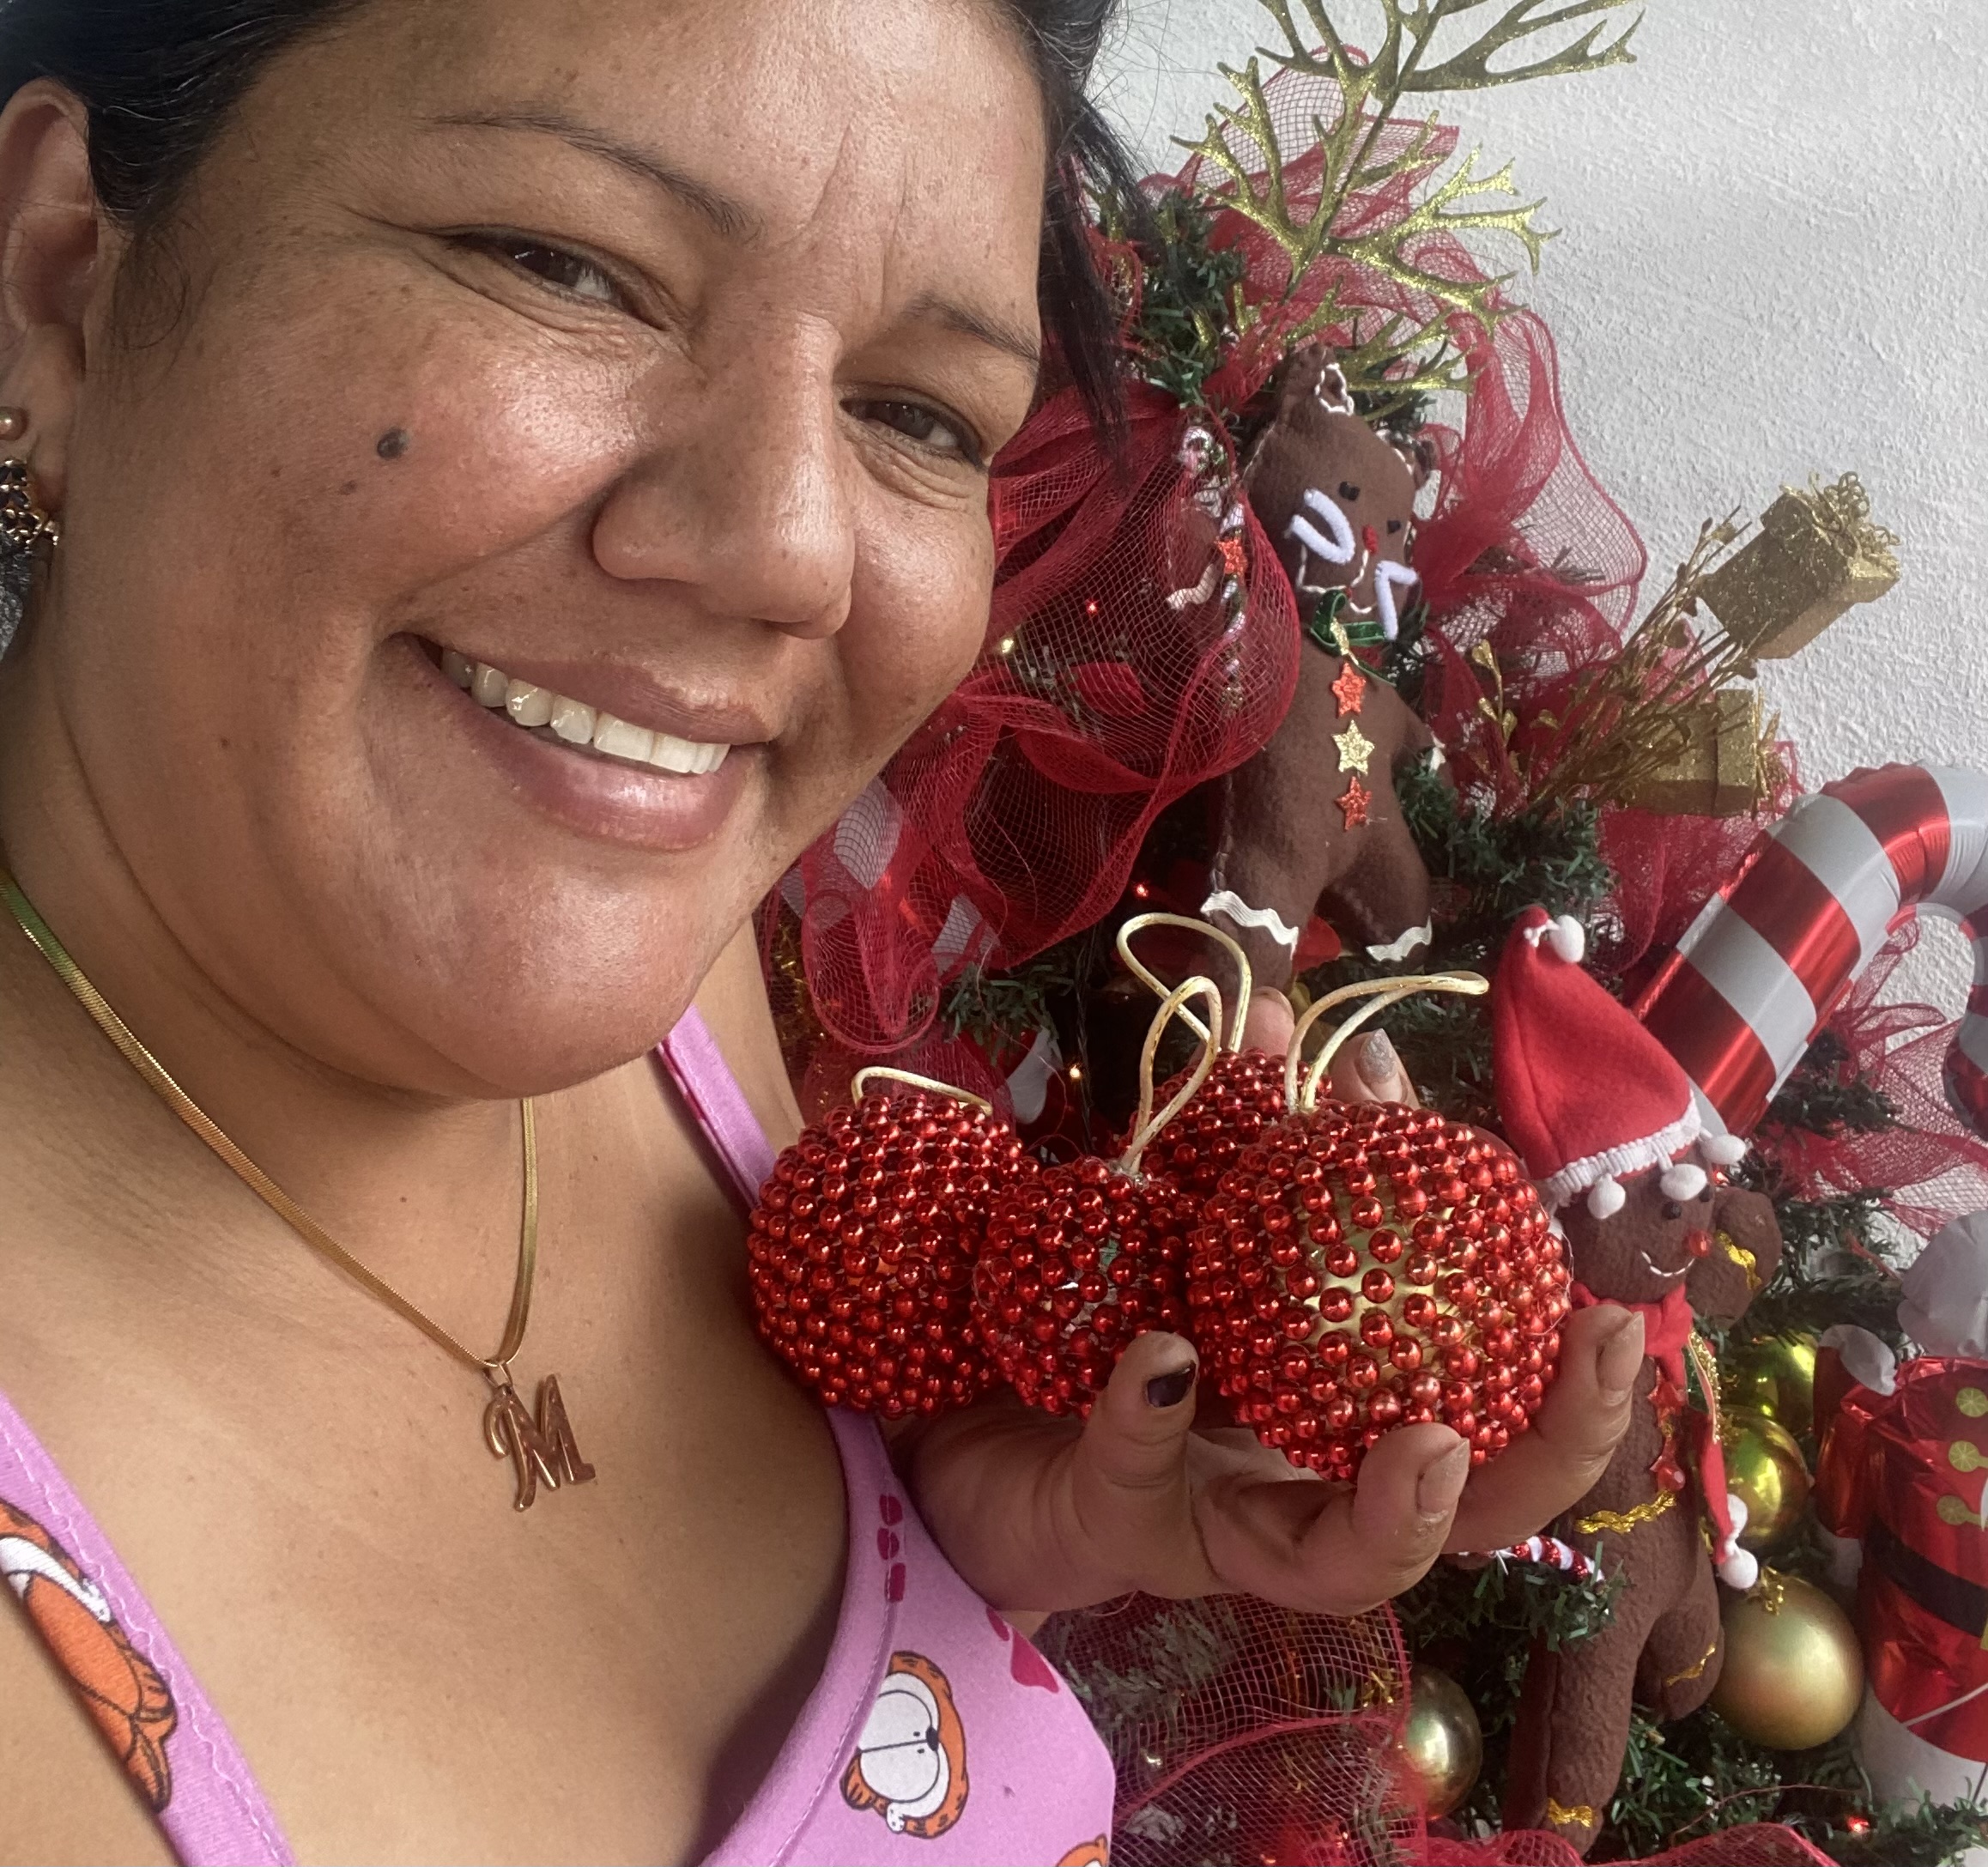
These Christmas balls have gone up a level, they are definitely more beautiful. I think they will now be the stars of your decoration.
🤭 Yes, my friend, it's true that they are more beautiful now. I'm glad you liked it. Greetings 🥰
¿ᴺᵉᶜᵉˢᶦᵗᵃˢ ᴴᴮᴰ? ᵀᵉ ˡᵒ ᵖʳᵉˢᵗᵃᵐᵒˢ ᶜᵒⁿ
Different skills aimed at enjoying the joy of Christmas. Who shared this amazing art design through lighting.
Gracias amigo 🥰
❄️🤗
Te quedaron muy lindas amiga, saludos muy original esta creacion
Gracias 🥰