Español
Saludos comunidad🙋☀🎃.
Octubre ha sido un mes muy inspirador, al ser Halloween el destino de mis confecciones. En esta fecha, mi familia a parte de compartir dulces e historias escalofriantes, también es costumbre intercambiar obsequios ó regalar algún detalle para guardar el recuerdo del encuentro familiar.
Hoy, quiero compartir con ustedes en forma de tutorial, el método que empleé para la confección de bucaritos tenebrosos , los que serán mi obsequio para mis tías y primas, que adoran los decorativos para hogares y más, los que poseen un significado emocional.
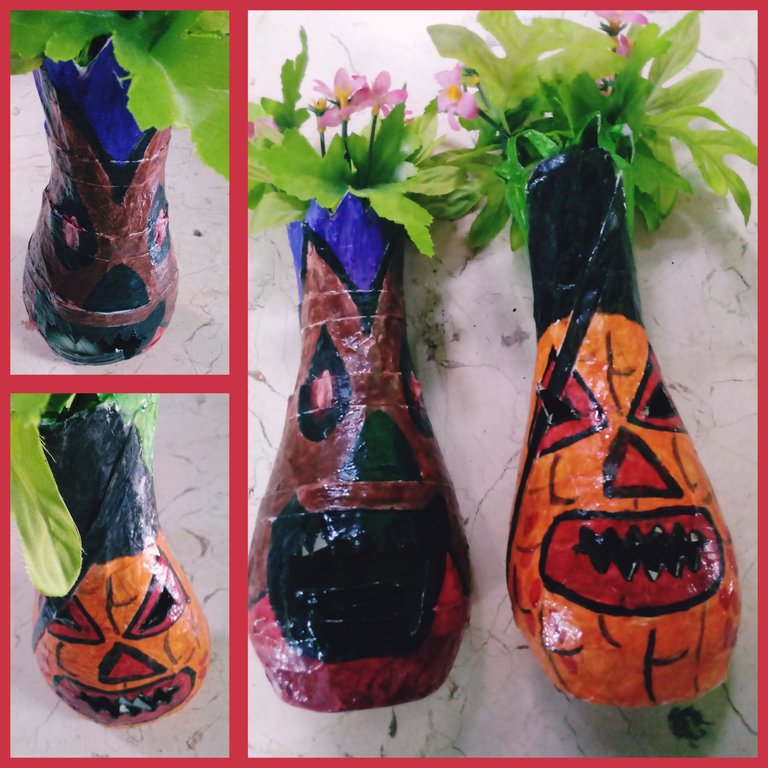
Materiales
.Molde: Bucarito de Yeso
.Tiras de papel blanco
.Pega elaborada de harina
.Pegamento
.Tijera
.Tempera
.Acuarelas
.Pincel
.Barniz
Modo de confección
1-Humedecer un algodonsito en aceite y luego, impregnar toda la superficie del molde.
2-Realizar tres capas de empapelado con las tiras de papel blanco y la pega elaborada de harina. Dejar secar por doce horas.
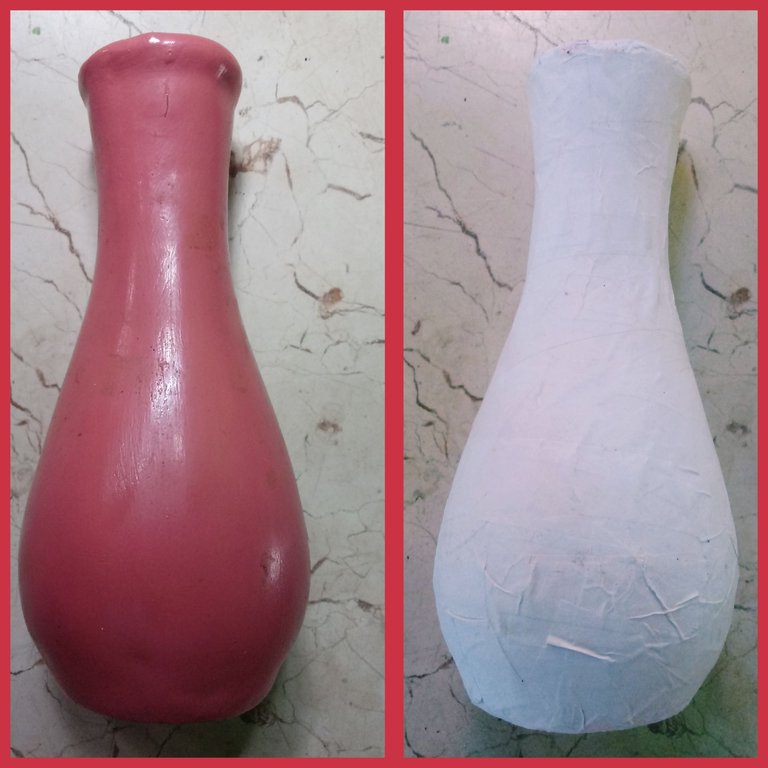
3-Utilizando la tijera, realizar cuidadosamente una grieta por todo su centro, permitiéndonos desmontar del molde la estructura.
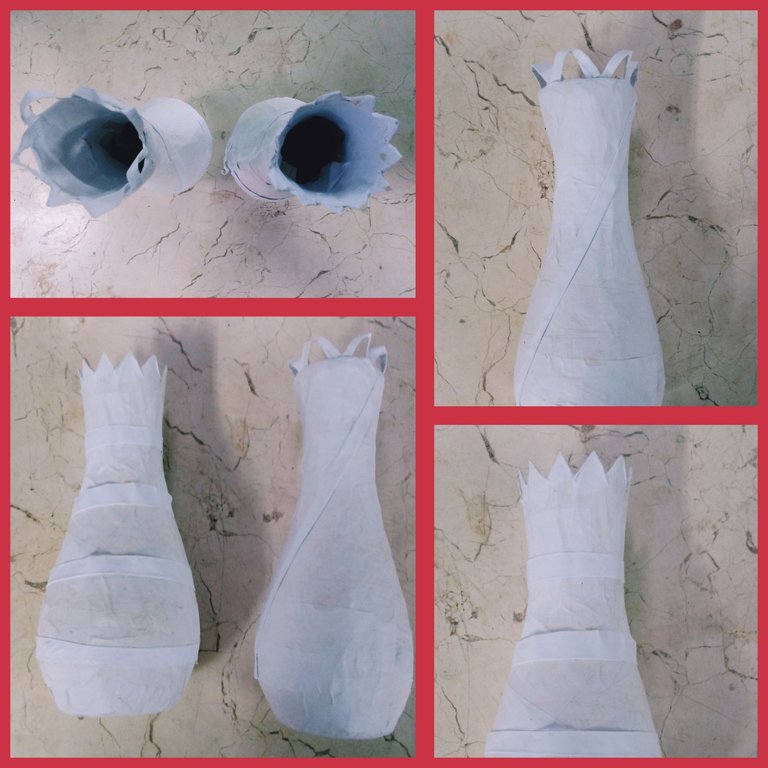
4-Realizar una cuarta capa de empapelado con las tiras blancas y la pega elaborada de harina, logrando obtener una estructura cerrada de un bucarito, similar al utilizado de molde. Dejar secar por ocho horas.
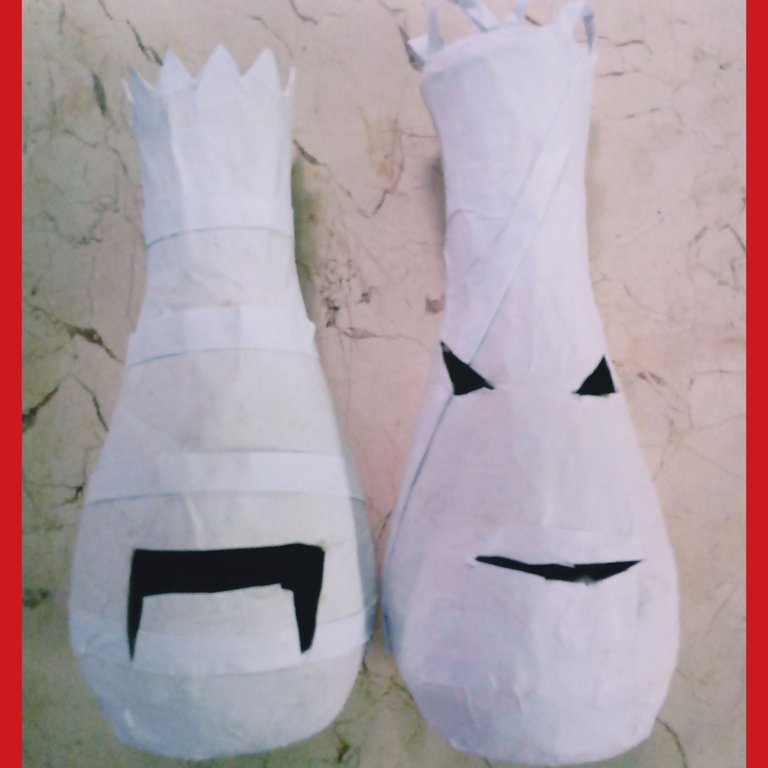
5-Tomar la tijera y realizar cortes en ojos, boca, según como queramos perzonalizar a nuestros bucaritos tenebroso.Yo quise asemejarlos a monstruos, así que los cortes los realicé para aparentar: colmillos filosos y ojos penetrantes.
6-Teniendo listo nuestro bucarito tenebroso, pasamos a darle vida con la combinación de colores, utilizando las temperas, acuarelas y pinceles. Entre los colores que utilicé estuvieron el negro, naranja, marrón y rojo. Colores muy llamativos y de preferencia para mis primas y tías.
7- Para causar efecto brilloso, utilizamos barníz.
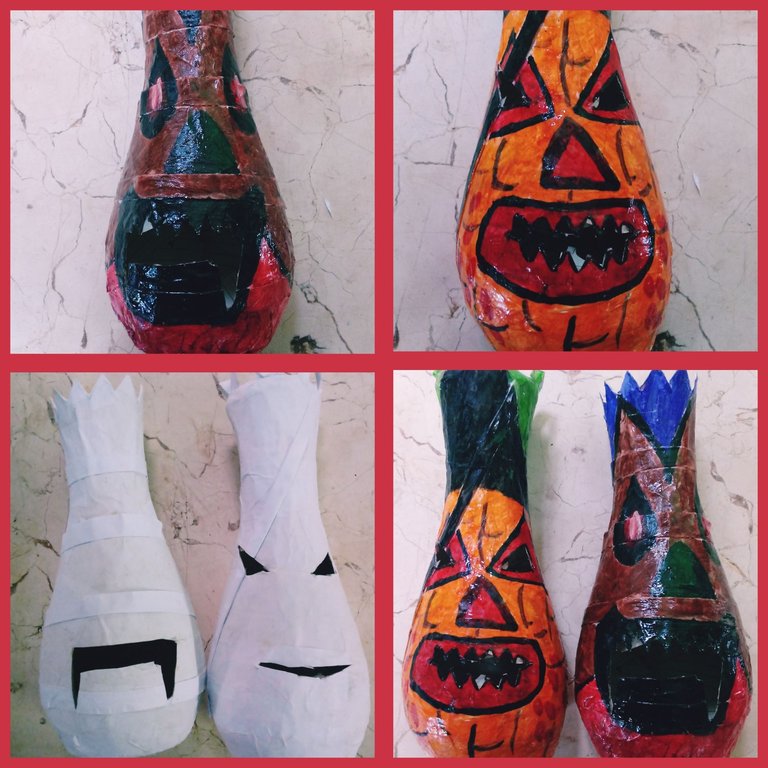
Como pueden apreciar amigos es un método muy sencillo y nos permite realizar numerosas replicas de bucaritos tenebrosos con un sólo molde, logrando facilitarnos los obsequios para estas fechas familiares, y en dónde los regalos sean colectivos.
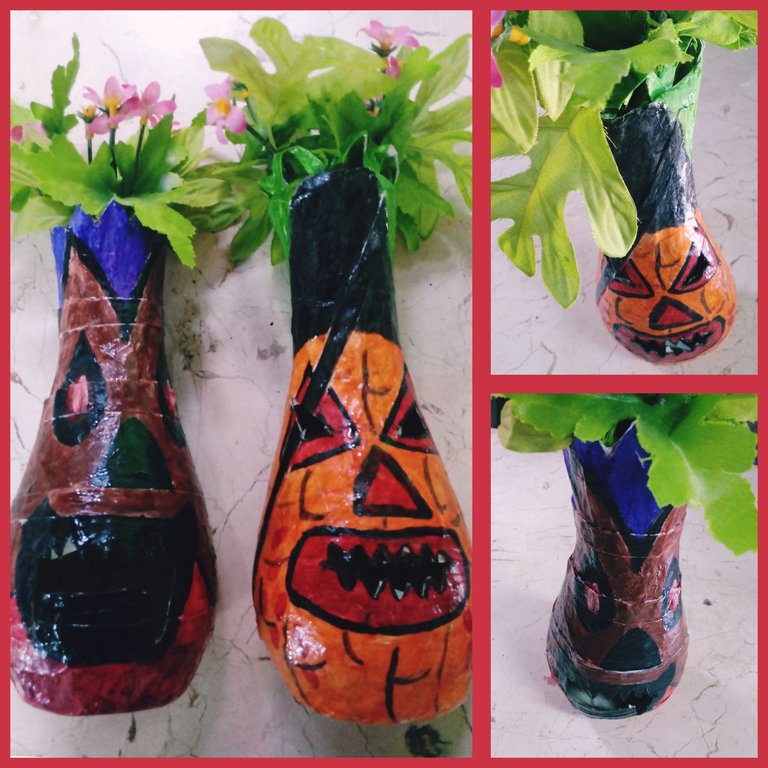
Los invito a que disfruten practicando la técnica de papel maché confeccionando bucaritos tenebrosos, que serán bien gustosos a la vista, en la noche de Halloween.
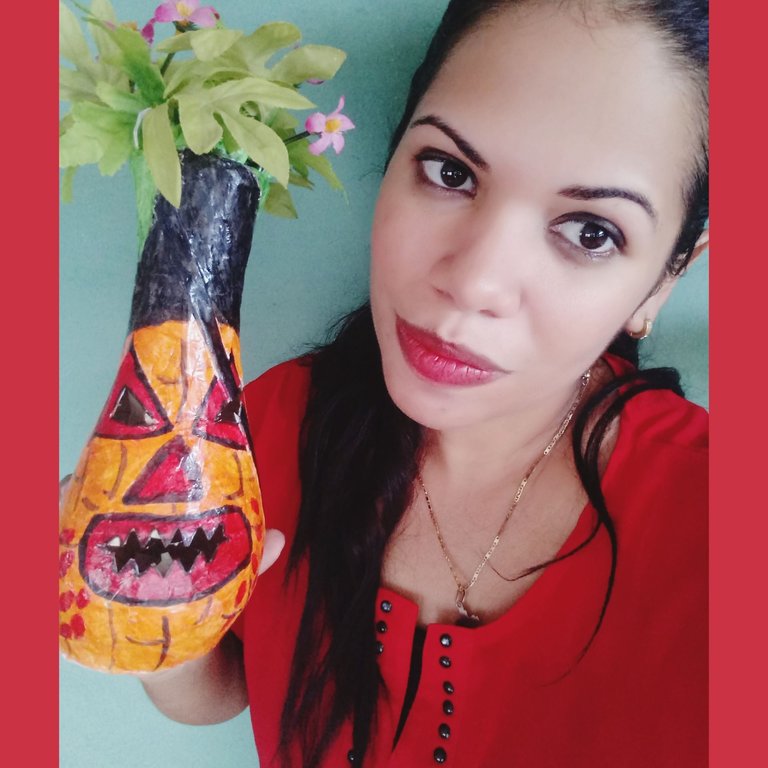
Saludos y excelentes días amigos🙋🌈
Confecciones y fotografías propias.
English
Greetings community🙋☀🎃.
October has been a very inspiring month, as Halloween is the destination of my clothes. On this date, my family, apart from sharing sweets and creepy stories, it is also customary to exchange gifts or give some detail to keep the memory of the family meeting.
Today, I want to share with you in the form of a tutorial, the method I used to make spooky little bucks, which will be my gift for my aunts and cousins, who love home decoratives and more those that have an emotional meaning.

Materials
.Mold: Plaster Buckler
.White paper strips
.Paste made of flour
.Glue
.Scissor
.Tempera
.Watercolors
.Brush
.Varnish
Mode of preparation
1-Moisten a cotton ball in oil and then impregnate the entire surface of the mold.
2-Make three layers of wallpaper with the strips of white paper and the glue made of flour. Leave to dry for twelve hours.

3-Using the scissors, carefully make a crack all over its center, allowing us to disassemble the structure from the mold.
4-Make a fourth layer of wallpaper with the white strips and the glue made of flour, achieving a closed structure of a little duck, similar to the one used in the mold. Leave to dry for eight hours.

5-Take the scissors and make cuts in eyes, mouth, according to how we want to perzonalize our creepy crawlies.I wanted to make them look like monsters, so I made the cuts to look like: sharp fangs and piercing eyes.

6-Having ready our spooky little buck, we went on to give life to it with the combination of colors, using tempera, watercolors and brushes. Among the colors I used were black, orange, brown and red. Very striking colors and preferably for my cousins and aunts.
7- To cause a shiny effect, we use varnish.

As friends can appreciate it is a very simple method and allows us to make numerous replicas of dark little ducks with a single mold, managing to provide us with gifts for these family dates, and where the gifts are collective.

I invite you to enjoy practicing the papier-mâché technique by making spooky little dolls, which will be very tasty to look at on Halloween night.

Greetings and great days friends🙋🌈
Own clothing and photographs.
They look pretty cool to decorate any space this Halloween season.I imagine your family was pleasantly pleased with this gift.Thank you for sharing your creative process in our community.
!DIY
Thank you very much. Excellent and blessed days 🙋🌈☀.
Oh wow, they look very cool @marydeluz! Well done :) - Super spooky and great decoration. Also looks like a lot of work though. Thanks for making the effort and sharing this great idea with us <3
Thank you very much.Halloween is an inspiring date. Greetings🙋☀
😍🐝☀️ It sure is! Can´t wait to go out tomorrow and see all the decorations and costumes!
You can query your personal balance by
!DIYSTATSBravo, you have really done well my friend,the step are well detailed and I enjoyed reading through your post. Nice work 👍
Thank you very much. Blessed days🙋🎆