Español
Saludos amigos creadores🙋🎄
Es impresionante ver los días pasar como relámpagos, dejándonos a la víspera de una cercana navidad.
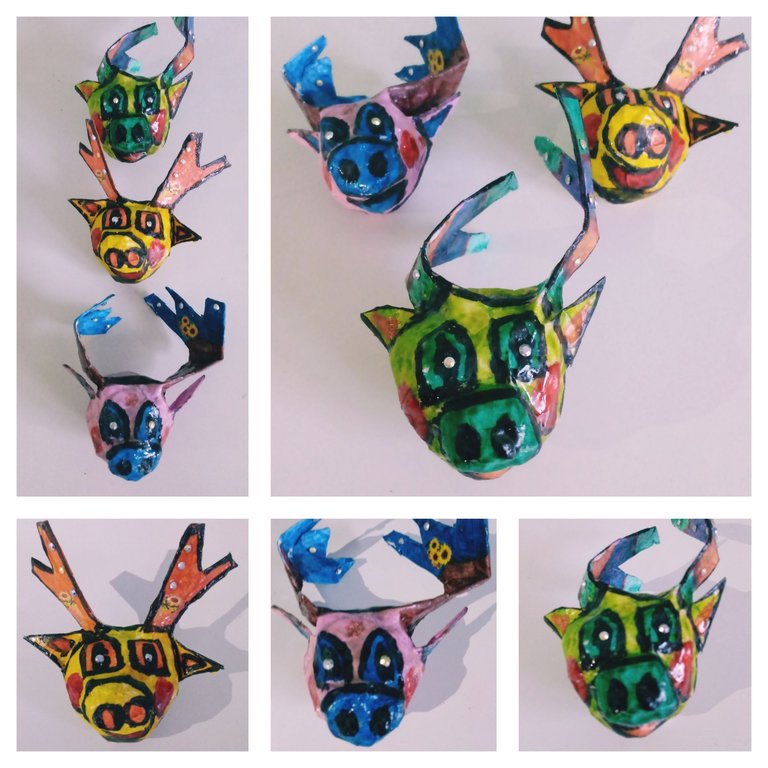
Hoy, inspirada en una fantasía, que de seguro muchos compartimos de pequeños, sobre la creencia de la llegada de los obsequios navideños en enormes y brillantes trineos arrastrados por renos , les he querido compartir la confección de mis colgantes de cabecitas de renos en un sencillo tutorial, donde, utilizando la técnica de papel maché, podremos reciclar y darle vida a esos personajes de historias que hacen que prevalezca y crezca nuestro espíritu navideño.
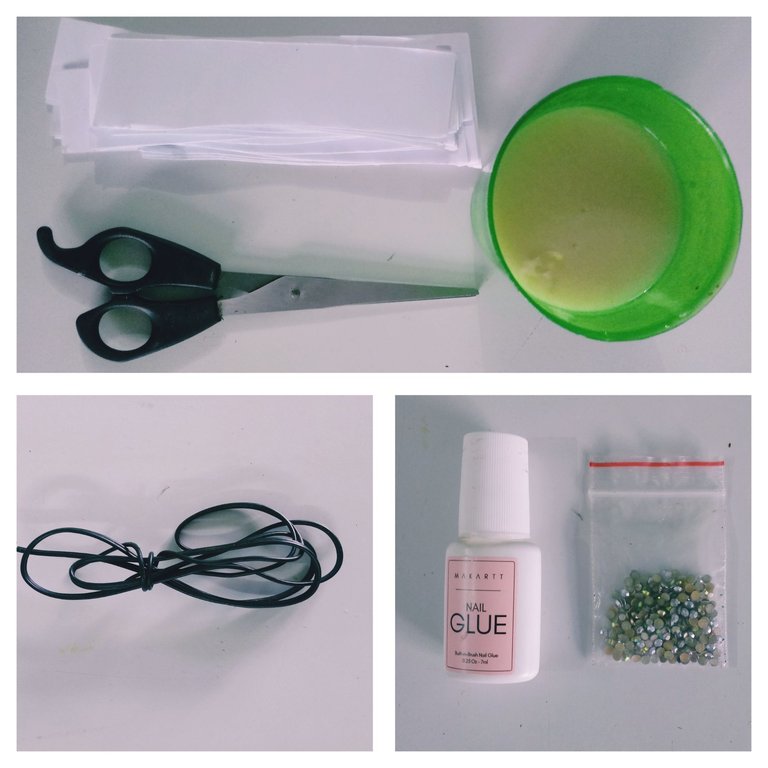
Materiales
.Papel
.Cartón
.Tiras de papel blanco
.Pega elaborada de harina
.Pegamento
.Tijera
.Acuarelas
.Barniz
.Cable
.Piedras de colores
.Calcamonías
Modo de confección
Anteriormente, amigos, he apreciado las técnicas empleadas por ustedes para crear sus renos navideños, ¡me encantaron!. Espero que este método que les compartiré para ser colgantes, les resulte útil, pues con él podemos realizarlos de diversos tamaños y tantos como gustemos. Yo confeccioné tres para mi arbolito. Comencémos.
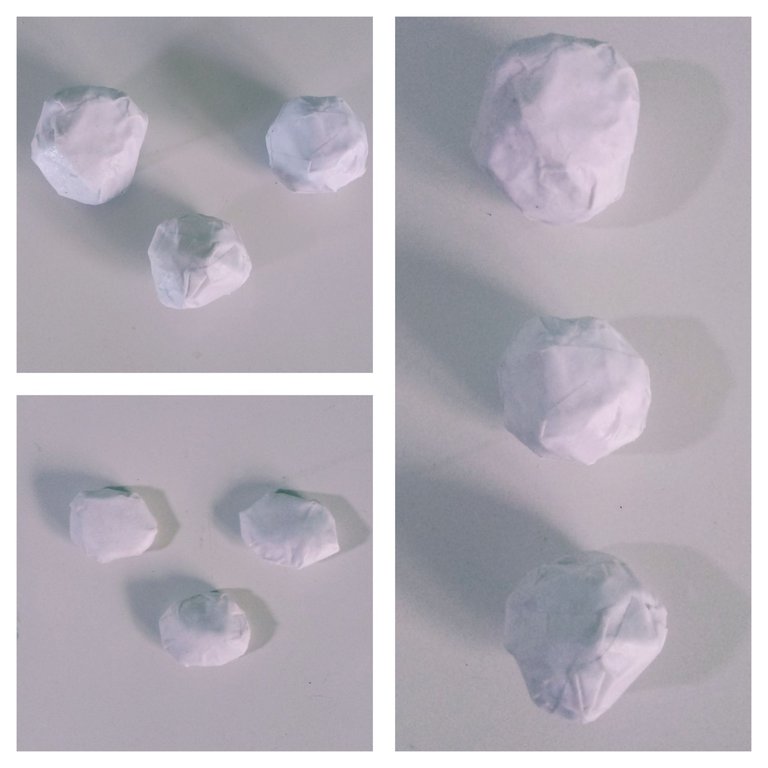
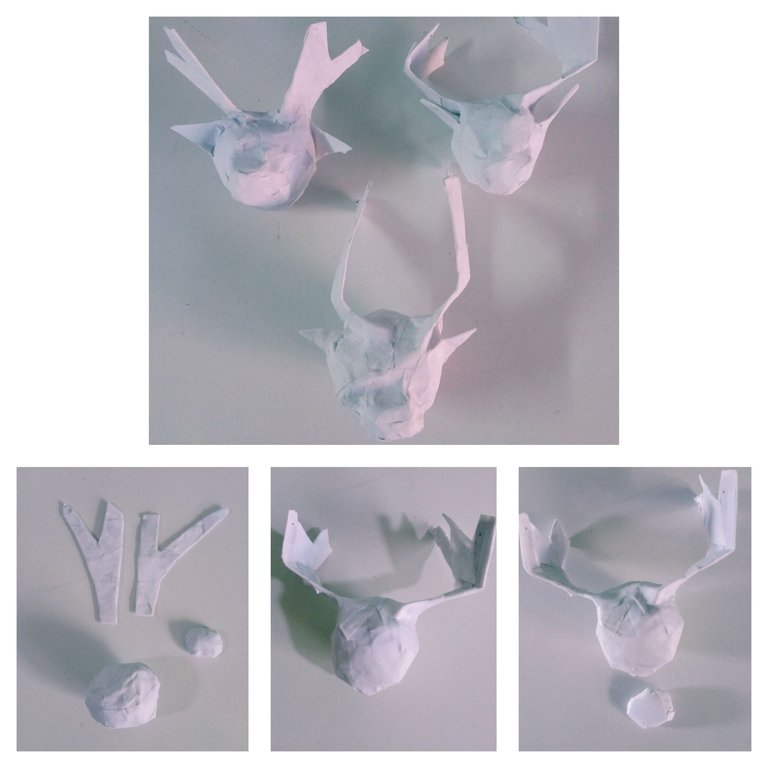
1-Primeramente, tomamos papel y comenzamos a estrujarlo conformando bolitas redondas.
2-Utilizando tiras de papel blanco previamente cortadas y pega elaborada de harina empapelamos completamente las bolitas, dándole dos capas, que nos permitirá obtener una estructura lisa después de ocho horas de secado.
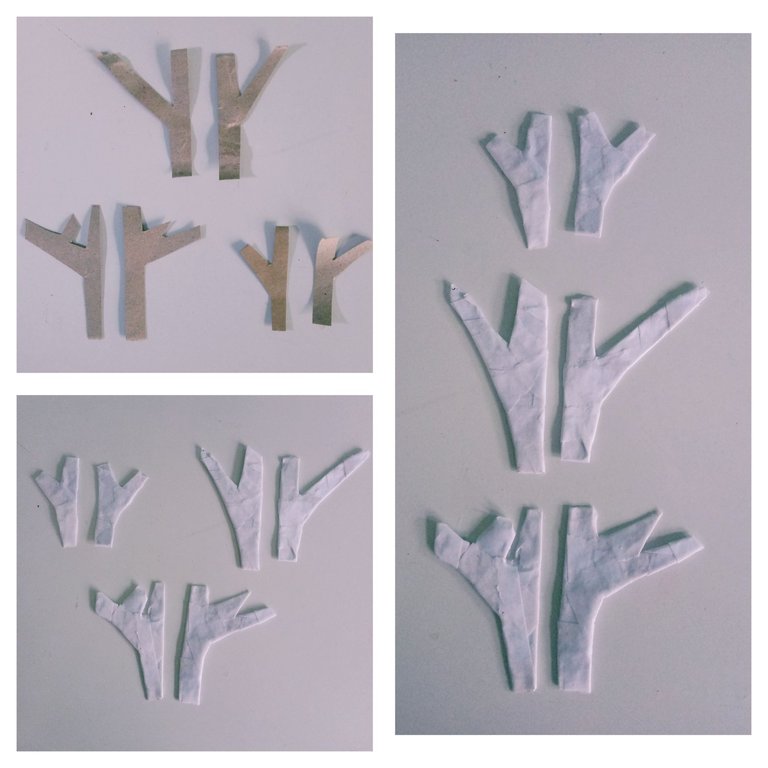
Ya teniendo nuestra base para las cabecitas pasamos a confeccionar los tarros de la siguiente forma:
1-Utilizando un lapicero dibujamos sobre un cartón ó cartulina, los modelos deseados de nuestros tarritos.
2-Cortamos por la guía trazada los pares de tarros y luego, le damos una capa de empapelado con tiras de papel blanco y pega elaborada de harina.
3-Adherimos con pegamento los tarros a nuestra base redonda y le damos una capa de empapelado para generarle dureza.
Nuestras pequeñas cabezas hasta el momento posee tarros, ahora para continuar personalizándola pasamos a conformarle orejas puntigudas y un hocico ovalado.
Para confeccionar las orejas: Cortamos pequeños triángulos de cartulina, y adherimos con pegamento a la cabeza.
Para confeccionar el hocico, primeramente estrujamos papel, lo amoldamos de forma ovalada, le damos una capa de empapelado con tiras de papel blanco y pega elaborada de harina, y luego, adherimos con pegamento a nuestra cabecita.
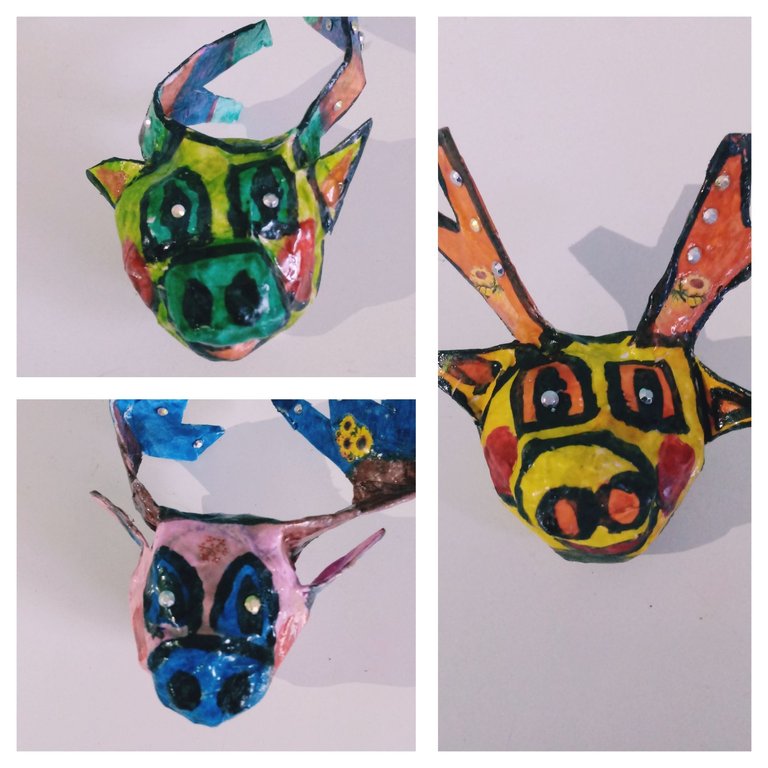
Ya teniendo nuestras pequeñas cabezas de renos, estamos listos para decorar con temperas y pinceles.Los colores que utilicé fueron el verde, amarillo, azul, rojo resaltádolos con negro. Para generarle brillo utilicé barníz y le adherí pequeñas piedrecitas coloridas y calcamonías de flores.
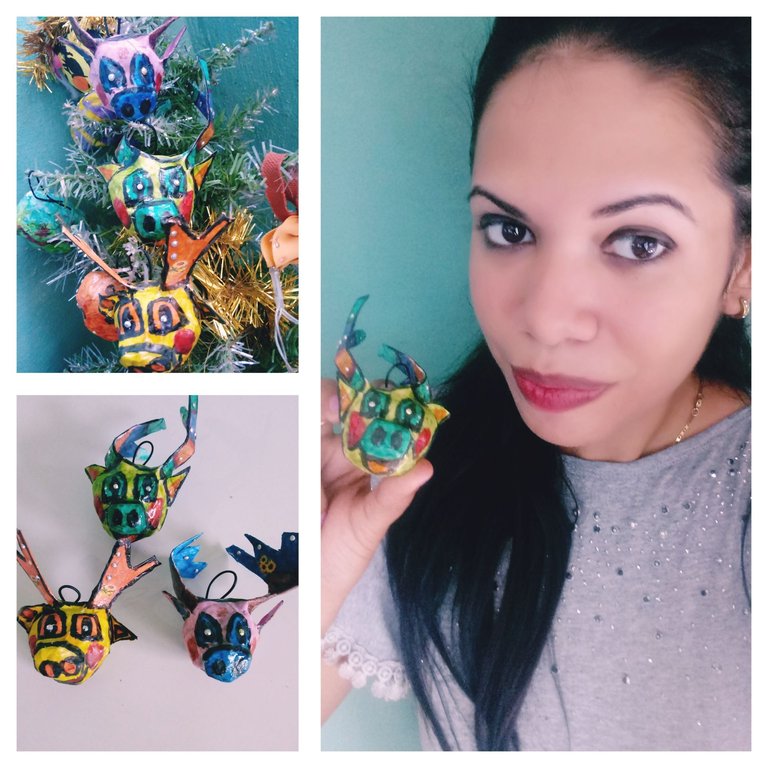
Para colgarlos. confeccioné pequeños aros de la siguiente forma:
1-Tomar un cable fino y cortar tres centímetros con la tijera.
2-Doblarlo conformando un pequeño anillo.
3-Adherirlo con pegamento a las pequeñas cabezas de renos.
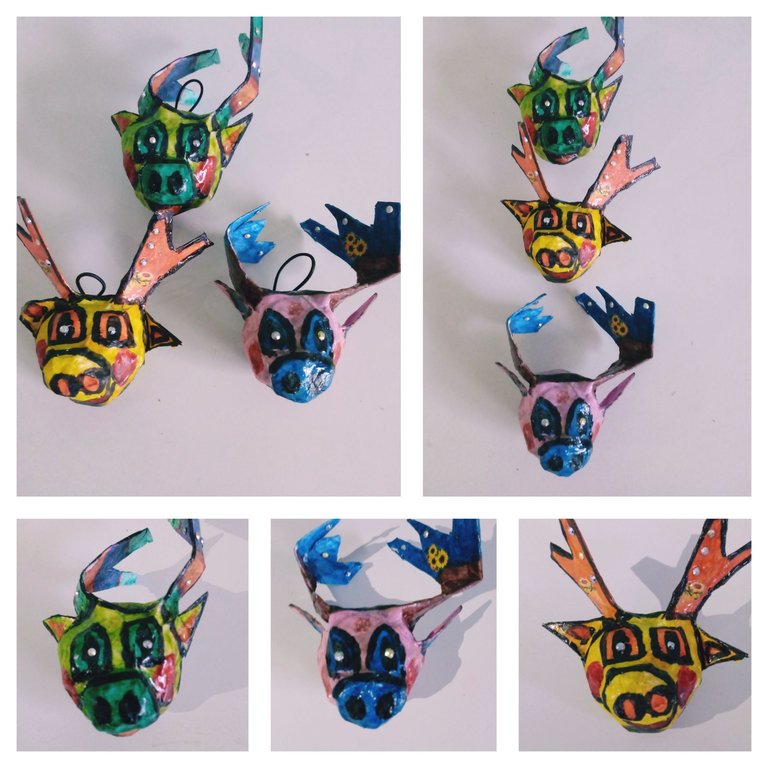
Mis cabecitas de renos navideñas me encantaron, aunque terminadas y observándolas bien, se asemejaban a la de vaca o cerditos, pero aún así, relucen hermosas en mi arbolito, cargado de mucha energía positiva para el nuevo año que se espera.
Los exhorto a que se animen a su confección junto a los pequeños de la casa que de seguro amarán el integrarse en esta bella acción del decorado de nuestro árbol navideño.
Buenas vibras a todos, que el espíritu navideño y de la creación siempre reine en nuestras vidas. Bendiciones.🙋☀
Escritos y fotografías propias.
English
Greetings fellow creators🙋🎄
It is amazing to see the days go by like lightning, leaving us to the eve of a near Christmas.
Today, inspired by a fantasy, that surely many of us shared as children, about the belief of the arrival of Christmas gifts in huge and shiny sleds dragged by reindeer, I wanted to share the making of my reindeer head pendants in a simple tutorial, where, using the papier mache technique, we can recycle and give life to those characters of stories that make our Christmas spirit prevail and grow.
Materials
.Paper
.Cardboard
.White paper strips
.Paste made of flour
.Glue
.Scissor
.Watercolors
.Varnish
.Cable
.Colored stones
.Stickers

Mode of preparation
Previously, friends, I have appreciated the techniques used by you to create your Christmas reindeer, I loved them!. I hope that this method that I will share with you to be pendants, will be useful for you, because with it we can make them in different sizes and as many as we like. I made three for my little tree. Let's get started.
1-First, we take paper and start squeezing it into round balls.
2-Using previously cut strips of white paper and glue made of flour we completely paper the balls, giving it two layers, which will allow us to obtain a smooth structure after eight hours of drying.

Already having our base for the little heads we go on to make the jars as follows:
1-Using a pencil we draw on a cardboard or cardboard, the desired models of our jars.
2-We cut through the traced guide the pairs of jars and then, we give a layer of wallpaper with strips of white paper and glue made of flour.
3-We glue the jars to our round base and give it a layer of wallpaper to generate hardness.

Our small heads so far have jars, now to continue customizing we go on to shape pointed ears and an oval muzzle.
To make the ears: We cut small triangles from cardboard, and glue them to the head.
To make the muzzle, first we squeeze paper, we mold it in an oval shape, we give it a layer of wallpaper with strips of white paper and glue made of flour, and then, we adhere with glue to our little head.

Already having our little reindeer heads, we are ready to decorate with tempera and brushes.The colors I used were green, yellow, blue, red highlighting them with black. To generate shine I used varnish and attached small colorful pebbles and flower stickers.

To hang them. I made small hoops in the following way:
1-Take a thin wire and cut three centimeters with the scissors.
2-Fold it forming a small ring.
3-Attach it with glue to the small reindeer heads.
I loved my Christmas reindeer heads, although finished and observing them well, they resembled that of a cow or pigs, but still, they shine beautiful on my little tree, loaded with a lot of positive energy for the new year that is expected.

I urge you to encourage yourself to make them together with the little ones of the house who will surely love to be integrated into this beautiful action of the decoration of our Christmas tree.
Good vibes to everyone, may the Christmas spirit and creation always reign in our lives. Blessings.🙋☀
Own writings and photographs.
Very nice👍
Thank you very much. Greetings🙋☀
Pleased with your beautiful and colorful reindeer, wow, making the decorations for the Christmas tree ourselves is something of great value, besides, you have a lot of talent and good taste, I'm sure all your visits will have to do with these little characters. Thanks for sharing the step by step on DIYHub Community.
Thank you very much. Blessings and good vibes to all🙋🎄🎊
Esplendida obra de arte la que crea tus manos.
Muchas gracias.Saludos🙋☀