Greetings to all. I have been somewhat absent the last few days and I have missed a lot to share with you all my creations, but there has been a good reason and that is that this Thursday I have defended my civil engineering thesis and the days leading up to it have been so busy, with all the preparations and so on and precisely, this graduate topper was to decorate a cake I made to celebrate this event, so read on so you do not miss a single detail of this idea.
Versión Español
Un saludo a todos. He estado un tanto ausente los últimos días y he extrañado un montón compartir con todos ustedes mis creaciones, pero ha habido una buena razón y es que este jueves he defendido mi tesis de ingeniería civil y los días previos a ello han sido tan ocupados, con todos los preparativos y demás y precisamente, este topper de graduada fue para decorar una torta que hice para celebrar este acontecimiento, así que sigue leyendo para que no te pierdas ni un detalle de esta idea.
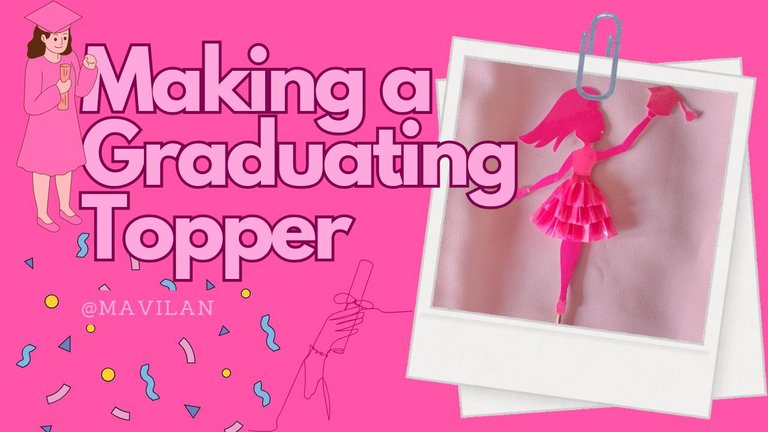
Imagen creada por mí en Canva / Image created by me in Canva
Materials:
- Fuchsia card stock
- Pink paper
- Glue
- Height toothpick
- Semi-permanent nail polish
- Top coat
- UV/LED lamp
- Scissors
- Paper to make the pattern
- Brush
- Hot Silicone
Procedure:
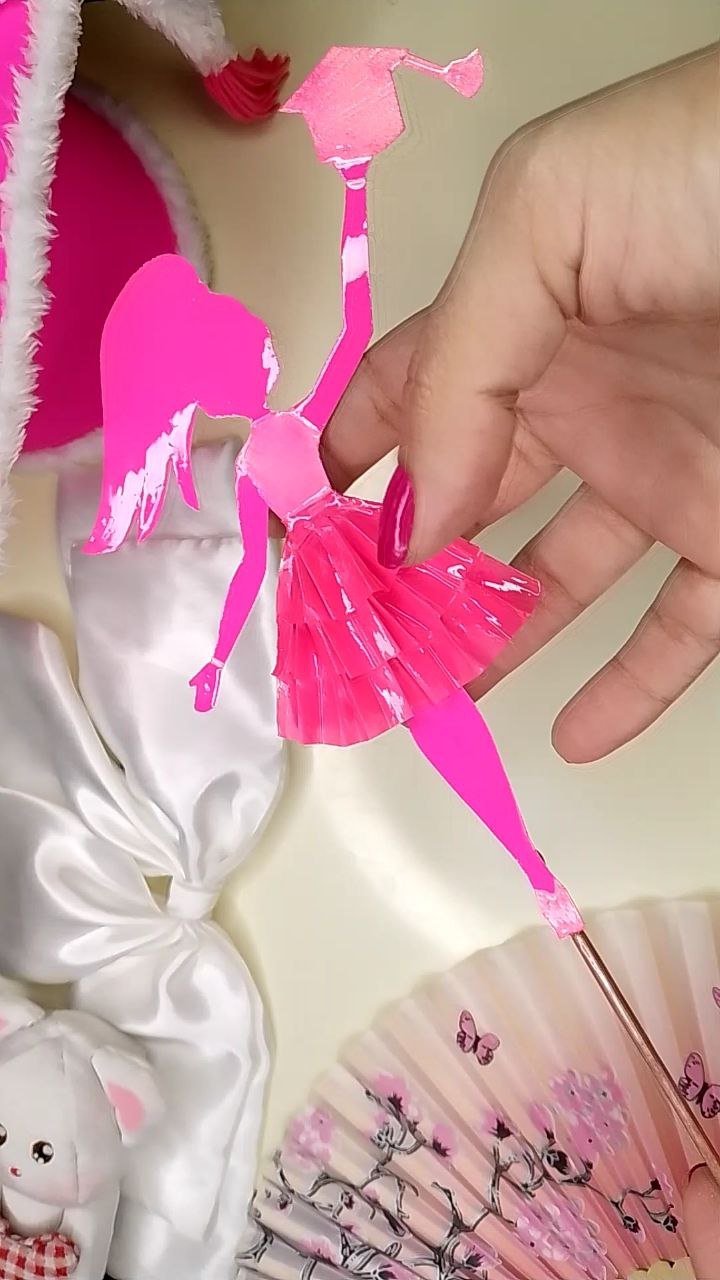
We start by drawing on paper the silhouette of a graduating girl, I have done it on a notebook sheet, but you can do it on any paper you have at hand since this is just the pattern of the figure. In my case, I drew her wearing a gown and raising her cap as a sign of victory, I also designed her with a high ponytail because I wanted her to look like I would look at my thesis defense. We must cut out this figure.
Versión Español
Materiales:
- Cartulina fucsia
- Papel rosado
- Pegamento
- Palillo de altura
- Esmalte semipermanente
- Top coat
- Lámpara UV/LED
- Tijeras
- Papel para hacer el patrón
- Pincel
- Silicón caliente
Procedimiento:
Iniciamos dibujando en papel la silueta de una graduando, yo lo he hecho en una hoja de cuaderno, pero puedes hacerla en cualquier papel que tengas a mano ya que esto es solo el patrón de la figura. En mi caso, la dibujé usando un vestido y alzando su birrete en señal de victoria, además la he diseñado con una coleta alta porque quería que se pareciese a como yo me vería en la defensa de mi tesis. Debemos recortar está figura.
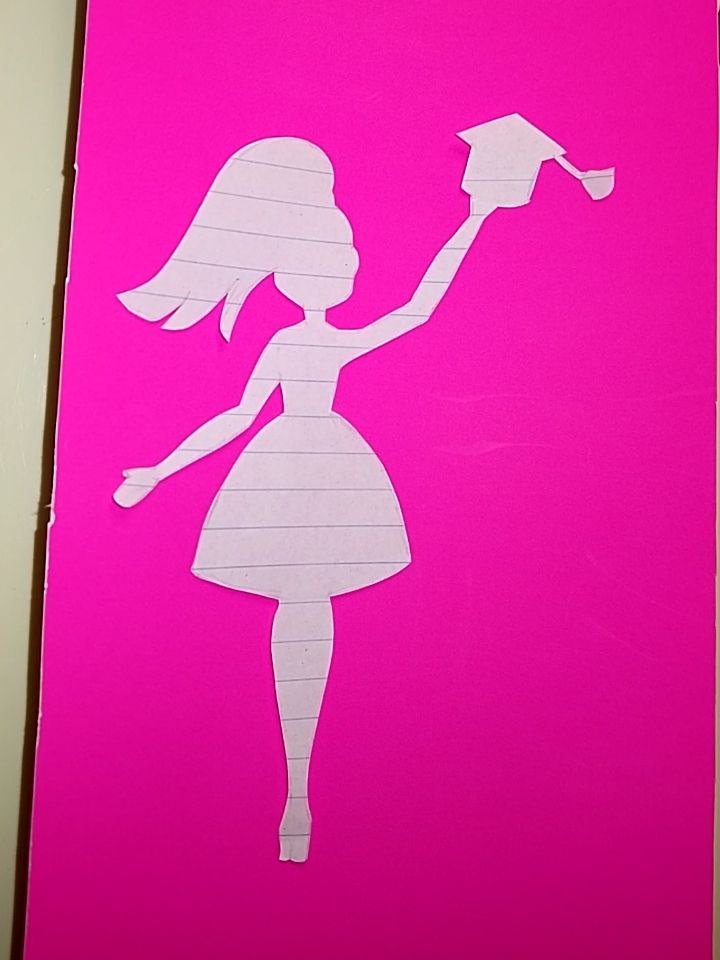
Patrón de la Silueta / Silhouette pattern
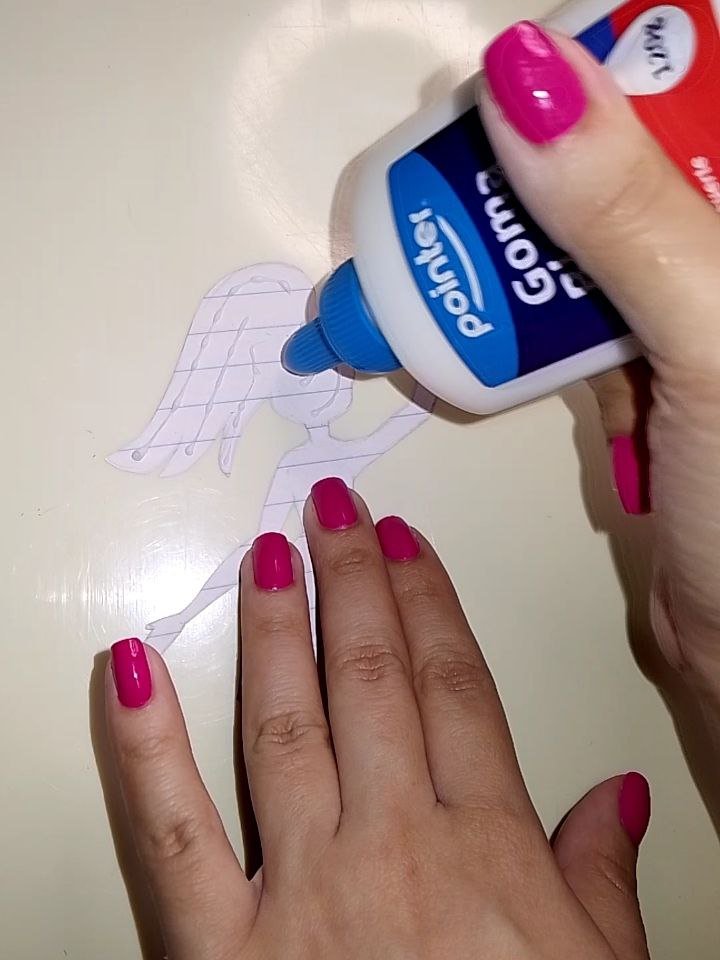
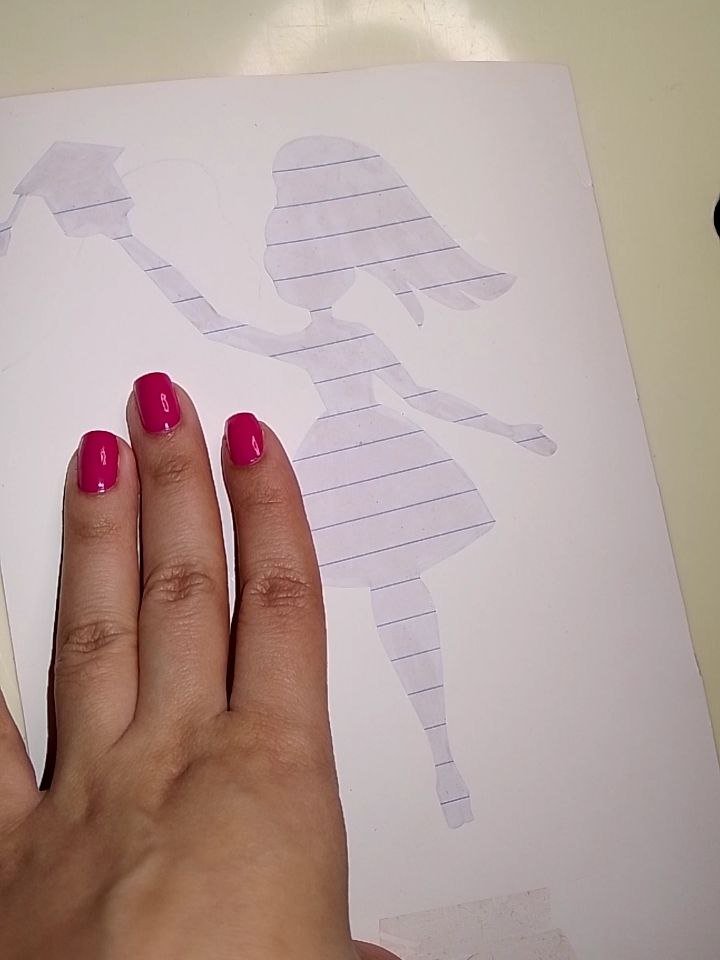
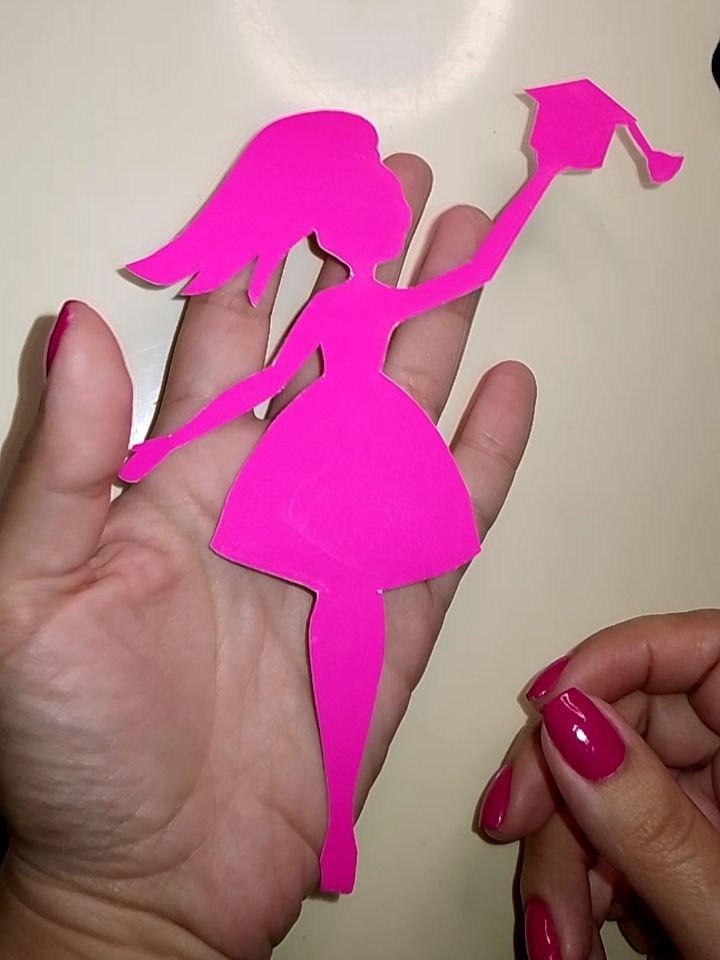
Once we know which is the right side of the figure, we will place glue on the back of the figure and spread it evenly with a brush. Afterwards, we will adhere it to the back of the cardboard taking care that there are no bubbles. Once it dries, we cut out the figure on the cardboard.
Versión Español
Una vez que tengamos claro cuál es el derecho de la figura, colocaremos pegamento en el reverso de la misma y lo esparciremos de manera uniforme con un pincel. Posteriormente, lo adheriremos en la parte de atrás de la cartulina cuidando que no queden burbujas. Una vez que se seque, recortamos la figura en la cartulina.
 |  |  |
|---|
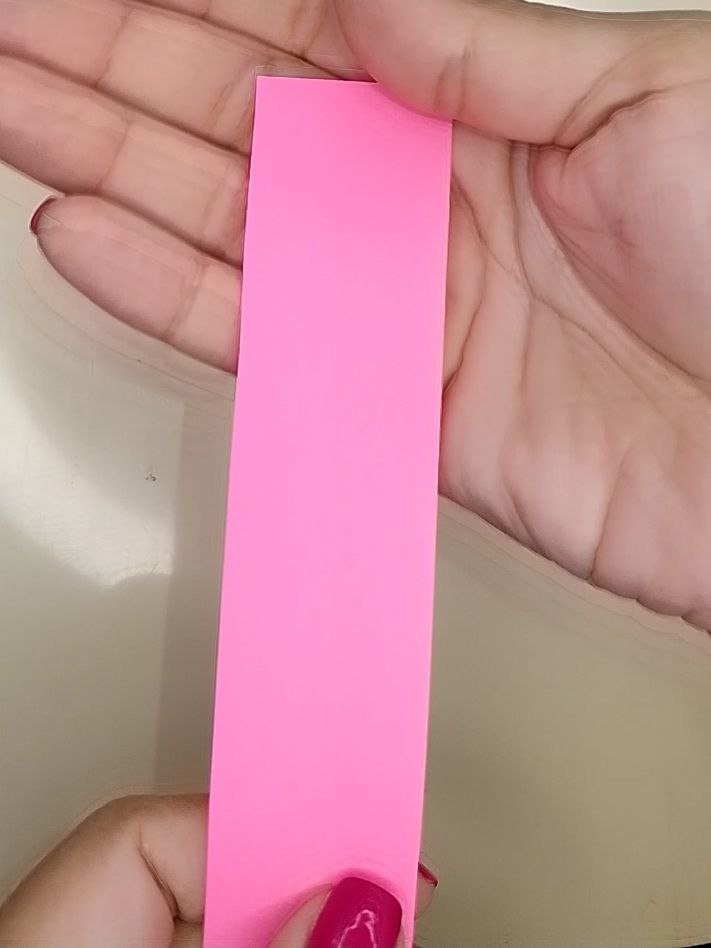
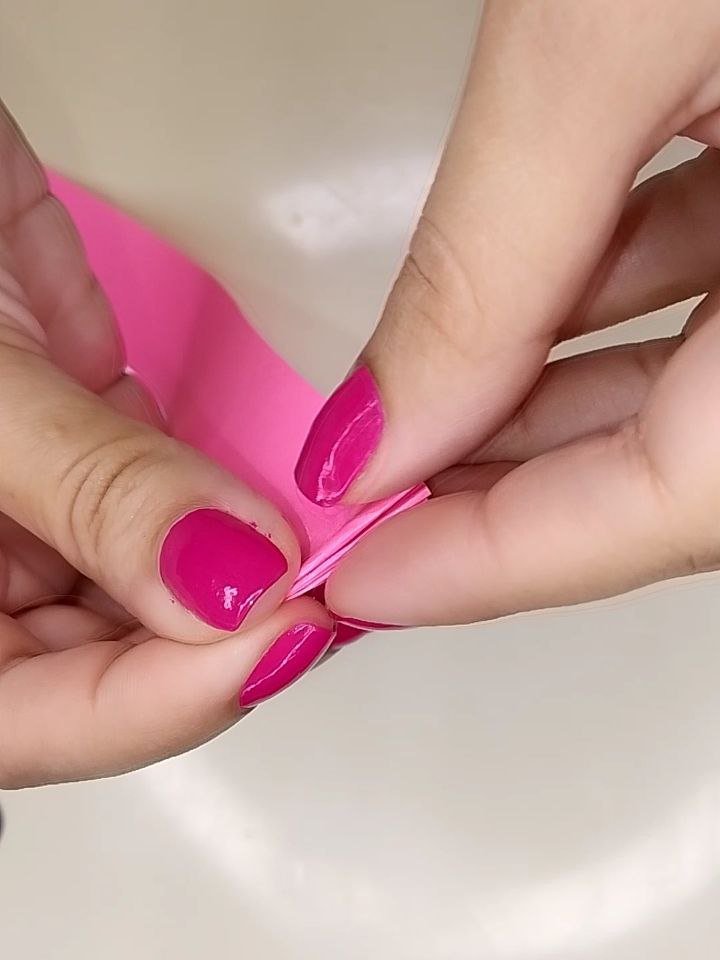
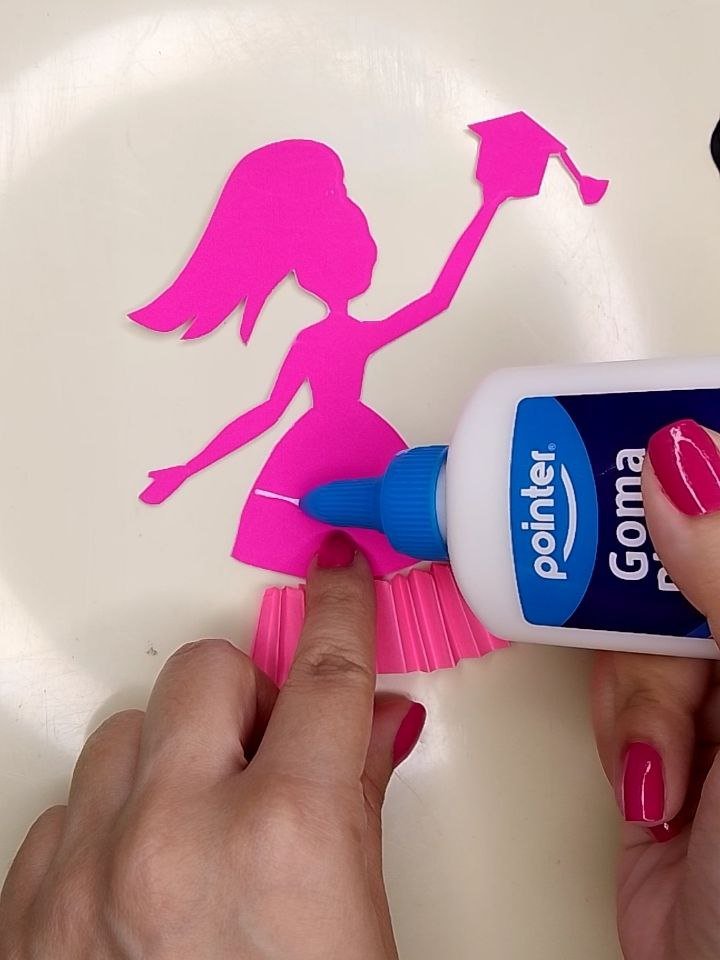
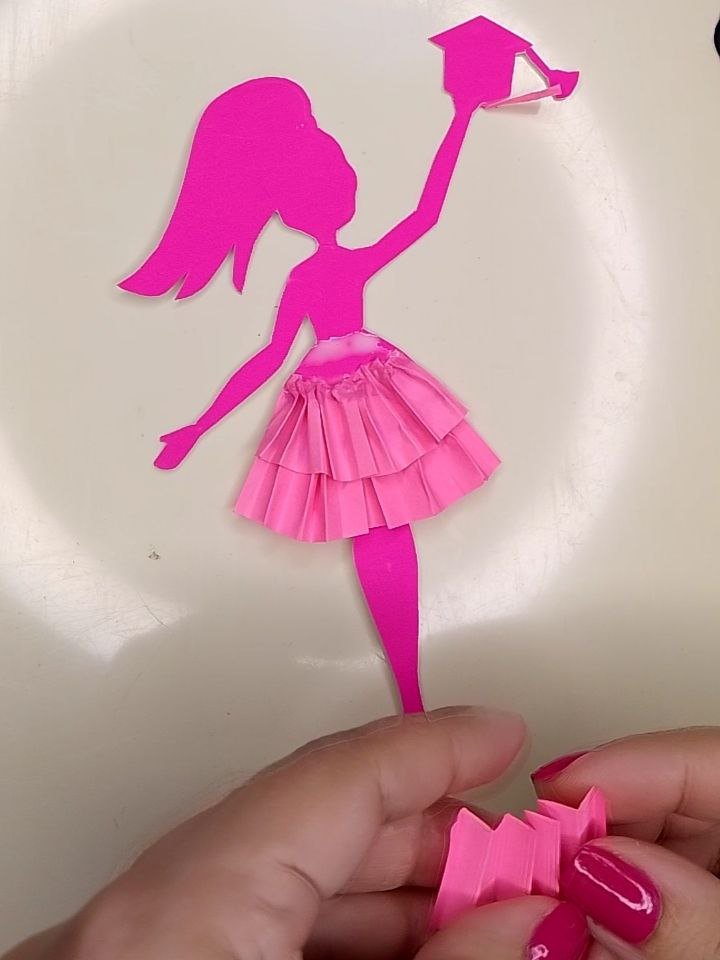
Now, we proceed to make some ruffles for her skirt to give it volume and dynamism. So, we are going to cut out a paper ribbon and start folding it like an accordion, then, we will stretch it a little bit, add some glue on the skirt and glue starting from the bottom the ruffles.
Versión Español
Ahora, procedemos a hacer unos volantes para su falda y así aportarle volumen y dinamismo. Así que vamos a recortar una cinta de papel y empezaremos a doblarla como un acordeón, luego, la estiraremos un poco, añadiremos algo de pegamento en la falda y pegaremos empezando desde abajo los volantes.
 |  |  |  |
|---|
With each one, once they adhere a little to the cardboard, we will proceed to help them fix well, pressing a little on them on the adhered part with a brush and a little more glue on top.
Versión Español
Con cada uno, una vez que se adhieran un poco a la cartulina, procederemos a ayudar a que se fijen bien, presionando un poco sobre ellos en la parte adherida con un pincel y un poco más de pegamento encima.
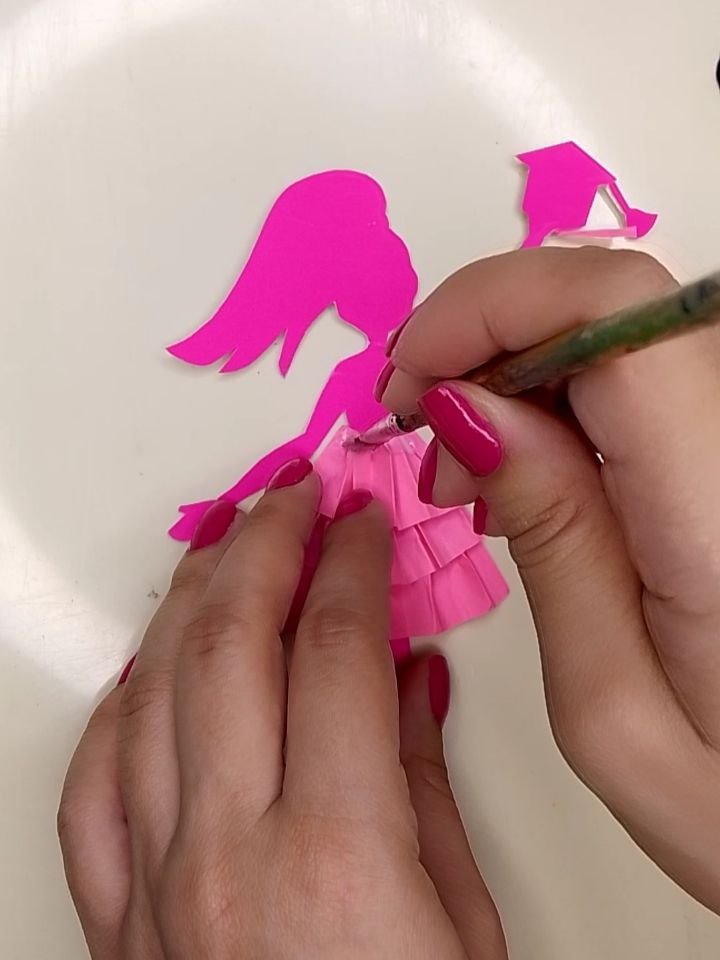
Fijando los volantes / Fastening the handwheels
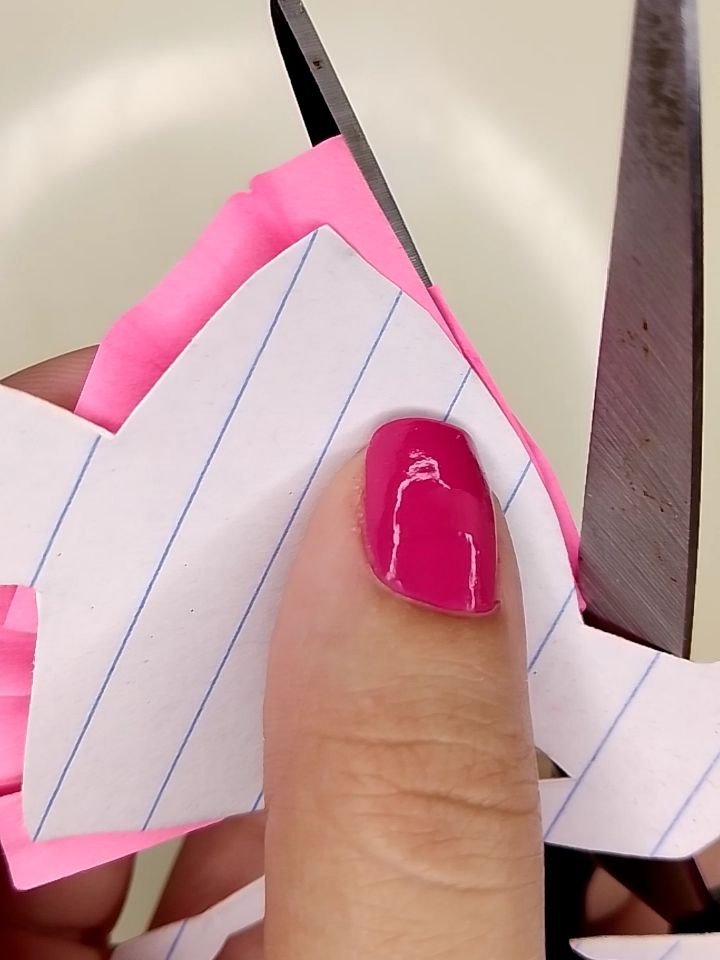
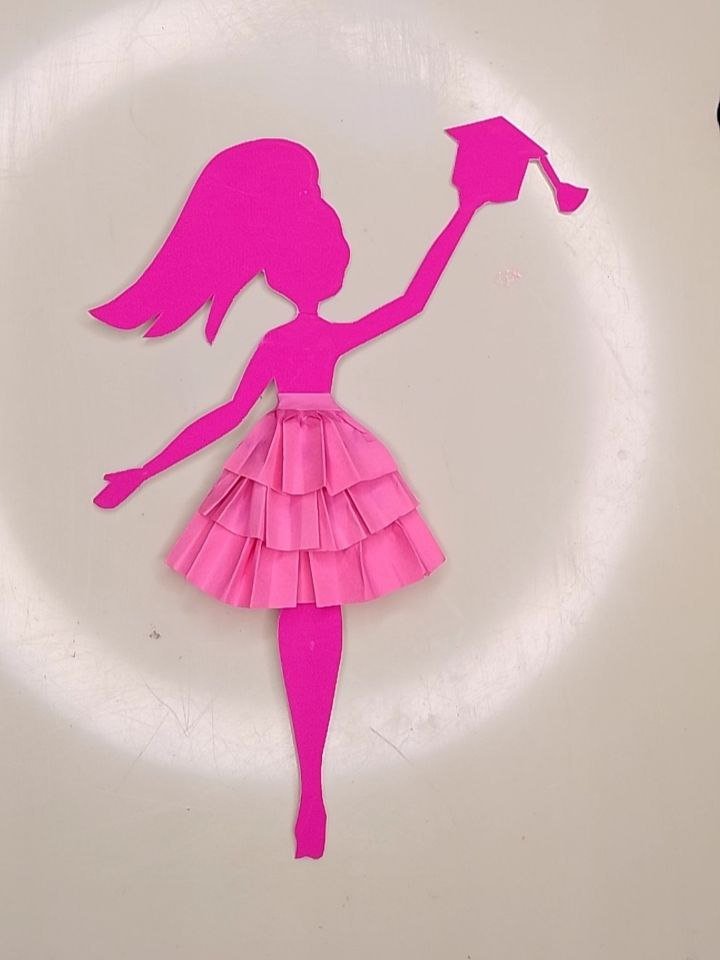
We cut off the excess and thus the skirt is more stylized.
Versión Español
Recortamos los excesos y así la falda queda más estilizada.
 |  |
|---|
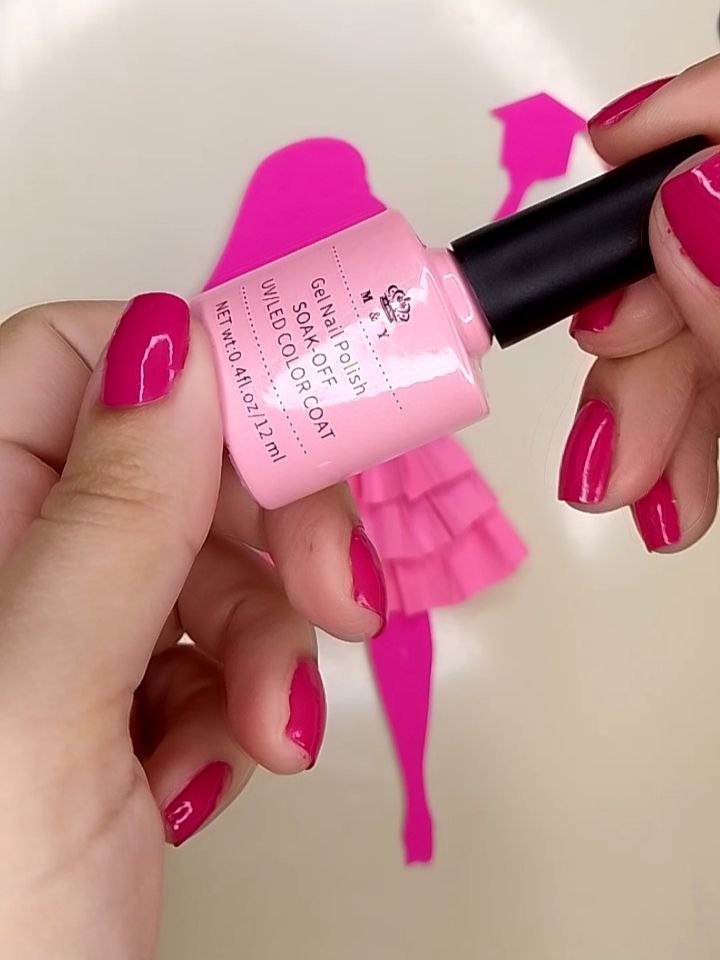
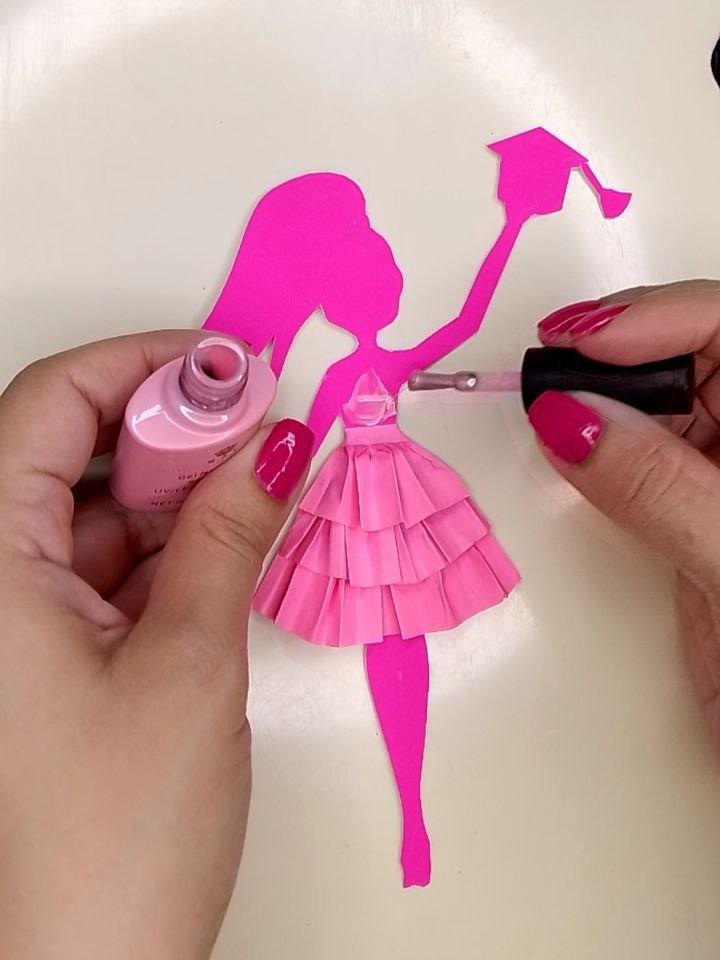
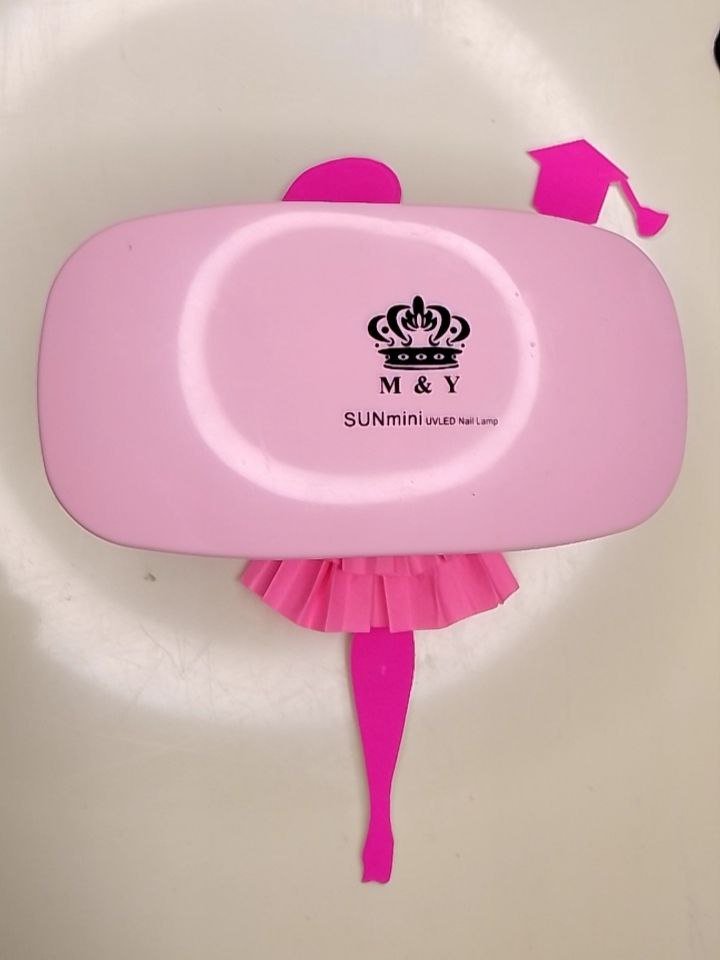
Now, with semi-permanent (nail) polish in a pastel pink tone we will make details to the figure. I decided to apply it on her blouse, cap, shoes and added some bracelets and cured with the UV/LED lamp. Afterwards, I gave a coat of Top Coat to the whole figure and cured with the lamp as well.
Versión Español
Ahora, con esmalte (de uñas) semipermanente en un tono rosita pastel haremos detalles a la figura. Yo decidí aplicarlo en su blusa, birrete, zapatos y añadí unos brazaletes y curé con la lámpara UV/LED. Posteriormente, di una capa de Top Coat a toda la figura y curé con lámpara también.
 |  |  |
|---|
Finally with hot silicone, I glued the silhouette to a high stick and the remaining part I painted with pink enamel and Top Coat as in the previous step. I really liked the tone because it is like a golden pink.
Versión Español
Finalmente con silicón caliente, pegué la silueta a un palillo de altura y la parte sobrante la pinté con esmalte rosado y Top Coat igual que en el paso anterior. Me gustó mucho el tono en quedó porque es como un rosa oro.
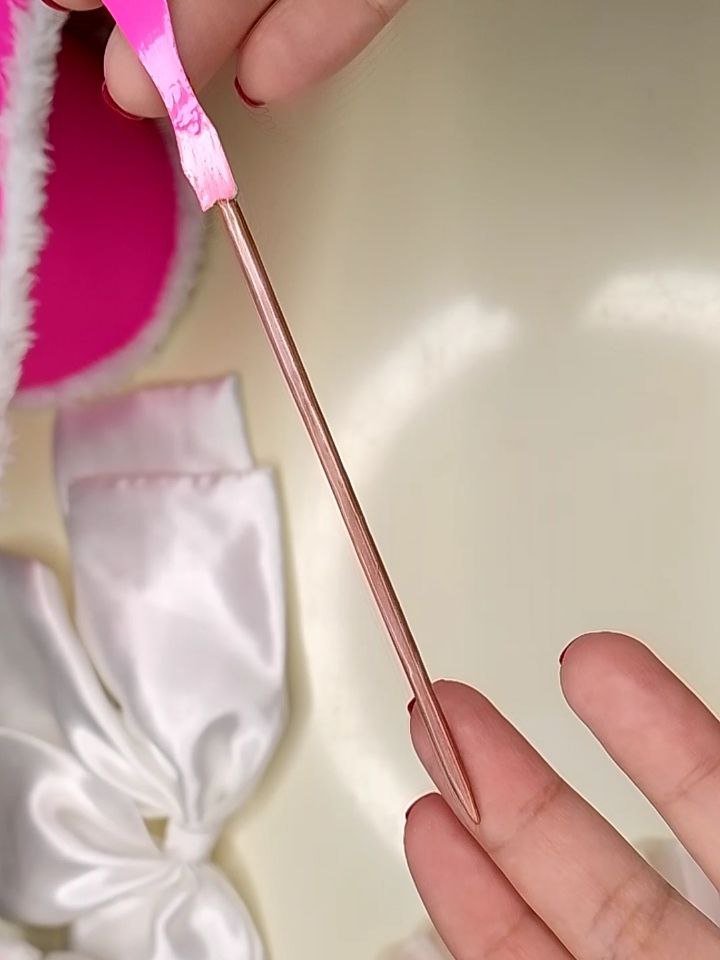
Palito rosa oro / Rose gold stick
And the result was really nice, that touch of shine with the Top Coat makes everything look super neat and full of life.
Versión Español
Y el resultado quedó realmente bonito, ese toque de brillo con el Top Coat hace que todo se vea súper prolijo y lleno de vida.
Resultado final / Final result
Final comments:
I am very happy to have reached this goal and also very happy to be back posting over here. I have a few more crafts to share in reference to my thesis defense that I'm sure you will love and will inspire you for new creations, so see you in a future post.
Versión Español
Comentarios finales:
Estoy muy feliz de haber alcanzado esta meta y también muy feliz de estar de vuelta publicando por acá. Tengo unas cuantas manualidades más por compartir con referencia a mi defensa de tesis que estoy segura que les gustarán muchísimo y les servirán de inspiración para nuevas creaciones, así que nos vemos en un próximo contenido.
Own photographs, taken with my Tecno Spark 10C.
Translated to English with DeepL.
Versión Español
Fotografías propias, tomadas con mi Tecno Spark 10C.
Traducido al inglés con DeepL.

Banner creado por mí en Canva / Banner made by me in Canva
Súper lindo. Y tu post demasiado bello y ordenado. Me encantó leerlo. Felicidades 🥳
Muchas gracias amiga🤗
Espectacular! Como todos tus trabajos! Me encanta y felicitaciones por tu promociòn!!!
Awwww muchas gracias🥹 me emociona verte aquí🙈❤️
Que linda, me encanto y me recordó mucho a barbie 😅
Jajaja siiii a mí también🤭 muchas gracias por tu visita🤗✨
This is so nice, great design and colour. You did such an amazing job with this topper, well done and thanks for sharing your work with the community.
Thank you so much for all the support💖 I loved the color too😍.
!diy
!discovery 40
Thank you so much for your support✨
This post was shared and voted inside the discord by the curators team of discovery-it
Join our Community and follow our Curation Trail
Discovery-it is also a Witness, vote for us here
Delegate to us for passive income. Check our 80% fee-back Program
You can query your personal balance by
@stevenson7 just sent you a DIY token as a little appreciation for your post dear @mavilan30! Feel free to multiply it by sending someone else !DIY in a comment :) You can do that x times a day depending on your balance so:!DIYSTATS