Versión Español
¡Hola comunidad bonita! Hoy inicio mi participación en el concurso de Fan Art y no podía ser con nada más si no con mi ánime favorito de la infancia, Sailor Moon, es por ello que en este post cargado de amor y buenos recuerdos, te comparto cómo hacer un hermoso colgante de peluche de Luna, la simpática gatita que acompañaba a Serena en su proceso como Sailor Scout. Sigue leyendo, te aseguro que te encantará esta idea.
Imagen creada por mí en Canva / Image created by me in Canva
Materials:
- Felt (black, white, red).
- Hot glue
- Scissors
- Pencil/Color
- Mouse tail string
- Decorative beads
Cold paint (yellow, red, white) * Pink sewing thread - Pink sewing thread
- Stuffing (synthetic cotton, pieces of fabric, etc.)
- Paper
Procedure:
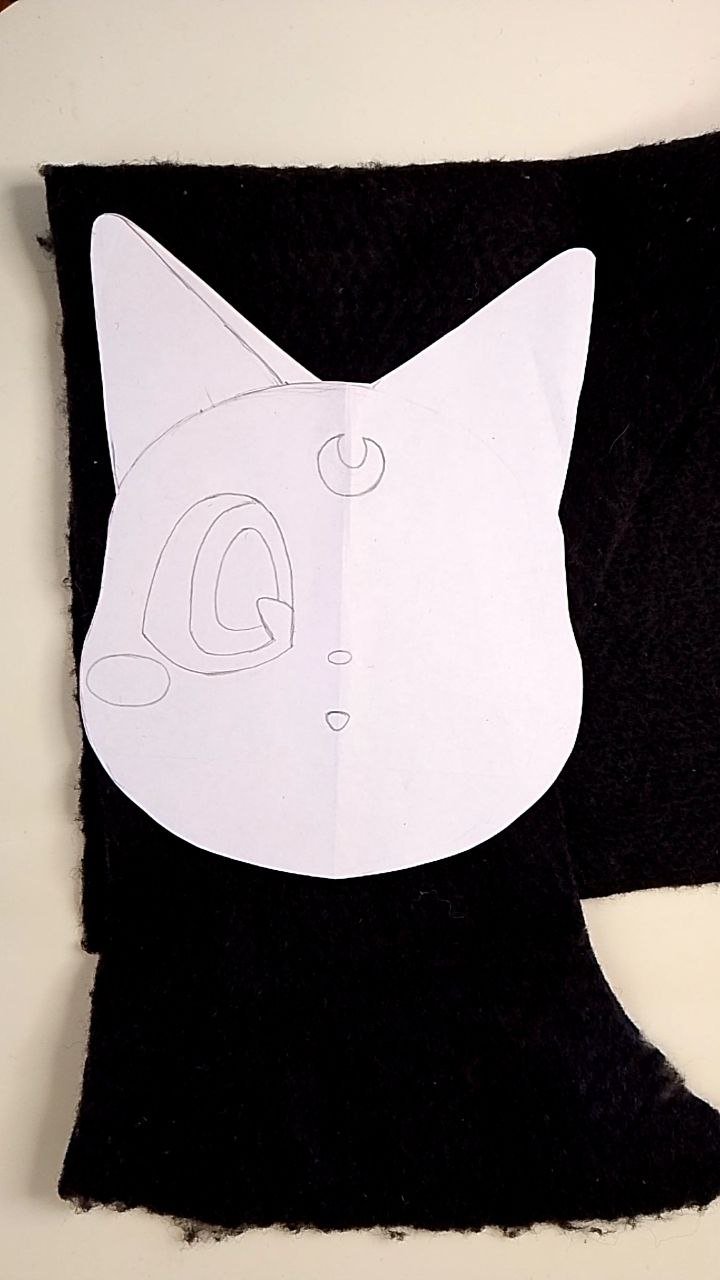
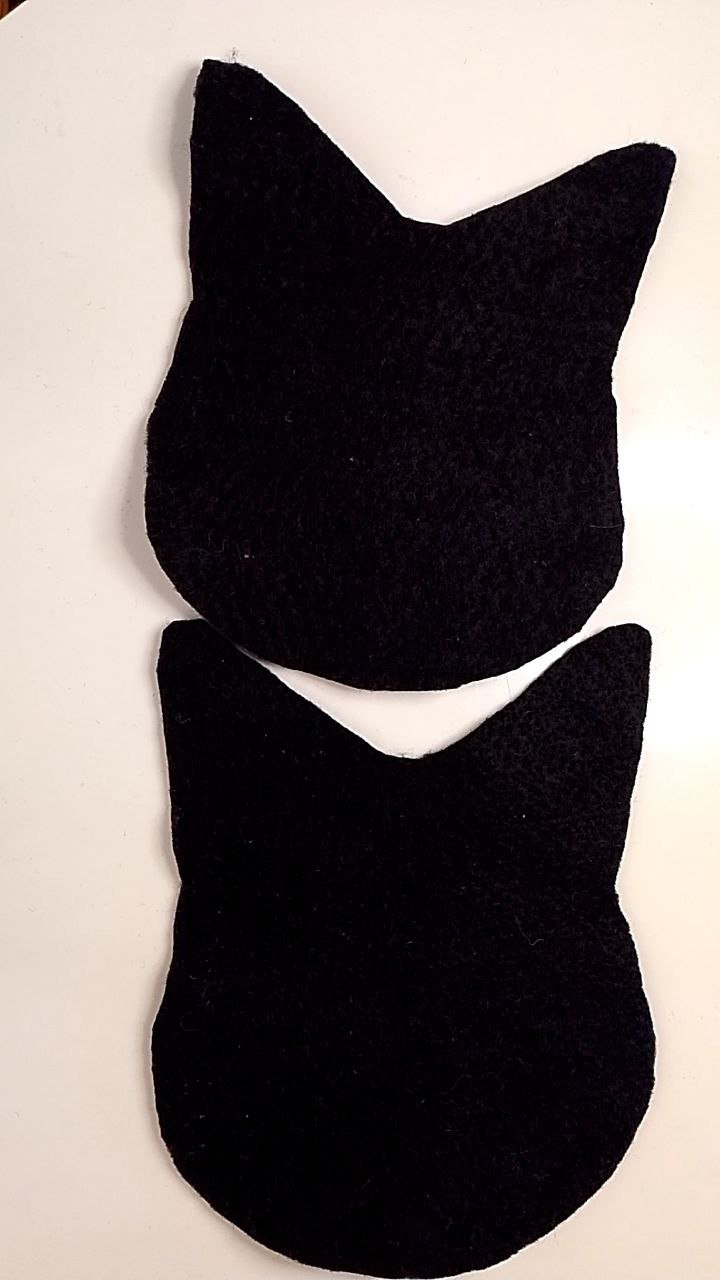
We start by drawing the pattern on paper with the pencil. This time I chose a sheet of paper with one of its sides blank in order to better represent the characteristics of our character. This pattern, we will place it on the black felt folded on itself, since we need two equal pieces with the shape of the kitty's head and we will cut it out with the scissors. Of course, first we will secure it with pins so that nothing moves where it should not.
Versión Español
Materiales:
- Fieltro (negro, blanco, rojo)
- Silicón caliente
- Tijeras
- Lápiz/Color
- Cordón tipo cola ratón
- Cuentas decorativas
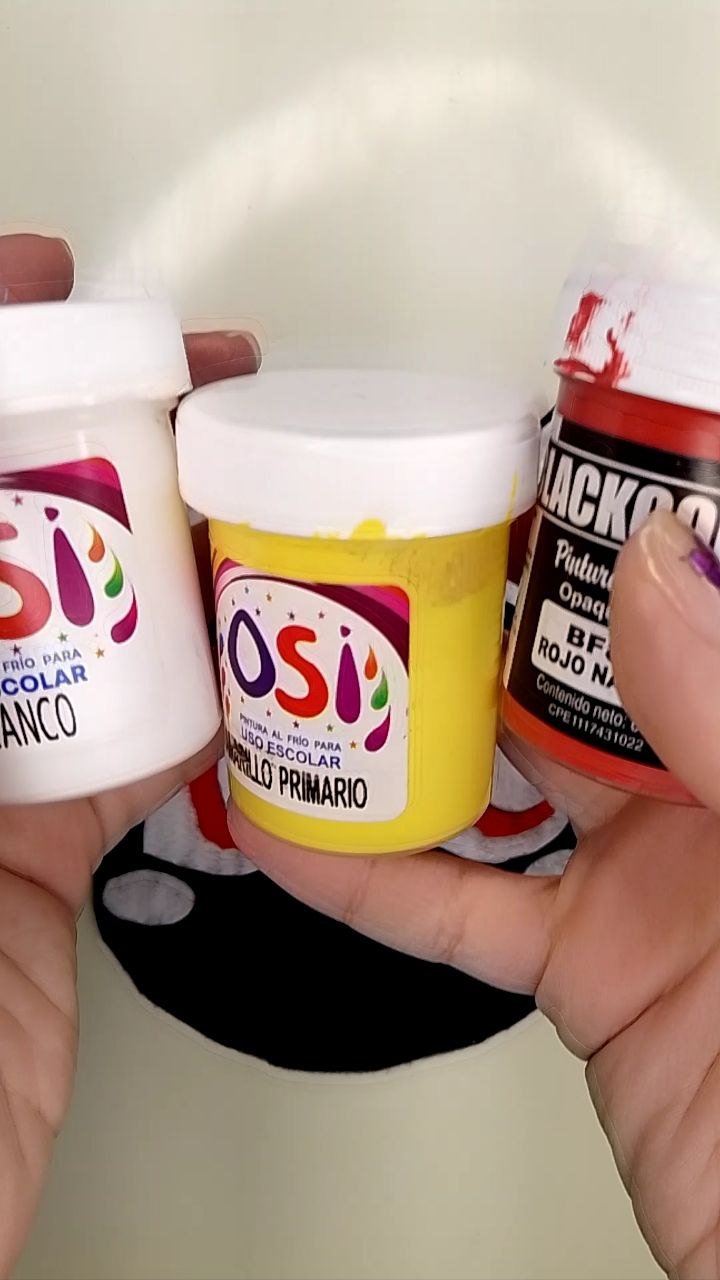
- Pintura al frío (amarillo, rojo, blanco)
- Hilo de coser rosado
- Relleno (algodón sintético, trozos de tela, etc)
- Papel
Procedimiento:
Iniciamos dibujando el patrón en papel con el lápiz. Esta vez sí elegí una hoja con uno de sus lados en blanco para poder representar mejor las características de nuestro personaje. Dicho patrón, lo colocaremos sobre el fieltro negro doblado sobre sí mismo, puesto que necesitamos dos piezas iguales con la forma de la cabecita de la gatita y recortaremos con la tijera. Por supuesto, primero aseguraremos con alfileres para que nada se mueva a donde no debe.
 |  |
|---|
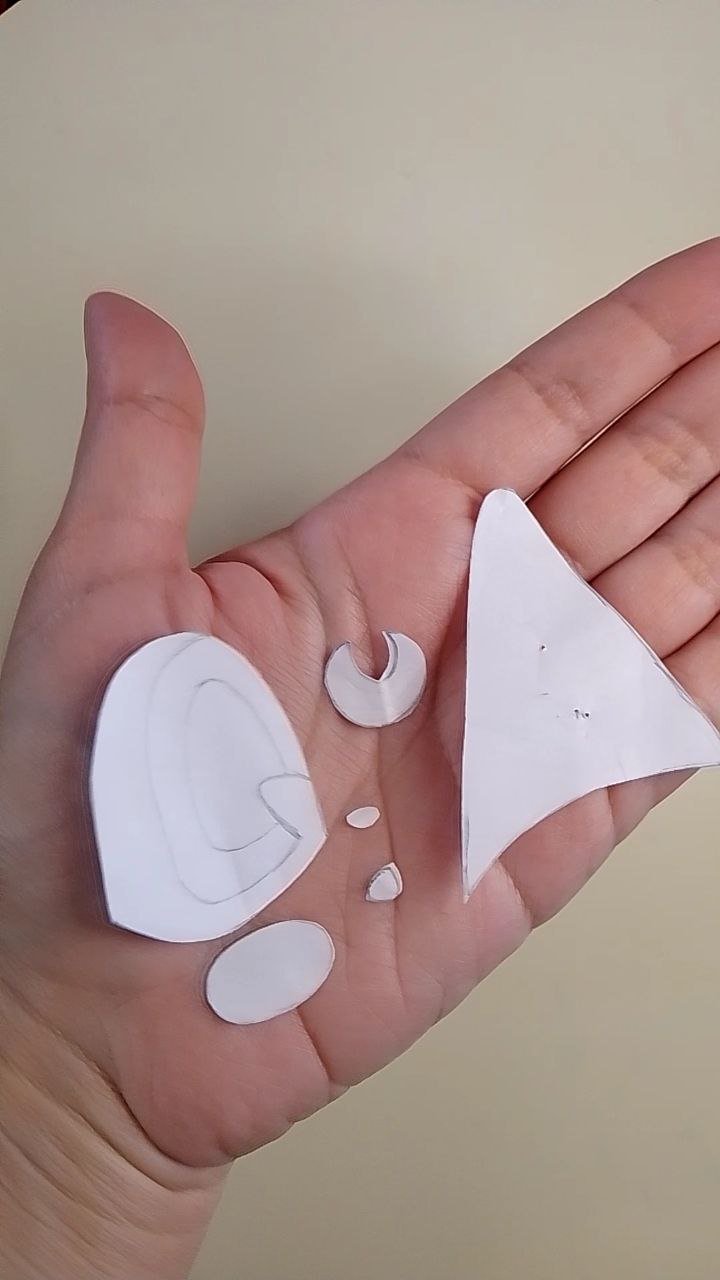
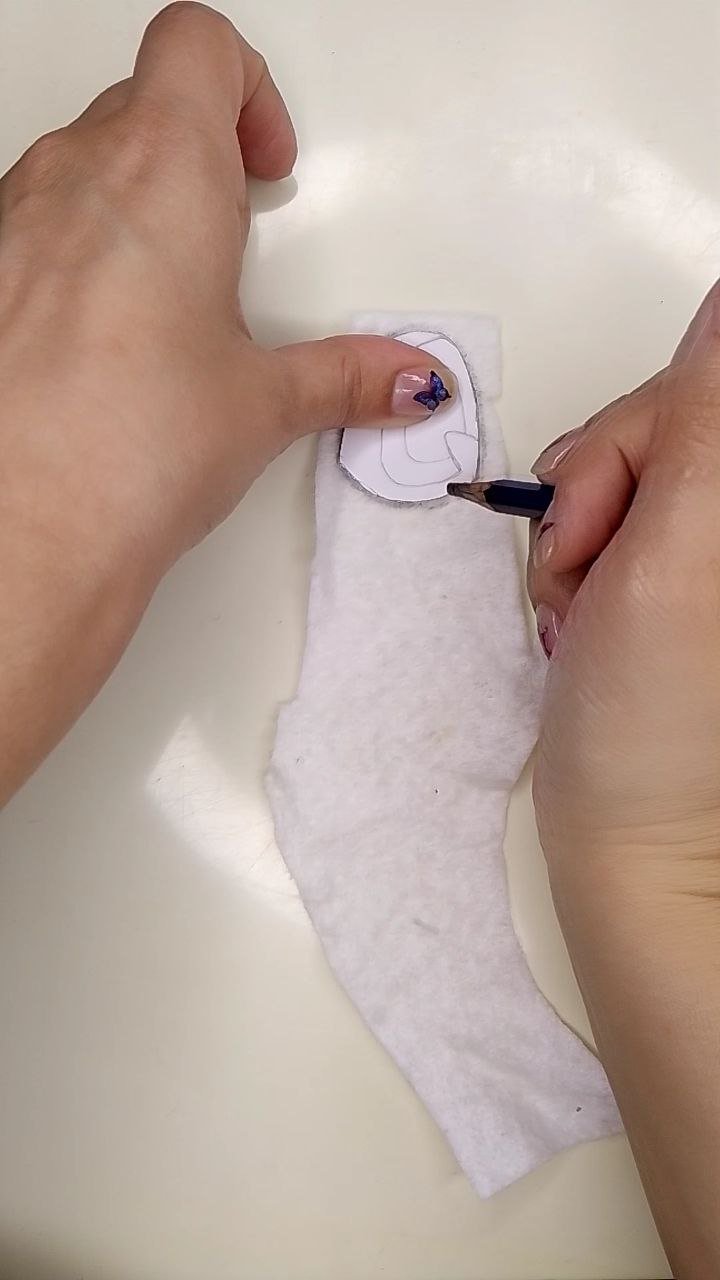
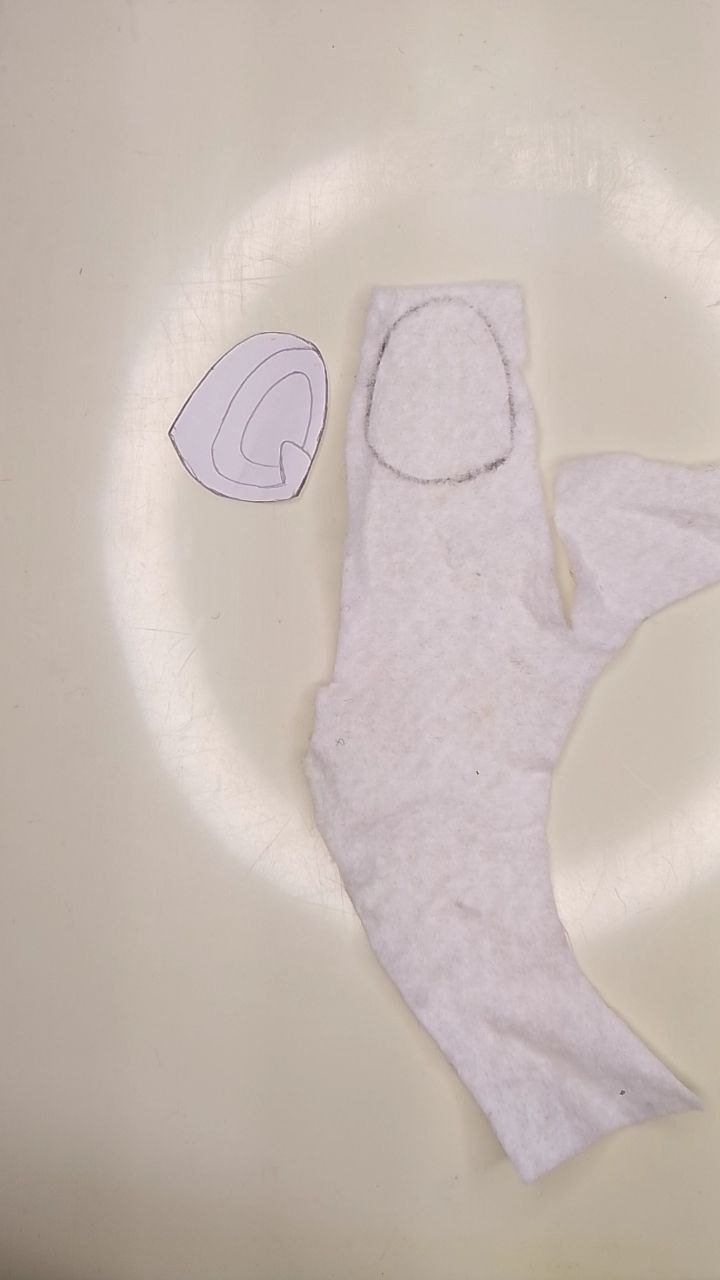
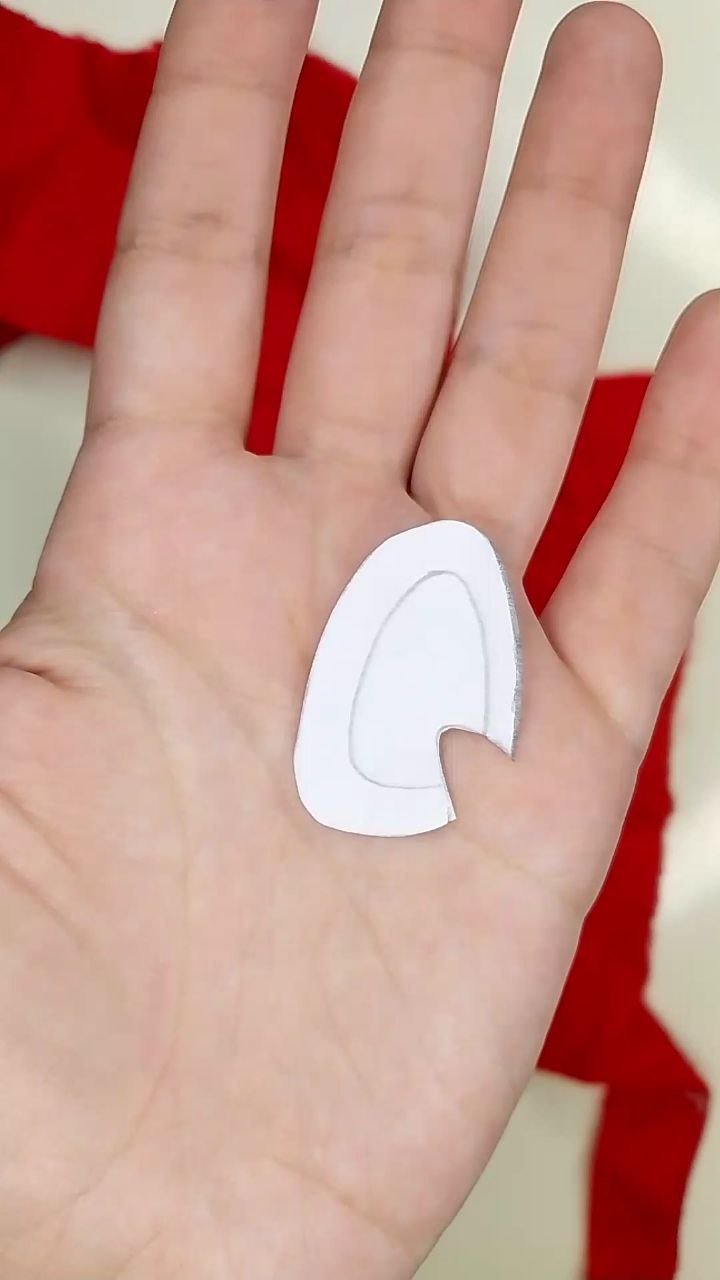
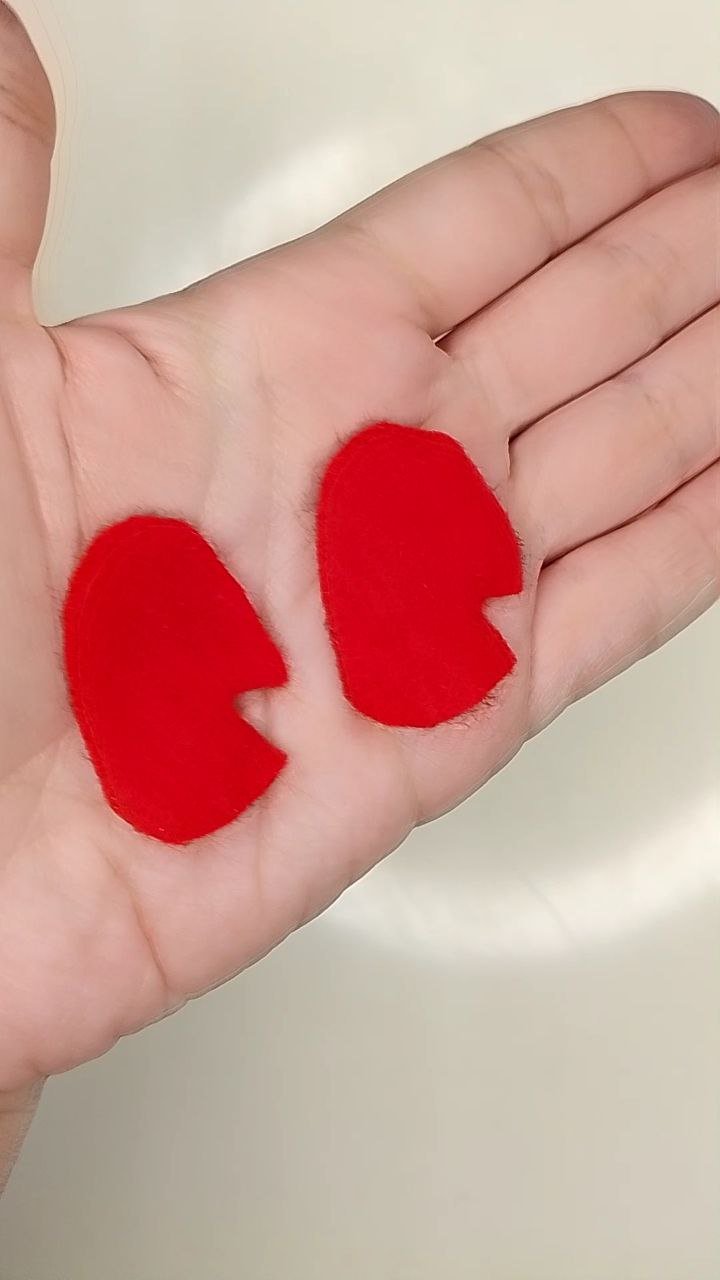
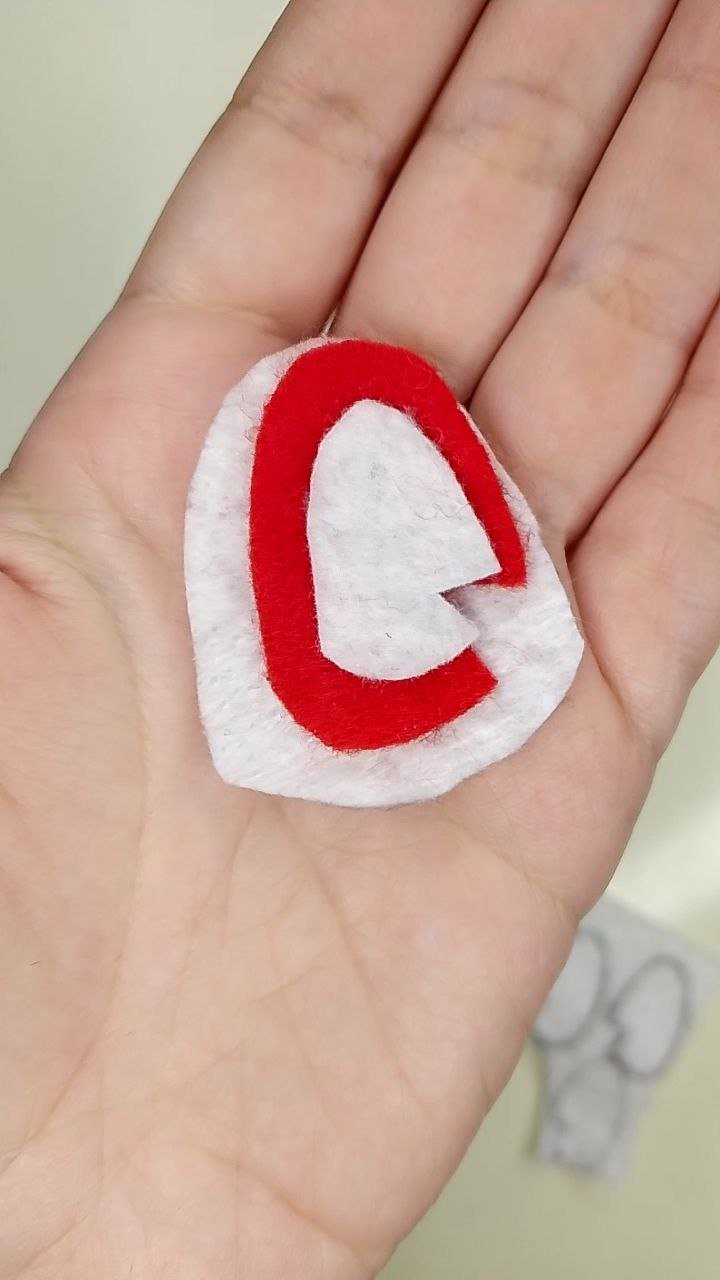
Now, from the same pattern, we will cut out the small internal parts, such as the eye, nose, forehead moon, mouth and cheeks and mark them with a pencil in the corresponding color. In the case of the eyes, after marking the outermost part in white felt, we proceed to cut the pattern in its next “layer”, so to speak, this figure that has not been left we will mark it in the red felt and repeat this procedure for the innermost part of the eye that goes in white felt.
Versión Español
Ahora, del mismo patrón, recortaremos sus partes pequeñas internas, como son, el ojo, la nariz, la luna de la frente, boca y mejillas y marcaremos con el lápiz en el color que corresponda. En el caso de los ojos, luego de marcar la parte más externa en fieltro blanco, procedemos a cortar el patrón en su siguiente “capa”, por así decirlo, esta figura que no ha quedado la marcaremos en el fieltro rojo y repetiremos este procedimiento para la parte aún más interna del ojo que va en fieltro blanco.
 |  |  |
|---|---|---|
 |  |  |
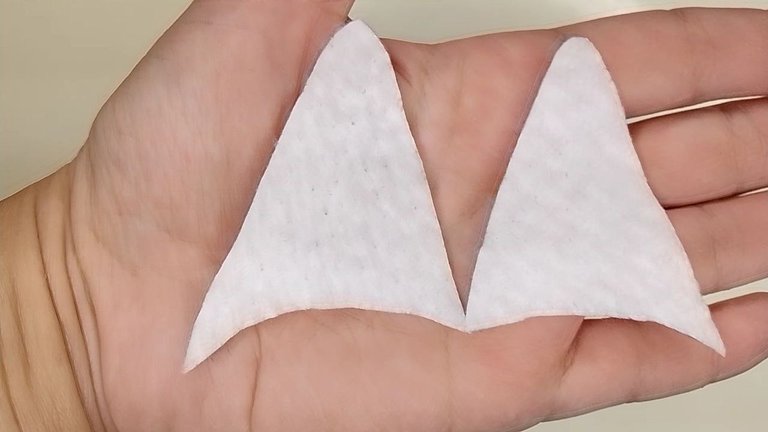
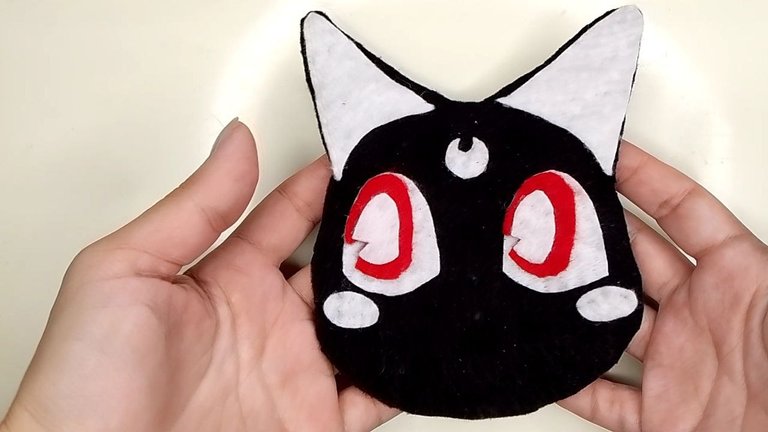
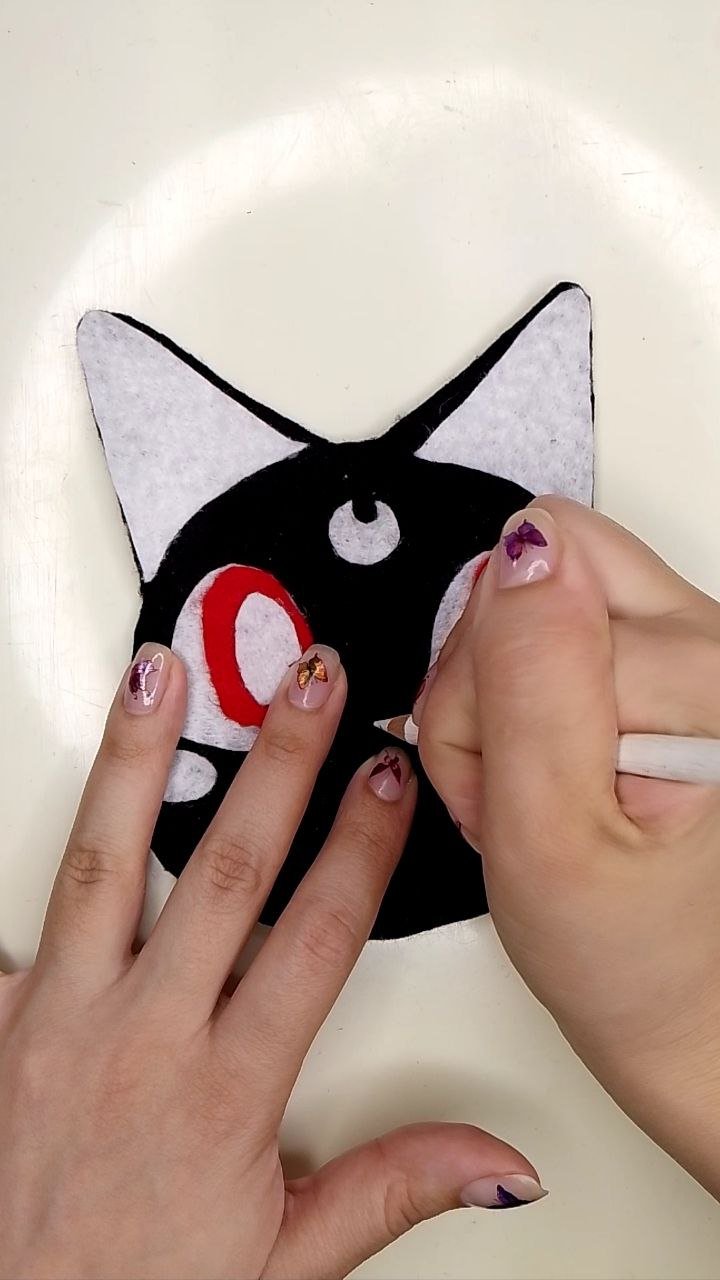
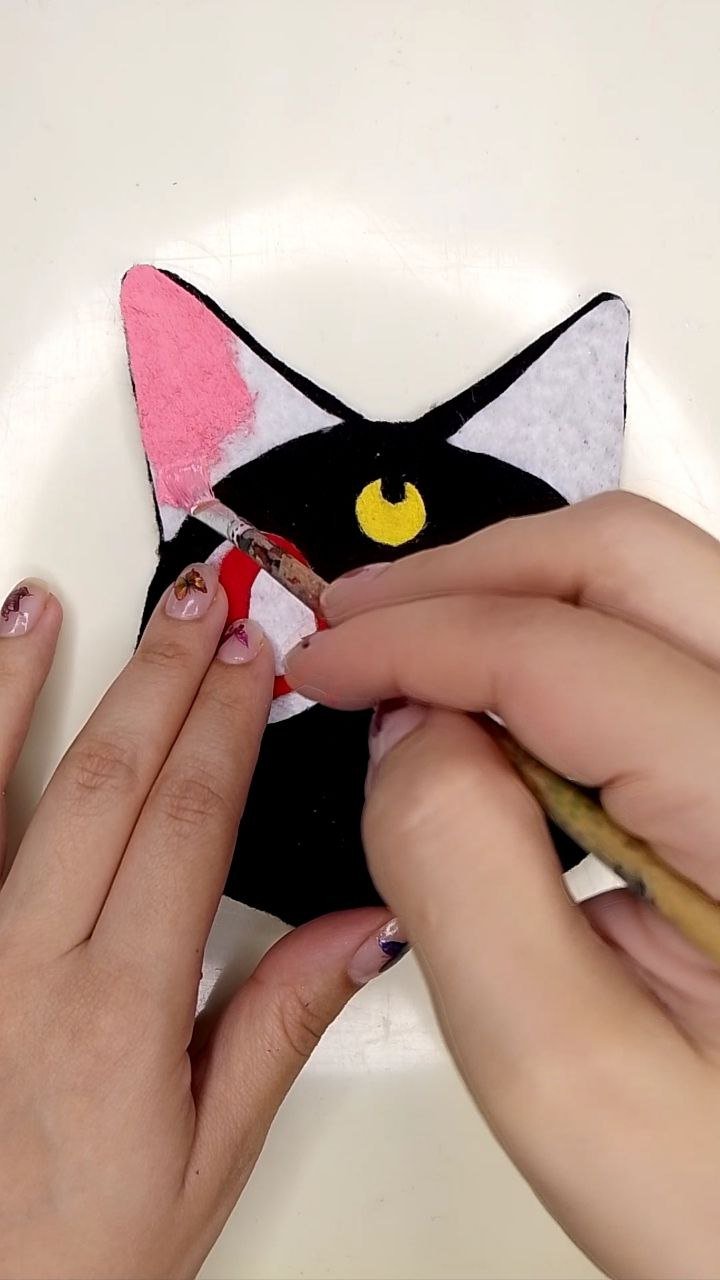
In the case of the ears, cheeks and the moon of the forehead, I have done it in white felt to later paint it with cold paint according to the corresponding color. Once we have glued with hot silicone each piece in its place, we mark with the white pencil where the nose and mouth go and we also paint the pieces that are in white with their pink and yellow colors according to the case.
Versión Español
En el caso de las orejas, las mejillas y la luna de la frente, lo he hecho en fieltro blanco para posteriormente pintarlo con pintura al frío según el color que corresponda. Una vez hemos pegado con silicón caliente cada pieza en su lugar, marcamos con el lápiz de color blanco donde van la nariz y la boca y también pintamos las piezas que están en blanco con sus colores rosado y amarillo según sea el caso.
 |  |
|---|
 |  |  |
|---|
For the nose and mouth, we will use some pink sewing thread, just sew in vertical lines very close to each other and make several passes over and over again until we fill all the space and achieve that “chubby” effect of relief.
Versión Español
Para la nariz y la boca, ocuparemos algo de hilo de coser en color rosado, basta con coser en líneas verticales muy juntas una a la otra y dar varias pasadas una y otra vez hasta conseguir rellenar todo el espacio y lograr ese efecto “gordito” de relieve.
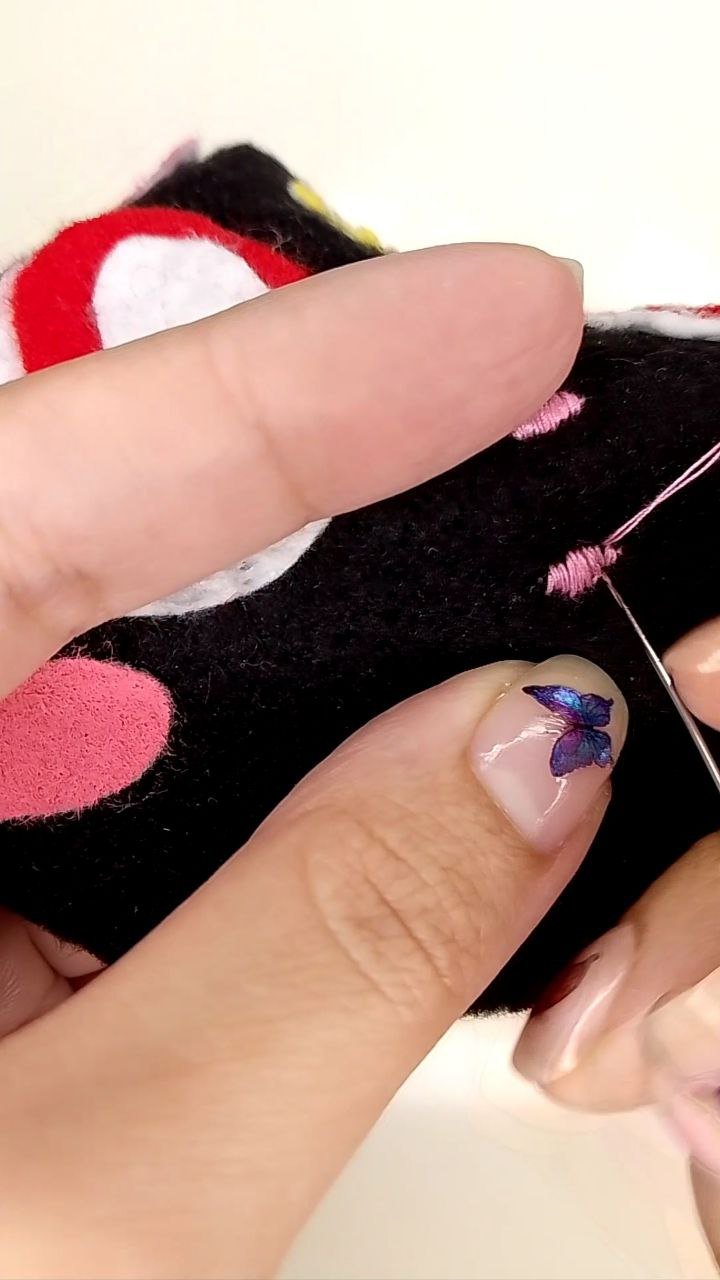
Cosiendo la nariz y la boca / Sewing the nose and mouth
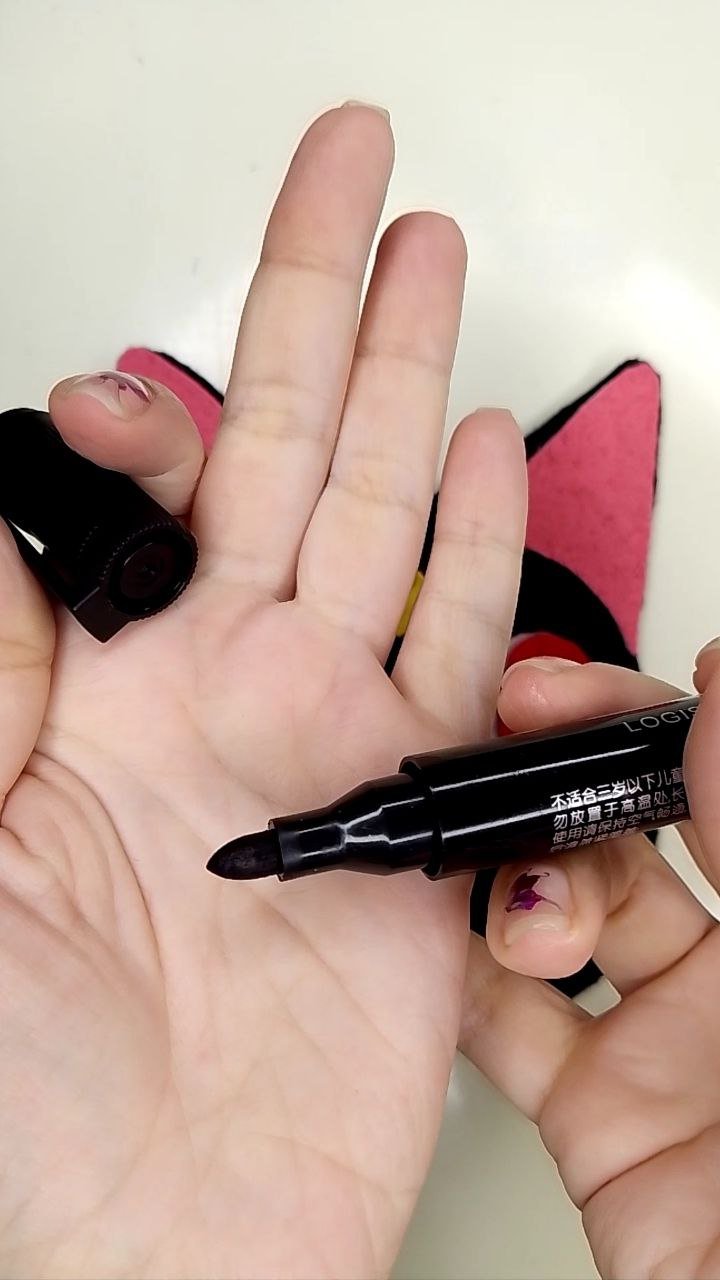
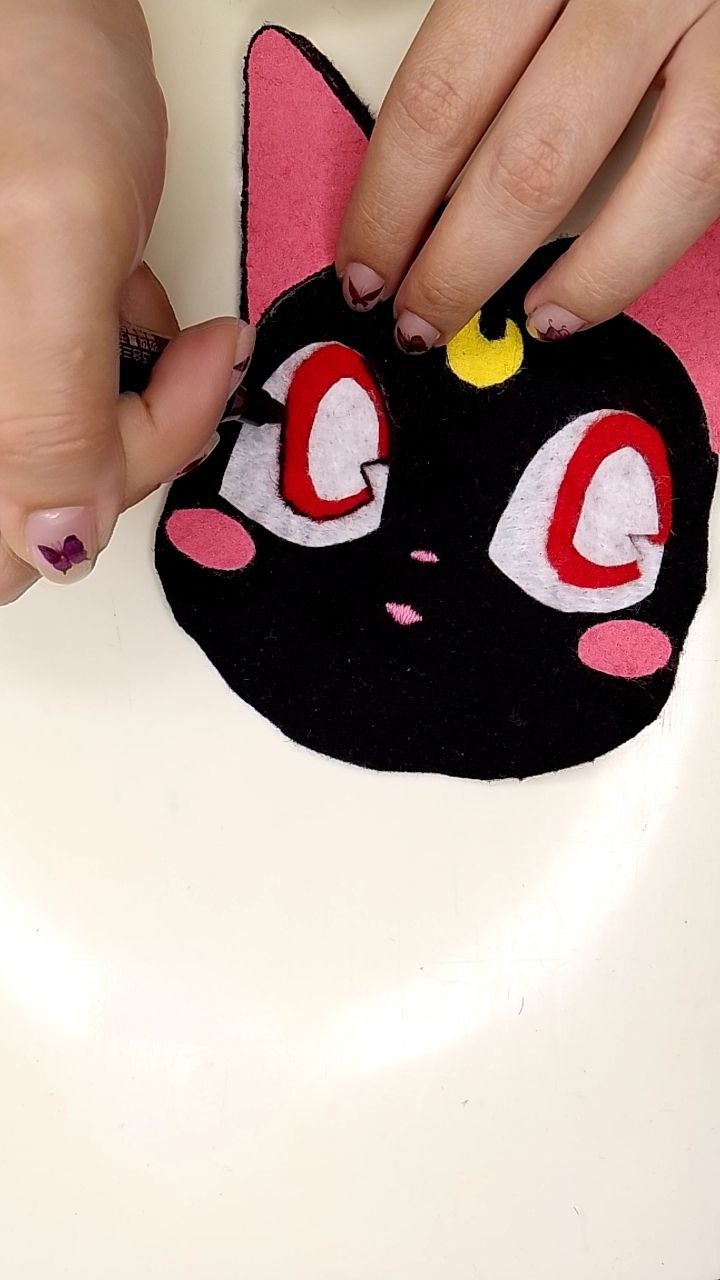
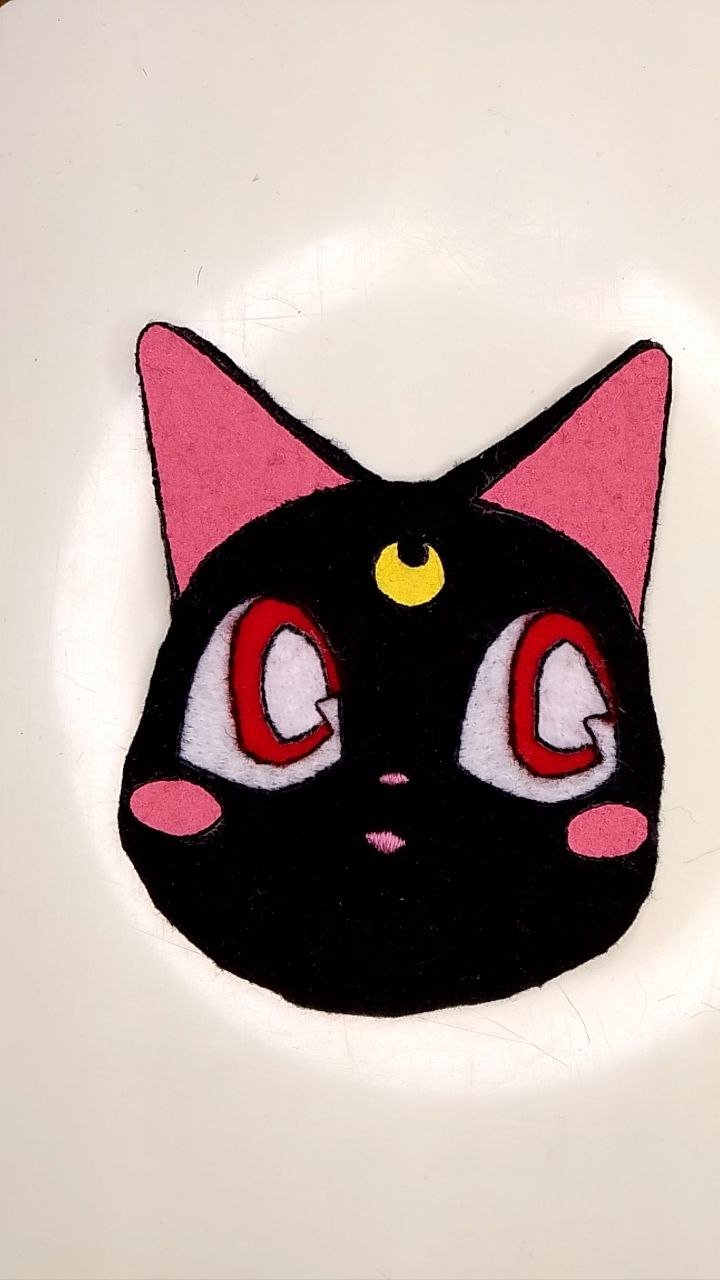
Okay, now our little kitty looks great but, something was missing and after looking at her for a while I realized it was that characteristic black line art of the anime characters, so I took a fine tip marker and proceeded to mark all the contours and now it's perfect!
Versión Español
Muy bien, ya nuestra pequeña gatita se ve muy bien pero, faltaba algo y luego de mirarla un rato me di cuenta que era ese característico Line Art negro de los personajes de los animes, así que temé un marcador punta fina y procedí a marcar todos los contornos y ahora sí ¡está perfecto!
 |  |  |
|---|
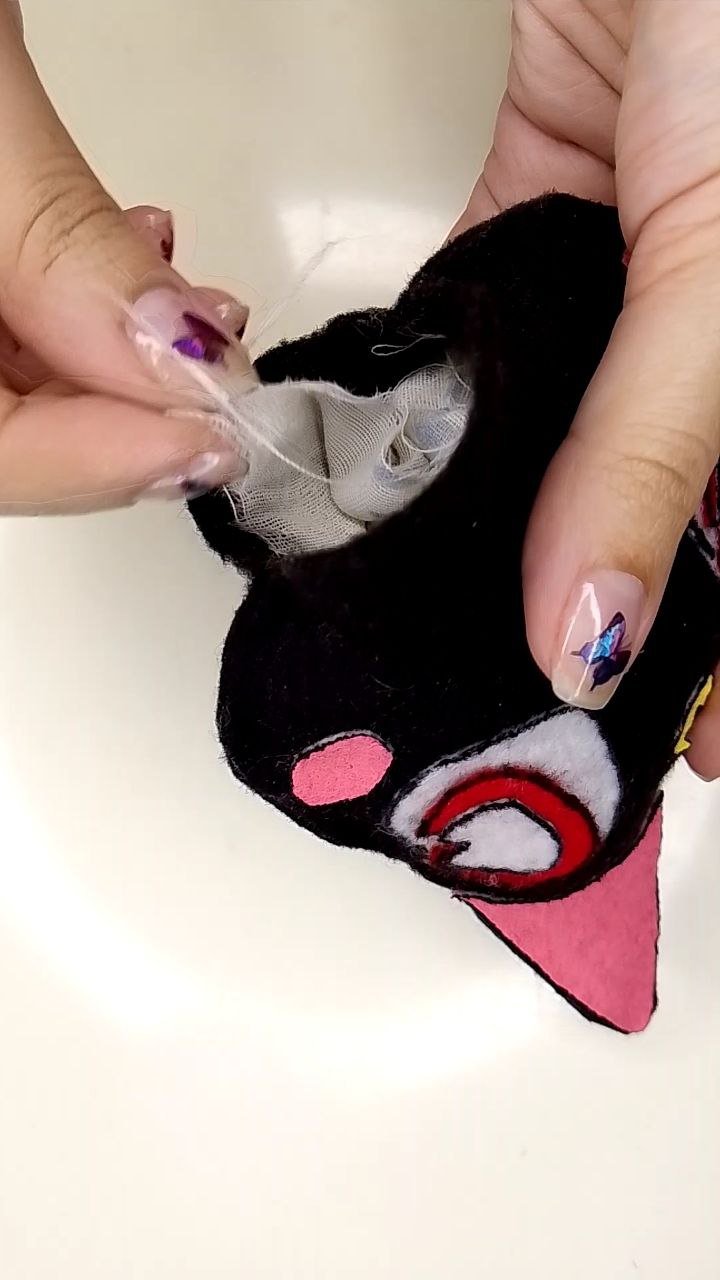
Now it is time to glue the front cover with the back cover and fill, in my case, with pieces of fabric, until it is super fluffy. I must point out at this point, that it is necessary to leave a space of about 4 cm (I recommend that at the bottom) to enter the filling through there and also about 2 cm at the top to attach the cord to be able to hang it.
Versión Español
Ha llegado el momento de pegar la tapa del frente con la tapa de atrás y rellenar, en mi caso, con trozos de tela, hasta que quede súper esponjoso. Debo acotar en este punto, que es necesario dejar un espacio de unos 4 cm (recomiendo que en la parte inferior) para poder ingresar el relleno por allí y también unos 2 cm en la parte superior para poder anexar el cordón para poderlo colgar.
Rellenando / Filling
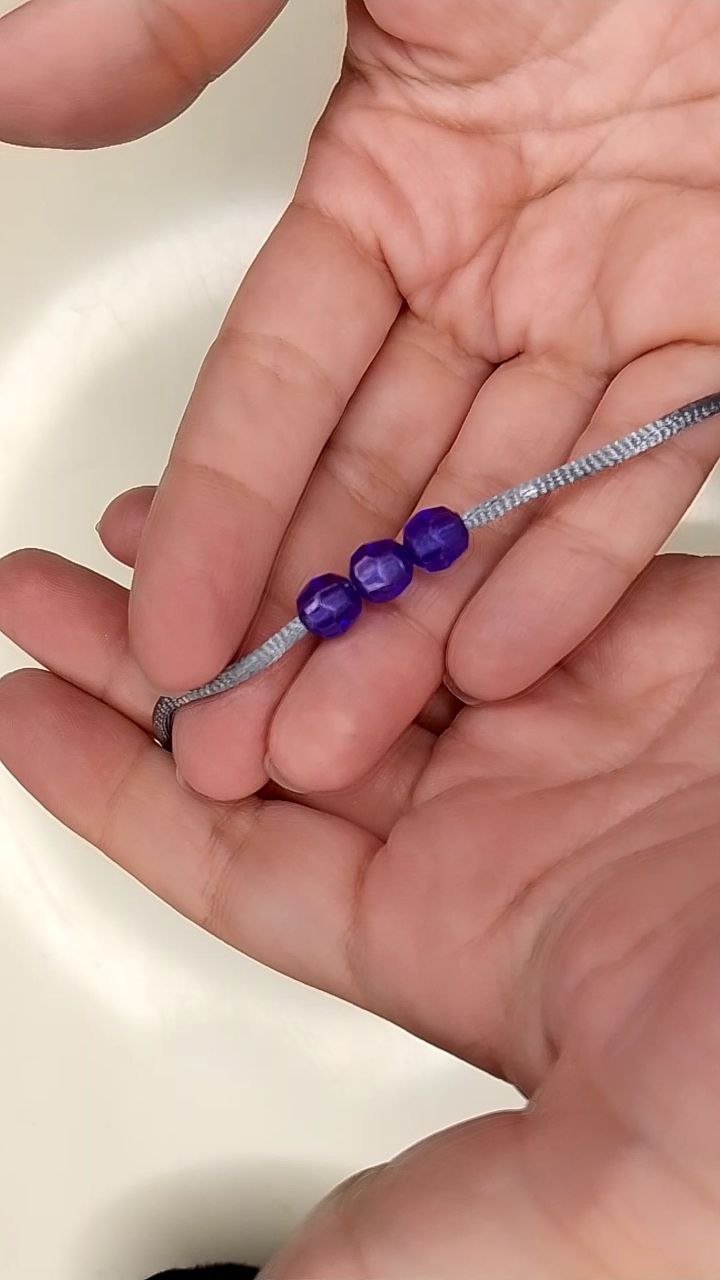
We seal the lower part with silicone, take the cord, decorate it by filling it with beads, I chose a very pretty purple one and once it is ready, we knot it, that part of the knot is the one that will go inside the stuffed animal. Once inside, we close everything with silicone.
Versión Español
Sellamos la parte inferior con silicón, tomamos el cordón, lo decoramos llenándolo de cuentas, yo elegí una moraditas muy lindas y al ya tenerlo listo, lo anudamos, esa parte del nudo es la que irá dentro del peluche. Una vez dentro, cerramos todo con silicón.
Cordón con cuentas / Cord with beads
And now yes, look at the final result * she gets as excited as when she was 6 years old *
Versión Español
Y ahora sí, observen el resultado final * se emociona como cuando tenía 6 años *
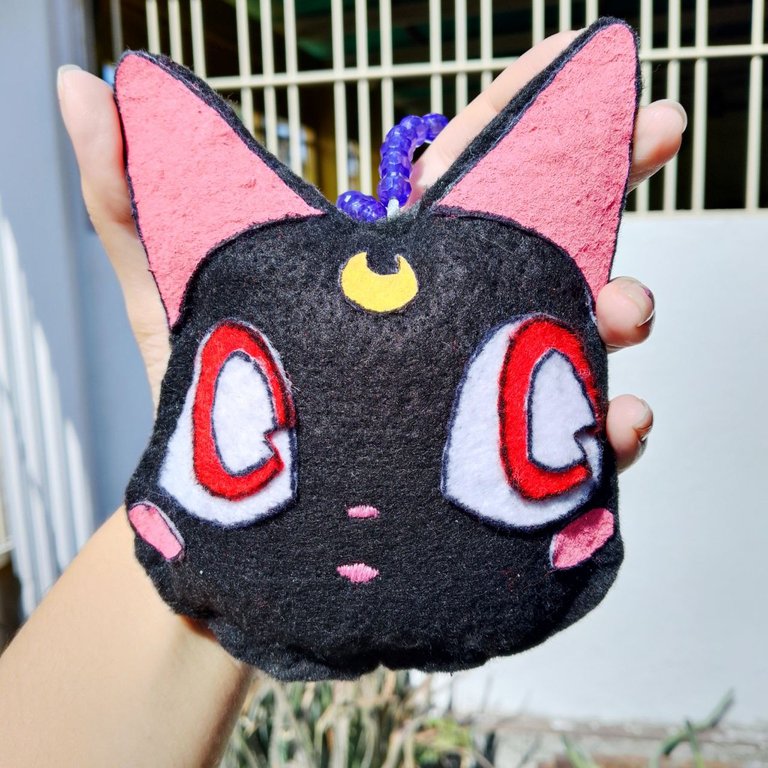
Resultado final / Final result
And obviously, I couldn't have Luna without Artemis, so here she is *gets excited x2 *
Versión Español
Y obviamente, no podía tener a Luna sin Artemis, así que aquí está * se emociona x2 *
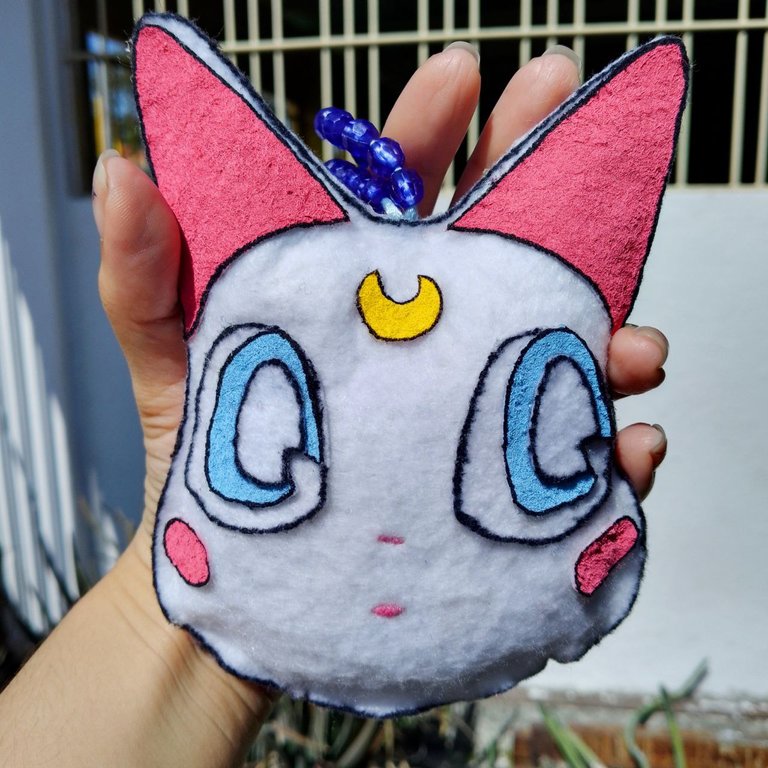
Artemis
Photo session with my Sailor Moon doll that I have had since I was 6 years old to attach evidence that I am a big fan (laughs).
Versión Español
Sesión de fotos junto a mi muñeca de Sailor Moon que tengo desde los 6 años para adjuntar evidencia de que sí soy muy fan (risas).
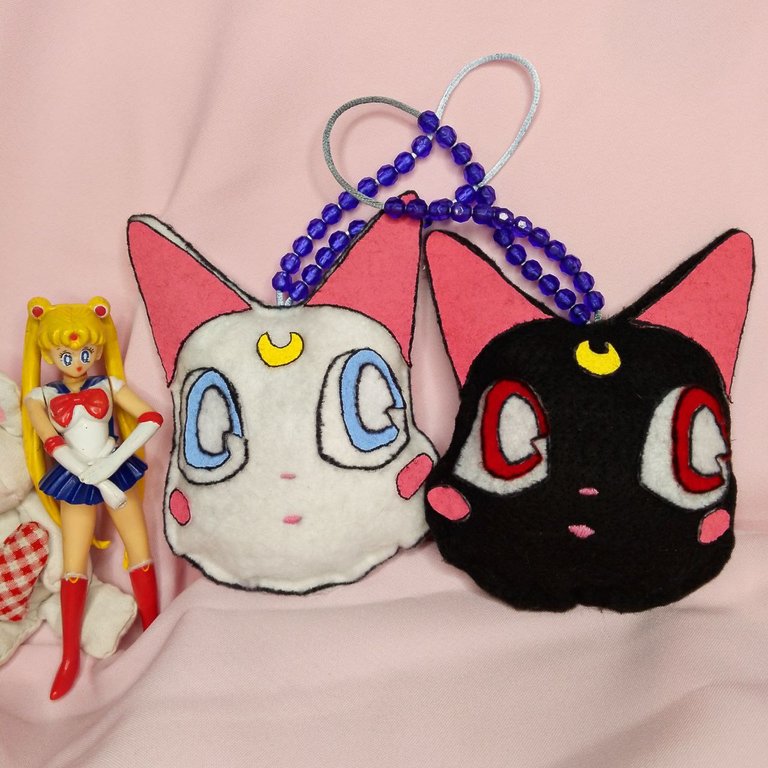
Sesión de fotos / Photo session
Closing comments:
Did I write this post listening to the Sailor Moon soundtrack? Of course you did (laughs).
If you have pink and yellow felt, you can perfectly skip the step of painting the white felt and do it directly in the color of your choice.
The black outlines can also be done with black paint instead of marker.
Instead of gluing the pieces with hot silicone, you can use textile glue or sew with thread.
To make it easier to insert the string into the beads, I cut one end diagonally and seal with a lighter, so that one end remains.
The nose and mouth, initially I thought of making them in felt like everything else, but I realized that they were too small pieces, so I thought it was a better idea to make them with stitching and it was really a very wise decision, don't you think?
Artemis is made exactly like Luna but with their corresponding colors.
I will use these pendants on my purse, but there are actually a lot of places to hang them, like the rearview mirror of the car, for example.
Versión Español
Comentarios finales:
¿Escribí este post escuchando la banda sonora de Sailor Moon? Obvio que sí (risas).
Si tienen fieltro de color rosado y amarillo pueden perfectamente obviar el paso de pintar el fieltro blanco y hacerlo directo en el color definitivo.
Los contornos negros también pueden hacerse con pintura negra en lugar de marcador.
En lugar de pegar las piezas con silicón caliente, se puede emplear pega textil o coser con hilo.
Para que sea más fácil introducir el cordón en las cuentas, lo que hago es cortar un extremo en diagonal y sellar con un encendedor, de modo que quede una punta.
La nariz y la boca, inicialmente pensé en hacerlas en fieltro igual que todo lo demás, pero me di cuenta que eran piezas demasiado pequeñas, por lo que me pareció mejor idea hacerlas con costuras y realmente fue una decisión muy acertada ¿no lo creen?
Artemis se hace exactamente igual que Luna pero con sus colores correspondientes.
Usaré estos colgantes en mi bolso, pero en realidad existen un montón de lugares donde colgarlos, como el retrovisor del auto, por ejemplo.
Own photographs, taken with my Tecno Spark 10C.
Translated to English with DeepL.
Versión Español
Fotografías propias, tomadas con mi Tecno Spark 10C.
Traducido al inglés con DeepL.

Un trabajo demasiado bonito Amor!
No había notado el detalle de la nariz y la boca cosidos! Que rebueno!!! 😘
Muchas gracias mi amor🥰🥰🥰 me encantó como quedaron su boquita y nariz, es primera vez que hago algo así 🙈 y me siento feliz con el resultado😍😍😍
Hermoso fan art, quedó bello. Espero ver más de tus trabajos próximamente. Gracias por compartirlo.
Muchas gracias amigo✨ me alegro de que te gustara☺️
Congratulations @mavilan30! You have completed the following achievement on the Hive blockchain And have been rewarded with New badge(s)
Your next target is to reach 50 posts.
You can view your badges on your board and compare yourself to others in the Ranking
If you no longer want to receive notifications, reply to this comment with the word
STOPWow. this is beatiful!
Thank you so much✨✨✨
Perfectos y muy bonitos.
Gracias por compartir tu creación con la comunidad. 🙋
Muchas gracias querida Lelys💖✨
Awwwww this looks so cute. Thanks for sharing a detailed tutorial on how you made your Plush Luna Pendant as this can serve as a guide to whoever wishes to make something like this, well done.
Thank you very, very much 💖 I'm so glad you liked my work ☺️ I hope it will be of inspiration for many creative ideas for other hivers ✨
Te quedó hermoso Mavi y se ve bastante elaborado, o sea lleva mucho esfuerzo y dedicación, me encantó! 😍❤️🫰🏻
Muchas gracias Sarang💖 a mí también me gustó mucho el resultado✨