Versión Español
¡Hola querida comunidad! Cada vez estamos más cerca de la navidad y no puedo desaprovechar para compartirles cada una de mis decoraciones y del proceso para realizarlas, es por eso que hoy quiero mostrarles un hermoso peluche de muñeco de nieve, una manualidad muy sencilla de ejecutar y con resultado realmente adorable, así que sin más, vamos a ello.
Imagen creada por mí en Canva / Image created by me in Canva
Materials:
- Felt (white, black, red).
- Stuffing (synthetic cotton, rags, among others)
- Orange Foami
- Cold paint (white, black)
- Blush (optional)
- Appliqués or decorations
- Scissors
Hot glue, textile glue or thread and needle * Brush - Brush
- Pencil/white color
- Pins
Procedure:
We start by creating the pattern on a piece of paper, for this we must trace two circumferences, a larger one for the body and a smaller one for the head, you can do it with a compass but in my case, I used a CD for the little head and a bowl for the body. I drew the hat as a separate piece according to the size of the head.
Versión Español
Materiales:
- Fieltro (blanco, negro, rojo)
- Relleno (algodón sintético, trapos, entre otros)
- Foami naranja
- Pintura al frío (blanco, negro)
- Rubor (opcional)
- Apliques o decoraciones
- Tijera
- Silicón caliente, pegamento textil o hilo y aguja
- Pincel
- Lápiz/color blanco
- Alfileres
Procedimiento:
Iniciamos creando el patrón en un papel, para ello debemos trazar dos circunferencias, una más grande para el cuerpo y una más pequeña para la cabeza, puedes hacerlo con un compás pero en mi caso, usé un CD para la cabecita y un tazón para el cuerpo. El sombrero lo dibujé como una pieza aparte acorde al tamaño de la cabeza.
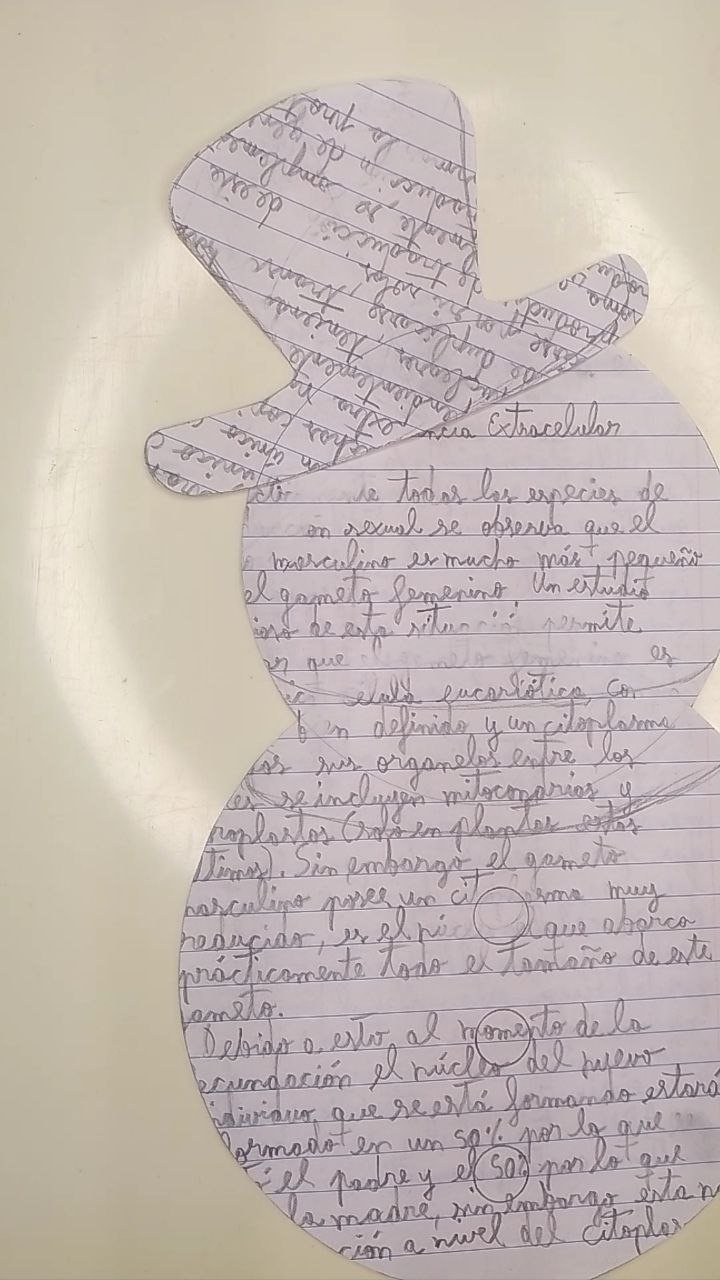
Patrones / Patterns
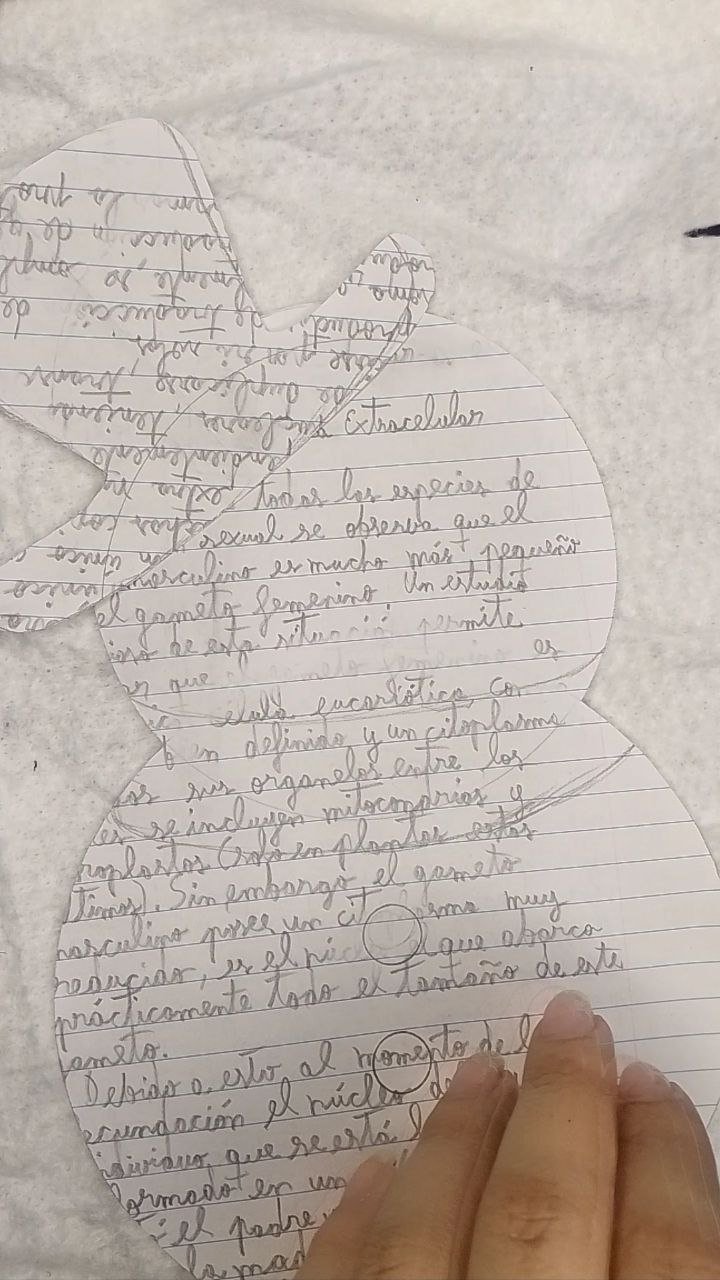
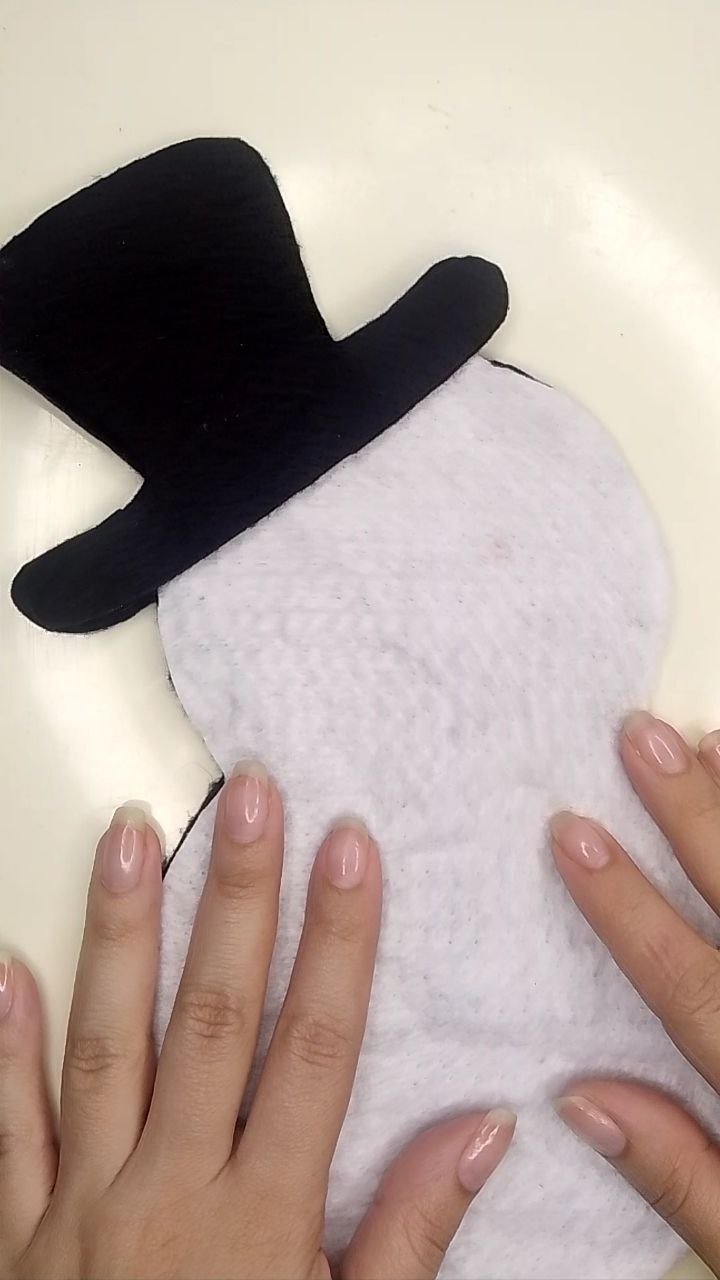
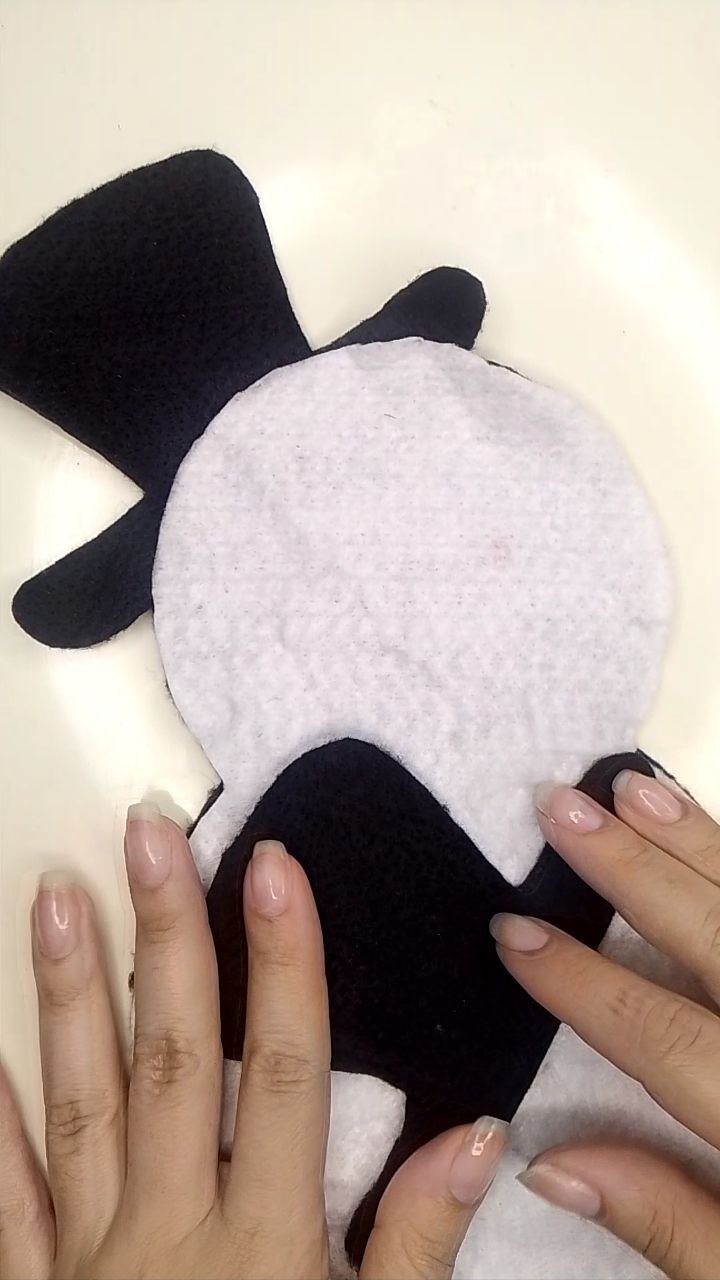
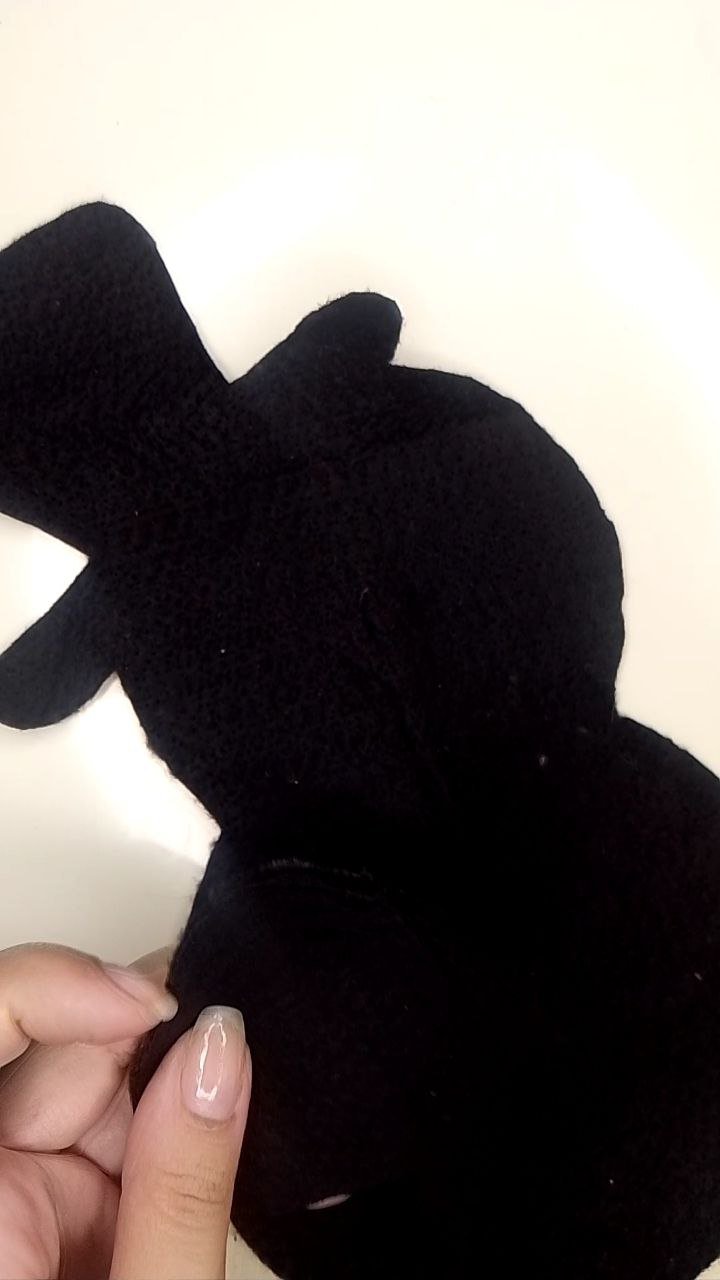
Now, we will superimpose the white felt on the black felt and in turn, the pattern on both. Remember to draw the outline on the white fabric only of the doll as such, while on the black fabric you will have to draw the whole figure in one piece and repeat only the hat on the black fabric. Cut it out and it will look as you can see in the following images:
Versión Español
Ahora, superpondremos el fieltro blanco sobre el negro y a su vez, el patrón sobre ambos. Recuerden hacer el delineado sobre la tela blanca solo del muñeco como tal, mientras en que la tela negra sí deberán trazar la figura completa en una sola pieza y repetir solo el sombrero en la tela negra. Recortamos y quedaría de la forma que verán en las imágenes siguientes:
 |  |  |  |
|---|
It's time to trace five small circles on the black felt, these correspond to the eyes and the three buttons on her tummy. To do this, you can use the compass once again or use something like a coin, for example, I used the inner hole of the CD.
Versión Español
Es momento de trazar cinco círculos pequeños en el fieltro negro, estos corresponden a los ojos y los tres botones de su pancita. Para hacerlo, puedes usar una vez más el compás o emplear algún elemento como una moneda, yo por ejemplo, me apoyé del orificio interno del CD.
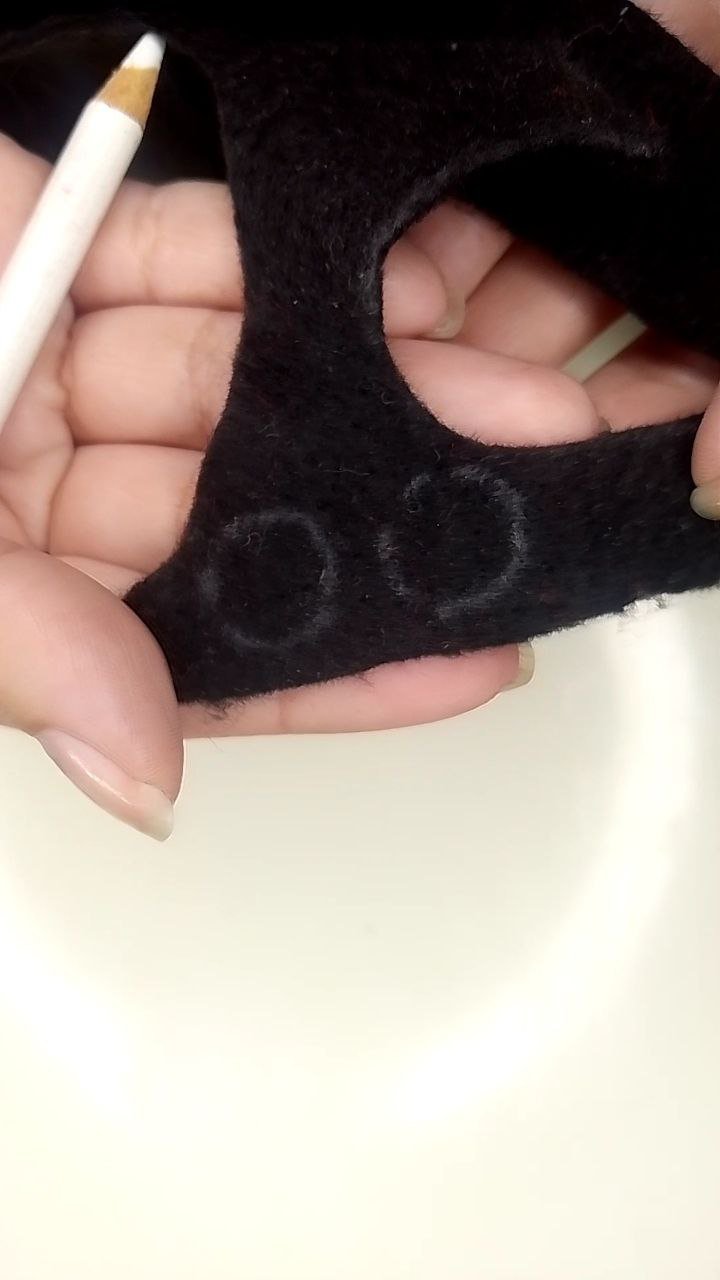
Botones y ojos / Buttons and eyes
For the scarf, we will cut out that part of the initial pattern and draw it a little longer on each side, in order to be able to fold it backwards when we join everything together, in addition, we will cut out another piece that will be half the extension of this one, to be able to similar that part of the scarf that protrudes from the traditional fold. We should also cut a thin rectangular piece for the detail of the hat, leaving also a margin at the ends for later gluing.
Versión Español
Para la bufanda, recortaremos esa parte del patrón inicial y la dibujaremos un poco más larga de cada lado, para así poder doblar hacia atrás al momento de unir todo, además, recortaremos otra pieza más que será la mitad de la extensión de esta, para poder similar esa parte de la bufanda que sobresale del doblez tradicional. También se debe recortar una pieza rectangular fina para el detalle del sombrero, dejando también un margen a los extremos para su posterior pegado.
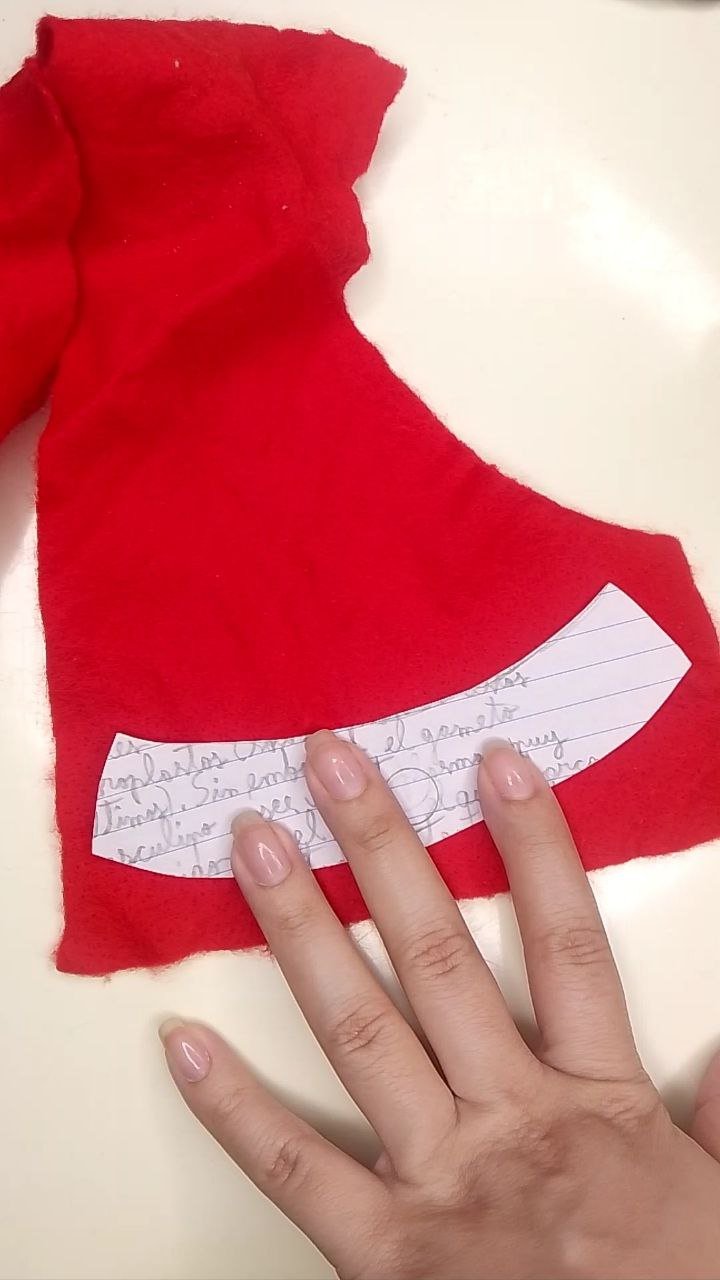
Bufanda / Scarf
With the support of the necessary pins, we fix all the main pieces in order to glue everything in place without fear of mistakes. We must not forget to leave a space of about 3 centimeters without sealing to be able to fill the doll later.
Versión Español
Con apoyo de los alfileres que sean necesarios, fijamos todas las piezas principales para así ir pegando todo en su lugar sin temor a equivocaciones. No debemos olvidar dejar un espacio de unos 3 centímetros sin sellar para poder rellenar el muñeco luego.
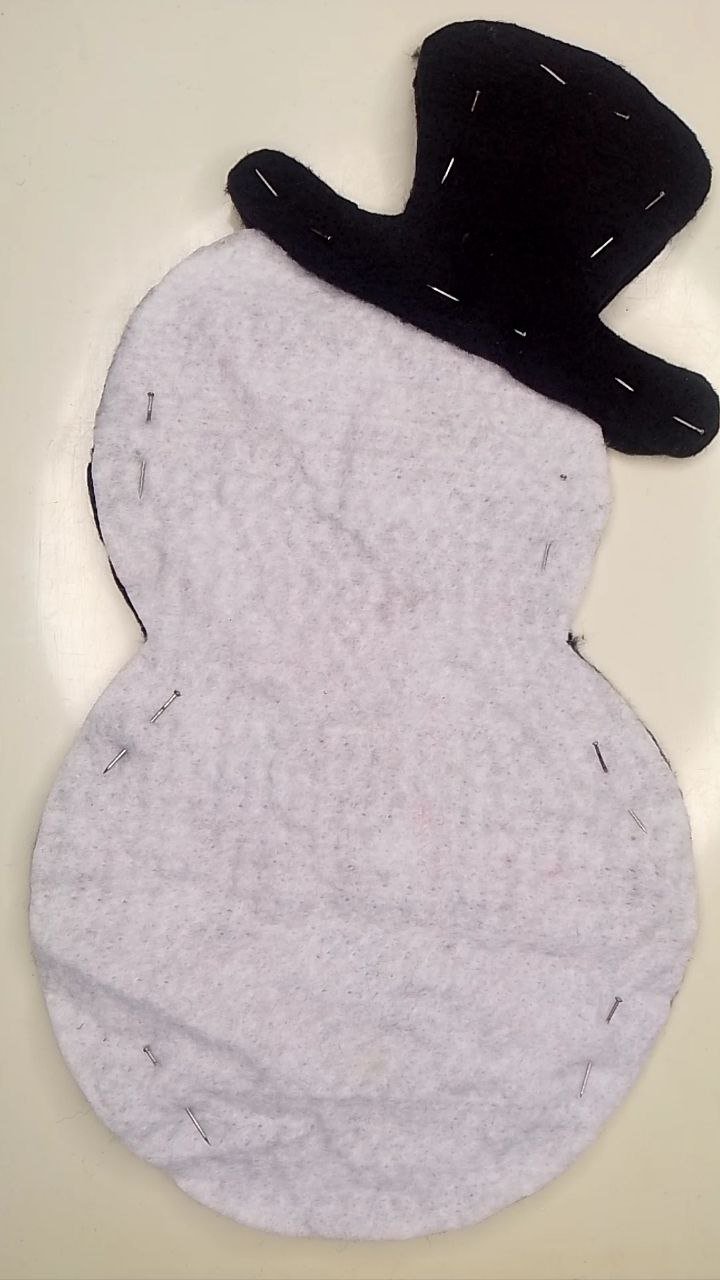
Piezas principales fijadas / Main parts fastened
Now we glue the scarf, the hat band, the eyes and the buttons.
Versión Español
Ahora pegamos la bufanda, la cinta del sombrero, los ojos y los botones.
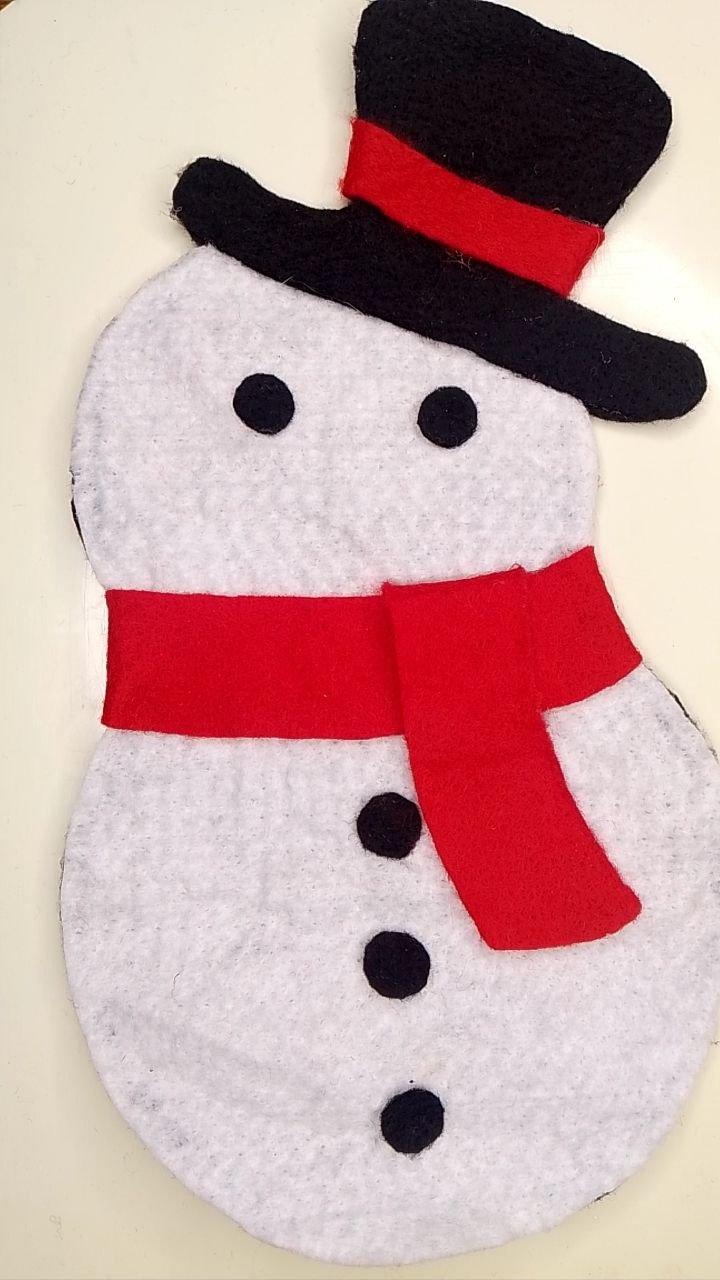
Pegando los detalles / Gluing the details
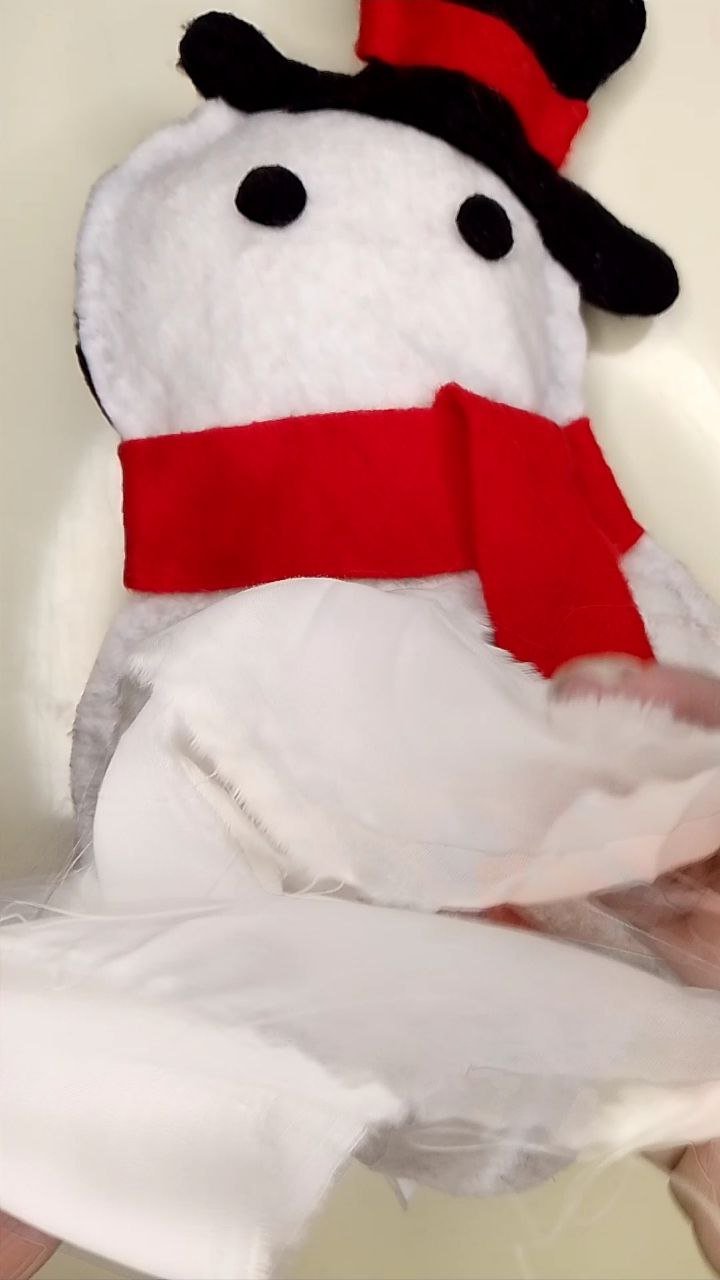
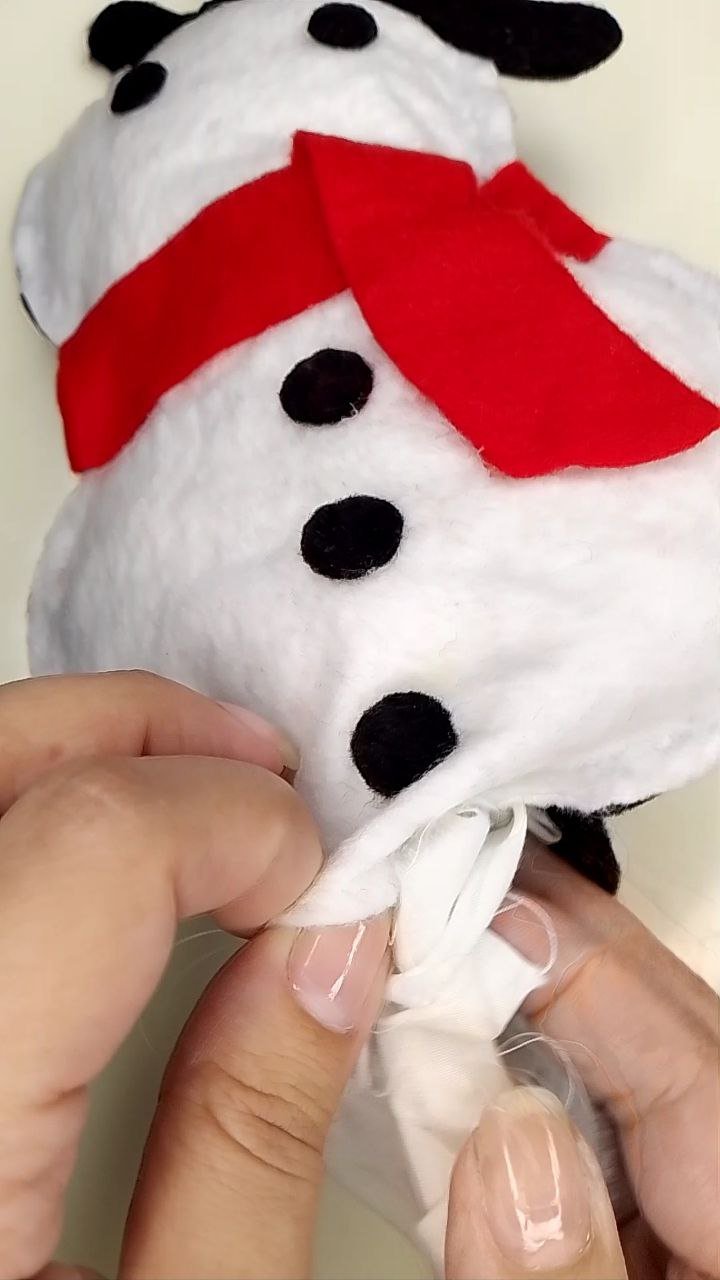
Now it's time to stuff (Yessssssss!), so we will have a very fluffy snowman. I used an old fabric that I tore into strips. When finished, we seal the hole.
Versión Español
Es momento de rellenar (¡Siiiiiiii!), así tendremos un muñeco de nieve muy esponjosito. Yo usé una tela vieja que fui rasgando en tiras. Al finalizar, sellamos el agujero.
 |  |
|---|
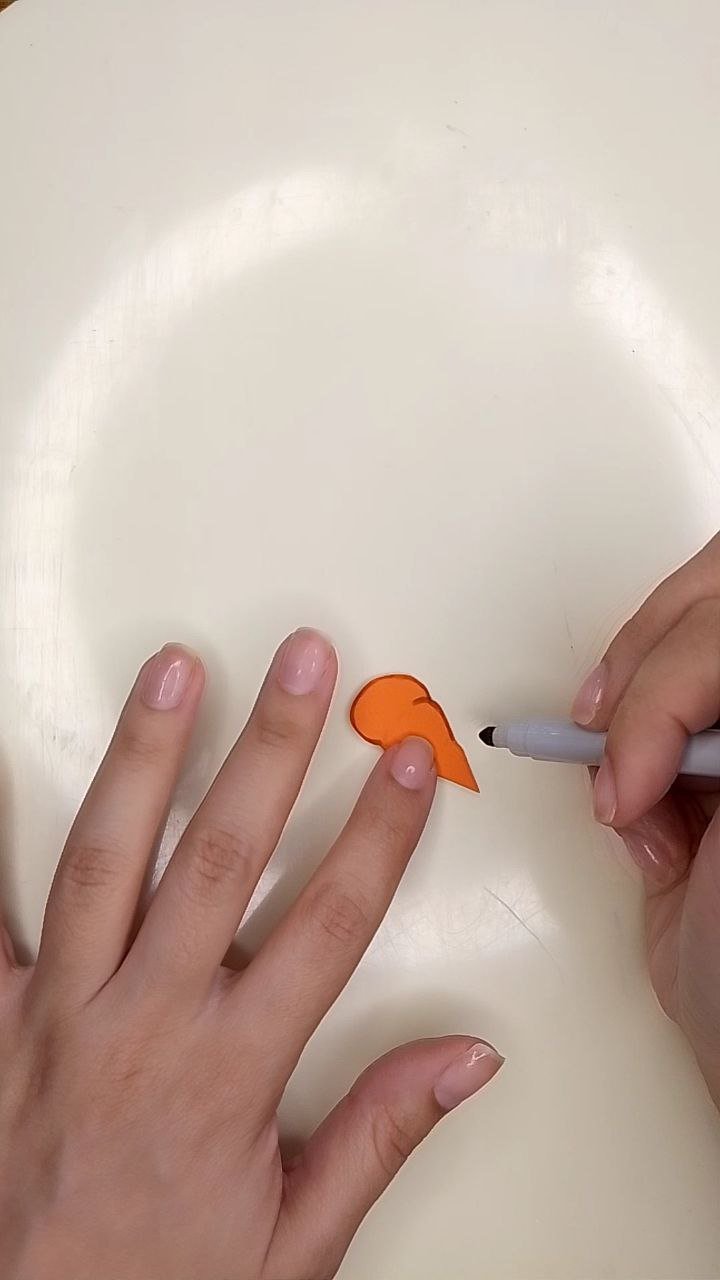
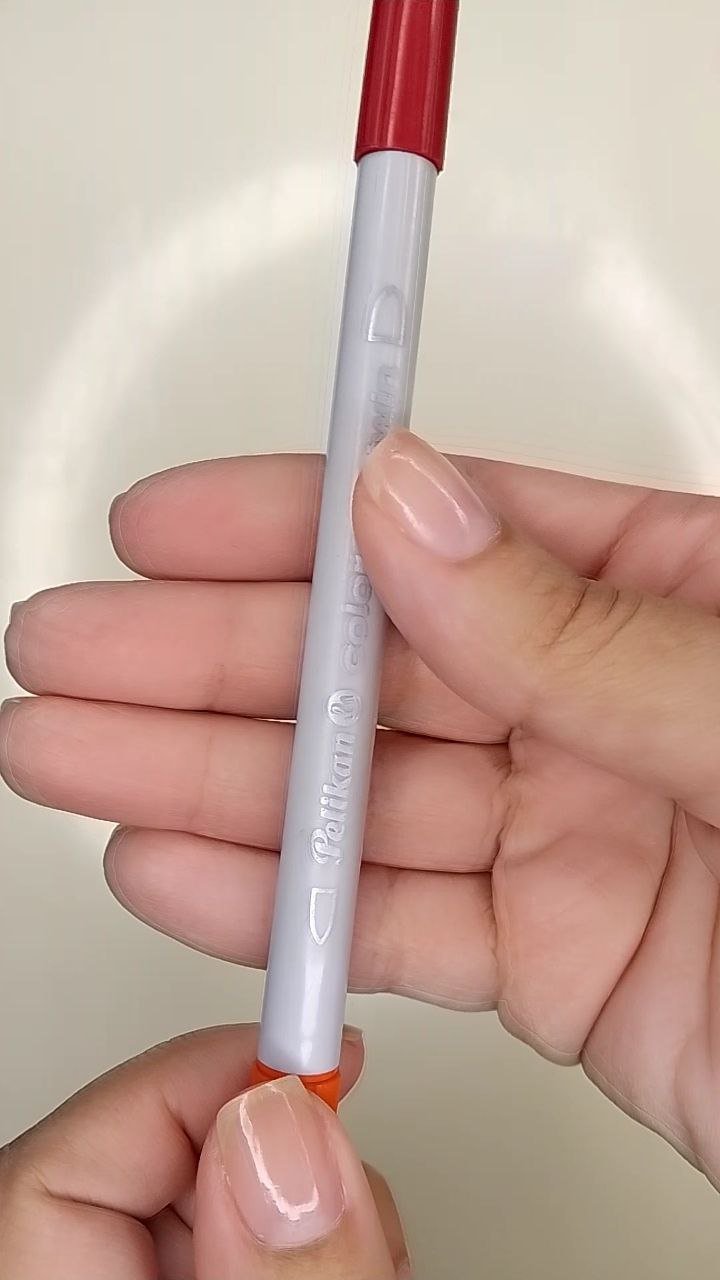
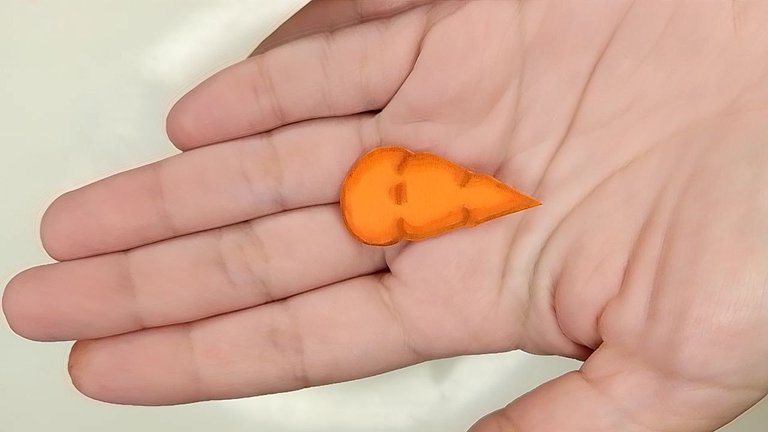
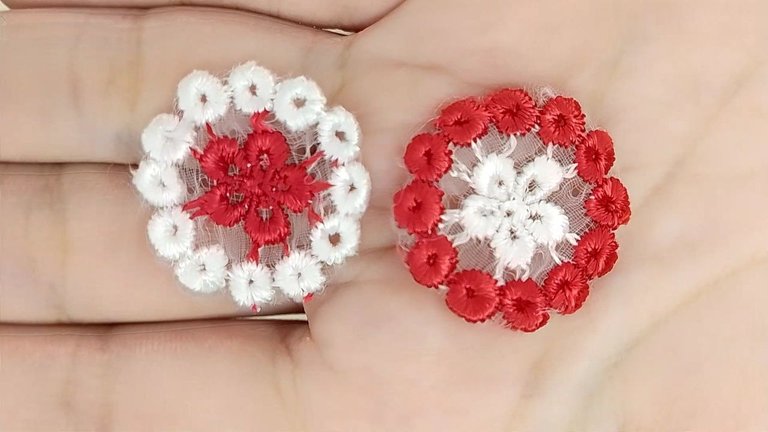
Of course, every snowman needs a nose, so we will cut one out of orange foami, draw its details on it with a light brown marker and with an orange marker we will make the shadows to give it depth. We will also add some decorations for the scarf and the hat.
Versión Español
Por supuesto, todo muñeco de nieve necesita una nariz, así que recortaremos una en foami naranja, a la misma, le dibujaremos sus detalles con un marcador marrón claro y con uno naranja le haremos las sombras para que tenga profundidad. También añadiremos algunas decoraciones para la bufanda y el sombrero.
 |  |  |  |
|---|
And that's how our little friend is looking so far, isn't he looking very flirtatious (laughs).
Versión Español
Y así va quedando nuestro amiguito hasta el momento ¿verdad que se va viendo muy coqueto? (risas).
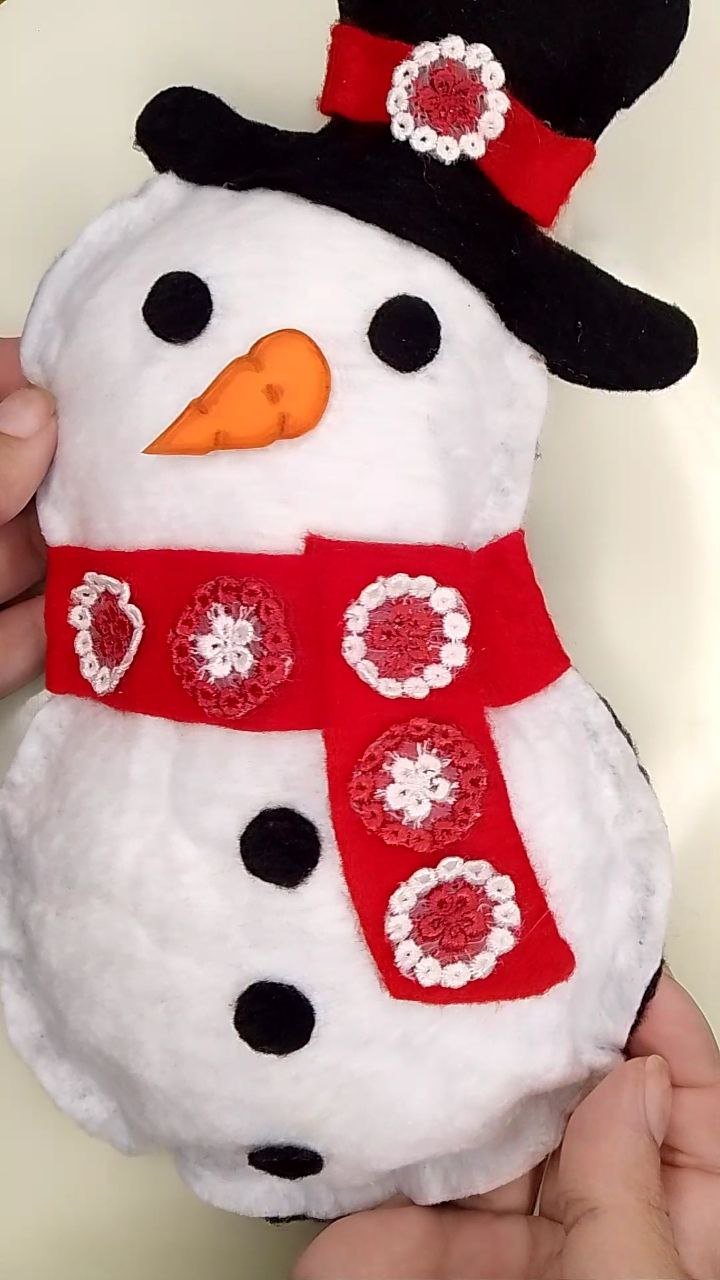
Así va hasta ahora / So far so good
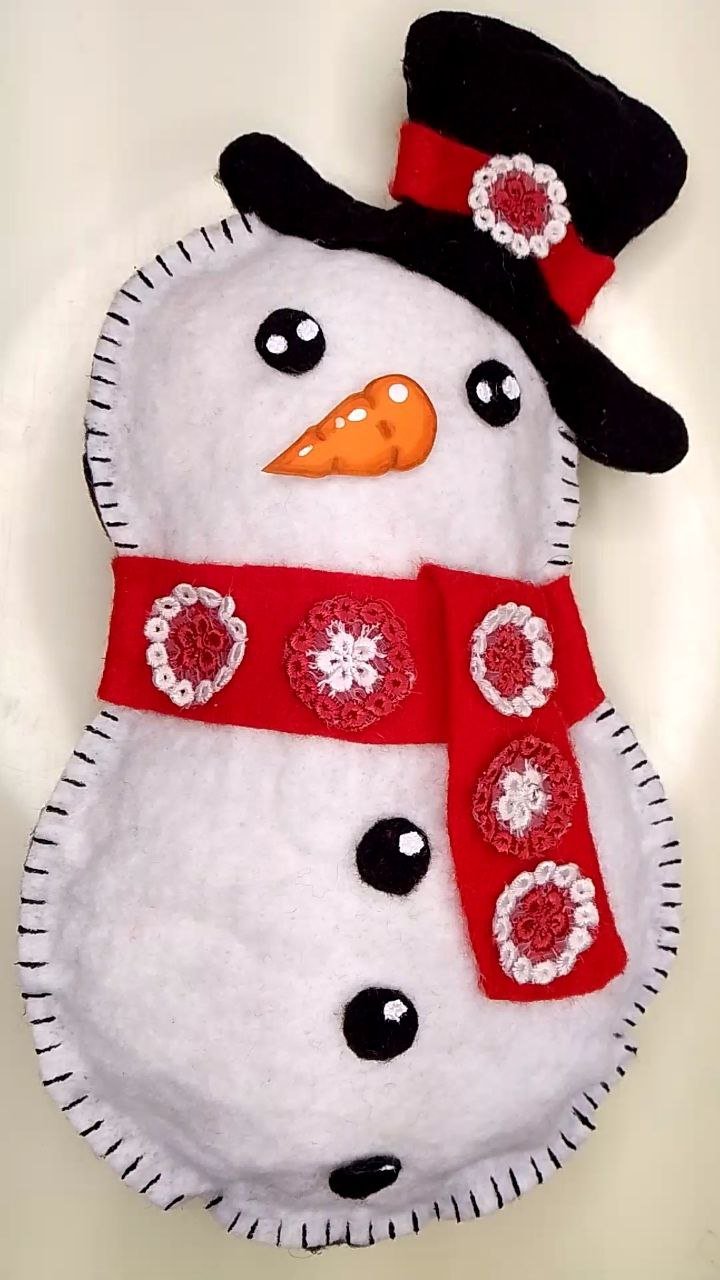
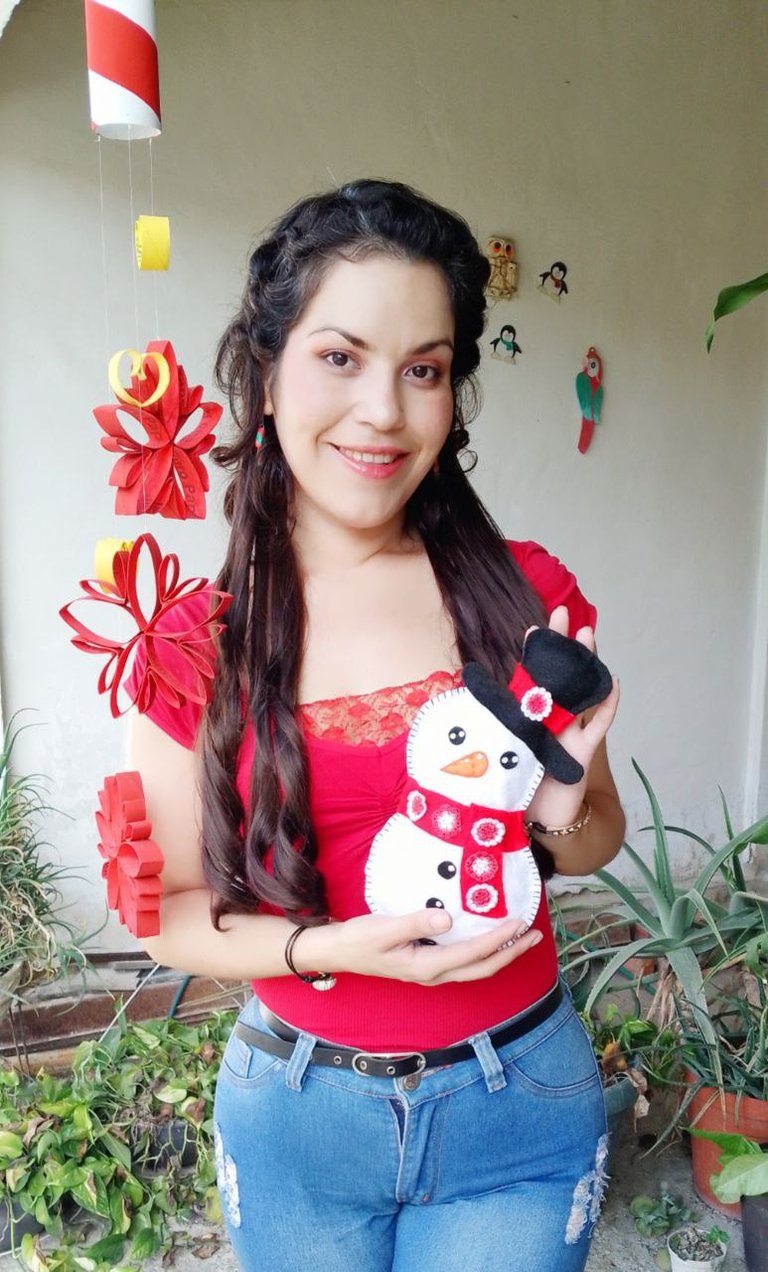
Just like when I do my drawings, in this type of crafts I add the “magic white”, if you don't know what I mean, I call those touches of white that I add in the final stage of creation and fill everything with life and dynamism, here you can see the difference that some drops of white make and a little picture of me carrying my snowman because I got excited with how beautiful it looks (laughs). I also made very thin stripes all around the white perimeter that simulate seams because I think that detail looks charming.
Versión Español
Al igual que cuando hago mis dibujos, en este tipo de manualidades agrego el “blanco mágico”, si no sabes a lo que me refiero, te cuento que así llamo a esos toques de blanco que agrego en la etapa final de la creación y llenan todo de vida y dinamismo, aquí puedes ver la diferencia que hacen algunas gotas de blanco y una fotito de mí cargando mi muñeco de nieve porque me emocioné con lo bonito que se ve (risas). También le hice rayitas muy finas en todo el perímetro blanco que simulan costuras porque me parece que ese detalle se ve encantador.
 |  |
|---|
Finally, I realized I hadn't put any blush on it, so I ran to get mine and put some on, now it's a cute, flirty, fluffy snowman with its little pink cheeks (laughs).
Versión Español
Finalmente, me di cuenta que no le había colocado rubor, así que fui corriendo por el mío y le puse un poco, ahora es un muñeco de nieve bonito, coqueto y esponjoso con sus mejillitas rosadas (risas).
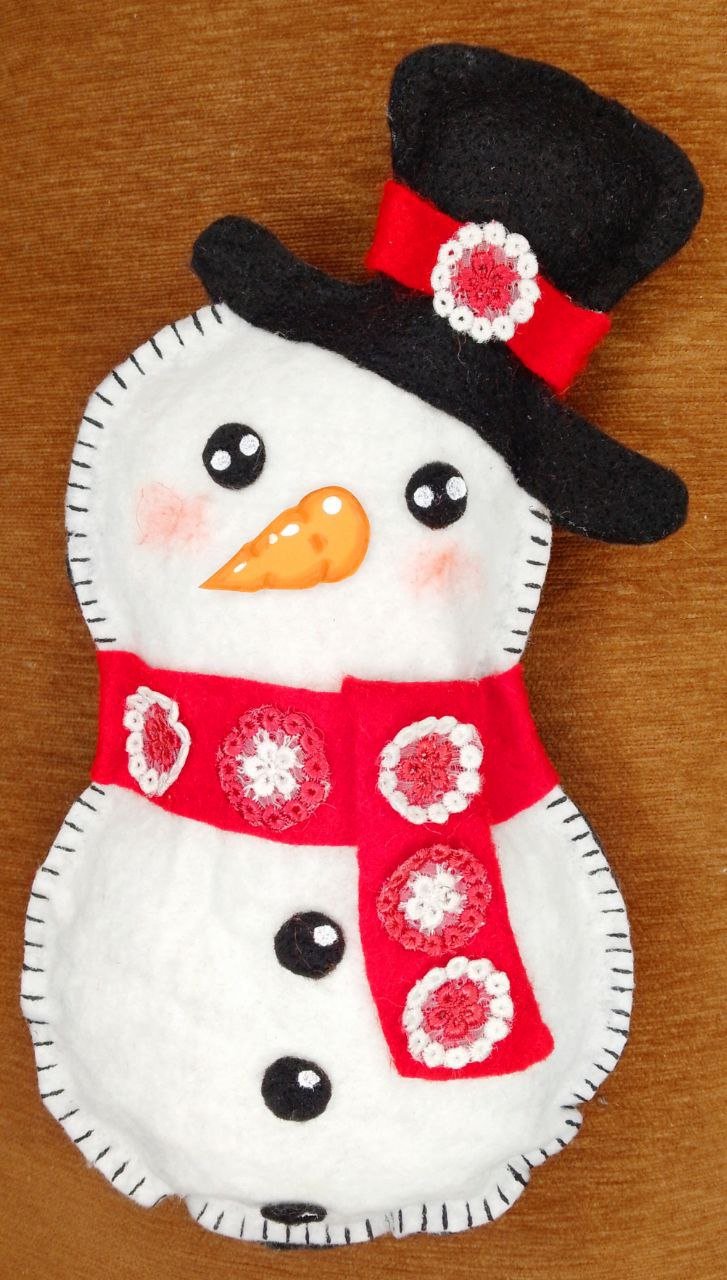
Con rubor / With blush
Some final comments:
I couldn't leave without telling you something extra (laughs). When I was a child (5 years old), Christmas was approaching and in the classroom we were given slips of paper with the character we were supposed to be in the living nativity scene, guess what I got... A sheep! (laughs), nobody wanted to be a sheep, but I was still happy to participate, the fact is that my mom sewed my costume herself, you may ask “and why are you telling me this?”, well, the felt my mom used for that costume is the one you saw in this craft, incredible isn't it? But that's not all, the appliqués are from a dress my grandmother made for me when I was a baby. Attached are the proofs of the sheep.
Versión Español
Algunos comentarios finales:
No podía irme sin contarles algo extra (risas). Cuando era niña (5 años de edad), se acercaba la navidad y en el salón nos repartieron papelitos con el personaje que nos correspondía ser en el pesebre viviente, adivinen qué me tocó a mí… ¡Una ovejita! (risas), nadie quería ser oveja, pero yo igual fui feliz con participar, el hecho es que mi mamá me cosió ella misma mi disfraz, ustedes se preguntarán “¿y para qué me cuentas esto?”, bueno, el fieltro que usó mi mamá para ese disfraz es el que vieron en esta manualidad ¿increíble no? Pero eso no es todo, los apliques son de un vestido que me hizo mi abuela cuando yo era una bebé. Adjunto pruebas de la ovejita.
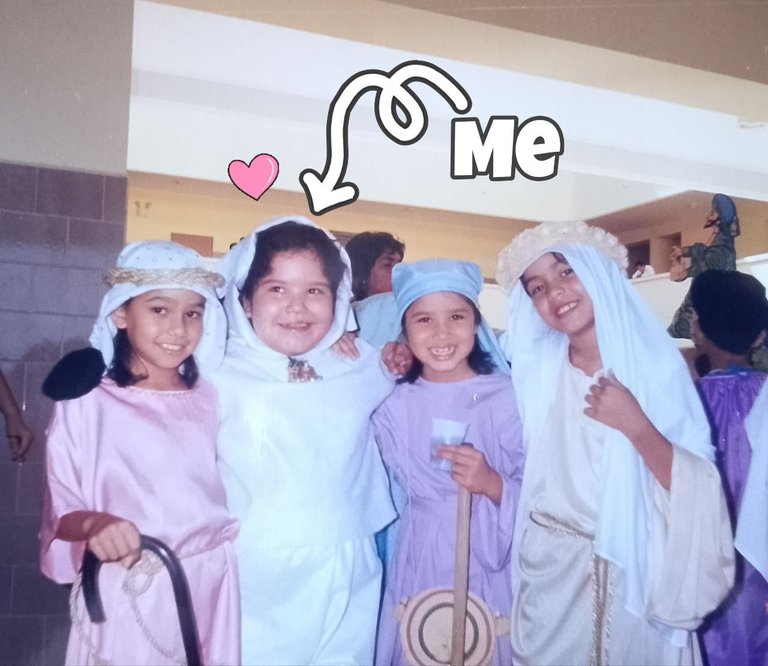
A que soy la cosita más linda que verás hoy / I bet I'm the cutest little thing you'll see today
I can conclude two things from this story, the first one would be, what a great quality of these fabrics and appliqués, it is impressive that they “survived” all this time and the second one, the gift of crafts and sewing has always been in our family DNA (laughs).
I hope you enjoyed this craft as much as I did, Christmas is coming and with it my birthday (12/24), so don't miss any of my next crafts, I will be quite active with it because I am very excited about Christmas/birthdays (laughs).
Versión Español
Puedo concluir dos cosas de esta historia, la primera sería, que buena calidad la de estas telas y apliques, es impresionante que “sobrevivieran” todo este tiempo y la segunda, el don de las manualidades y la costura ha estado siempre en nuestro ADN familiar (risas).
Espero que hayan disfrutado de esta manualidad tanto como yo, se acerca navidad y con ello mi cumpleaños (24/12), así que no se pierdan ninguna de mis siguientes manualidades, estaré bastante activa con ello porque me emociona mucho la navidad/cumpleaños (risas).
Want to see more Christmas crafts?
¿Quieres ver más manualidades navideñas?
Christmas decorative mobile (eng/esp)
Christmas reindeer headband (esp/eng)
¡Muchas gracias por leerme!
Thank you so much for reading me!
Own photographs, taken with my Tecno Spark 10C.
Translated to English with DeepL.
Versión Español
Fotografías propias, tomadas con mi Tecno Spark 10C.
Traducido al inglés con DeepL.

Te quedó super lindo, de verdad se ve muy tierno 😍 y el tamaño que tiene también me gusta mucho porque se me ocurre que se puede colocar en el sofá de la sala complementando los cojines
Me contenta mucho que te gustara ☺️ gracias por tu comentario✨ y sí, de hecho lo tengo decorando uno de mis muebles en este momento💖
Qué tierno! Me encanta como te quedó el sombrero, se ve súper suave y lindo. 💙✨🌻
Muchas gracias Cele✨✨ de verdad que quedó muy esponjoso💖 saludos☺️
Your snowman is so cute and it looks more than ready for the Christmas celebration, great job friend and keep up the great work.
Thank you so much for your support💖 I'm so glad you liked it 🤗.
Your work was lovely, this snowman looks very cute, thanks for sharing the step by step.
Thank you so much ☺️ I am glad you liked this idea✨
Great, I loved it.
Te quedó bien bonito me gusta la nariz y también la foto en que estás de pequeña
Muchas gracias✨ a mí también me gustó la nariz 🥕 y la foto es un bonito recuerdo☺️