¡Hola querida comunidad! Ya empezó el nuevo concurso del mes y es por supuesto del día de San Valentín, estoy inspirada creando cositas lindas y tiernas que combinen con la festividad, ya que participaré en un bazar con esta temática, es por ello que, hice un hermoso colgante de osito de peluche que se puede utilizar como decoración de distintos elementos, como por ejemplo en el llavero o el bolso y con él, quiero comenzar mi participación en esta iniciativa. Elegí un osito porque es un elemento muy representativo para expresar amor, un peluche siempre es un bonito obsequio. Sigue leyendo para que aprendas a hacer un peluchito de una manera muy rápida y sencilla, con un resultado súper bonito y delicado.
Hello dear community! The new contest of the month has started and it is of course Valentine's Day, I am inspired to create cute and tender things that combine with the holiday, as I will participate in a bazaar with this theme, that is why, I made a beautiful teddy bear pendant that can be used as decoration of different elements, such as the keychain or purse and with it, I want to start my participation in this initiative. I chose a teddy bear because it is a very representative element to express love, a teddy bear is always a nice gift. Read on to learn how to make a teddy bear in a very quick and easy way, with a super cute and delicate result.
Imagen creada por mí en Canva / Image created by me in Canva
Materiales:
- Tela de peluche
- Hilo de coser
- Aguja
- Cinta de raso
- Relleno
- Tijeras
- Silicón caliente
- Cordón cola ratón
- Lápiz
Procedimiento:
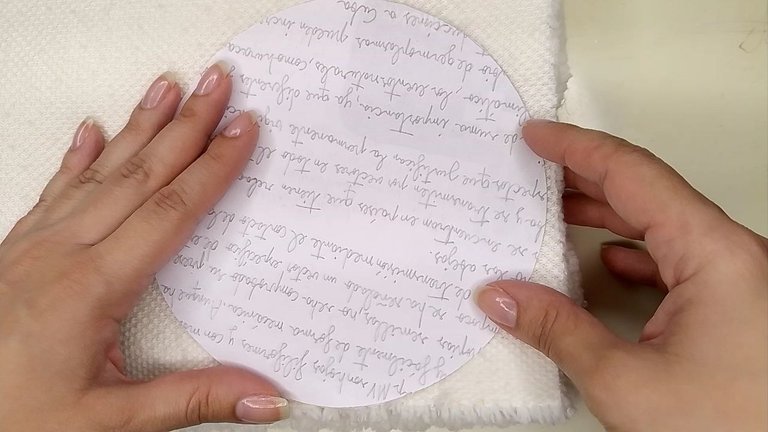
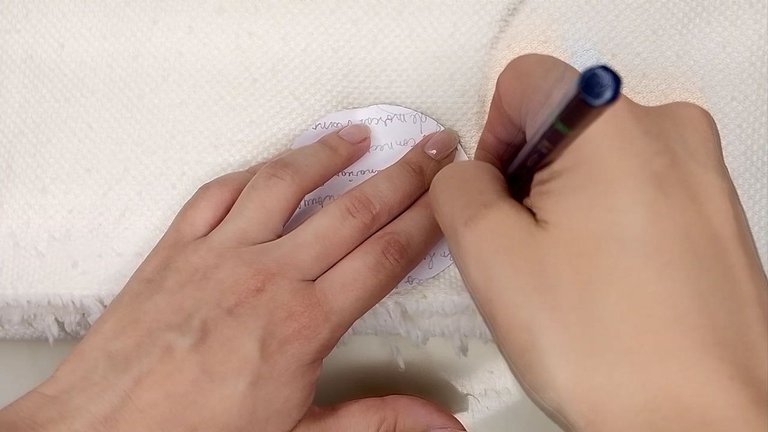
Iniciamos creando un patrón circular. Necesitaremos dos círculos, uno grande y otro más pequeño, con el círculo más grande trazaremos una sola pieza en la tela y con el círculo más pequeño dos piezas, pues estos corresponden a la cabecita y las orejitas del oso respectivamente.
Materials:
- Plush fabric
- Sewing thread
- Needle
- Satin ribbon
- Stuffing
- Scissors
- Hot glue
- Mouse glue string
- Pencil
Procedure:
We start by creating a circular pattern. We will need two circles, one large and one smaller, with the larger circle we will trace a single piece on the fabric and with the smaller circle two pieces, as these correspond to the head and ears of the bear respectively.
 |  |  |
|---|
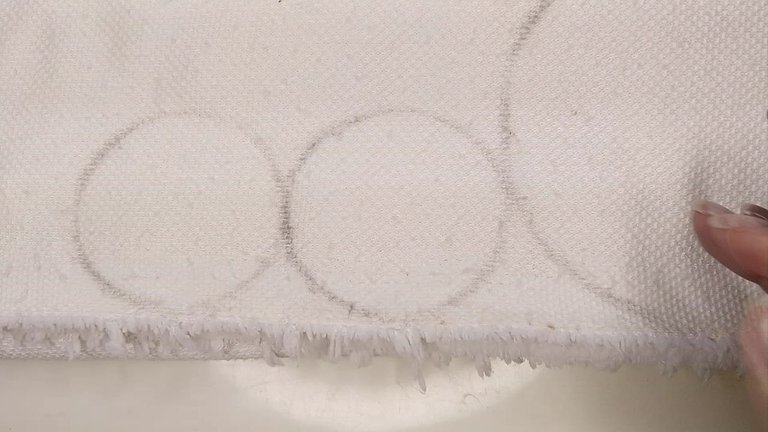
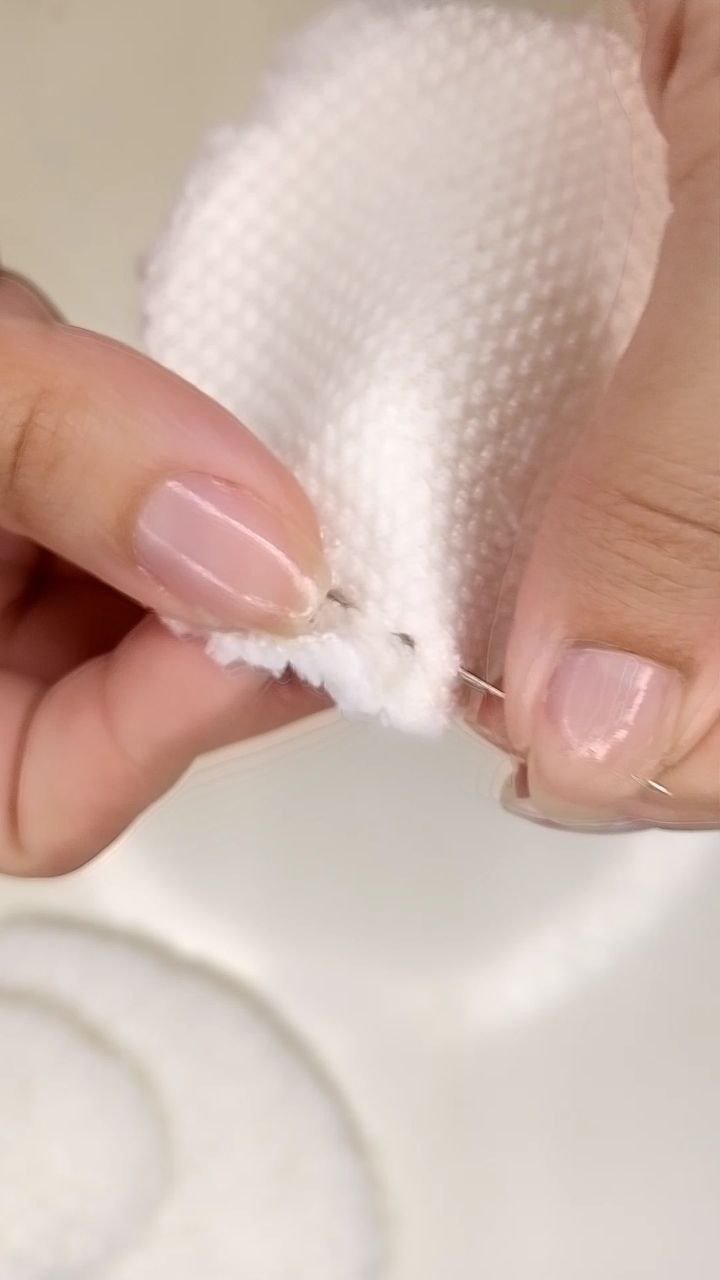
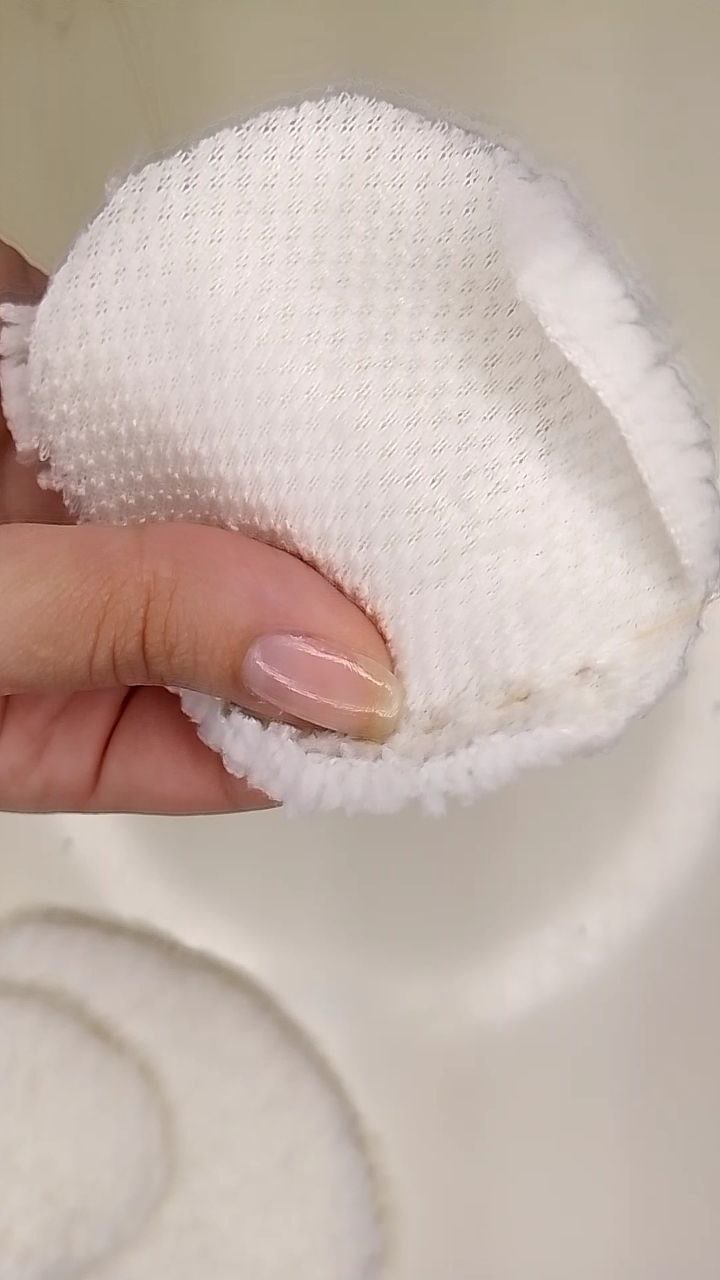
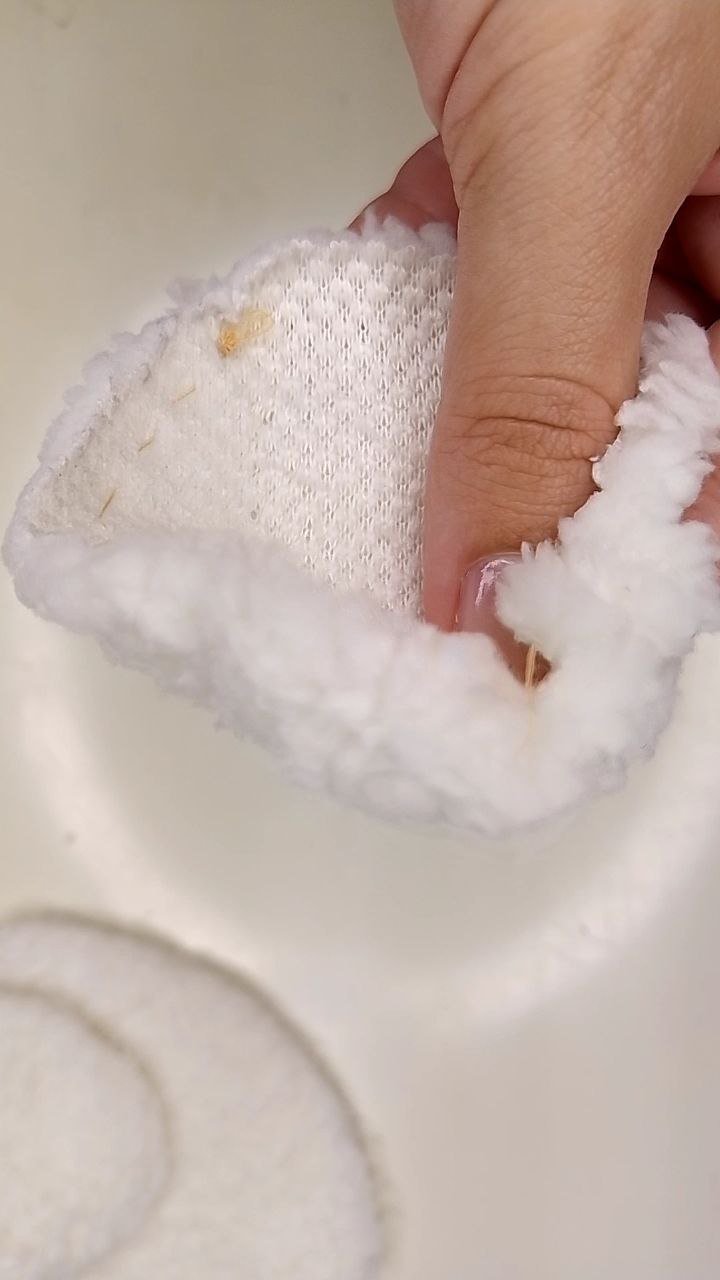
Recortamos cada uno de los círculos, tomamos uno de ellos y empezamos a hacer una costura sencilla por su borde. Lo ideal es que el hilo sea del mismo color que la tela, yo lo he hecho con un hilo de color marrón claro para que pueda notarse mejor en las imágenes de este tutorial, sin embargo, ninguna de estas costuras se notará al final, pues quedan ocultas dentro de la tela de peluche.
We cut out each of the circles, take one of them and start making a simple seam along its edge. Ideally, the thread should be the same color as the fabric, I have done it with a light brown thread so that it can be better noticed in the images of this tutorial, however, none of these seams will be noticed at the end, because they are hidden inside the plush fabric.
 |  |  |
|---|
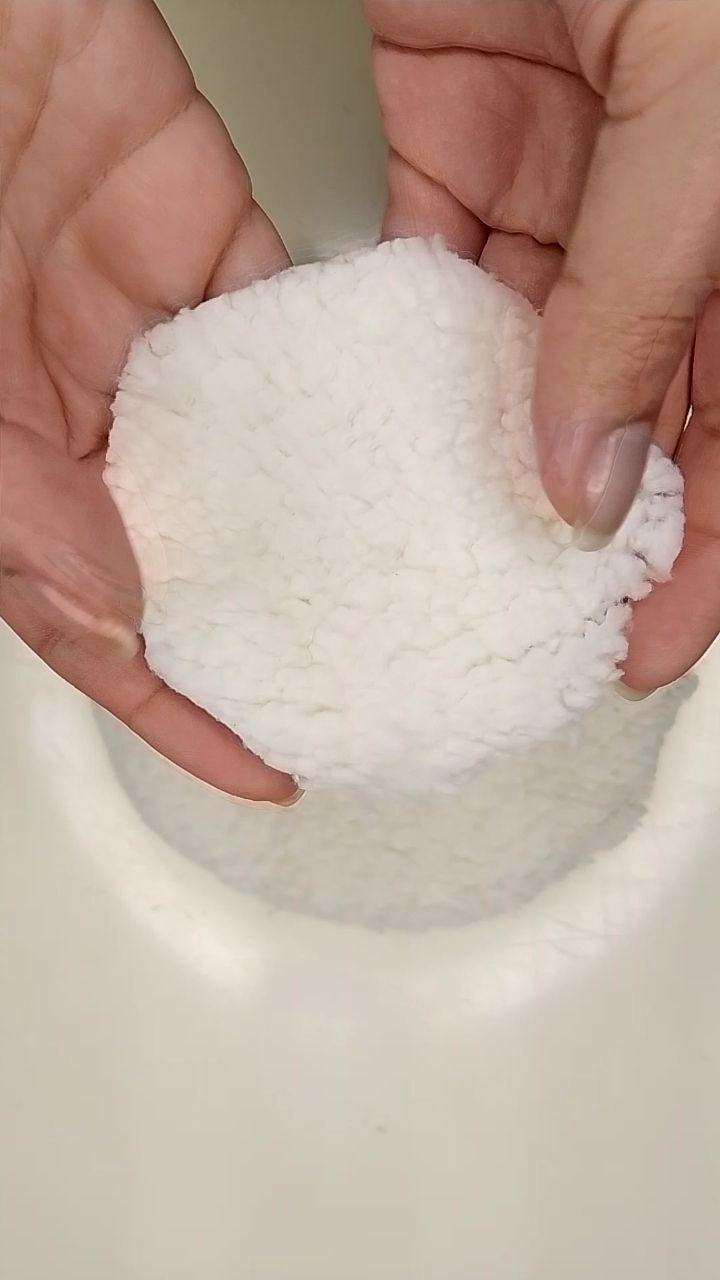
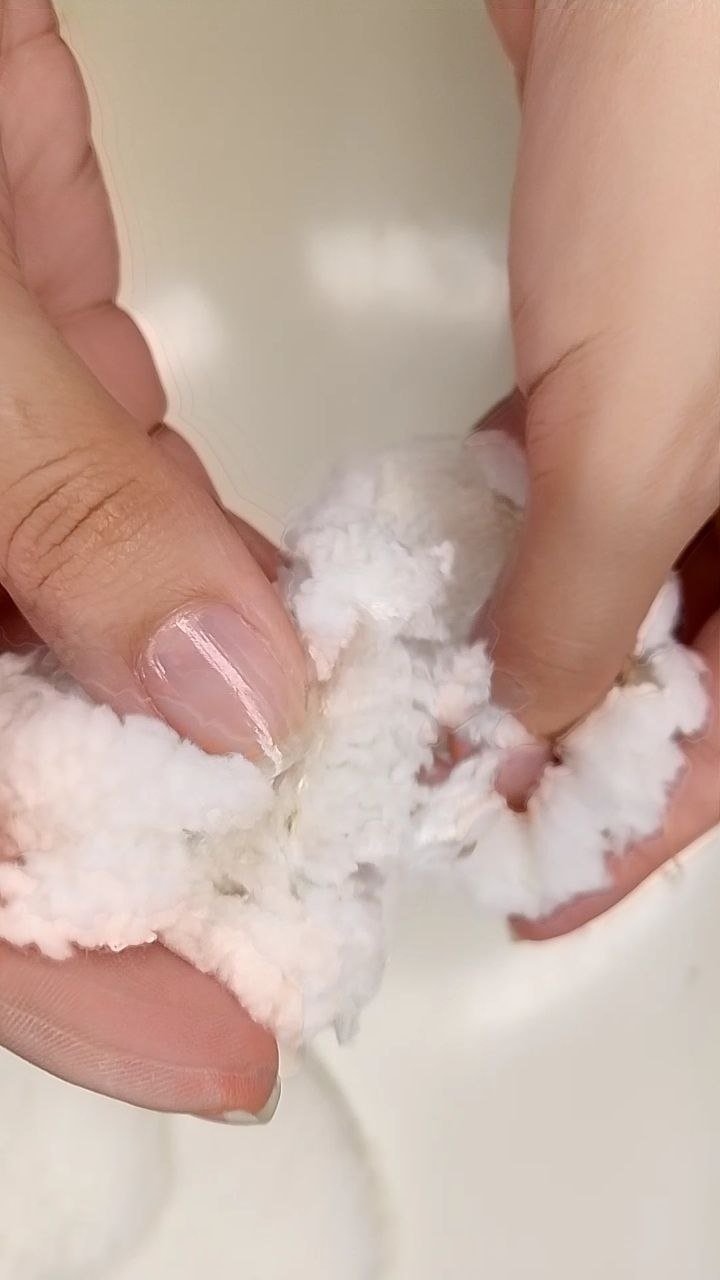
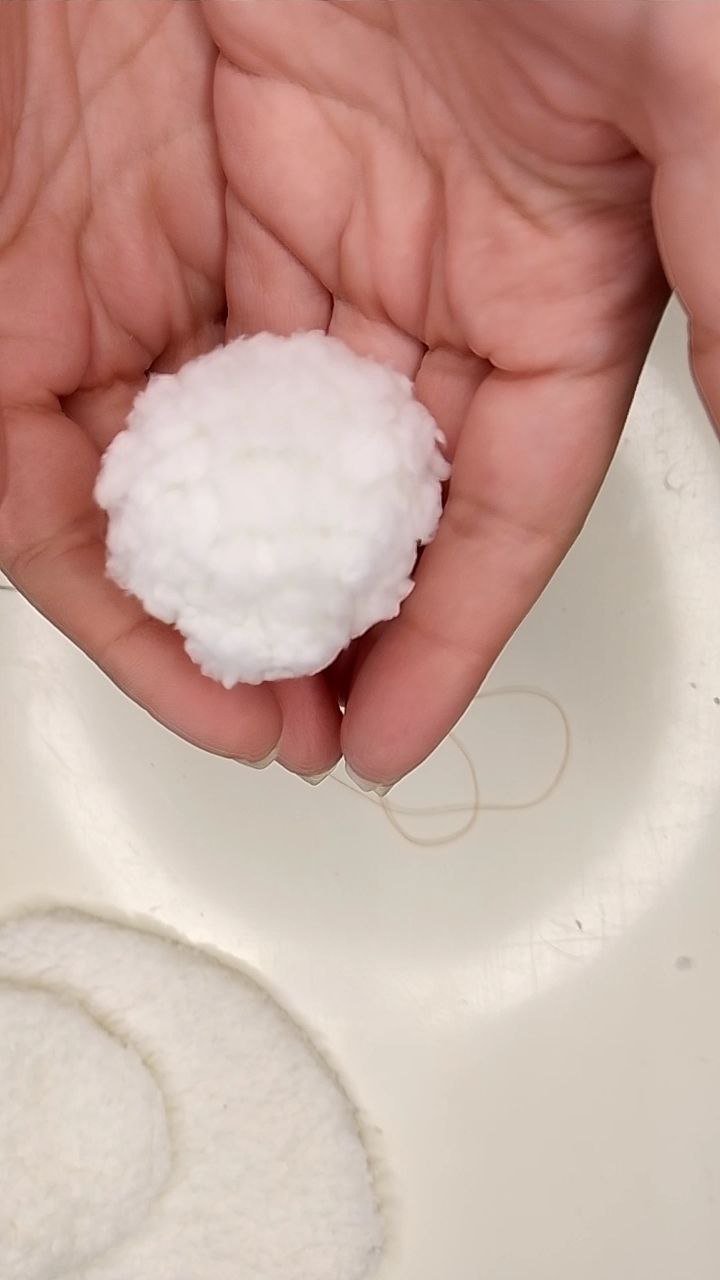
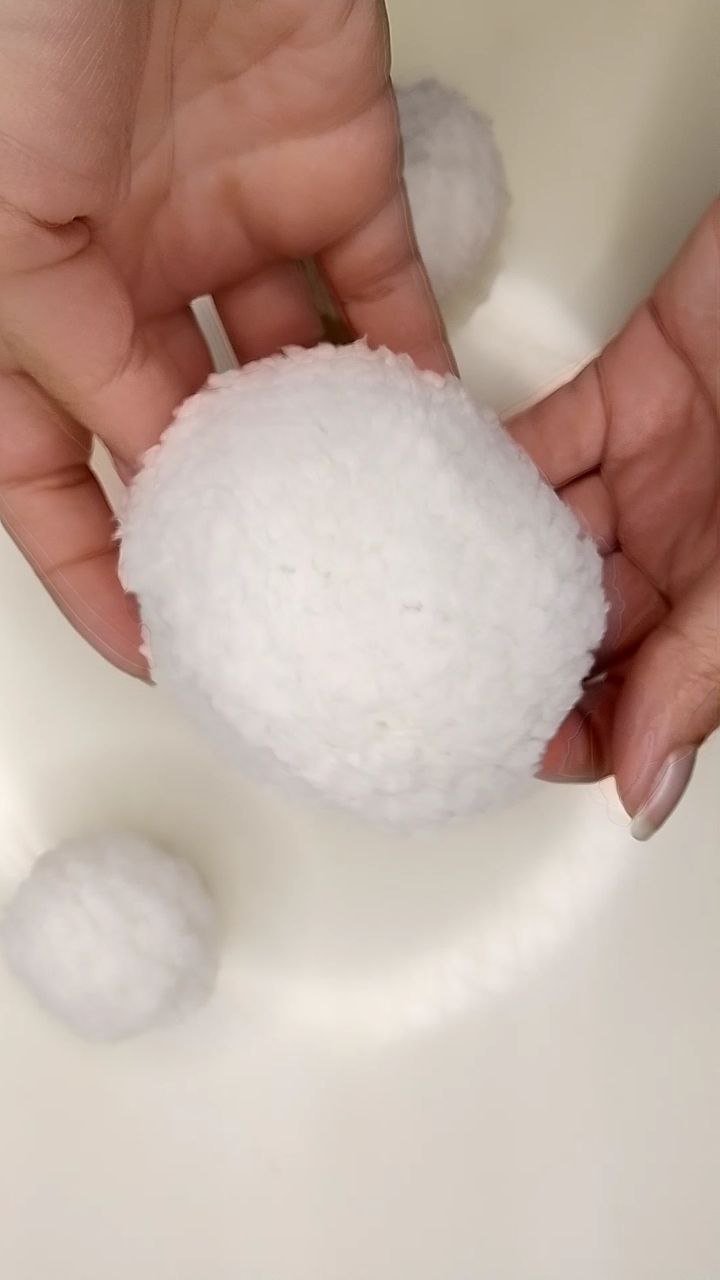
Una vez que ya la costura ocupa toda la circunferencia, tiraremos del hilo para ir cerrando la pieza pero cuando ya vaya tomando forma como de “bolsita” introduciremos un poco de relleno y allí sí, terminamos de tirar del hilo, hacemos algunas puntadas extras por más seguridad y finalizamos con un nudo. Este proceso lo haremos para las tres piezas.
Once the seam has been sewn around the entire circumference, we will pull the thread to close the piece, but when it takes the shape of a “little bag” we will introduce some stuffing and then we will finish pulling the thread, we will make some extra stitches for more security and we will finish with a knot. We will do this process for all three pieces.
 |  |
|---|
 |  |
|---|
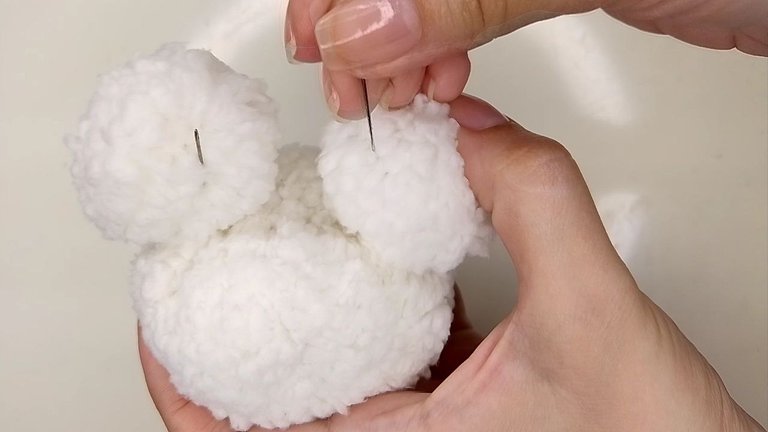
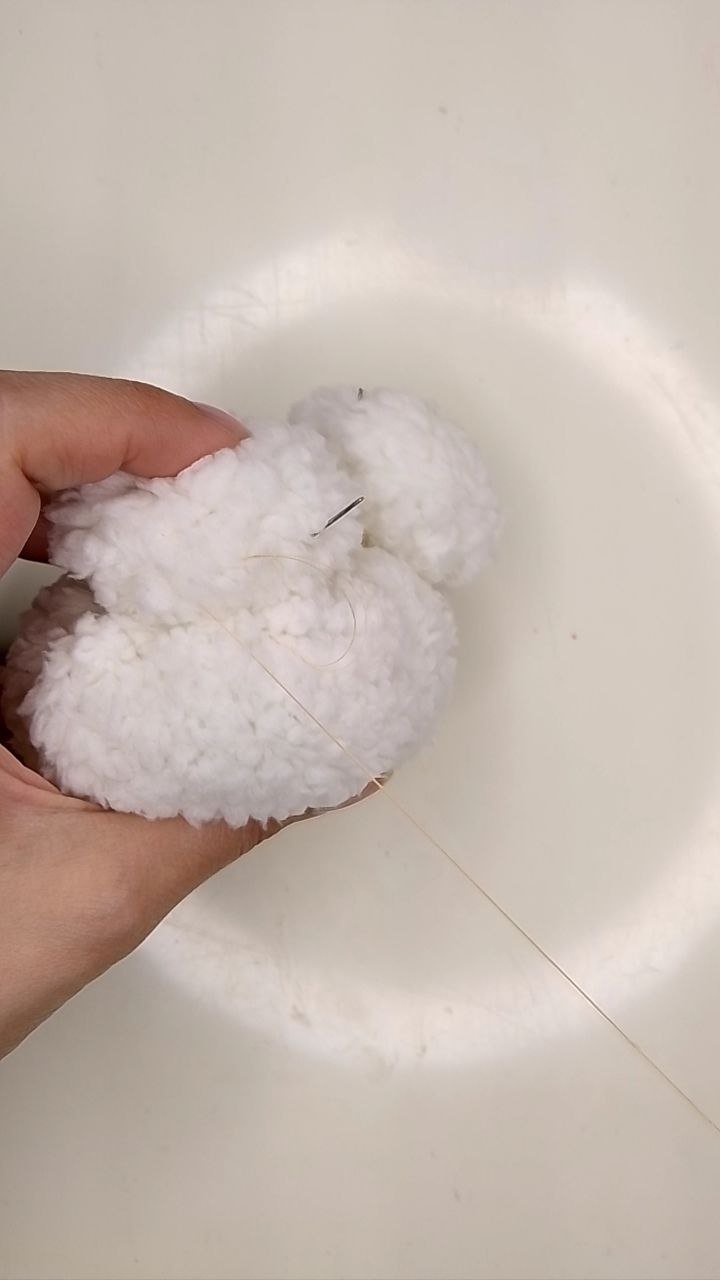
Es momento de ensamblar a este precioso osito * siempre me emociona mucho esta parte * así que posicionamos las orejitas en su lugar y las fijamos con un alfiler o aguja larga. Las orejas deben ir colocadas hacia el lado donde están las costuras. Para adherirlas definitivamente, podemos pegarlas con silicón caliente o podemos coserlas, yo he elegido la segunda opción porque siento que el resultado es más prolijo, pero esto es al gusto de cada quien. Finalizamos la costura de ambas orejas con un nudo y atravesamos el peluche con la aguja para que al cortar el hilo, su final quede dentro del mismo.
It's time to assemble this precious teddy bear I always get so excited about this part so we position the ears in place and attach them with a pin or long needle. The ears should be positioned towards the side where the seams are. To attach them definitively, we can glue them with hot silicone or we can sew them, I have chosen the second option because I feel that the result is neater, but this is to each person's taste. We finish the sewing of both ears with a knot and we go through the stuffed animal with the needle so that when we cut the thread, its end will be inside it.
 |  |
|---|
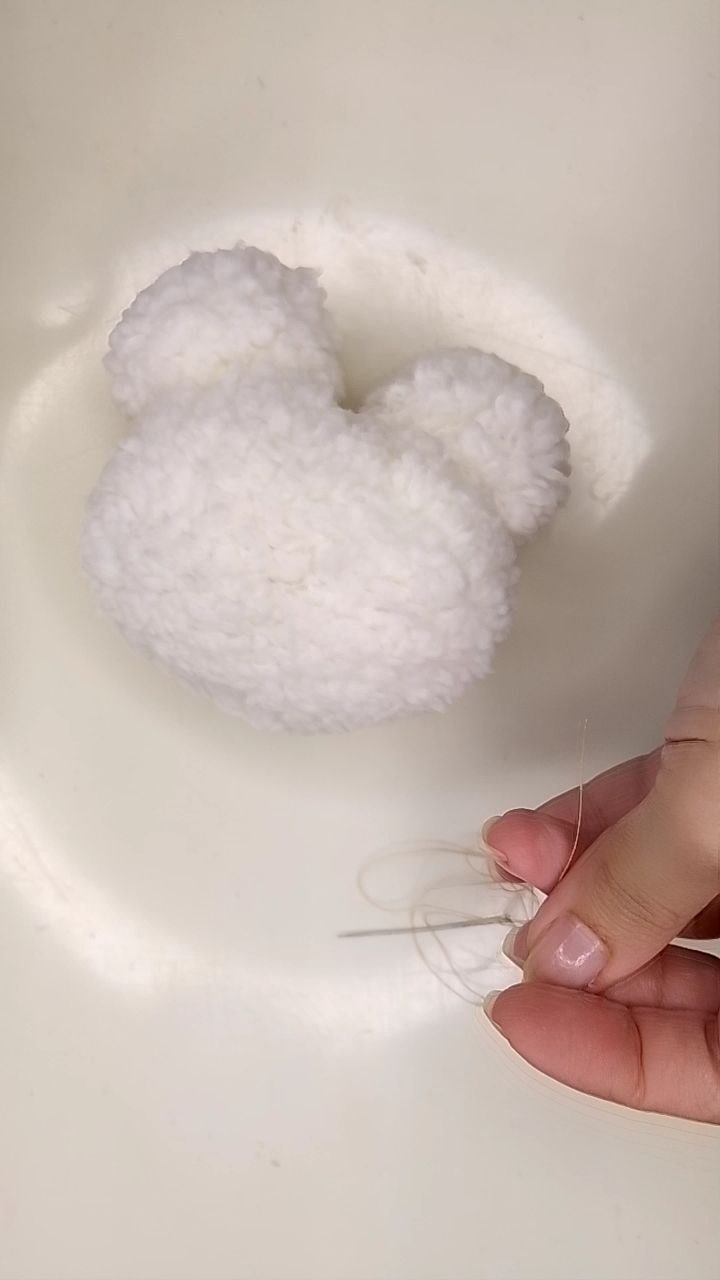
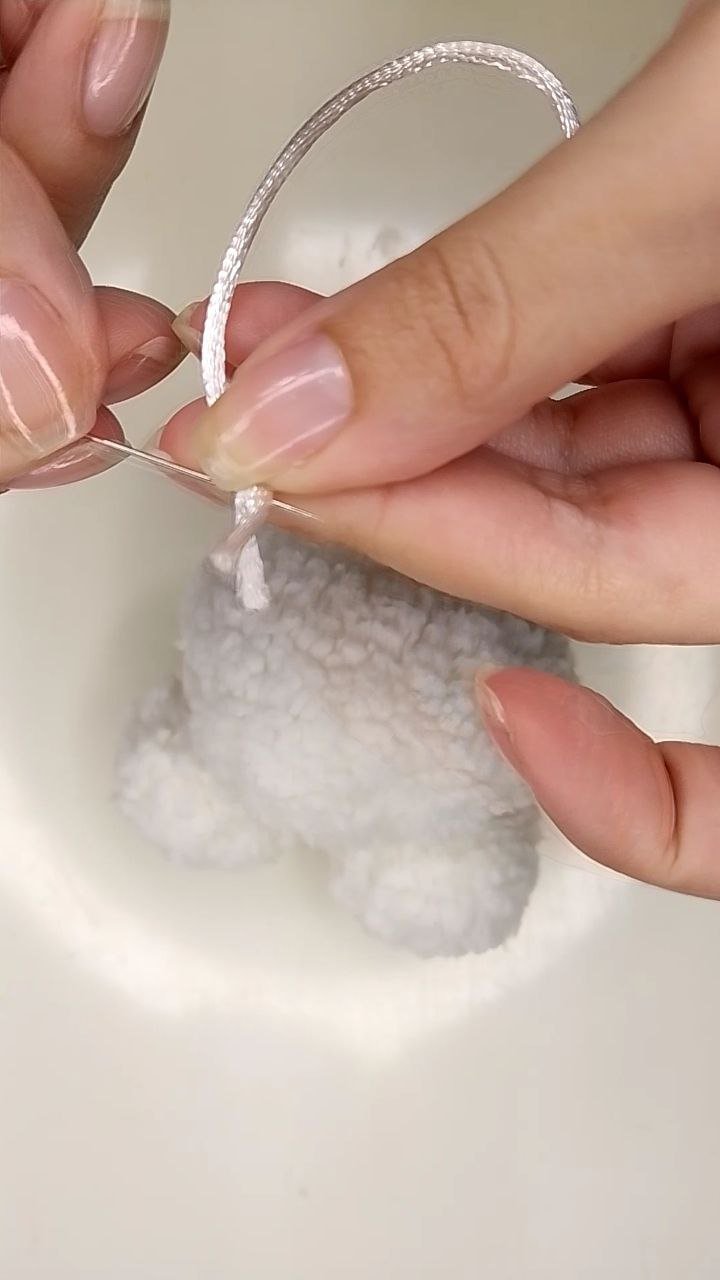
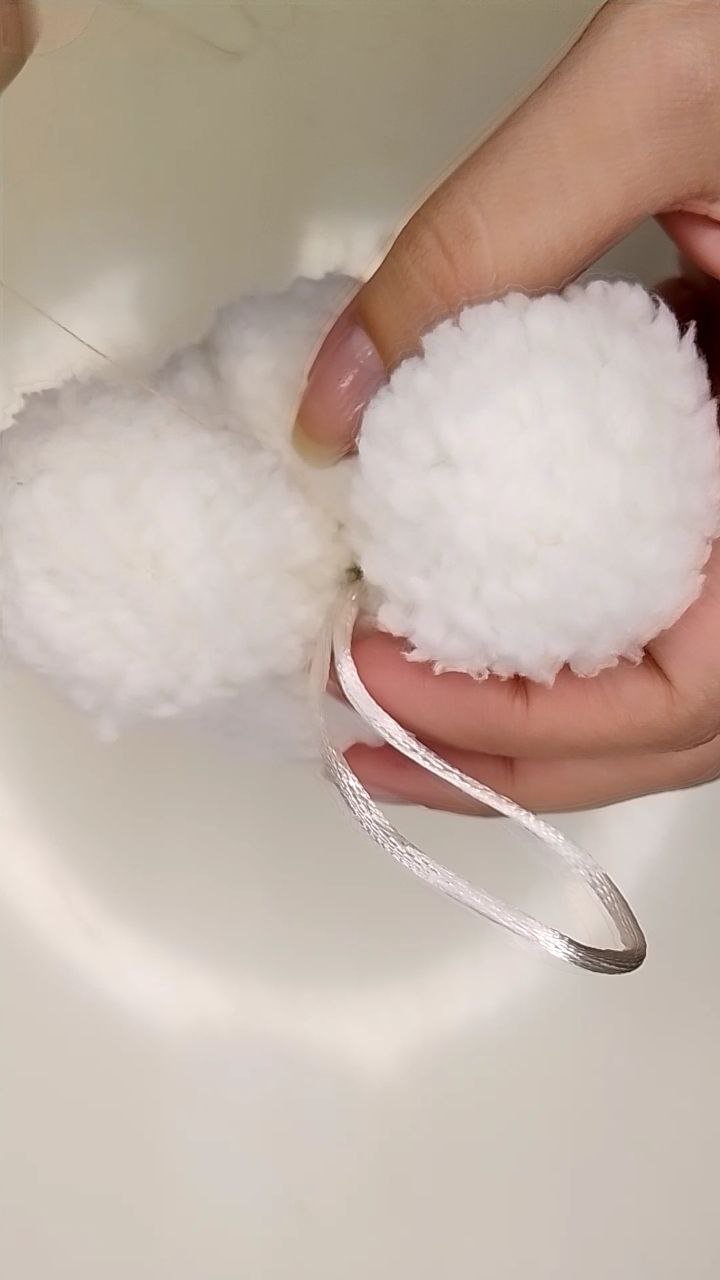
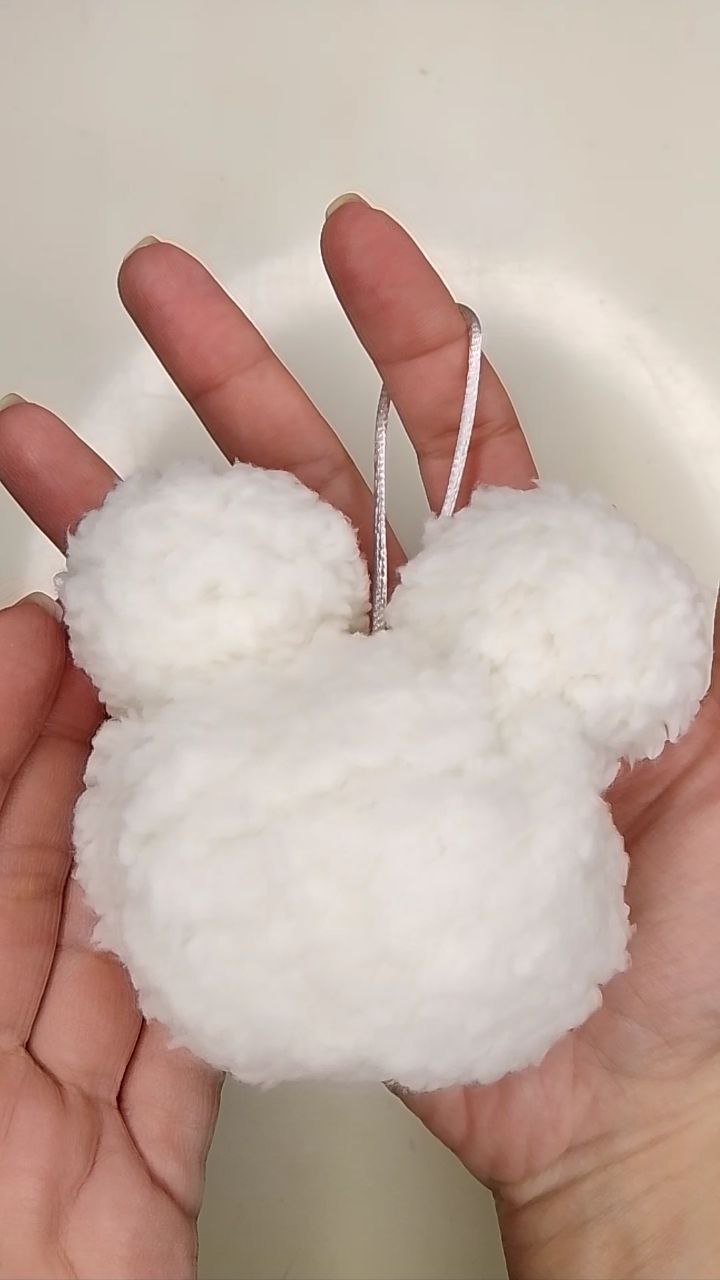
Es momento de agregar el cordón que convierte a este peluche en un colgante. Con hijo y aguja, cosemos primero los dos extremos del hilo formando un ojal, luego, estos extremos, los introducimos en donde se encuentra la costura de la esfera grande (por eso las orejas debían ir de este lado, para que fuera la parte superior), aseguramos muy bien cosiendo varias veces al peluche y finalizamos con un nudo como hemos hecho ya anteriormente.
Now it's time to add the cord that turns this stuffed animal into a pendant. With son and needle, we first sew the two ends of the thread forming an eyelet, then, these ends, we introduce them where the seam of the big sphere is (that's why the ears had to go on this side, so it would be the upper part), we secure very well sewing several times to the stuffed animal and we finish with a knot as we have already done previously.
 |  |  |
|---|
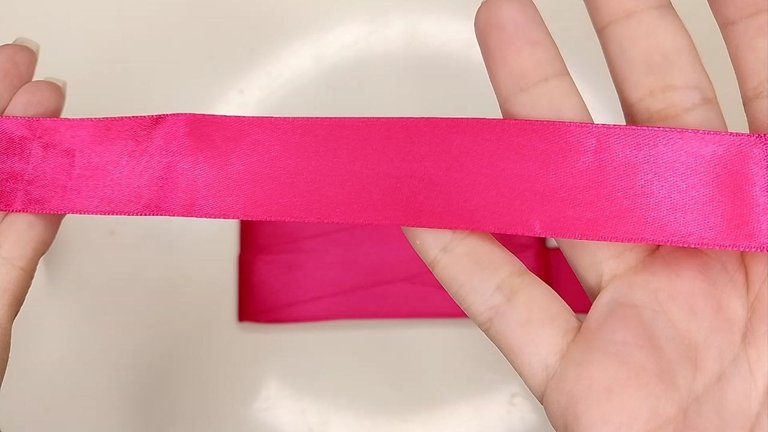
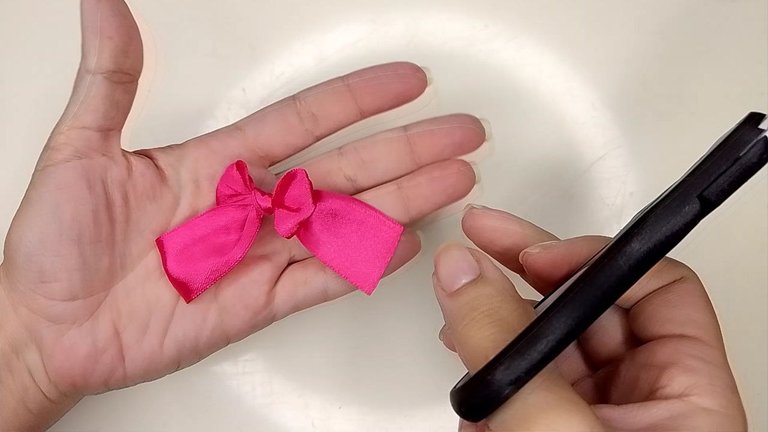
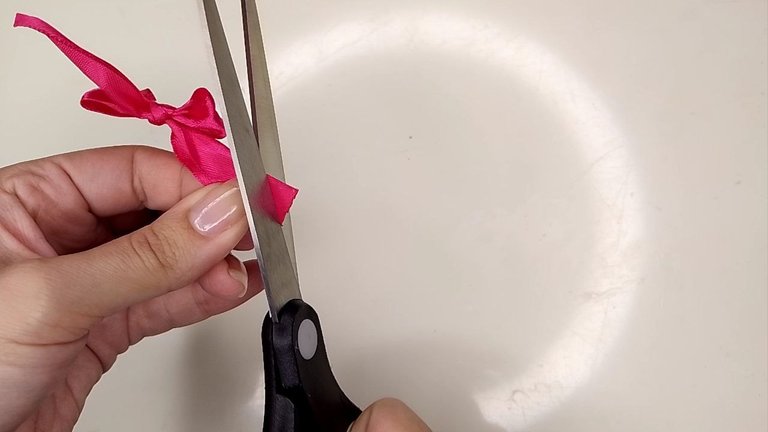
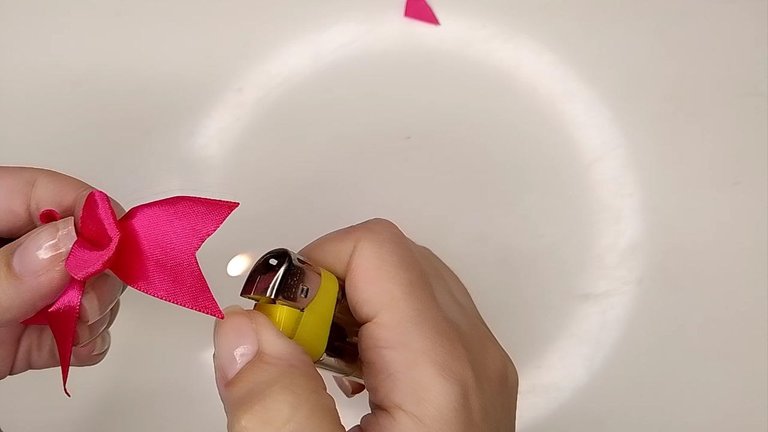
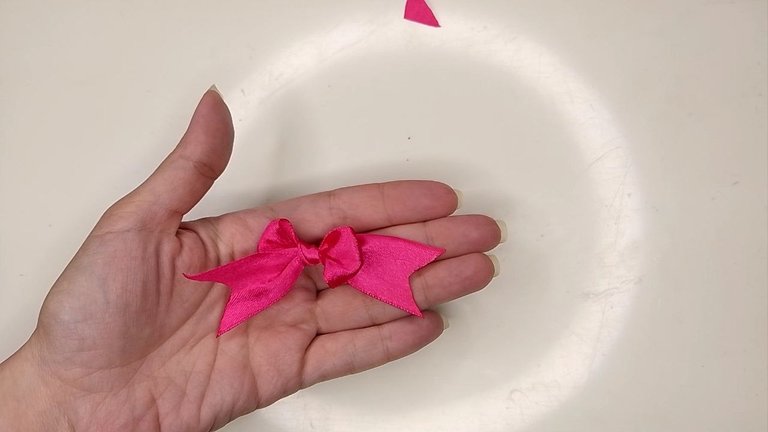
Ahora a este precioso peluchito le falta el toque de color, así que tomamos una cinta de raso y hacemos un lacito coqueto que colocaremos en lo alto de su cabeza. Para que se viera más lindo, decidí hacer un corte en “V” a los extremos de las cintas y sellé con fuego de un encendedor.
Now this precious little cuddly toy needs a touch of color, so we took a satin ribbon and made a cute little bow that we will place on top of his head. To make it look cuter, I decided to make a “V” cut at the ends of the ribbons and sealed it with a lighter.
 |  |
|---|---|
 |  |
| --- | --- |
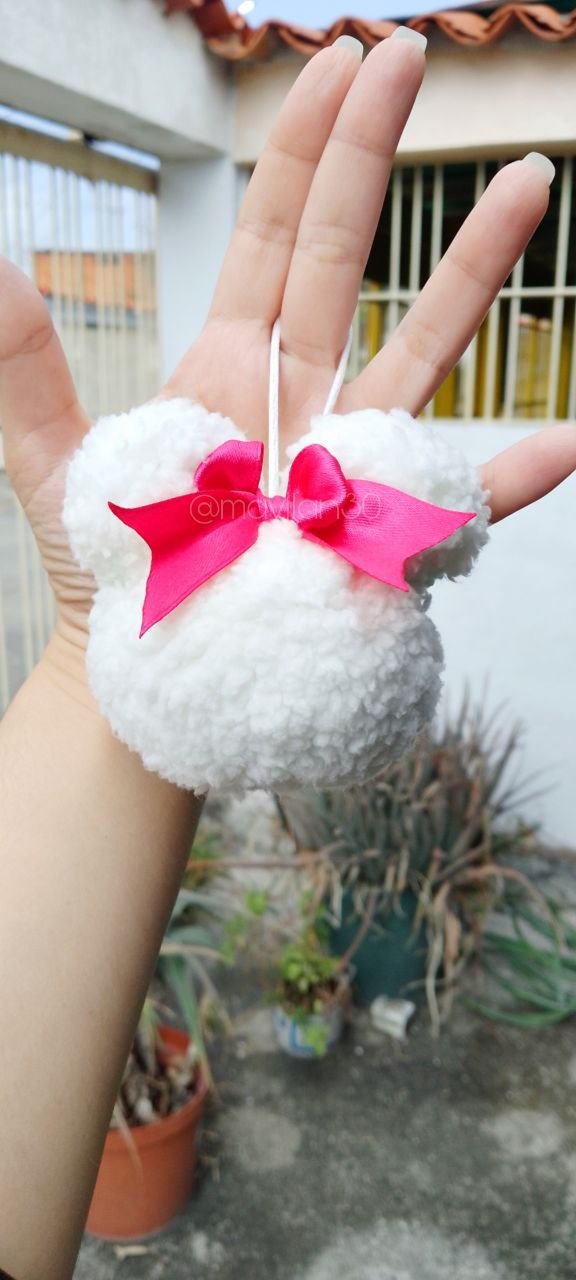
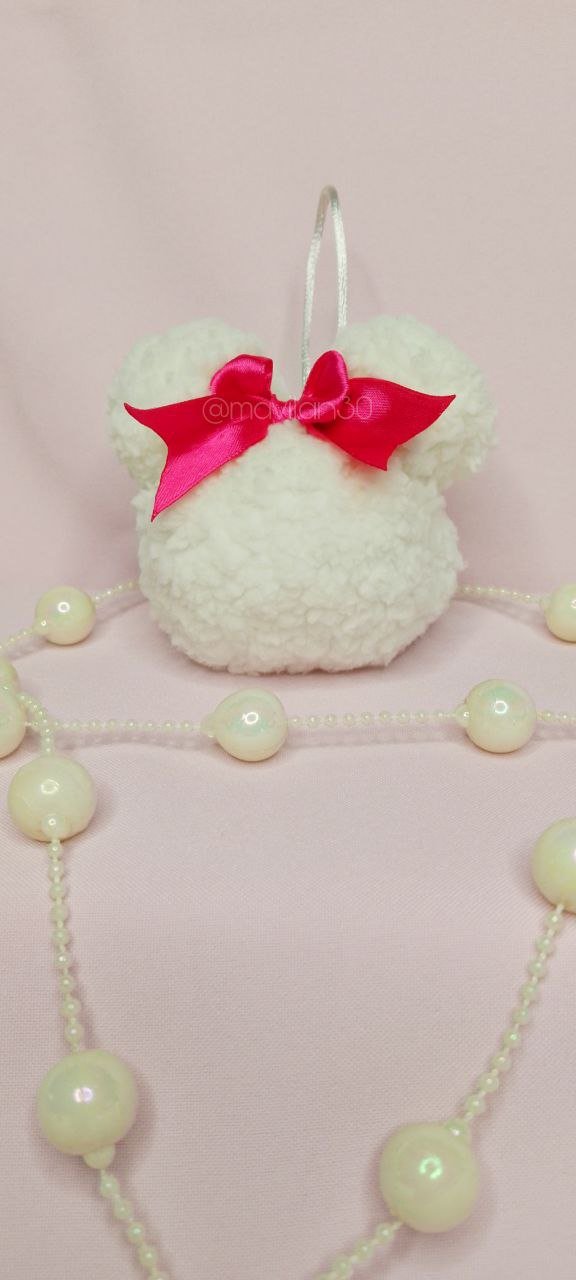
Adherimos el lacito al peluche con un puntito de silicón y este es el resultado:
We stick the ribbon to the stuffed animal with a small dot of silicone and this is the result:
 |  |
|---|
¡Muchas gracias por leerme!
Thank you so much for reading me!
Fotografías propias, tomadas con mi Tecno Spark 10C.
Traducido al inglés con DeepL.
Own photographs, taken with my Tecno Spark 10C.
Translated to English with DeepL.

This is such a cute and creative DIY project! The step-by-step process is well explained, and the final result looks absolutely adorable. The little ribbon adds the perfect touch. Thanks for sharing this detailed tutorial!
Thank you very much for your comment and visit✨ I'm glad you liked it ☺️
Sending Love and Ecency Curation Vote!
 Follow Eceny's curation trail to earn better APR on your own HP. : )
Thank you so much for your support 💖🤗✨
Congratulations @mavilan30! You have completed the following achievement on the Hive blockchain And have been rewarded with New badge(s)
Your next target is to reach 500 replies.
You can view your badges on your board and compare yourself to others in the Ranking
If you no longer want to receive notifications, reply to this comment with the word
STOPCheck out our last posts:
Oh that's a lovely pendant. Looks so nice even in the stuffed animal. Well done
Thank you very much ☺️ I'm very happy with the result✨