¡Hola comunidad bonita! ¿Me extrañaron? Yo los extrañé, esta última semana estuvo bastante complicada y por eso estuve algo ausente, hasta un virus tuve, además estuvo lleno de emociones fuertes, lo bueno es que la semana terminó feliz y productiva y así ha iniciado esta nueva semana también. Seguimos en el mes del amor y la amistad y por supuesto, siguen mis participaciones para el concurso de la comunidad, así que hoy traigo un nuevo, hermoso, tierno y esponjoso peluche de conejito todo lleno de amor. Este tutorial es ideal para hacer un regalo personalizado a esa personita especial o incluso para la venta en estas fechas en que todos buscamos el regalo perfecto para demostrar nuestros sentimientos, así que sigue leyendo y aprende como hacer a esta ternurita.
Hello beautiful community, did you miss me? I missed you, this last week was quite complicated and that's why I was a little absent, I even had a virus, plus it was full of strong emotions, the good thing is that the week ended happy and productive and so has started this new week too. We are still in the month of love and friendship and of course, I am still participating in the community contest, so today I bring you a new, beautiful, cute and fluffy bunny stuffed animal, all full of love. This tutorial is ideal to make a personalized gift to that special person or even for sale in these dates when we all look for the perfect gift to show our feelings, so read on and learn how to make this tenderness.
Imagen creada por mí en Canva / Image created by me in Canva
Materiales:
- Tela de peluche
- Hilo de coser (del color de la tela)
- Cuentas (para los ojos)
- Hilo de coser negro o marrón (para la nariz y boquita)
- Rubor o algún pigmento en polvo
- Algún adorno extra (opcional)
- Alfileres
- Marcador/Lápiz
Procedimiento:
Primero haremos el patrón para trazar a nuestro conejito. Recomiendo hacerlo en algún tipo de cartulina para que sea más manejable al momento de marcar sobre la tela, ya que al ser la tela de peluche tan esponjosa, puede llegar a dificultarse el trazado sobre ella, así que algo rígido ayuda bastante. Es importante hacer ese pequeño triángulo invertido en la parte superior de la cabeza y también el rombo al medio, entre la cabeza y el cuerpo, más adelante verán por qué.
Materials:
- Plush fabric
- Sewing thread (in the color of the fabric)
- Beads (for the eyes)
- Black or brown sewing thread (for the nose and mouth)
- Blush or powdered pigment
- Some extra embellishment (optional)
- Pins
- Marker/Pencil
Procedure:
First we will make the pattern to trace our bunny. I recommend doing it on some kind of cardboard to make it more manageable when marking on the fabric, since the plush fabric is so fluffy, it can be difficult to trace on it, so something rigid helps a lot. It is important to make that little inverted triangle at the top of the head and also the rhombus in the middle, between the head and the body, you will see why later on.
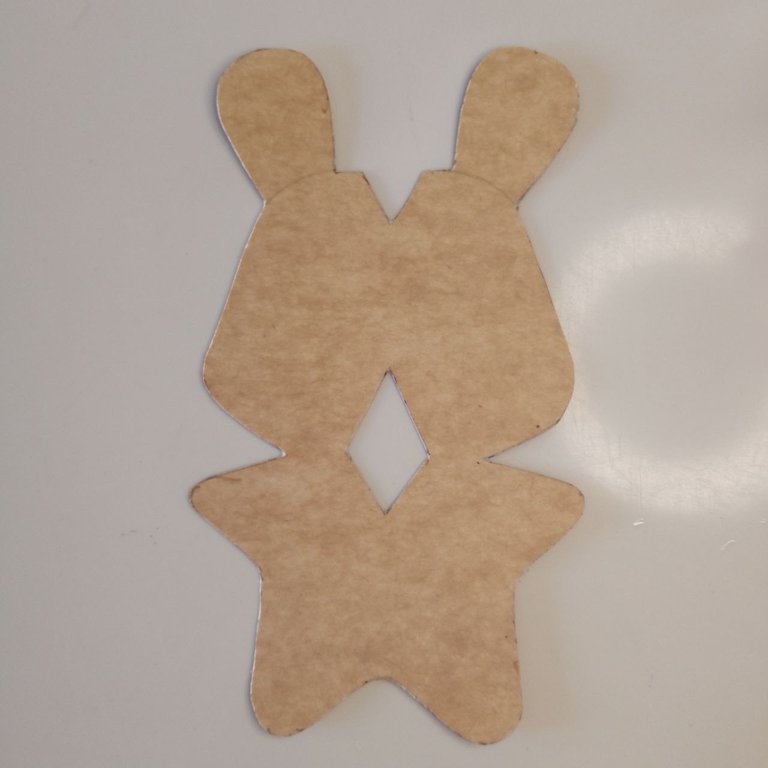
Patrón / Pattern
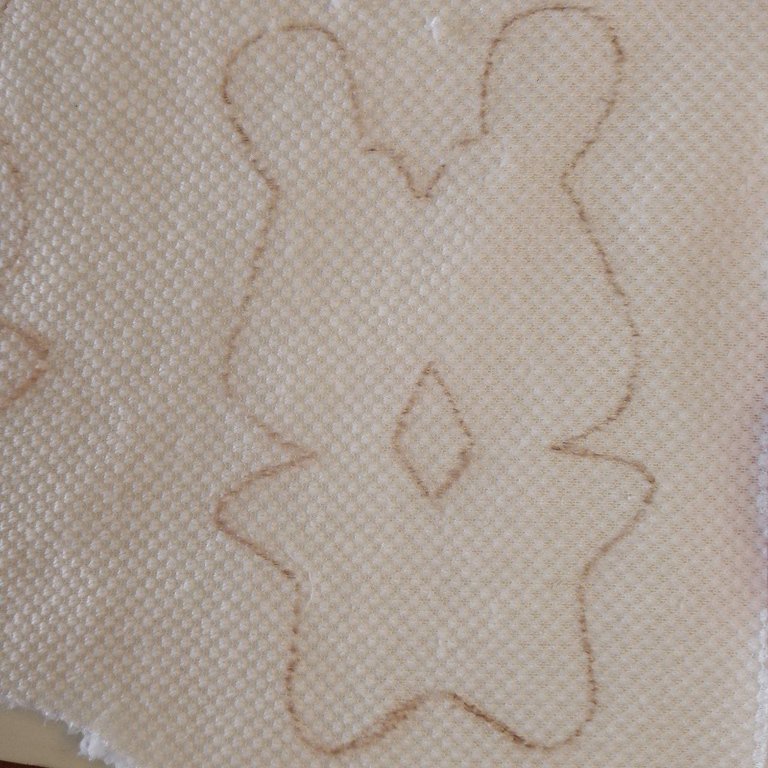
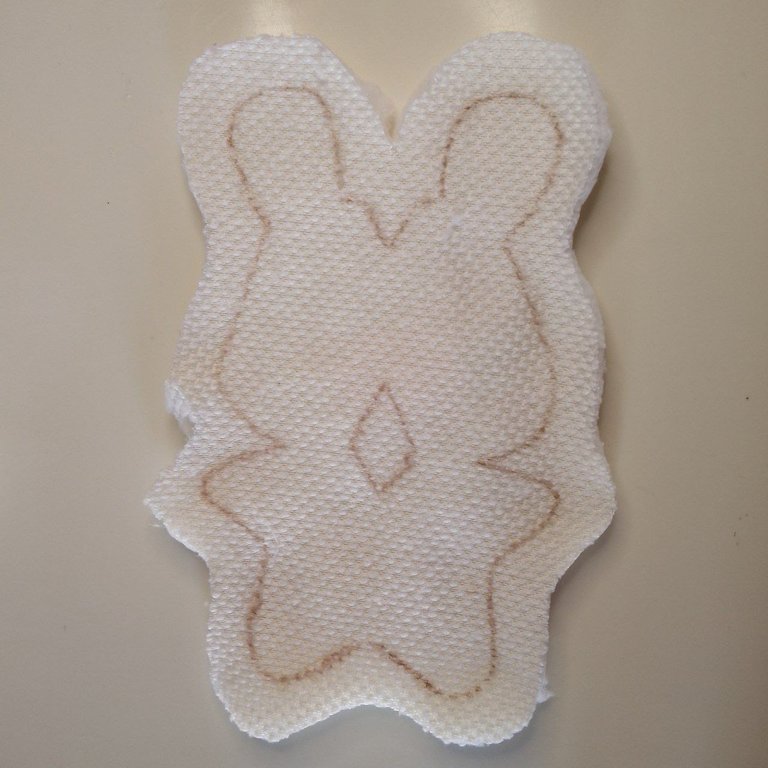
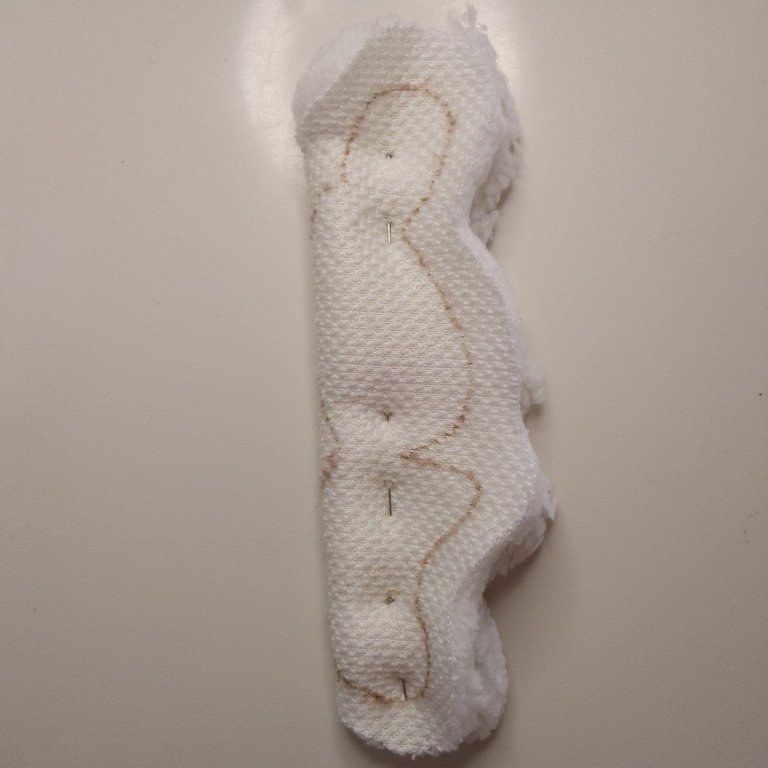
Trazamos entonces el patrón sobre la tela y recortamos dejando un margen considerable, para así facilitarnos el momento de la costura. En mi caso, he elegido tela de peluche color blanco crema, así que no es blanco total, es más como un beige súper tenue.
We then trace the pattern on the fabric and cut it out leaving a considerable margin, to make sewing easier. In my case, I have chosen creamy white plush fabric, so it's not total white, it's more like a super soft beige.
 |  |
|---|
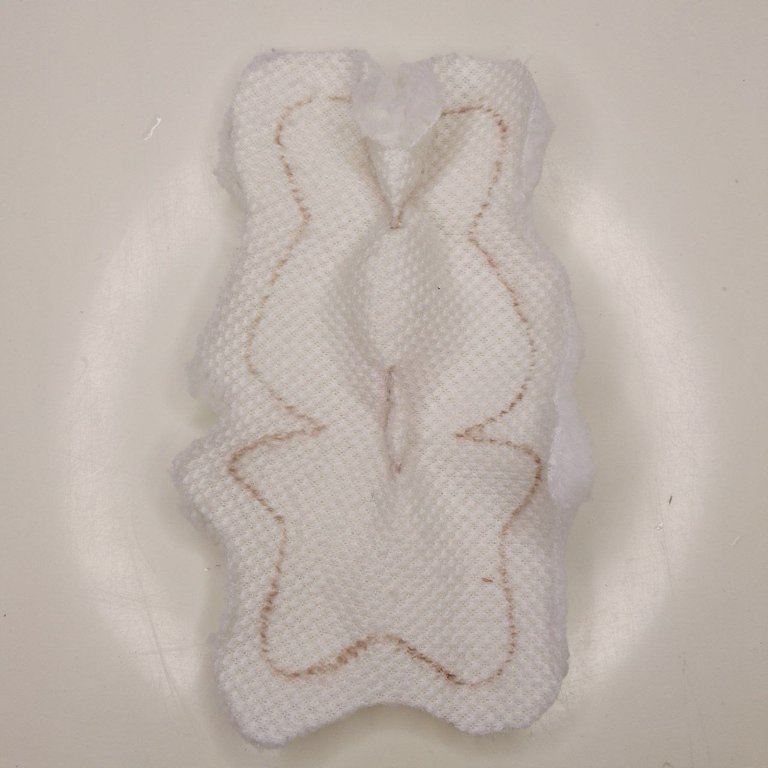
Doblamos a la mitad y cosemos el triángulo y el rombo, estos harán la función de unas pinzas, que darán un efecto de redondeado o abultado que se verá muy bonito al rellenar. Los pasos previos los replicaremos en una segunda pieza, puesto que necesitamos la parte de adelante y también la de atrás.
Fold in half and sew the triangle and the rhombus, these will act as clips, which will give a rounded or bulging effect that will look very nice when filled. We will replicate the previous steps in a second piece, since we need the front and the back.
Pieza doblada / Bent piece
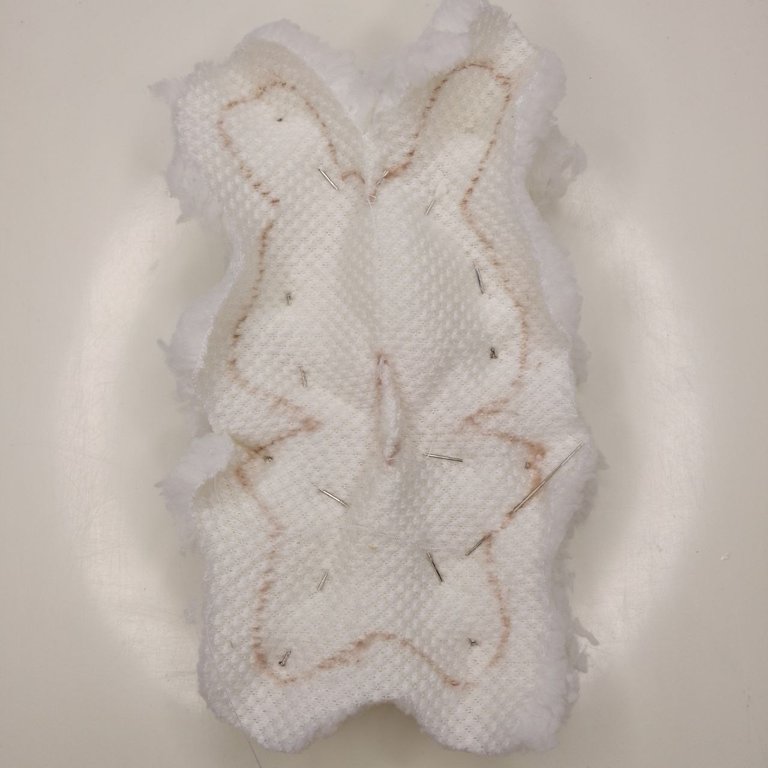
Superponemos ambas piezas haciéndolas coincidir y aseguramos con alfileres para que todo permanezca en su lugar durante la costura y no cometamos errores.
We overlap both pieces by matching them and secure them with pins so that everything stays in place during sewing and we do not make mistakes.
Piezas superpuestas / Overlapping parts
Es momento de coser, yo lo hice a mano y si este también es tu caso, aconsejo usar puntada hacia atrás, de modo que resista la costura cuando lo estemos rellenando y todo se mantenga donde debe ir. Recuerden dejar un espacio para poder dar la vuelta a la pieza, es conveniente que el espacio sea al costado de una de sus patitas de abajo, puesto que es una zona recta y será más fácil de coser al momento de cerrar.
It's time to sew, I did it by hand and if this is also your case, I advise to use back stitch, so that the seam will resist when we are filling it and everything will stay where it should go. Remember to leave a space to be able to turn the piece over, it is convenient that the space is at the side of one of its bottom legs, since it is a straight area and it will be easier to sew when closing.
 |  |
|---|
Recortamos los excedentes del margen de tela que dejamos al inicio. Un truco útil también, es hacer cortes perpendiculares a la costura (sin llegar hasta ella) en zonas como el ángulo que se forma entre las dos patas de abajo, si no se hace esto, al voltear la tela, habrá perdido la forma del patrón y se verá un poco raro.
We trim the excess fabric allowance we left at the beginning. A useful trick too, is to make cuts perpendicular to the seam (without reaching it) in areas such as the angle formed between the two bottom legs, if this is not done, when you flip the fabric over, it will have lost the shape of the pattern and will look a little weird.
Excedentes recortados / Surpluses cut
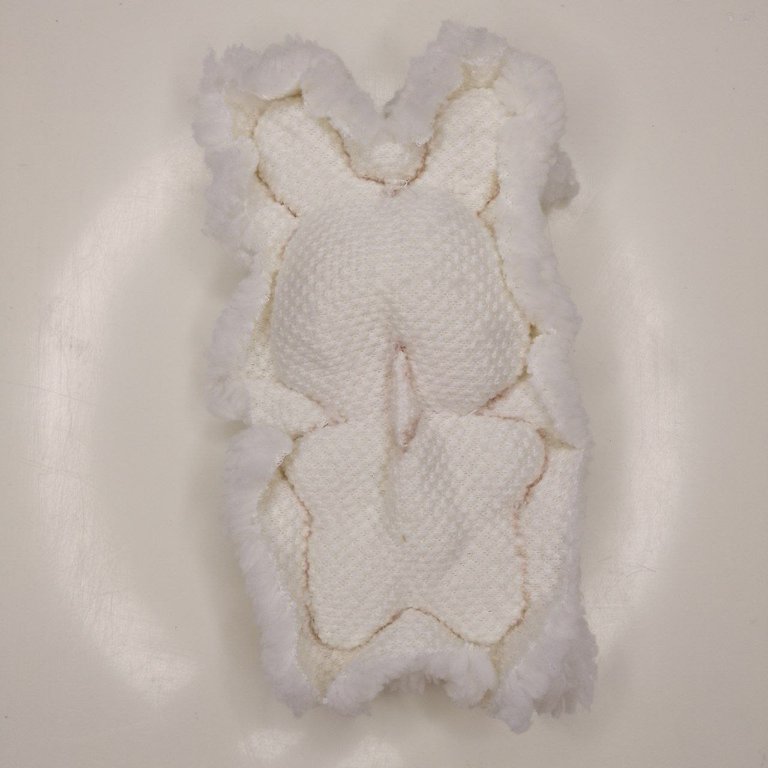
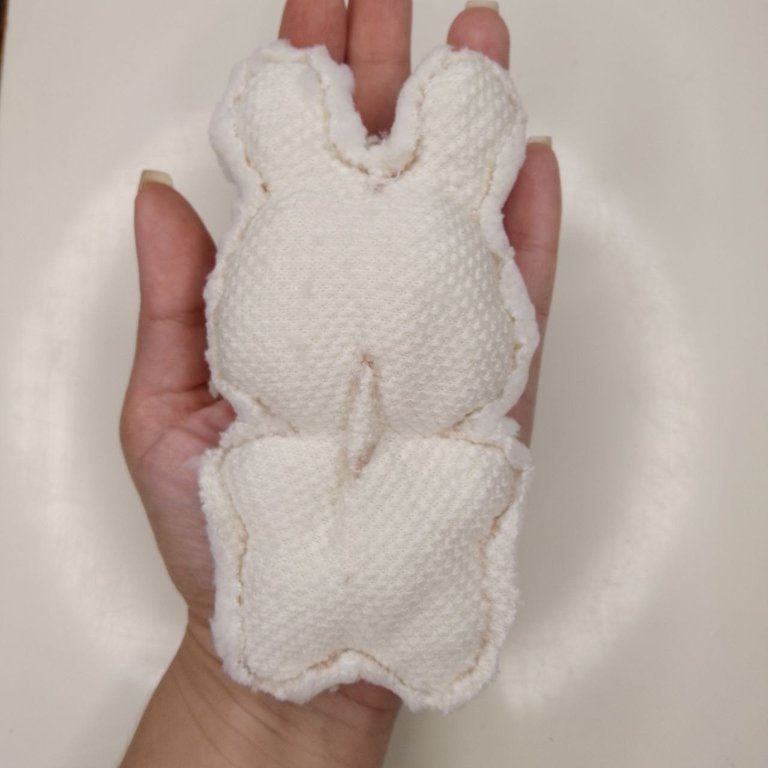
Volteamos la pieza, rellenamos y cerramos el agujero. Para cerrar, lo hacemos con puntada oculta, así todo quedará más prolijo.
Turn the piece over, fill and close the hole. To close, we do it with a hidden stitch, so everything will be neater.
 |  |
|---|
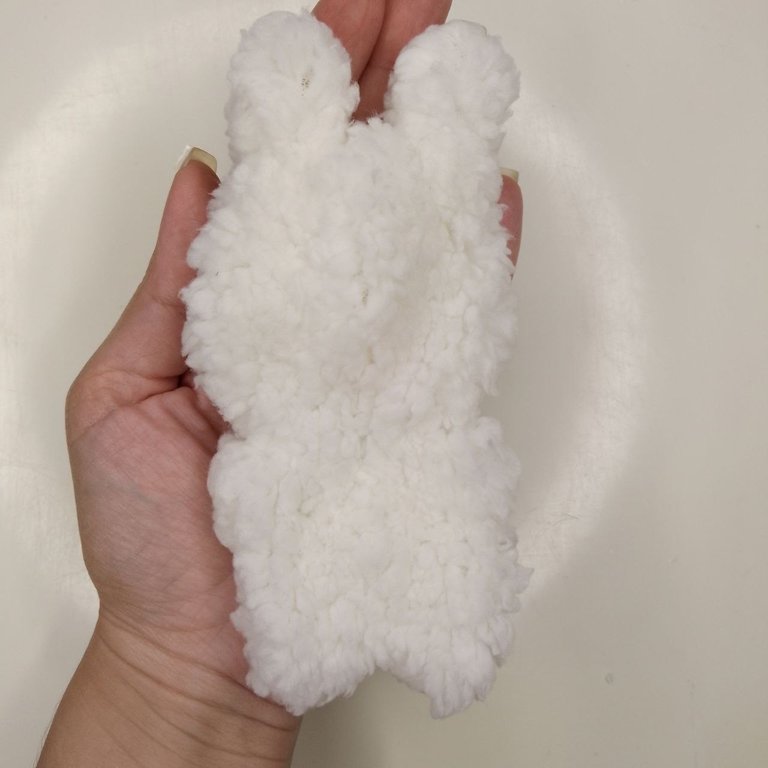
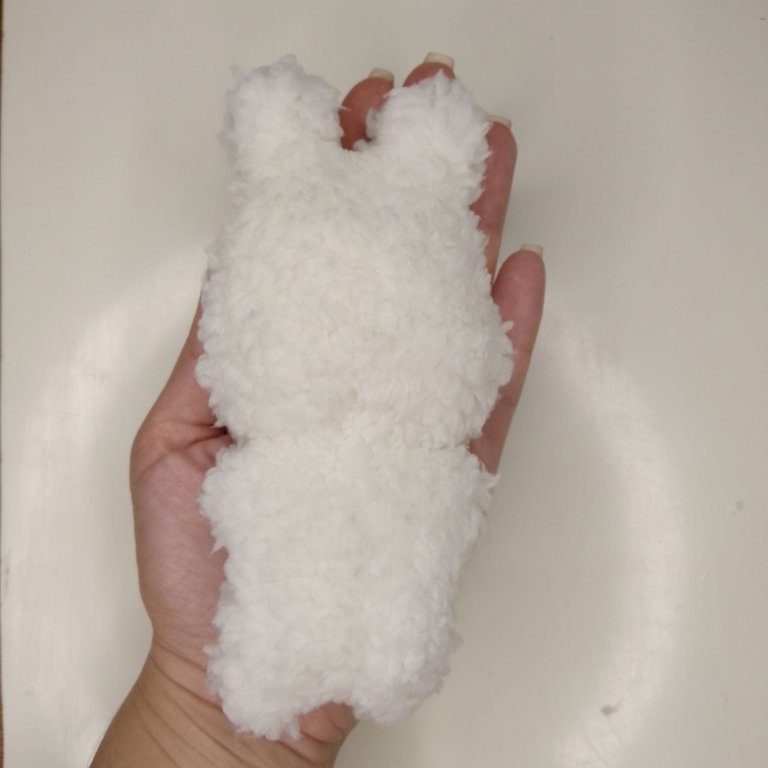
Si se dan cuenta, en la última imagen previa, al conejito le falta algo de forma, esto lo arreglamos con pequeño “corte de pelo” (risas), lo digo en serio, tomamos nuestras tijera y vamos cortando el “pelo” de la tela de peluche dando esas formas redondeadas bonitas y ordenadas, prestando especial atención a las zonas angulares, como las bases de las patas, donde van unidas al cuerpo, por ejemplo, allí debemos recortar bastante pegado a la tela para que se noten bien sus patitas, ya que en este diseño, las mismas, son minúsculas y esto es parte de su aspecto tierno.
If you notice, in the last previous image, the bunny lacks some shape, we fix this with a little “haircut” (laughs), I'm serious, we take our scissors and we cut the “hair” of the plush fabric giving those nice and tidy rounded shapes, paying special attention to the angular areas, such as the bases of the legs, where they are attached to the body, for example, there we must cut quite close to the fabric so that their little legs are well noticed, since in this design, they are tiny and this is part of their tender aspect.
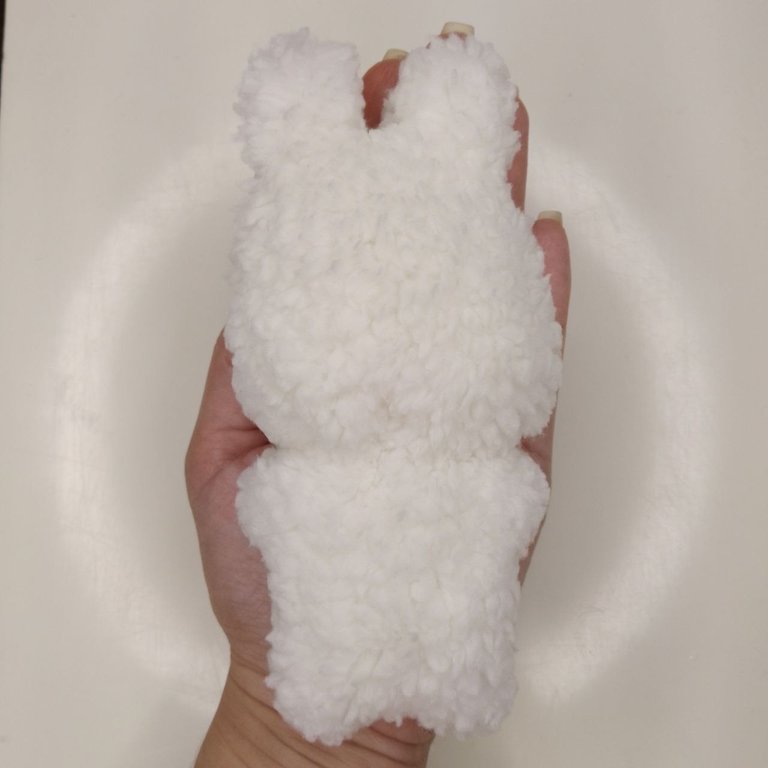
Dando forma / Shaping
Ya teniendo el pelaje listo, es momento de agregar unos bellos ojitos, para ello basta agregar un par de cuentas negras (o del color de tu preferencia) y las ubicamos en donde más nos guste con unos alfileres.
Once the fur is ready, it's time to add some beautiful little eyes, just add a couple of black beads (or the color of your choice) and place them where you like with some pins.
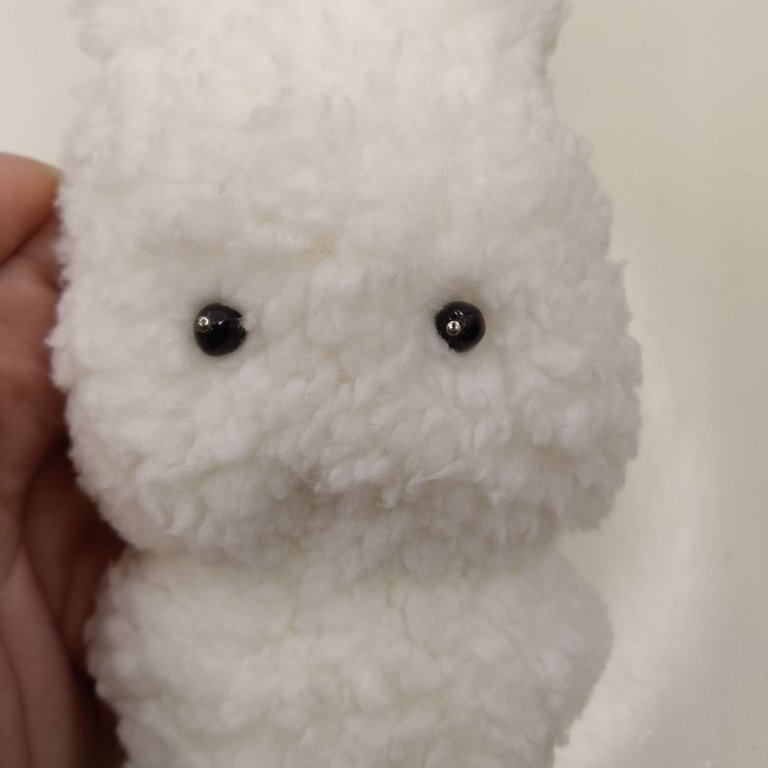
Ubicando los ojitos / Positioning the eyes
Para coserlas, lo haremos con el mismo color oscuro con que haremos la nariz y boca. Le haremos un nudo al hilo e ingresamos la aguja por debajo de su patita (el nudo quedará escondido entre el pelaje del peluche) y sacamos la aguja justo donde se encuentra el primer ojo.
To sew them, we will sew them with the same dark color that we will use for the nose and mouth. We will tie a knot in the thread and insert the needle under the paw (the knot will be hidden in the fur of the stuffed animal) and take out the needle just where the first eye is.
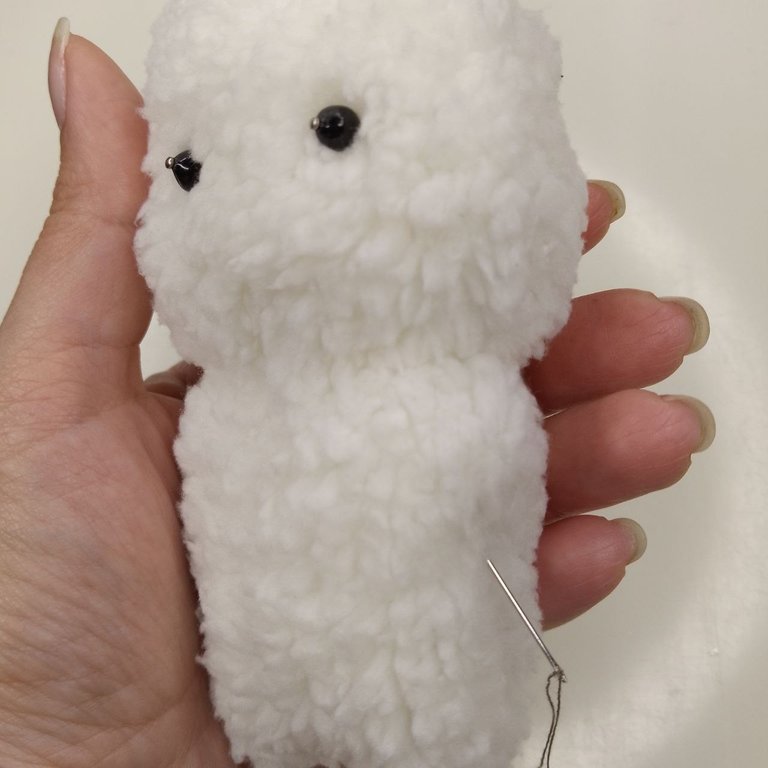
Ingreso de la aguja / Needle entry
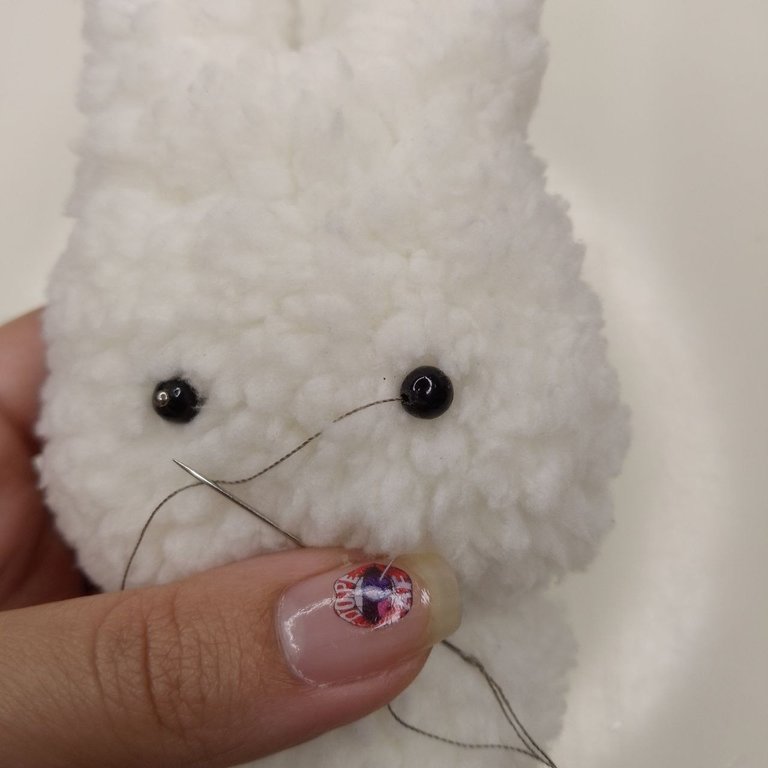
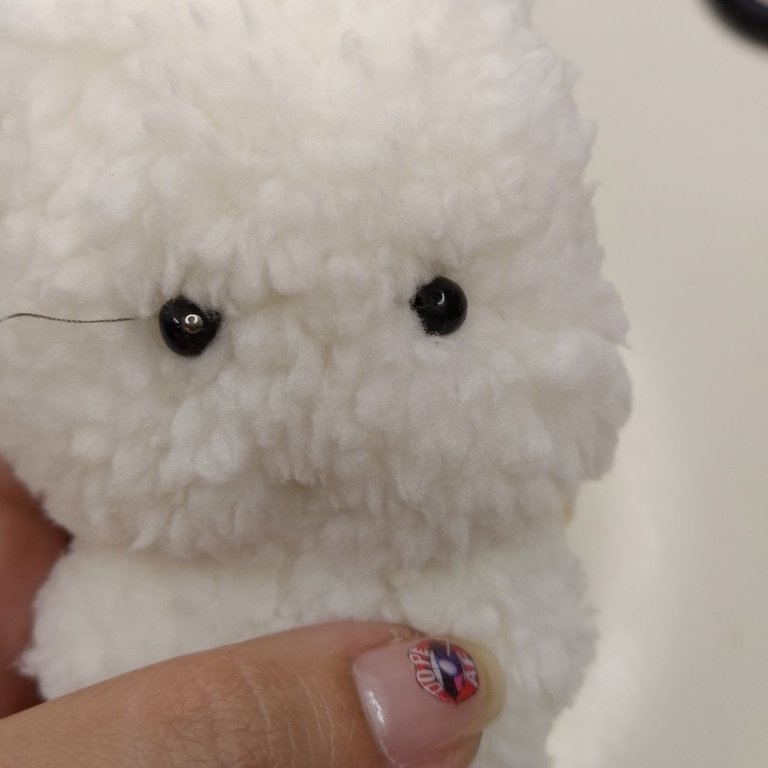
Al terminar de coserlo, aseguramos con un nudo y nuevamente, ingresamos la aguja dentro del peluche, pero esta vez lo sacamos en el lugar del segundo ojo y repetimos el proceso. El siguiente punto de salida de la aguja será en el lugar de la nariz, cosemos una “V” y una línea vertical justo debajo, lo importante es repetir cada puntada varias veces hasta que tome el grosor deseado y se note o se puede usar un tipo de hilo más grueso para no coser tanto. También es muy importante destacar que, se debe recortar el pelaje del peluche en la zona de la nariz y boca y alrededor de los ojos para que estos no queden cubiertos.
When we finish sewing it, we secure it with a knot and again, we enter the needle inside the stuffed animal, but this time we take it out in the place of the second eye and repeat the process. The next point of exit of the needle will be in the place of the nose, we sew a “V” and a vertical line just below, the important thing is to repeat each stitch several times until it takes the desired thickness and is noticeable or you can use a thicker type of thread to not sew so much. It is also very important to note that the fur of the stuffed animal should be trimmed in the area of the nose and mouth and around the eyes so that they are not covered.
 |  |  |
|---|
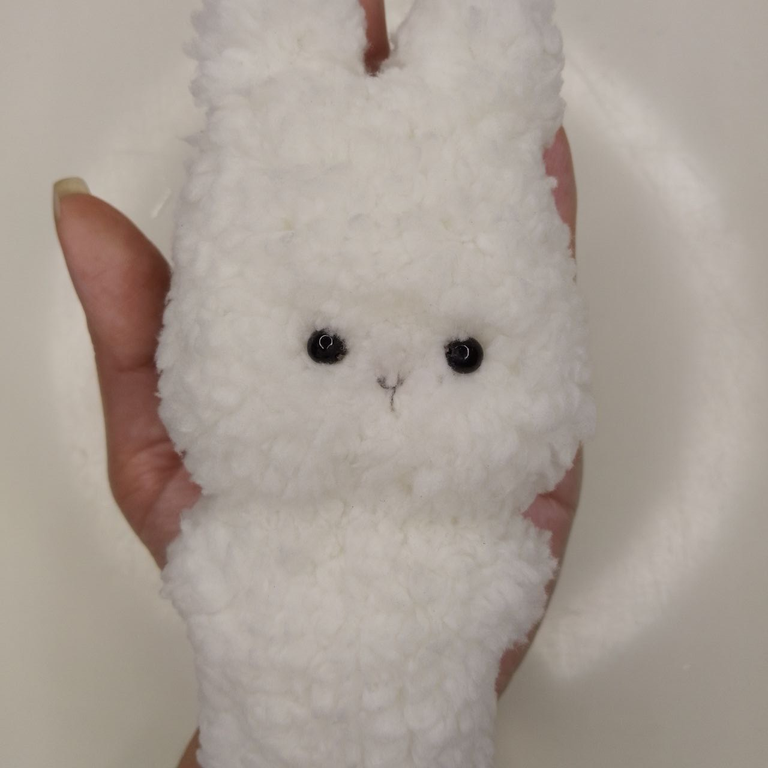
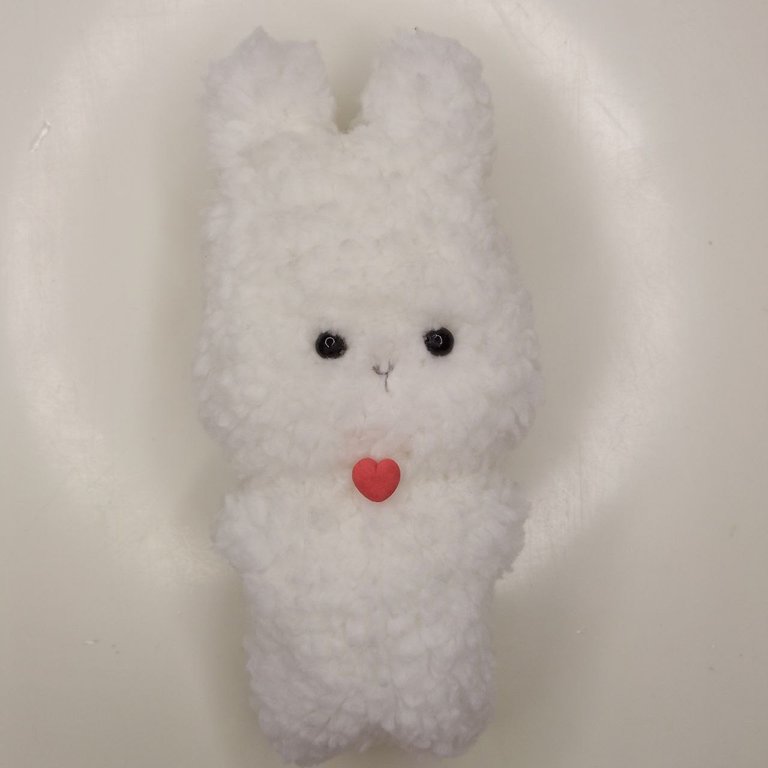
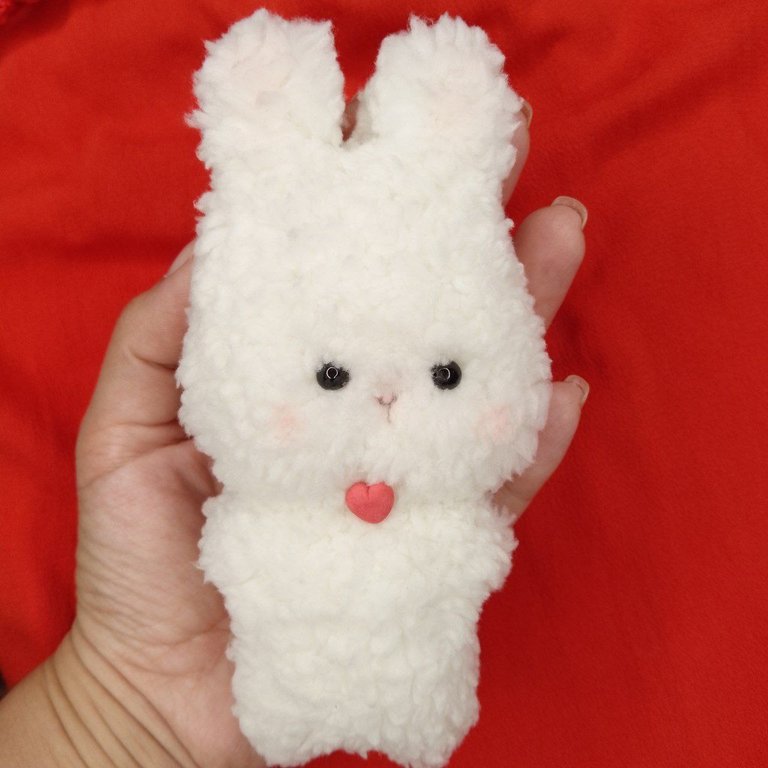
Con esto estaría listo el peluche como tal, pero viene lo más divertido, personalizarlo. Yo le he agregado un pequeño corazón rojo (que pegué con silicón caliente) y luego le he añadido un toque de rubor en sus mejillitas, nariz/boquita y sus hermosas orejas.
With this, the stuffed animal is ready as such, but now comes the most fun part, personalizing it. I added a little red heart (which I glued with hot silicone) and then I added a touch of blush to his cheeks, nose/cheek and his beautiful ears.
 |  |
|---|
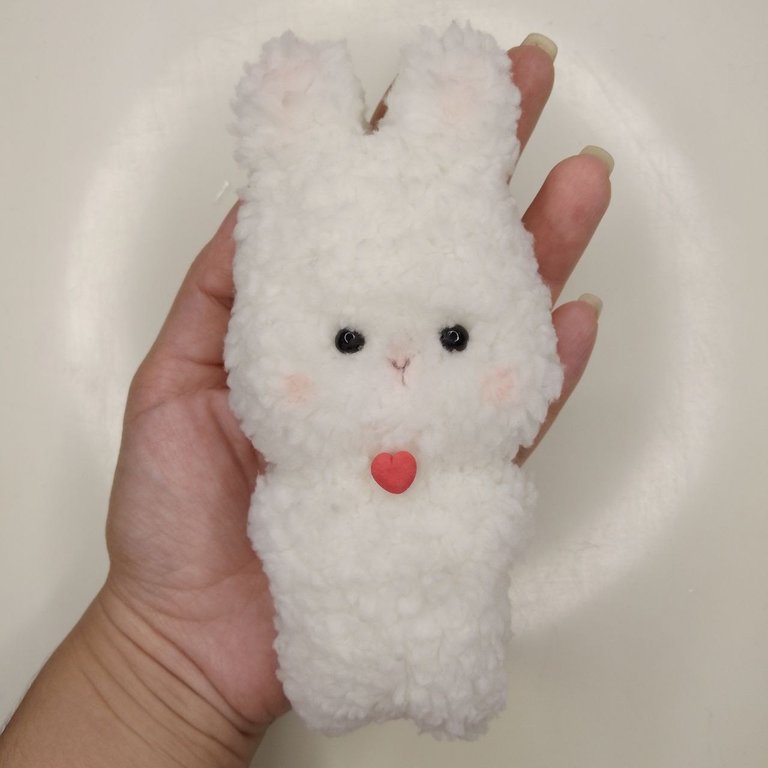
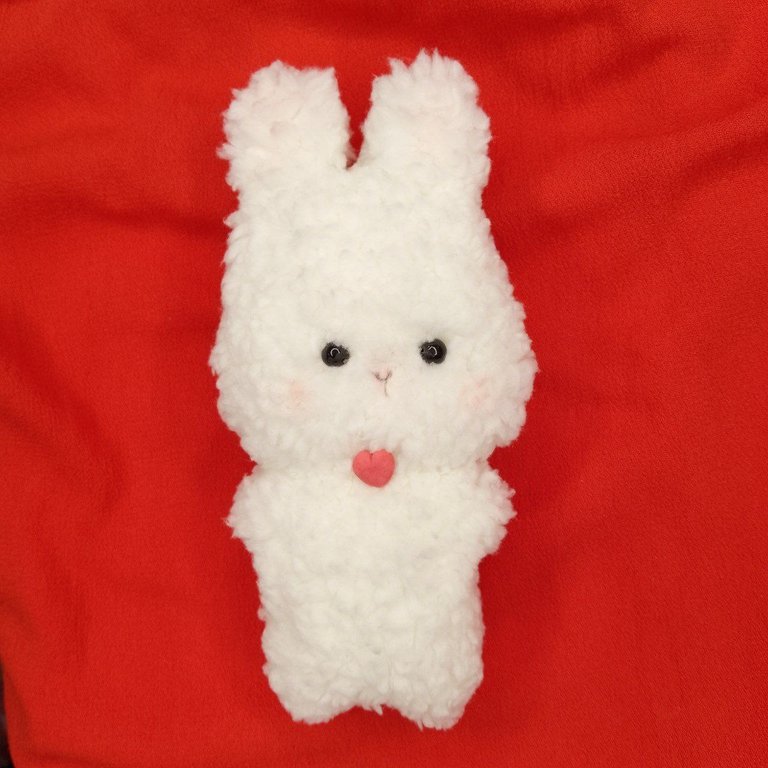
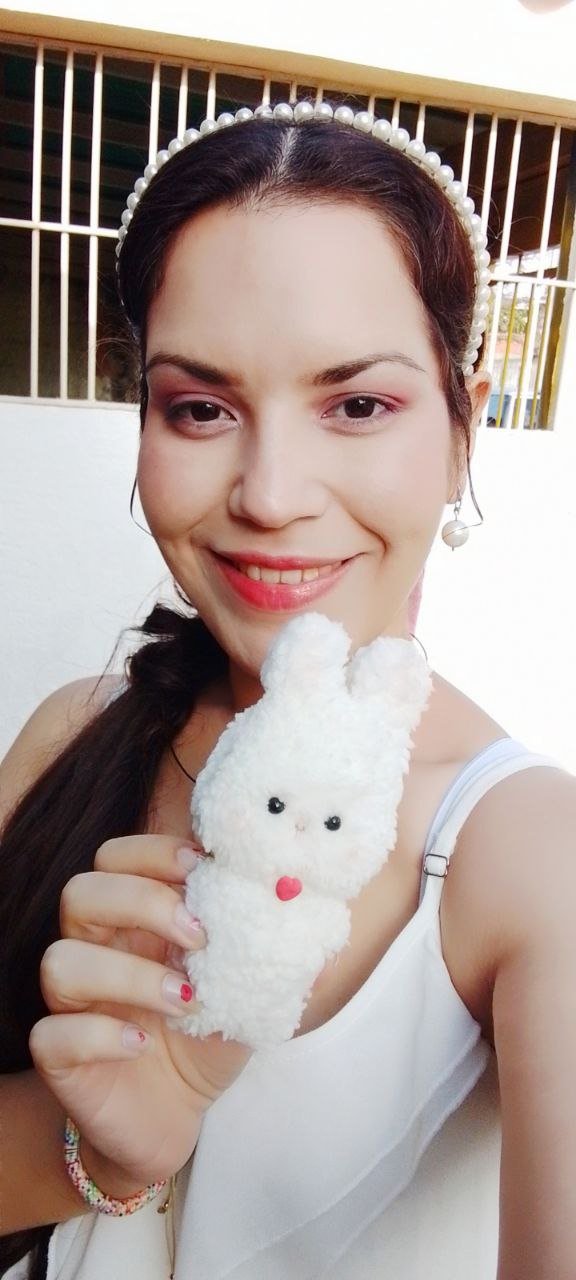
Y aquí la sesión de fotos de esta hermosura llena de amor:
And here is the photo session of this beauty full of love:
 |  |  |
|---|
¡Muchas gracias por leerme!
Thank you so much for reading me!
Fotografías propias, tomadas con mi Tecno Spark 10C.
Traducido al inglés con DeepL.
Own photographs, taken with my Tecno Spark 10C.
Translated to English with DeepL.

Que hermoso Teddy mavilan ✨☺️ está súper tierno para regalarlo para el 14
Muchas gracias Mily💖 que bueno que te gustó ✨
Precioso, me encantó 😊
Muchas gracias💖
Definitivamente luce muy tierno.
Mis más siceras felicitacioines Amor. Te quedó realmente memorable!!! ♥️
Muchas gracias mi amor❤️ me encanta que se ve todo tierno🥰
Este conejito de peluche es muy bonito y tierno. Me gustó ver el proceso de fabricación paso a paso. Excelente trabajo. Te felicito!
👏👏👏
Muchísimas gracias✨ me contenta que te gustara mi trabajo☺️
Ayyyy esta muy tierno yo quiero uno para mi
Muchas gracias💖 me alegra leer eso✨
que lindo, excelente para este 14
how nice, excellent for this 14th
Muchas gracias☺️✨
From Venezuela, our witness drives decentralization and the adoption of Web3 technology, creating opportunities for the local community and contributing to the global ecosystem. // Desde Venezuela, nuestro testigo impulsa la descentralización y la adopción de la tecnología Web3, generando oportunidades para la comunidad local y contribuyendo al ecosistema global.
Sigue, contacta y se parte del testigo en: // Follow, contact and be part of the witness in:
Muchas gracias por su apoyo💖
Awwwww! Dios mío. Amo los peluches y éste es tan tierno 😳 de paso es tan fácil de hacer 😎 Muchas gracias por compartirnos el tutorial 🤗💚
Muchas gracias por tu lindo comentario💖✨
Muy lindo y tierno! Saludos!
Muchas gracias Valeryc💖 un abrazo🤗
WOW! It is so beautiful and cute. It looks great. You did a wonderful job! Thank you for sharing this. Keep it up!
Thank you so much💖 I'm glad you liked the new design✨🤗
It is always a pleasure for us at DIYHub to count with participations like yours, you embellish our community with your presence. Thank you very much for being here and giving the best of you, I wish you a great day!...
Aww thank you so much for your nice comment!✨ It is really a pleasure for me to share my work with you☺️
https://bsky.app/profile/did:plc:rag2mftdy2alo7rtmyttmpk4/post/3lhz3uriihr2r
The rewards earned on this comment will go to the author of the blog post.https://bsky.app/profile/did:plc:rag2mftdy2alo7rtmyttmpk4/post/3lhz3uriihr2r
Thank you so much for your support ☺️