While I am browsing the internet, I happened to go through the article containing this line from "Environmental Protection Agency". It really struck me realizing the worth of recycling paper. Just imagine one ton of paper can already save 17 trees. As I tried to visualize one ton of paper could be more or less, 1 six-wheeler dump truck of it, and it could already conserve 17 trees. And take note, we cannot produce 17 trees in just a blink of an eye. right?
There are many benefits that we can get out of recycling paper in particular and it would be a long and strenuous discussion here if I will explain it one by one in this blog (lol), where in fact my purpose of writing this post today is how my realization in the importance of recycling brought me into creating this one of-a-kind project.
Hello! Everyone! @melit79 is at your service once again. How is everyone today? I hope all of us here are in good health. Enjoying the opportunity given by our Almighty father to have good health makes us do and perform our household chores every day, and plan ahead our next-days-undertaking.
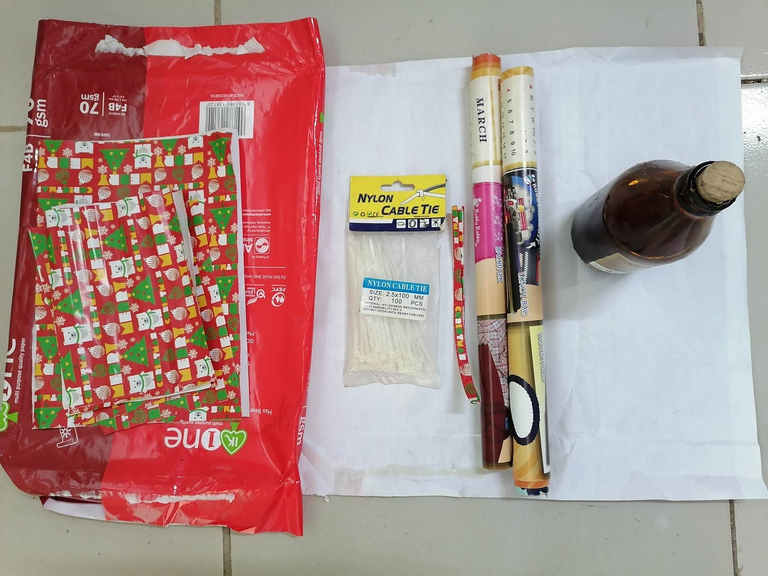
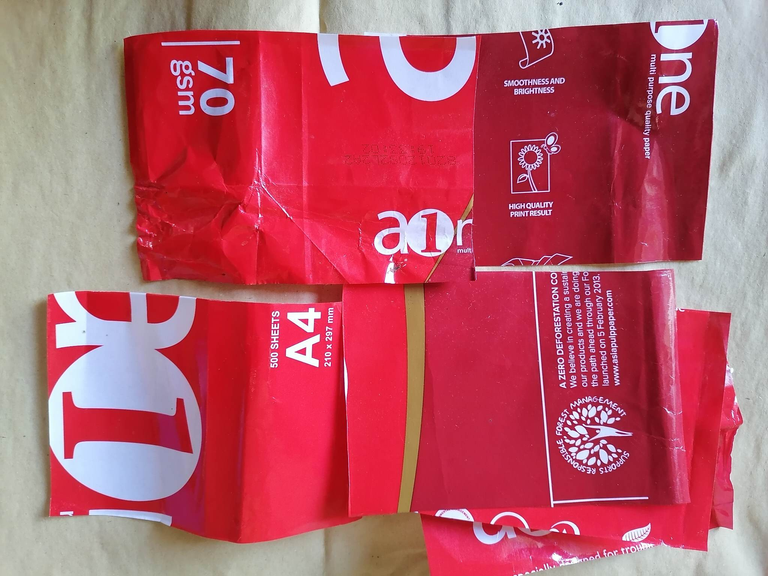
The project that I am going to share to you today is an organizer that helps me access easily my personal teaching paraphernalia during my online classes. I called this "Paper Organizer". It is just very easy to follow. All you need to do is look for a gloss coated paper that is not in use like brochures, flyers, gift wrap and even used bond paper cover.
Materials Needed:
Glossy or non-glossy disposable paper can be used
cable tie
scissors
adhesives
scotch tape
Procedure:
1.Cut the paper into pieces with a measurement of4x5 inches.
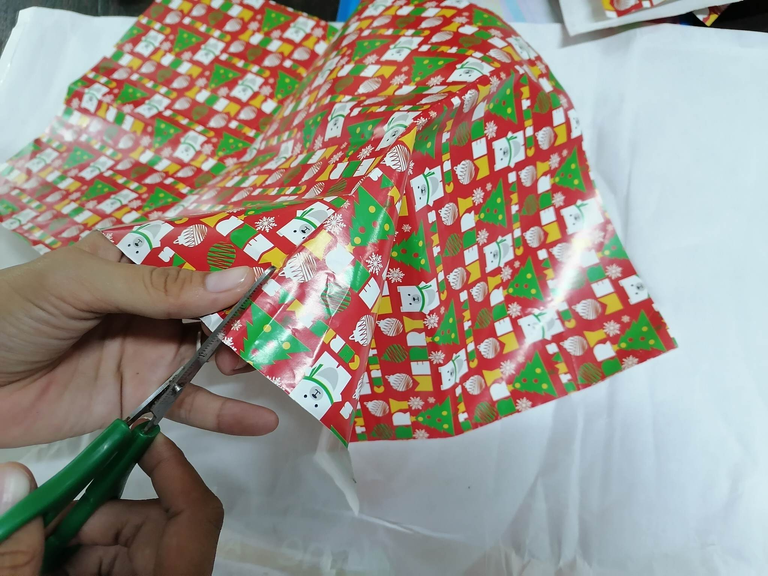
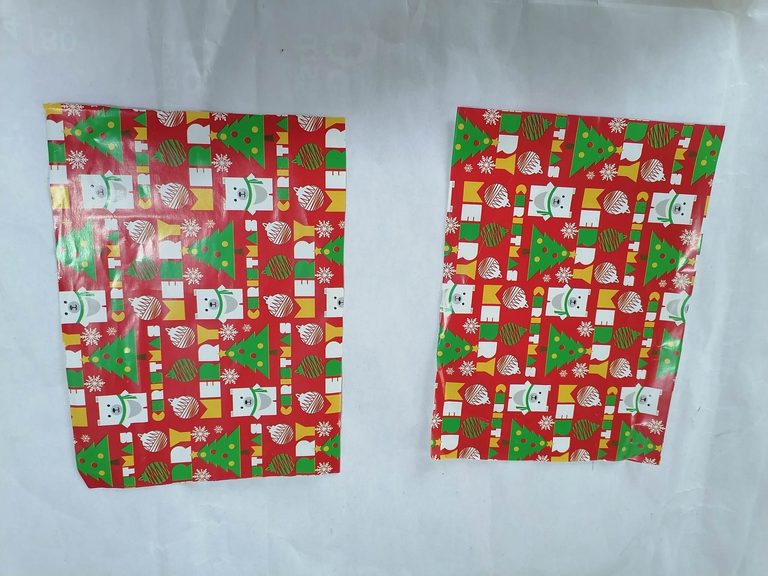
2.Fold it until you can produce a strip with a measurement of 3/8 x 5 inches.
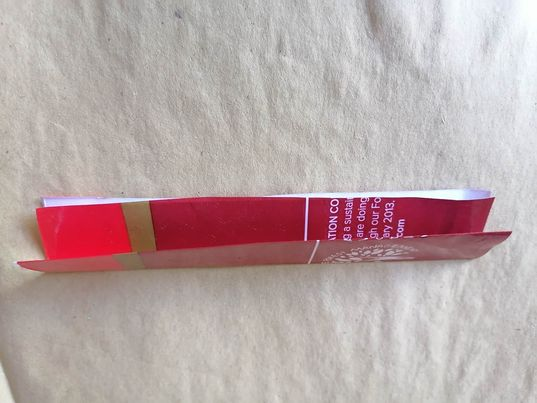
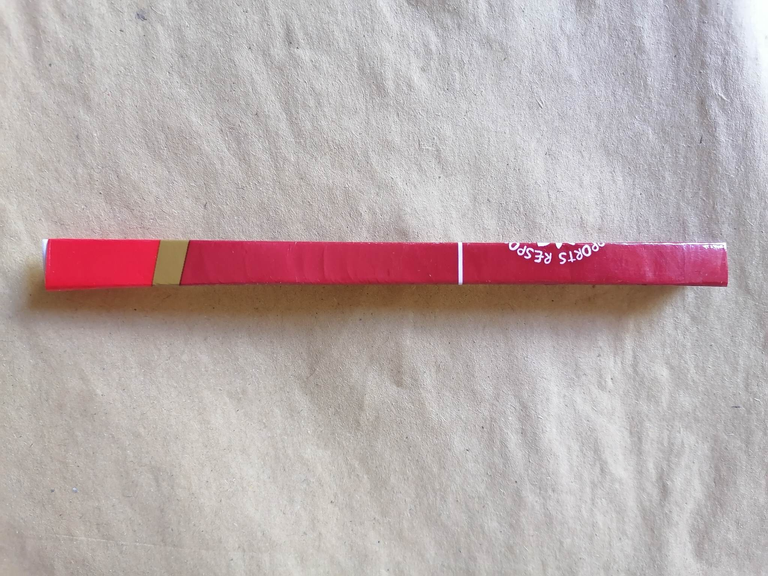
3.Roll the strip as many as you can produce.
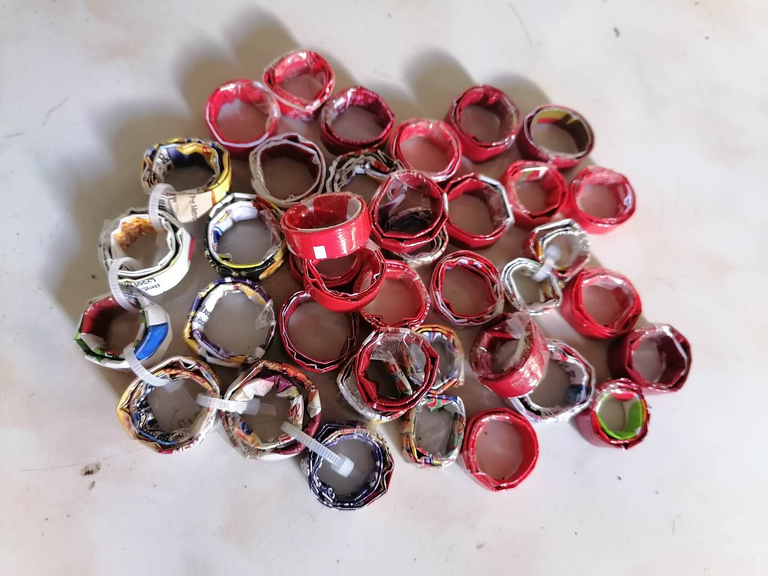
4.Attach the rolled paper together using the nylon cable tie. Start making the bottom part of the organizer as seen in the picture below.
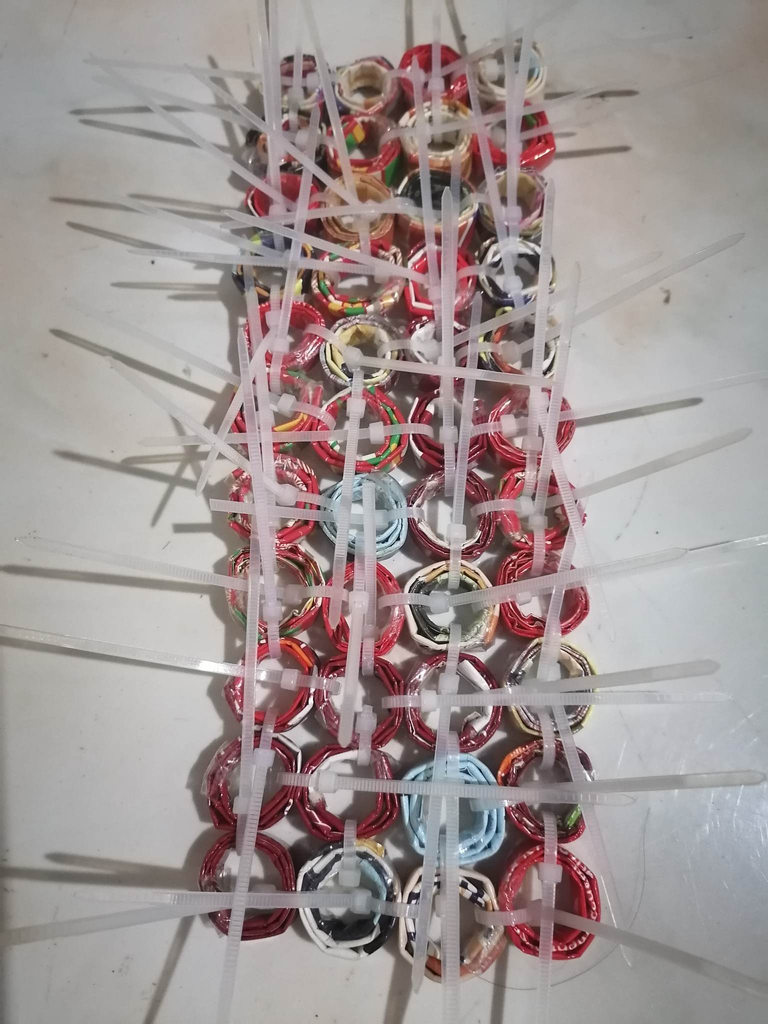
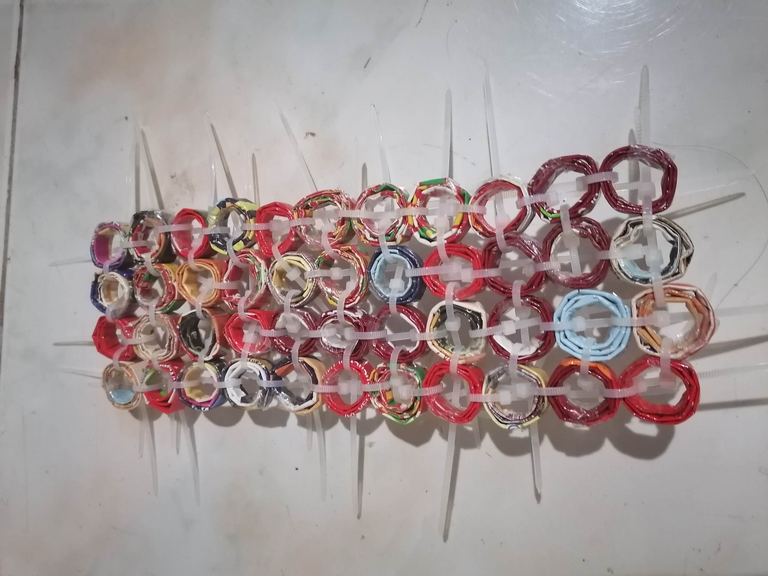
5.After making the bottom part. Start building the side of the organizer.
6.Take note, when you are using an ordinary paper and not the glossing one, you need to apply natural-colored varnish to make it appear glossy. And since I am already using glossing paper there is no need to use natural-colored varnish. When you apply varnish into the already glossy paper it will be hard to dry up.
This is my final output. I use this organizer for a small- pieces of visual aids that I use during my class. I use this paper organizer so I can save money, as it is often cheaper to recycle than buying an organizer in the market.
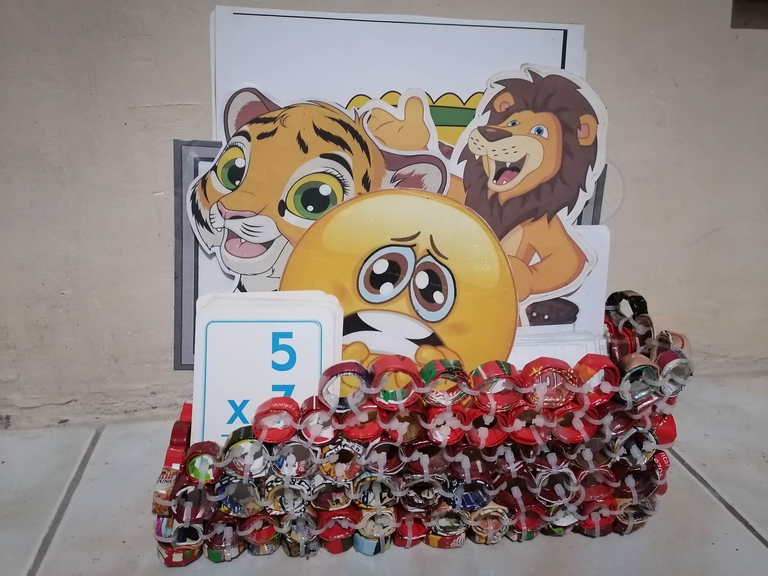
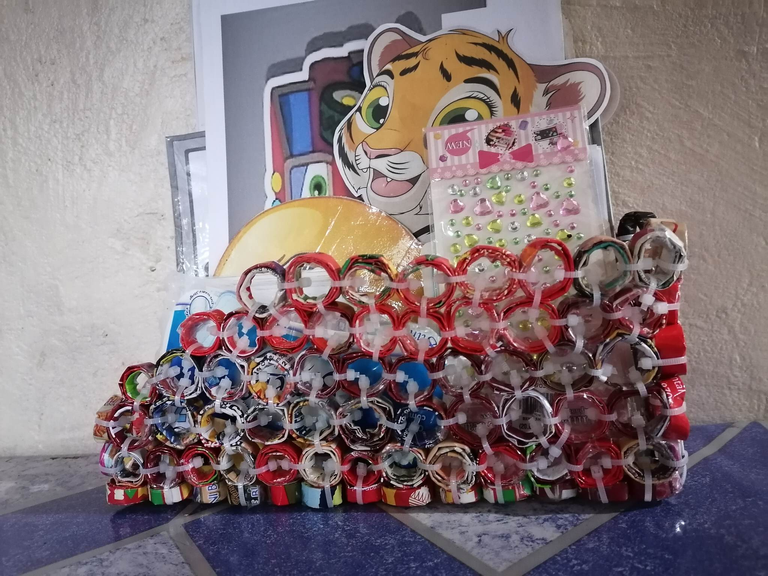
With the many benefits of recycling paper, it is really important that all of us should be doing our part to reduce our paper waste. By choosing to recycle paper, we're taking a small but important step towards a more secure and eco-friendly future.
Guyz, let us help recycle the waste we produce in our daily activities, and help protect the environment and ensure a sustainable future for ourselves and for the future generations.
That's all for today, guys! Thank you for taking the time to read my blog. I hope to see you again in my next post.
Thank you for sharing this post in the DIYHUB Community!
Your content got selected by our fellow curator stevenson7 & you just received a little thank you upvote from us for your great work! Your post will be featured in one of our recurring compilations which are aiming to offer you a stage to widen your audience within the DIY scene of Hive. Stay creative & HIVE ON!
Please vote for our hive witness <3
thank you @diyhub
Congratulations @melit79! You have completed the following achievement on the Hive blockchain And have been rewarded with New badge(s)
Your next payout target is 1000 HP.
The unit is Hive Power equivalent because post and comment rewards can be split into HP and HBD
Your next target is to reach 100 upvotes.
Your next target is to reach 3750 upvotes.
You can view your badges on your board and compare yourself to others in the Ranking
If you no longer want to receive notifications, reply to this comment with the word
STOPTo support your work, I also upvoted your post!
Check out our last posts:
Thanks a lot @hivebuzz.
Thank you @hivebuzz, I really appreciate your taking time to notice.
This creative art not only encourages people to make things we thought already a waste usable but more so helps save the environment!Thanks for sharing @melit79. Keep up the good work!
The rewards earned on this comment will go directly to the people( @askari ) sharing the post on Twitter as long as they are registered with @poshtoken. Sign up at https://hiveposh.com.
The practical work provided is lovely and awesome. At least the steps and information given will help society.
Thanks a lot @apunawu. I really appreciate the compliment. Thank you for dropping by.
See you around.
Ohh wow, nice one ma'am. I'll let my wife see this so that she can help me try this one which I know will be of use in my class. My wife likes DIY also and I like to join her interest. And she's good in recycling things and made it an art. ☺️
Thank you dropping by. See you around.Yes sir @itsteacherjeff, the process is just very easy, you can make other designs too.
Que lindo ha quedado tu trabajo con muchos colores 😍
Thank you very much for taking time to read my post.
Wow, very creative and useful as file organizer in offices. You're amazing. Salute to your dedication in making this organizer from things we thought waste already. Thank you for sharing these simple steps @melit79.
Thanks a lot @selflessgem. Your comment motivates me to do and make more useful things from recycle materials.
Buenos días. Bella oh te quedó espectacular, excelente, comparto contigo la importancia de reciclar, y el hecho de hacer estás ideas con nuestras manos le da ese toque único.
That's a lot of nylon cable ties there but the outcome looks great.✨
yes, we just need lots of cable tie to make the work done.😀
Thank you for dropping by.
It's always a pleasure lovely ✨ see you around.