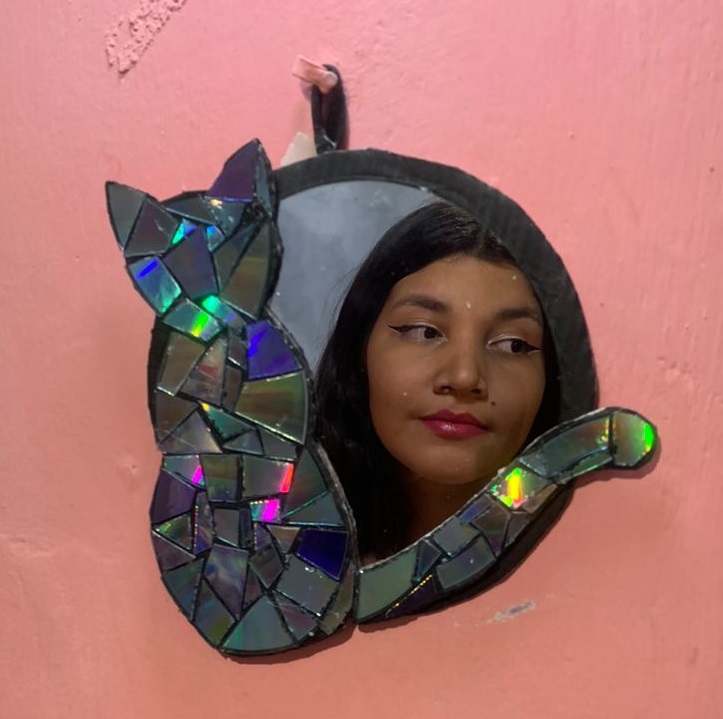
I've had a couple of materials I wanted to use for a while and I happened to get a simple little round mirror as a gift, so I decided to get my creative juices flowing and get to work to create a nice decoration for this mirror. Here are the step by step instructions on how I did it.
.jpeg)
🤍 𝐌𝐀𝐓𝐄𝐑𝐈𝐀𝐋𝐒 🤍
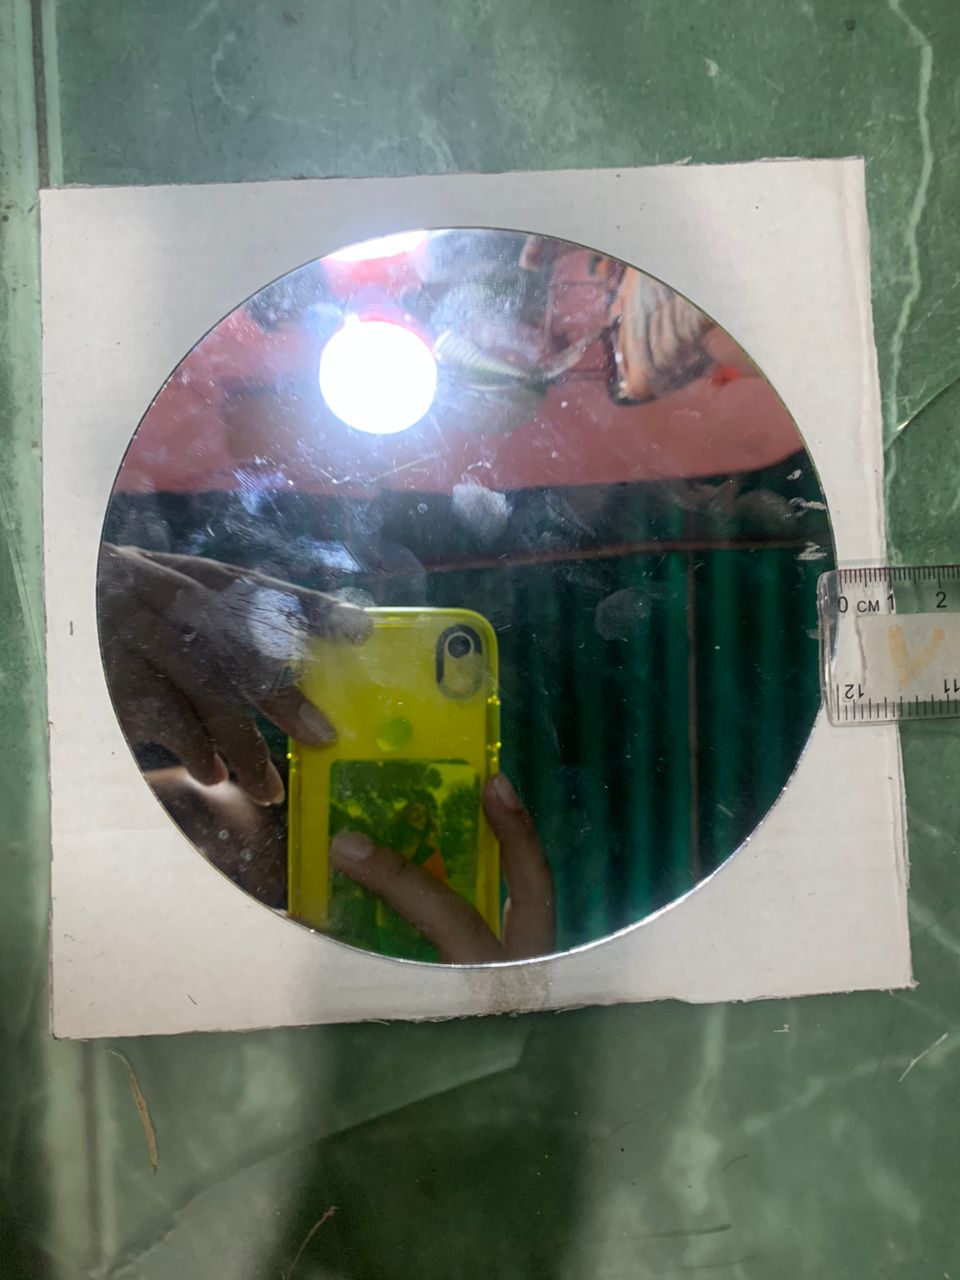
🤍A mirror (round, 14cm diameter)
🤍A recyclable cardboard box lid
🤍A couple of old CD`s
🤍Half a sheet of paper
🤍Black paint
🤍Liquid silicone
🤍Pencil
🤍Scissors
🤍A ruler
 |  |
|---|
🤍 𝐅𝐈𝐑𝐒𝐓 𝐒𝐓𝐄𝐏:
On the cardboard lid, using the ruler and a pencil, I marked a square of 16cm x 16cm so that it was two centimeters larger than the diameter of the mirror. I did this so that, when I put the mirror in the middle of the square, there would be one centimeter of margin on each side between the edge of the mirror and the edge of the cardboard.
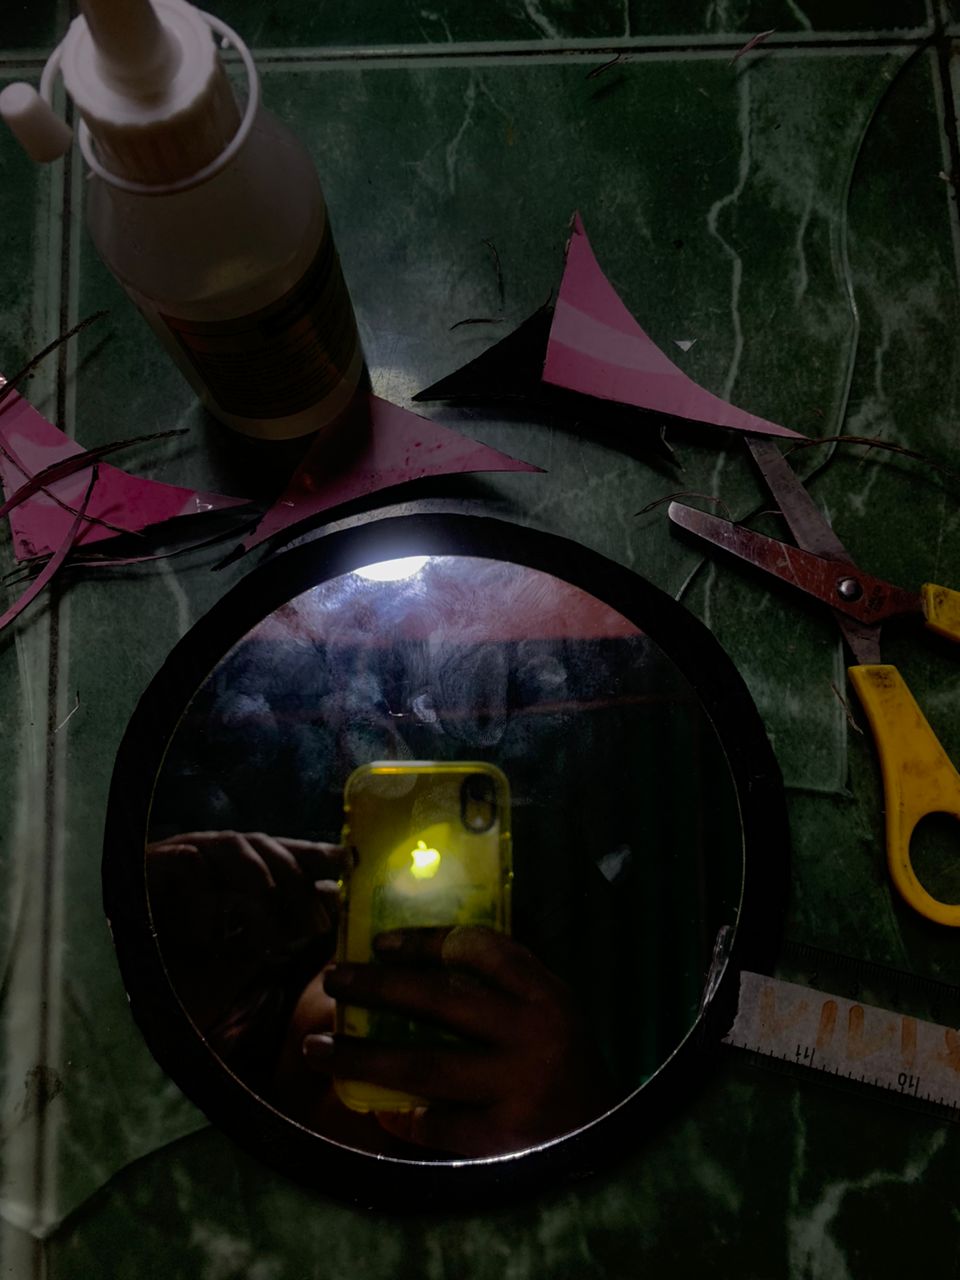
I painted this square with black paint and glued the mirror on top of it. I also cut the corners of the square, making a circle shape to create a one centimeter frame on each side of the mirror.
 |  |
|---|
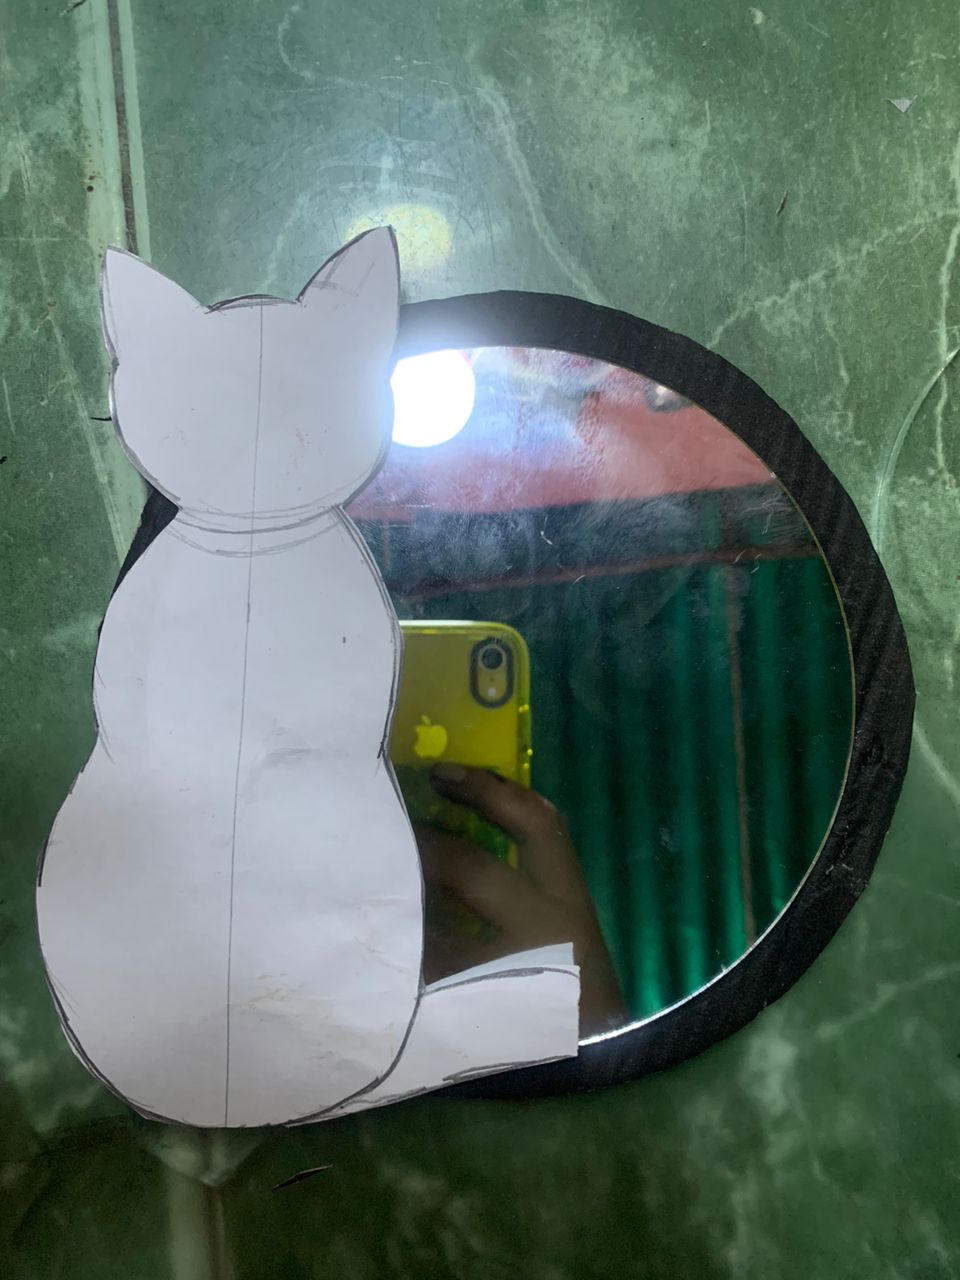
The figure of the cat has to be almost the same size as the cardboard frame of the mirror, so that it is also part of this frame.
🤍𝐒𝐄𝐂𝐎𝐍𝐃 𝐒𝐓𝐄𝐏:
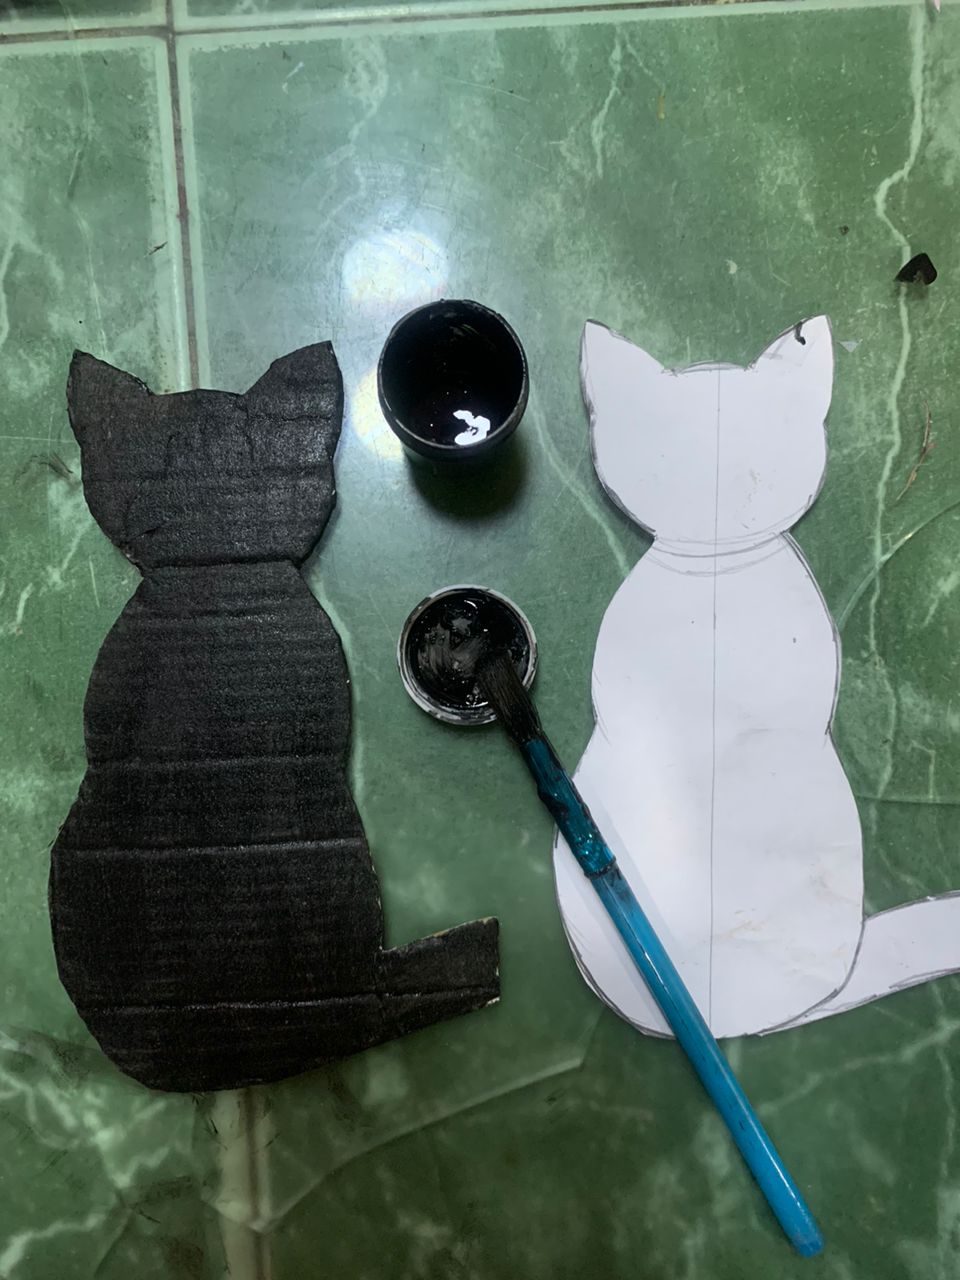
For the second step I drew the figure of a cat of approximately 19cm x 8cm on half of a sheet of paper and then cut it out, except for the tail because there was not enough space to draw it. I used this already cut out silhouette as a mold to draw it on top of another piece of the cardboard cover I used in the previous step.
Once I drew and cut the figure on the cardboard I painted it black.
.jpeg) | 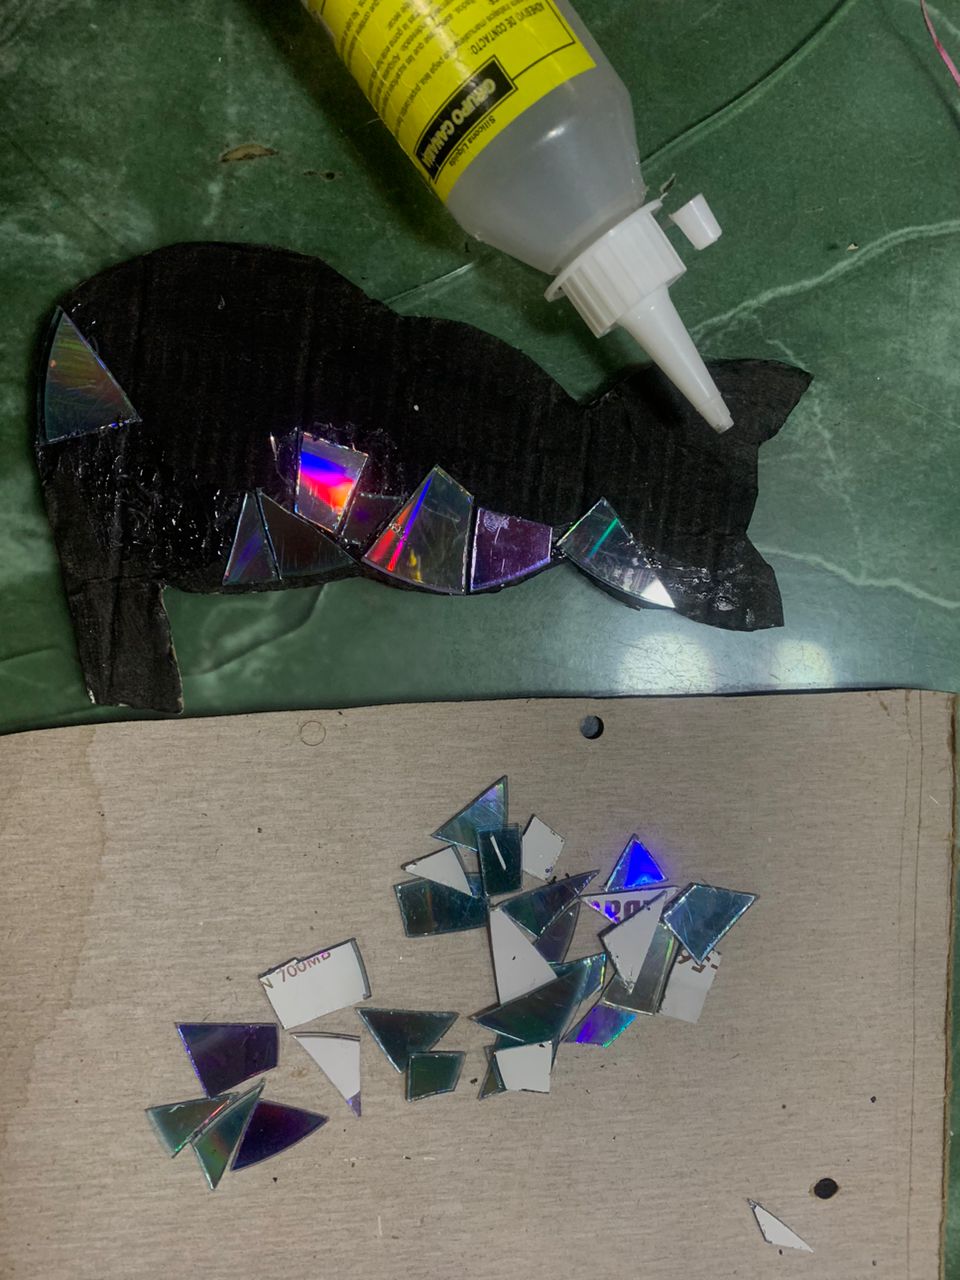 |
|---|---|
| this is the most important step and also the one that took me the longest time to do, although it was fun | 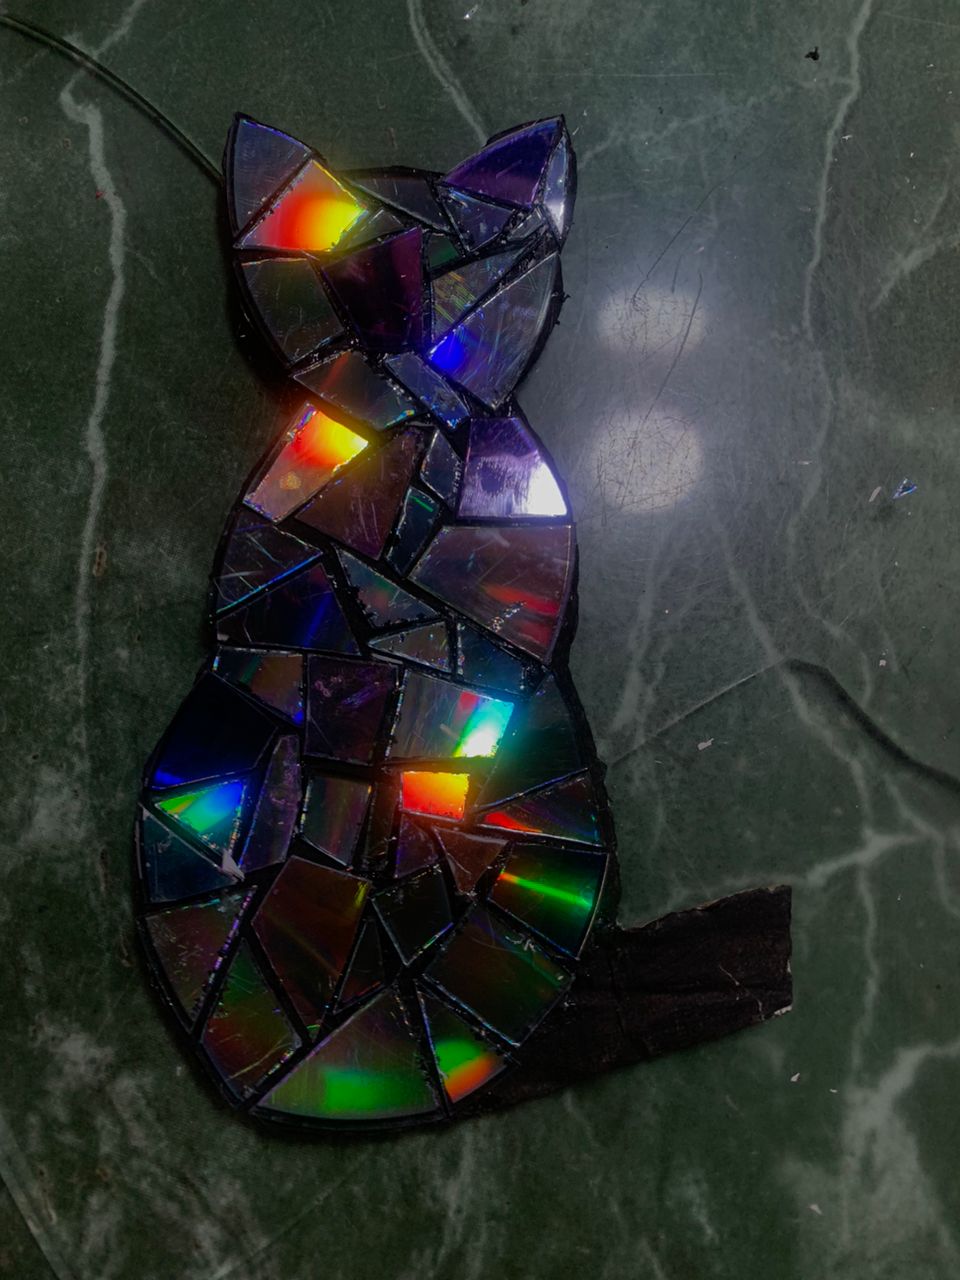 |
🤍𝐓𝐇𝐈𝐑𝐃 𝐒𝐓𝐄𝐏:
In this step I proceeded to chop a couple of CDs with the help of a scissors, I did not follow any pattern but I let myself go getting pieces of different shapes and sizes.
I took the cardboard cat figure I had made in the previous step and glued on top of it, using liquid silicone, the CD pieces, arranging them in such a way that all the empty spaces were filled but leaving a minimum separation between them to create a mosaic effect.
🤍𝐅𝐎𝐔𝐑𝐓𝐇 (𝐀𝐍𝐃 𝐋𝐀𝐒𝐓) 𝐒𝐓𝐄𝐏:
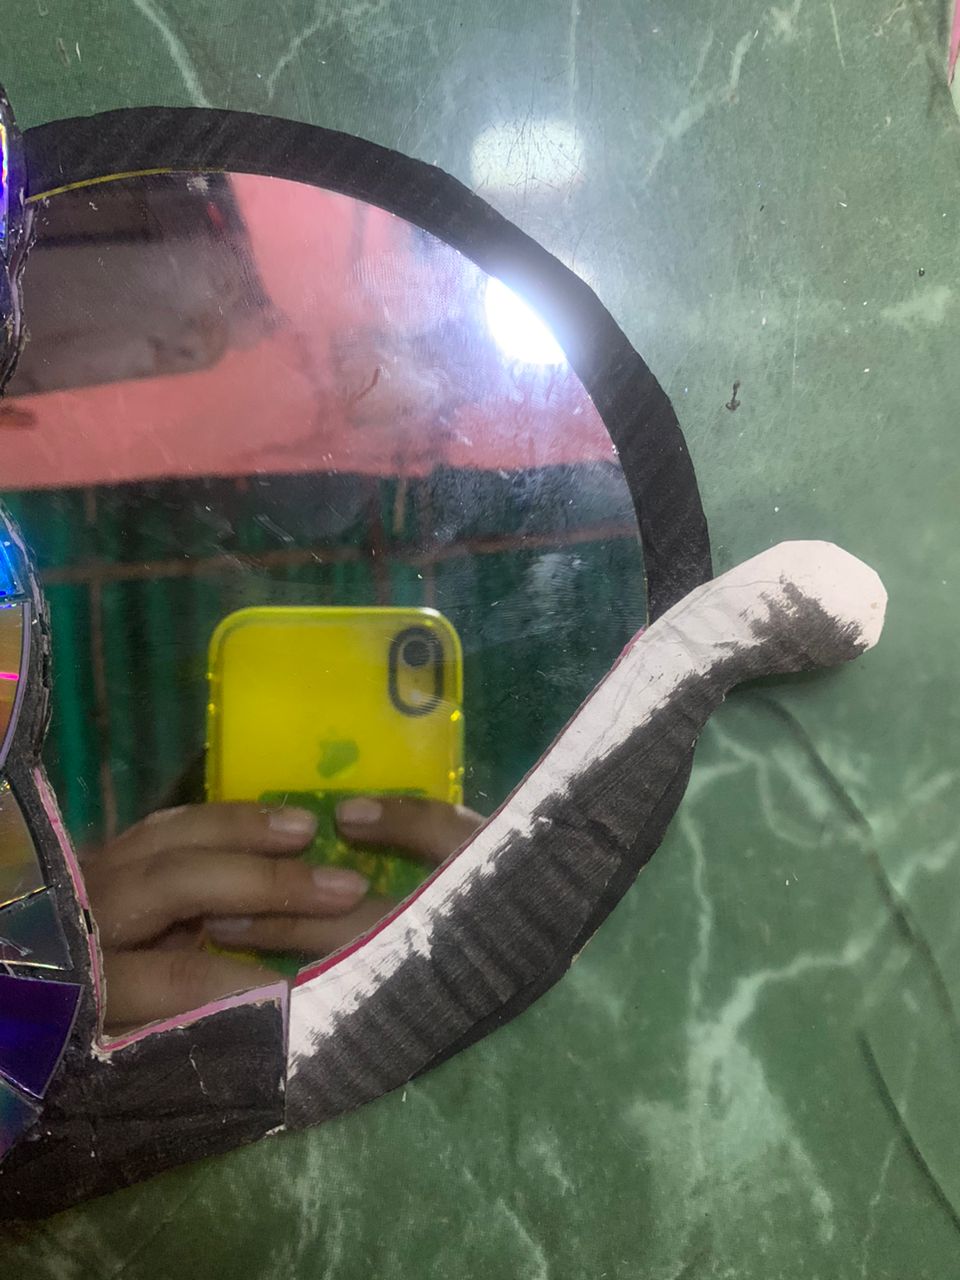
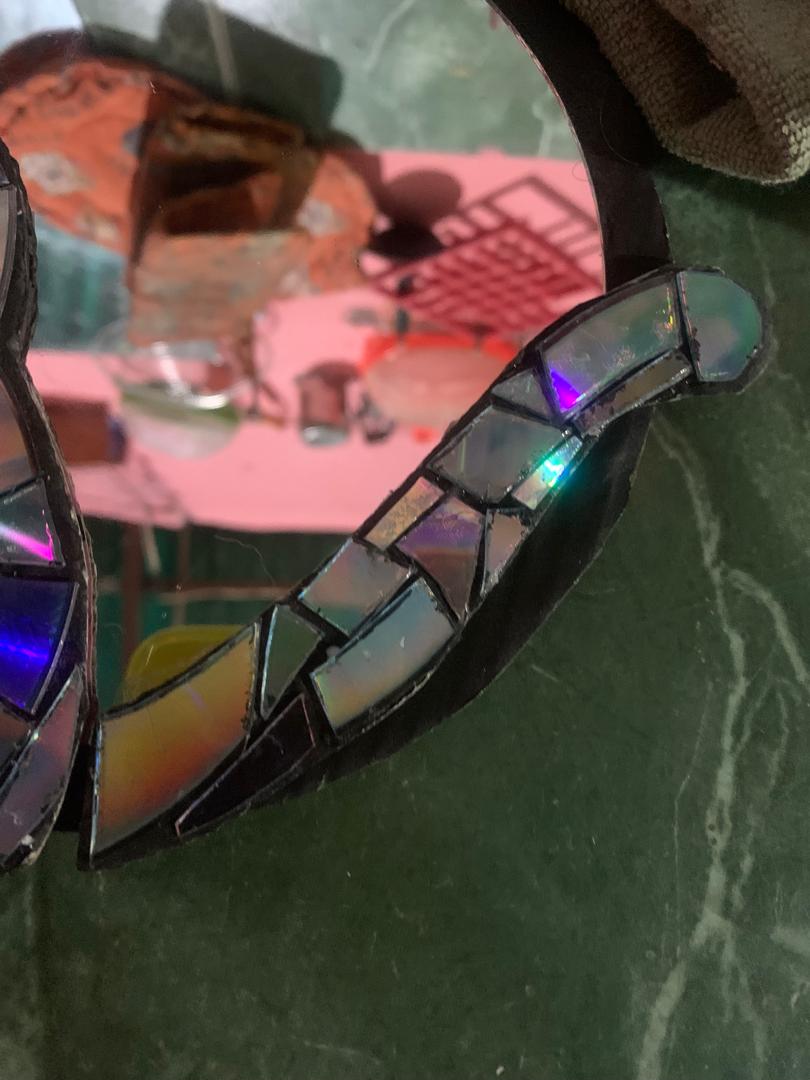
Since I had not made the shape of the cat's tail, here I had to improvise and with some of the cardboard that was left over I made the figure so that it bordered the mirror frame a little and fit with the cat figure I had made. This figure of the tail I also filled it with pieces of CD, these a little more carved to obtain the fluid form of the tail of a cat.
 |  |
|---|---|
| here I modified the shape a bit, but I did not take pictures of it |
In the end I just glued the cat on top of the mirror and the tail next to it. To hang the mirror on the wall I glued a black ribbon on the back.

Me encanta.. mucha creatividad!
gracias por tu comentario 😊
Nice job of recycling, it is very nice to decorate a space. Thanks for sharing in our community
Nice recycling work. The mirror decorations look beautiful. Keep it up
Thank you, that's right, the mirror decorations are very beautiful.😊
You set your face like a model haha 😅
!diy
!discovery 30
😊
This post was shared and voted inside the discord by the curators team of discovery-it
Join our Community and follow our Curation Trail
Discovery-it is also a Witness, vote for us here
Delegate to us for passive income. Check our 80% fee-back Program
You can query your personal balance by
!DIYSTATSCongratulations @merlysmont! You have completed the following achievement on the Hive blockchain And have been rewarded with New badge(s)
Your next target is to reach 2500 upvotes.
You can view your badges on your board and compare yourself to others in the Ranking
If you no longer want to receive notifications, reply to this comment with the word
STOPCheck out our last posts:
LO AMO.... 😍 QUE IDEA TAN HERMOSA Y ORIGINAL, Maravilloso trabajo amiga 😊