

✨🩷✨🩷✨🩷✨🩷✨🩷✨🩷✨🩷✨🩷
Hola amigos de esta hermosa comunidad de DiyHub! Cómo están ? ,ya tienen todo preparado para sus proyectos de san Valentín? ,hoy les traigo mi entrada para el reto de san Valentín #DIYLOVE de #DiyHub , esperando que los pueda inspirar para regalar un detalle el 14 de febrero o incluso para cumpleaños o el día de madres, haremos unas lindas colas , moñeras, coletas como le digan en su país ,en forma de rosas y que cumplen la doble función de también ser la decoración para una tarjeta , así que es como un 2x1 ✨ , acá les dejo el paso a paso de este proyecto.↘️⬇️↙️

🩷 Cinta de raso n#9
🩷 Tijeras
🩷 Regla
🩷 Compás
🩷 Yesquero
🩷 Cartulina dorada reciclada
🩷 Bisturí/exacto para manualidades
🩷 Cinta cero raso
Manos a la obra
English Version
Hello friends of this beautiful DiyHub community! How are you? Do you have everything ready for your Valentine's Day projects? Today I bring you my entry for the #DiyHub Valentine's Day challenge #DIYLOVE, hoping that it can inspire you to give a gift on February 14th or even for birthdays or Mother's Day, we will make some cute tails, bows, ponytails as they say in your country, in the shape of roses and that serve the double function of also being the decoration for a card, so it's like a 2x1 ✨, here I leave you the step by step of this project. ↘️⬇️↙️
🩷 Satin ribbon #9
🩷 Scissors
🩷 Ruler
🩷 Compass
🩷 Tinderbox
🩷 Recycled gold cardboard
🩷 Scalpel/exact knife for crafts
🩷 Zero satin ribbon
Let's get to work

 |  |  |
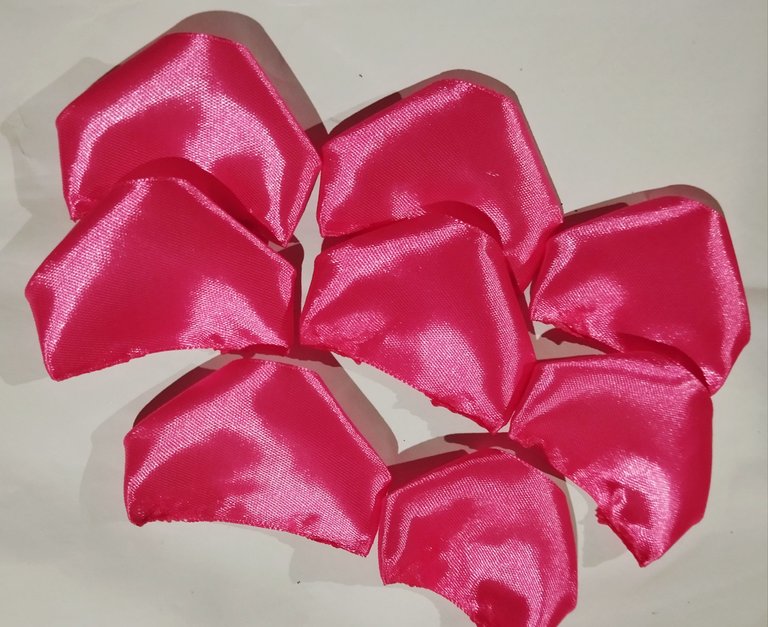 | 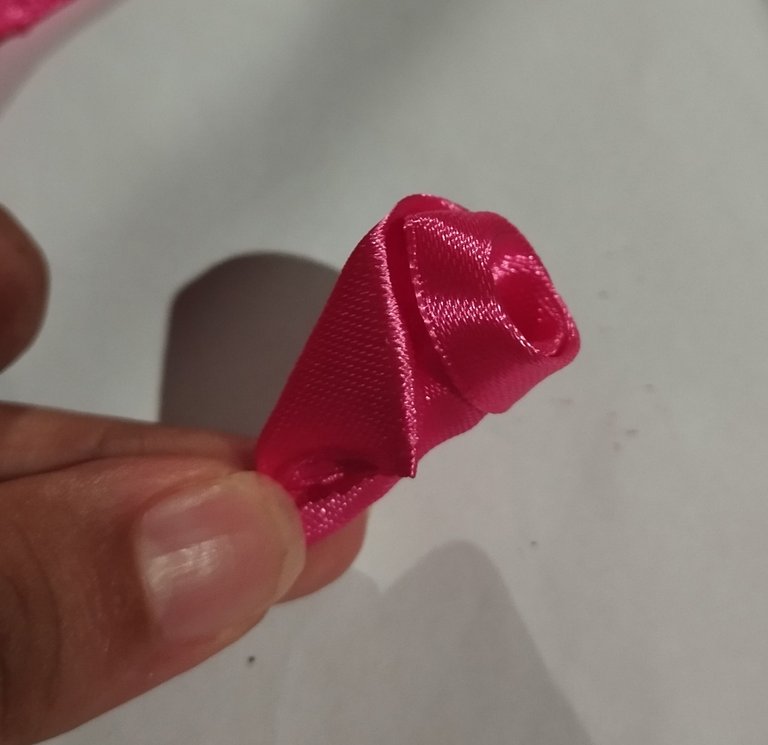 | 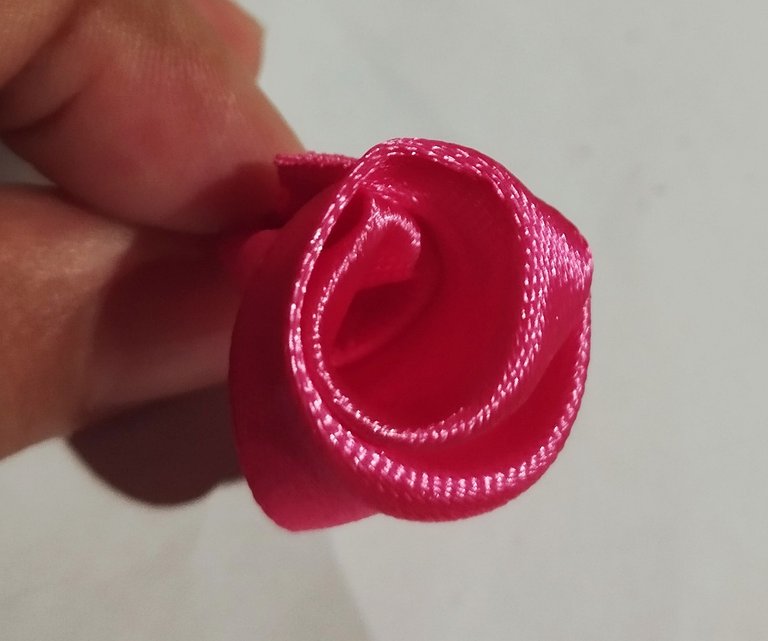 |
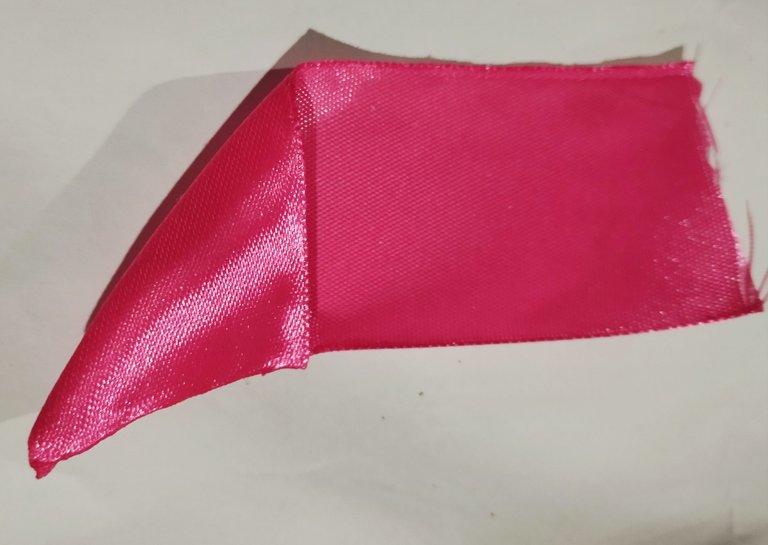
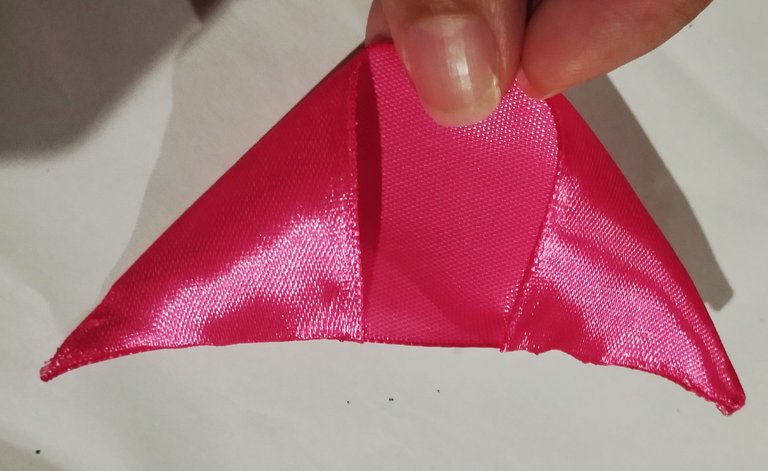
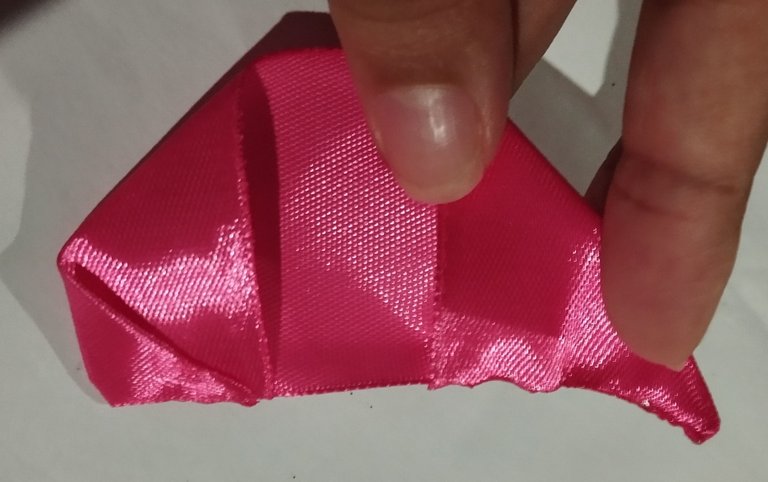
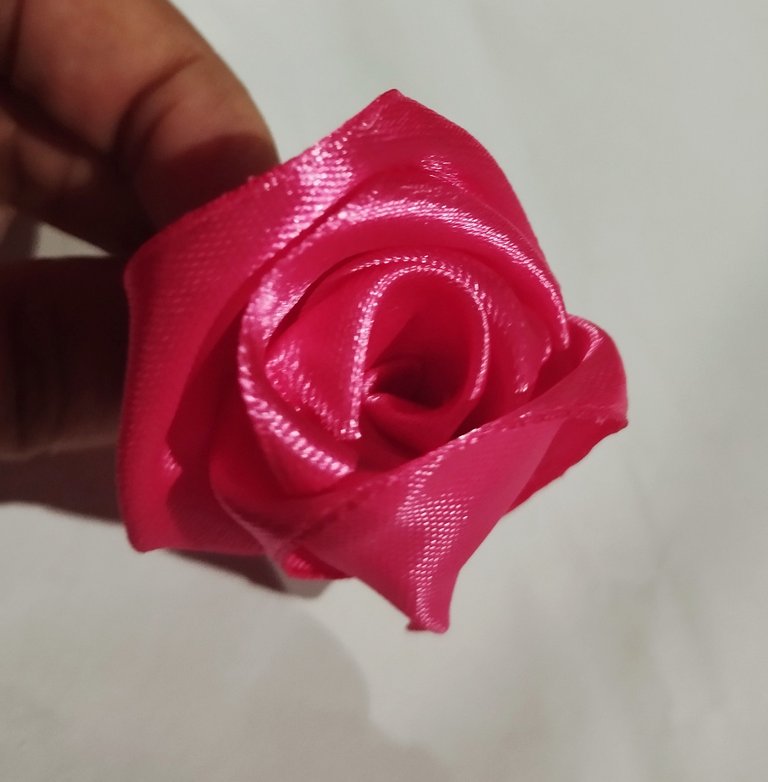
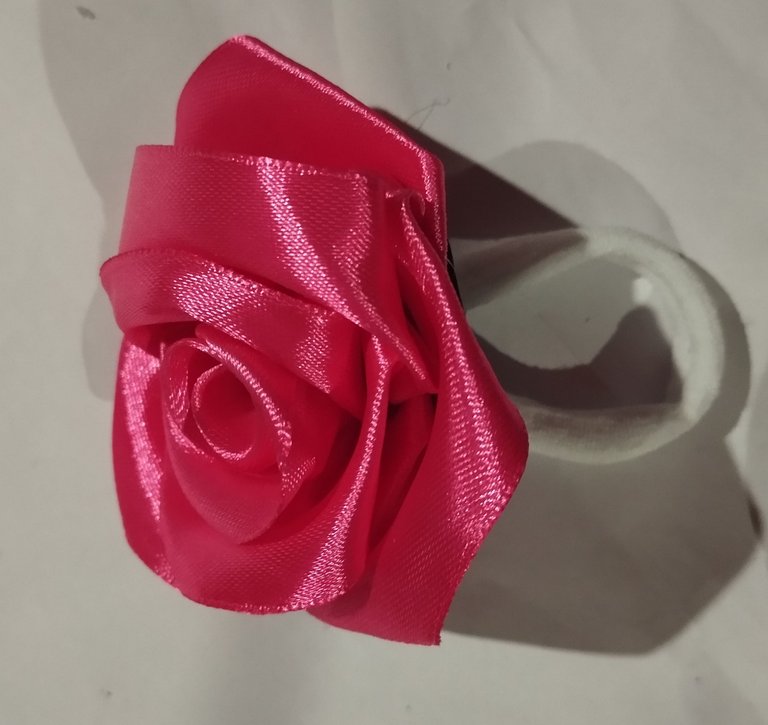
#1 Empezaremos haciendo las rosas con cintas, está se hacen de la manera tradicional como las que se hacen para ramos pero sin agregar el palito de altura ,cortamos la medida para los pétalos de unos 9 a 10 cm, o del tamaño de una tarjeta 💳, cortaremos 8 pétalos para cada rosa. Luego que tengamos el regtangulo vamos a ir doblando el extremo hacia adentro hasta que se forme un pico y lo sellamos con Yesquero, la cinta al ser sintética se derrite y pega el pliegue, luego procedemos a tomar el otro extremo y lo doblamos de nuevo hacia adentro haciendo la forma de un triángulo, y también sellando con Yesquero para mantener la forma, ya cuando tengamos este triángulo ,tomaremos unos de sus extremos y los doblaremos hace adentro , dejando un espacio en el centro, y luego haremos lo mismo con el otro extremo, lo doblamos hacia adentro, dejando un pequeño espacio en el medio y esto lo repetiremos para armar cada pétalo. Luego uno de los pétalos lo ennrollaremos dentro de sí mismo, haciendo una especie de capullo este será el centro.
English Version
#1 We will start by making the roses with ribbons, these are made in the traditional way like those made for bouquets but without adding the height stick, we cut the measurement for the petals of about 9 to 10 cm, or the size of a card 💳, we will cut 8 petals for each rose. After we have the rectangle we are going to fold the end inwards until a peak is formed and we seal it with Yesquero, the ribbon being synthetic melts and sticks the fold, then we proceed to take the other end and fold it inwards again making the shape of a triangle, and also sealing with Yesquero to keep the shape, when we have this triangle, we will take one of its ends and fold them inwards, leaving a space in the center, and then we will do the same with the other end, we fold it inwards, leaving a small space in the middle and we will repeat this to assemble each petal. Then we will roll one of the petals inside itself, making a kind of cocoon. This will be the center.
 |  |  |
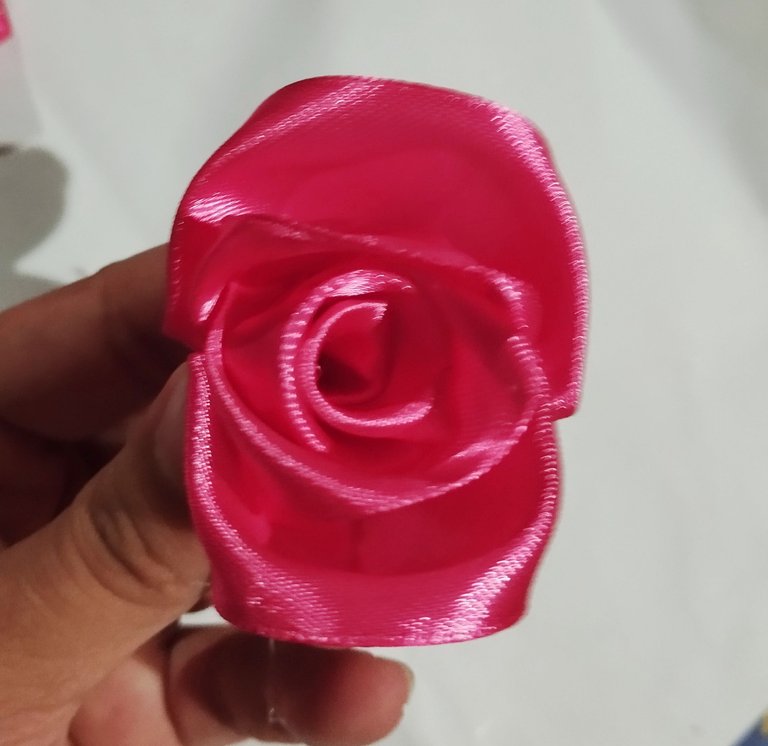 | 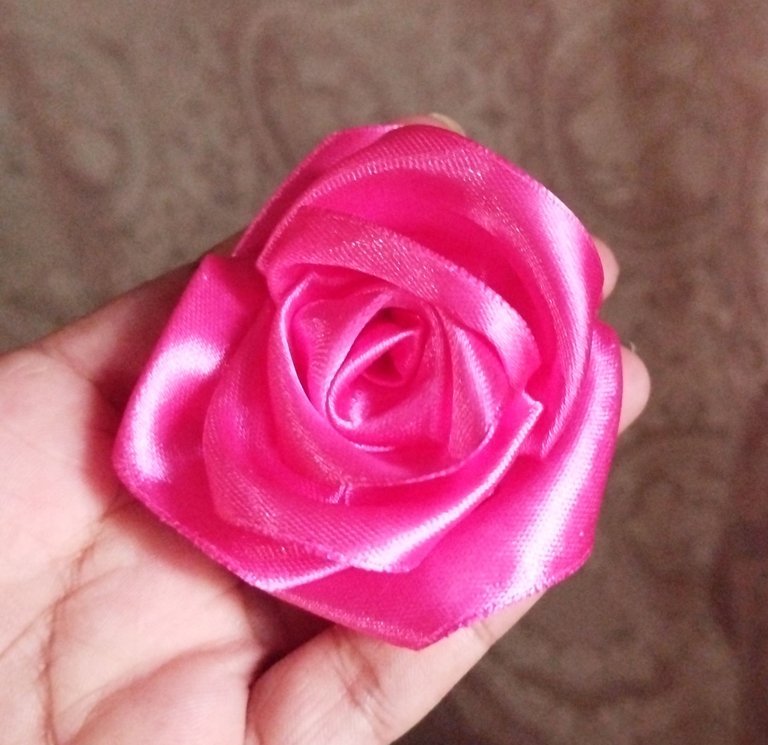 |  |
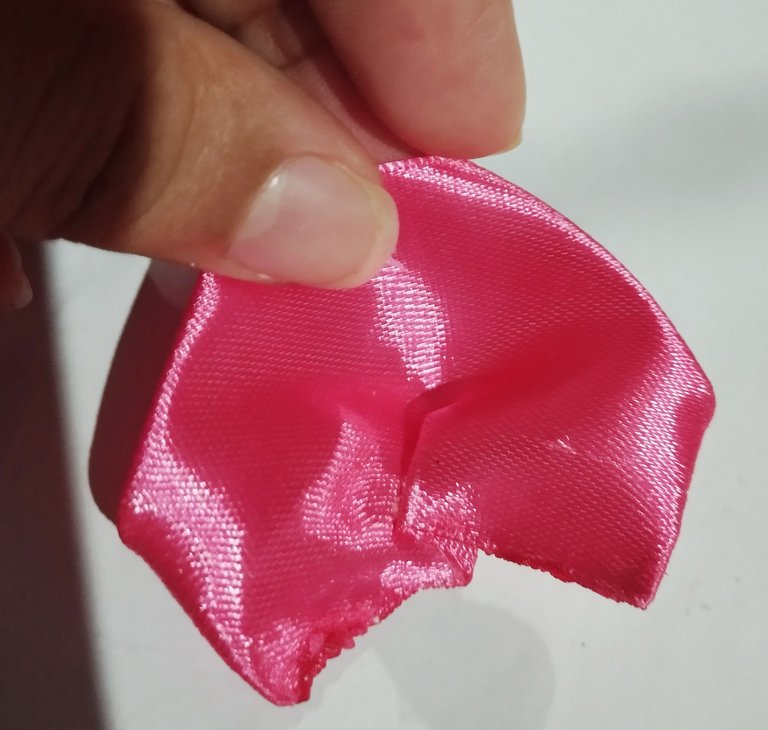
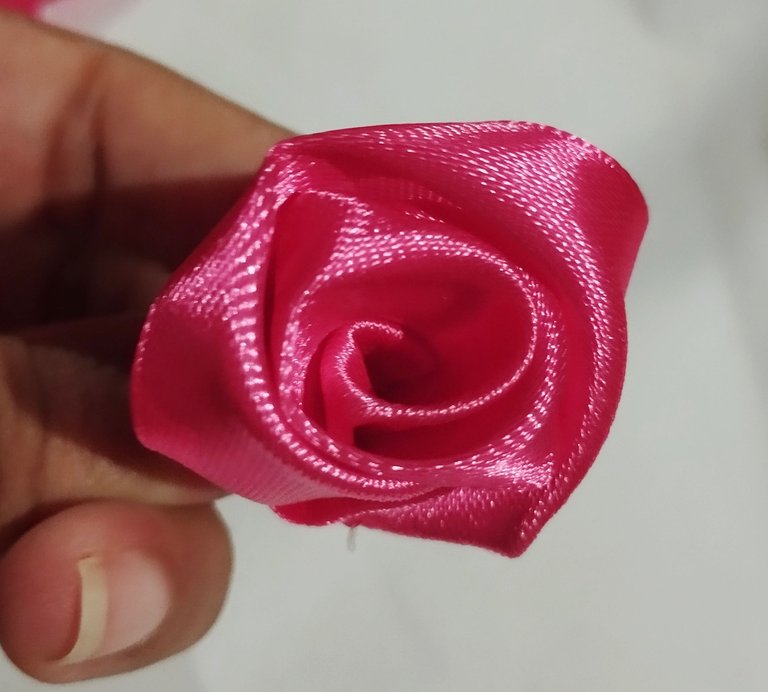
#2 Luego que tengamos el centro haremos, que los pétalos tengan movimiento y tridimensionalidad le haremos un corte en el medio, y los uniremos para que quede un pétalo cóncavo, luego iremos pegando pétalos rodeando el centro,en forma de cruz teniendo el ramo en el centro, e ir agregando dos pétalos enfrentándose entre sí, y dos pétalos más paralelos a esos, hasta llegar a los últimos pétalos estos últimos lo agregaremos un poco abierto para que la rosa quede muy grande. Luego pegaremos con silicón caliente una colita estirando está para que quede bien adherido la cola a la parte de atrás.
English Version
#2 After we have the center, we will make the petals have movement and three-dimensionality. We will make a cut in the middle and join them together to get a concave petal. Then we will glue petals around the center in the shape of a cross with the bouquet in the center, and add two petals facing each other and two more petals parallel to those until we reach the last petals. We will add these last ones a little open so that the rose is very large. Then we will glue a little tail with hot silicone, stretching it so that the tail is well attached to the back.
 |  |  |
 | 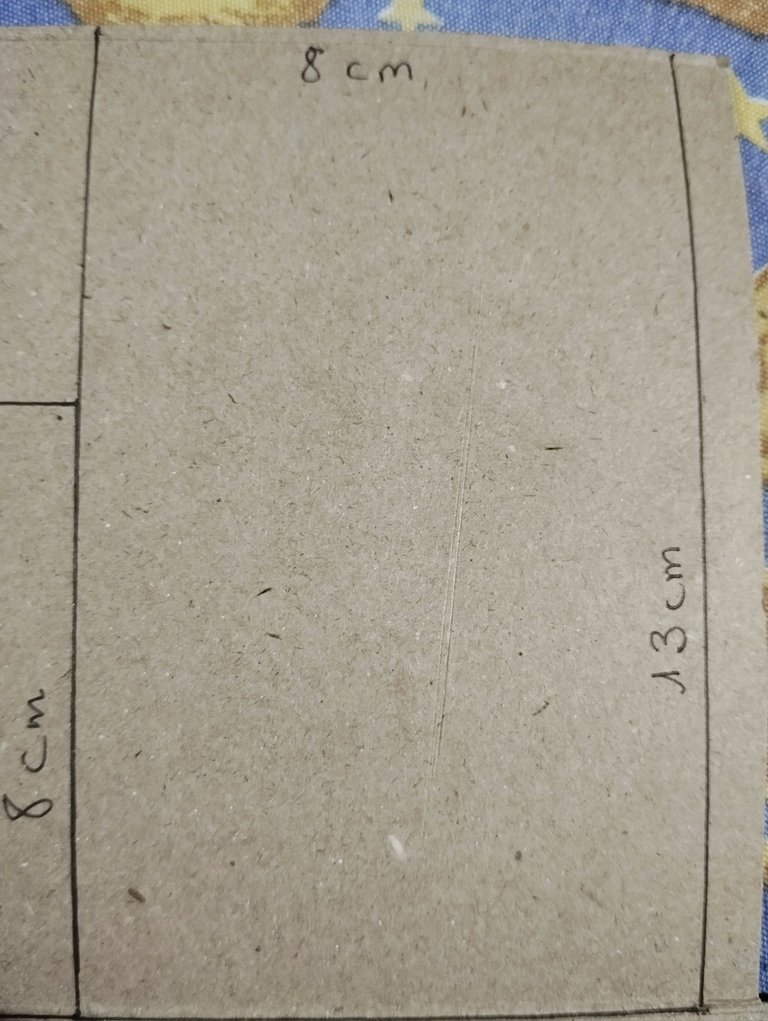 | 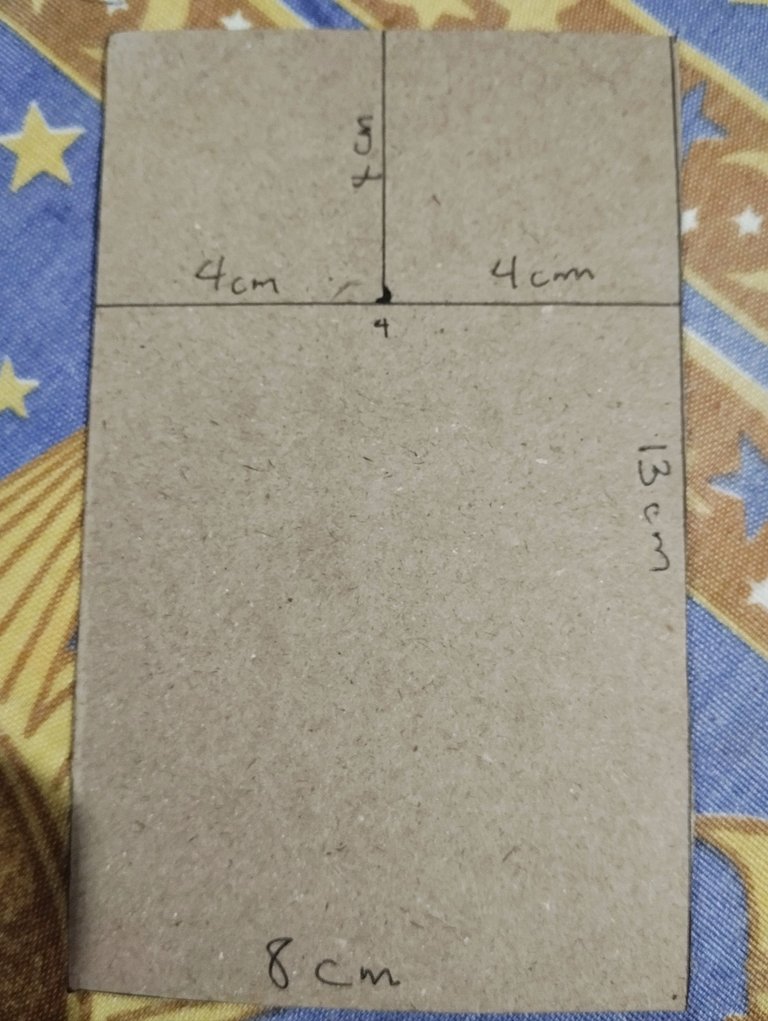 |
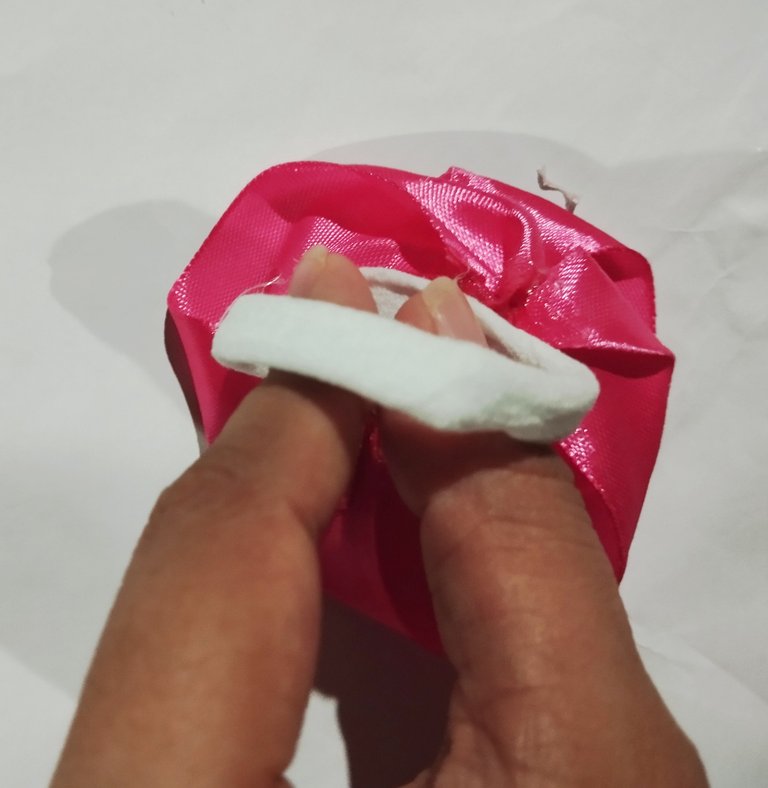
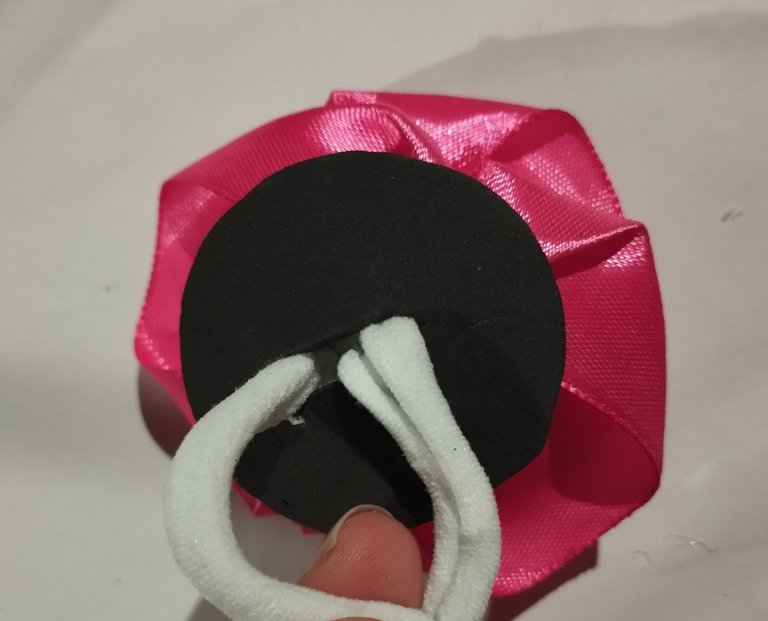
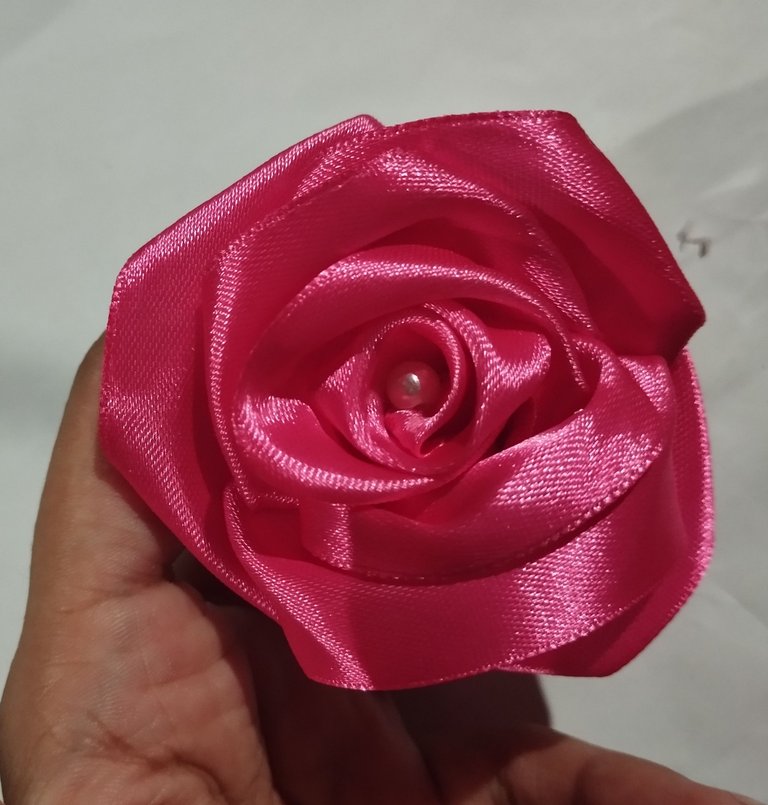
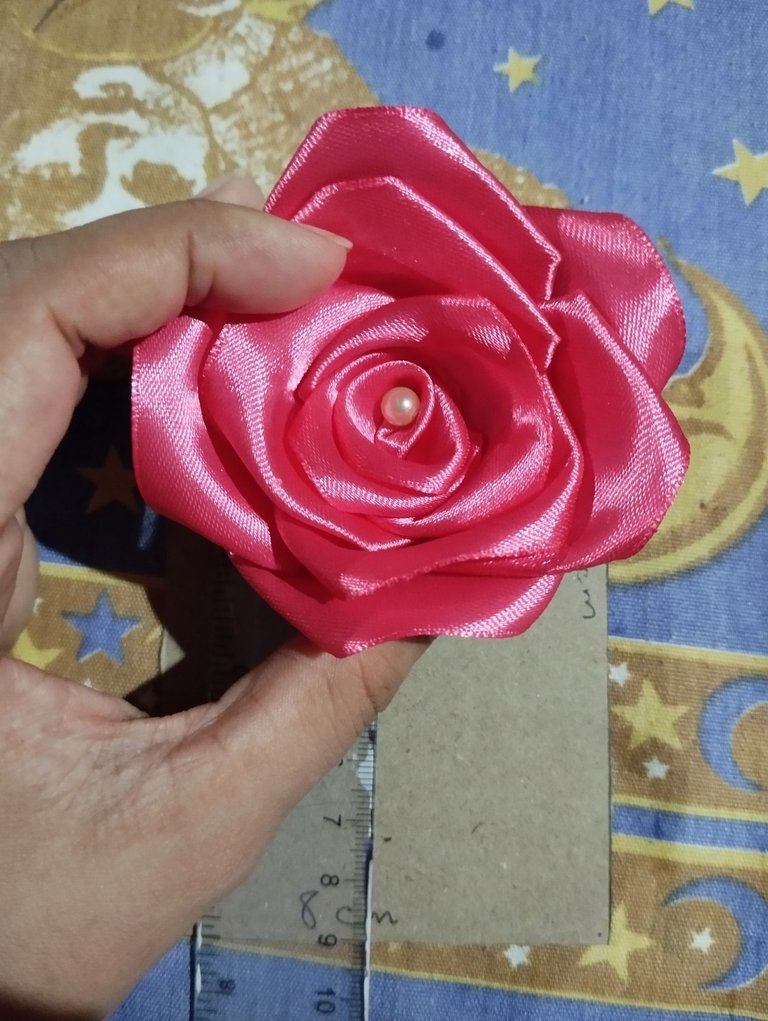
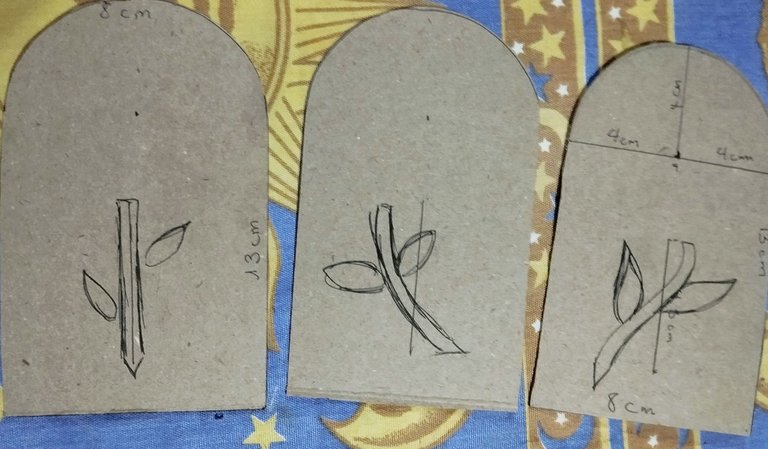
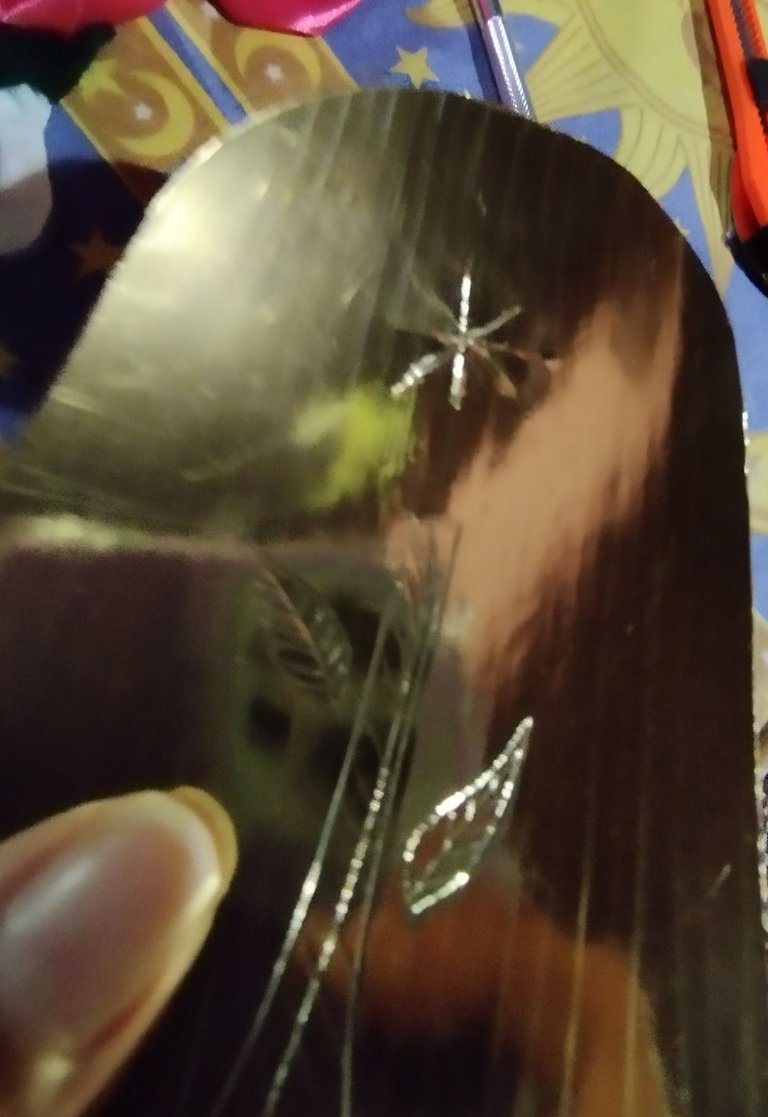
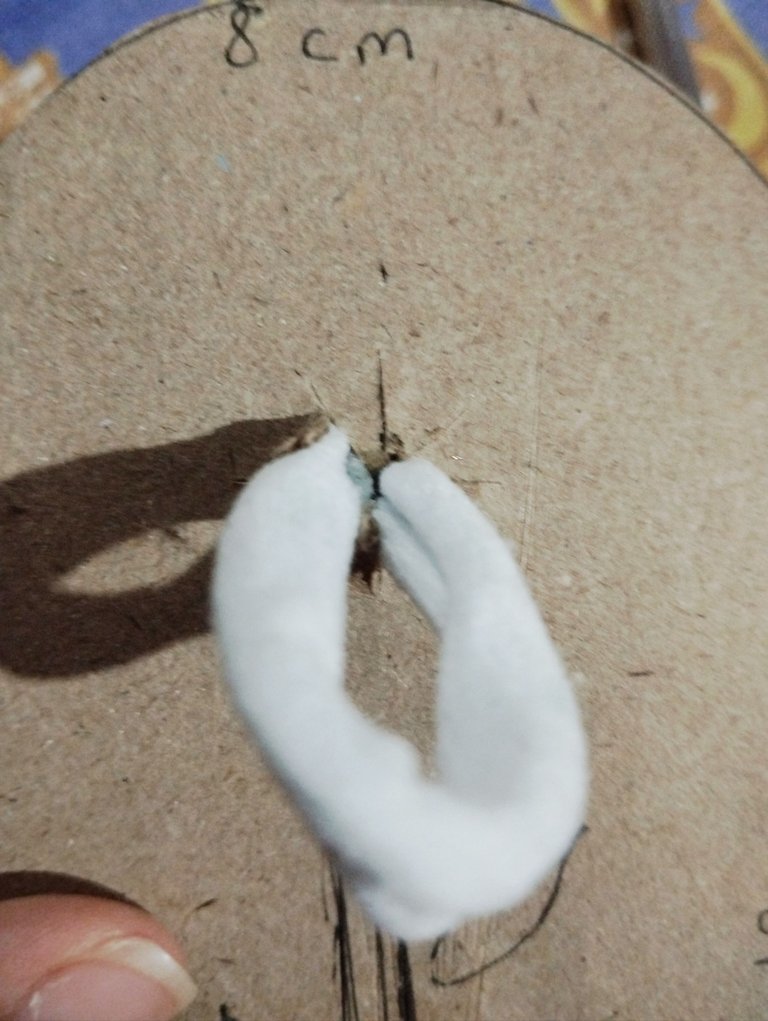
#3 para tapar la unión de la colita, pondremos un círculo de foami y haremos un corte en el centro para por allí atravesar el extremo de la colita ,y pegarla con pega caliente. Y agregué una perlita, en el centro de la rosa para decorar.Para hacer el cartón en donde se presentará está cola, usé un cartón reciclado de un empaque ,que vino con la superficie como metalizada así que vamos a aprovecharlo, lo limpie bien con alcohol y un algodón ,para luego marcar un regtangulo de 13cm de largo por 8cm de ancho.Luego medí el medio ,y medí 4 CM de manera vertical, como se ve en la foto.
English Version
#3 To cover the join of the tail, we will put a foam circle and make a cut in the center to go through the end of the tail and glue it with hot glue. And I added a pearl in the center of the rose to decorate. To make the cardboard where this tail will be presented, I used a recycled cardboard from a package, which came with a metalized surface so we are going to use it, I cleaned it well with alcohol and cotton, then marked a rectangle 13cm long by 8cm wide. Then I measured the middle, and measured 4 CM vertically, as seen in the photo.
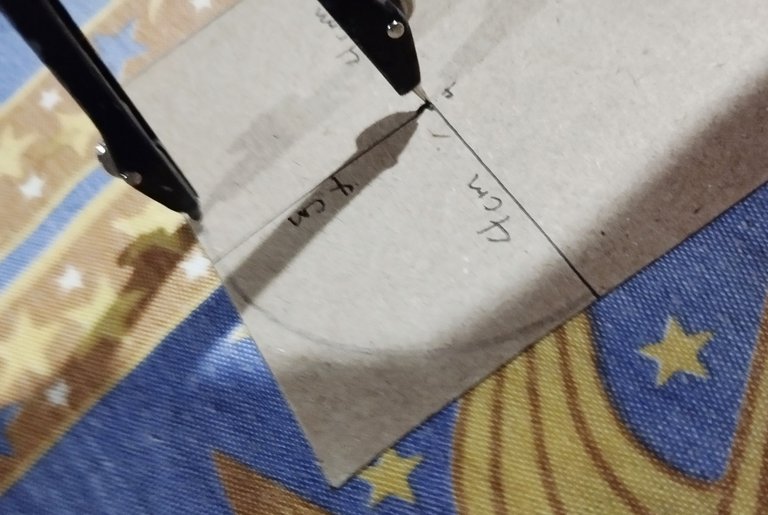 |  |  |
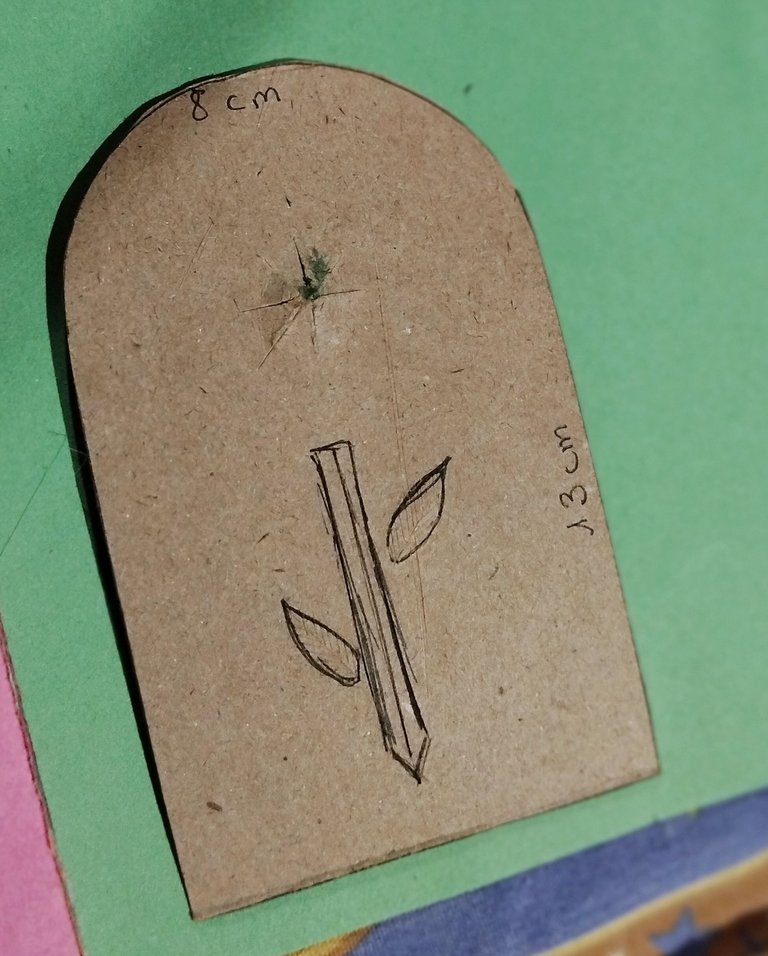
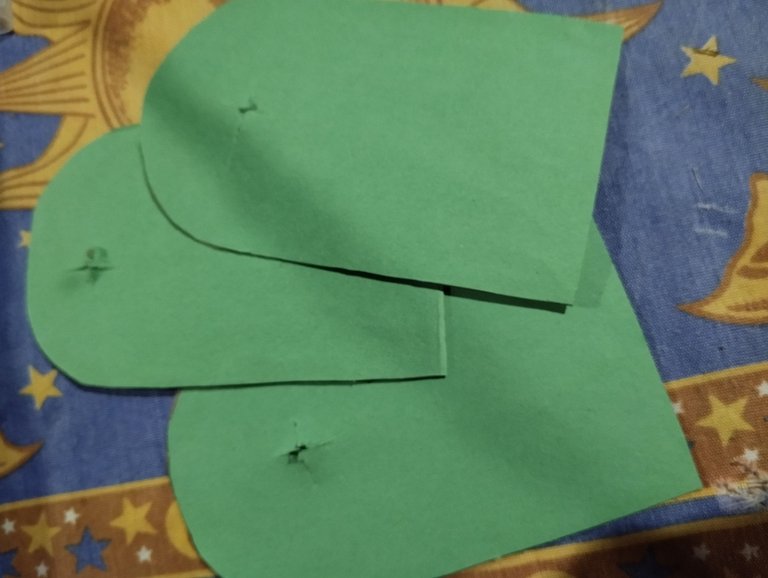
#4 Aquí con la referencia de los 4cm hubicaremos la punta del compás,para hacer un semi círculo que formará el contorno del arco ,en la tarjeta y luego la recortaremos, de esta forma hice dos tarjetitas más con la forma de arco.
English Version
#4 Here, with the 4cm reference, we will place the tip of the compass to make a semi-circle that will form the outline of the arch on the card and then we will cut it out. This way, I made two more cards in the shape of an arch.
 |  |  |
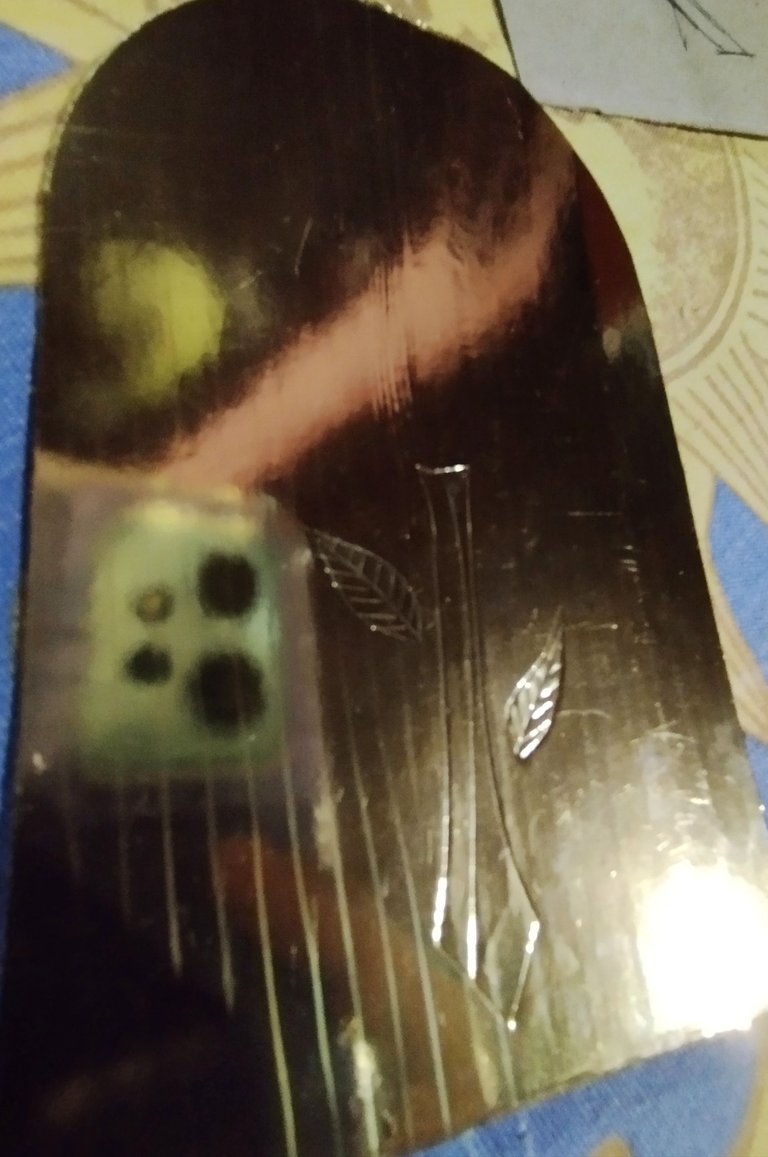 |  |  |
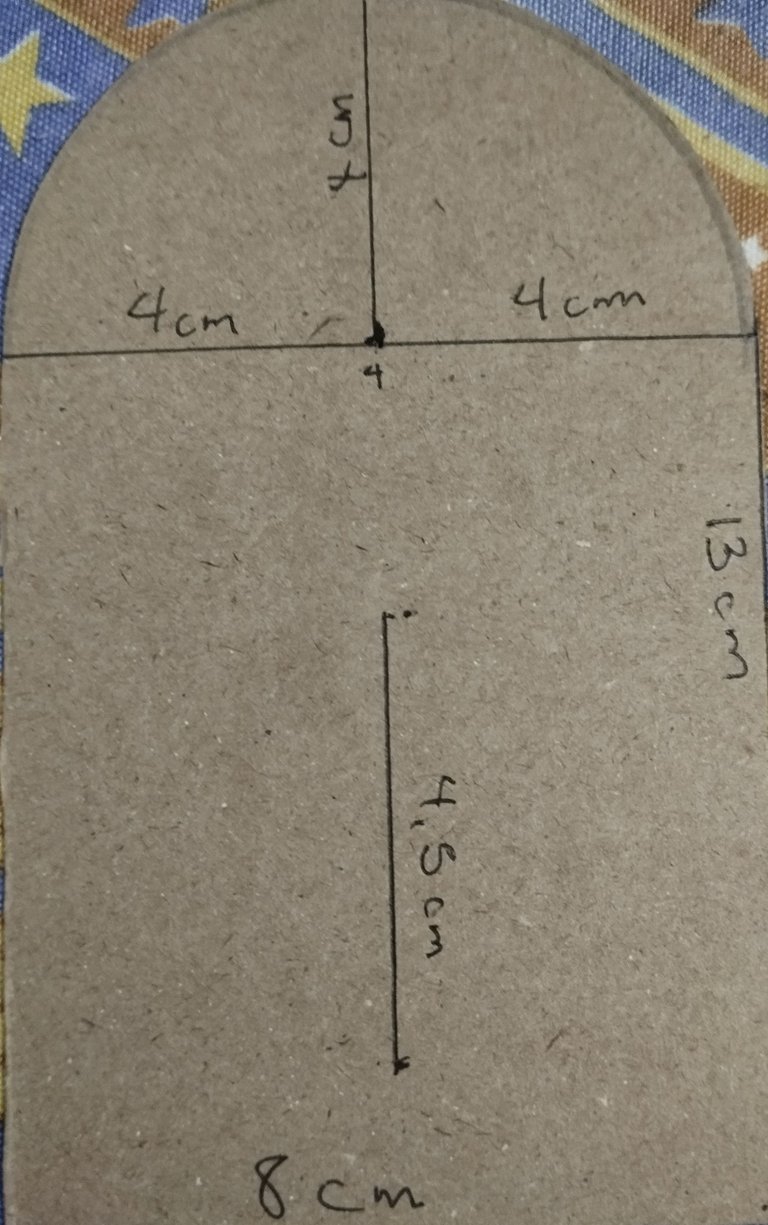
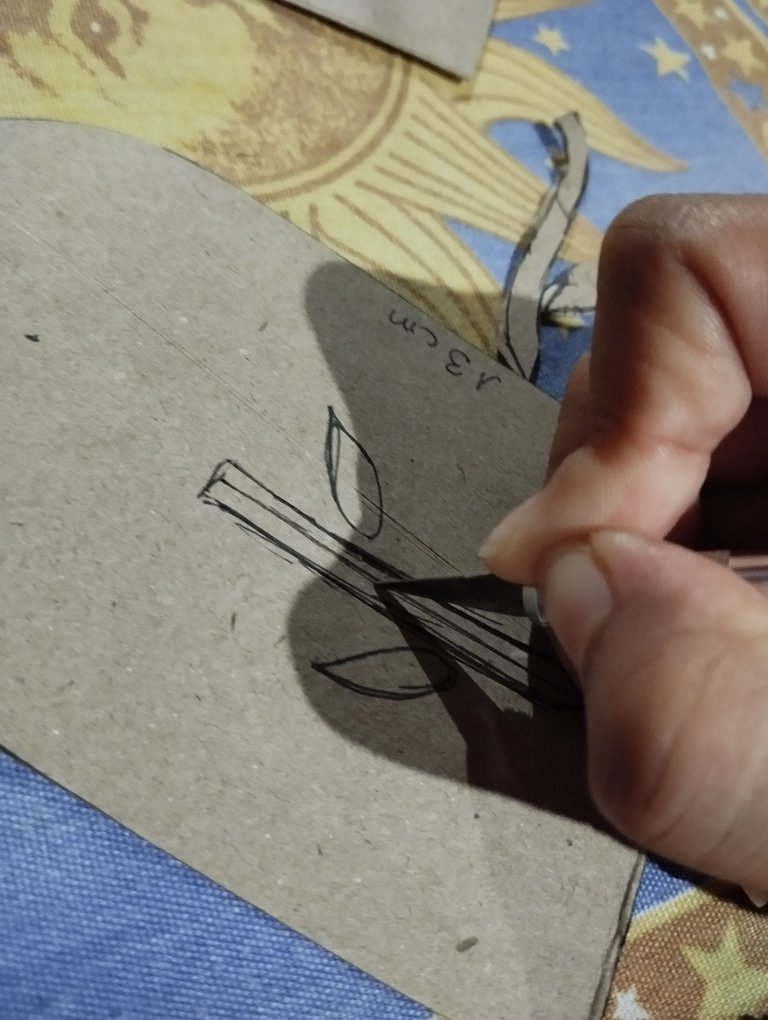
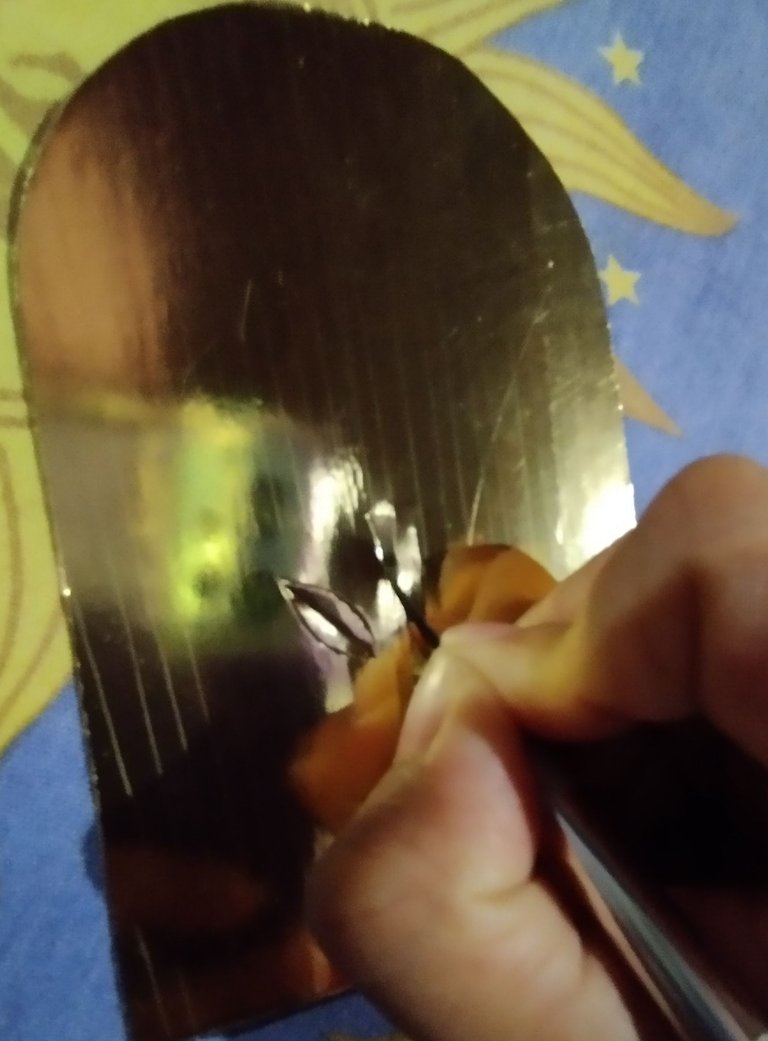
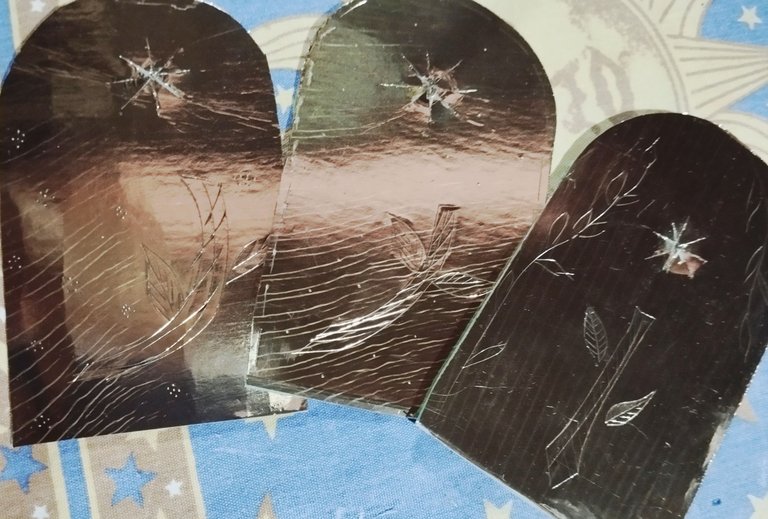
#5 Ahora decoraremos las tarjetas, depende de dónde quieras colocar tu rosa ,yo medí el espacio debajo de donde iría la rosa y medí 4,5cm en una línea recta en el medio de la tarjeta ,y está lo usé como referencia para poder hacer el dibujo de como quería el tallo de la flor, hice tres tallos diferentes para cada rosas, luego con un bisturí lo marqué haciendo presión,de esta manera se marcara un poco el contorno en la parte frontal de la tarjeta ,la parte dorada ,y luego con el mismo bisturí repase esas líneas de dibujo en la parte dorada para hacer como una especie de "grabado"en la cartulina, para poder introducir la colita , hice un asterisco con el bisturí y repase varias veces hasta ver qué se pudiera pasar la colita sin dificultad.
English Version
#5 Now we will decorate the cards, it depends on where you want to place your rose, I measured the space below where the rose would go and measured 4.5cm in a straight line in the middle of the card, and I used this as a reference to be able to make the drawing of how I wanted the stem of the flower, I made three different stems for each rose, then with a scalpel I marked it by applying pressure, in this way the outline would be marked a little on the front of the card, the golden part, and then with the same scalpel I went over those drawing lines on the golden part to make a kind of "engraving" on the cardboard, to be able to insert the tail, I made an asterisk with the scalpel and went over it several times until I saw that the tail could be passed without difficulty.
 |  |  |
 |  | 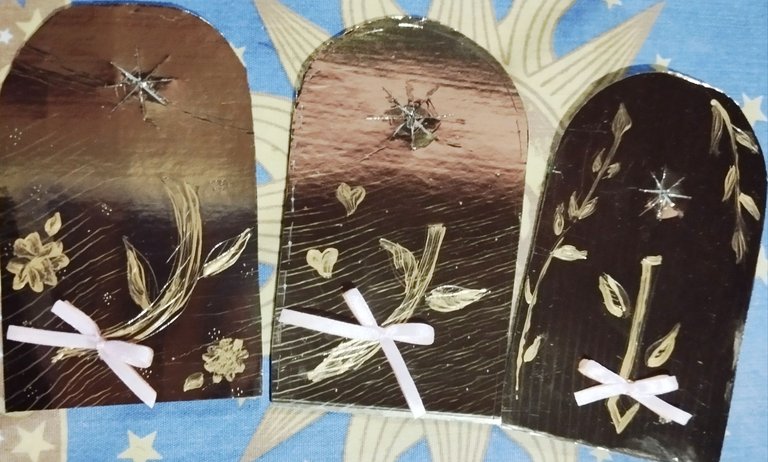 |
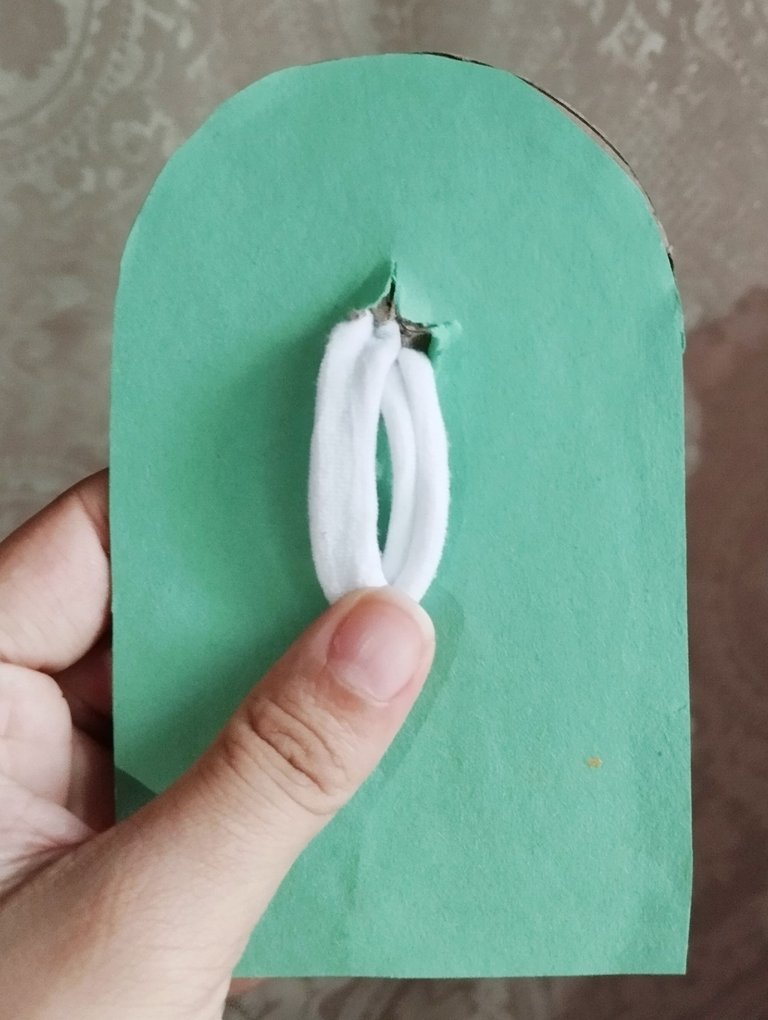
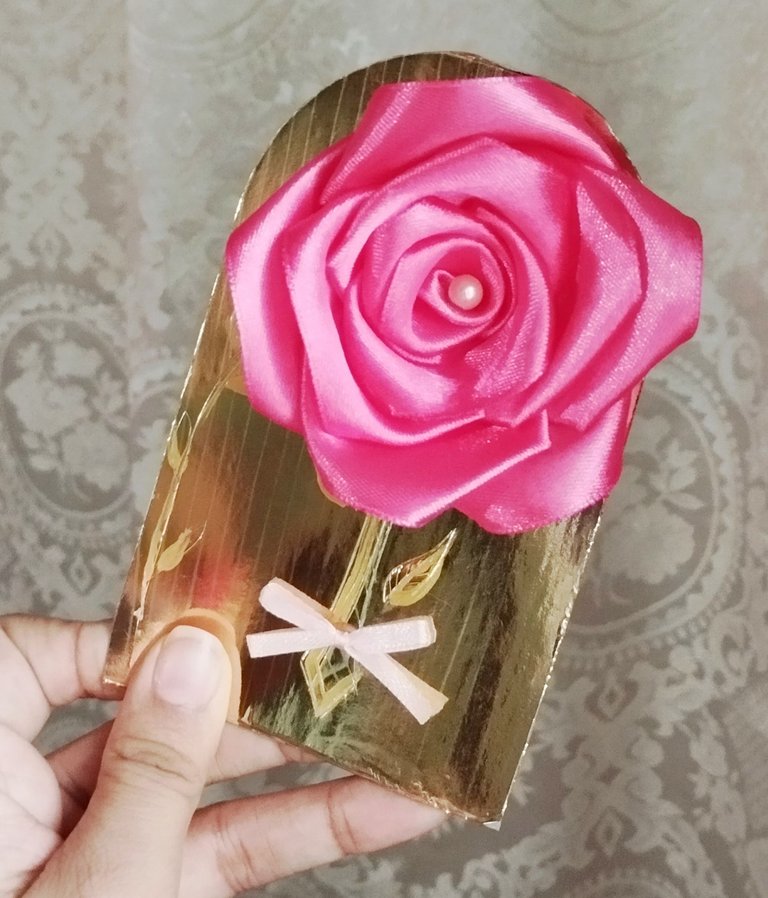
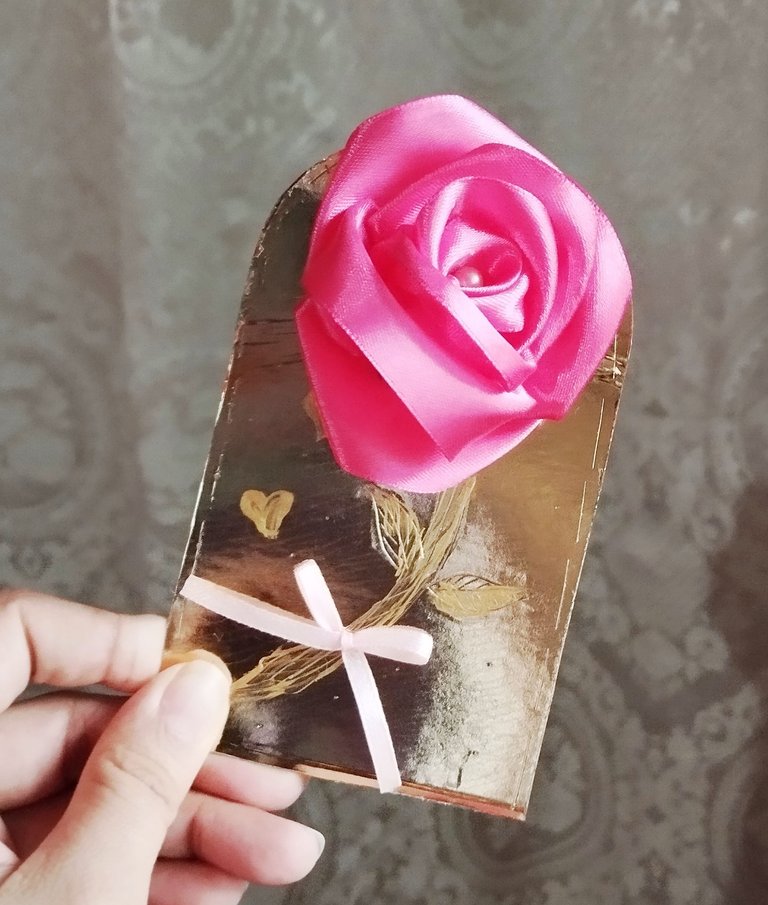
#6 Para que no quedara la parte de atrás color cartón ,pegue una hoja de papel de construcción a la cartulina y recorté el exceso, igual luego volví a hacer el corte de asterisco para que pasará la cola, aquí encaje las colas a cada tarjeta para ver cómo quedarían.Luego quise seguir dándole más detalles como agregar dibujos de unas ramas con hojas , a otra le agregué puntitos haciendo la forma de una flor ,y a otra una unos puntitos para darle textura, luego para que resaltará mucho más con un pincel punta fina y puntura dorada textil remarque el tallo, y agregué otros detalles como las ramas y hojas, en otra tarjeta hice corazones, y en otra hice unas flores, esto para que resalte más el diseño. Por último quise agregarle otro detalle de color para que llamara más la atención he hice lacitos pequeños con cinta n# 0 , y los pegué en los tallos de cada flor.
English Version
#6 So that the back part wouldn't be cardboard colored, I glued a sheet of construction paper to the cardboard and trimmed off the excess, then I made the asterisk cut again so that the tail would go through, here I attached the tails to each card to see how they would look. Then I wanted to continue giving it more details like adding drawings of some branches with leaves, to another I added dots making the shape of a flower, and to another some dots to give it texture, then to make it stand out much more with a fine tip brush and gold textile paint I highlighted the stem, and added other details like branches and leaves, on another card I made hearts, and on another I made some flowers, this to make the design stand out more. Finally I wanted to add another color detail to make it more eye-catching and I made small bows with #0 tape, and glued them on the stems of each flower.
 |  |  |
 |  |  |
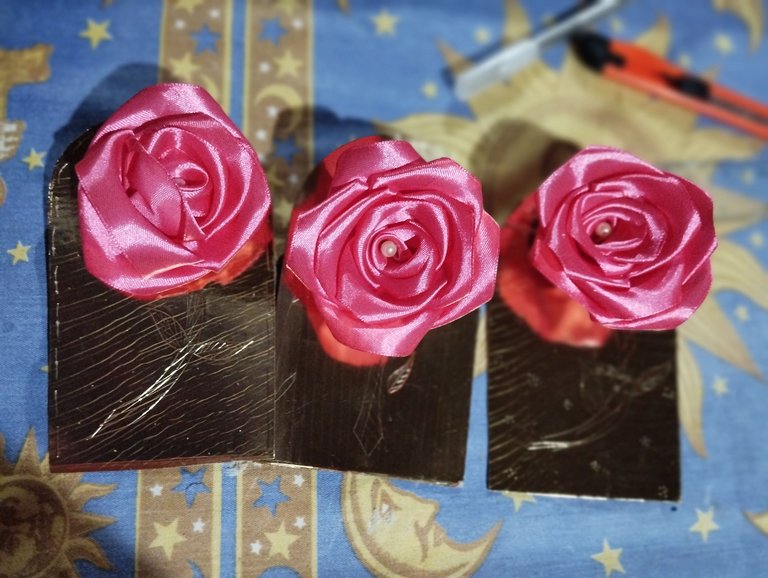
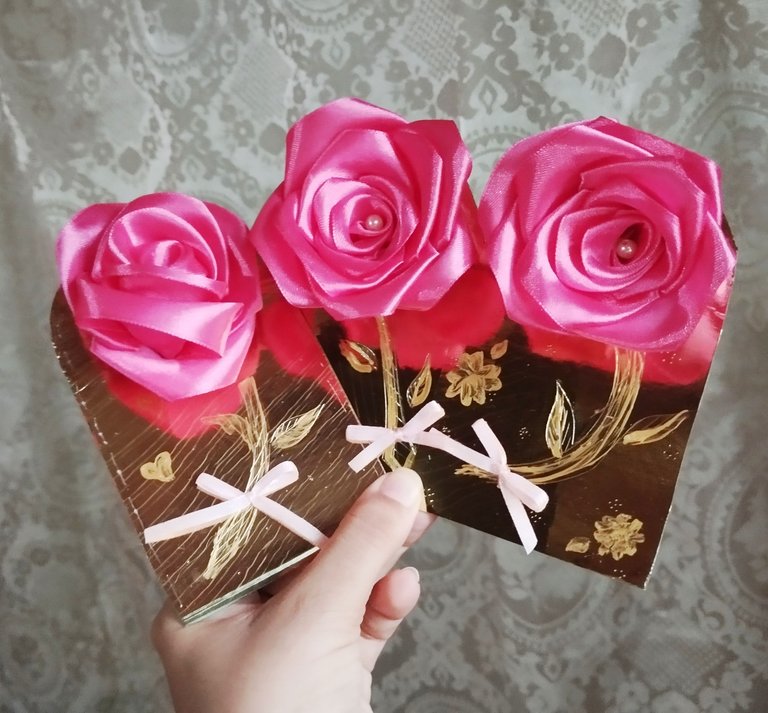
Y listo! Acá tenemos el resultado es una forma de hacer una moñera, coleta ,cola original ,pero también hacer el empaque de presentación muy bonito y darle a alguien un detalle que recordara por mucho tiempo, podemos varias el empaque de diferentes formas ,o poner una bolsita para protegerla, además no quita mucho tiempo, más que todo lo que quita tiempo es hacer los pétalos ,pero todo es cuestión de repetición, te animas a hacer este proyecto?.
Muchas gracias por leerme ! 🤭💜✨ Espero que les haya gustado el post!
Fotos tomadas por mí en mi equipo Redmi note 12 editadas en Pics art y gif realizado en app creador de GIFs texto traducido en Google traductor.
English Version
**And that's it! Here we have the result, it's a way to make a bow, ponytail, original tail, but also to make the presentation packaging very nice and give someone a detail that they will remember for a long time, we can vary the packaging in different ways, or put a bag to protect it, also it doesn't take much time, more than anything what takes time is making the petals, but it's all a matter of repetition, do you dare to do this project? **
Thank you very much for reading me! 🤭💜✨ I hope you liked the post!
Photos taken by me on my Redmi note 12 device edited in Pics art and gif made in GIF creator app text translated in Google translator.

Such a wonderful rose craft. Would make a brilliant accessory. Well done
Thank you so much for all the support DiyHub
Super lindas, gracias por el tutorial 🤗
Muchas gracias 😊 marile 💜✨