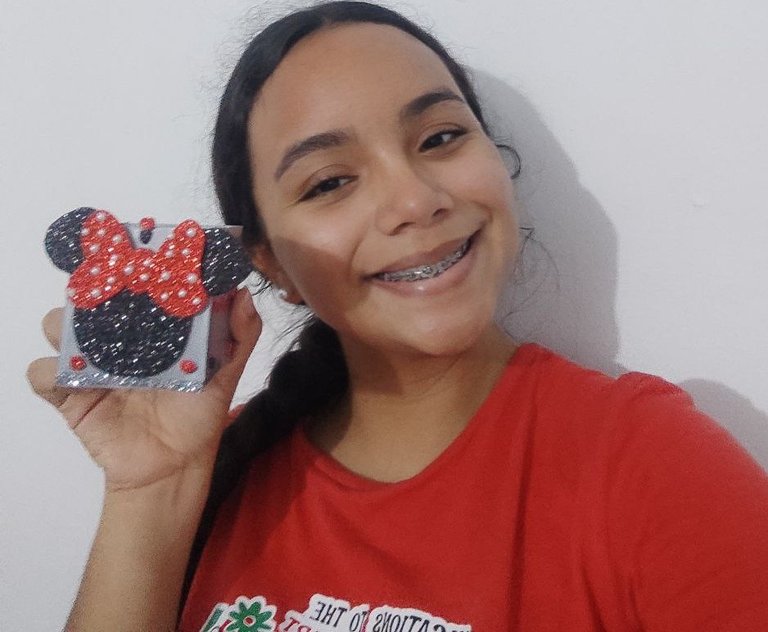
Hola amigos Hivers, hoy quiero compartir con ustedes cómo prepare un tierno portalápiz con el motivo de Minie Mouse. Normalmente, a las niñas les encantan los personajes de Disney, yo particularmente los amé desde niña. A mi hermana menor, por ejemplo, le encantaba lucir todo de minie mouse, por eso pensando en ella, decidí preparar este tierno portalápiz de motivo Minie Mouse con mucho cariño.
Hello friends Hivers, today I want to share with you how to make a cute pencil holder with the Minie Mouse motif. Normally, little girls love Disney characters, I particularly loved them since I was a little girl. My younger sister, for example, loved to wear everything minie mouse, so thinking of her, I decided to prepare this cute pencil holder with Minie Mouse motif with love.
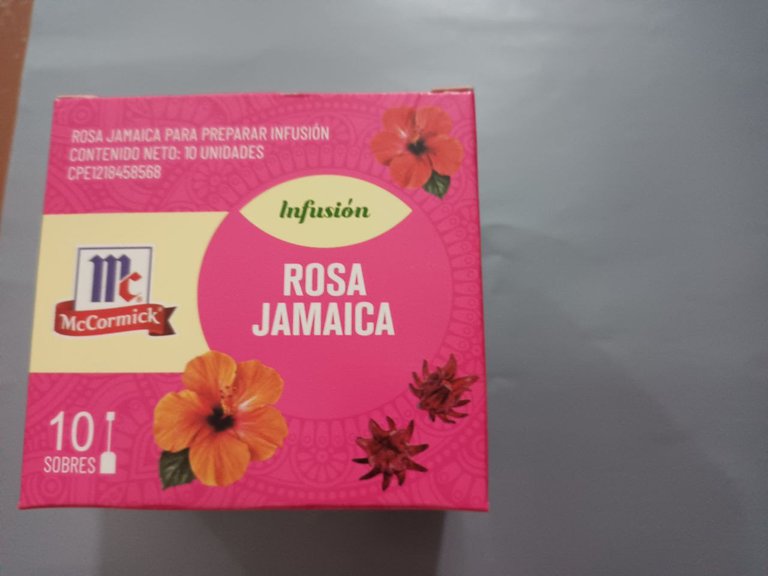
Materiales Utilizados / Materials Used:
- Caja reciclada de té.
- Papel lustrillo de color gris.
- Foami color negro brillante.
- Foami color rojo brillante.
- Foami color gris brillante.
- Perlas de color blanco.
- Sílicon líquido.
- Tijera.
- Lapicero.
- Recycled tea box.
- Grey glossy paper.
- Glossy black foami.
- Bright red foami.
- Foami shiny gray color.
- White beads.
- Liquid silicon.
- Scissors.
- Pencil.
Elaboración:
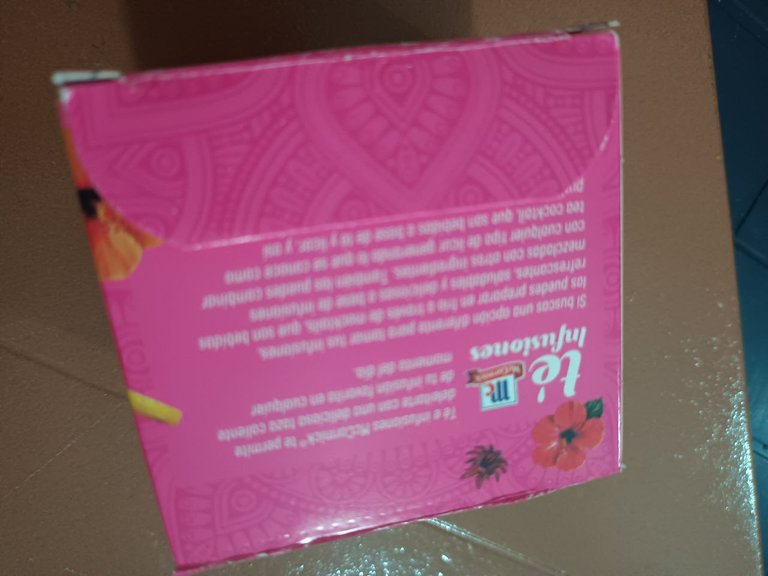
Paso 1: Tal como les mencioné en los materiales, usé para la creación de hoy una caja reciclada de té. Así que inicié acondicionando la caja, para eso usé la tijera para recortarle la tapa y las aletas de los otros dos lados, esto con la finalidad de usar la tapa para pegar en la parte inferior y así darle un poco más de resistencia a la base de la caja.
Step 1: As I mentioned in the materials, I used a recycled tea box for today's creation. So I started conditioning the box, for that I used the scissors to cut the lid and the flaps on the other two sides, this in order to use the lid to glue on the bottom and thus give a little more strength to the base of the box.
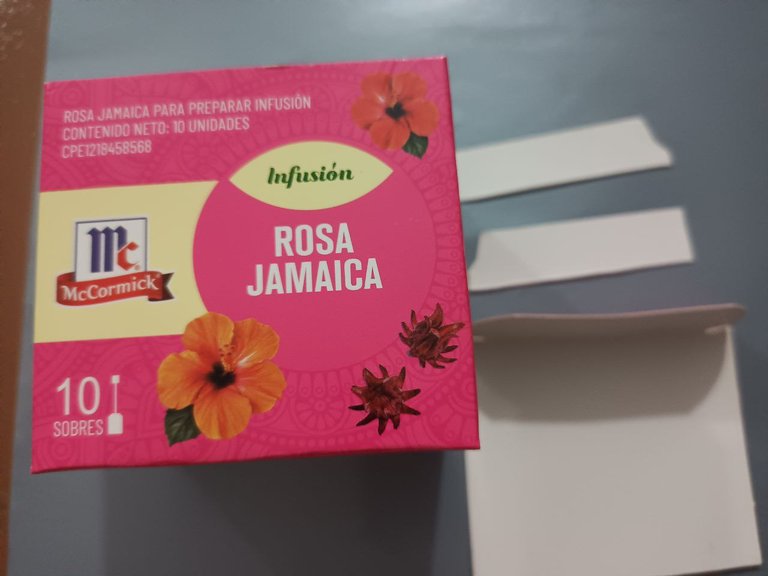
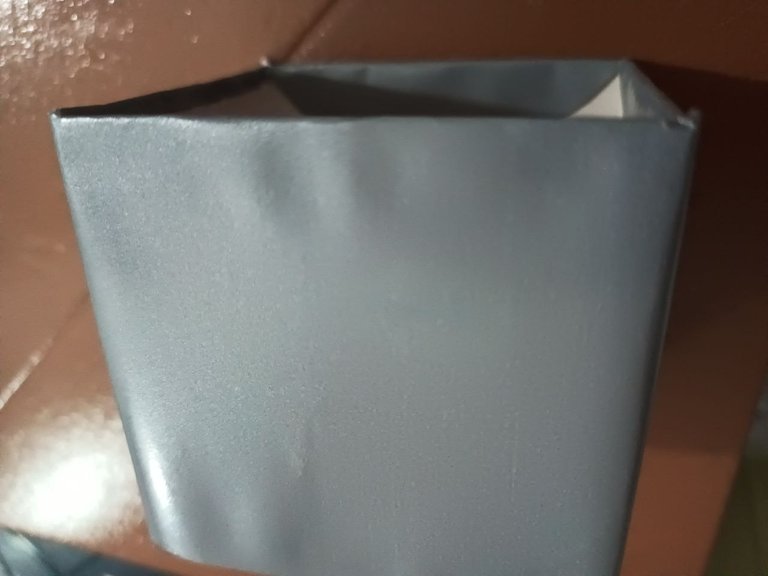
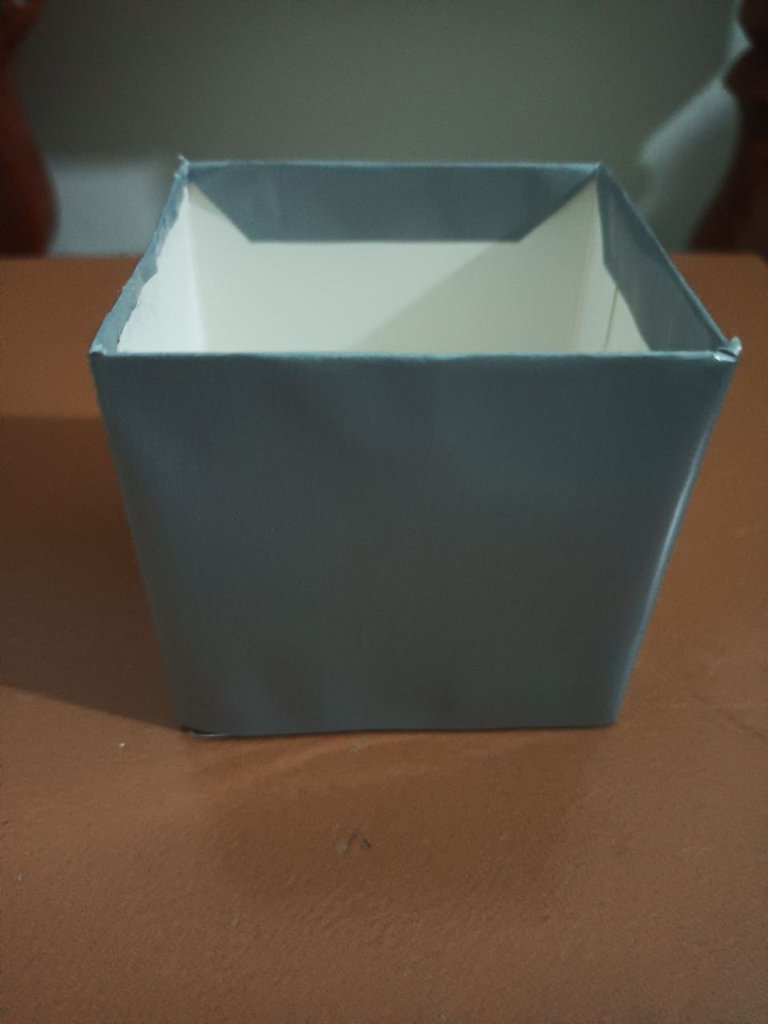
Paso 2: Luego de contar con una caja reforzada, usé el papel lustrillo color gris metalizado, para cubrirla. Vale decir que primero usé una regla para medir y cortar el papel de forma precisa. Usé la silicona líquida para forrar la caja.
Step 2: After I had a reinforced box, I used the metallic gray luster paper to cover it. First I used a ruler to measure and cut the paper precisely. I used the liquid silicone to line the box.
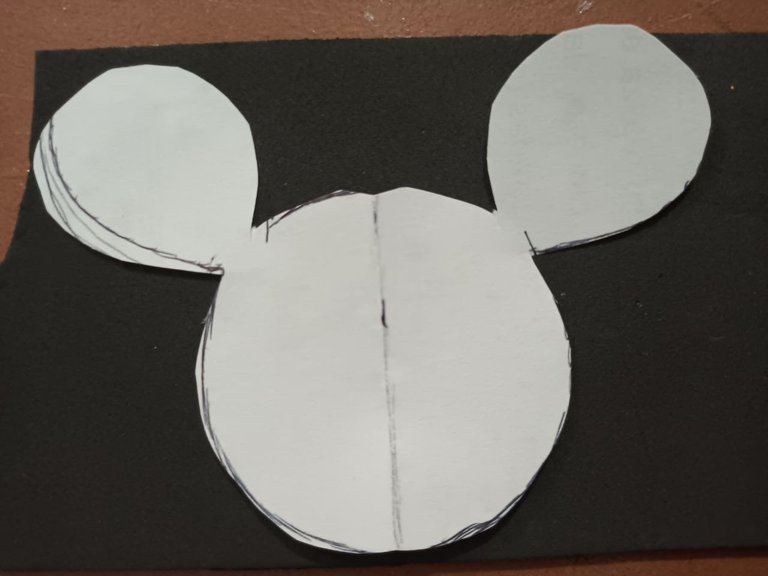
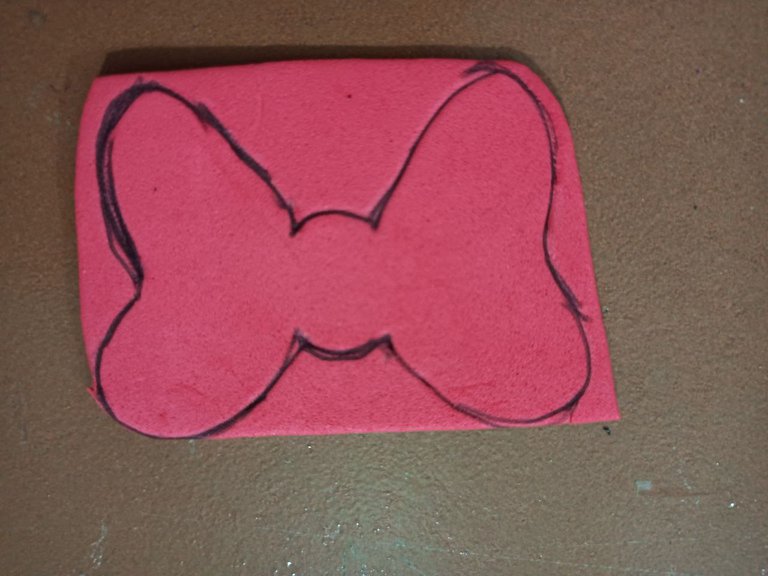
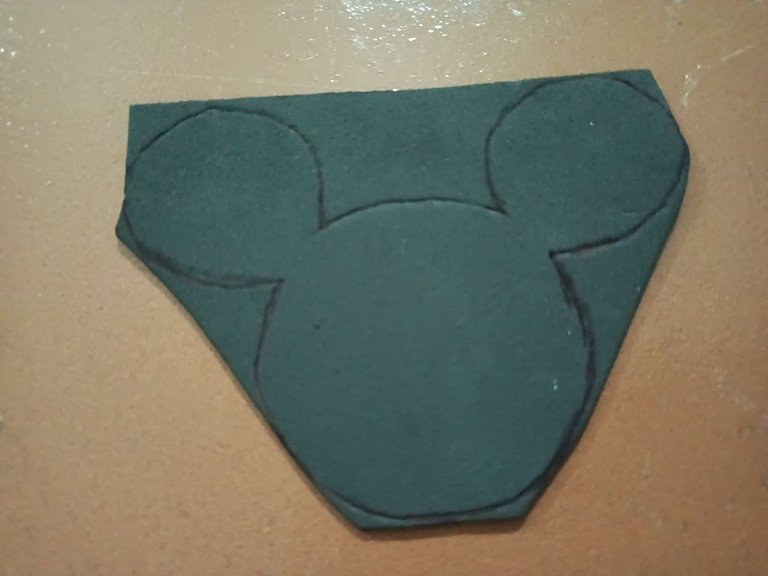
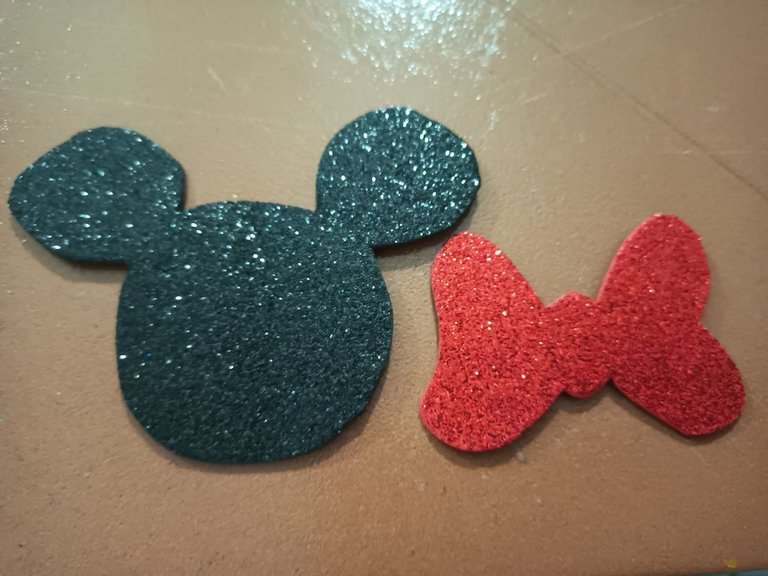
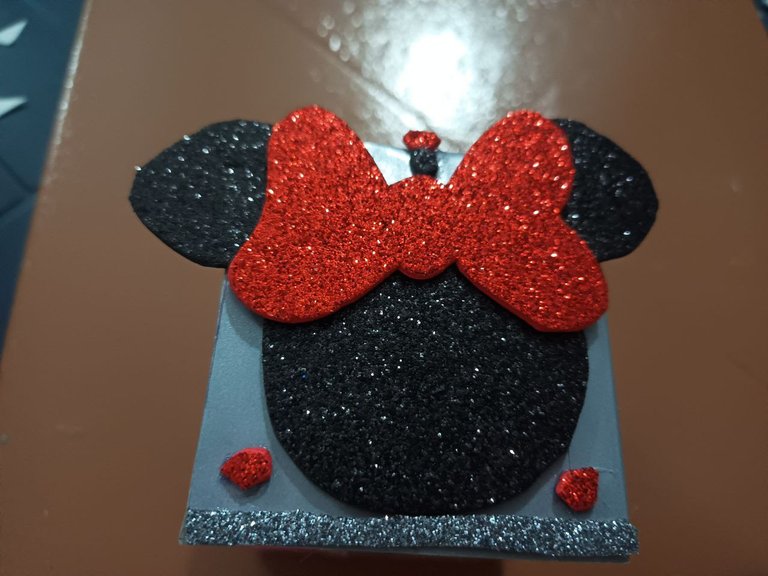
Paso 3: Usé lápiz y una hija reciclada para dibujar la forma de la cara de minie mouse y también un lazo, con el fin de usarlo de molde para marcar en el foami y obtener las piezas para decorar este portalápiz. Como pueden ver, marque la cara de minie mouse con el molde en el foami de color negro brillante, y en lazo en el foami de color rojo brillante, luego use la tijera para recortarlos.
Step 3: I used a pencil and a recycled daughter to draw the shape of minie mouse's face and also a bow, in order to use it as a mold to mark on the foami and get the pieces to decorate this pencil holder. As you can see, mark the minie mouse face with the mold on the shiny black foami, and the bow on the shiny red foami, then use the scissors to cut them out.
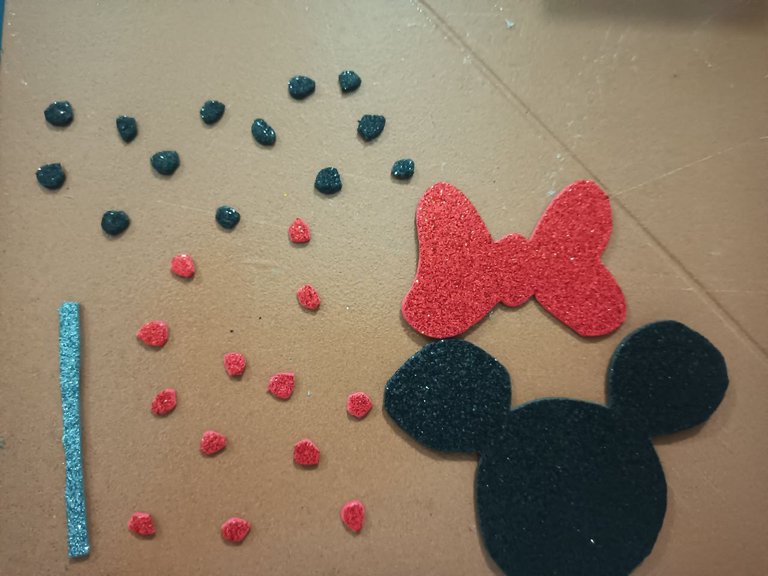
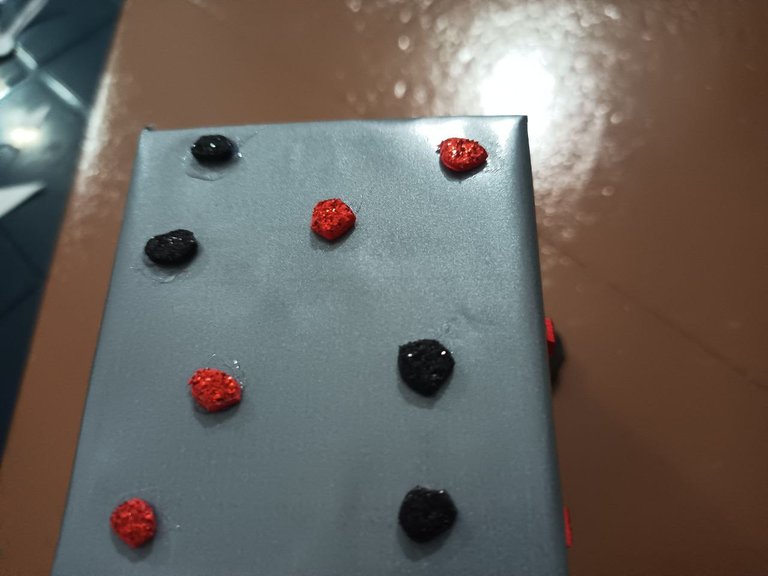
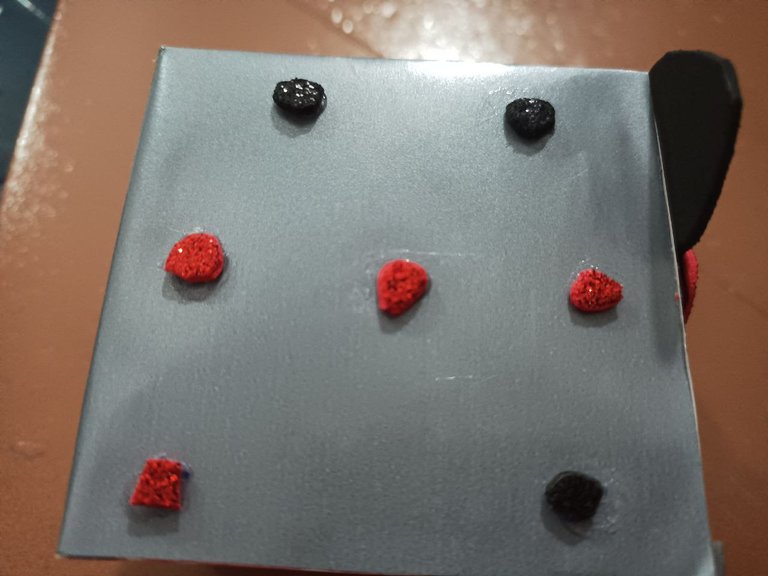
Paso 4: Para continuar con la decoración, recorte varios recortes de color negro y rojo, y una cinta de color dorado brillante. Y así, teniendo listo todo, empecé a pegar las piezas, primero la cabeza de minie, el lazo y los detalles adicionales a la caja.
Step 4: To continue with the decoration, I cut out several black and red trimmings and a shiny gold ribbon. And so, having everything ready, I started gluing the pieces, first the minie's head, the bow and the additional details to the box.
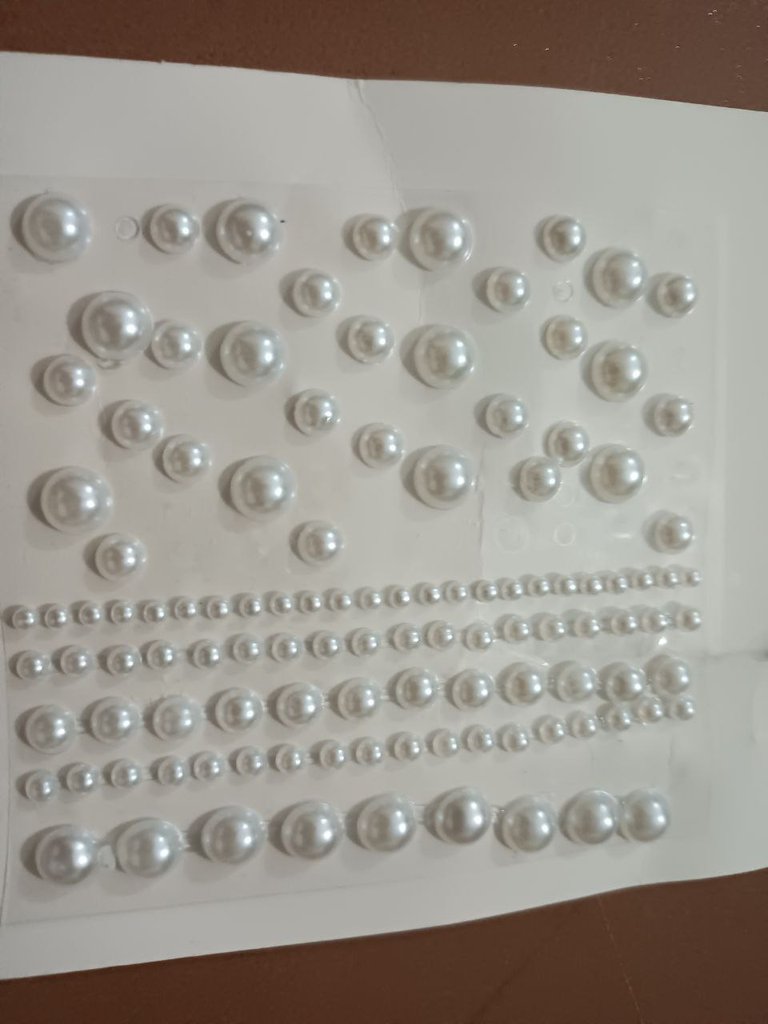
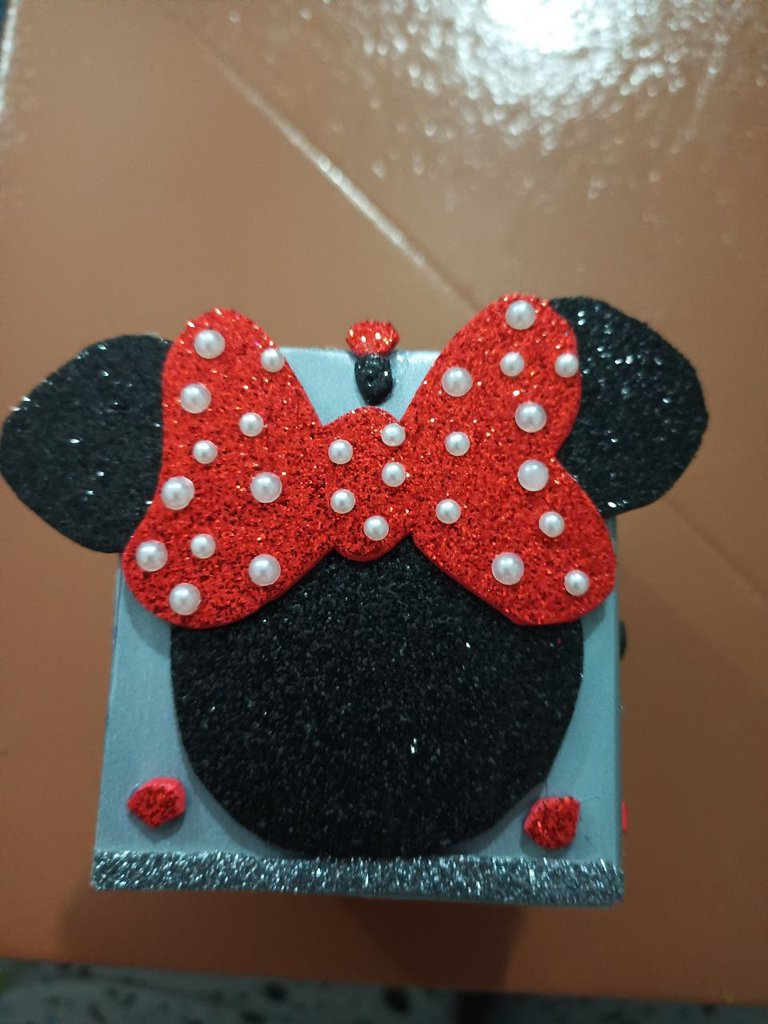
Paso 5: Para terminar de darle un toque especial a la minie mouse, usé perlas blancas para agregar al lazo y eso terminó de hacerlo hermosa. Yo quedé enamorada de portalápiz y a mi hermana le gustó mucho.
Step 5: To finish giving a special touch to the minie mouse, I used white pearls to add to the ribbon and that finished making it beautiful. I fell in love with the pencil holder and my sister loved it.
Trabajo Final.
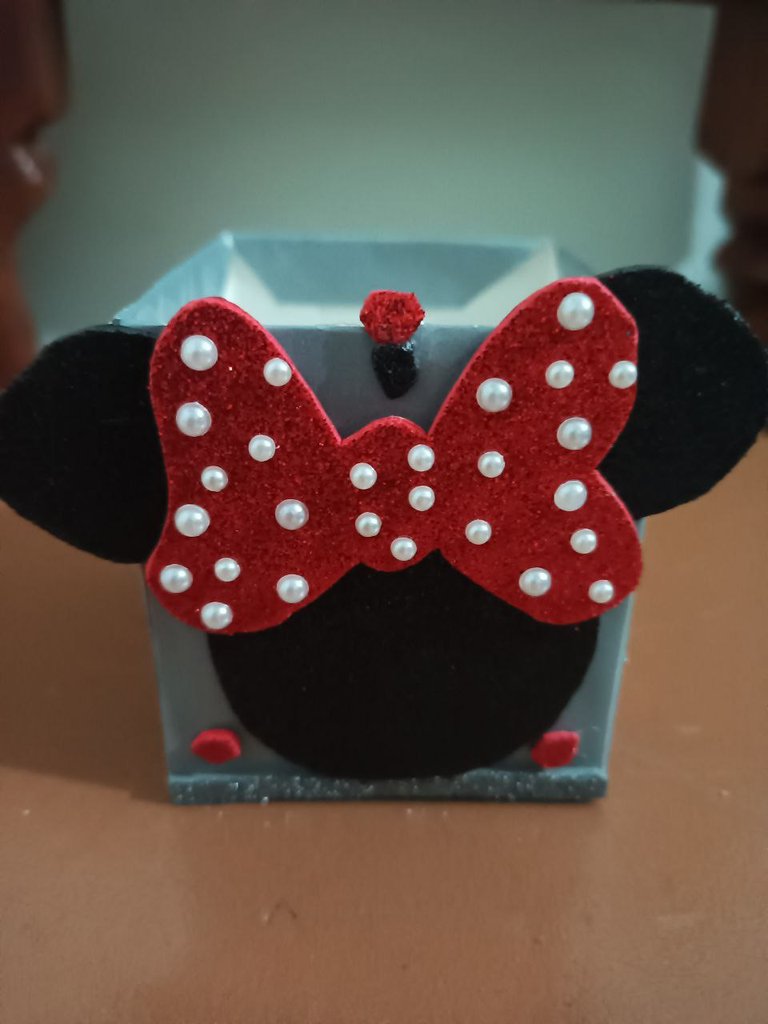
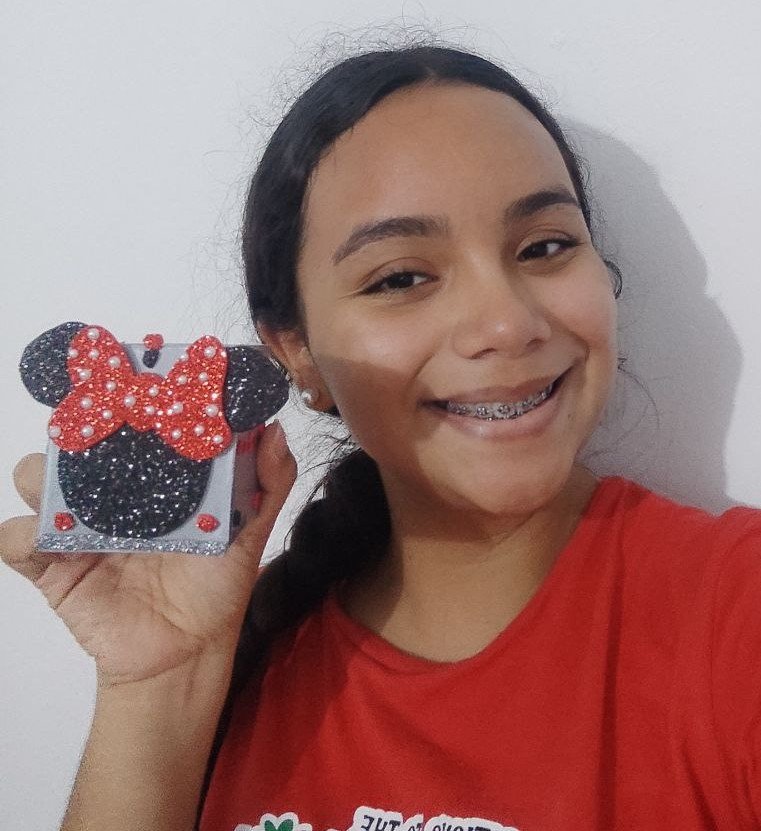
Todas las fotos son de mi propiedad y exclusivas para esta publicación.
Cámara utilizada: Teléfono Redmi Note 9.
He utilizado la aplicación Gridart para collages de fotos.
He utilizado el traductor Deepl.com versión gratuita.
Muchas gracias por leer y visitar mi post.💖
All photos are my property and exclusive for this publication.
Camera used: Redmi Note 9 phone.
I have used the Gridart application for photo collages.
I have used the translator Deepl.com free version.
Thank you very much for reading and visiting my post.💖
This pencil holder you made looks absolutely stunning. The mini mouse theme is so pretty and you really did a great job with it.
You sister would be so happy, even I if I had such a holder, I would be so proud of it.
Your creation is really creative, I wish I could make something like this for my cousin.
It looks very nice. It's nice to see that you made it very skillfully.
Congratulations, your post has been curated by @dsc-r2cornell. You can use the tag #R2cornell. Also, find us on Discord
Felicitaciones, su publicación ha sido votada por @ dsc-r2cornell. Puedes usar el tag #R2cornell. También, nos puedes encontrar en Discord