
It seems to me that no matter how I avoid posting some troubleshooting I do behind the scenes. I just get eventually sucked into doing just that.
One of the reasons I don't want to do that is that, everyone had their own way of fixing cracks, cleaning up their work, conditioning.
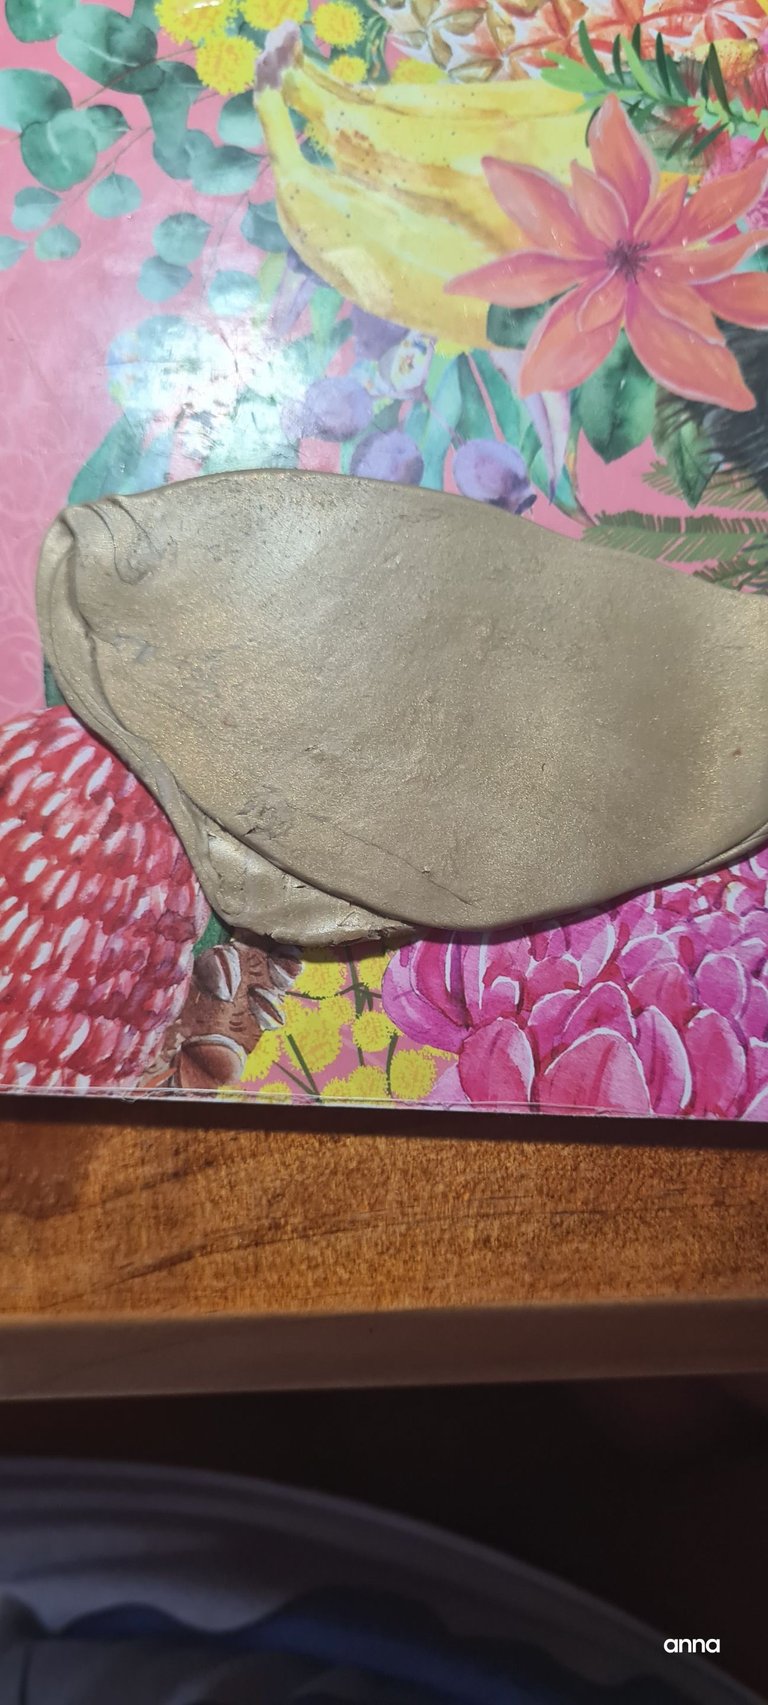
I had intended to use an old gold clay for my next craft- which will be posted in the next few days hopefully. Old gold color- not old gold precious metal.
Here is the dried up version. I dont want to throw this thing away as this is a very rare shade in my stock. Also, I know of ways on how to soften/ condition it into a workable clay.
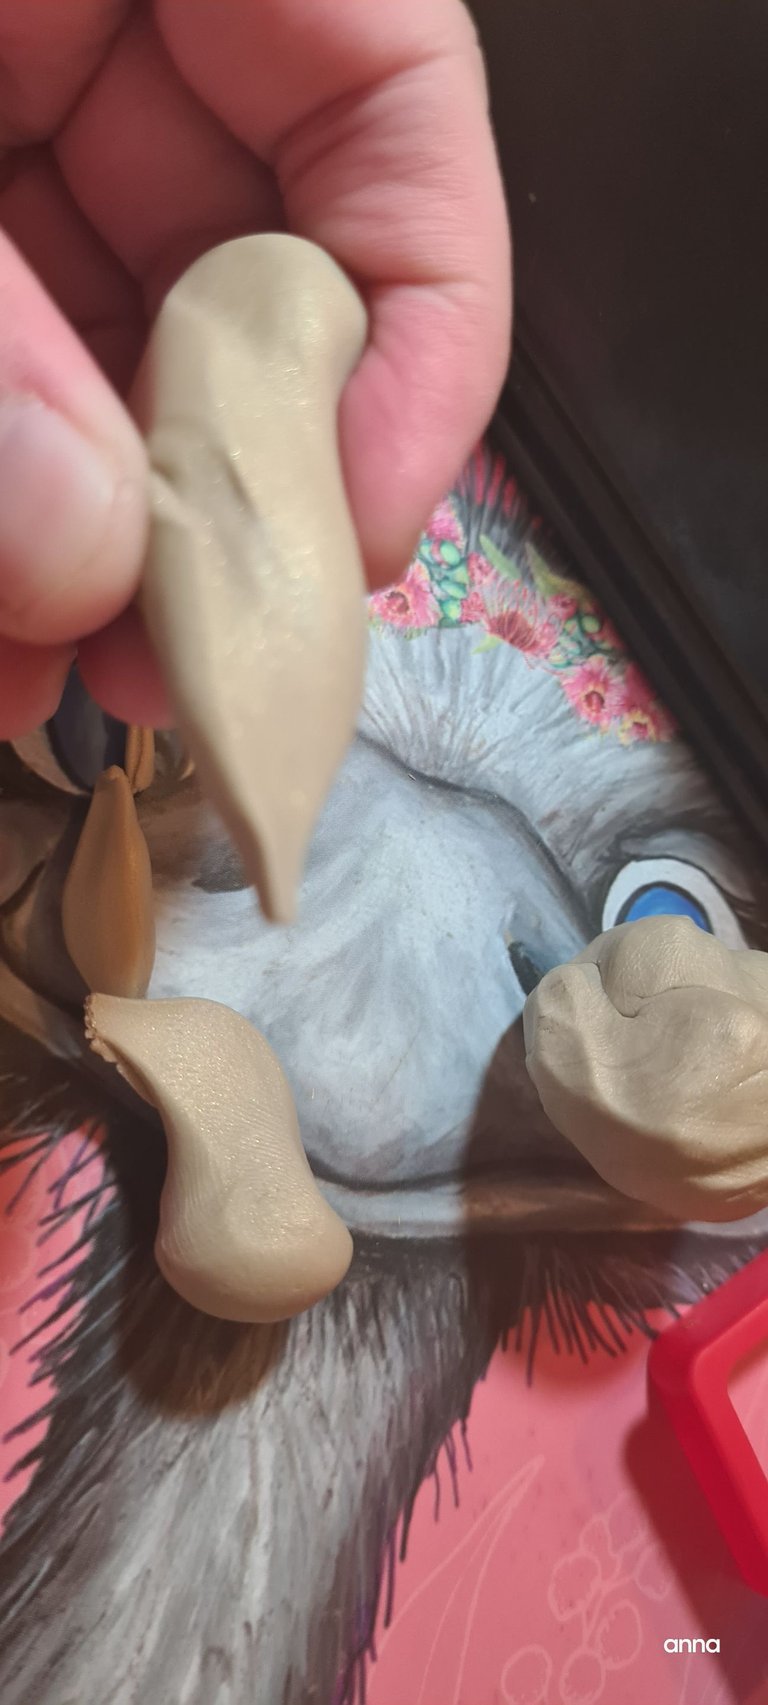
So I added clay softener( that's the white clay you guys can see at the bottom of this picture).
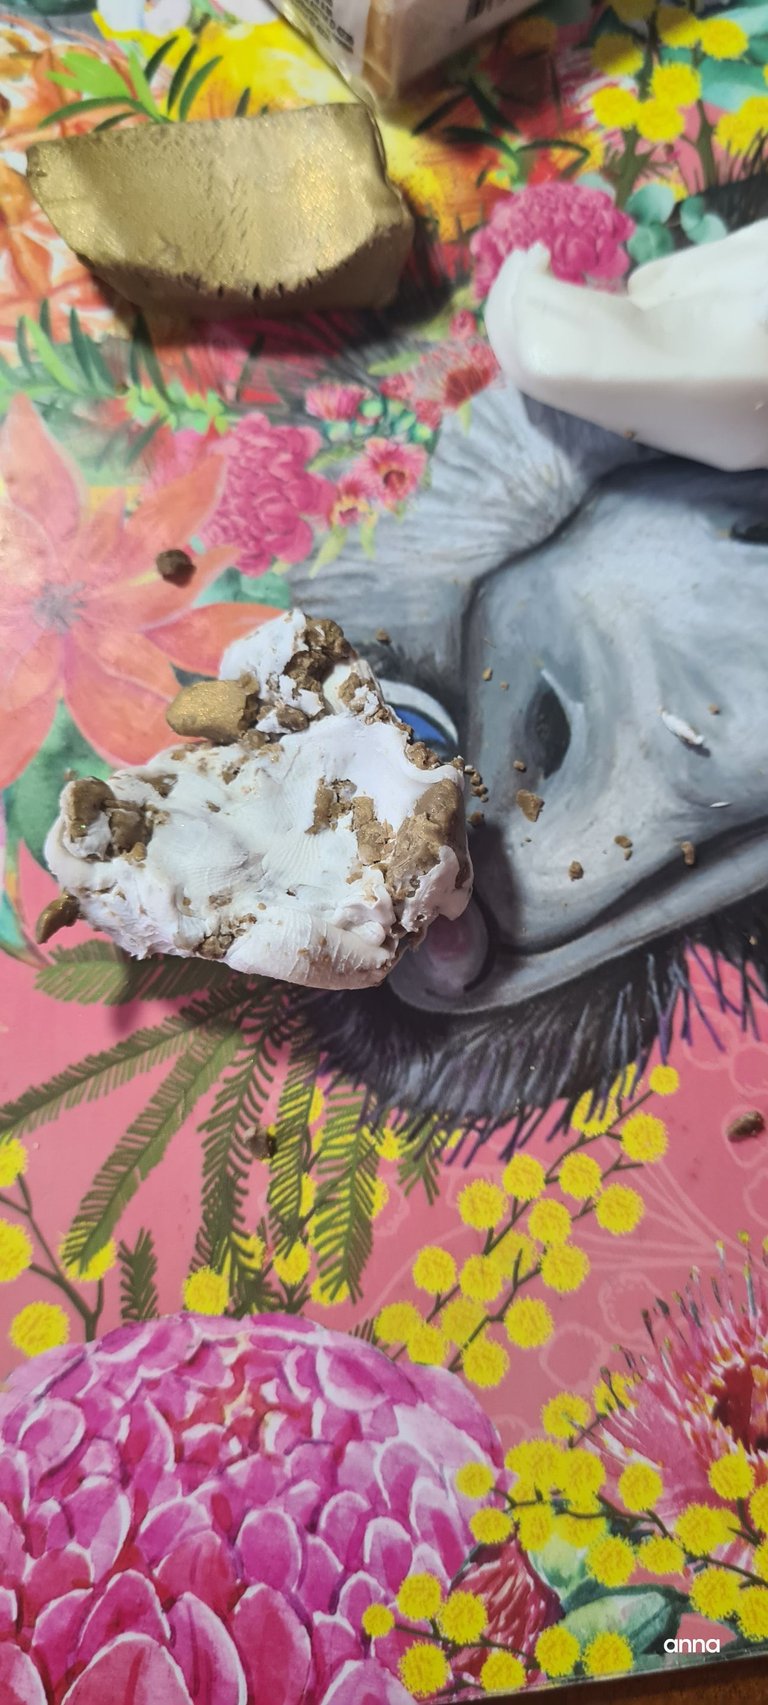
Slice and mix them together and you'll get something that resembles this.
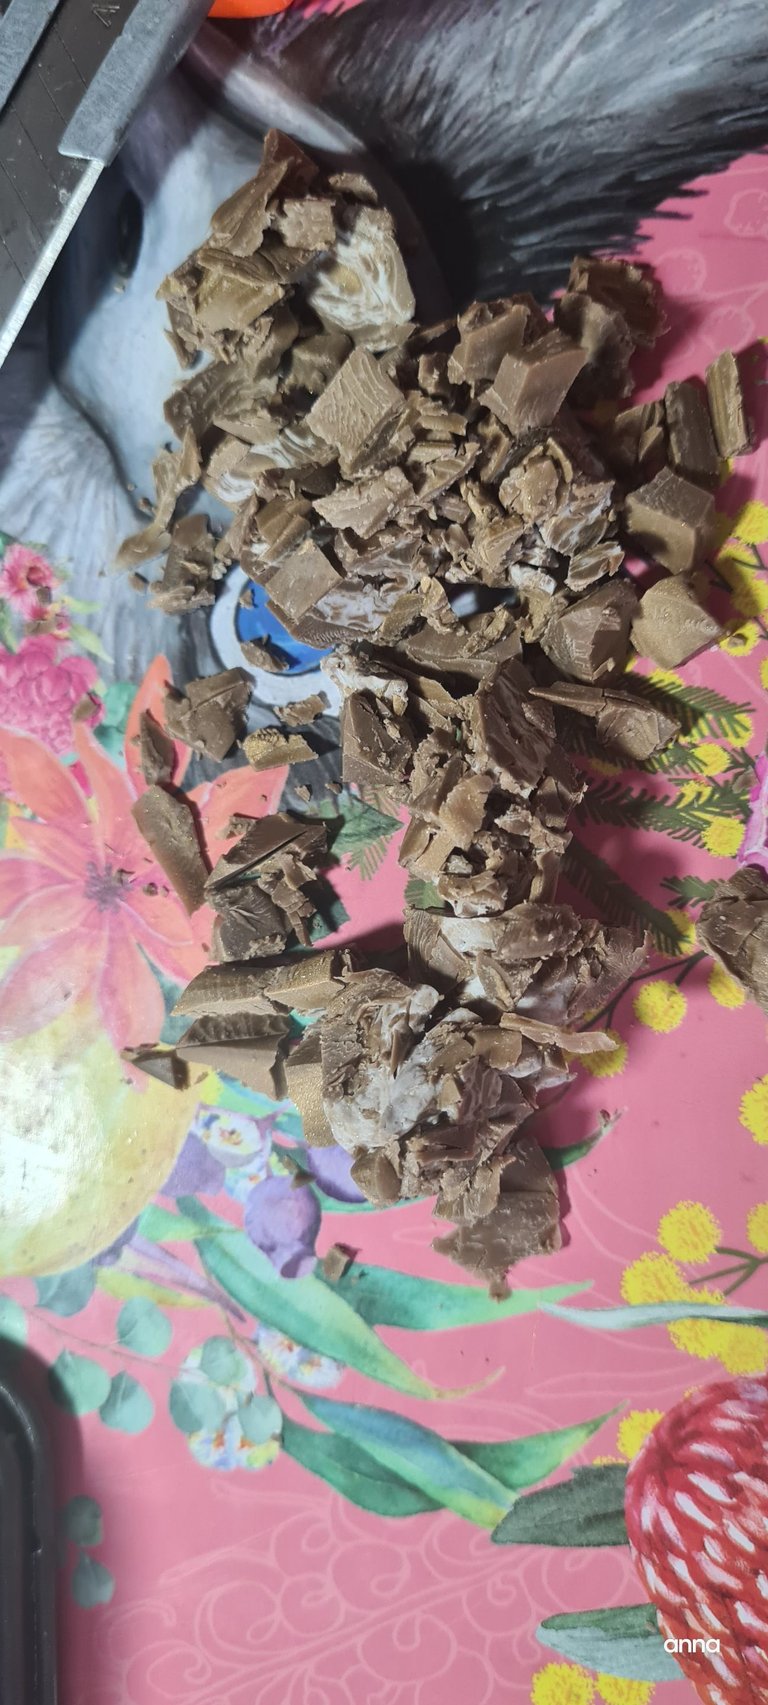
That's the close up on top and the bottom part( I decided to roll thin sheets to blend the whole lot together). Folks, I need strong arms for this.

This is a close up of the folded sheet. The temperature in my house is hot but still, it took me quite awhile to do this.
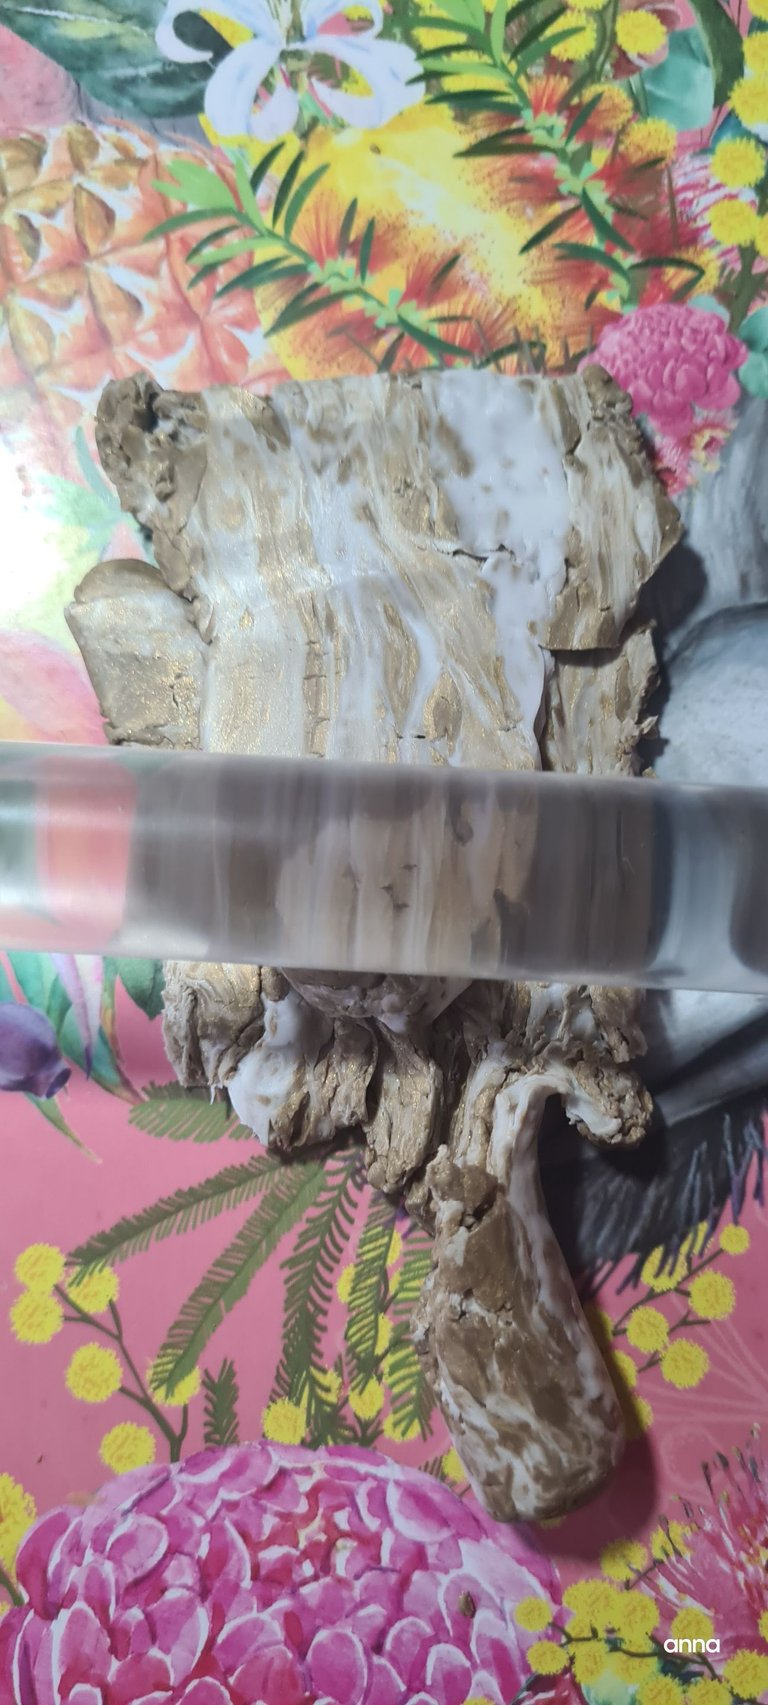
Here we are, we're seeing some changes and improvement.
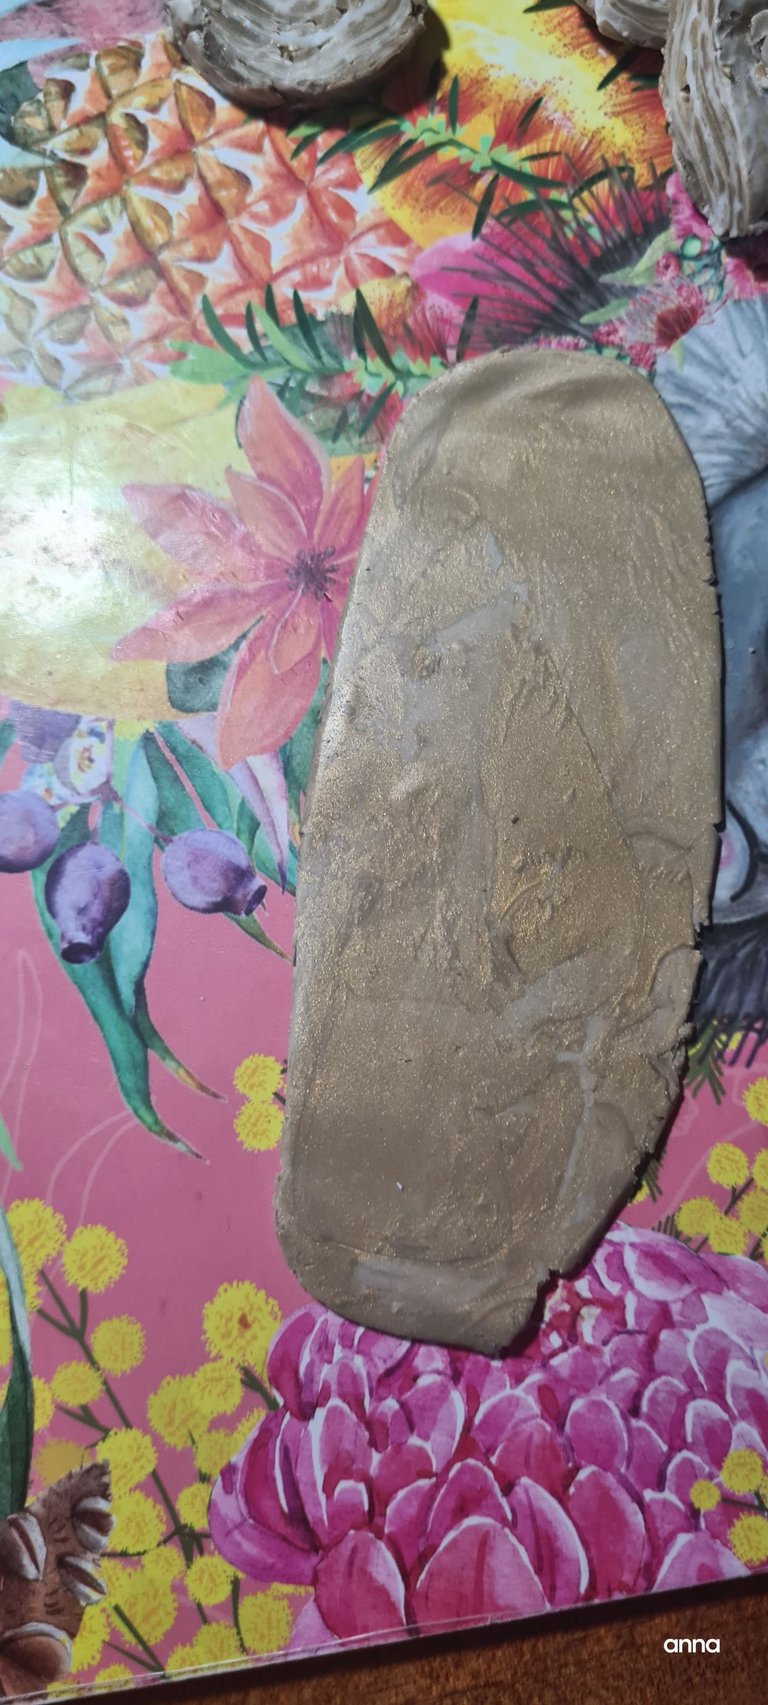
Now for the pinch test. If the clay becomes workable, it will be easy for you to pinch it like this and well, start creating.
The rolled up newly softened clay.
I do have another post featuring this clay that I used so hang on folks! Its still in the oven so, it might be posted tomorrow or the day after.
View or trade
LOHtokens.@nurseanne84, You have received 1.0000 LOH for posting to Ladies of Hive.
We believe that you should be rewarded for the time and effort spent in creating articles. The goal is to encourage token holders to accumulate and hodl LOH tokens over a long period of time.