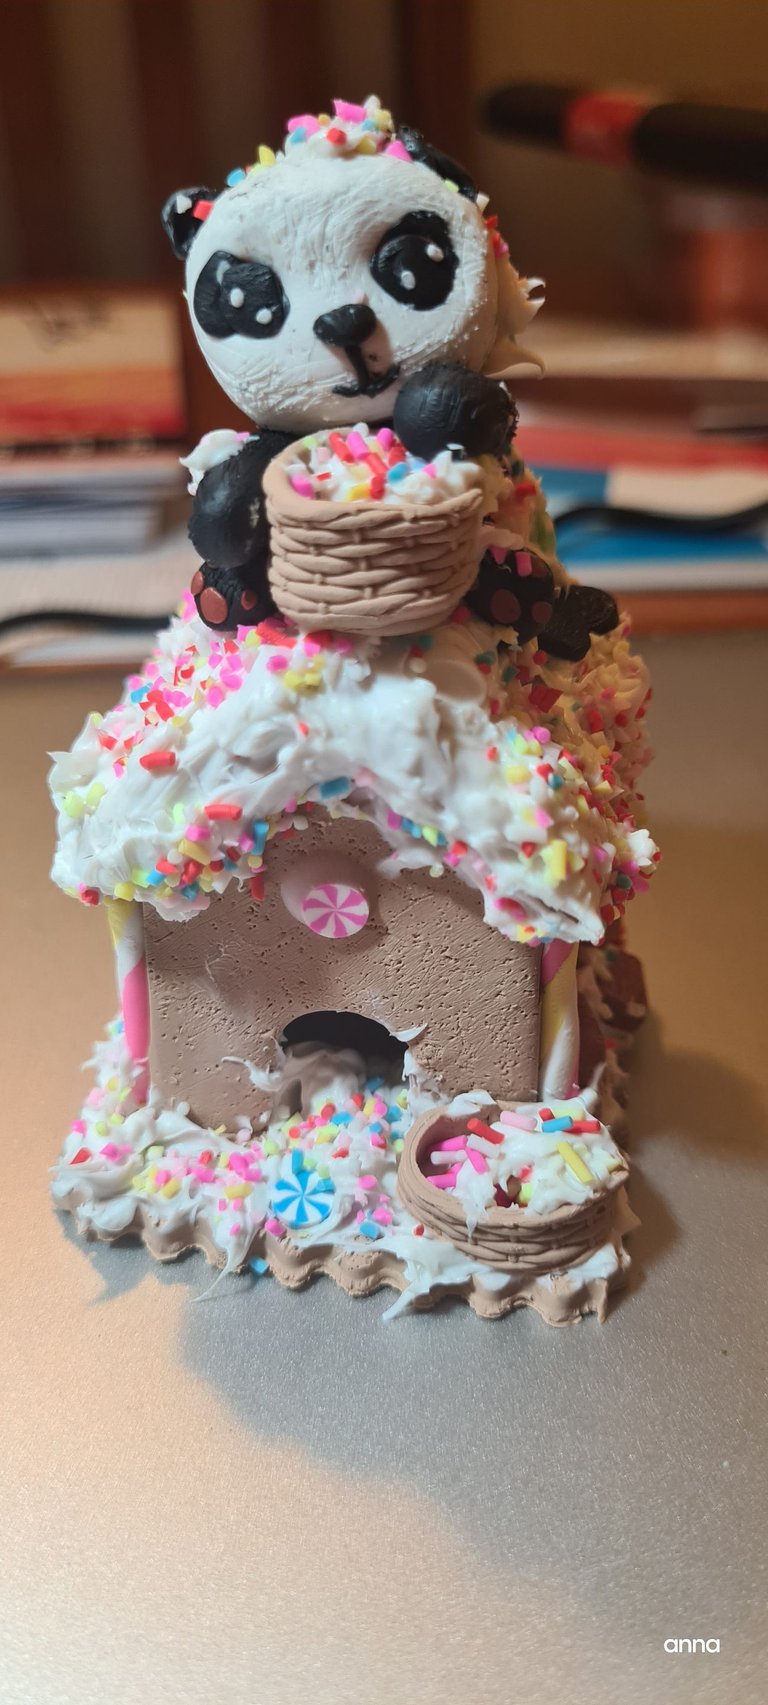
Everyone who knew me is aware of my greatest dream of making a gingerbread house out of polymer clay. It was really challenging considering that the first problem I encountered was that, I do not know how to make an icing or a whipple cream. I know that I could always buy them but when you're crafting as extensive as I am, it really is not reasonable to do that.
I am still celebrating the fact that I can now make my own polymer clay icing. In this post, I divided it into sections so you guys can get a glimpse on how I made the whole piece.
Making the Gingerbread house
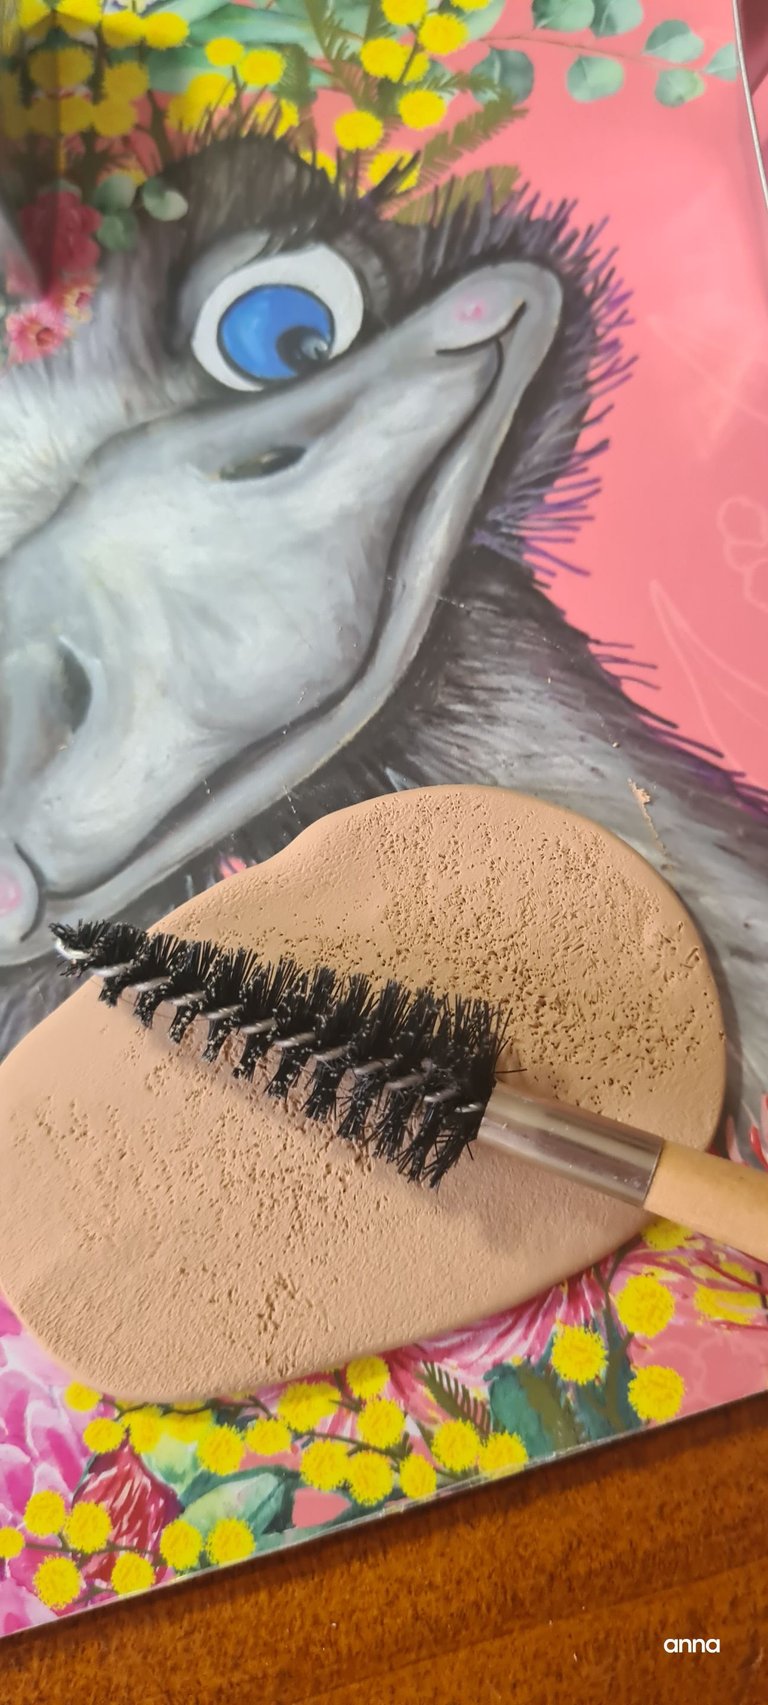
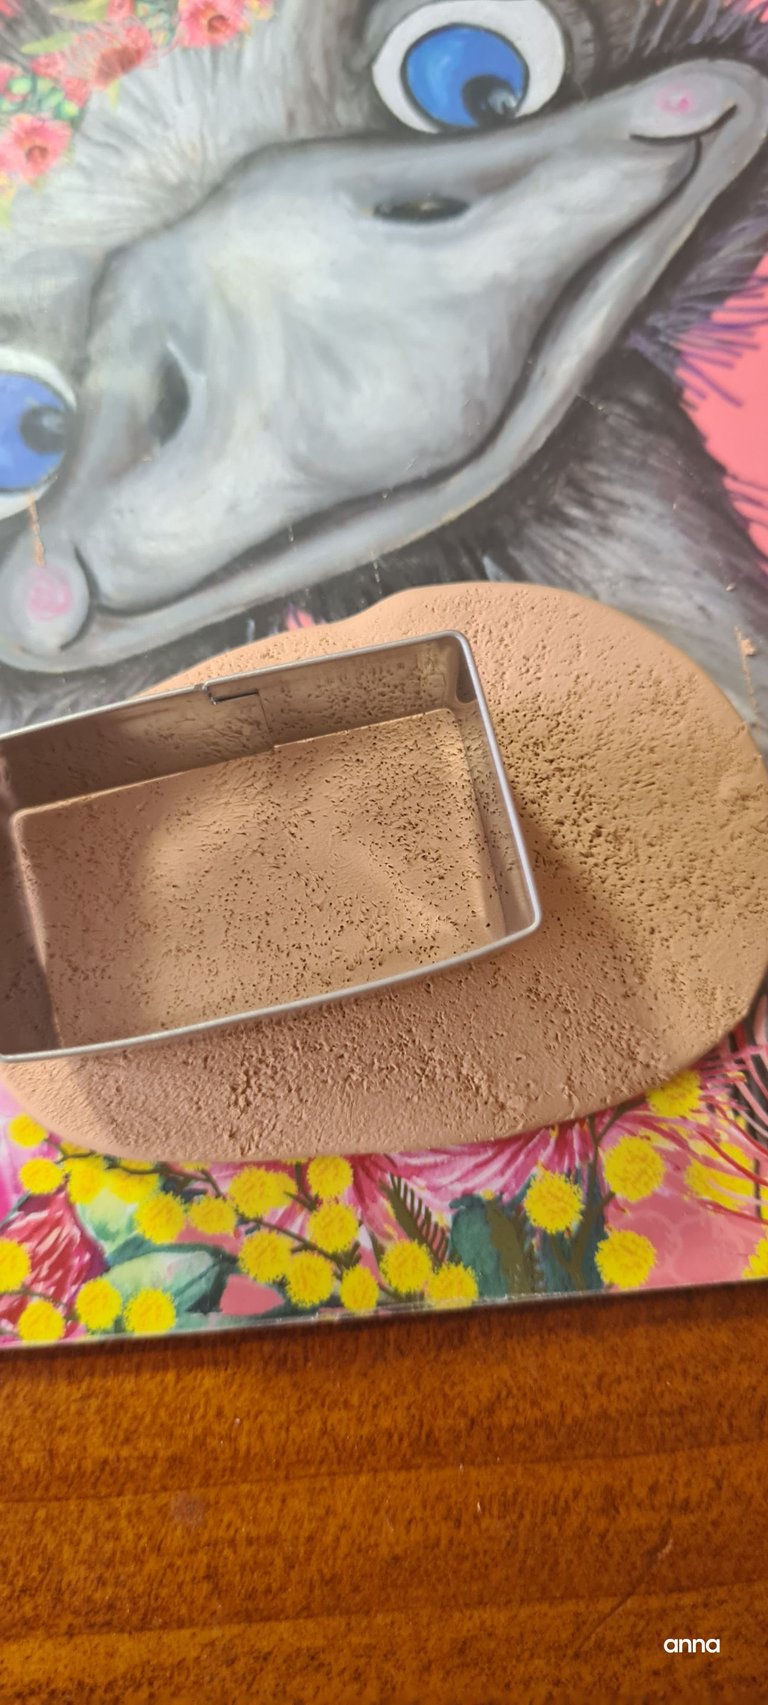
I started by making the biscuit detail on my polymer clay. Then I used a cookie cutter( which by the way is actually used for actual cookies) to make the house detail.
At this point I just do not care if I sculpt it well or not. I am testing different items I am thinking of integrating on the whole piece it does not really matter if I used a cookie cutter, sculpt it myself or buy the pieces that I am putting together.
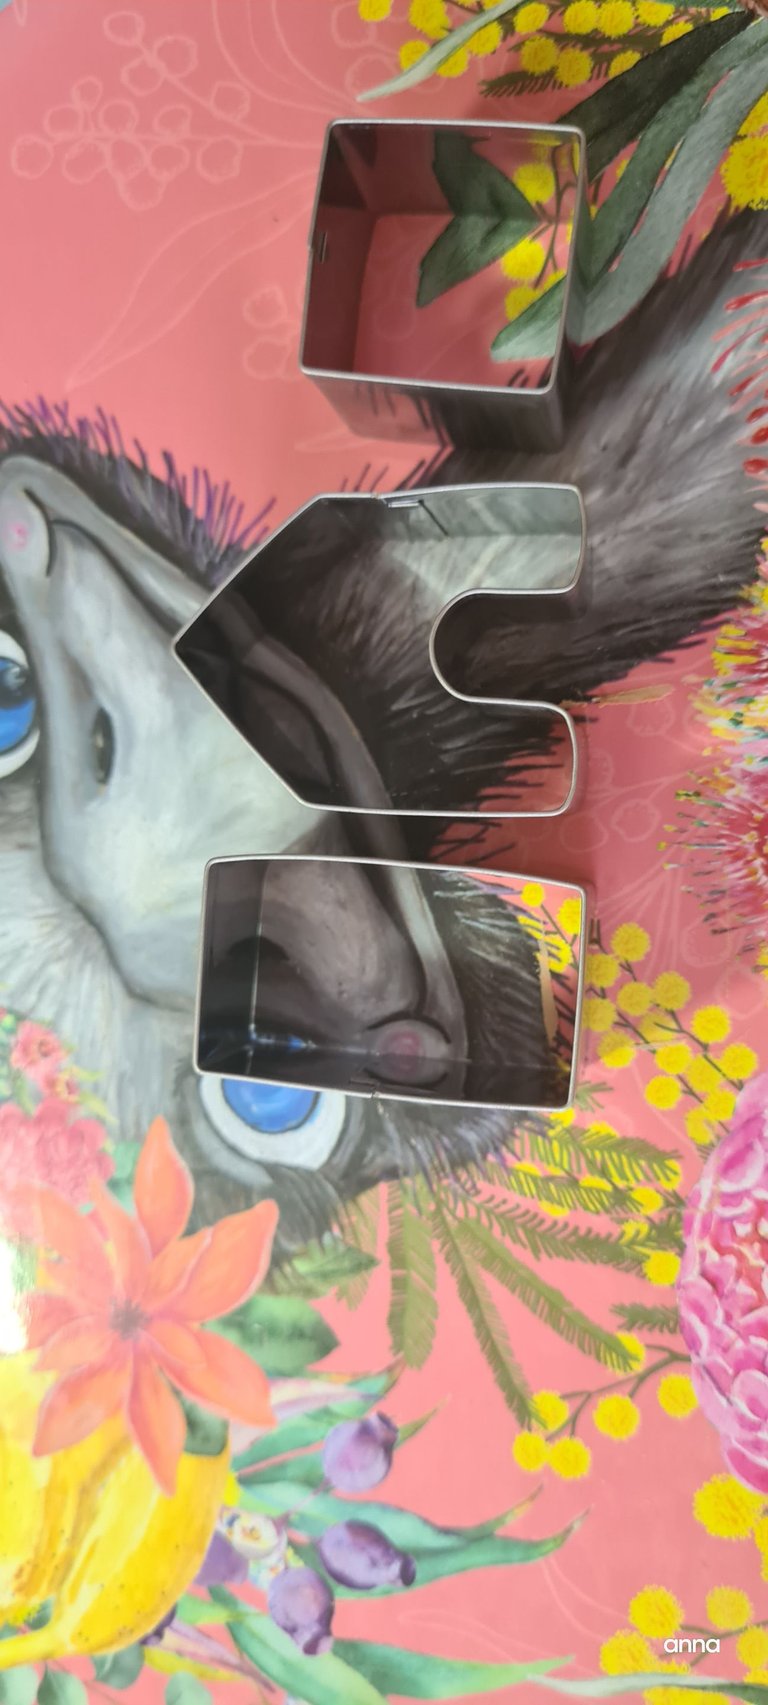
Here is a closer look on the cutters.
Then I baked the whole piece. I would have wanted to decorate them beforehand but as I have said, I am just too excited to make them that, I got ahead of myself.
It is important for me to bake the pieces together as I would be able to "assemble" them easily. Baked clay are hard and sturdy and I am able to easily make them stand.
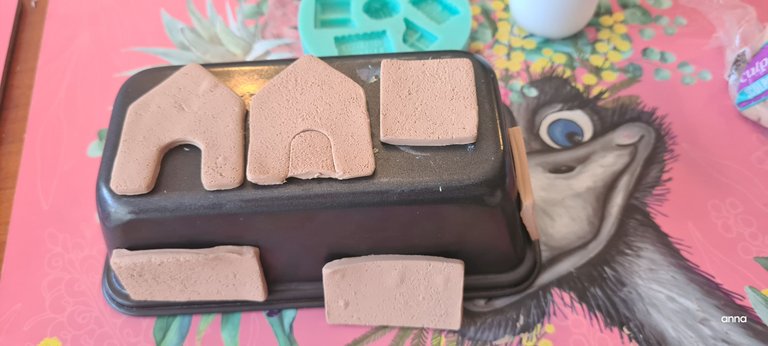
Here I am post baking session "gluing " things together. I can use a polymer clay glue but I decided to use polymer clay pieces as I believe they are stronger and sturdier. Besides, its easier for them to hold the pieces together pre bake.
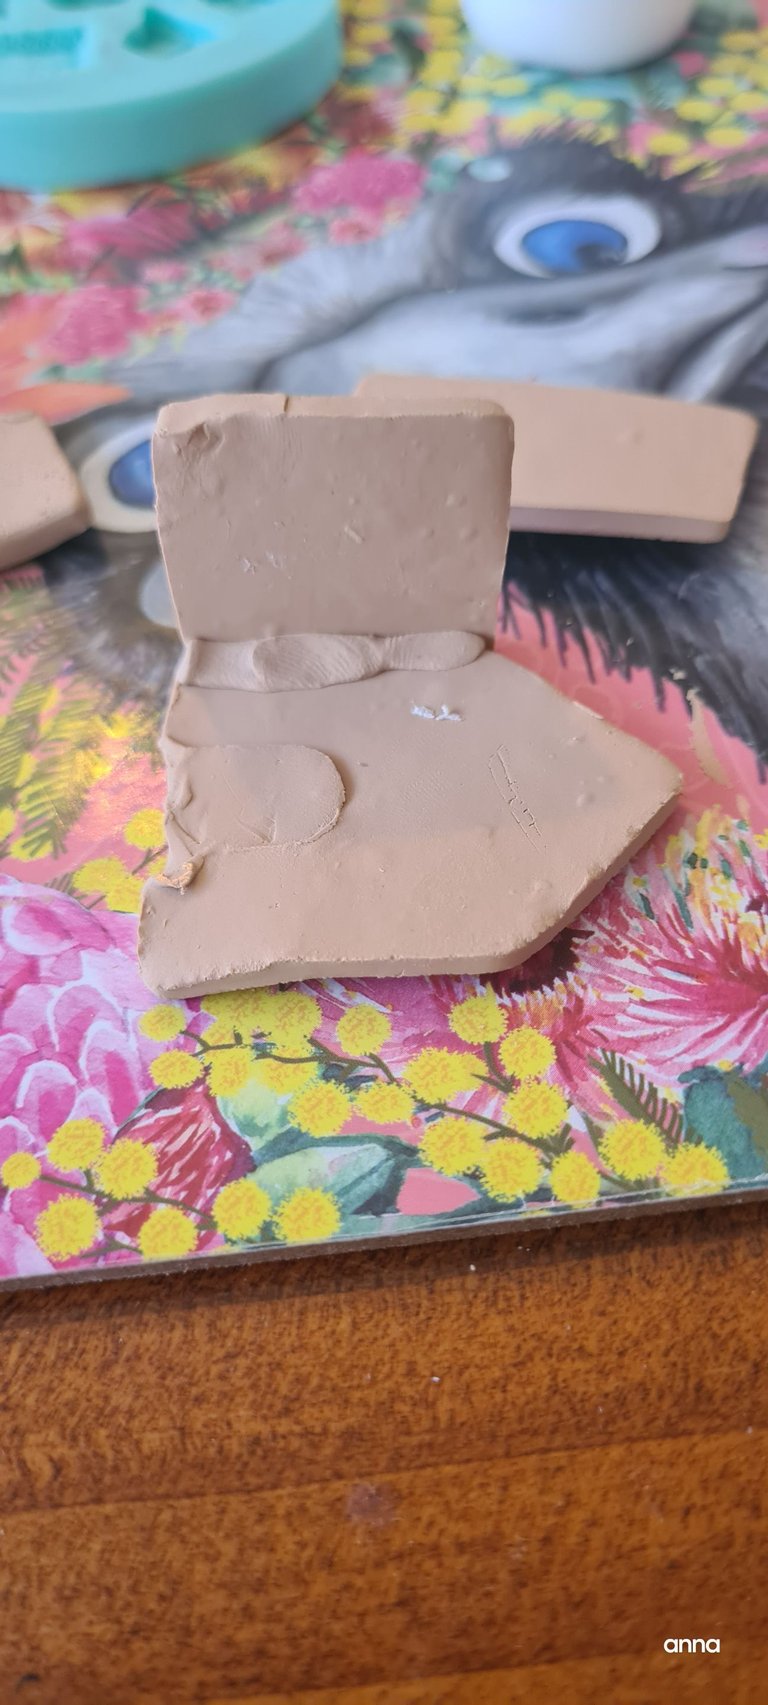
You guys can see the rudimentary roof I made here.

Other pictures of the house.
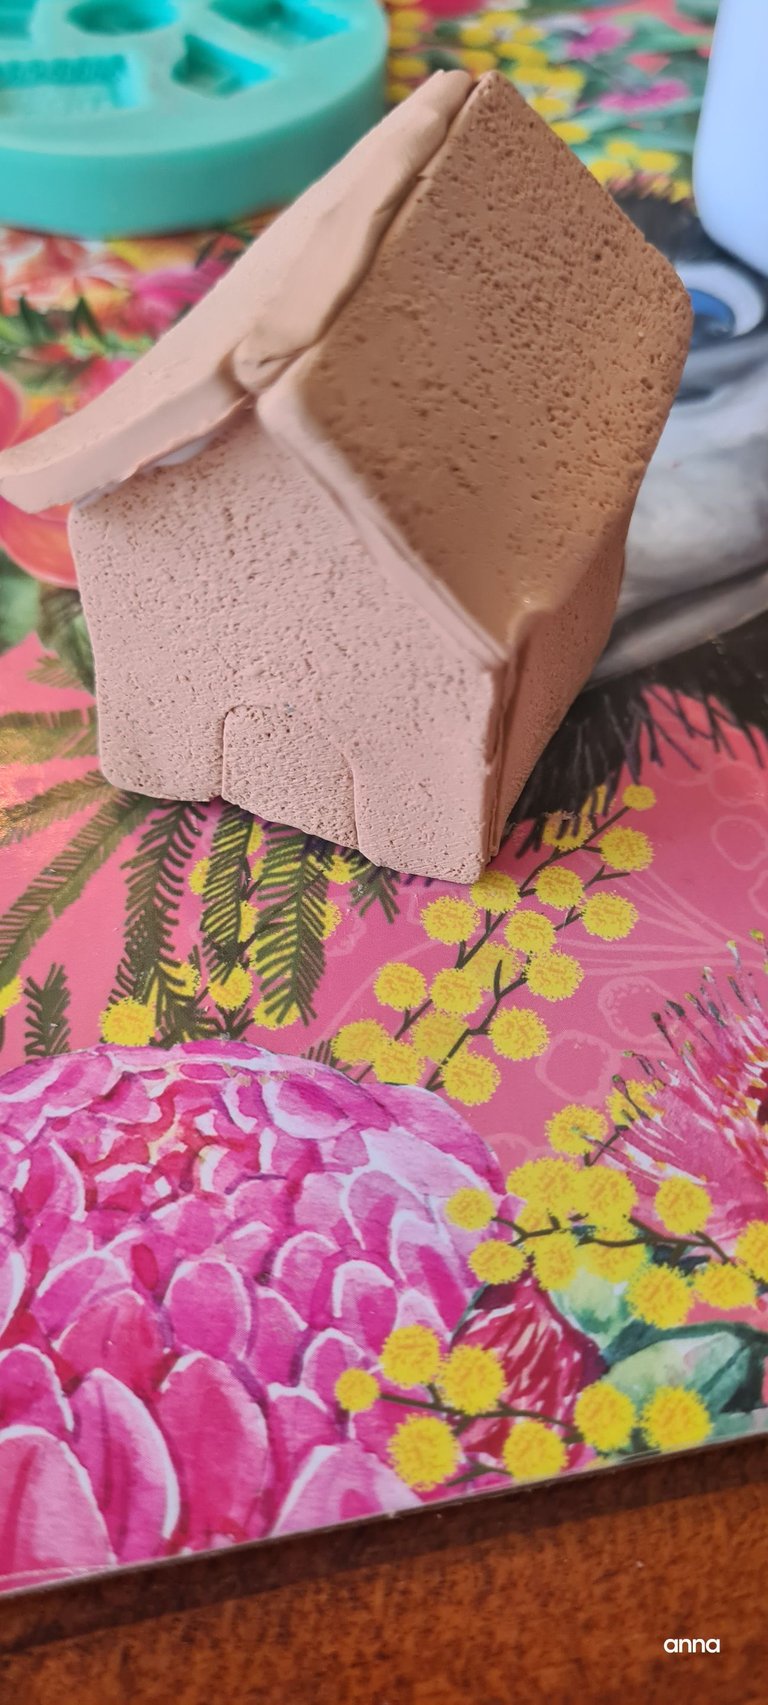
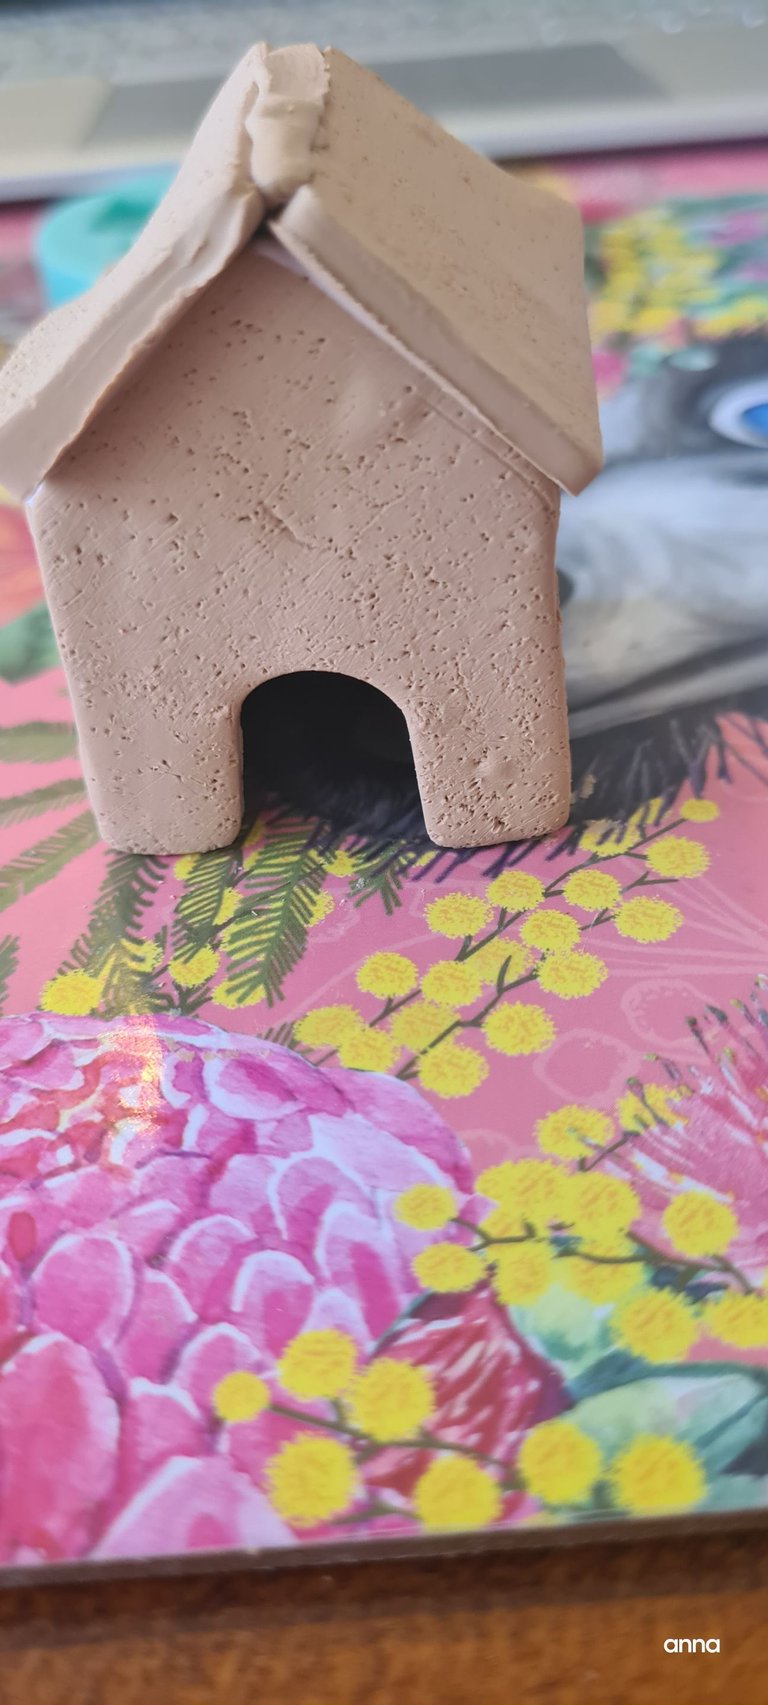
I baked the house again after putting them together. I am worried that the reinforcements will not hold together if I start decorating beforehand.
** Frosting the roof**
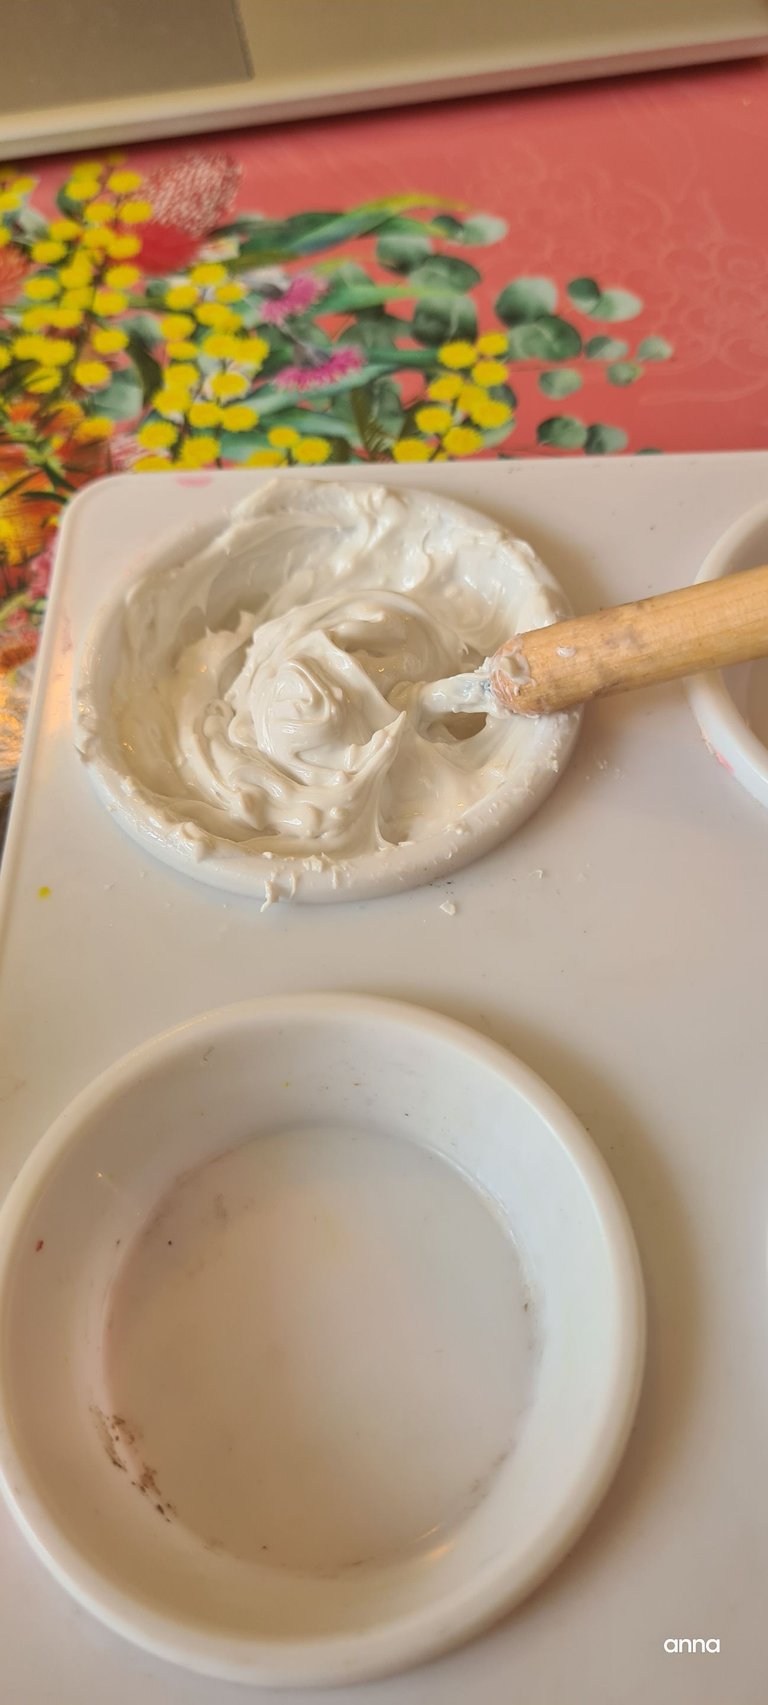
This is me making the polymer clay cream. Mixing it up in a pain palette.
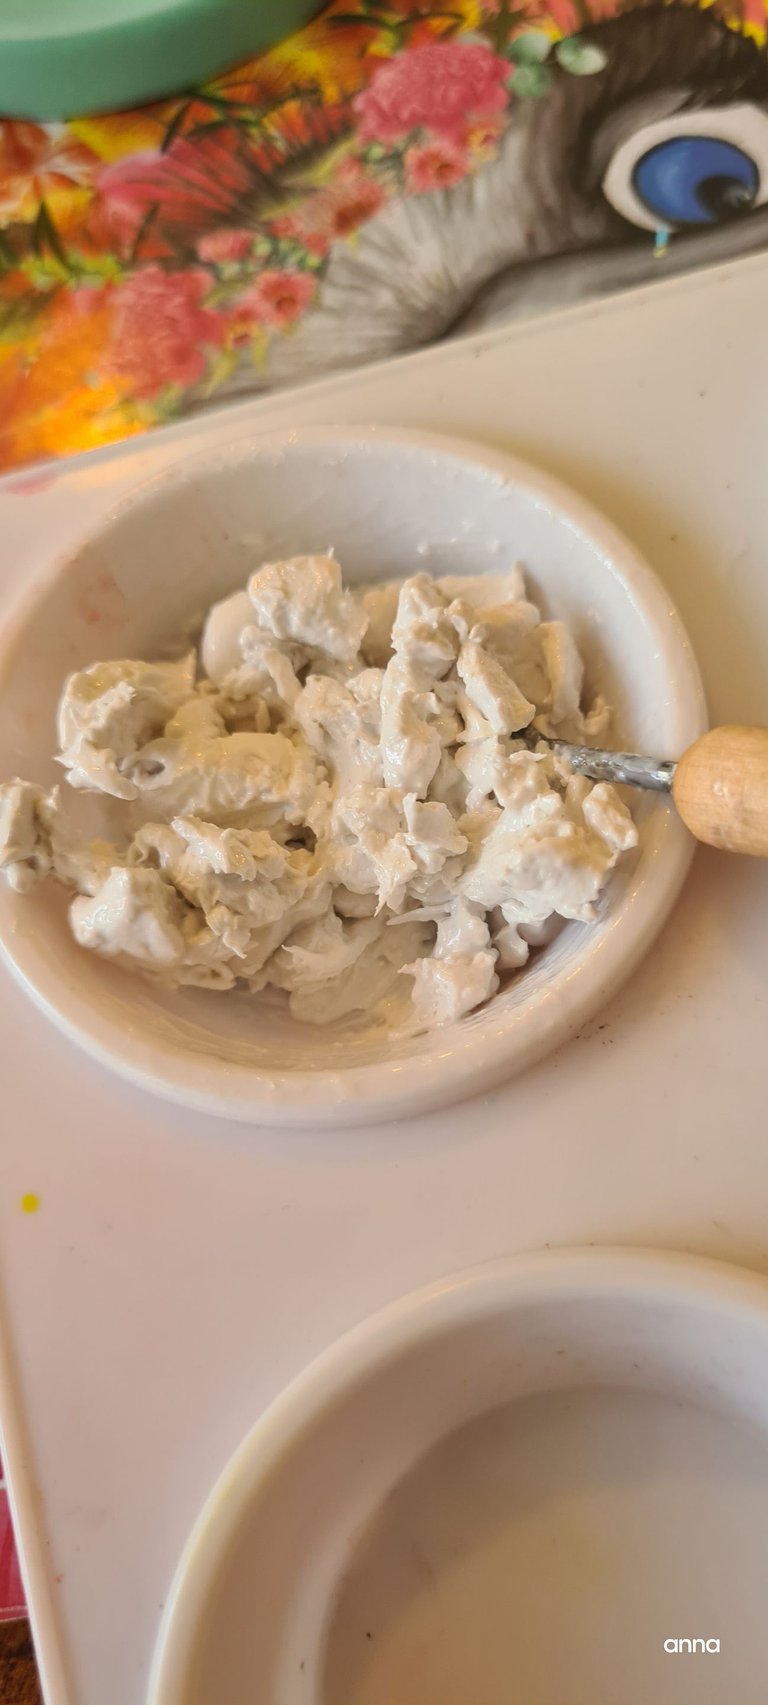
Here's how it looks like with the cream on top of the roof.
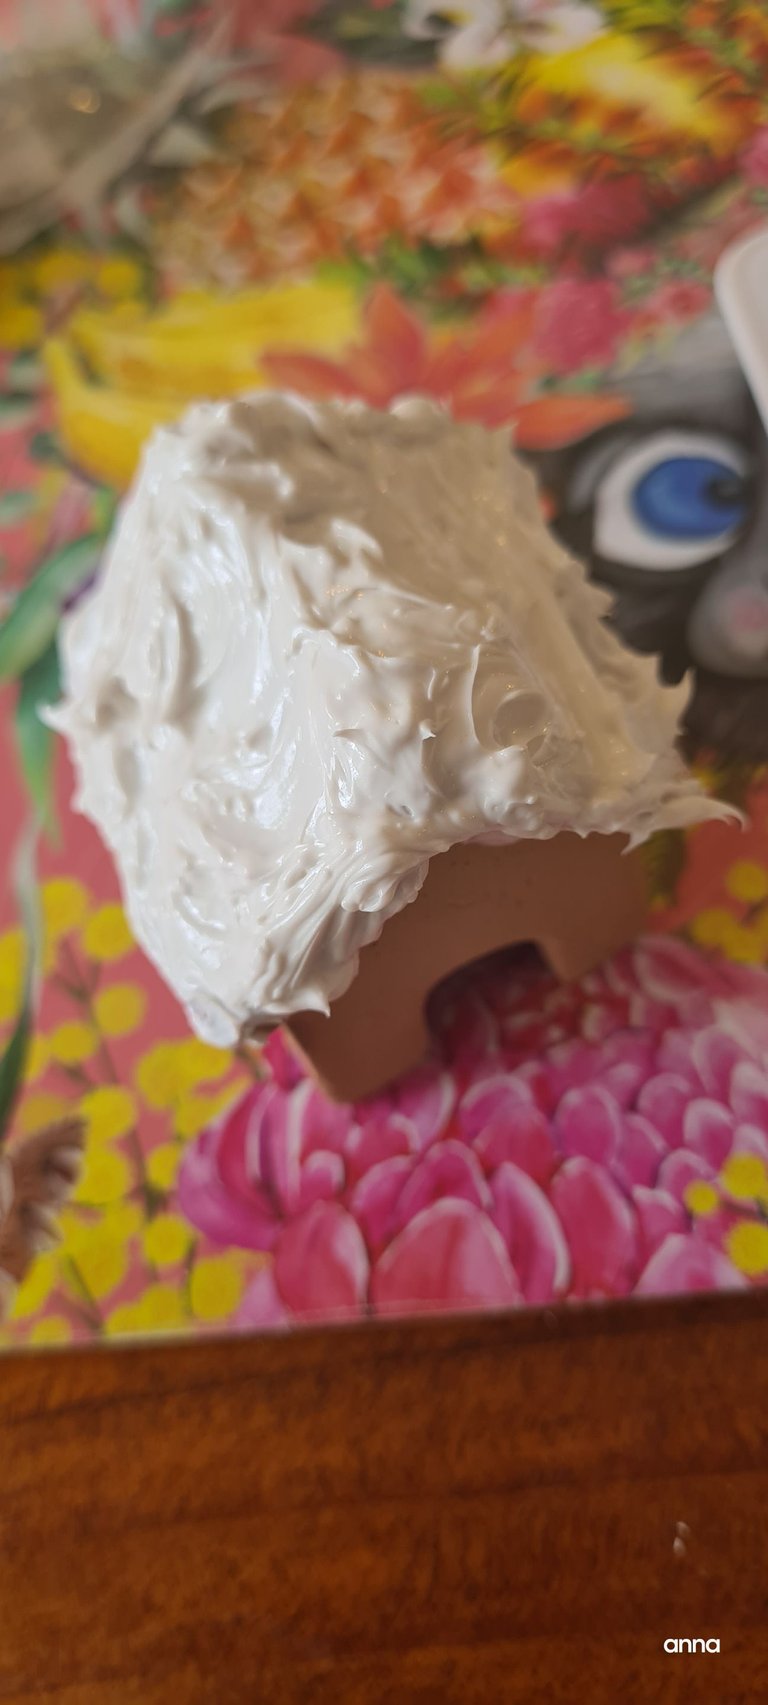
There is no right or wrong way to do it. I am going to top it up with sprinkles. It does not matter if it looks ugly or lopsided or weird.
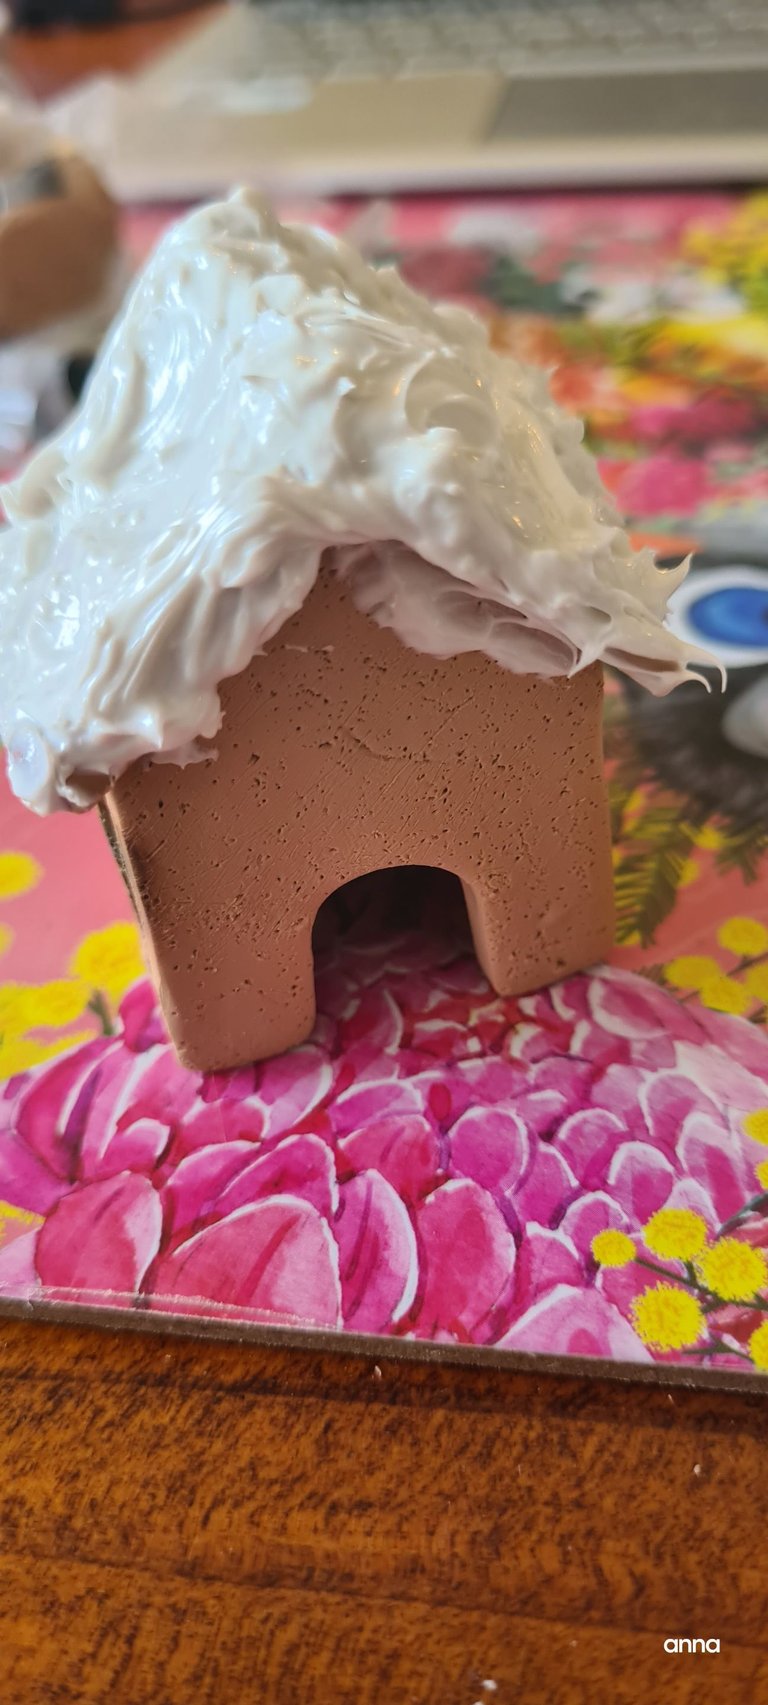
Here I am applying the first stages of my decoration. I would have wanted to add a little bit more flare but since the recipe for the icing is fairly new, I just do not want to hope a lot. So, rudimentary decoration at this stage.
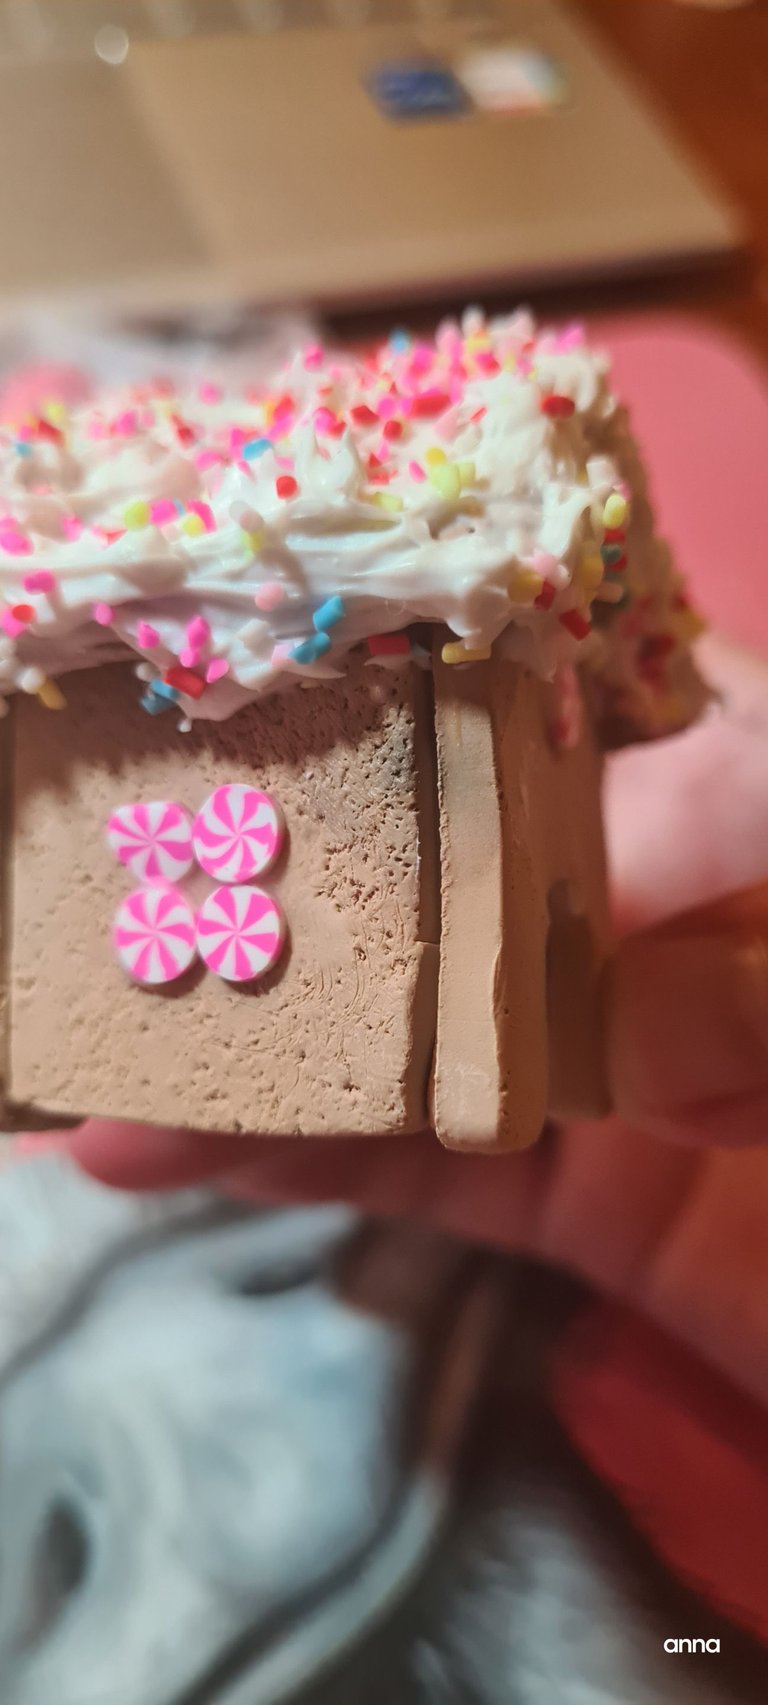
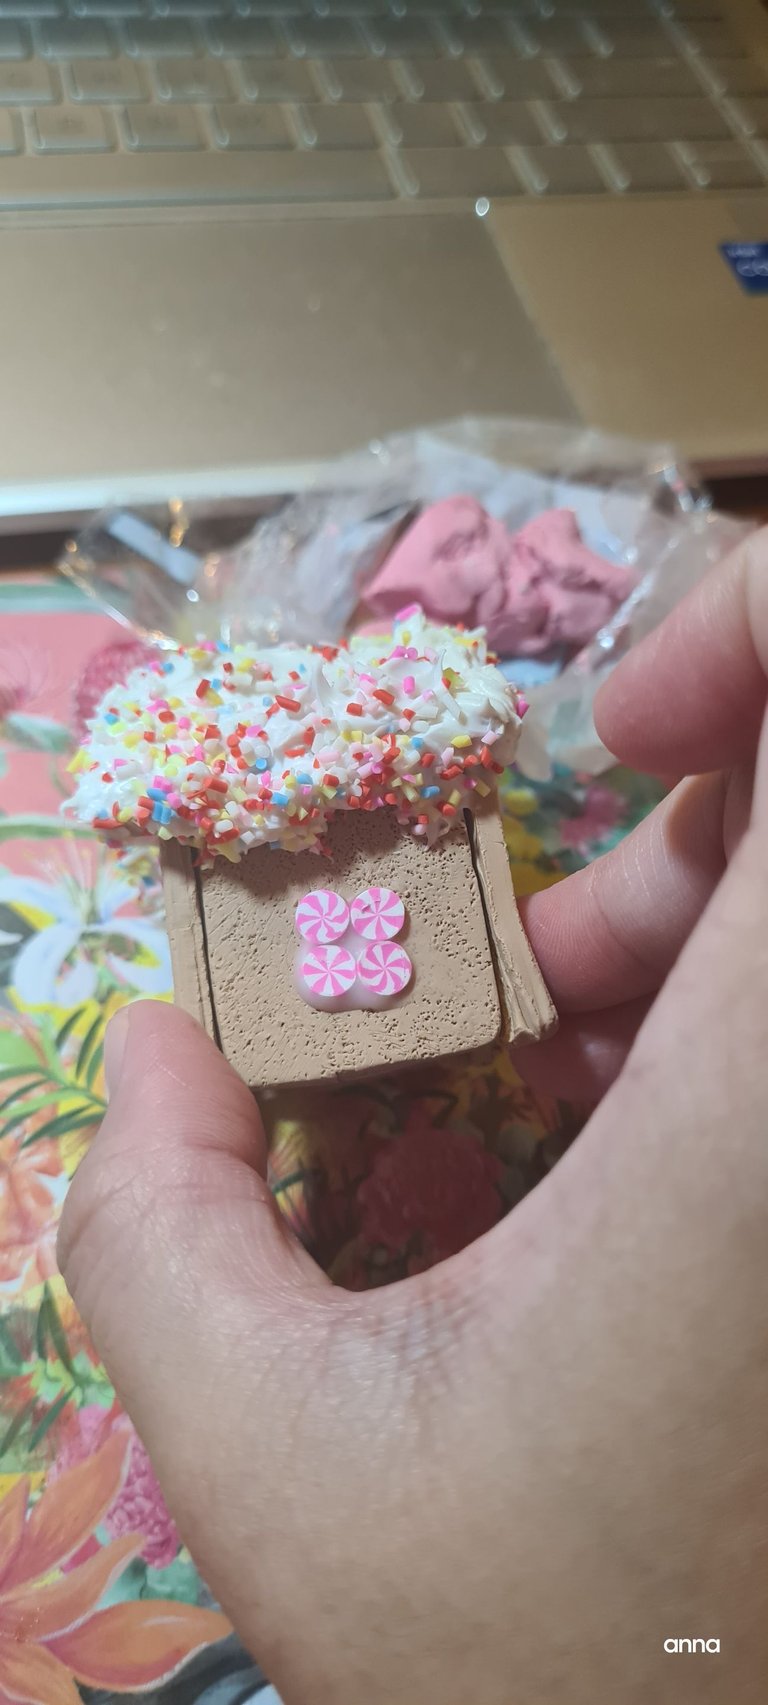
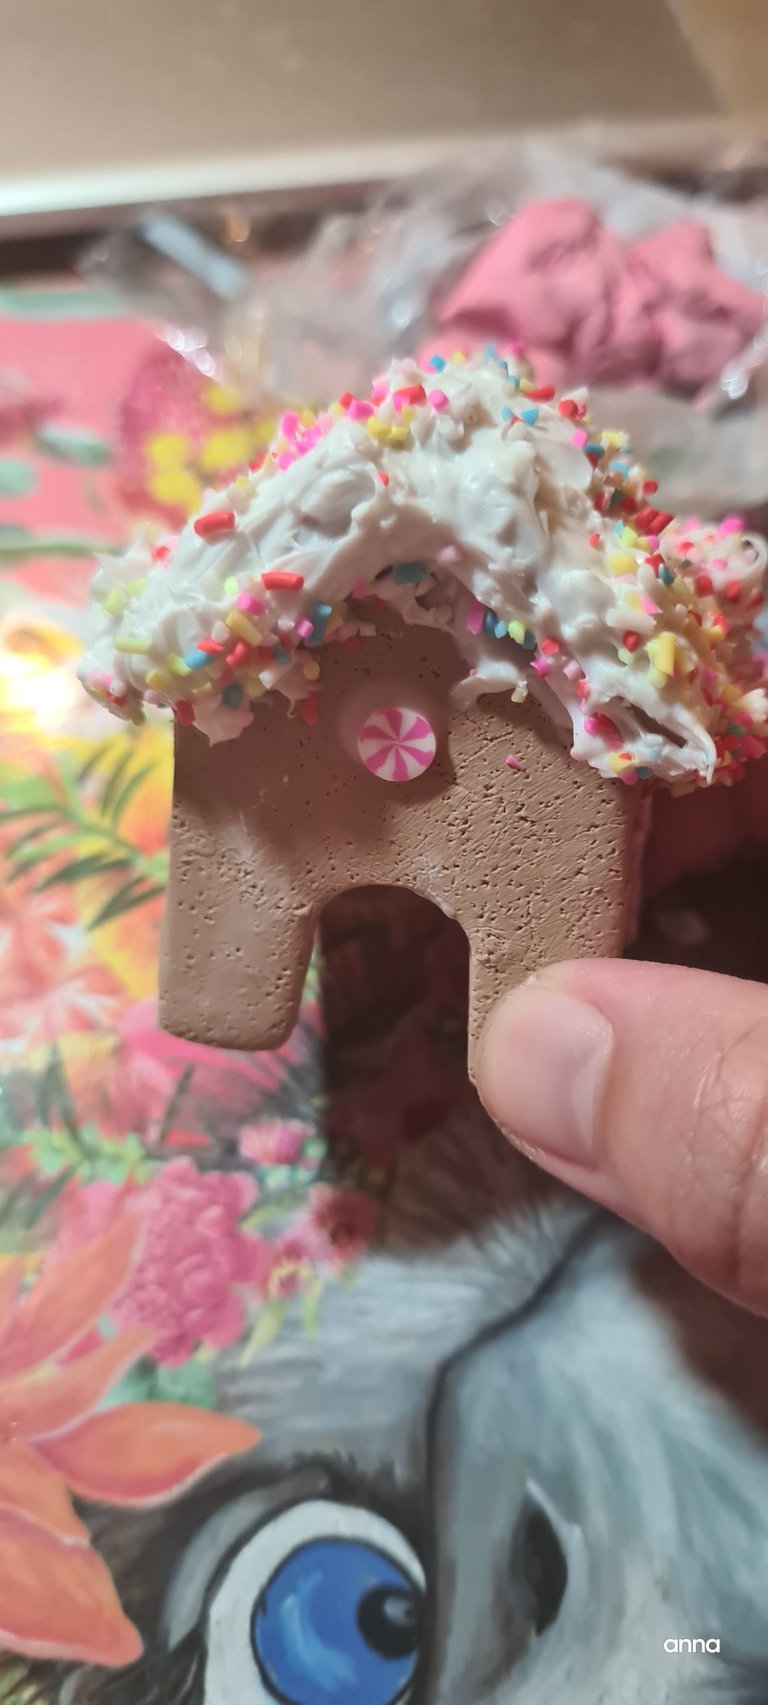
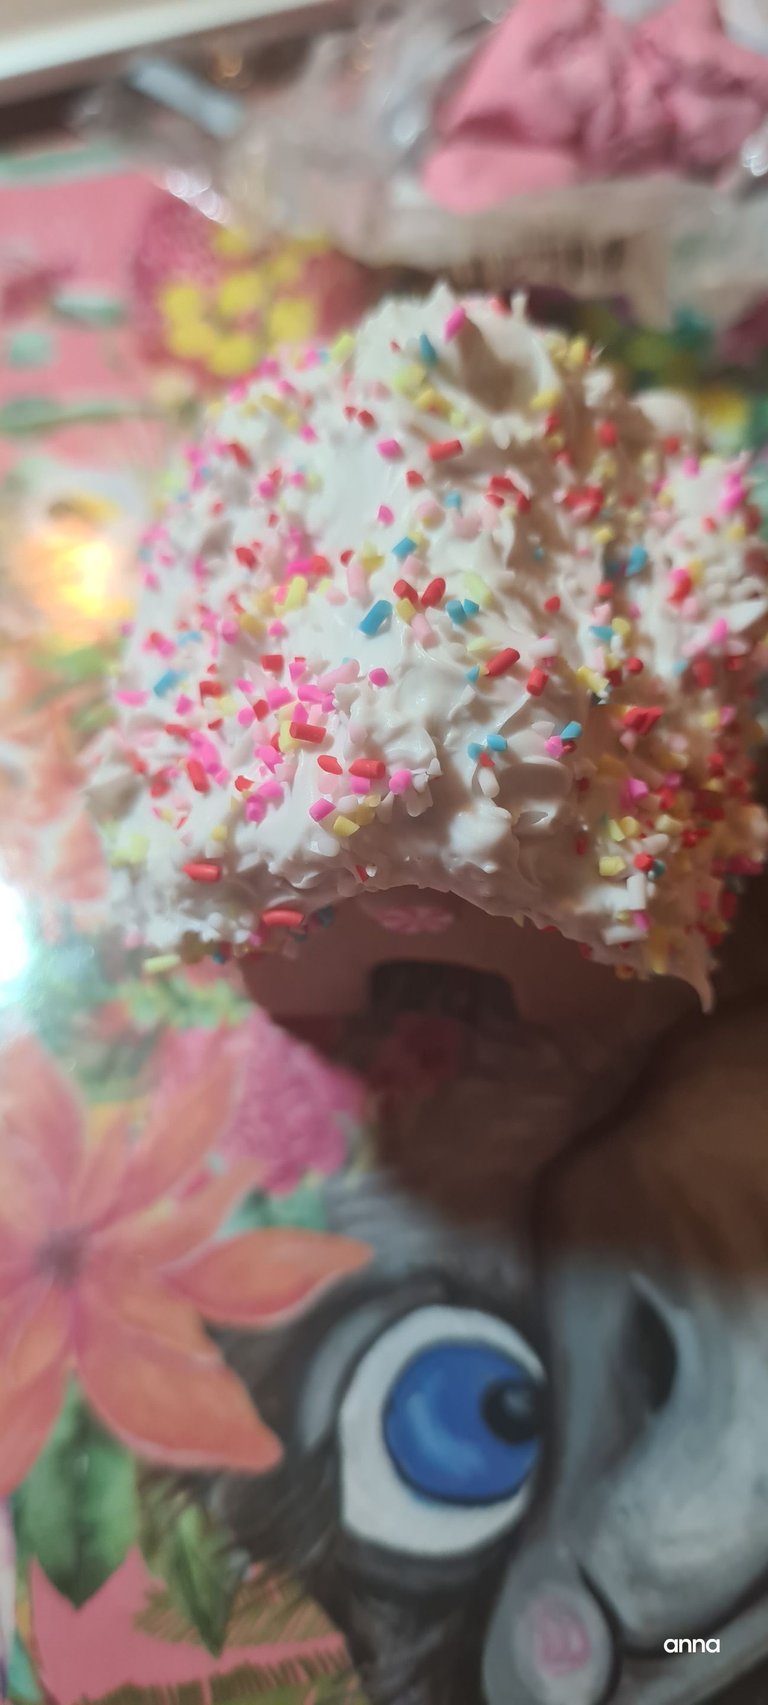
Further decoration
After the clay had finally cooled down( this was the test bake for the icing) and looked totally awesome, I got so elated that I decided to add a little bit more details than I wanted to.
Finally, I can breathe a total sigh of relief and tell me I am very successful in what I just did. I finally decided that I wanted to make this a "real" gingerbread house so here I am making the bottom part.
Like the previous house detail, this was made from the same shade of polymer clay. Same principle even with the details.
But I used a corrogated cutter to get that biscuit effect.
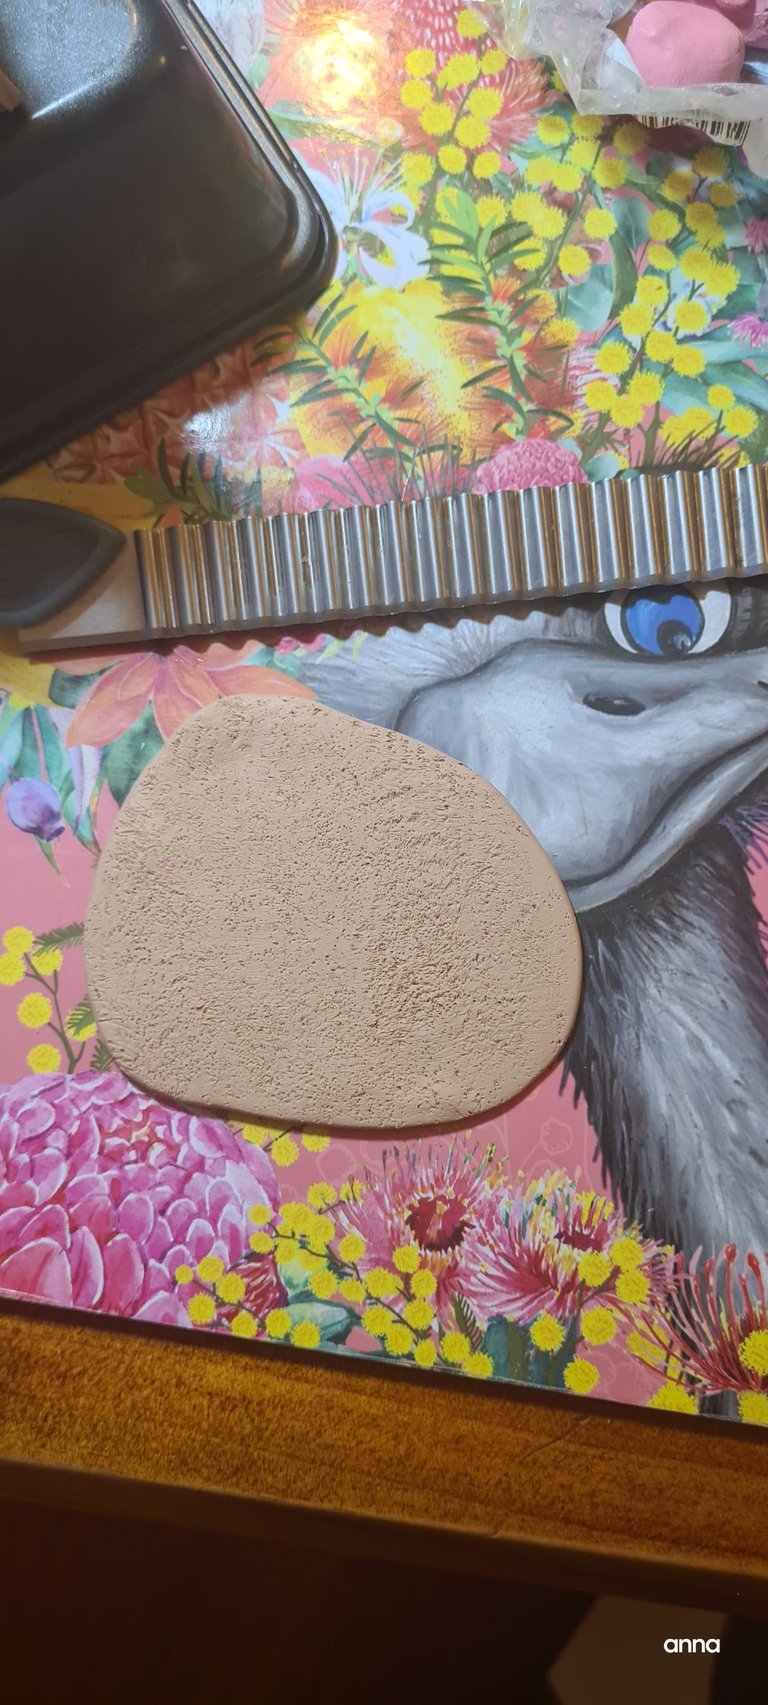
Place the house on top of the thing.

Now its time for the fine details/ decorations. I do not really want to go conventional and go- here is the decoration and this is how I made it thing. I wanted something unique- an unfinished house. So here I am making the marshmallow pillars.
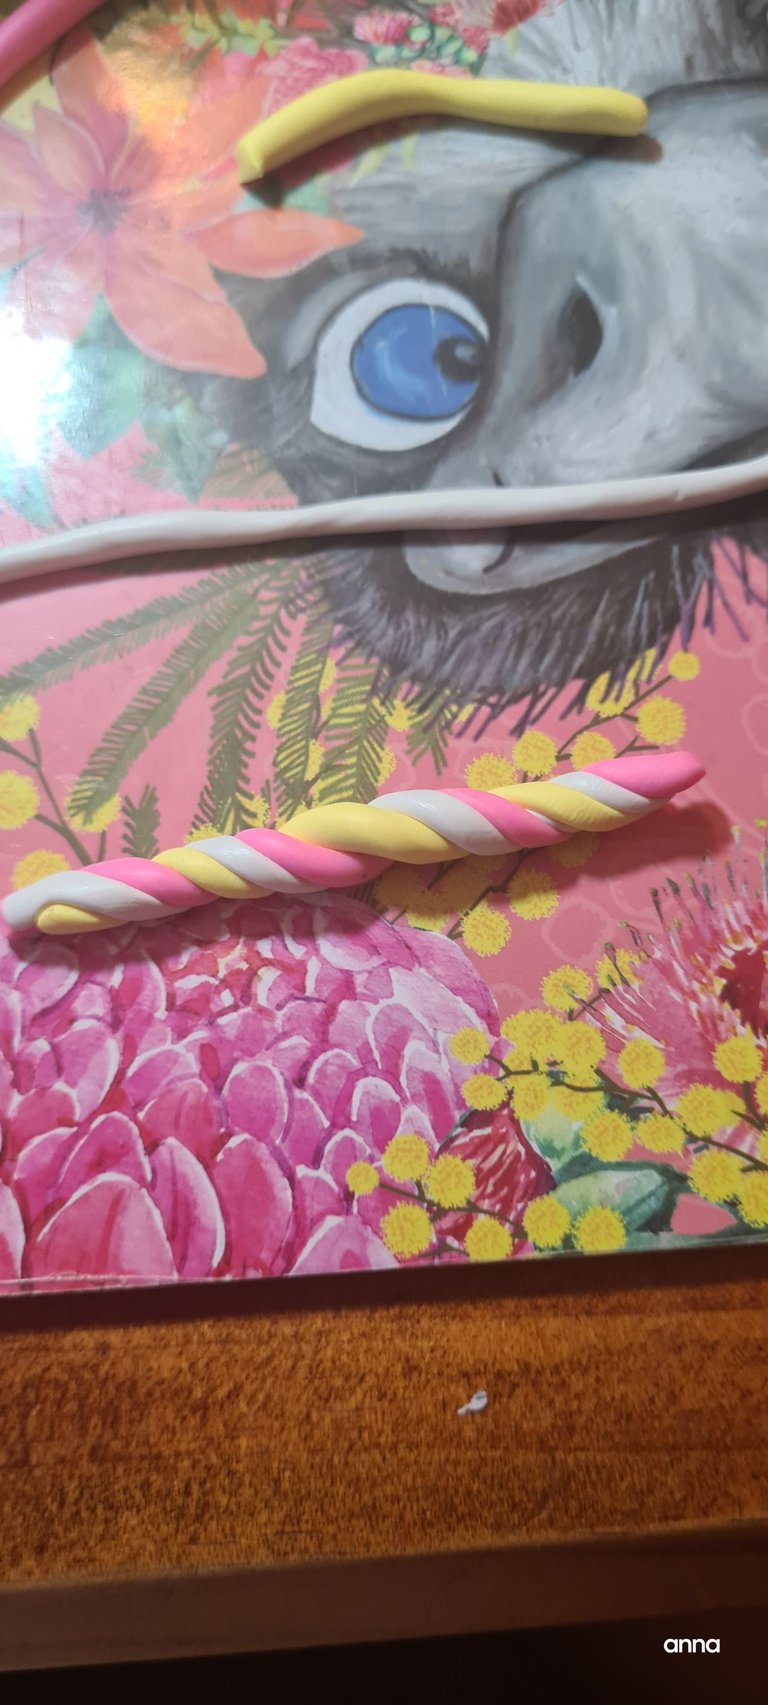
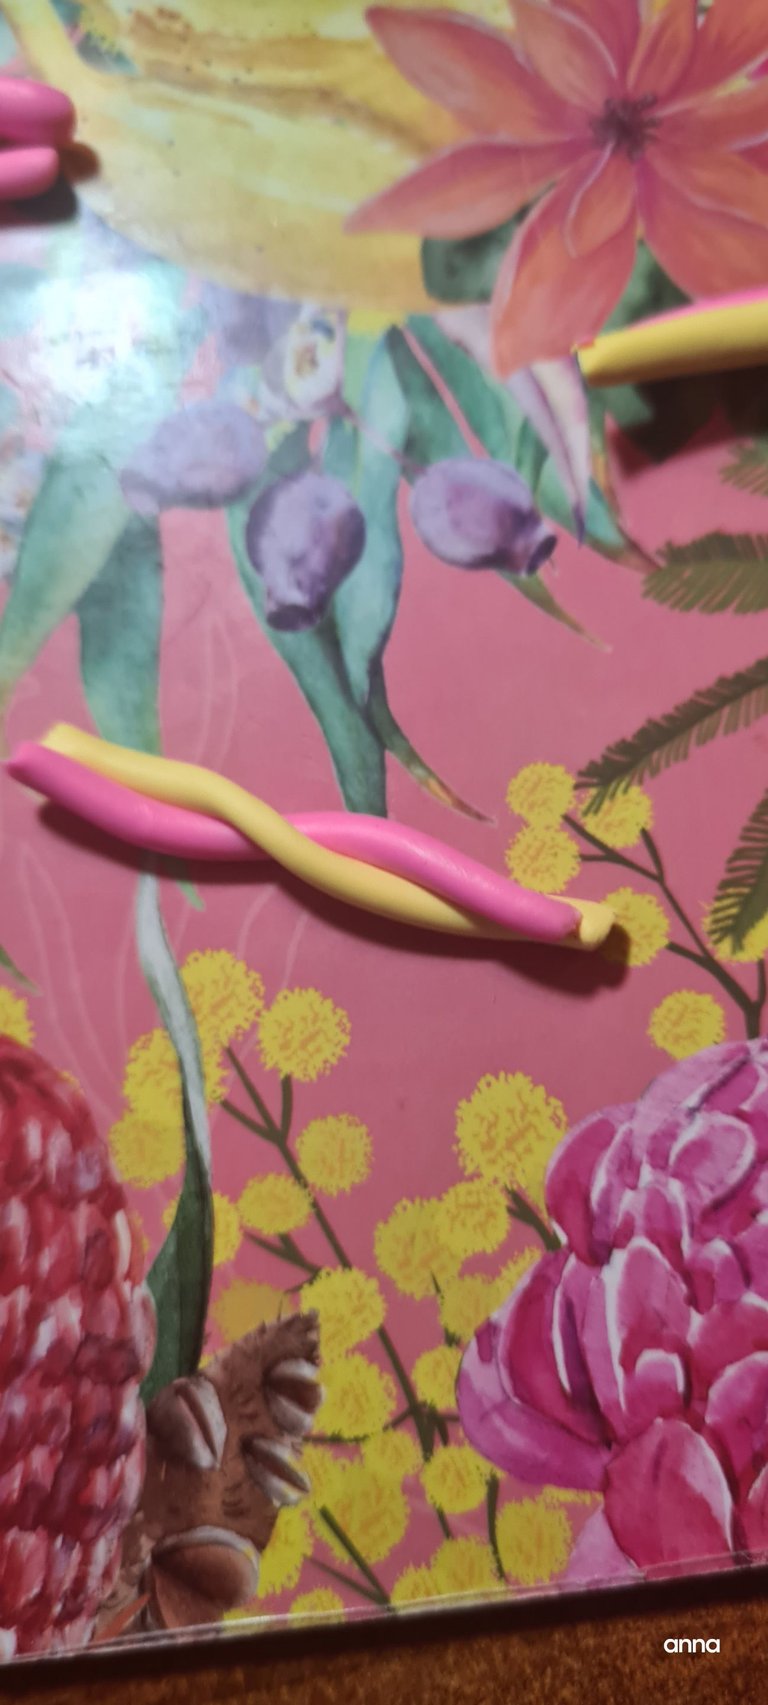
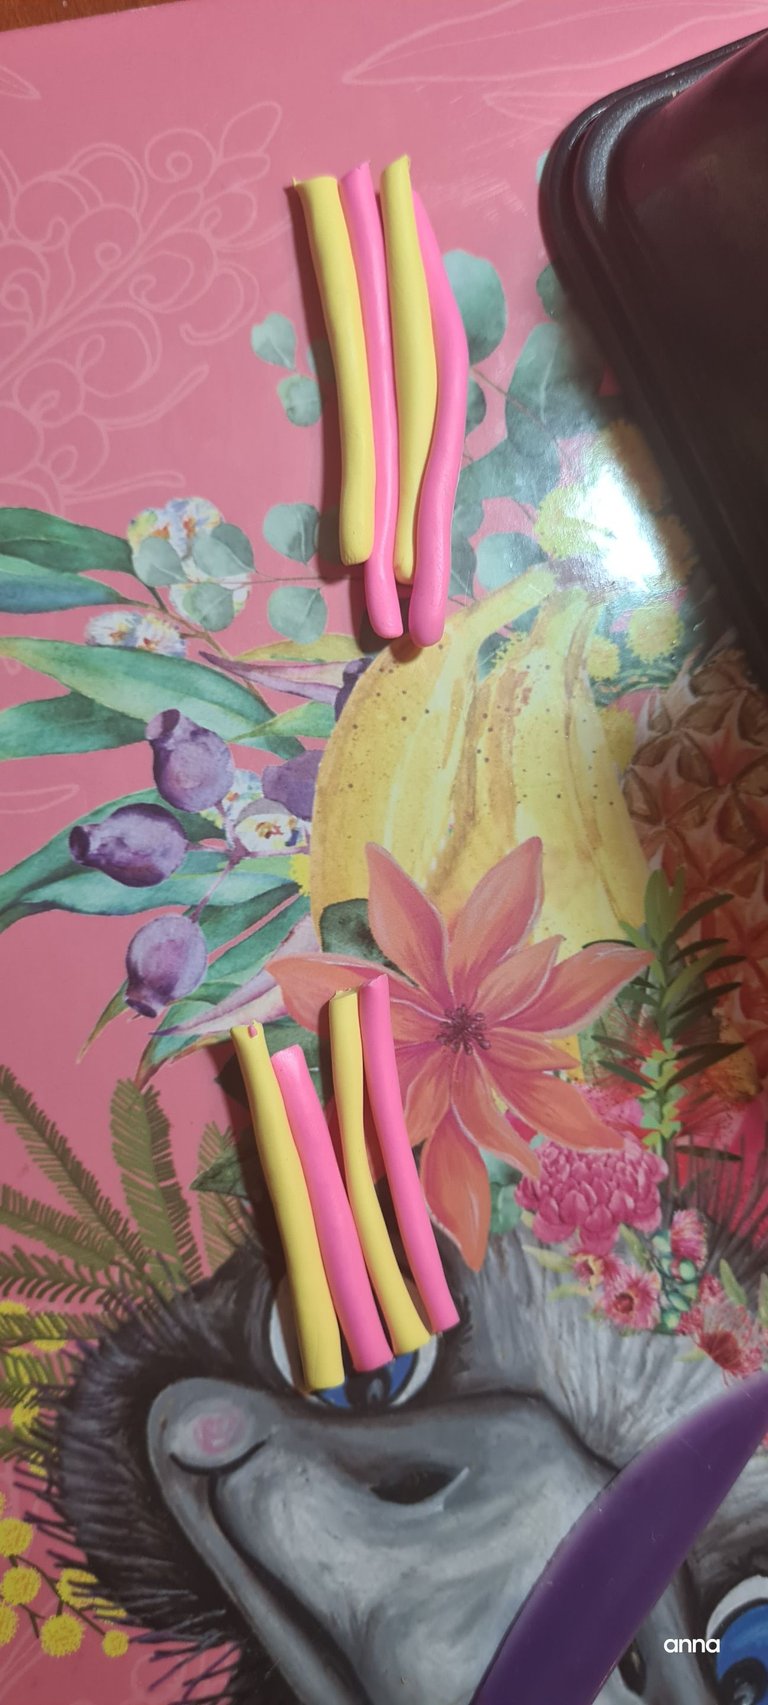
There was a bit of an extra clay- which I decided to make into a chimney top.
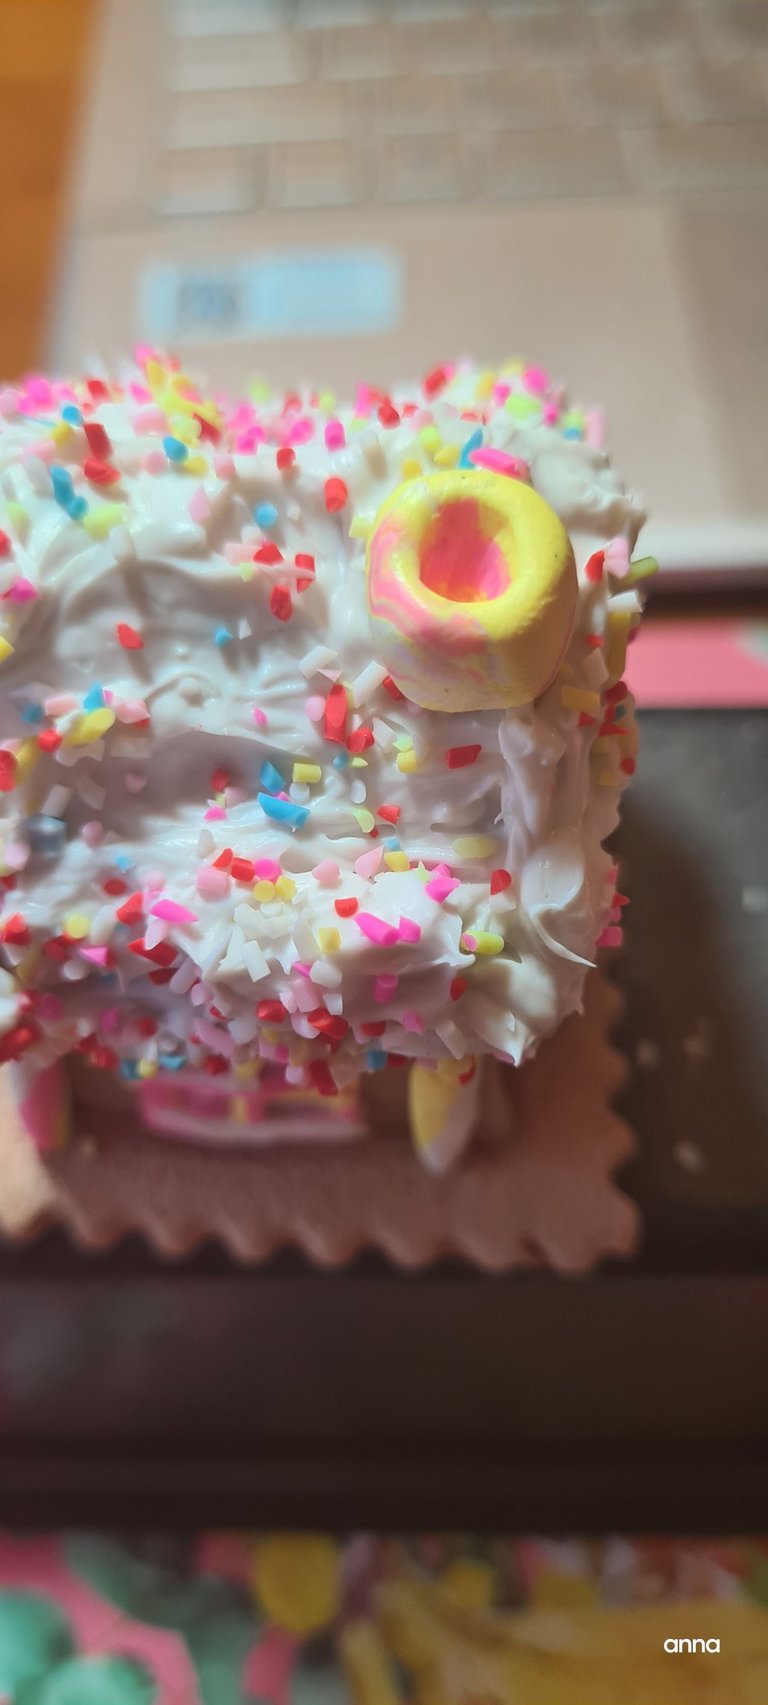
This is how it looks like after. Again, I used the candy bits from the store- I will show you guys how to make one of those someday.
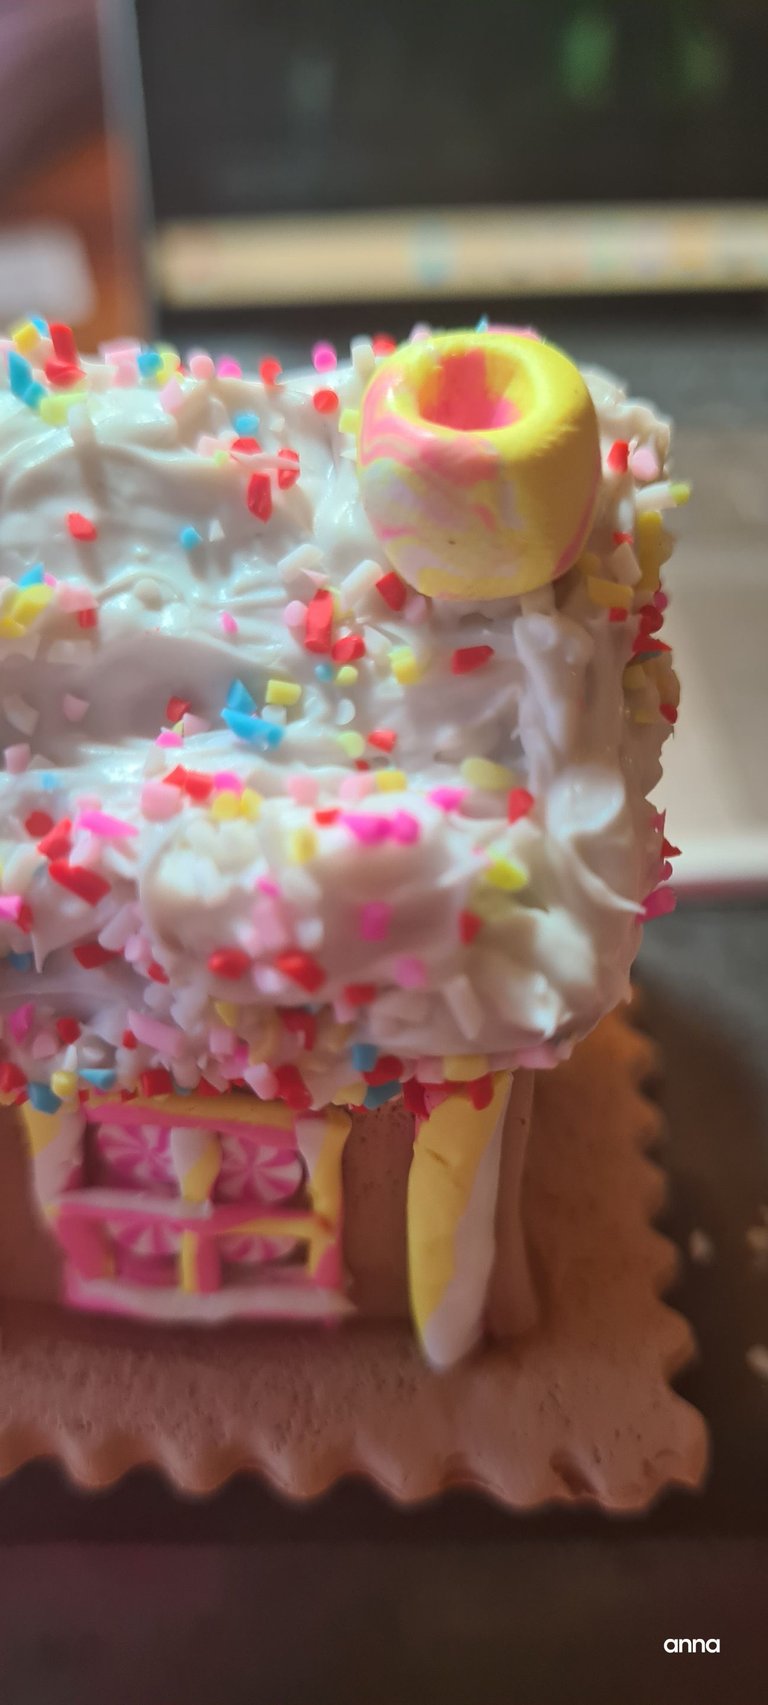
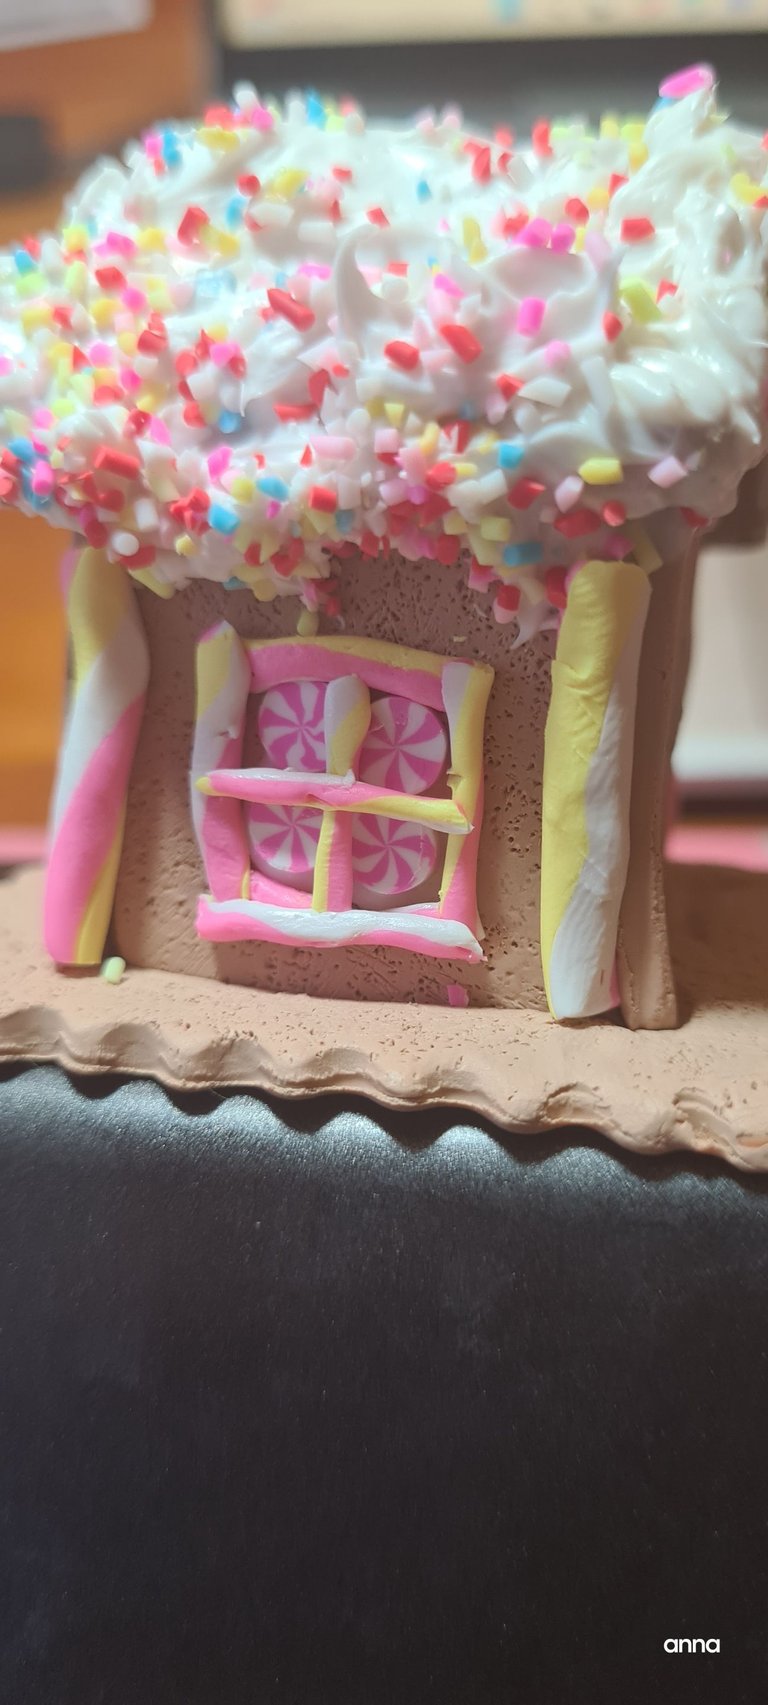
Making Panda
I did not bake the whole piece this time. I have seen how sturdy the thing is and I have decided that I wanted to add a character to look like someone is working on the house- that's where the title of the post came from too.
Why panda- because after all the mashing of colors on the house details, I wanted something simple- that would equally stand out too.
I started by making the body.
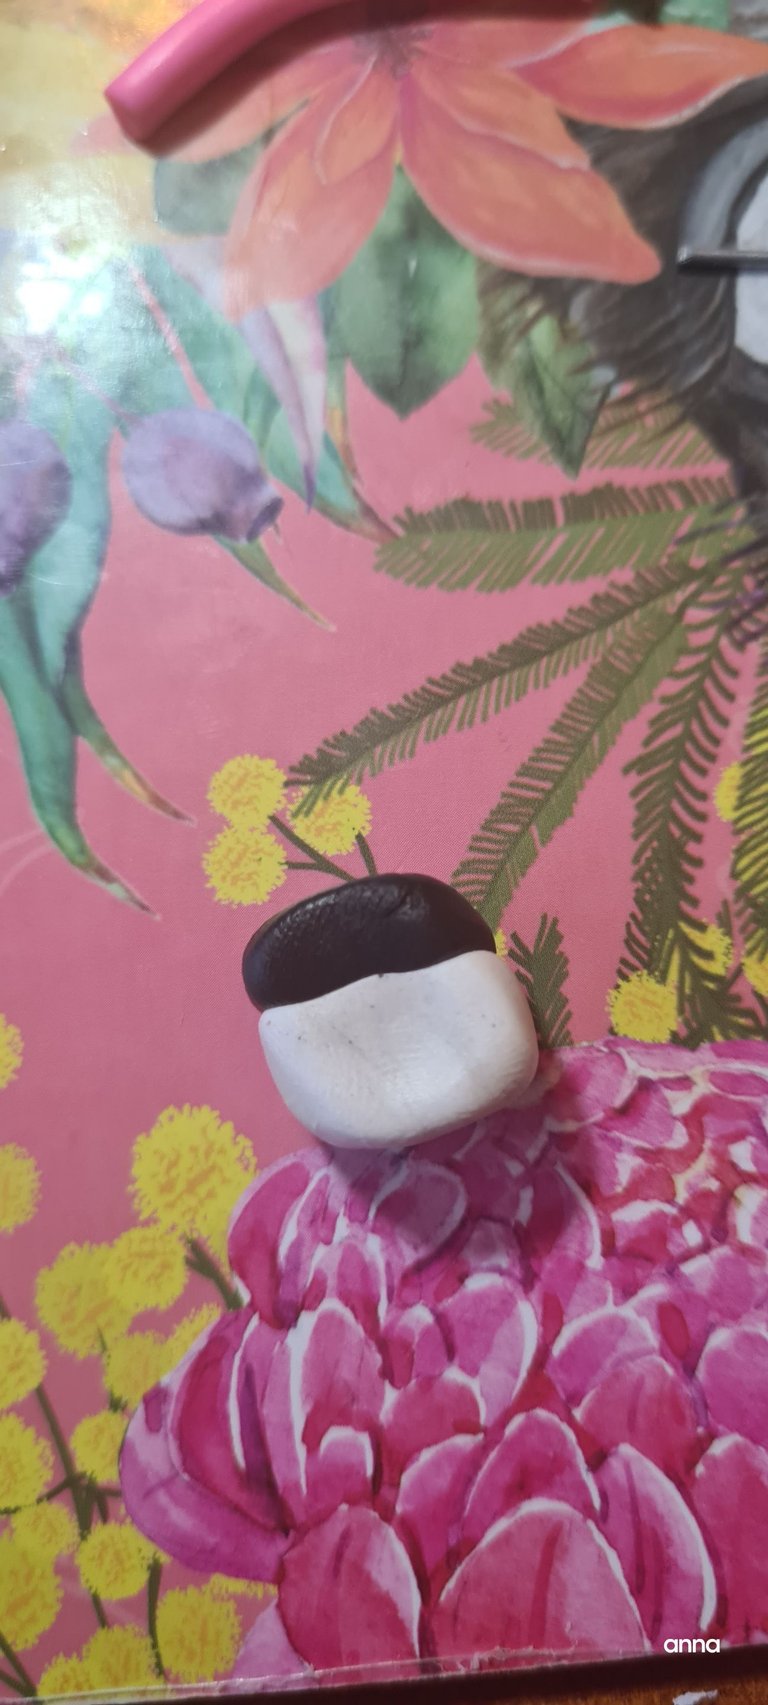
Then shaping it into something that looks like this.
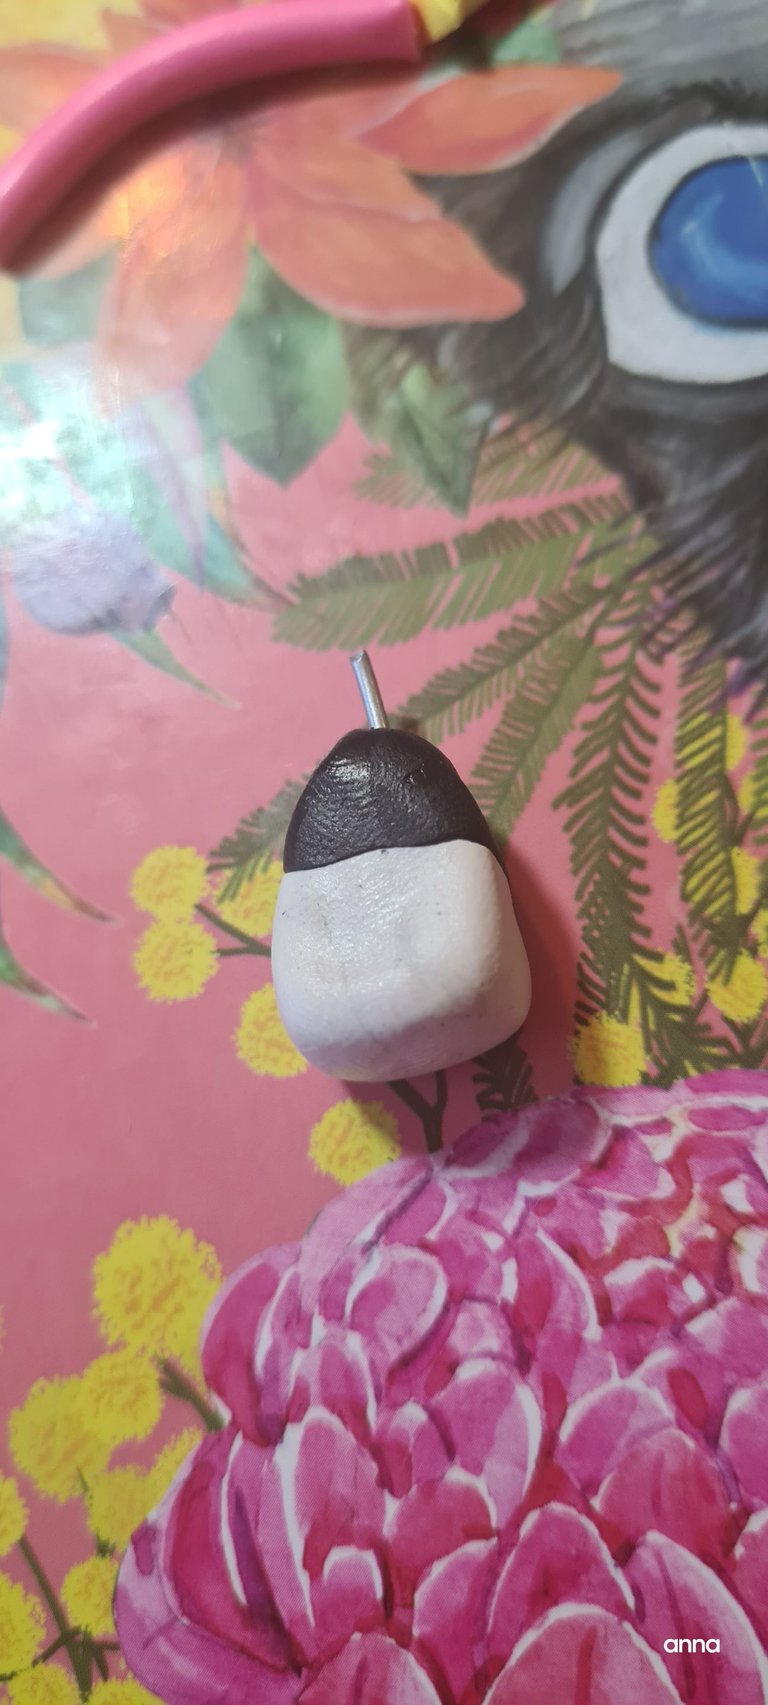
I placed it on top of the house and started making the finer details.
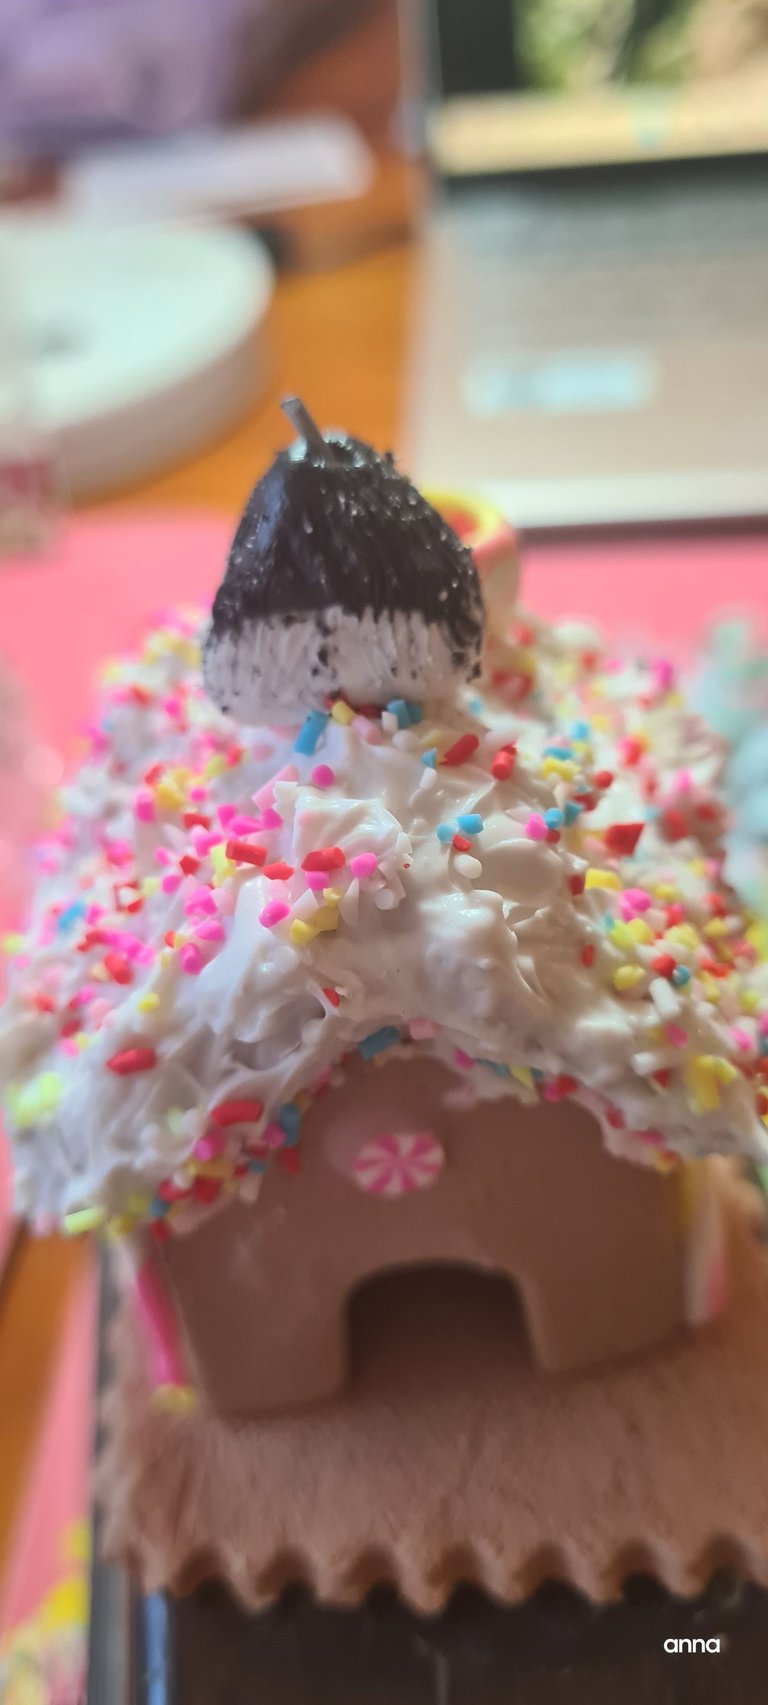
That's the leg going out there.
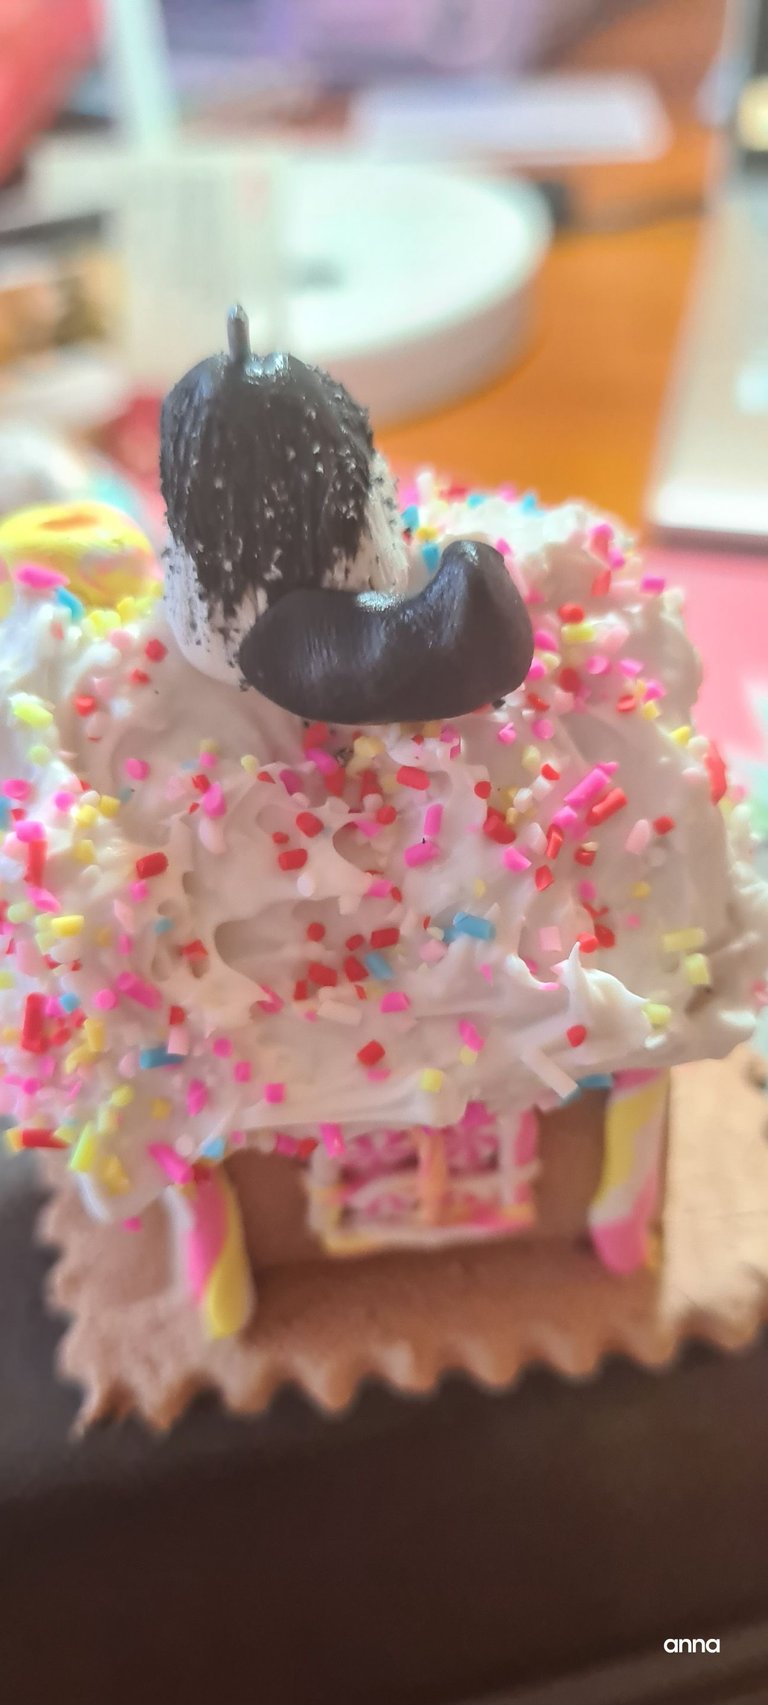
Front view.
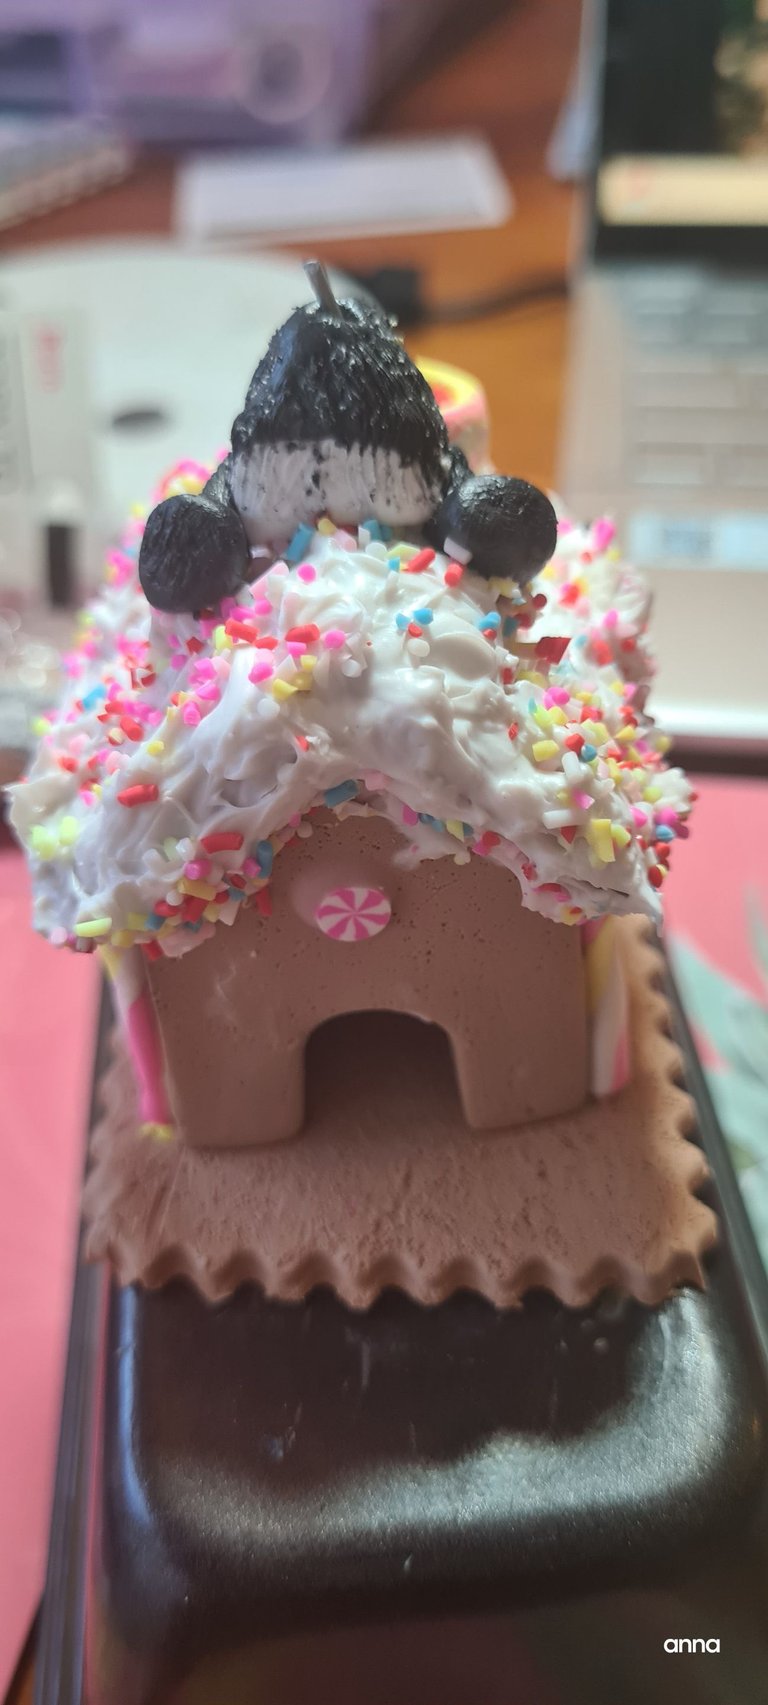
Adding the details.
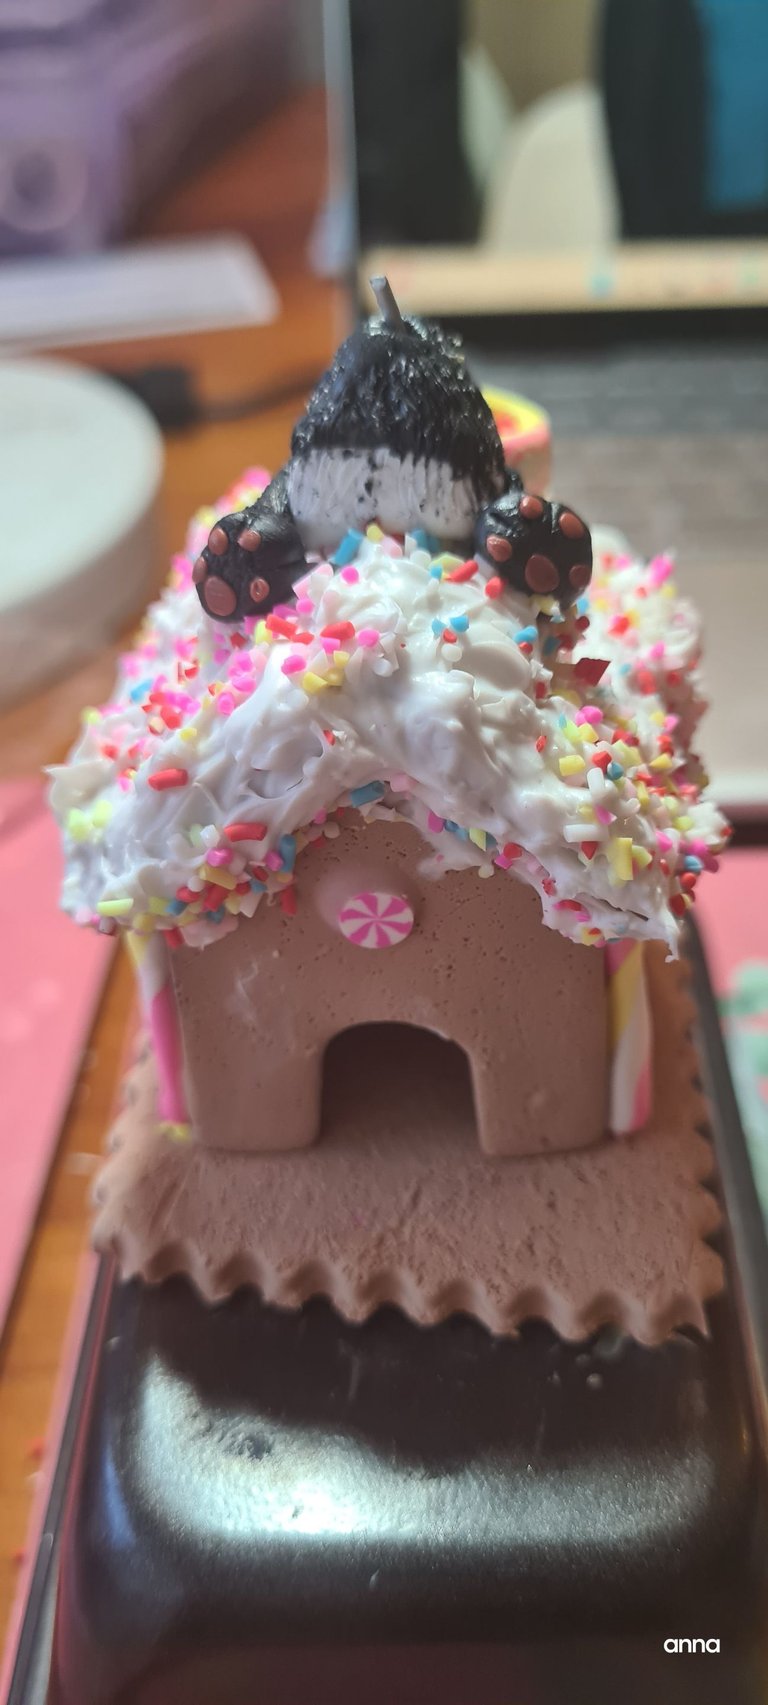
The basket
Since I wanted the character to appear like he's building the house, I decided to stop making the details for Panda and focus on the basket. This will be sitting right infront of him making it look like he is trying to scoop some icing.
I got some basket rollers and that is what I used to make the basket details here.
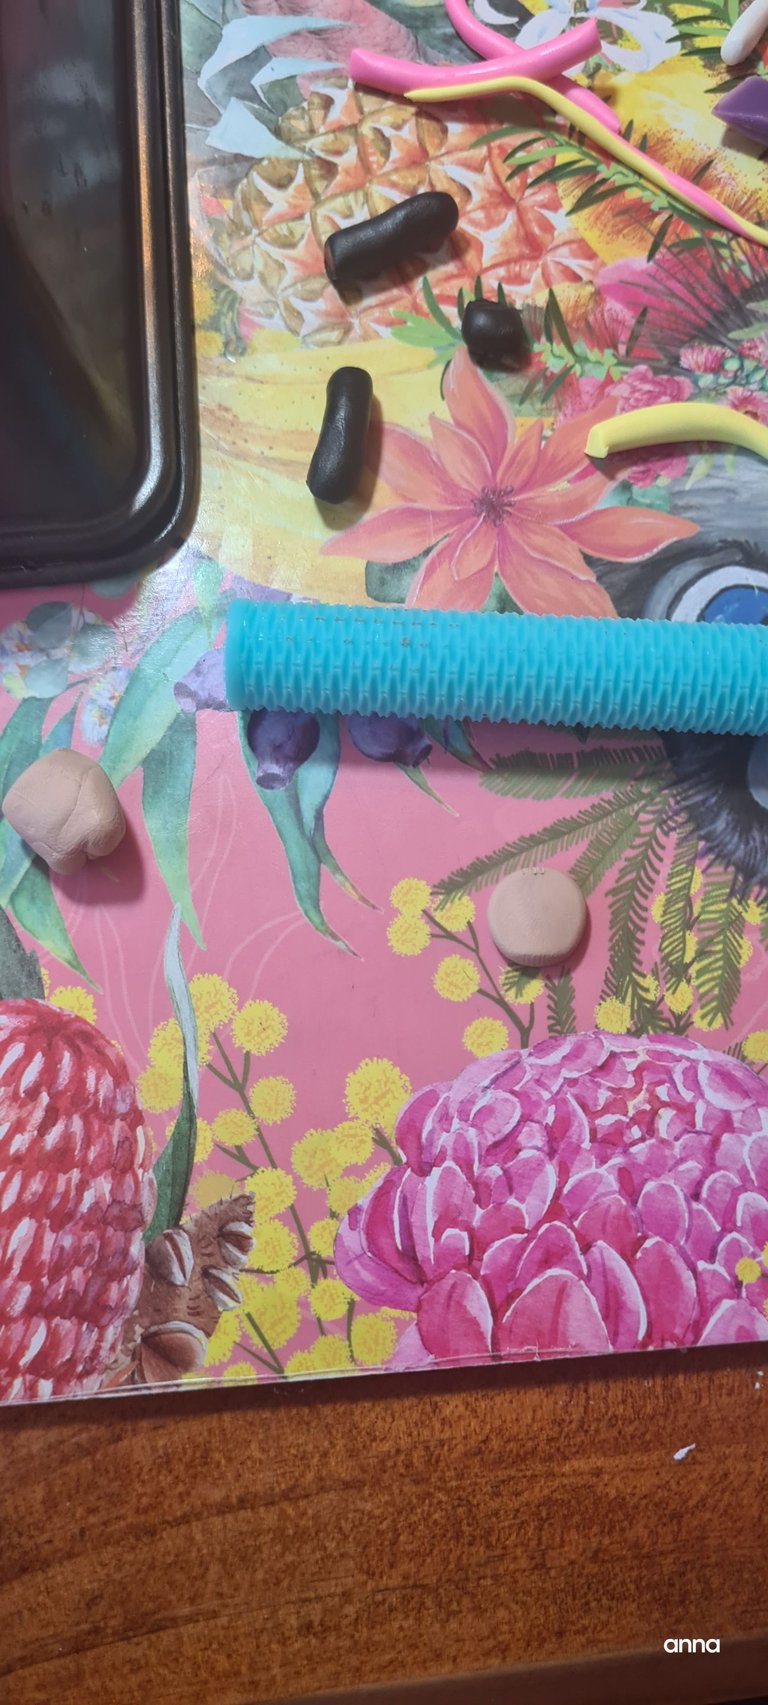
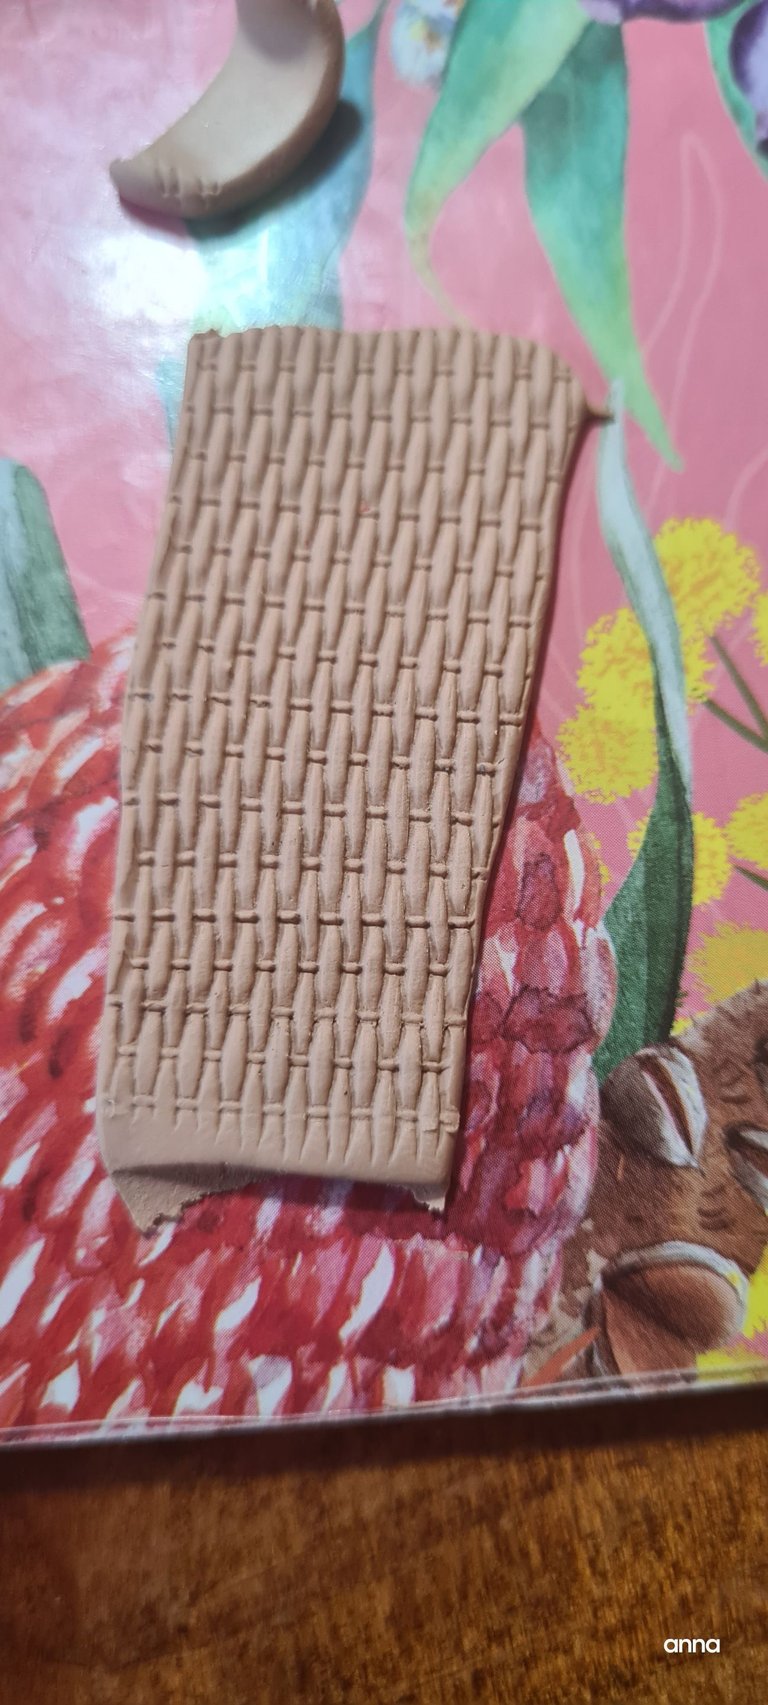
Finished product.
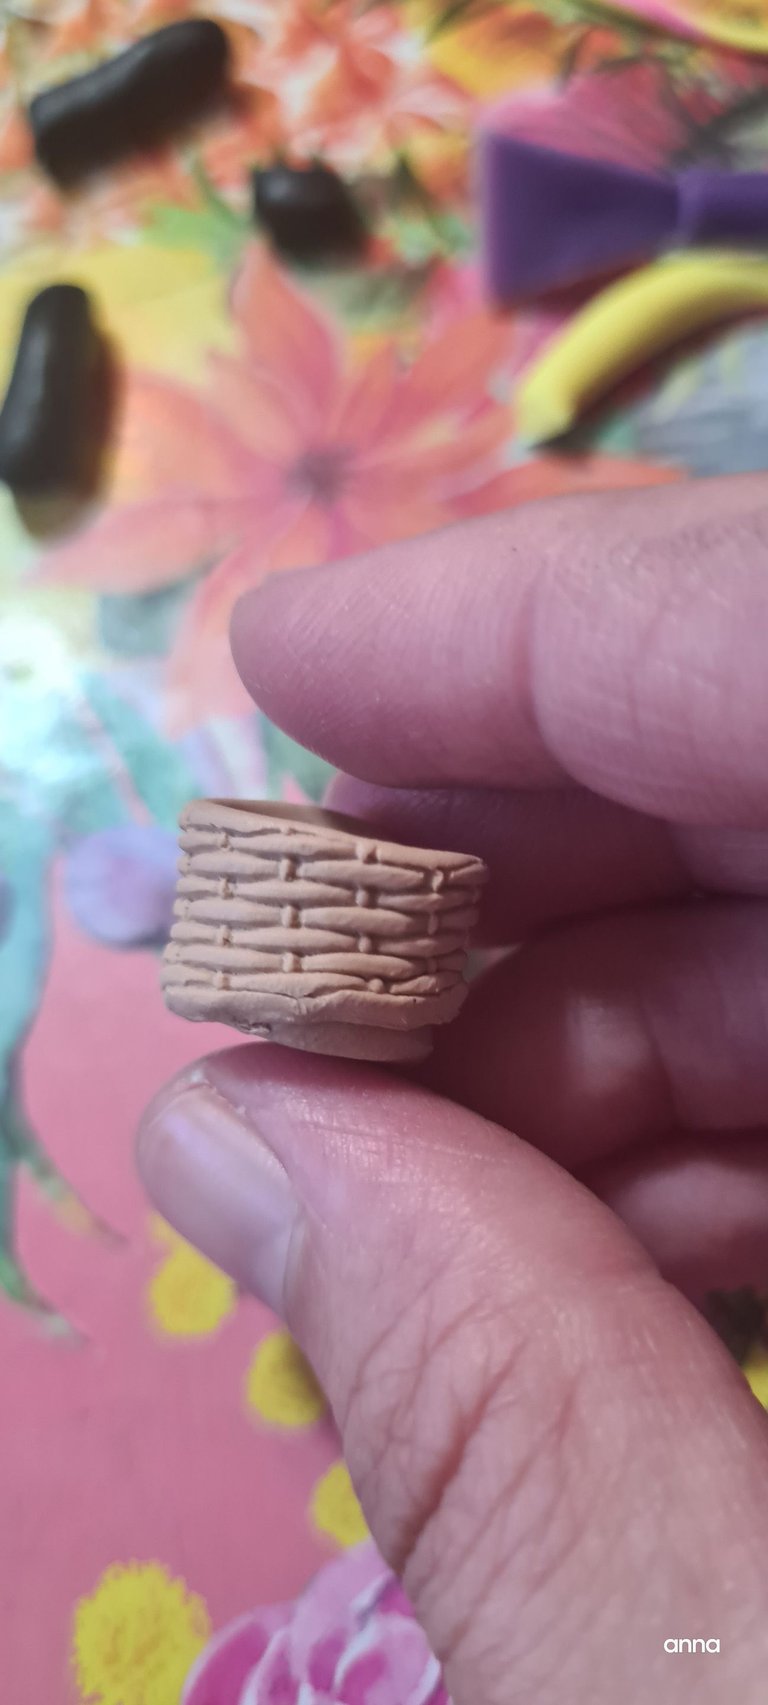
**
Finishing Panda's details**
Now its time to finish Panda's details.
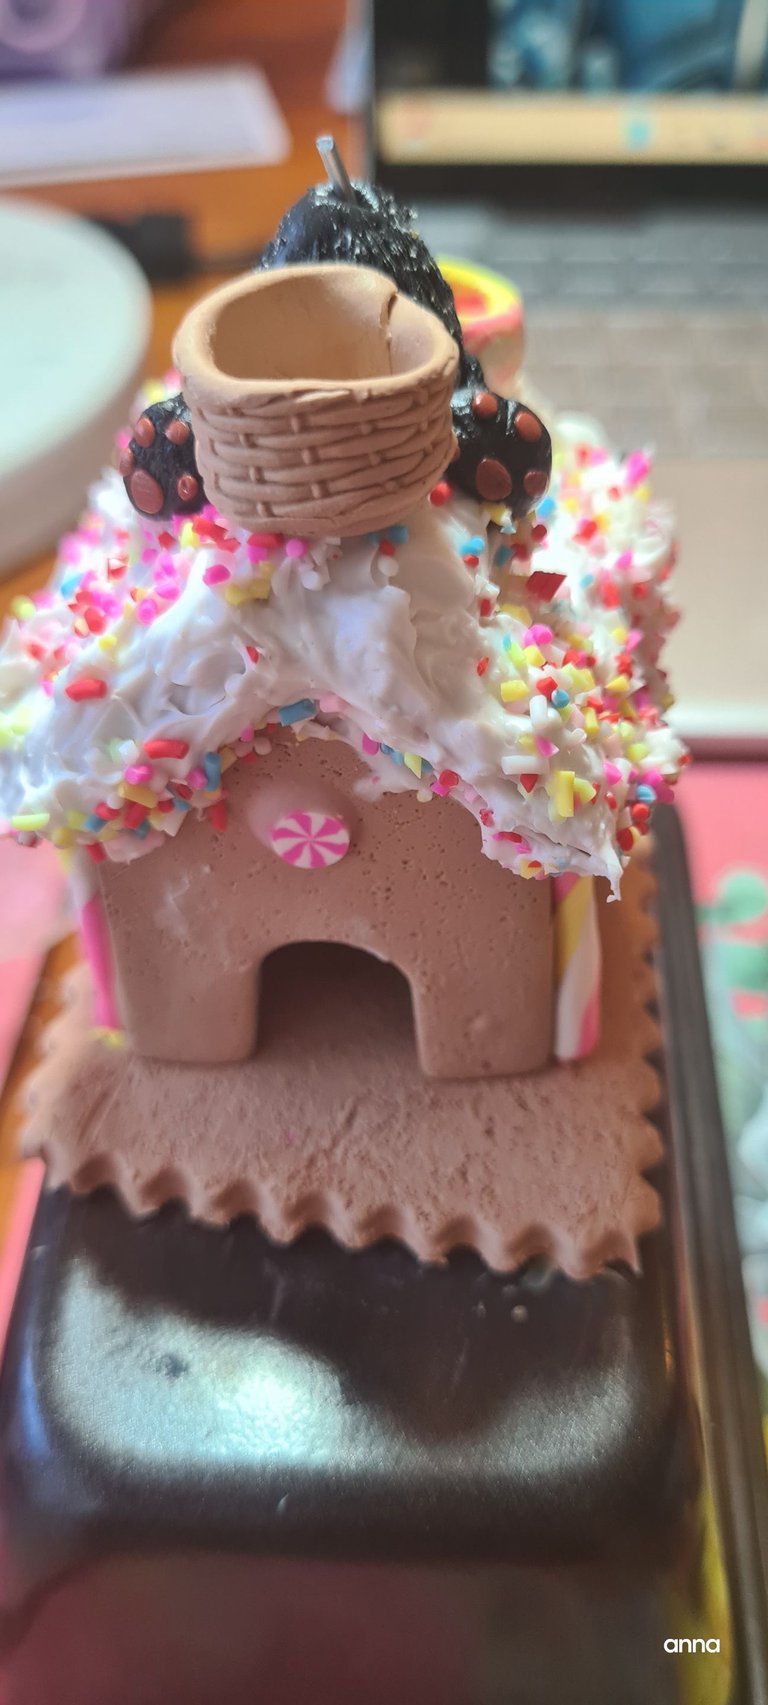
I have already added a generous amount of icing in the basket as I thought it would be easier for me to add details on it now that the head and the hands are not yet done.
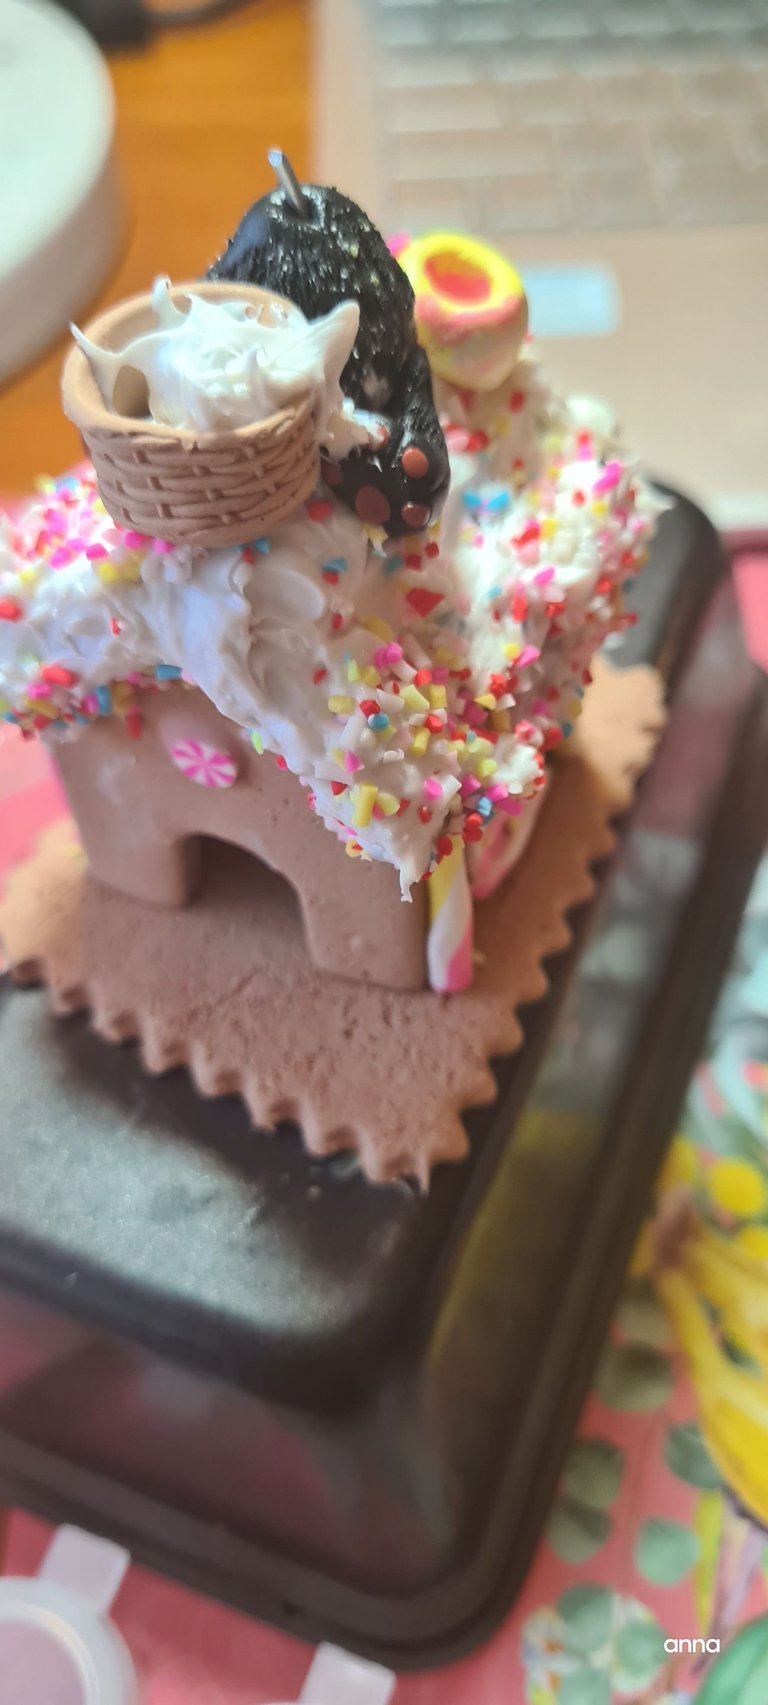
Here's the hands taking into shape.
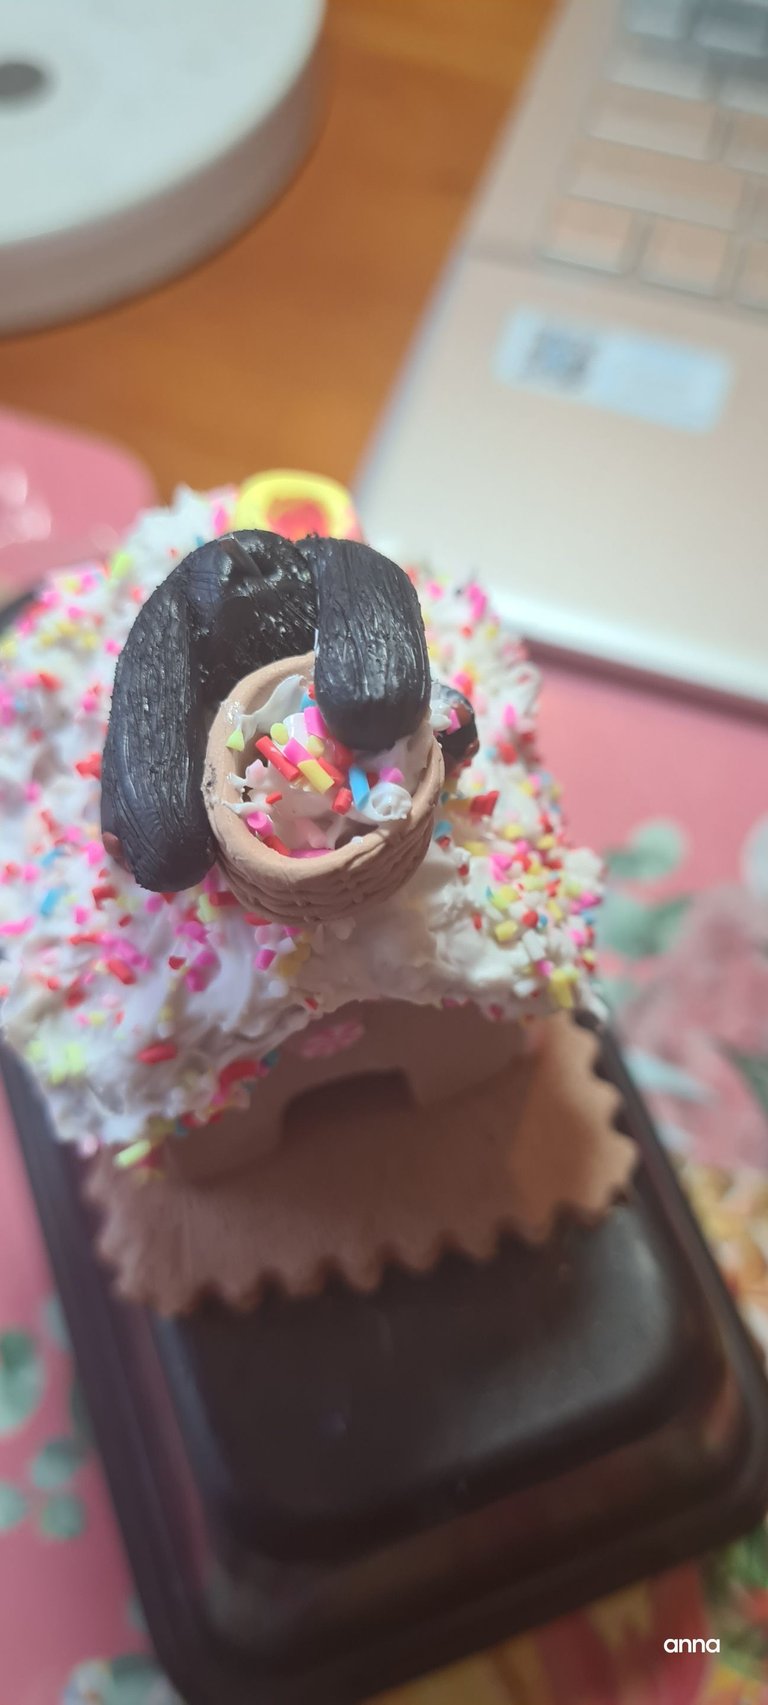
If you guys would look at the finished product, Panda's eyes miraculously changed from brown to black. I simply covered the brown ones as I am not happy looking at it.
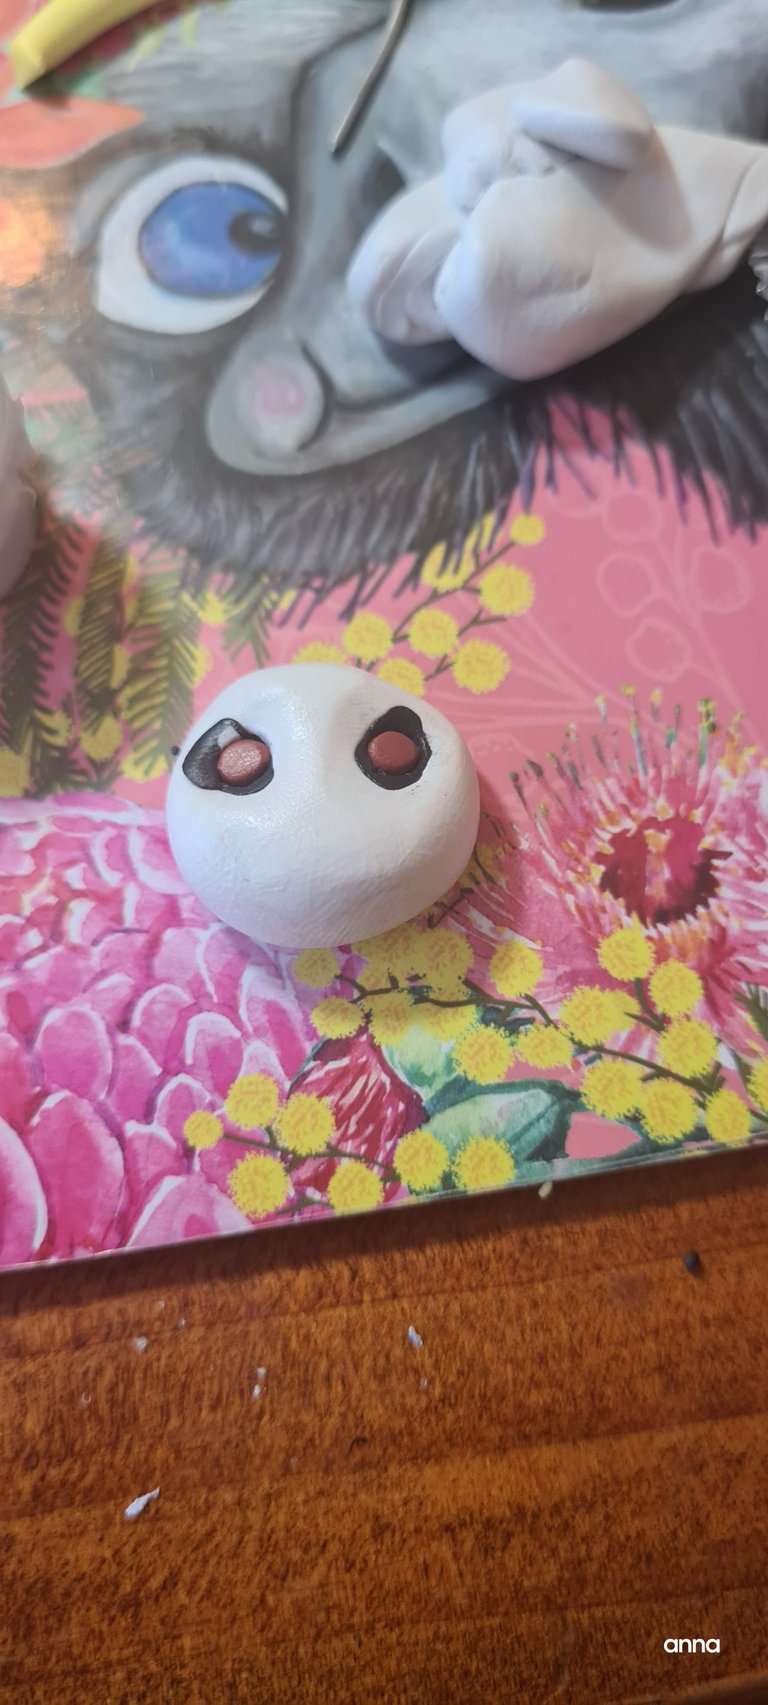
Panda's face taking shape. I did not want to attach this piece and sculpt there with the house as I knew its really hard doing that. Besides, with the scale that I am working with, its kinda a miracle that things work out the way they did.
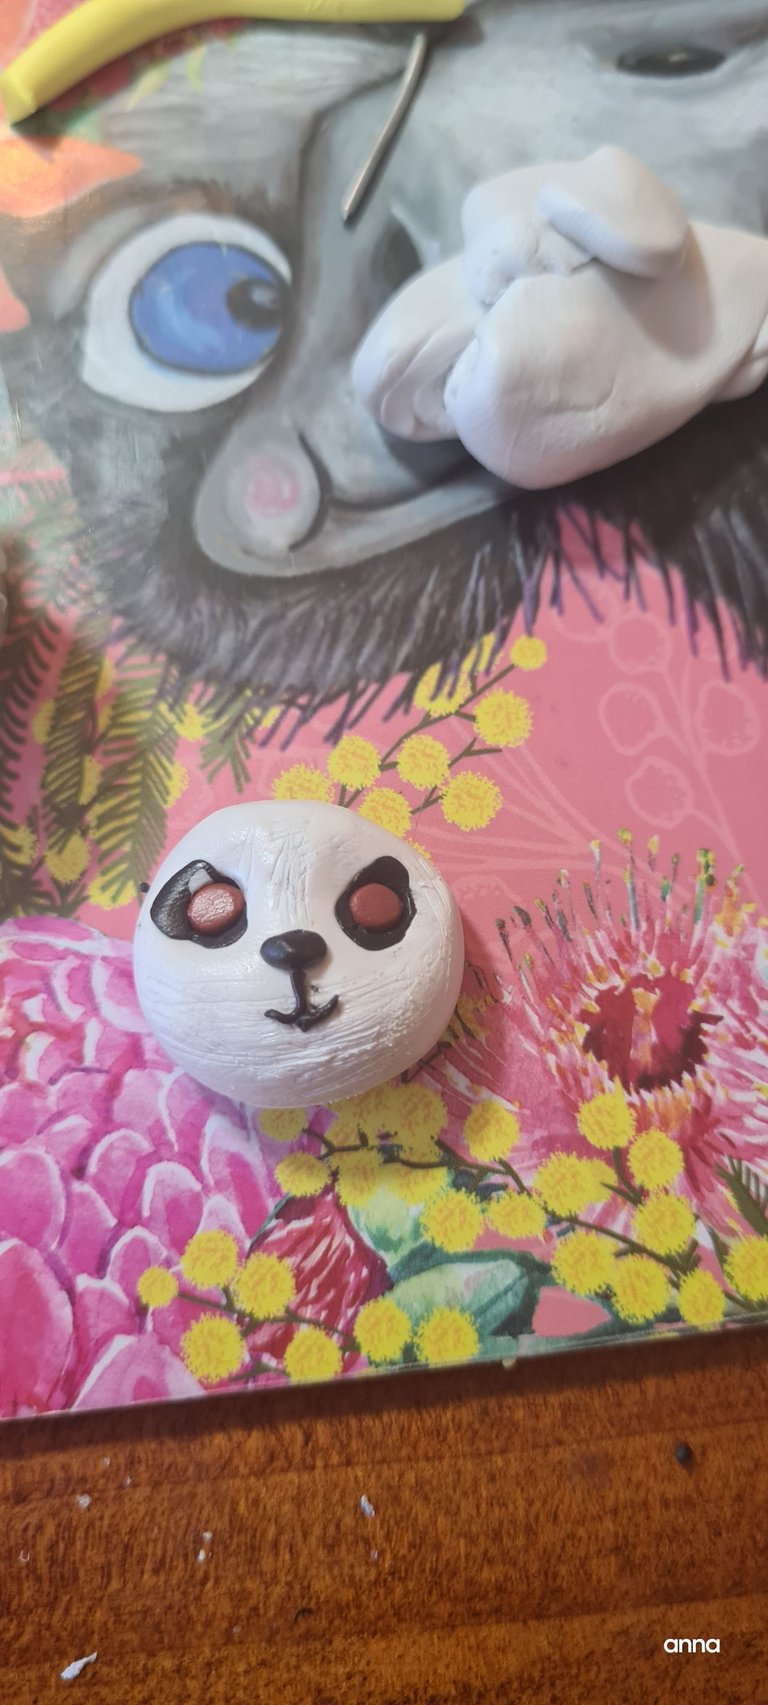
The finished look.
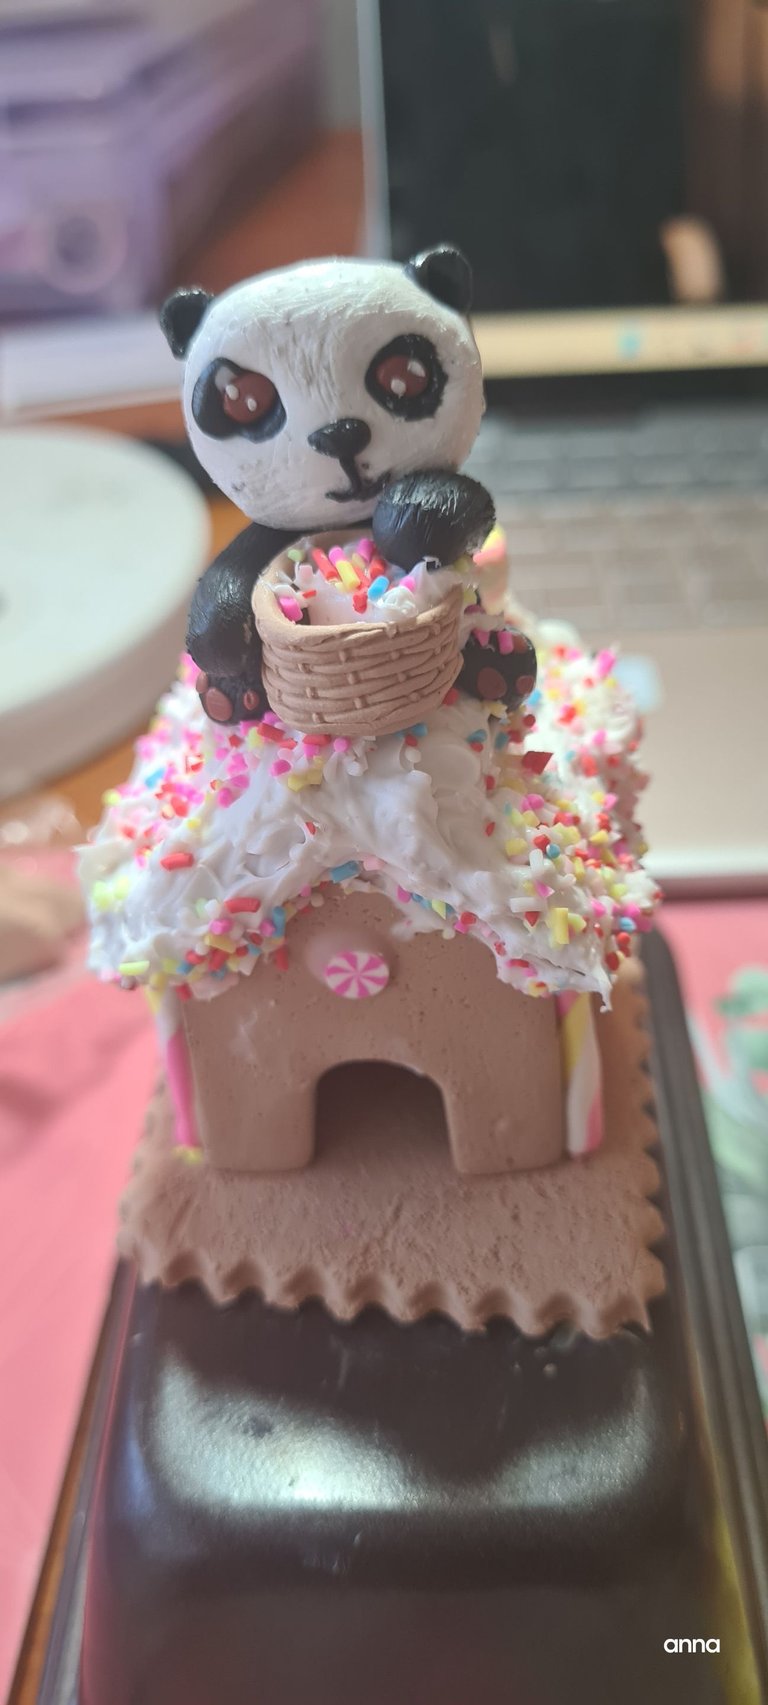
The overall final touches
From here it was more like making finishing touches. I am not going to elaborate on any of these as most of them were simply sprinklers, biscuits and more cream mashed in together to make it look like Panda is working on his house.
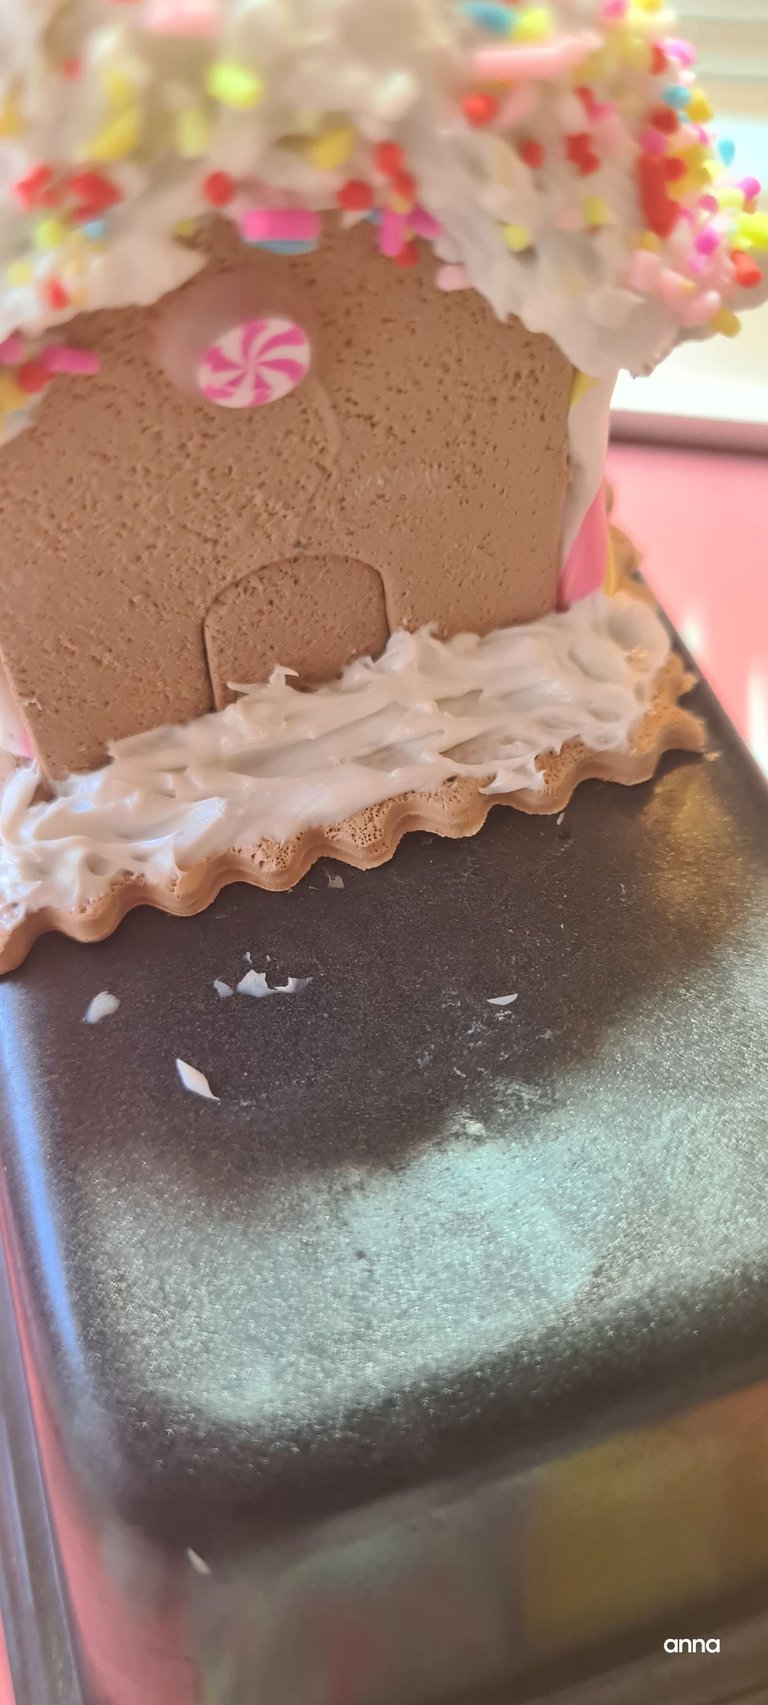
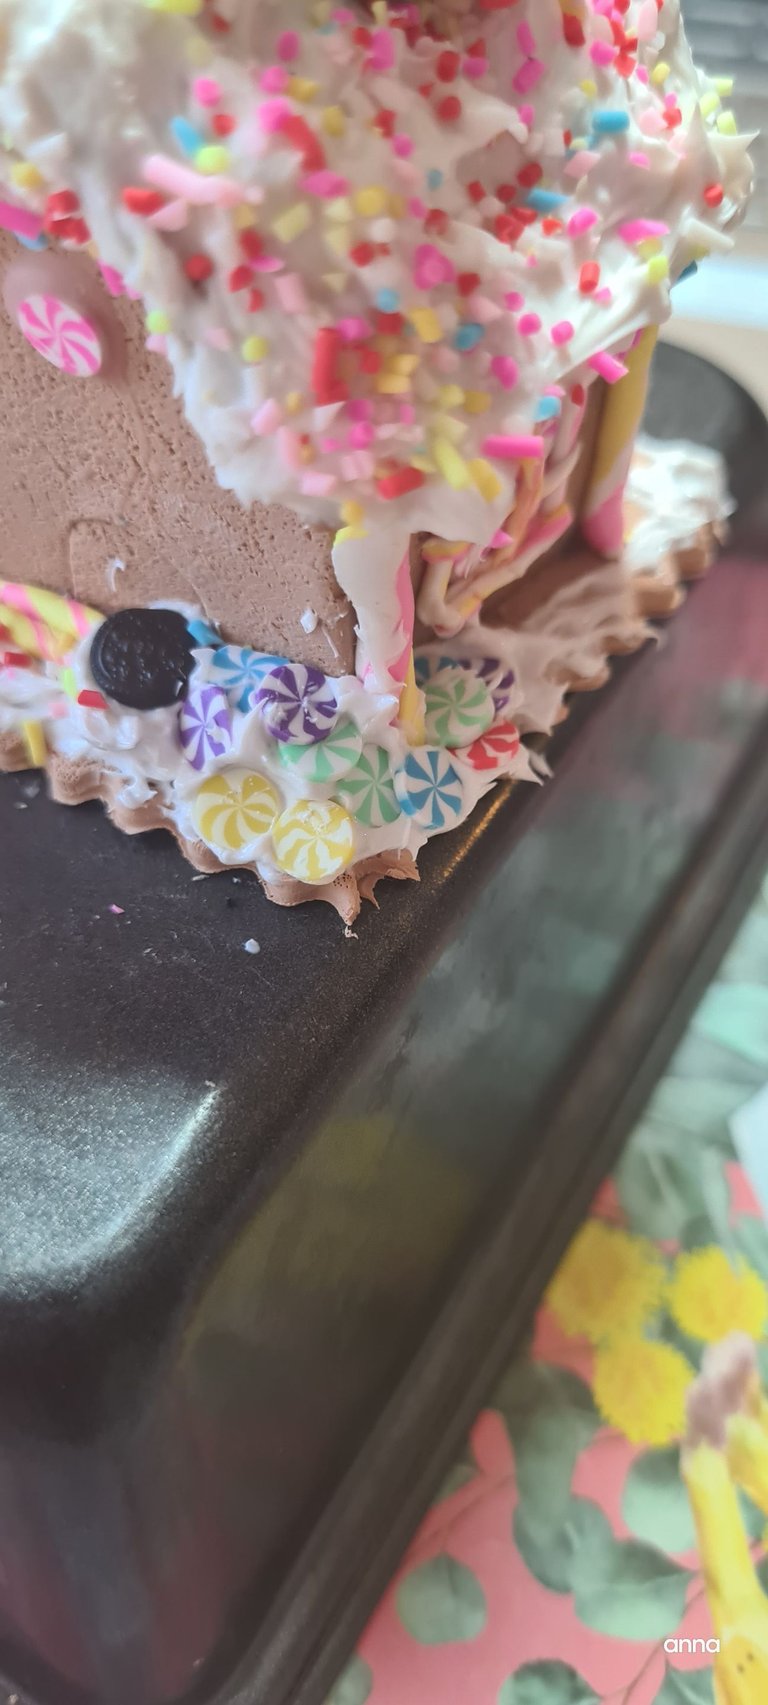
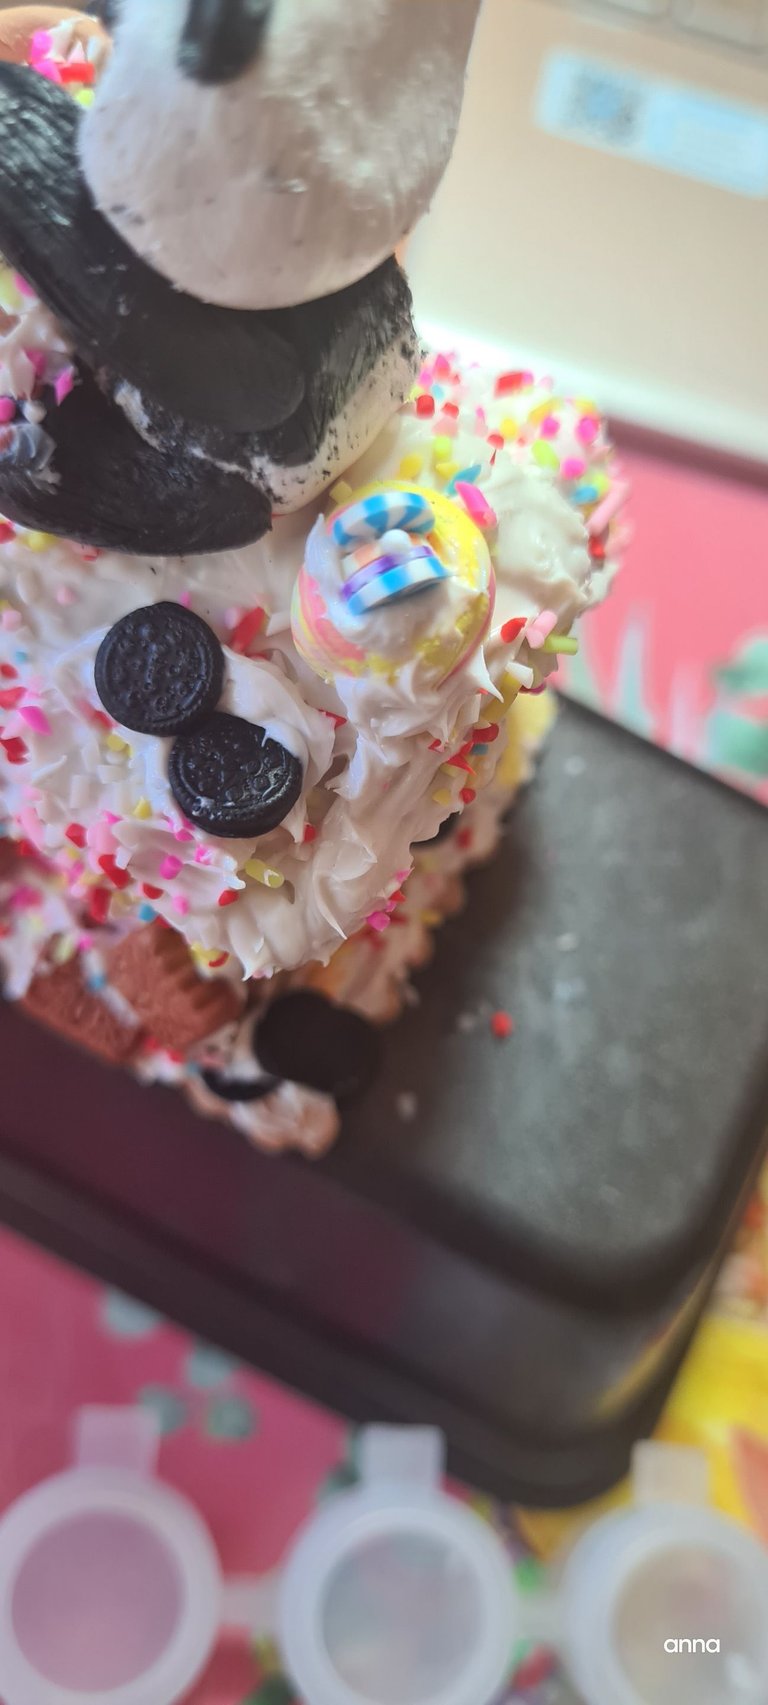
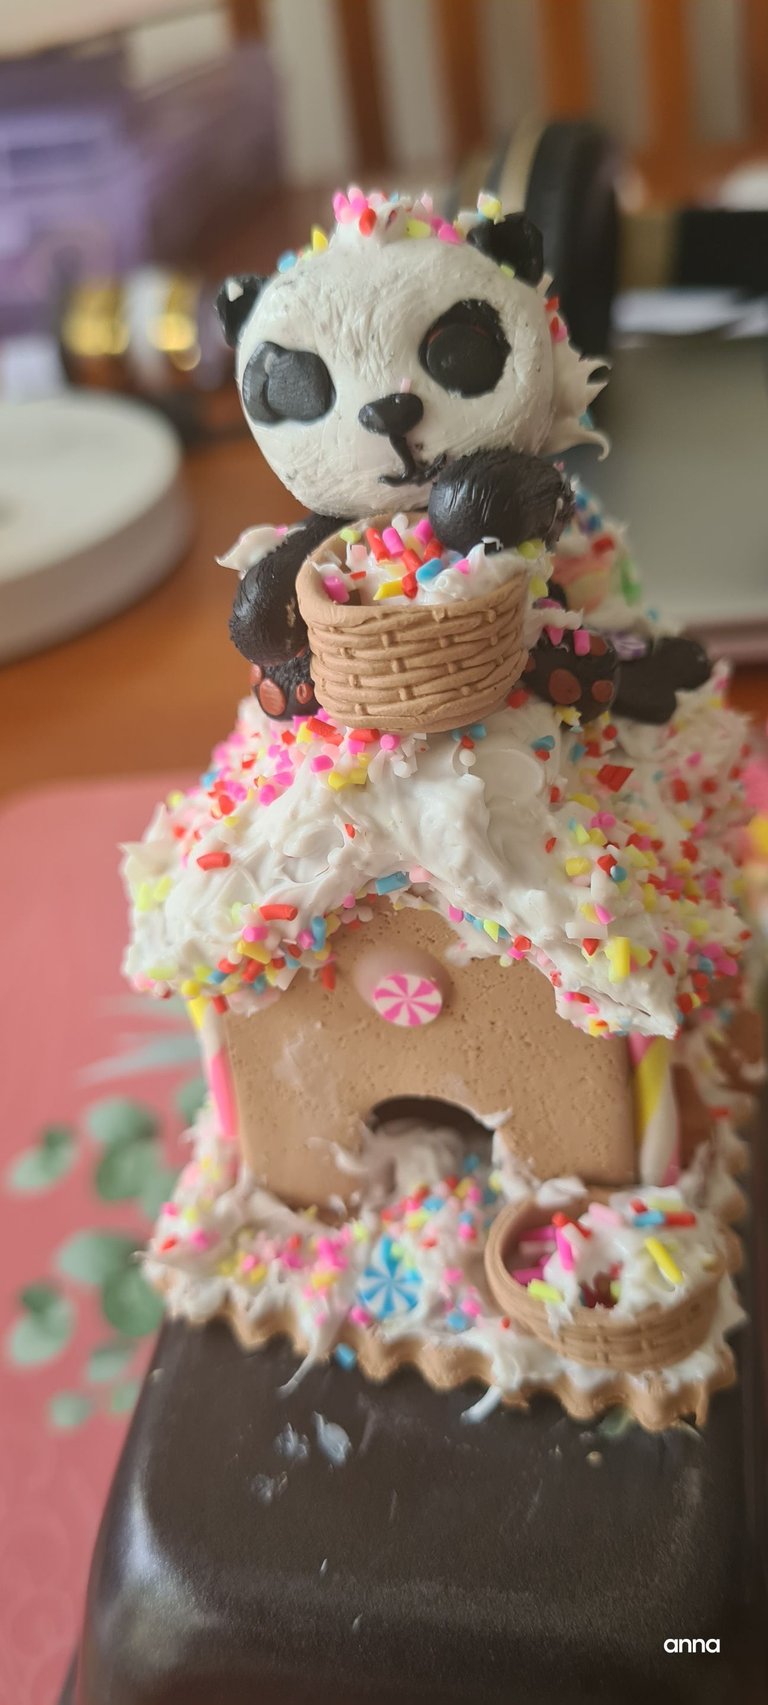
I am glad I have a picture of me changing Panda's eyes here.
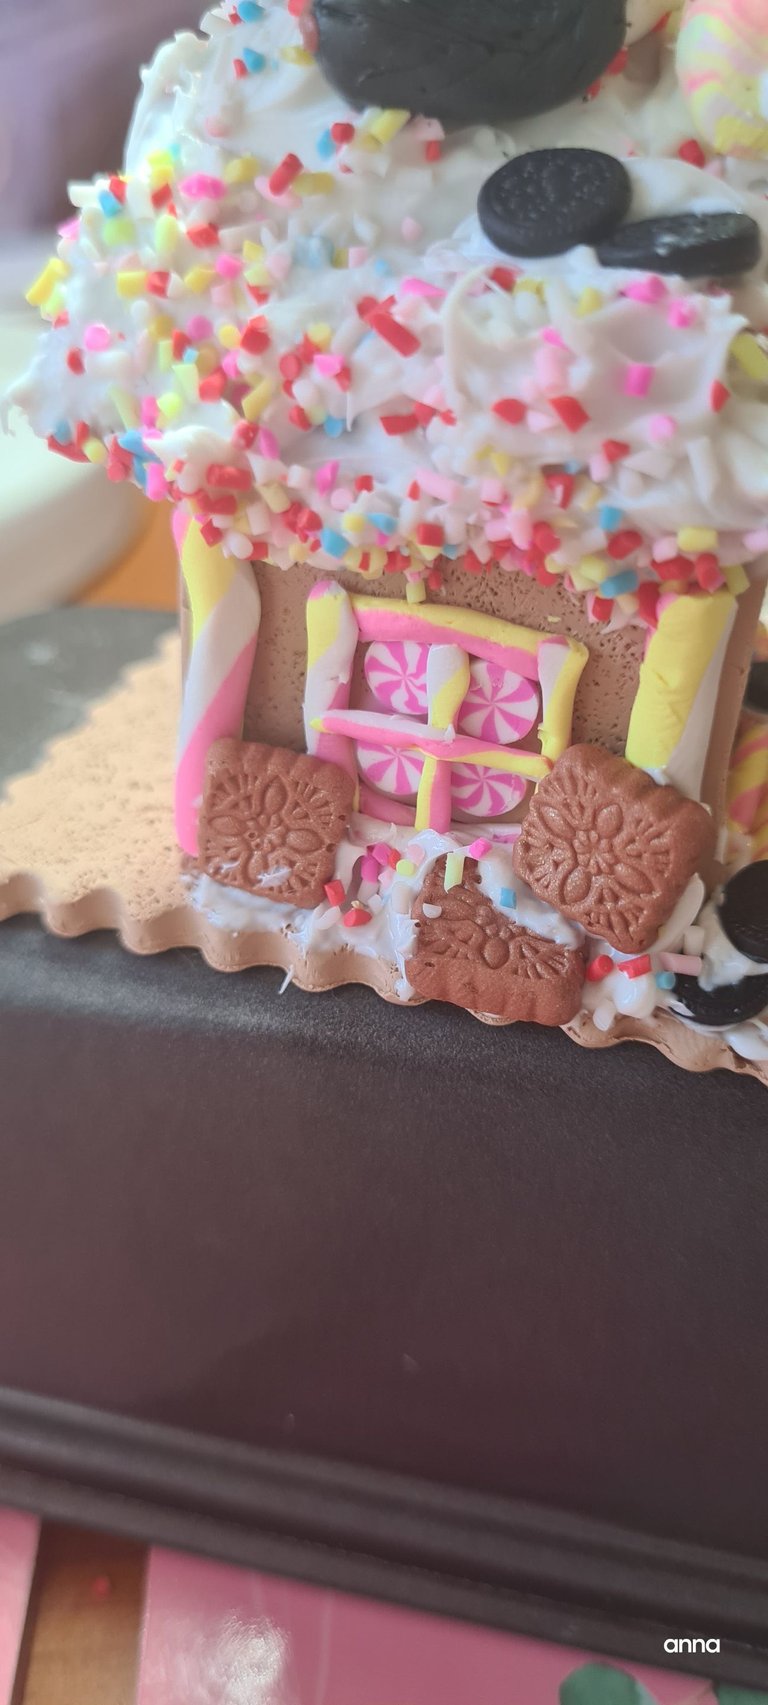
More further details around the house.Those are the molds that I use. Yes. In a heartbeat its easier to use molds than sculpt them. But it depends on how much time you have. For me, I find that reasonable to use especially when they are only a part of the bigger picture.
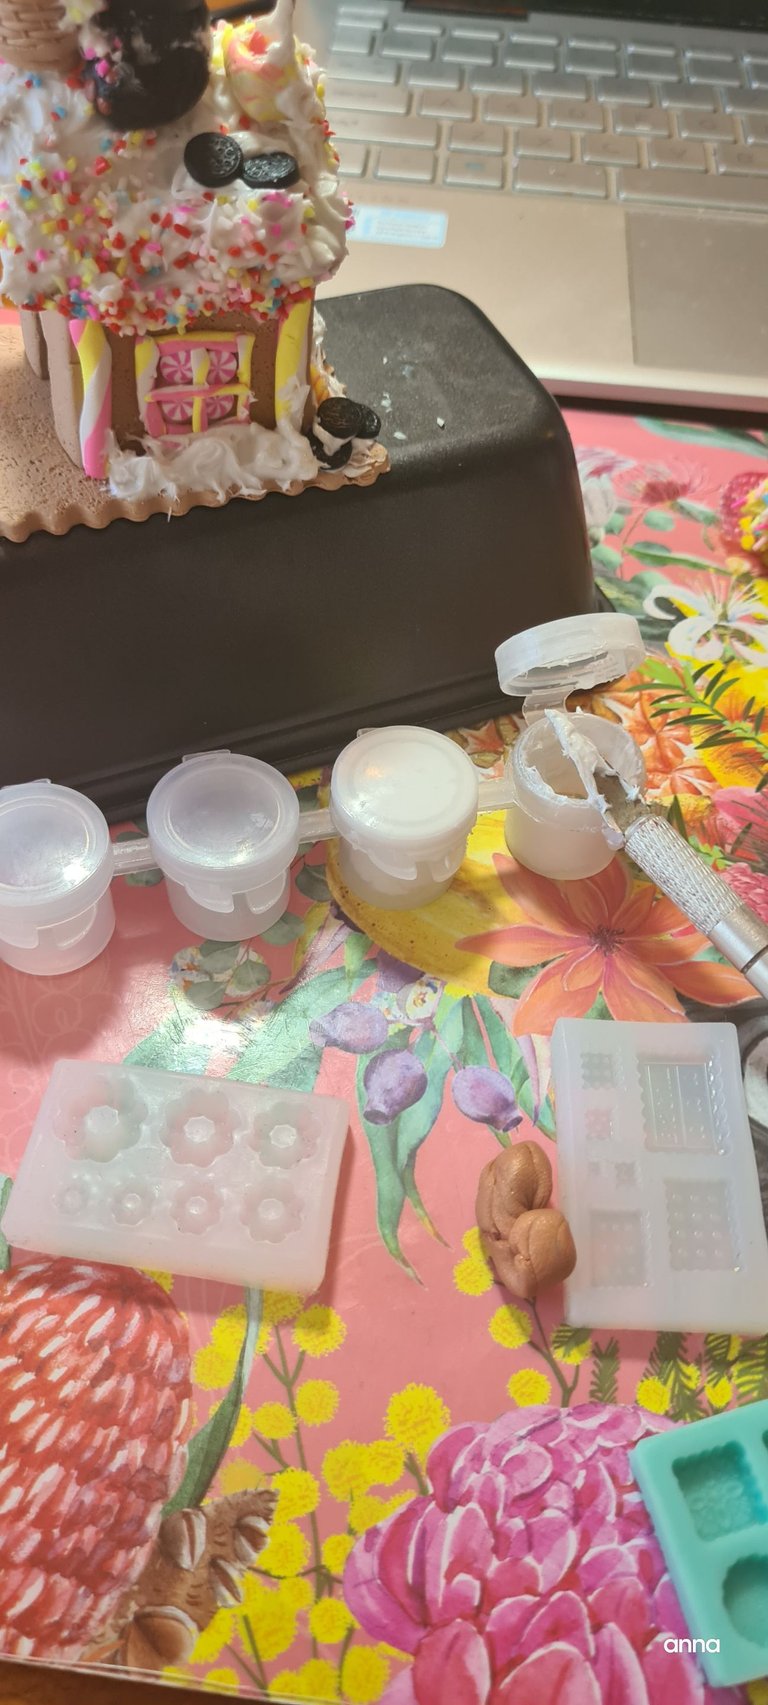
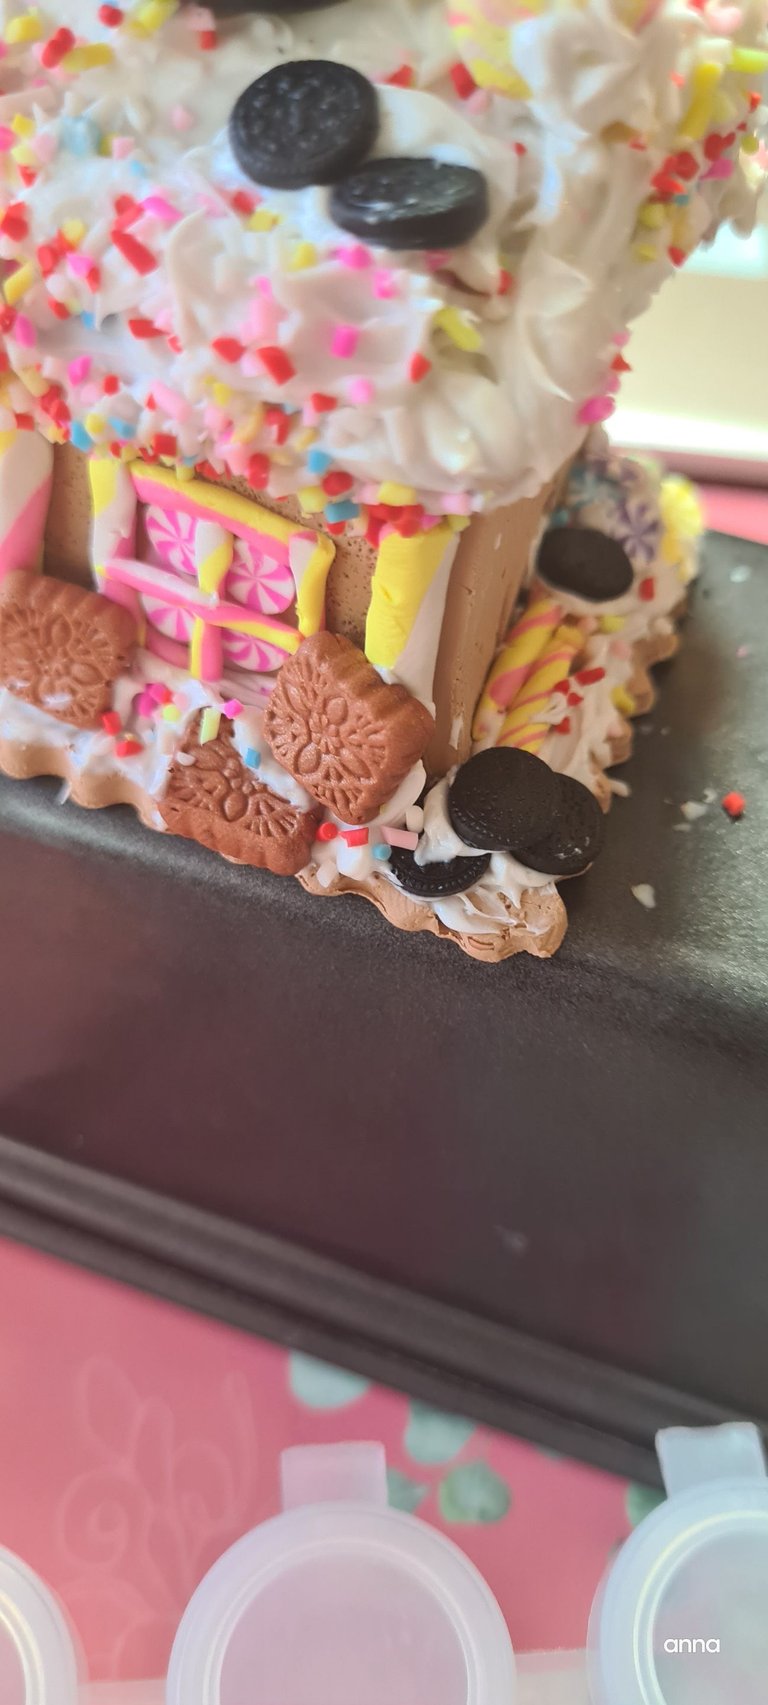
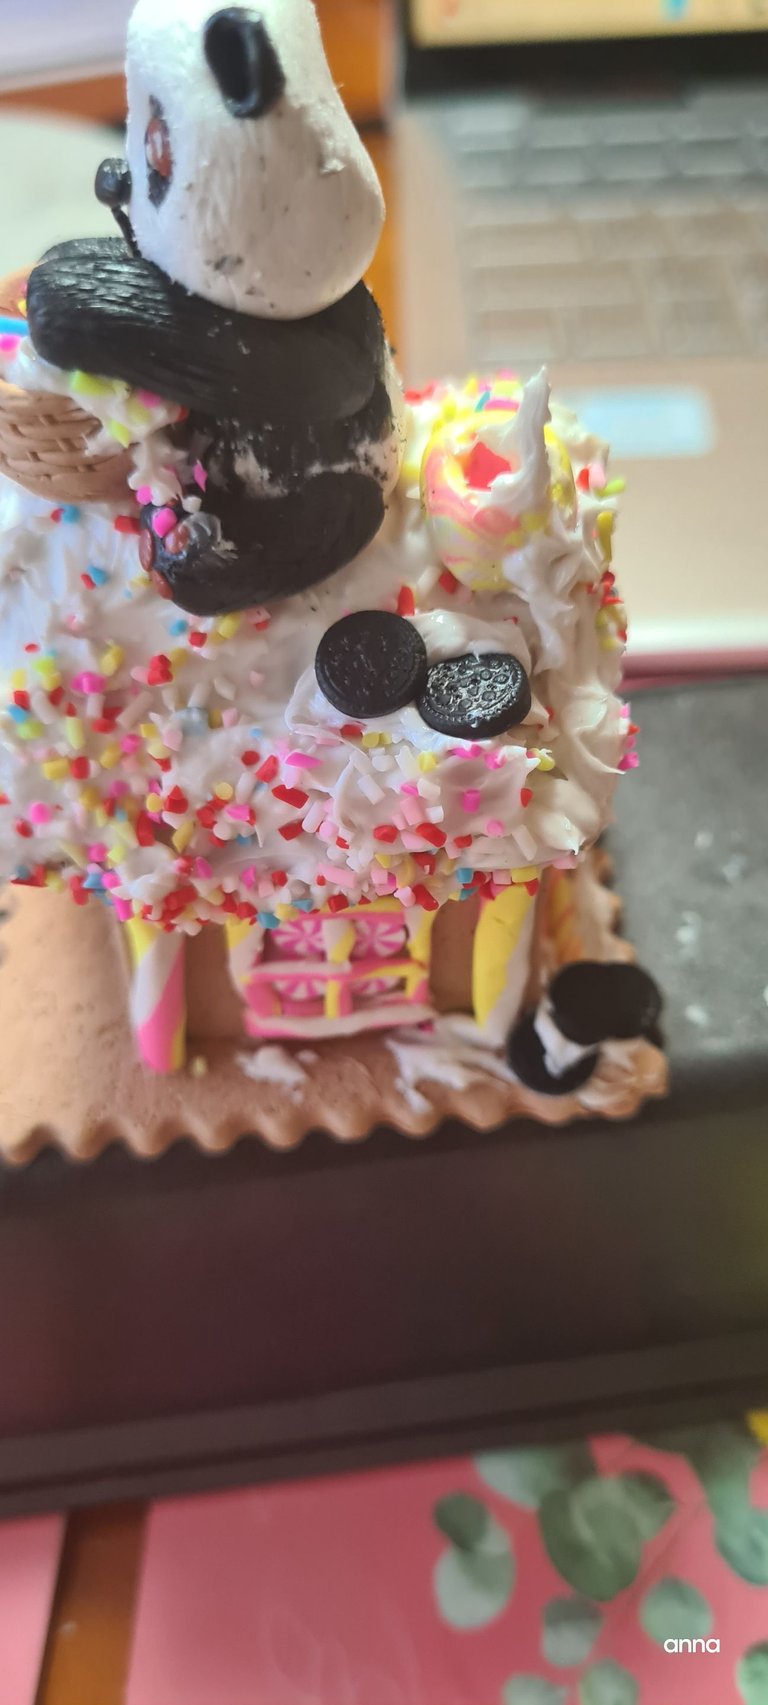
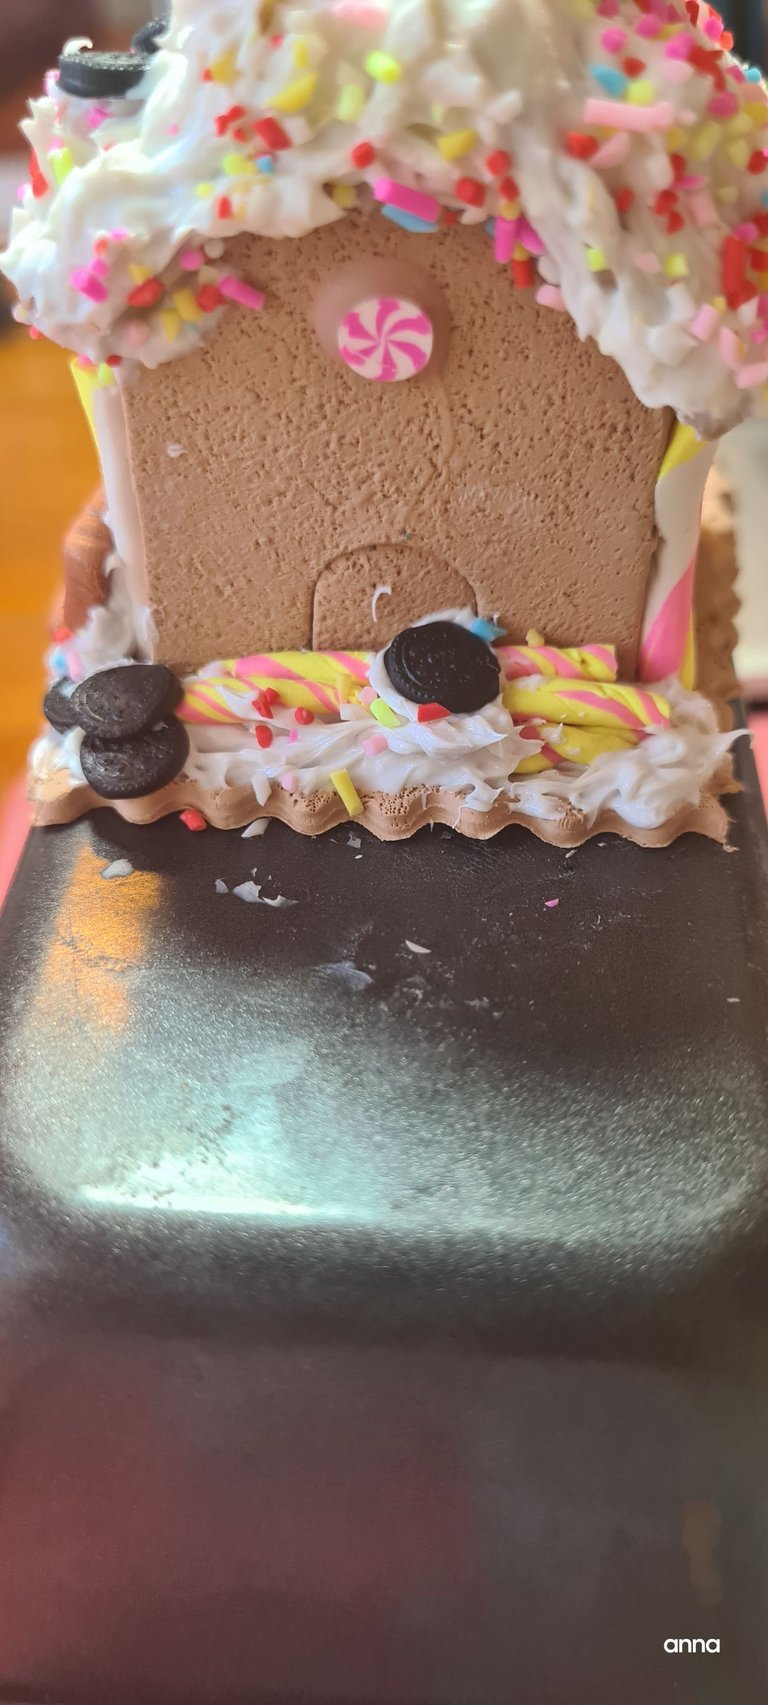
Final look
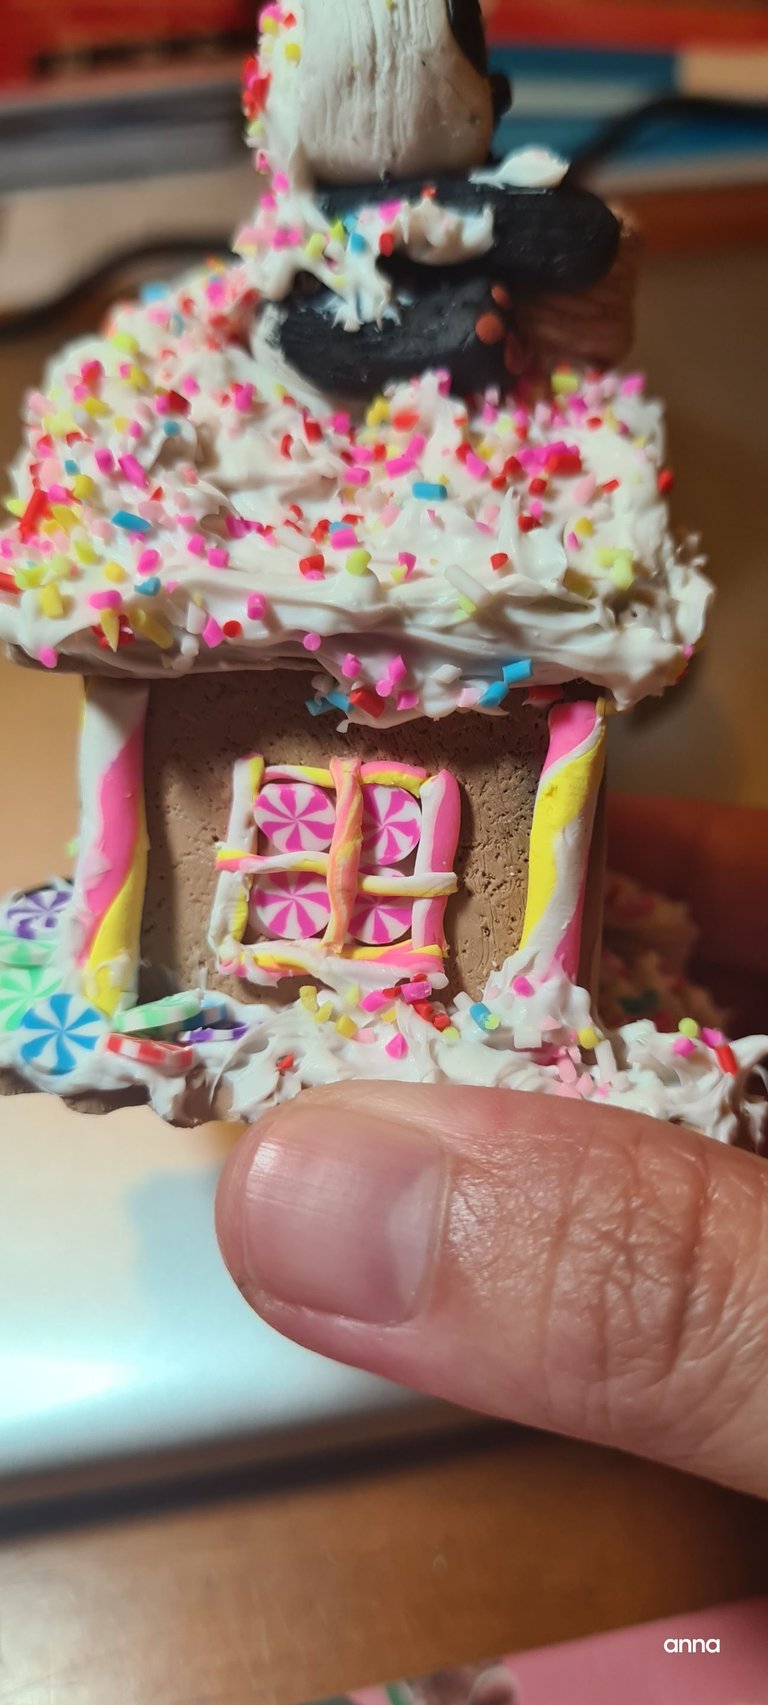
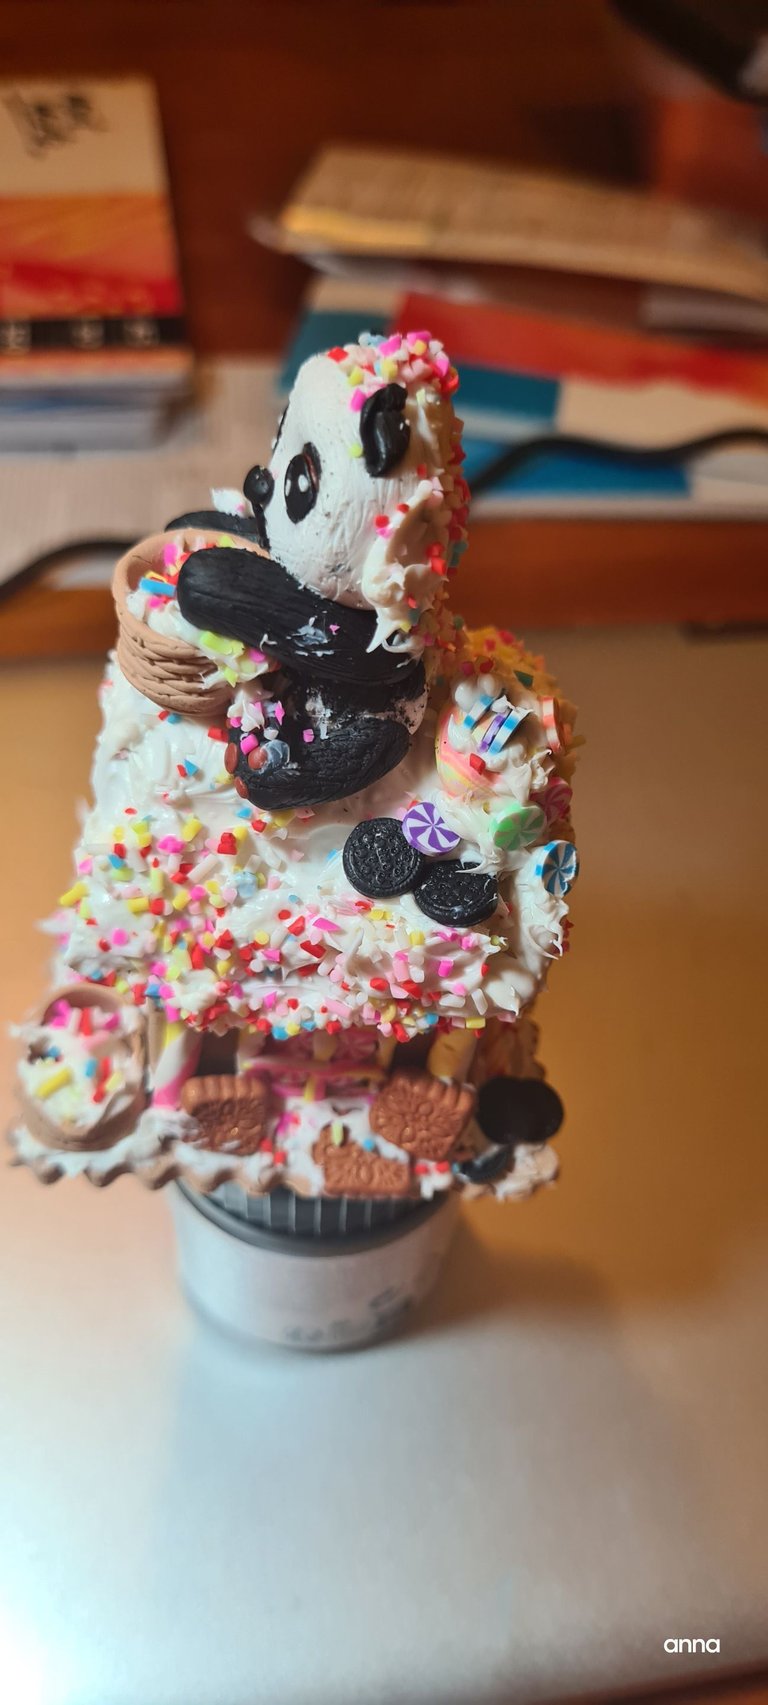
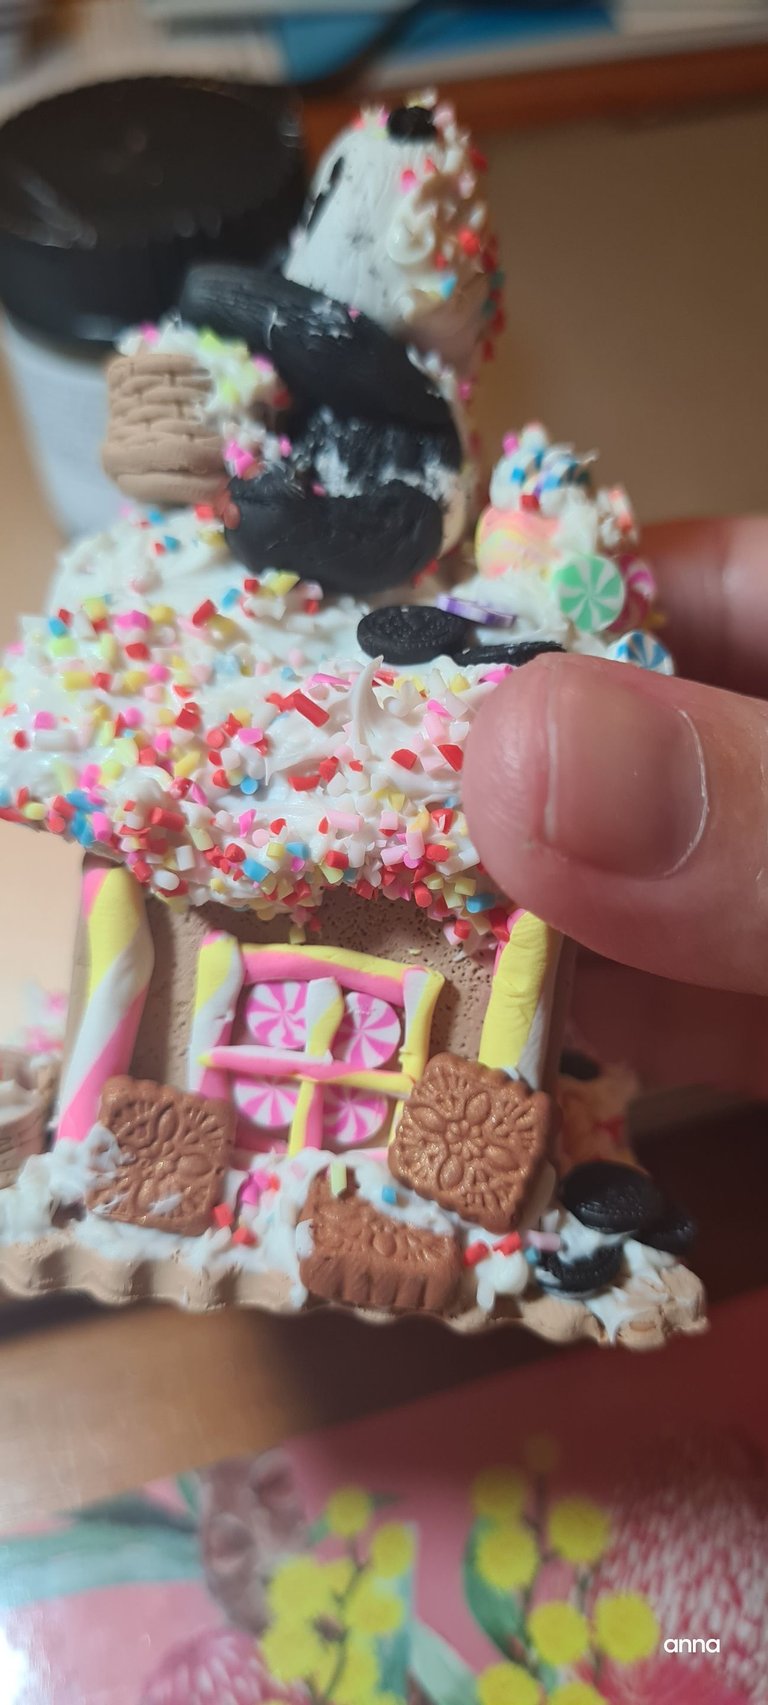
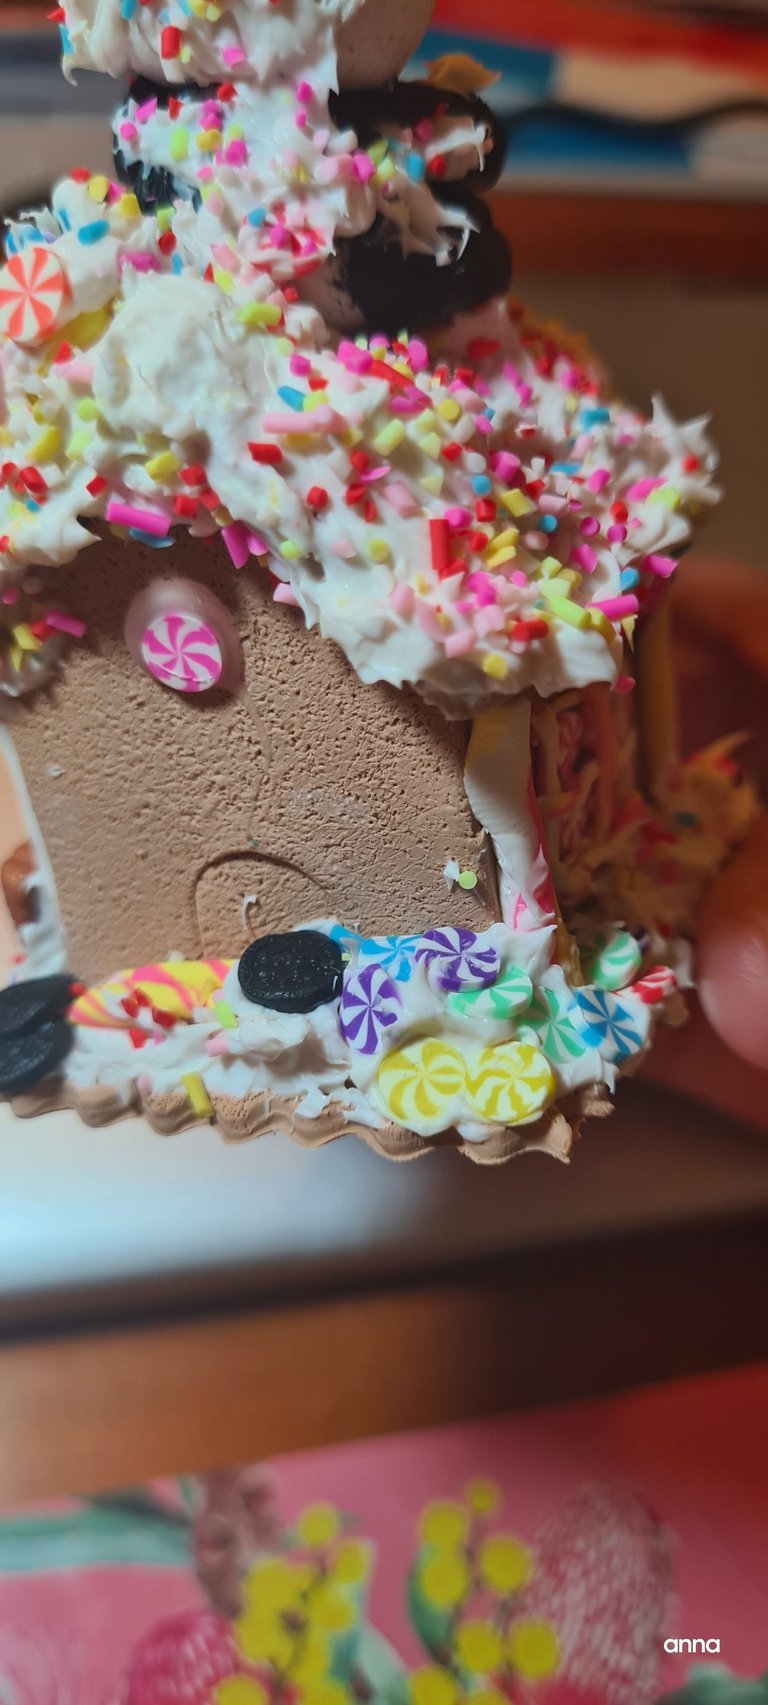
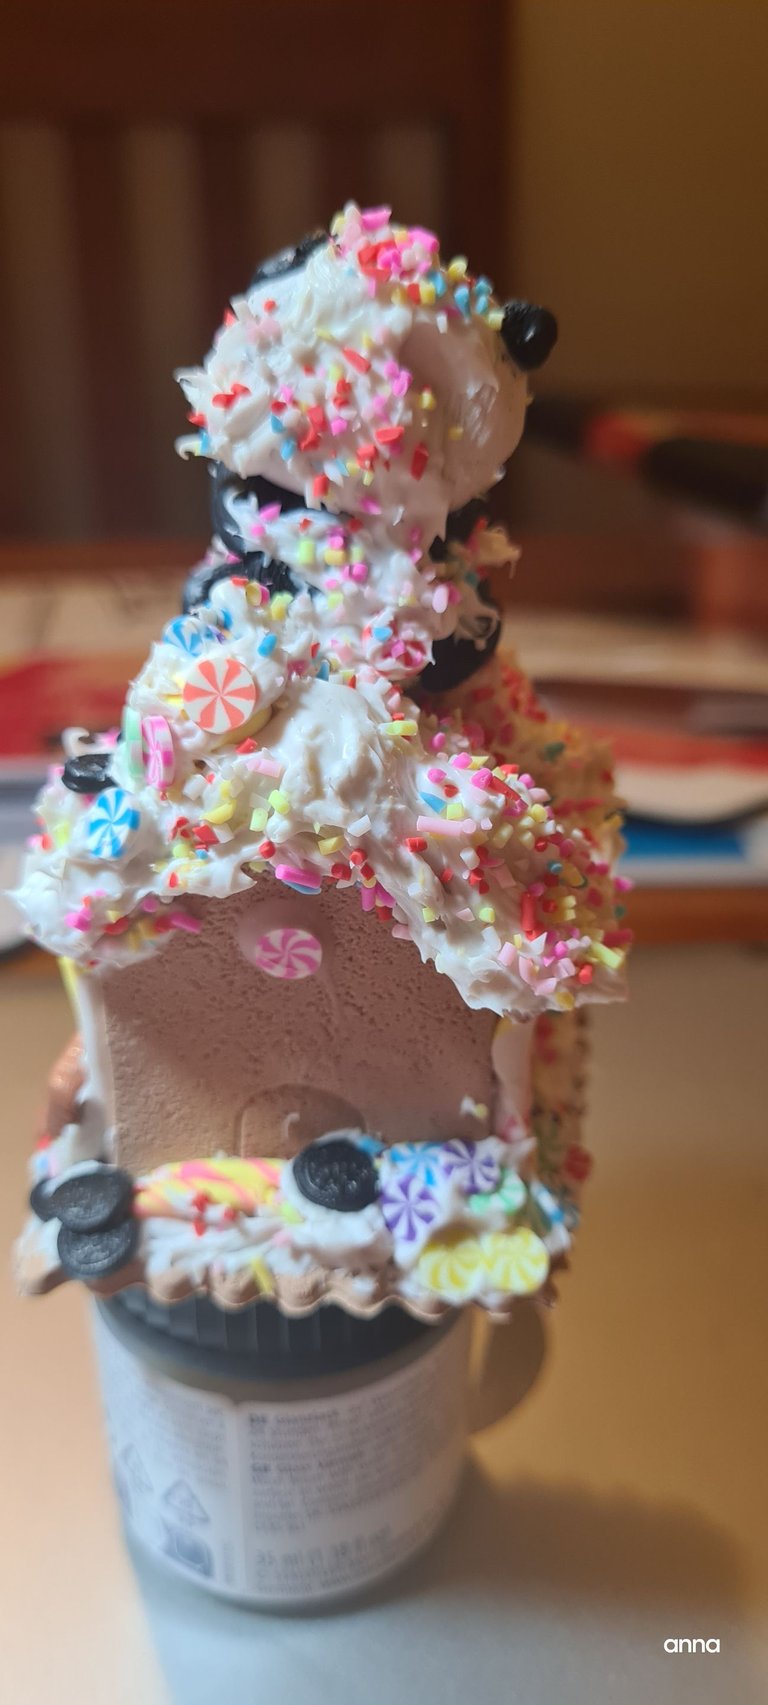
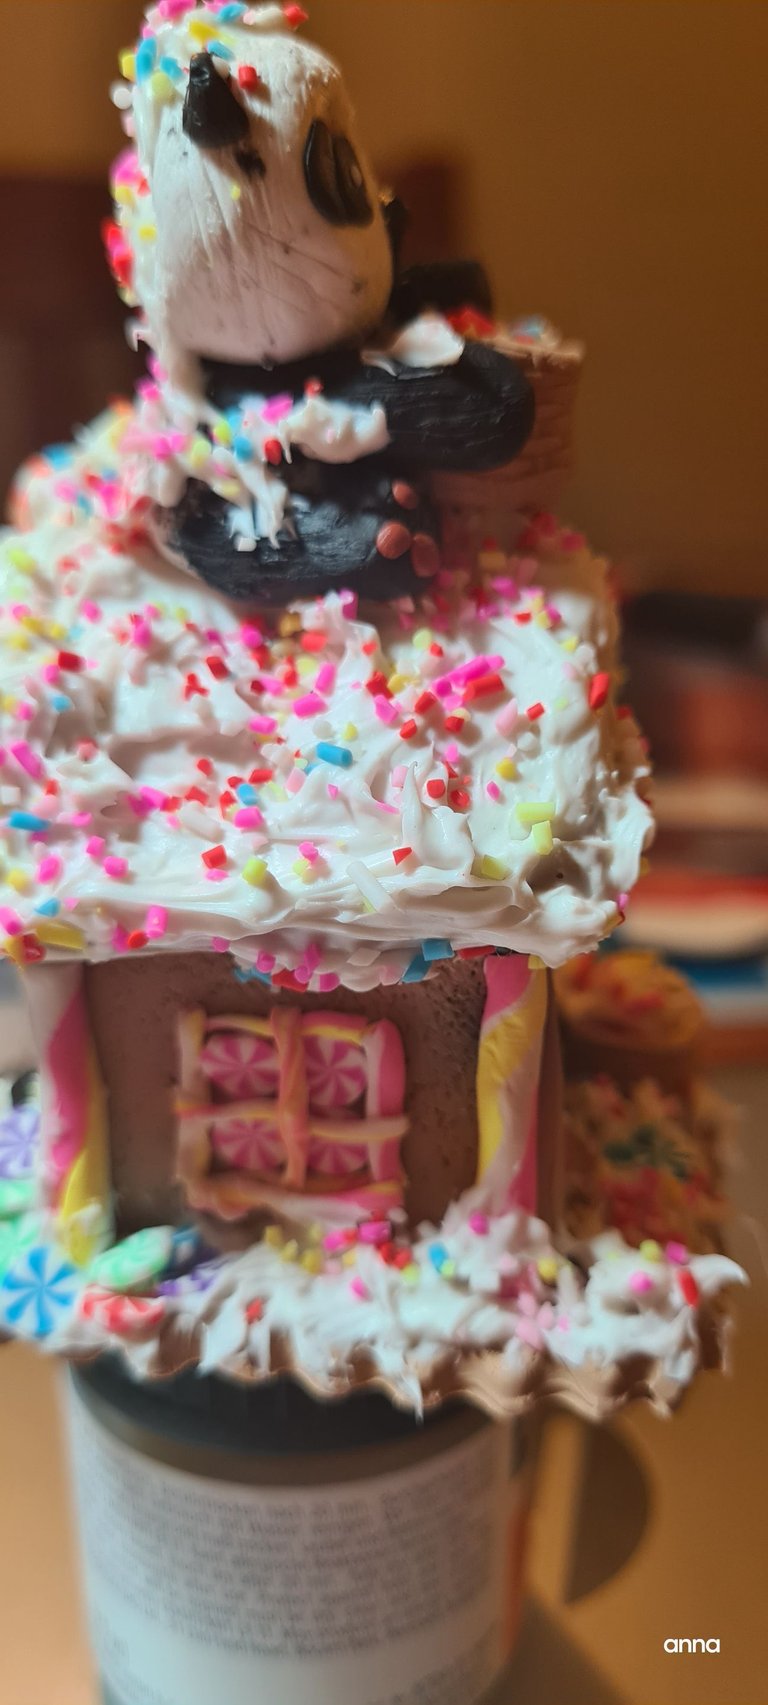
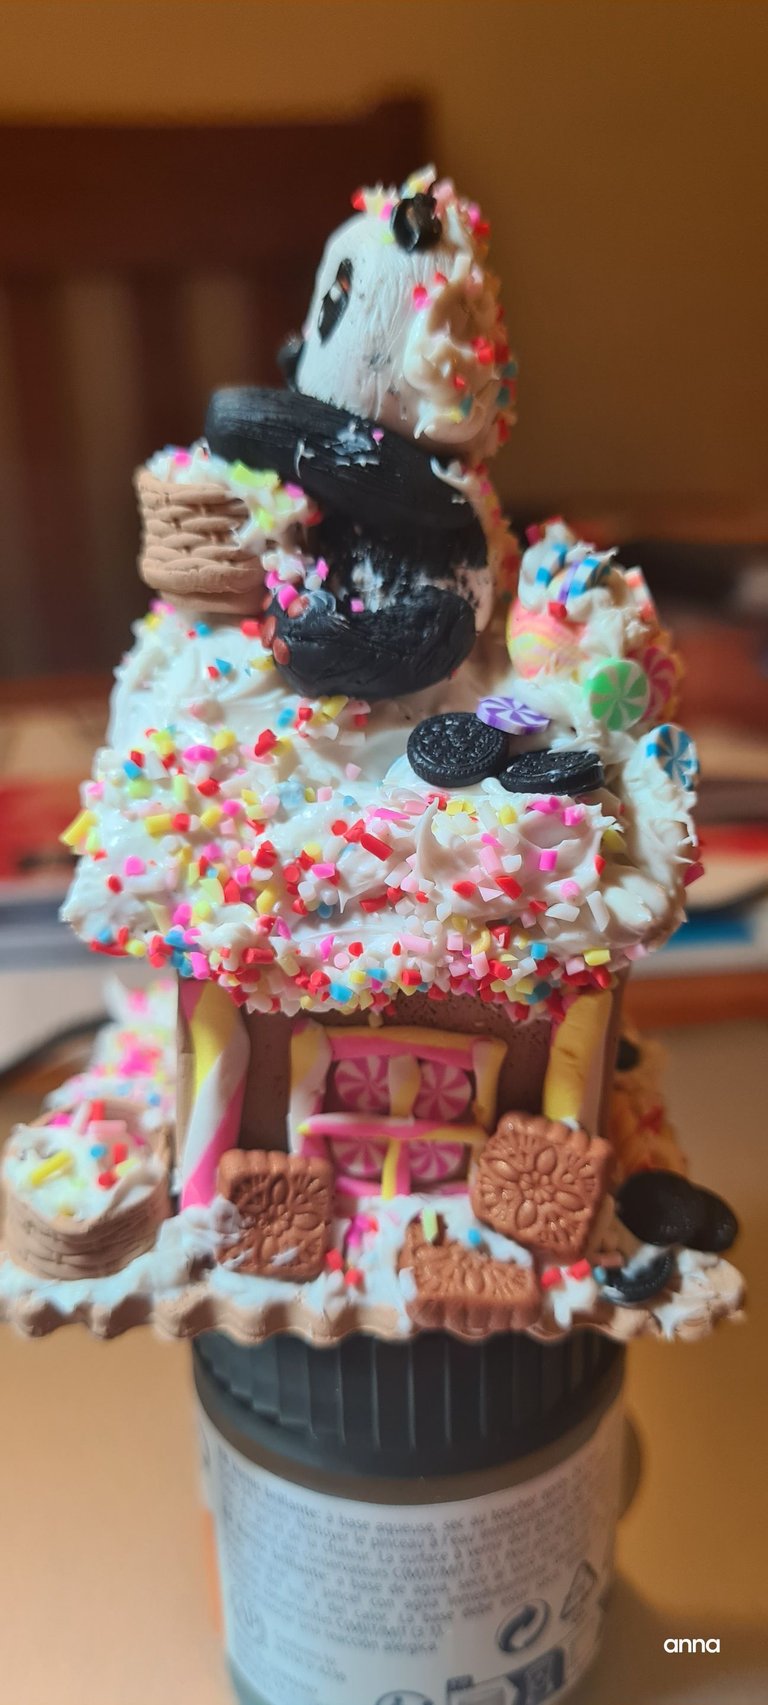
And here is the final look- post bake piece. I have not gone around to glazing the piece yet as I have only done it yesterday. But, here is the piece post baking session.
I am glad that everything worked out. No falling off, nothing. Its such an amazing feeling to look at this and just, marvel on how far I have gone with my craft. By the way, Panda's head looked a bit flat so, I added the icing more on his head and back. It still looked flat but, its not as obvious as when there's nothing out there.

Discord Server.This post has been manually curated by @bhattg from Indiaunited community. Join us on our
Do you know that you can earn a passive income by delegating to @indiaunited. We share more than 100 % of the curation rewards with the delegators in the form of IUC tokens. HP delegators and IUC token holders also get upto 20% additional vote weight.
Here are some handy links for delegations: 100HP, 250HP, 500HP, 1000HP.
100% of the rewards from this comment goes to the curator for their manual curation efforts. Please encourage the curator @bhattg by upvoting this comment and support the community by voting the posts made by @indiaunited.
thank you!
View or trade
LOHtokens.@nurseanne84, You have received 1.0000 LOH for posting to Ladies of Hive.
We believe that you should be rewarded for the time and effort spent in creating articles. The goal is to encourage token holders to accumulate and hodl LOH tokens over a long period of time.
thanks for your support
Vya, this really is a sweet post, especially since you put so much love into every detail of the creative process. Congratulations for this great work and thank you so much for sharing it in our DIYHub community.
selected by @jesuslnrs
I really appreciate your support and that of the community's.Thank you for that even though sometimes work gets into the way and I cant often make content
Hermoso adorno buen trabajo.
thank you very much for your support I understand we dont speak each others language but from my heart to yours, gracias mi corazon
https://bsky.app/profile/did:plc:rag2mftdy2alo7rtmyttmpk4/post/3llroouvnxn2b
The rewards earned on this comment will go to the author of the blog post.https://bsky.app/profile/did:plc:rag2mftdy2alo7rtmyttmpk4/post/3llroouvnxn2b
thank you very much!