The bike project is finally complete!
Whew, this was a slog. Between atrocious weather, life stuff, and a new baby on the way/just arrived, this project took almost all summer. I am happy to say it is finally done, and looks pretty great even if I do say so myself!
I've never done more than basic maintenance on adult bikes I owned so this little project was quite the learning experience!
In total, I:
- Replaced the handlebar grips
- Repainted the frame and wheel frames
- Replaced the inner tube and outer tire for both front and back
- Replaced the chain
- Replaced the seat
- Added some fun stickers my kiddo picked out and hit them with some clear gloss to seal them
I've mentioned this before, so if you feel like a few of these photos are familiar, they probably are! I wanted to show off a full end-to-end process so there will be more photo than written content in this but I'll try to mention what I'm doing in each section.
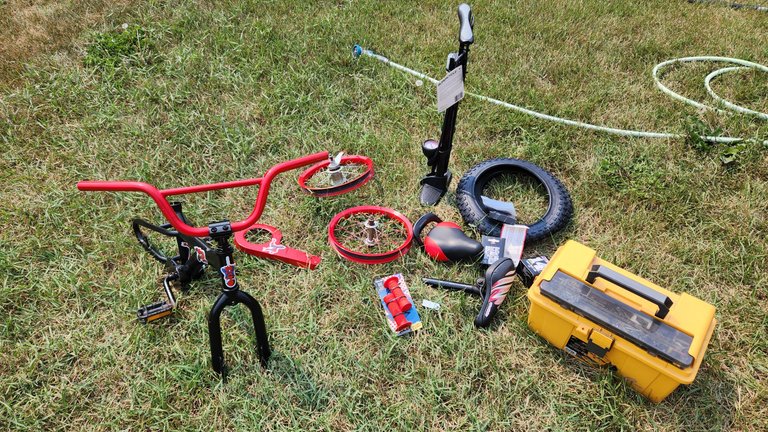
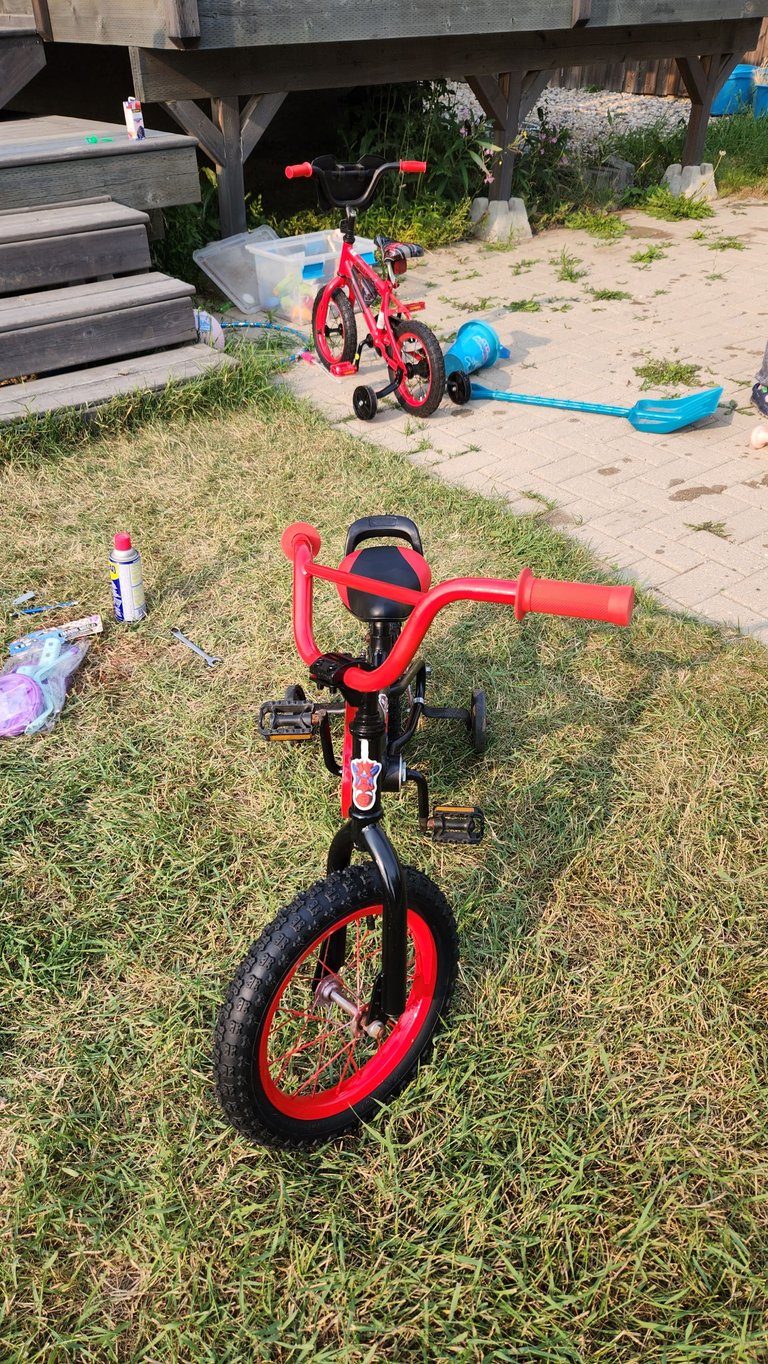
This is my setup for the final push yesterday - I've got everything taken apart and painted at this point.
I figured from here it would take about two hours of work to get finished. It ended up being about 3.5 hours, because of a few gotchas that I didn't expect. (Like breaking the chain on the wrong spot and finding out that I can't swap my old stabilizers onto this bike as they're the wrong size for some godforsaken reason).
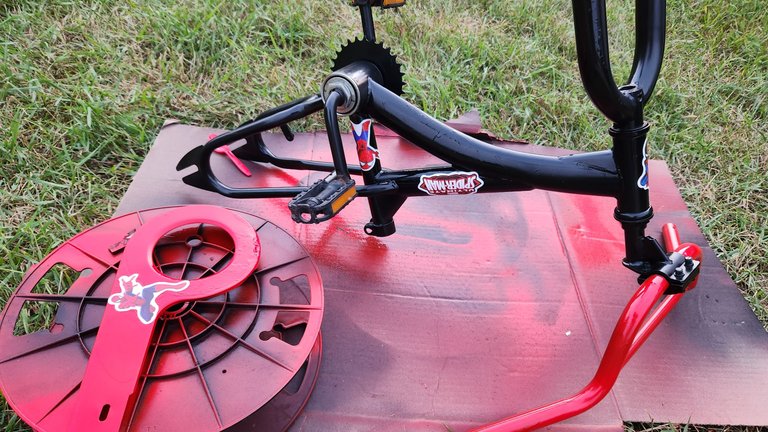
Stickers on! Clear coat time!
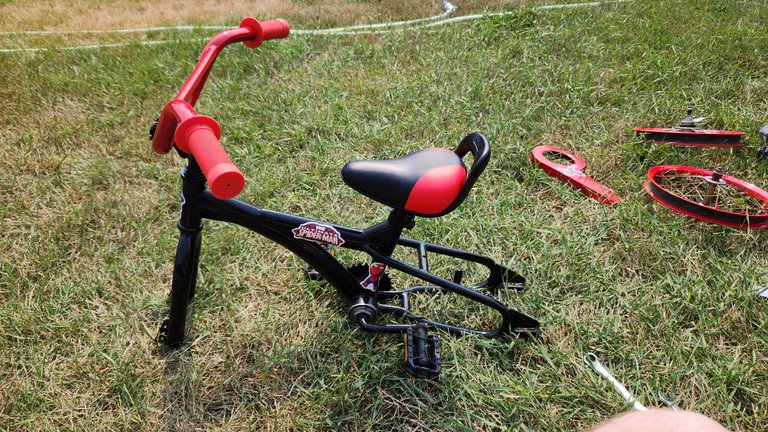
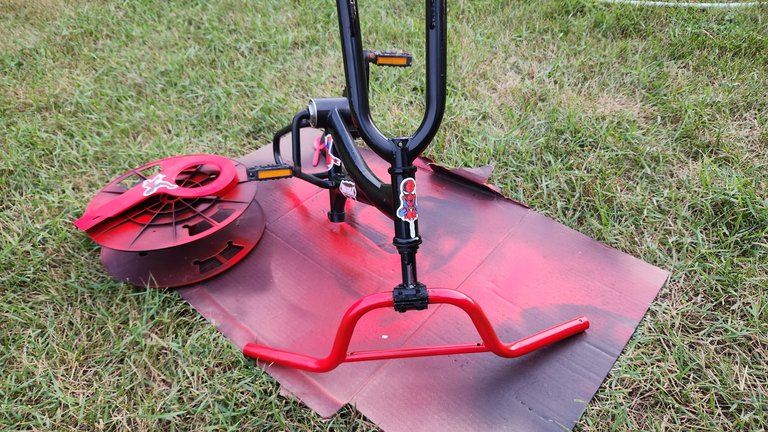
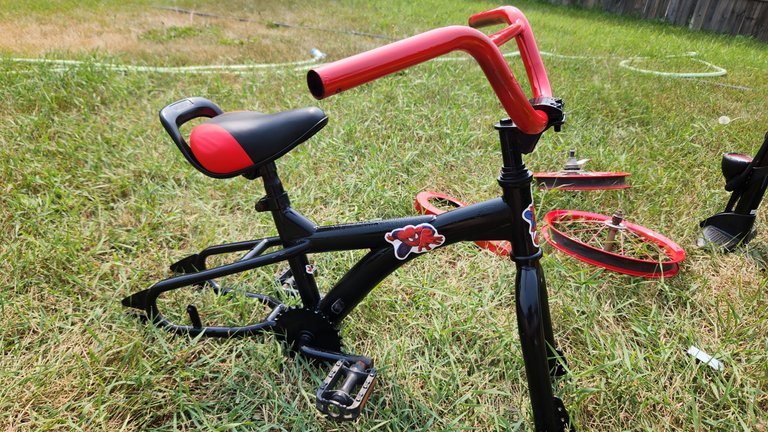
Stickers placed
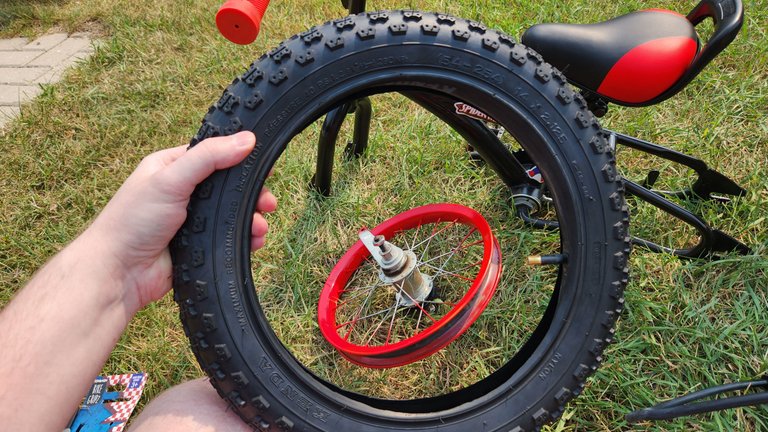
Rims and tires
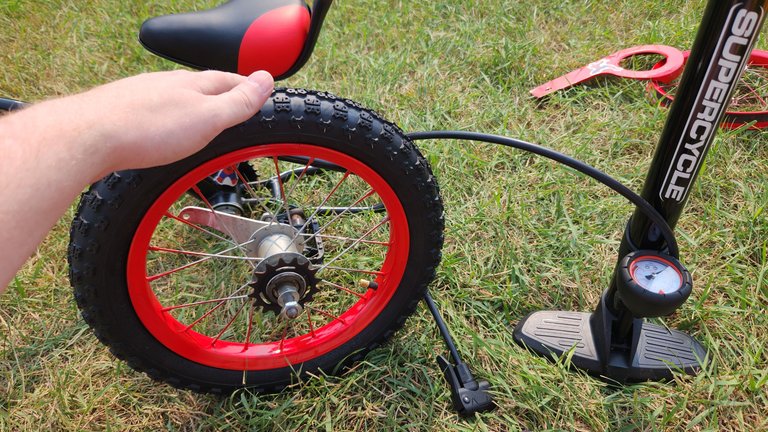
Getting these on was an experience. Im glad I have decent strength in my fingers and hands because popping the tires onto a 14 inch rim was tough!
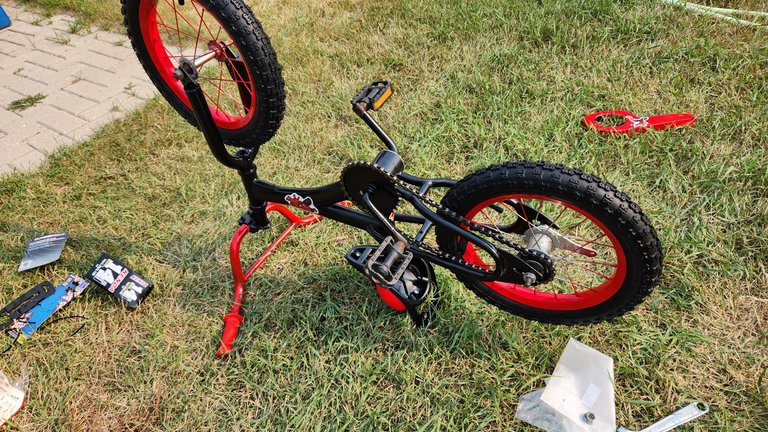
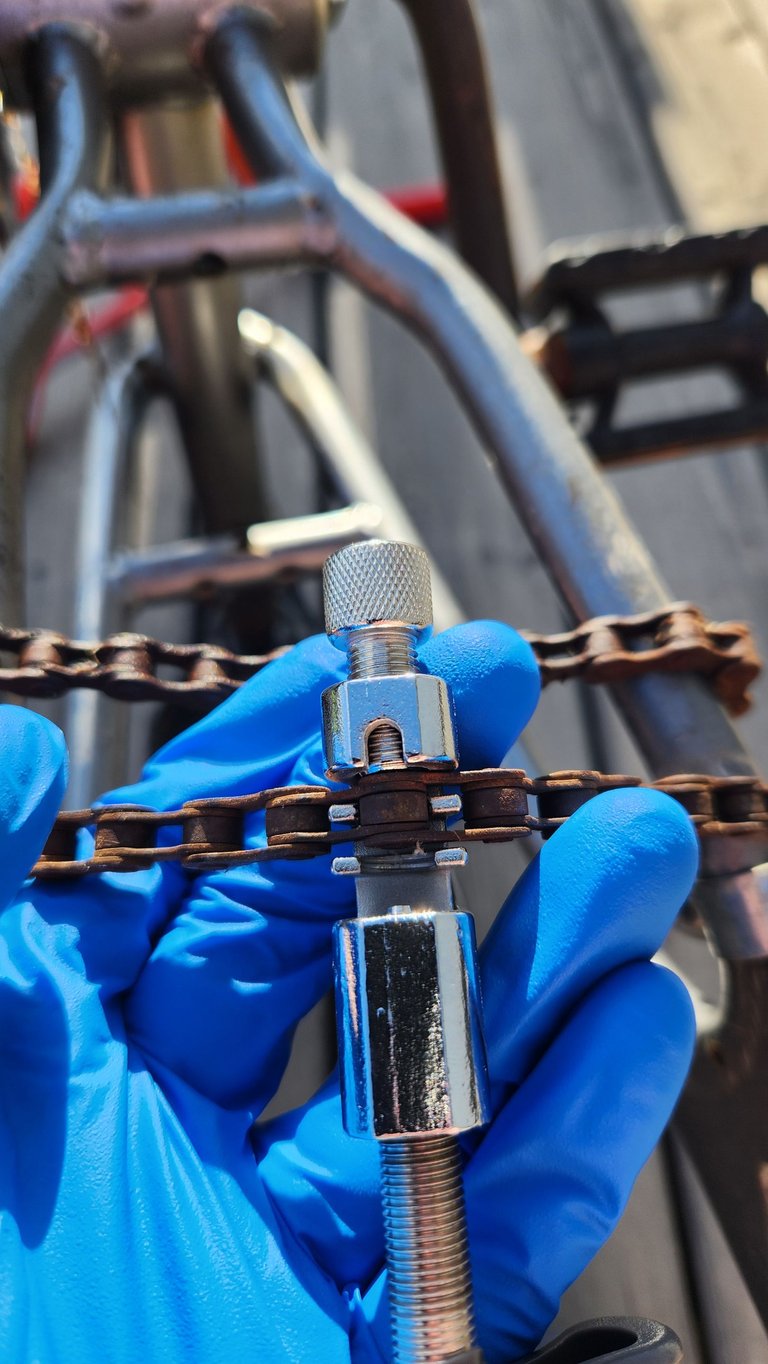
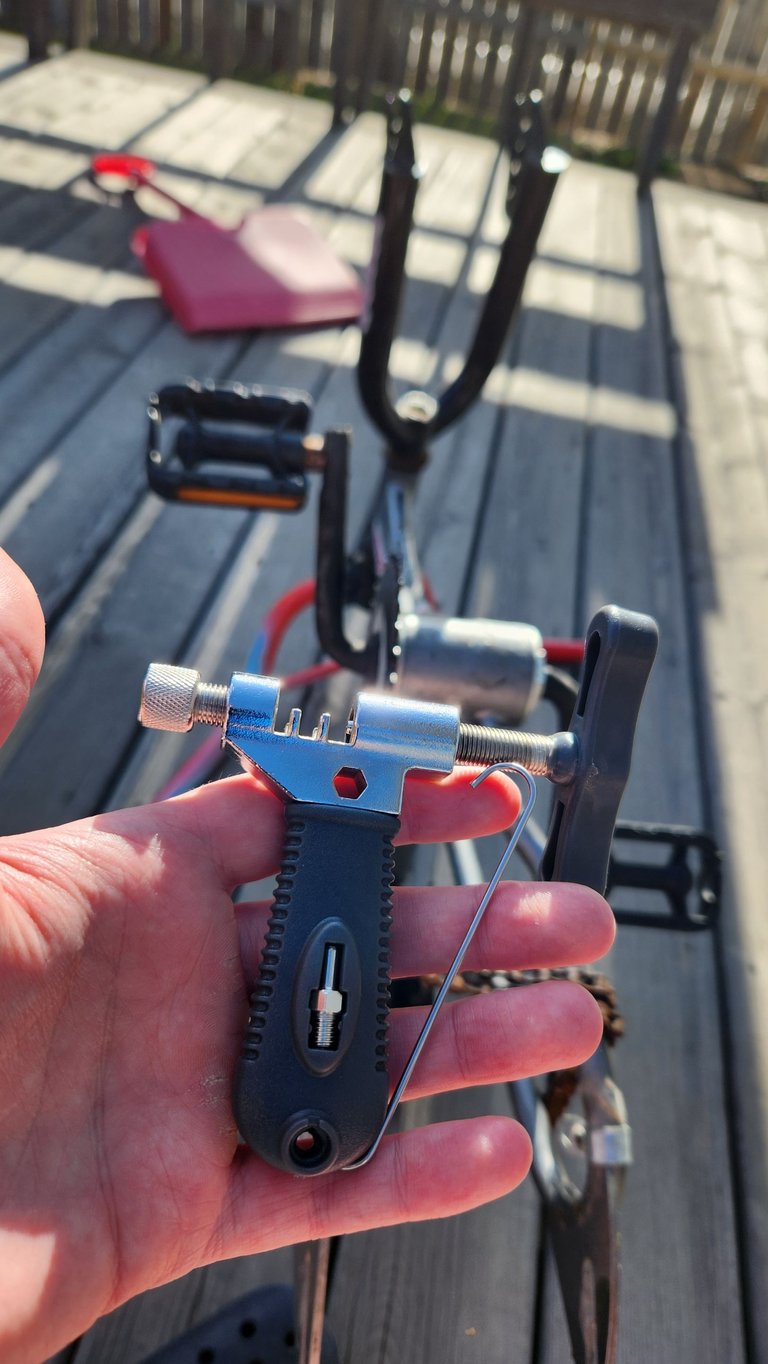
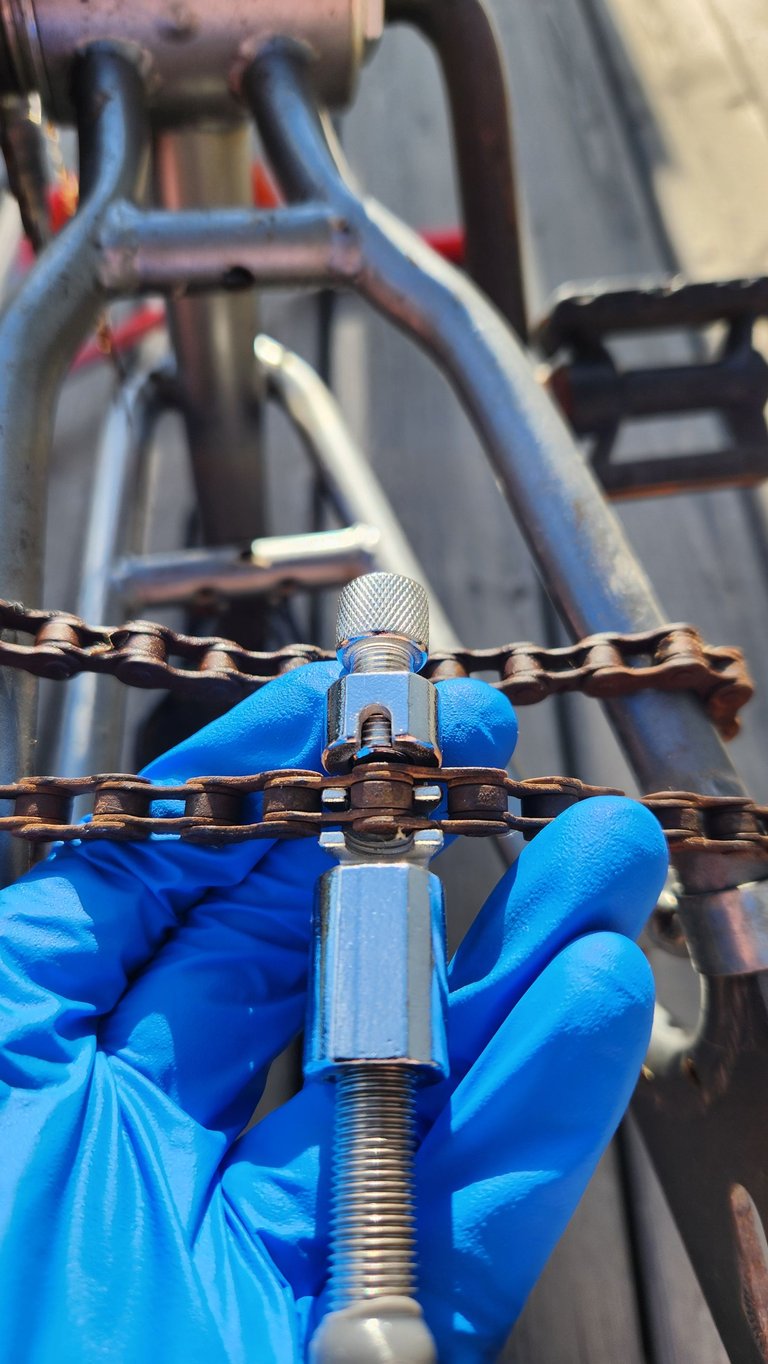
Here I put the new chain on. This was an adventure too - I didn't realize that the standard size of chain they sell (116 links) is too long for a kids bike. A moment of googling informed me that the trick was just to use my chain breaker to unlink some of the chain and then get that put together from there.
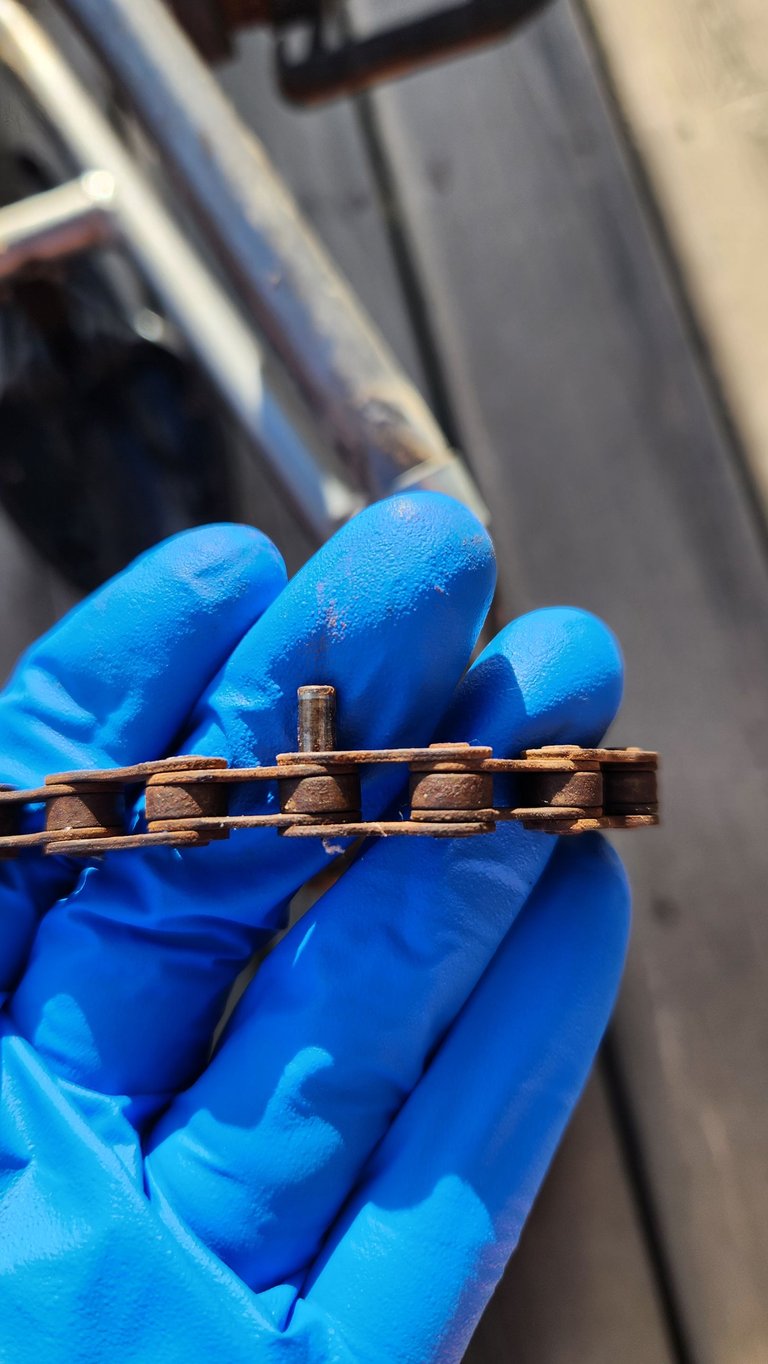
Unfortunately since I hadn't done this before I ended up breaking the wrong part of the link, so I had to move down another inch and break off the next one... So it's good that I had extra length to work with!
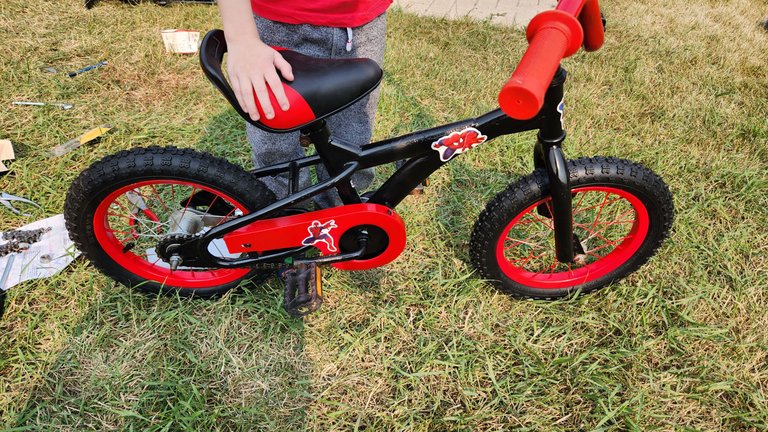
And here we have it all assembled again and painted. This was prior to me putting the stabilizers back on.
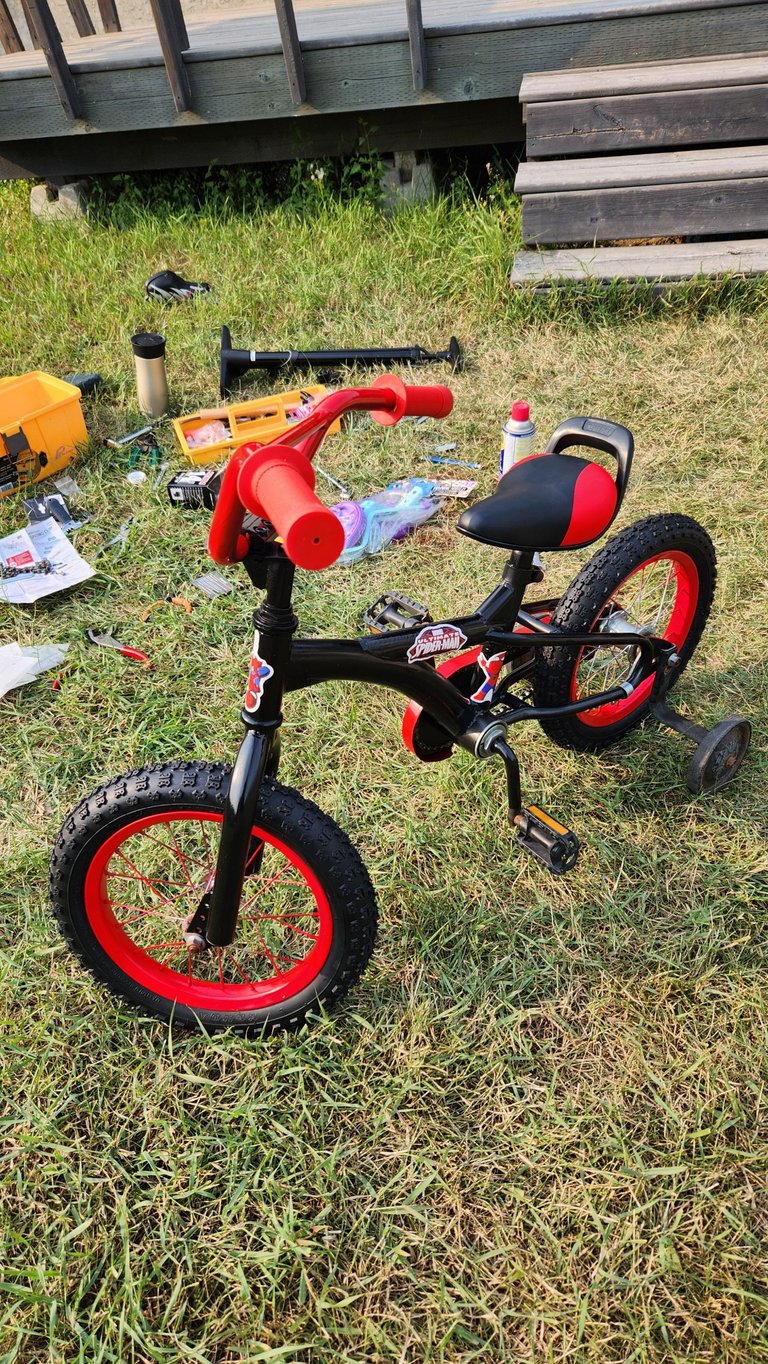
And here we have the stabilizers again! These are old, and I mean to replace them this week when I get a chance, but they function so it's not a big deal.
From here we have a series of older photos showing the progress throughout the last two months or so.
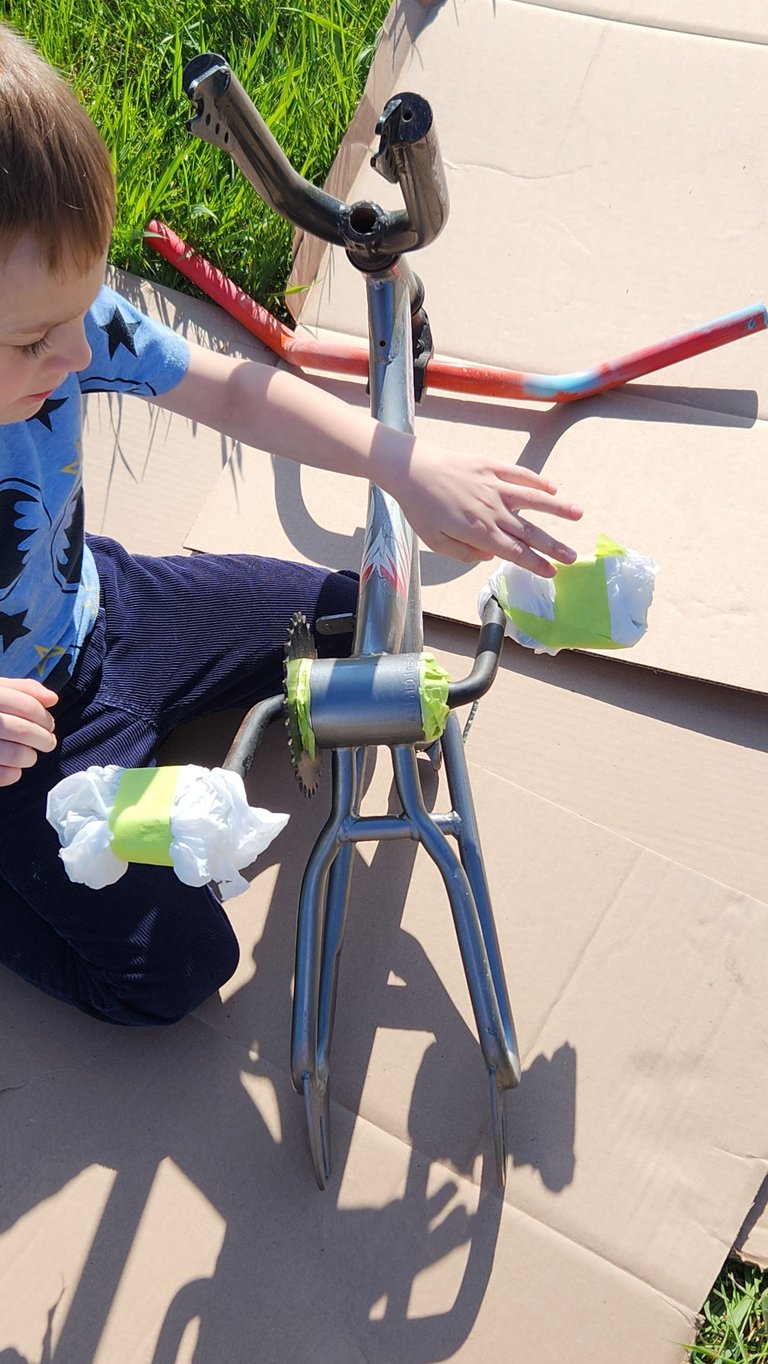
Here we were getting ready to spray the frame. I didn't bother removing the old stickers and I probably should have but it was a huge hassle that I didn't want to get into. Next time (if there is a next time for upcycling an old bike) I'll definitely strip them off to make the final paintjob look better.
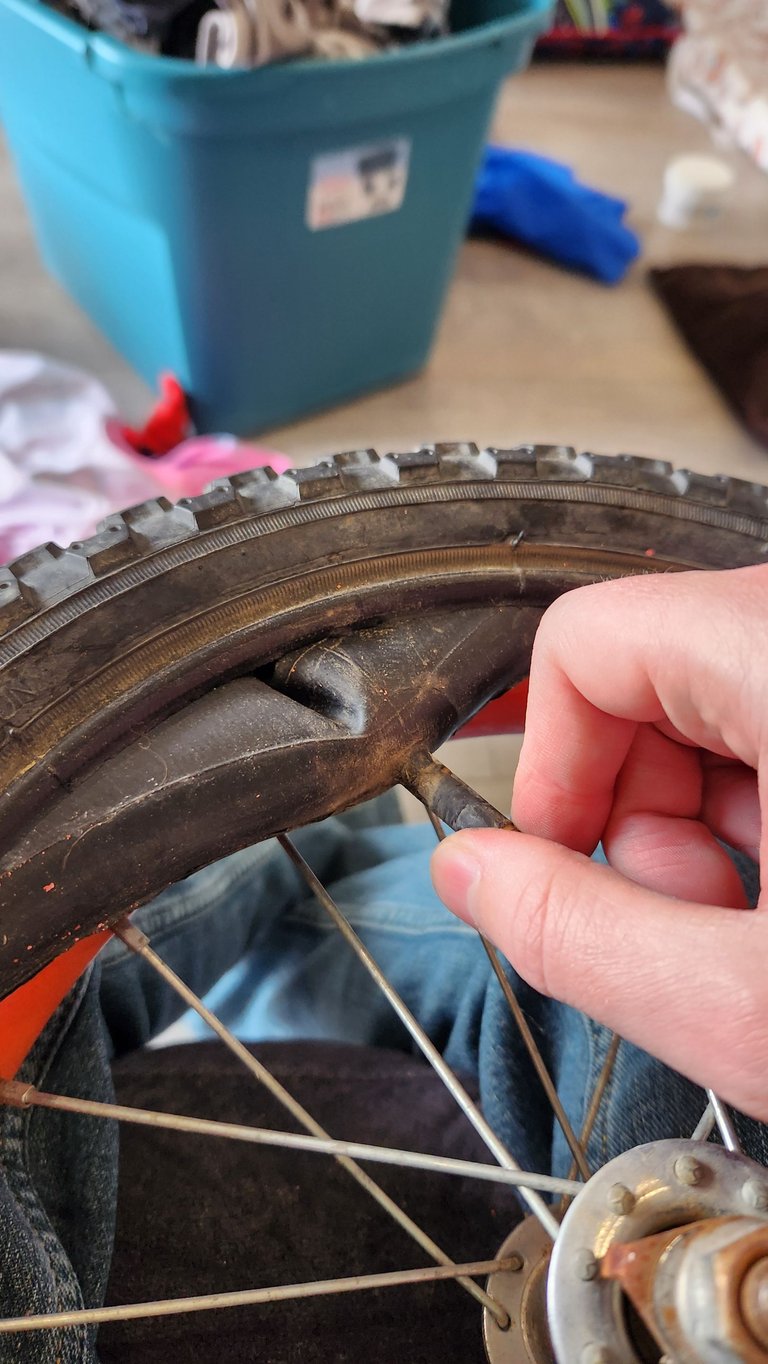
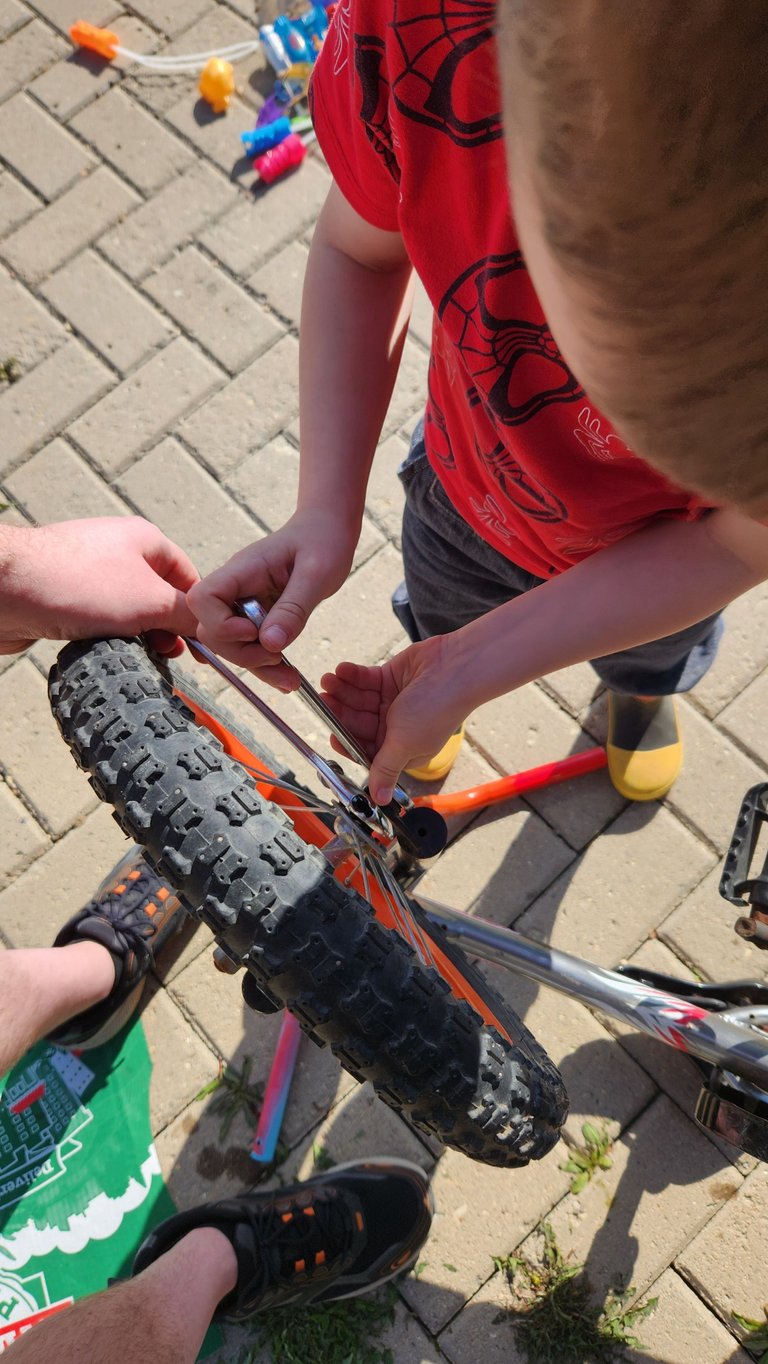
Taking apart the old cracked tires and leaking inner tube.
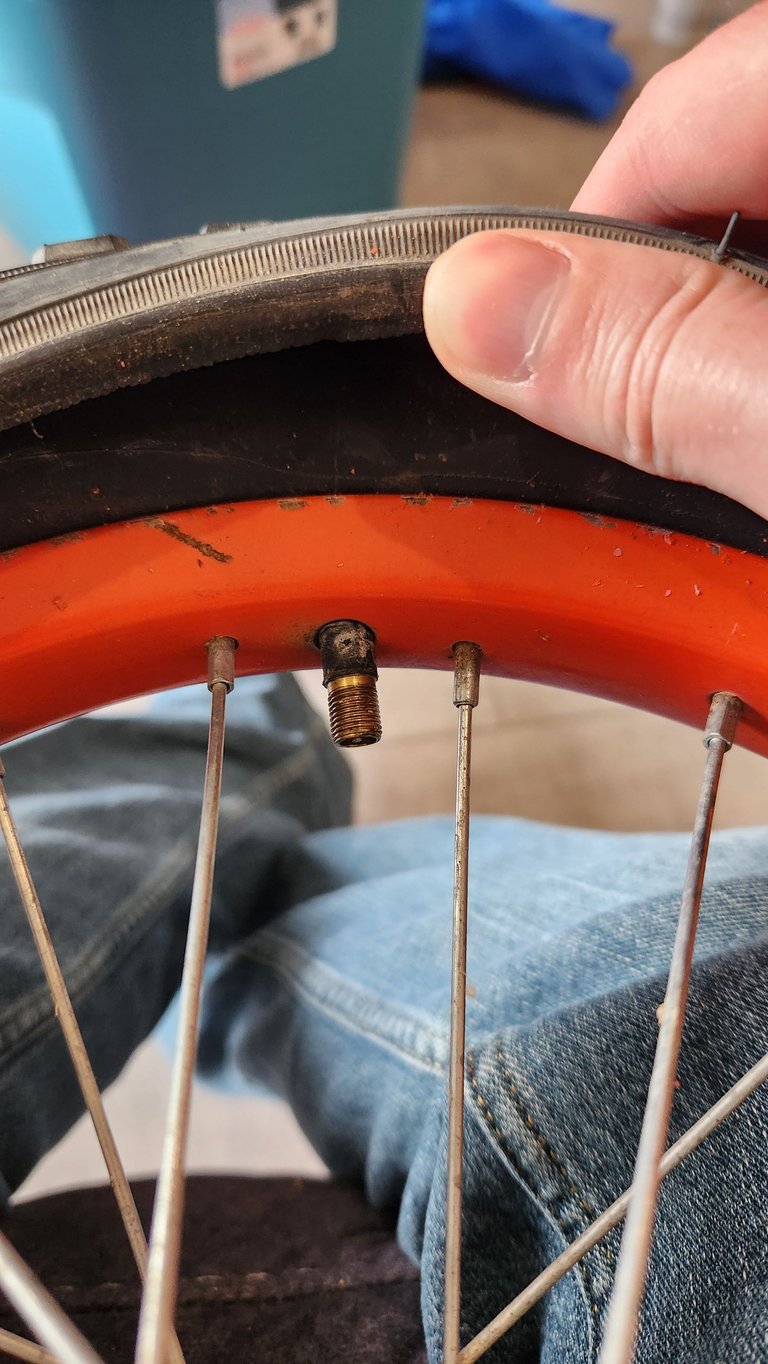
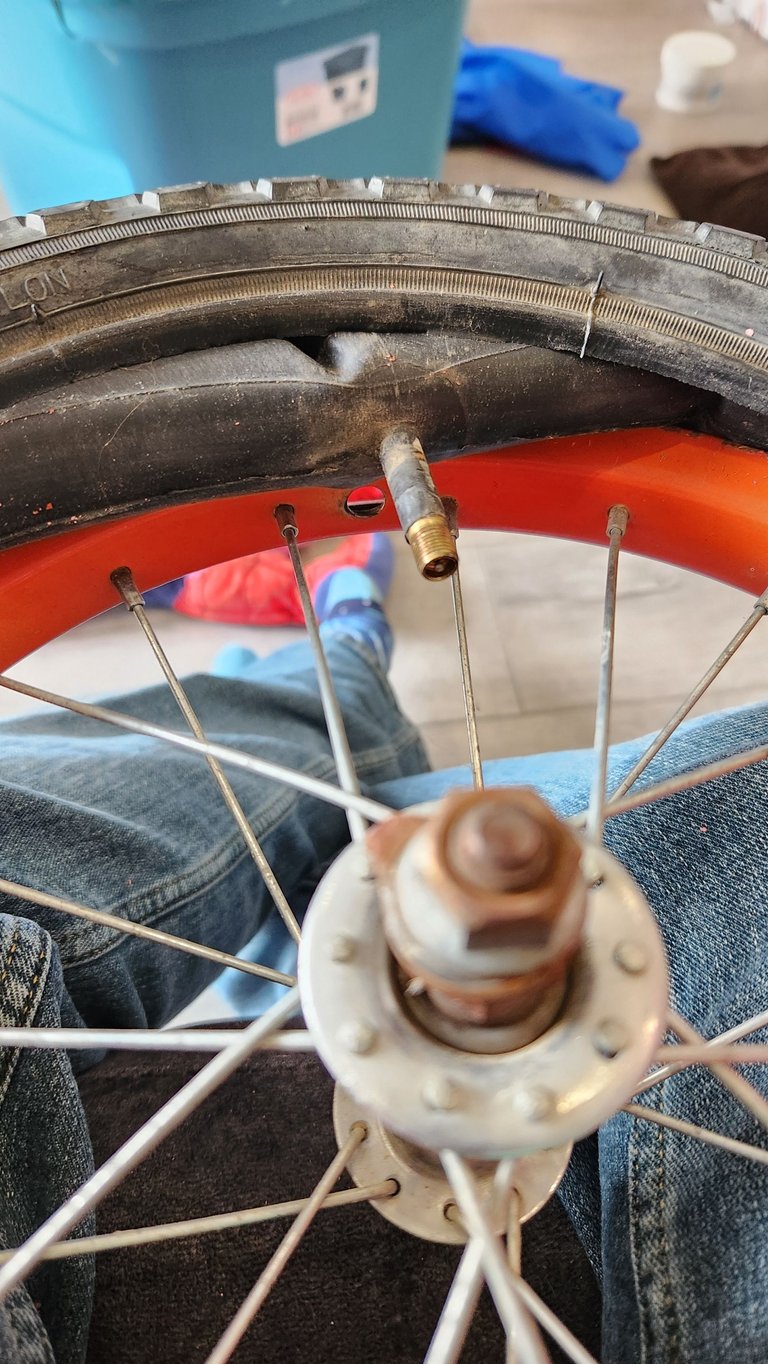
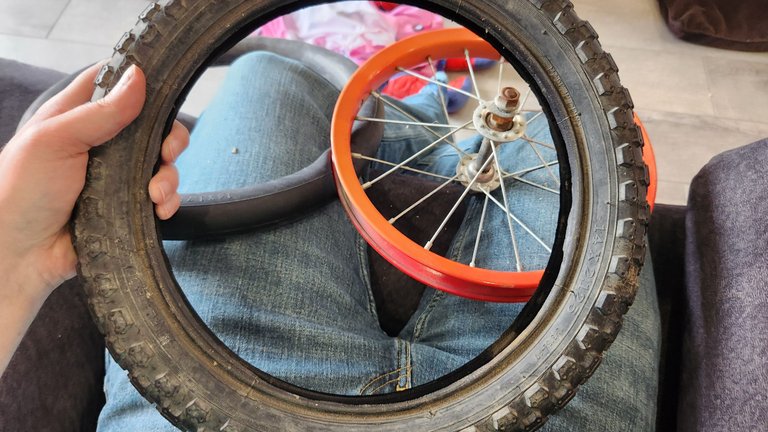
This is a photo of me and my boy I initially removing the tires. He was a big help throughout!
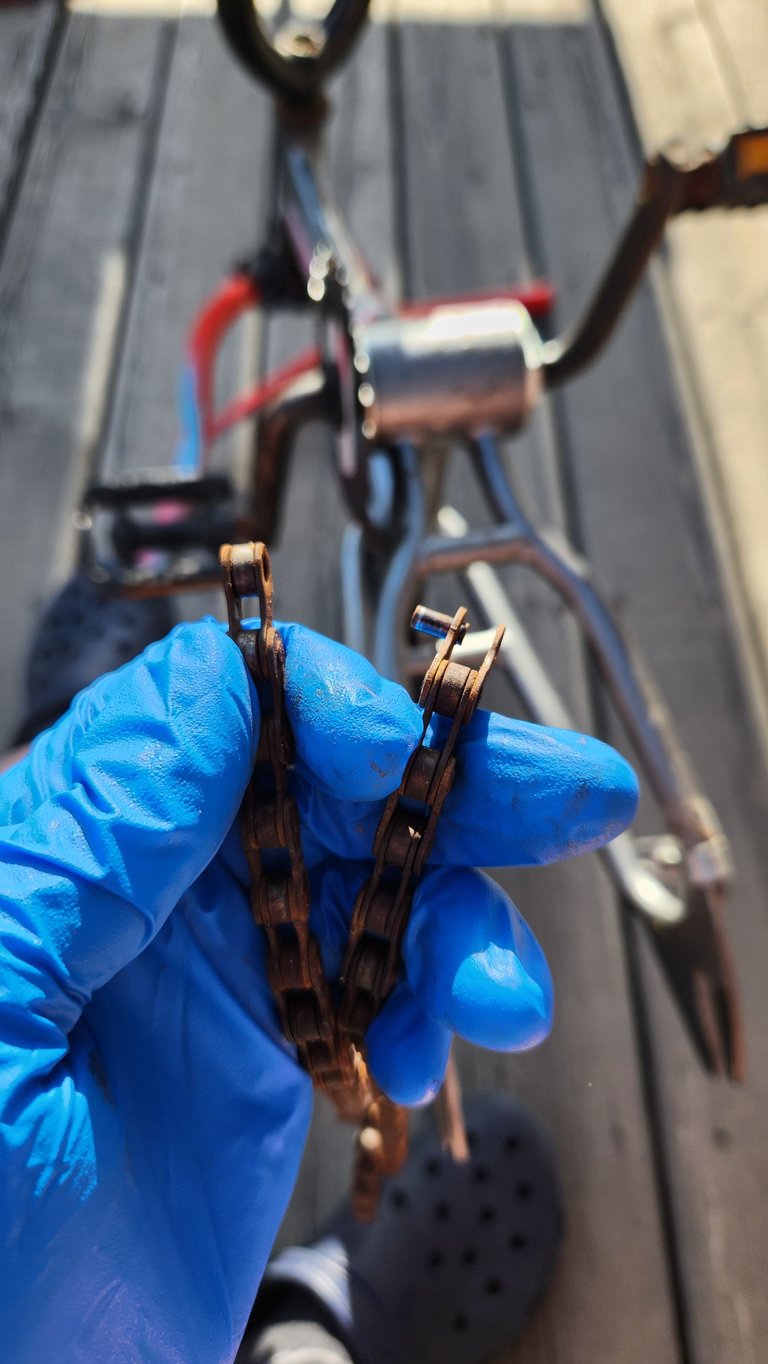
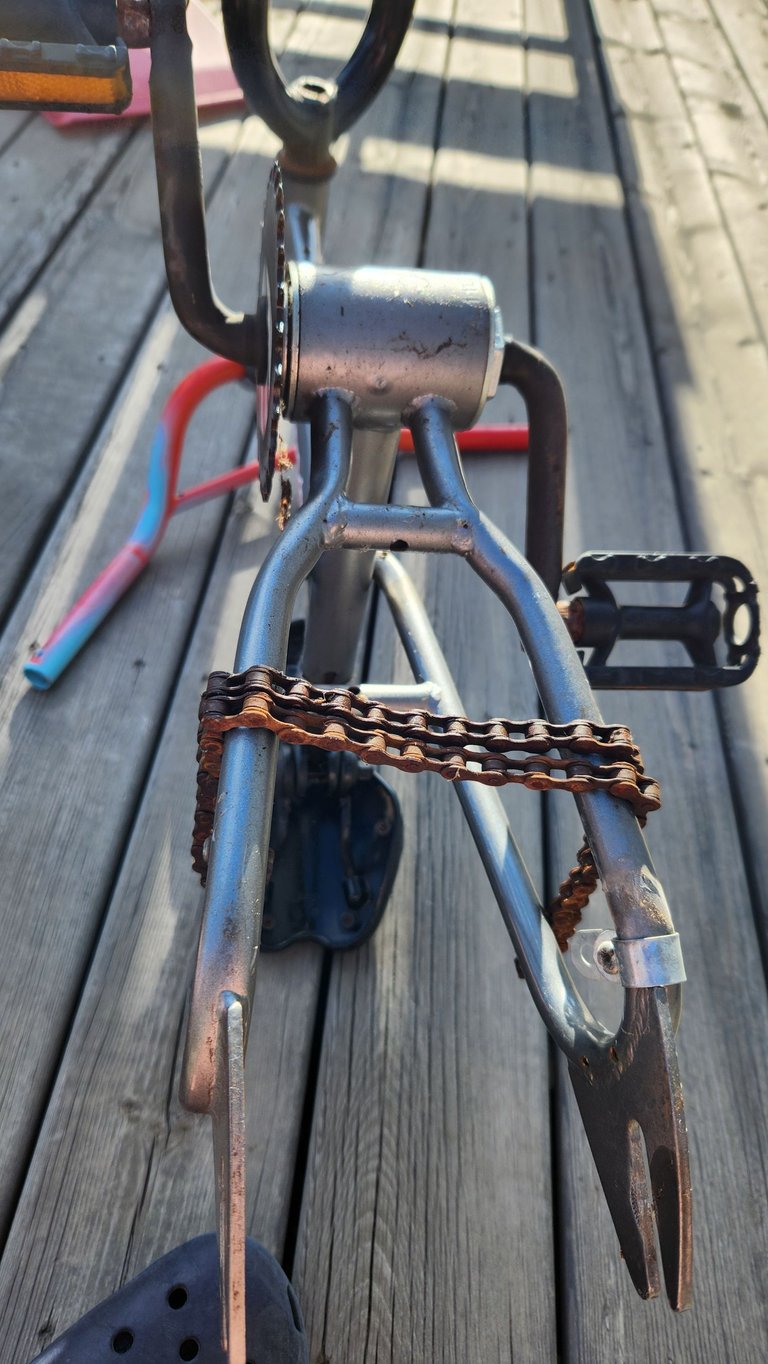
And the old chain... Which was horrible. I used a tool I bought off of Amazon for like 13 bucks to get this done, and it worked SO well. I'm happy to have it as I think now I'm in a much better spot to both upkeep the kids' bikes and to fix them when something needs it.
I learned a LOT during this little project and I'm super happy to have been able to do it. There's a few things I would so differently next time but as far as a first experience... This taught me a lot and I had an absolute blast.
Lovely fixing and nice joining, i really admire your skill and talent you have just shown us and it is really beautiful
Thank you!
We learn from trying and you wouldn't have gained new knowledge without trying plus you save yourself some bucks.
Well done... Cheers
Thank you! Yeah, it was a lot to learn!