Querida comunidad de #DIYHUB tengan un lindo y bendecido día 😘
Dear #DIYHUB community, have a nice and blessed day 😘

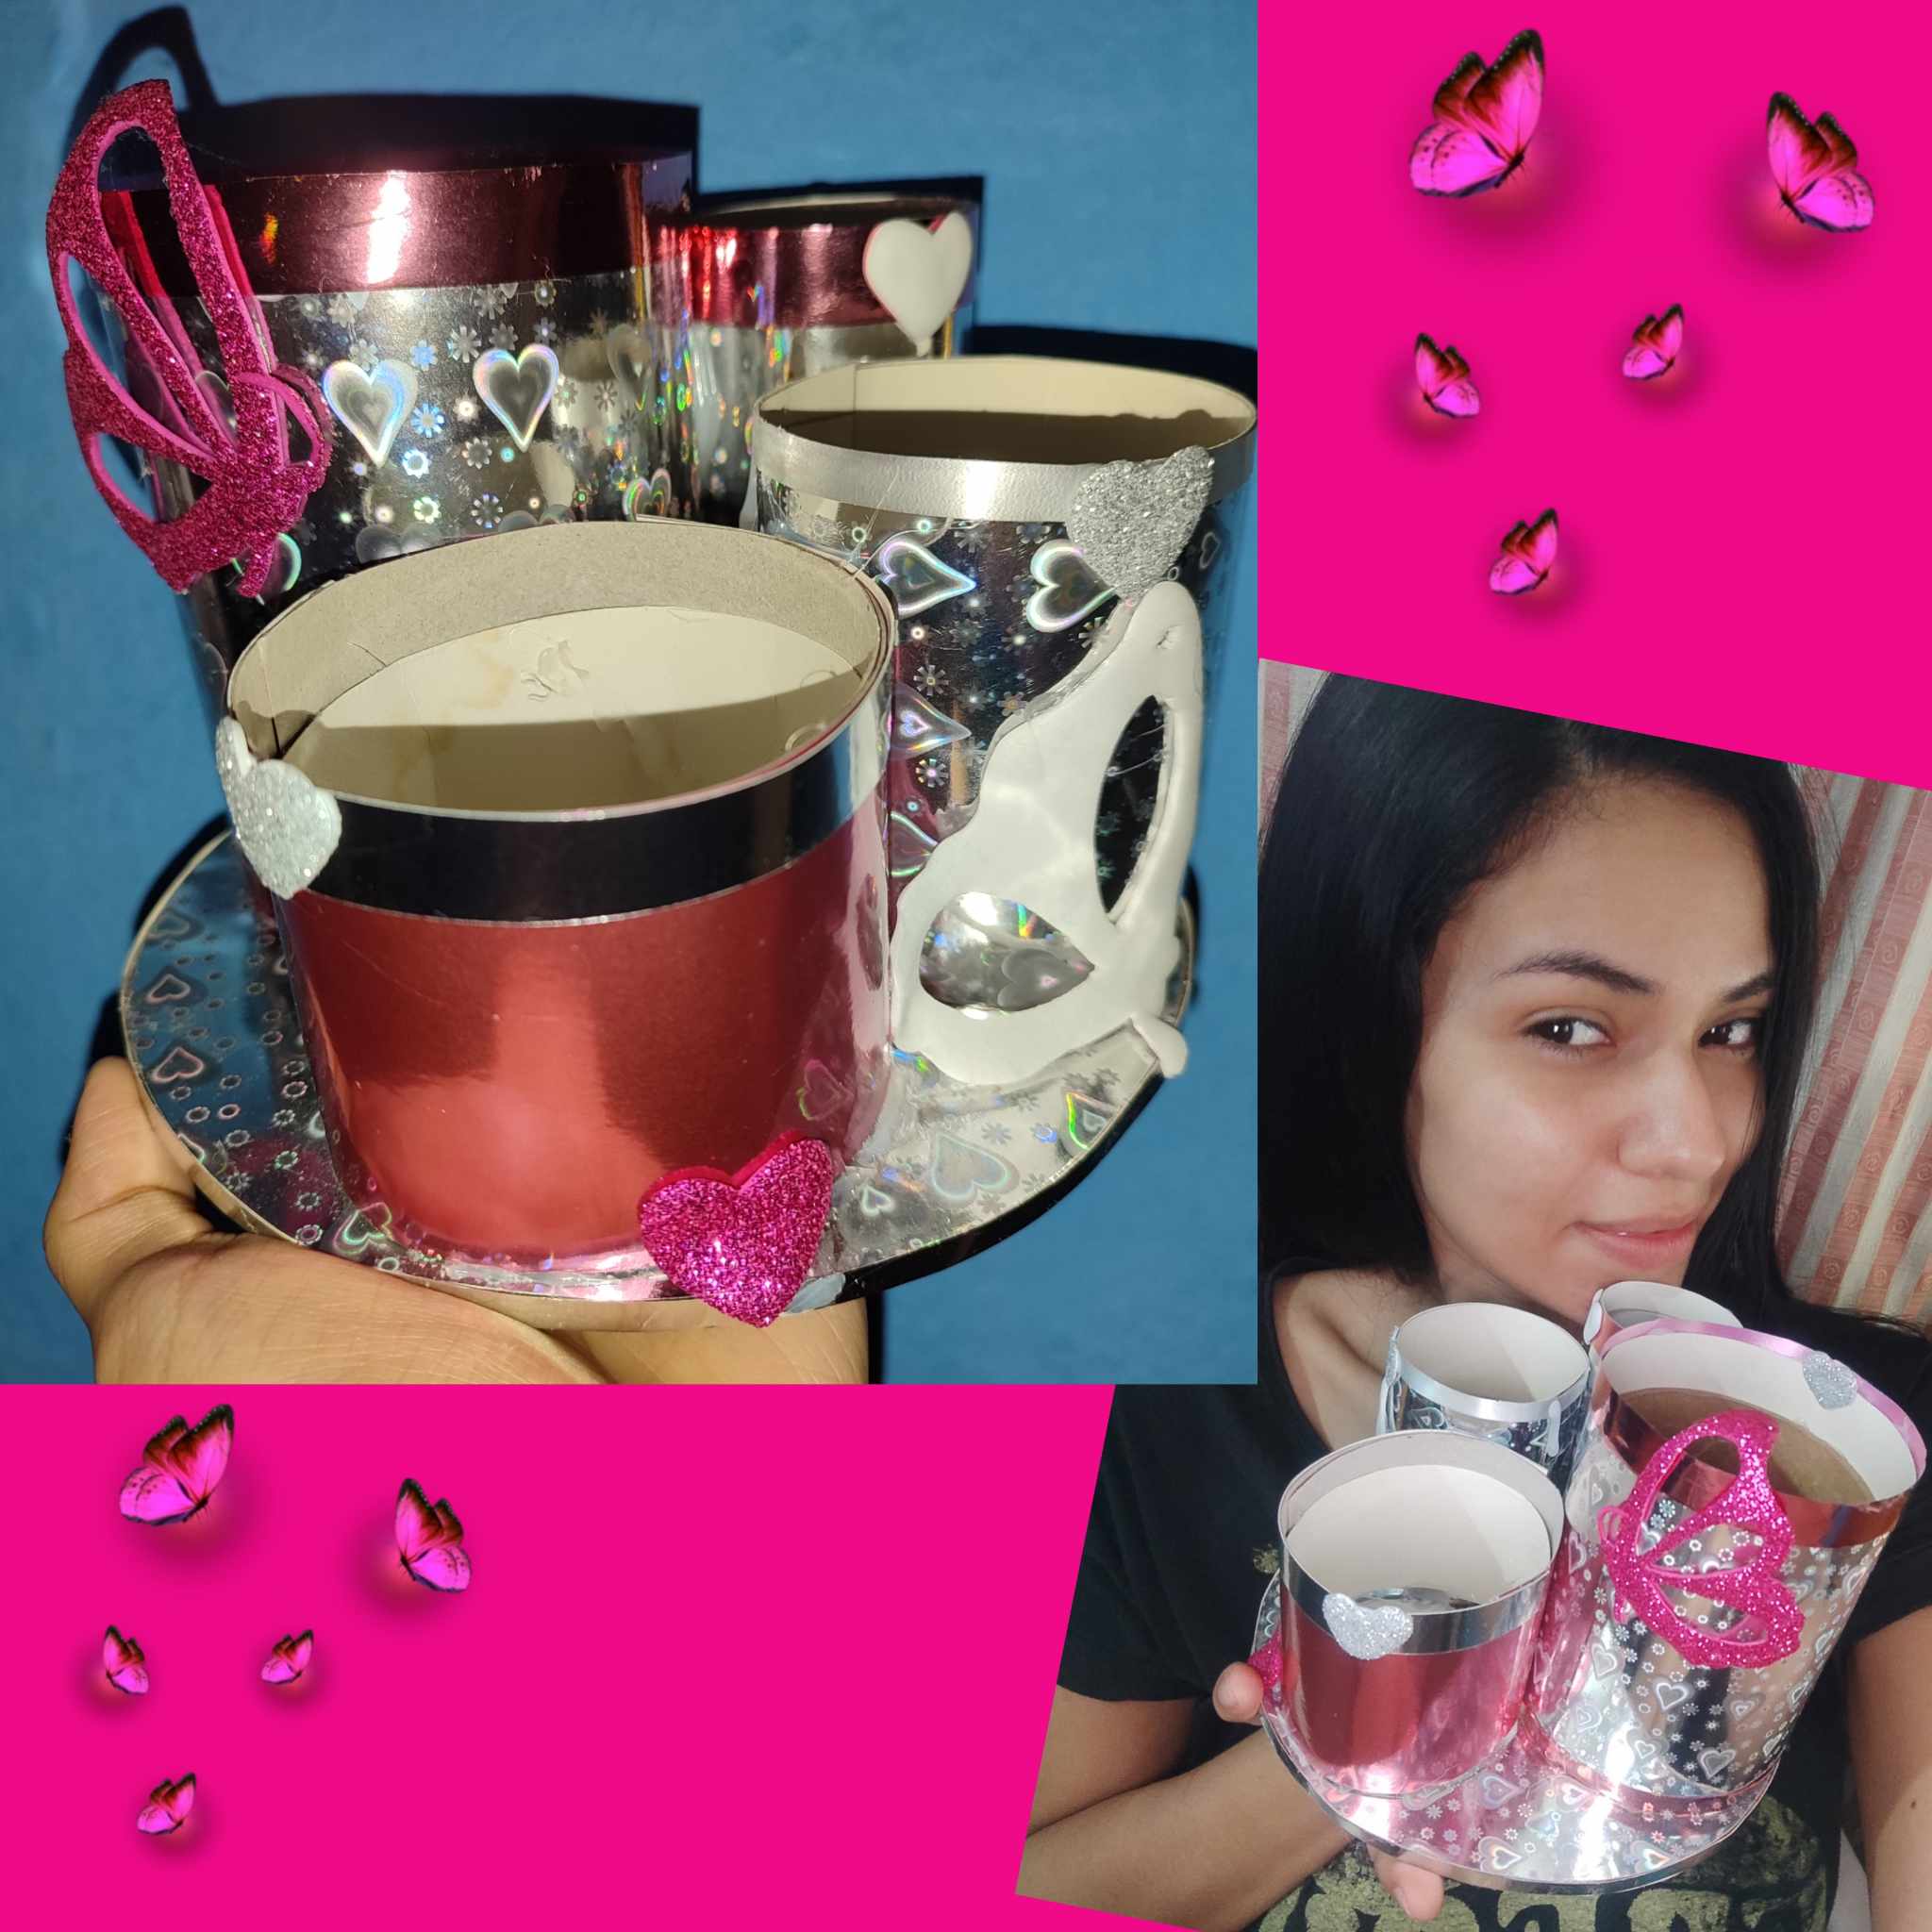
Cómo siempre yo feliz de compartir con todos ustedes, y hoy les quiero mostrar está linda y muy útil manualidad para organizar parte De mi maquillaje.
As always I am happy to share with all of you, and today I want to show you this beautiful and very useful manual to organize part of my makeup.
Estaba por hacerme uno desde hace un tiempo, pero siempre lo dejaba para después por ocuparme en otras manualidades... por lo que puse un alto a lo demás y ayer solo me dedique a realizar mi organizador.
I was about to make one for a while, but I always left it for later to take care of other crafts... so I put a stop to the rest and yesterday I just dedicated myself to making my organizer.
Muchas veces dejo de último algo que quiero hacer para mí o cuando ya es hora de sustituir o renovar, como lo es en este caso el organizador de maquillaje...el cual resulta de mucha utilidad para así mantener organizado y en buen estado los implementos de maquillajes.
Many times I leave something that I want to do for myself last or when it is time to replace or renew, as in this case the makeup organizer... which is very useful to keep the implements organized and in good condition of makeups.
Y lo mejor que también podemos hacer este tipo de manualidades reciclando materiales que tenemos en cada y aprovechando lo que antes solíamos desechar, como tubos de papel higiénico, cajas entre otros.
And the best thing that we can also do this type of craft by recycling materials that we have in each and taking advantage of what we used to throw away, such as toilet paper tubes, boxes, among others.
Materiales
- Cartón.
- Rollos de papel higiénico.
- Cartulina plateada.
- Cintas.
- Foami.
- Silicona Caliente
Materials
- Cardboard.
- Rolls of toilet paper.
- Silver cardboard.
- Tapes.
- Foami.
- Hot Silicone

Pasos
Steps
- Lo primero que hice fue marcar y recortar en un cartón un circulo, el cual sera la base del organizador.
- The first thing I did was mark and cut out a circle on cardboard, which will be the base of the organizer.


- Luego procedí a forrar la base con la cartulina plateada de corazones.
- Then I proceeded to cover the base with the silver cardboard with hearts.

- Luego escogí 4 rollos de papel higiénico de diferente tamaños, y procedí a forrarlos con la cartulina plateada.
- Then I chose 4 toilet paper rolls of different sizes, and proceeded to cover them with the silver cardboard.
- Pegue una cinta rosada en el borde de los rollos.
- Stick a pink ribbon on the edge of the rolls.

- Procedí a pegar los rollos a la base.
- I proceeded to glue the rolls to the base.

- Como lo vi muy simple, hice unas mariposa y unas corazones, y las pegue por todo el organizador.
- As I saw it very simple, I made some butterflies and some hearts, and I glued them all over the organizer.


así quedo este hermoso organizador de maquillaje..
This is how this beautiful makeup organizer looks..

Hasta una nueva oportunidad... Dios los bendiga.
Until a new opportunity... God bless you.
Muy lindo trabajo y muy practico a miga @paovaler03. Gracias por compartir tu proceso creativo con nosotros. Saludos ✨
!DIY
Gracias amiga
Organizers are always a useful thing to have around the home. The butterflies and heart are a great adornment to it.
Nicely
Mil gracias bendiciones
You can query your personal balance by
@dayadam just sent you a DIY token as a little appreciation for your post dear @paovaler03! Feel free to multiply it by sending someone else !DIY in a comment :) You can do that x times a day depending on your balance so:!DIYSTATS