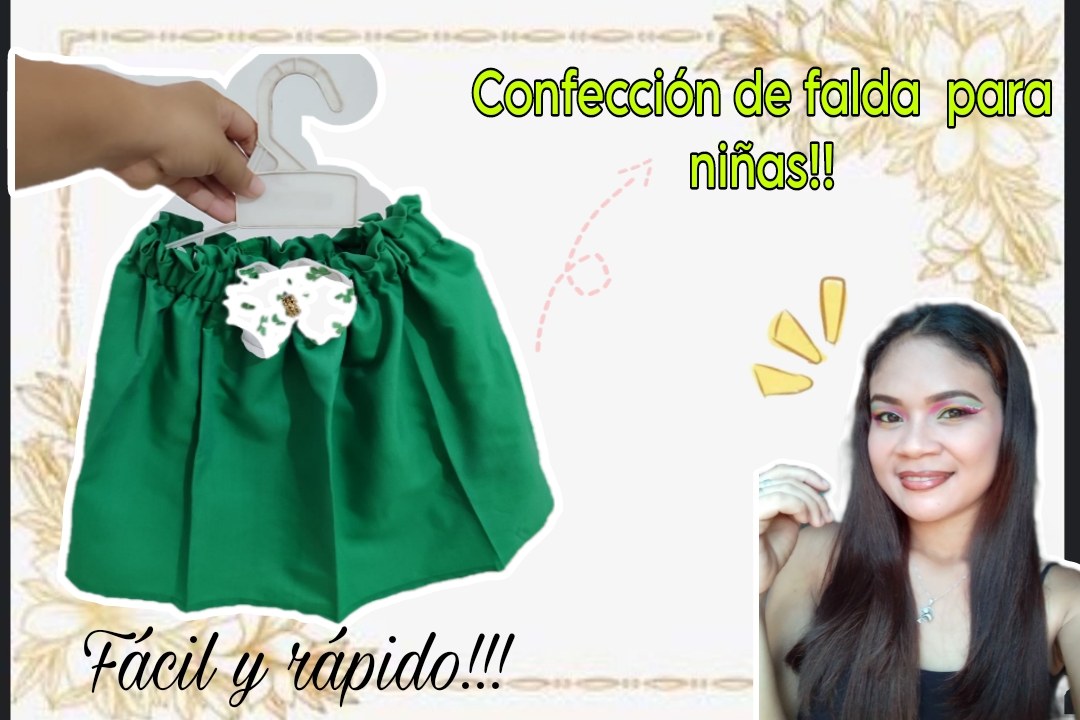
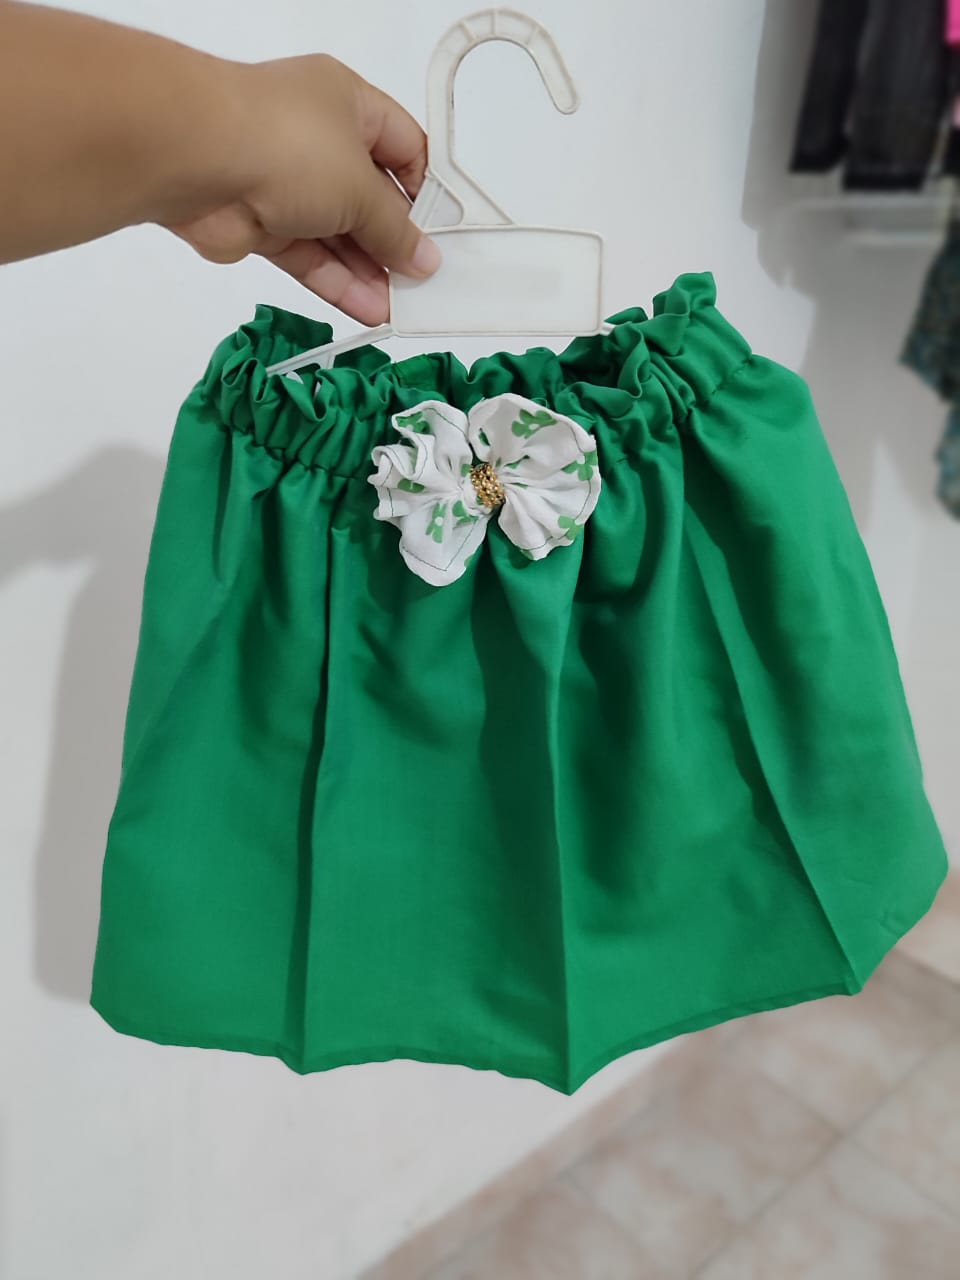
Bonita tarde tenga la comunidad creativa de #Diyhub, espero estén pasando un lindo día..Me alegra saludarles y darles la bienvenida a este paso a paso donde vamos confeccionar una linda falda color verde para niñas, tiene una pretina elastizada ajustable, pliegues y un moño precioso floreado.
Este tipo de trabajos, me recuerdan aquellos días largos en que las prendas que hacía eran totalmente hechas a mano y no a máquina como ahora.. Siempre buscaba algo fácil, pero sobre todo rápido que pudiera terminarlo en un día; gracias a Dios hoy día tengo mi máquina que es una super ayuda y estos trabajos que antes me tomaban unas 3 horas, ahora los realizó hasta en 30min... Este tipo de prendas son ideales para aquellas personas que desean comenzar en el arte de la costura y para un gran emprendimiento.. Si te gusta acompañame hasta el final y te muestro lo que necesitas y su proceso.
Nice afternoon have the creative community of #Diyhub, I hope you are having a nice day...I am happy to greet you and welcome you to this step by step where we are going to make a beautiful green skirt for girls , has an adjustable elastic waistband, pleats and a beautiful flowered bow.
This type of work reminds me of those long days when the garments they made were completely handmade and not machine made like now. I was always looking for something easy, but above all quick that I could finish it in one day; Thank God, today I have my machine which is a super help and these jobs that used to take me about 3 hours, now I did them in up to 30 minutes... This type of garments are ideal for those people who want to start in the art of sewing and for a great undertaking.. If you like it, accompany me until the end and I will show you what you need and its process.
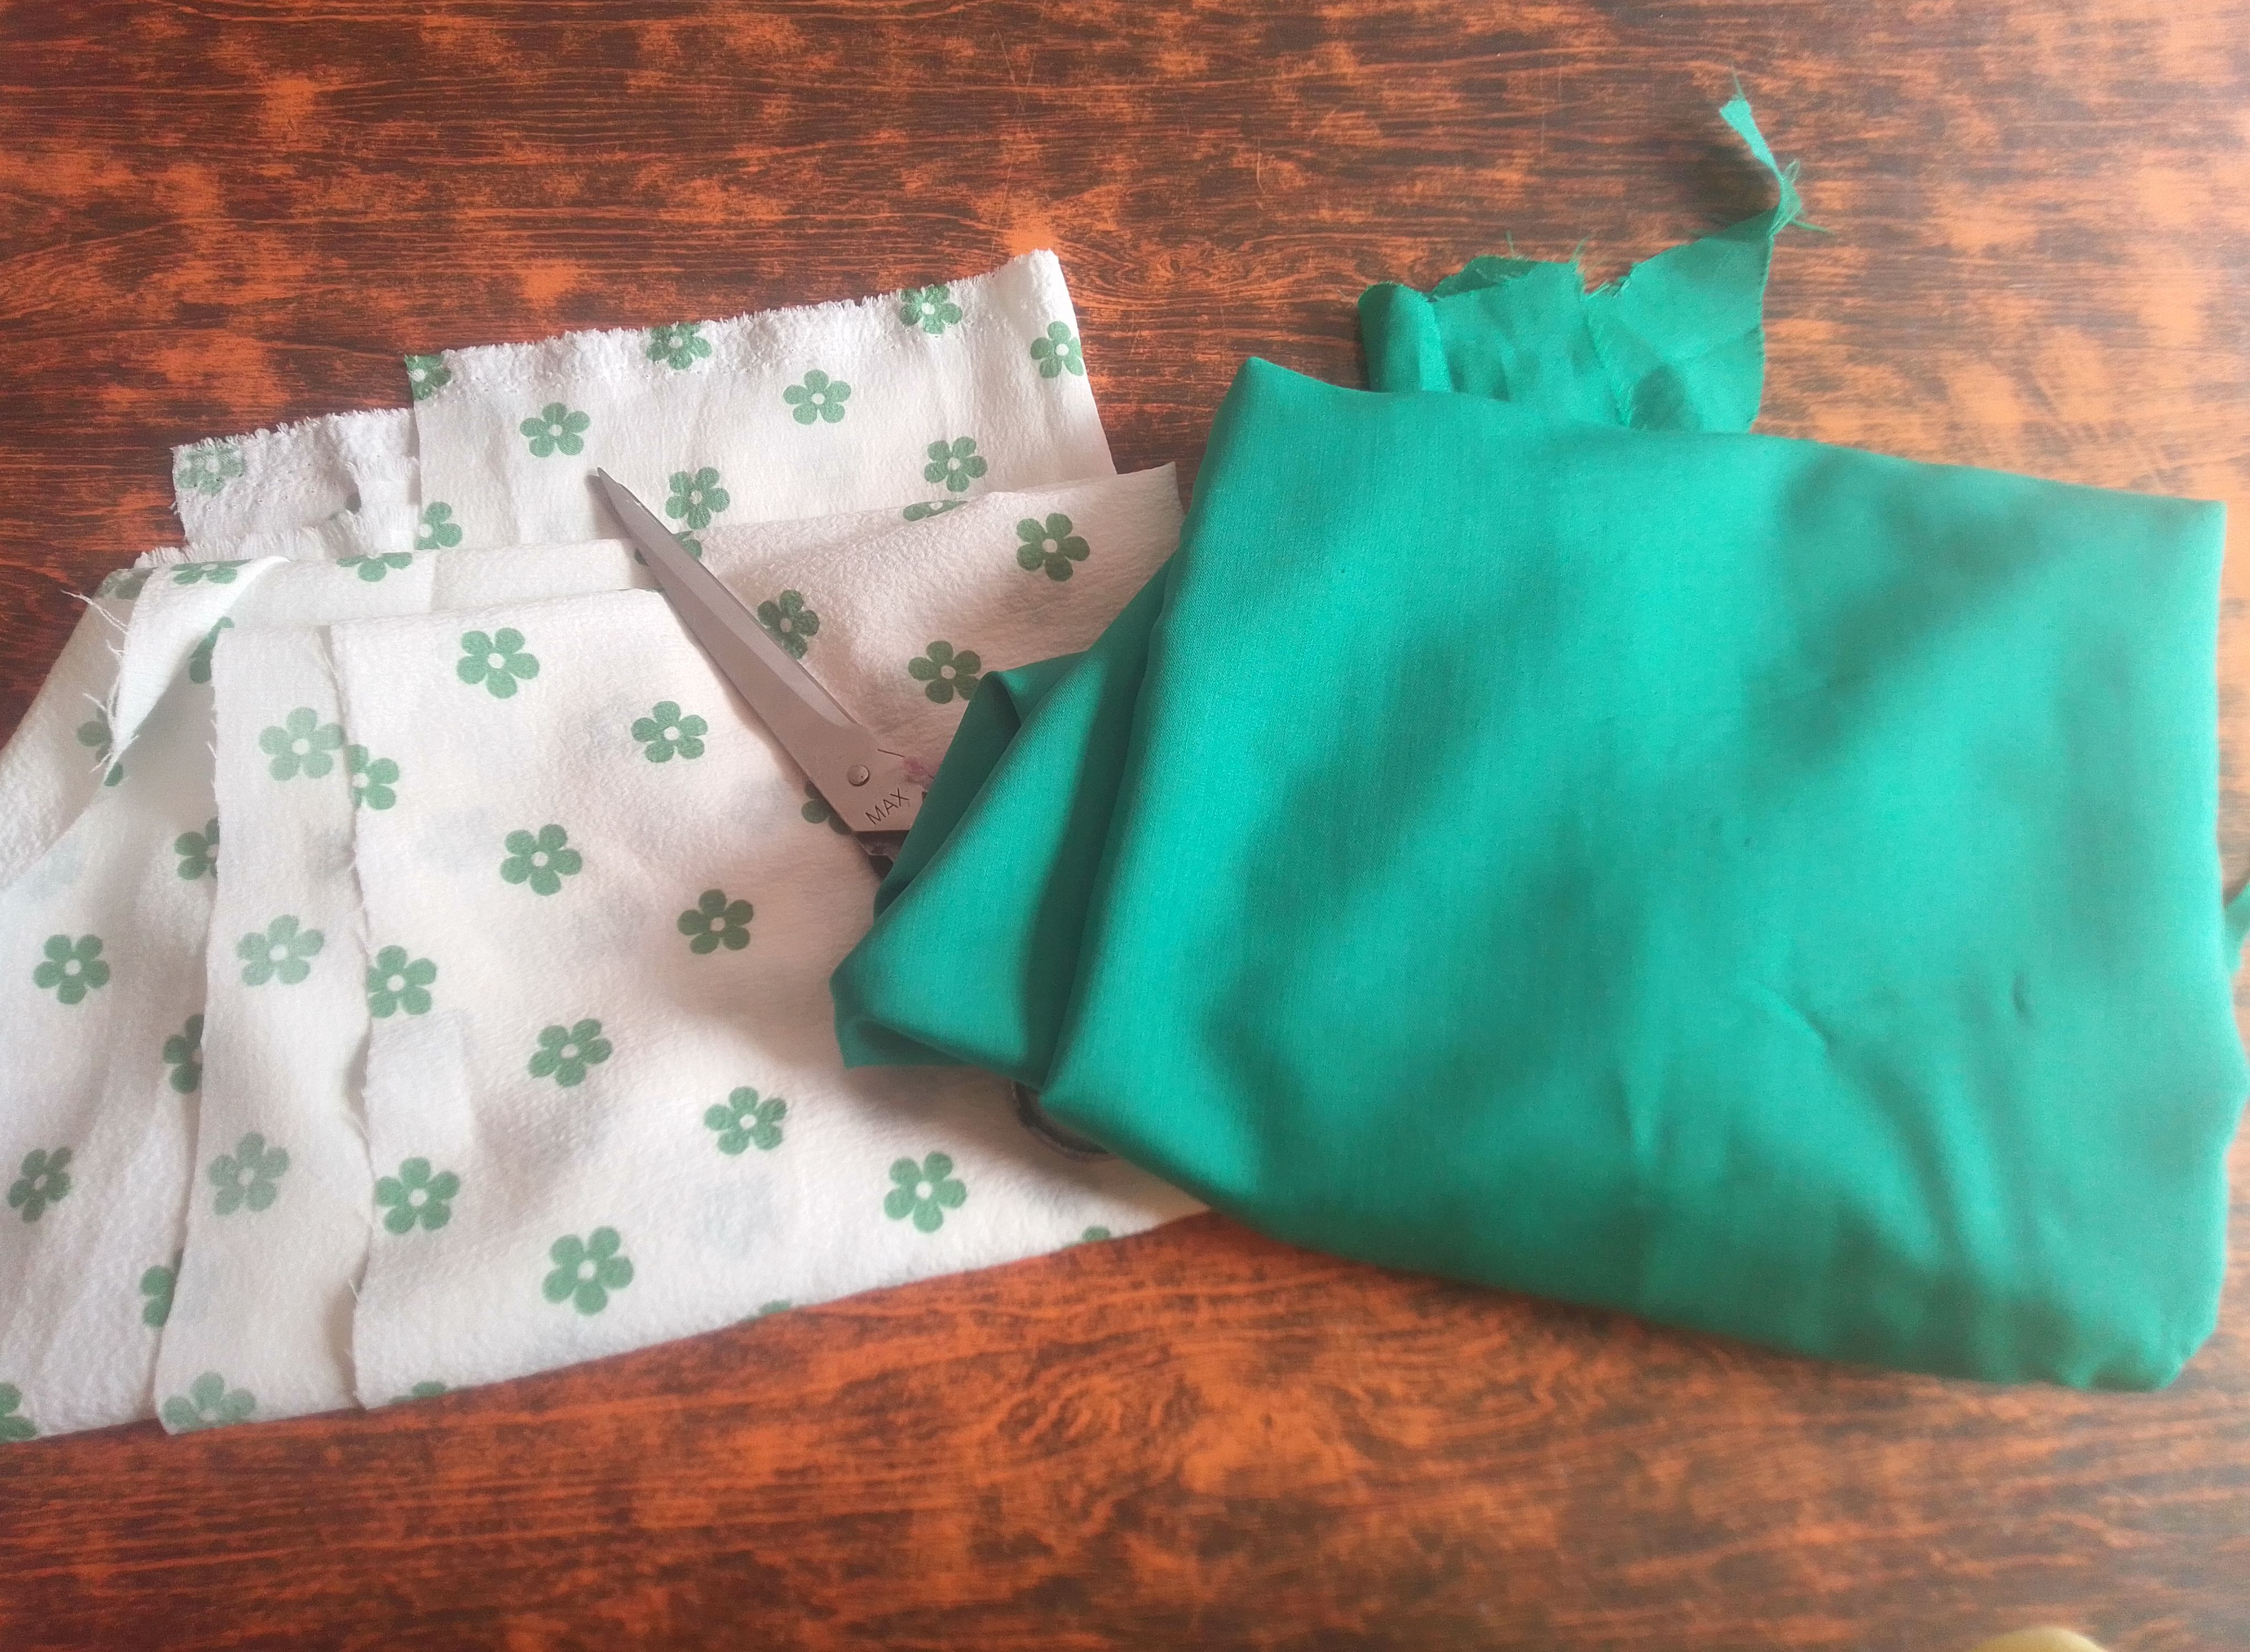
Materiales que necesitas:
- Tela Micromed.
- Elástica de 2cm.
- Tijeras.
- Hilo y aguja.
- Máquina de coser.
- Plancha de ropa.
- Micromed fabric.
- 2cm elastic.
- Scissors.
- Thread and needle.
- Sewing machine.
- Clothes iron.
(PROCEDIMIENTO)
Paso 01
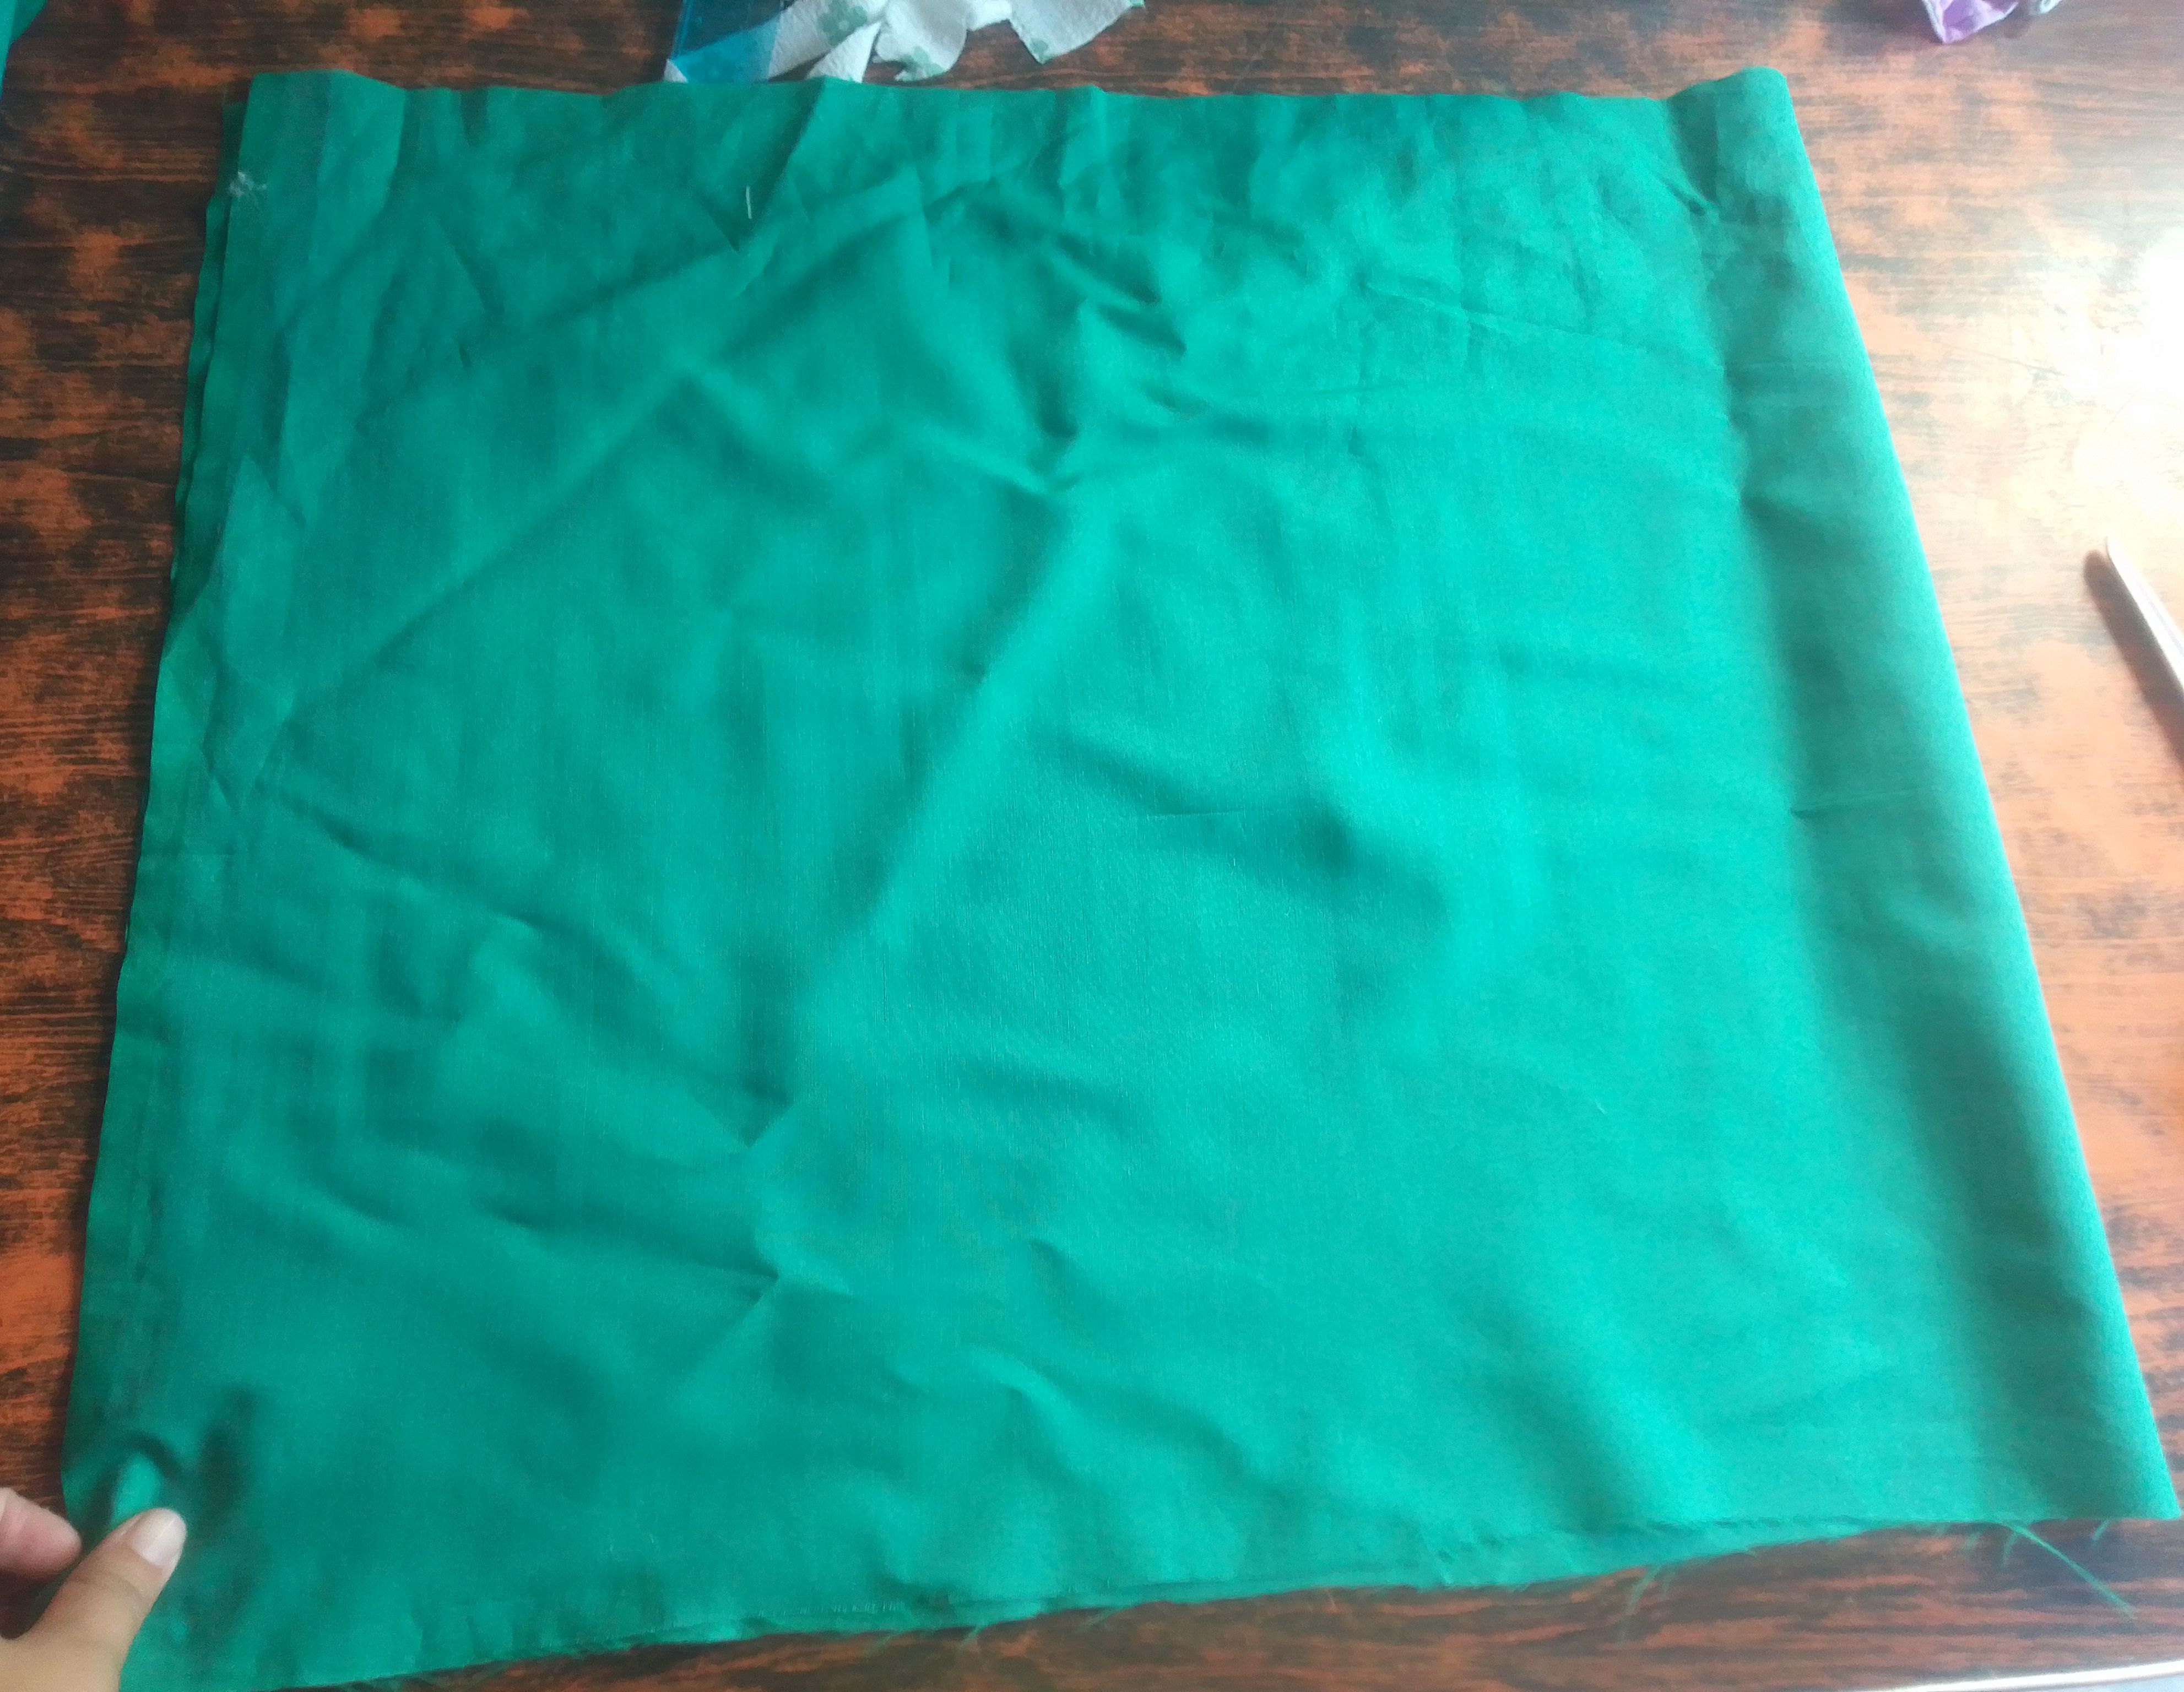
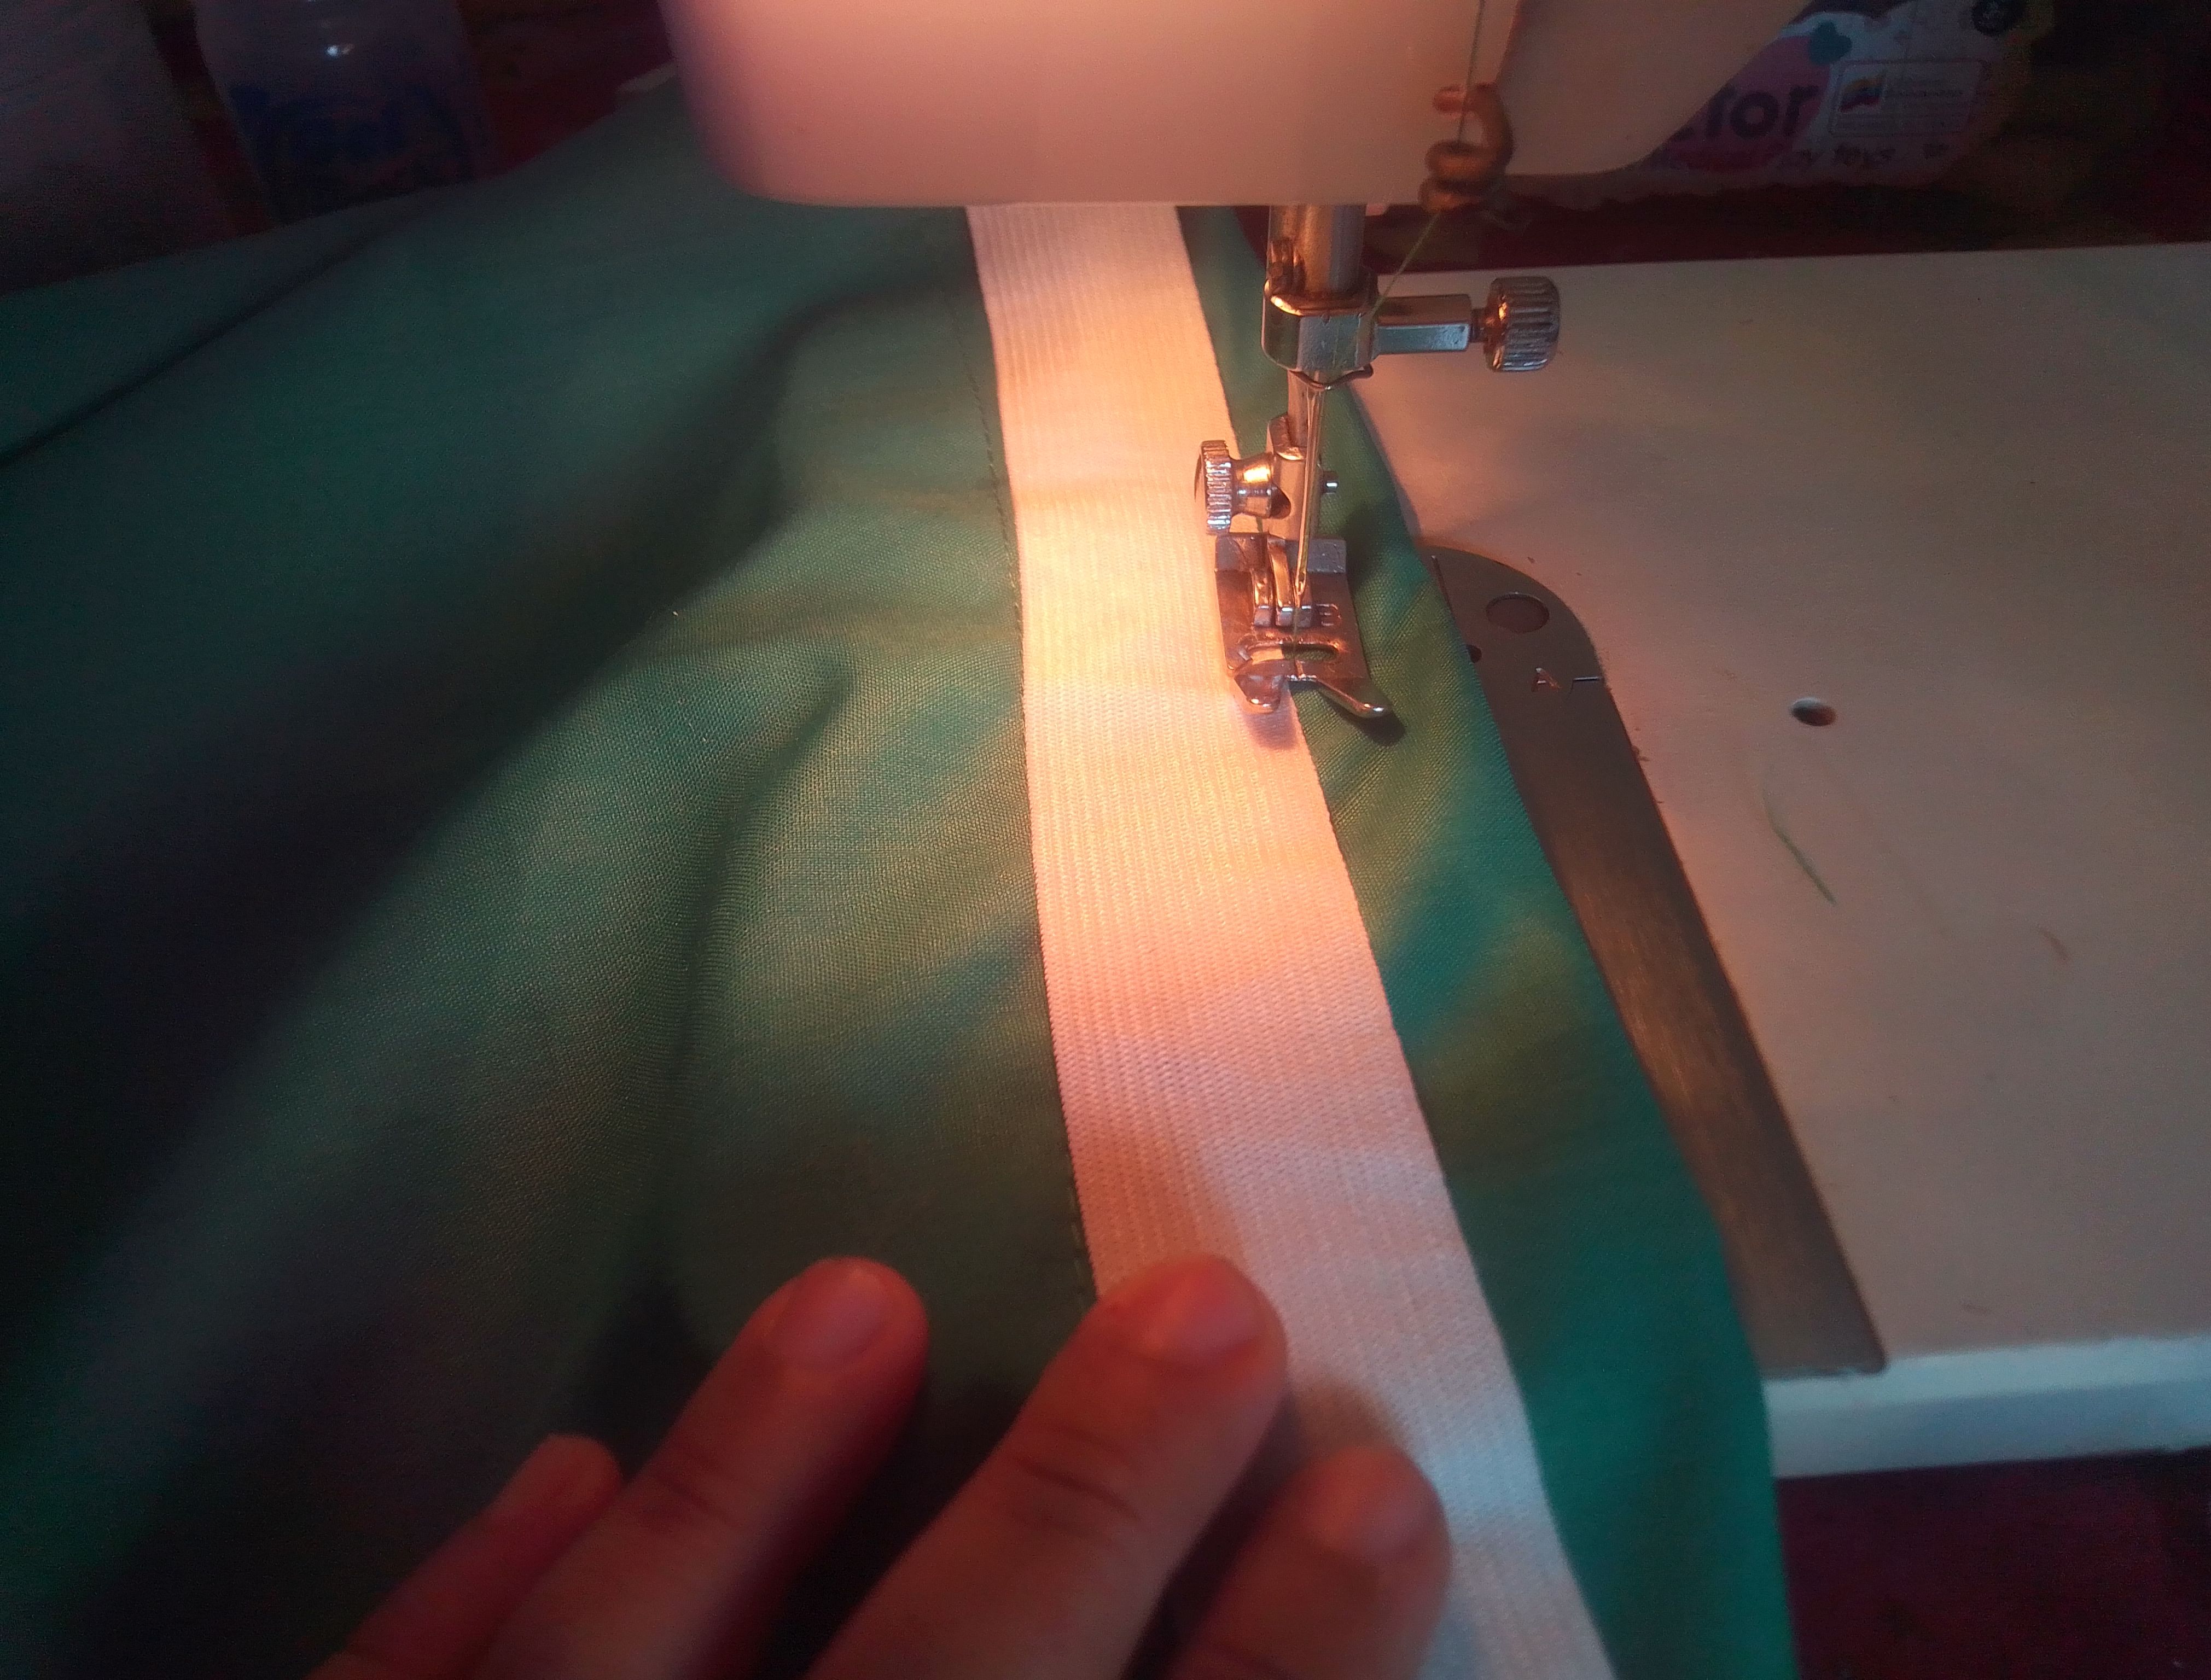
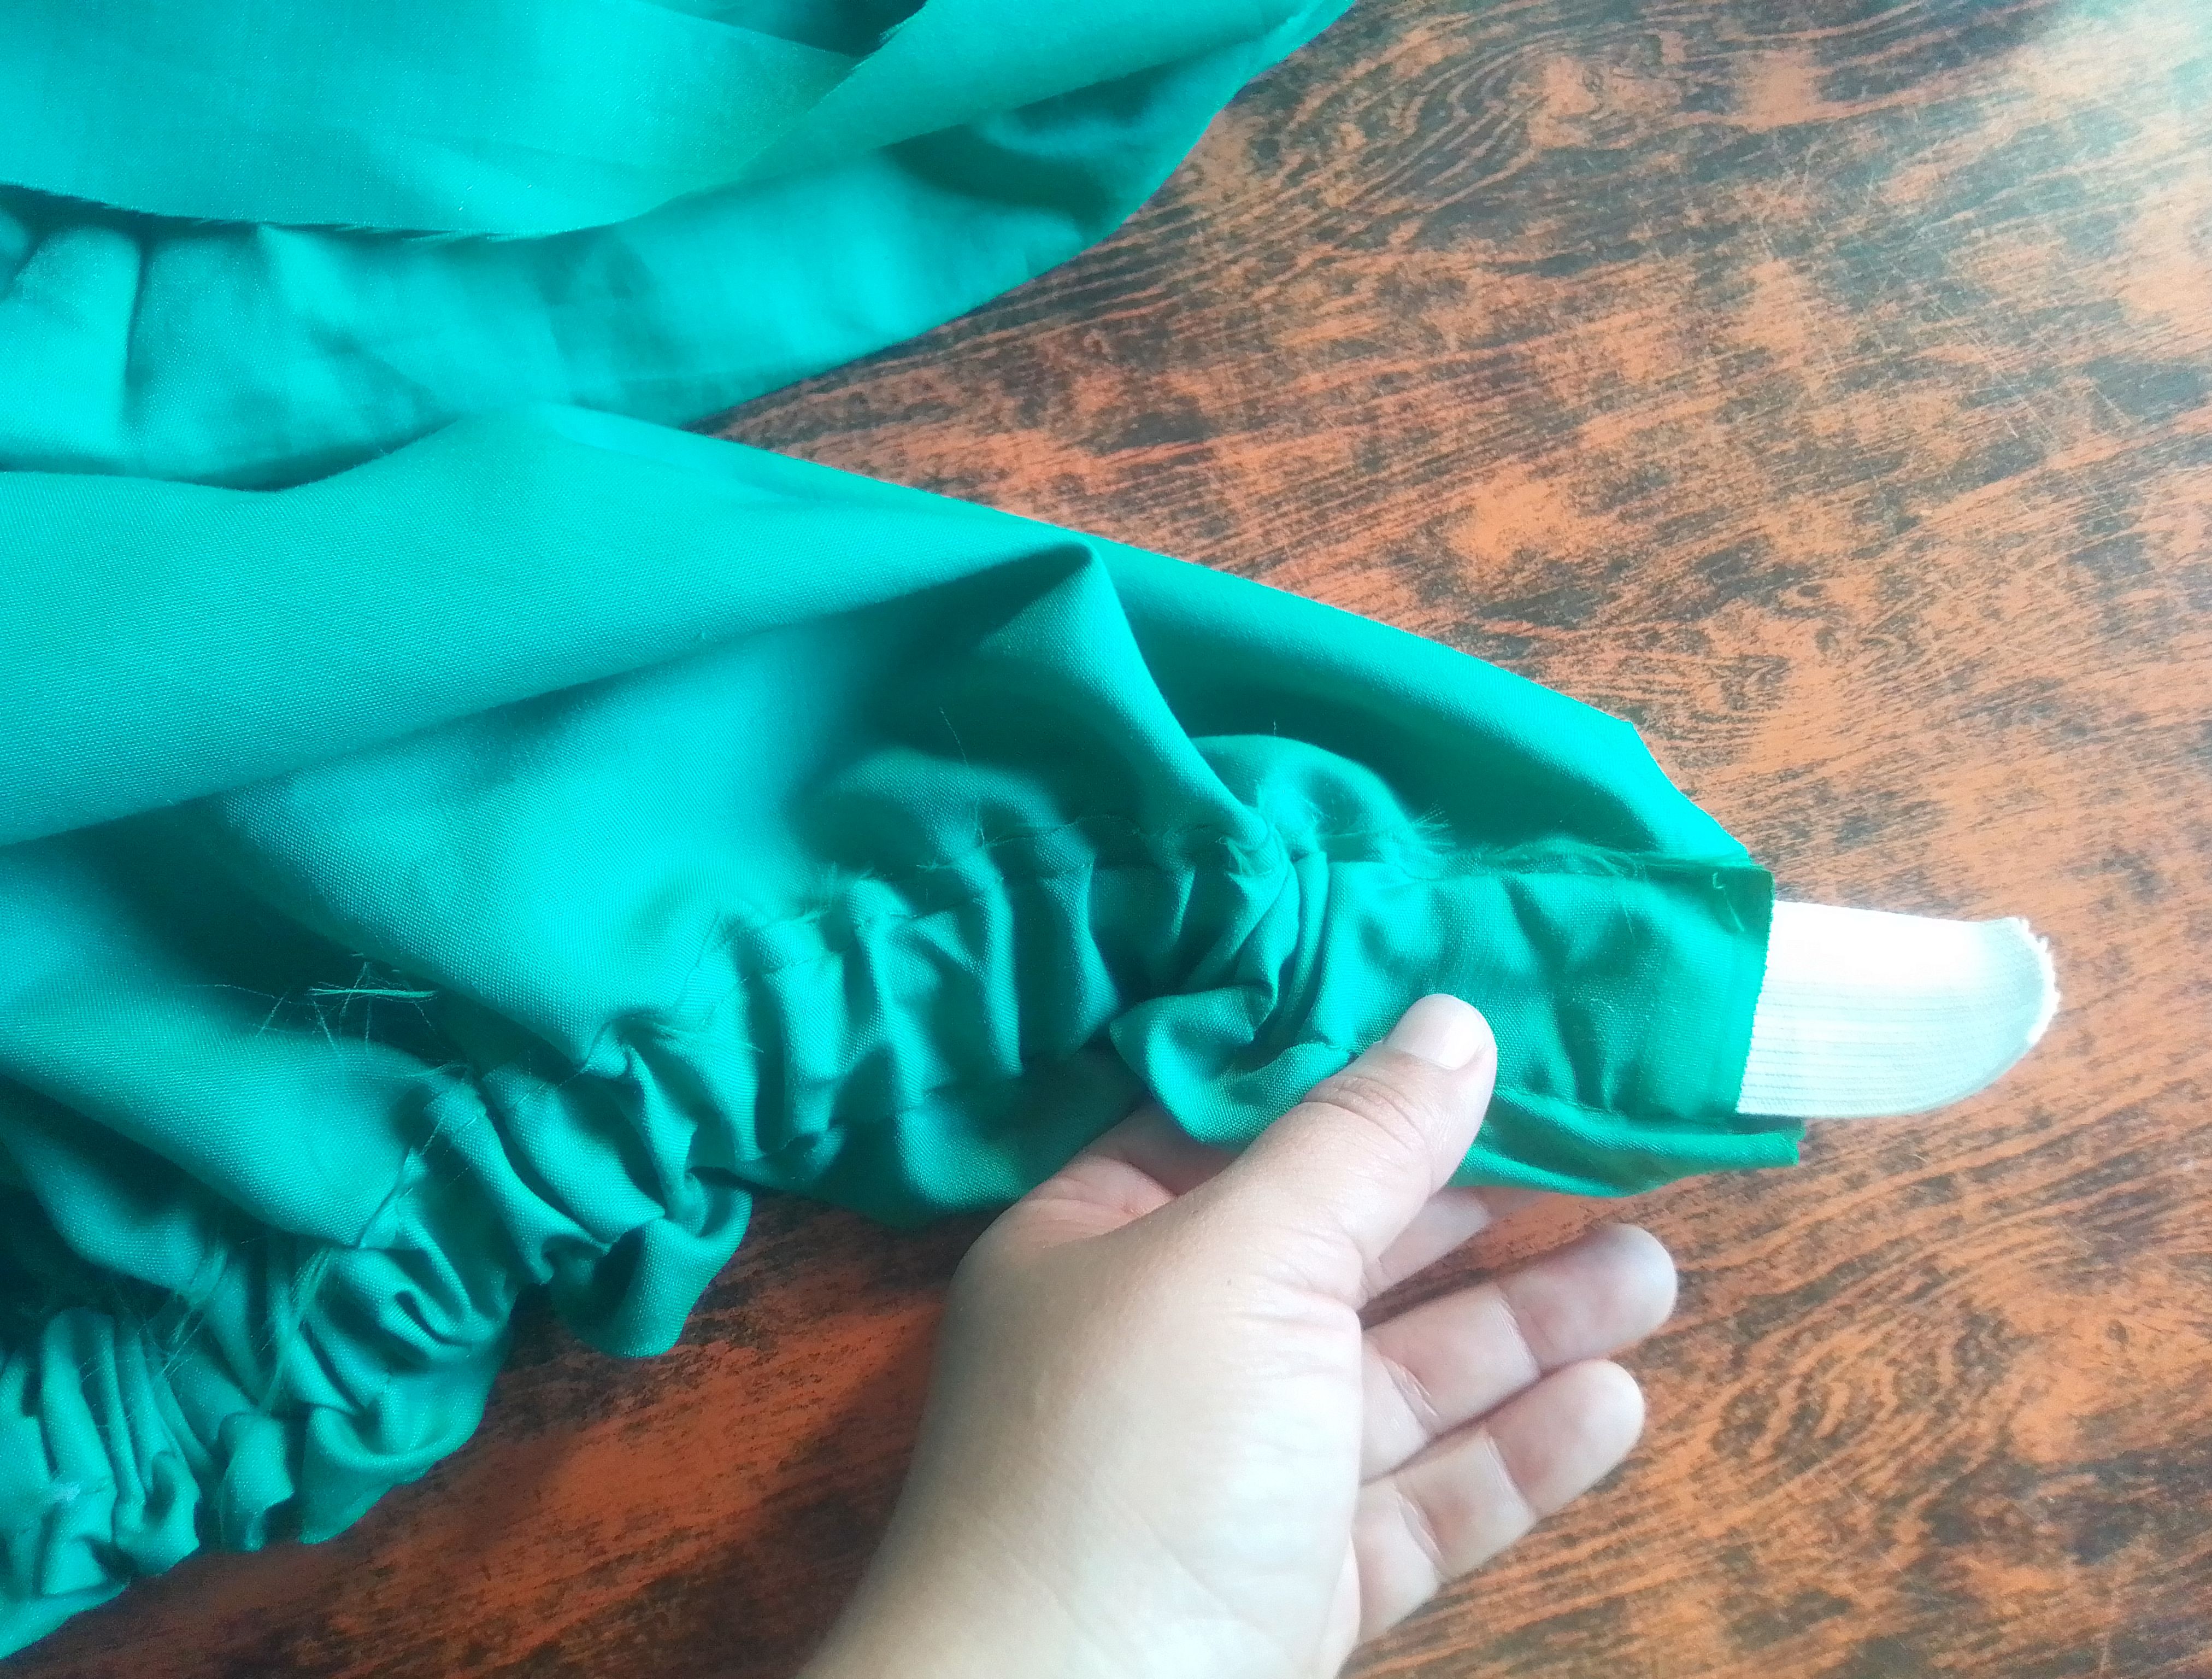
Para la elaboración de esta falda, la tela que utilices juega un papel muy importante, Es necesario que cuentes con una tela de textura lisa y sedosa y tambien que no estire, pero eso si, que sea suave y ligera..Dependiendo el tamaño y las medida de la niña la voy a doblar a la mitad, yo la hice para una niña de 8 años, por lo que sus medidas fueron de un metro de ancho por 80cm de largo. Luego voy a hacer un ruedo o dobladillo a lo largo en extremo de la tela. Del otro extremo voy a doblar 4 cm havia adentro y luego hacemos un costura de 2,cm después de la orilla según el tamaño de la goma y con ayuda de un gancho de cabello la introduzco por todo el centro.
Step 01
To make this skirt, the fabric you use plays a very important role. It is necessary that you have a fabric with a smooth and silky texture and also that does not stretch, but yes, it Be soft and light. Depending on the size and measurements of the girl, I will fold it in half. I made it for an 8-year-old girl, so its measurements were one meter wide by 80cm long. Then I am going to make a hem or hem along the end of the fabric. From the other end I am going to fold 4 cm inwards and then we make a 2cm seam after the edge according to the size of the elastic and with the help of a hair clip I insert it throughout the center.
Paso 02
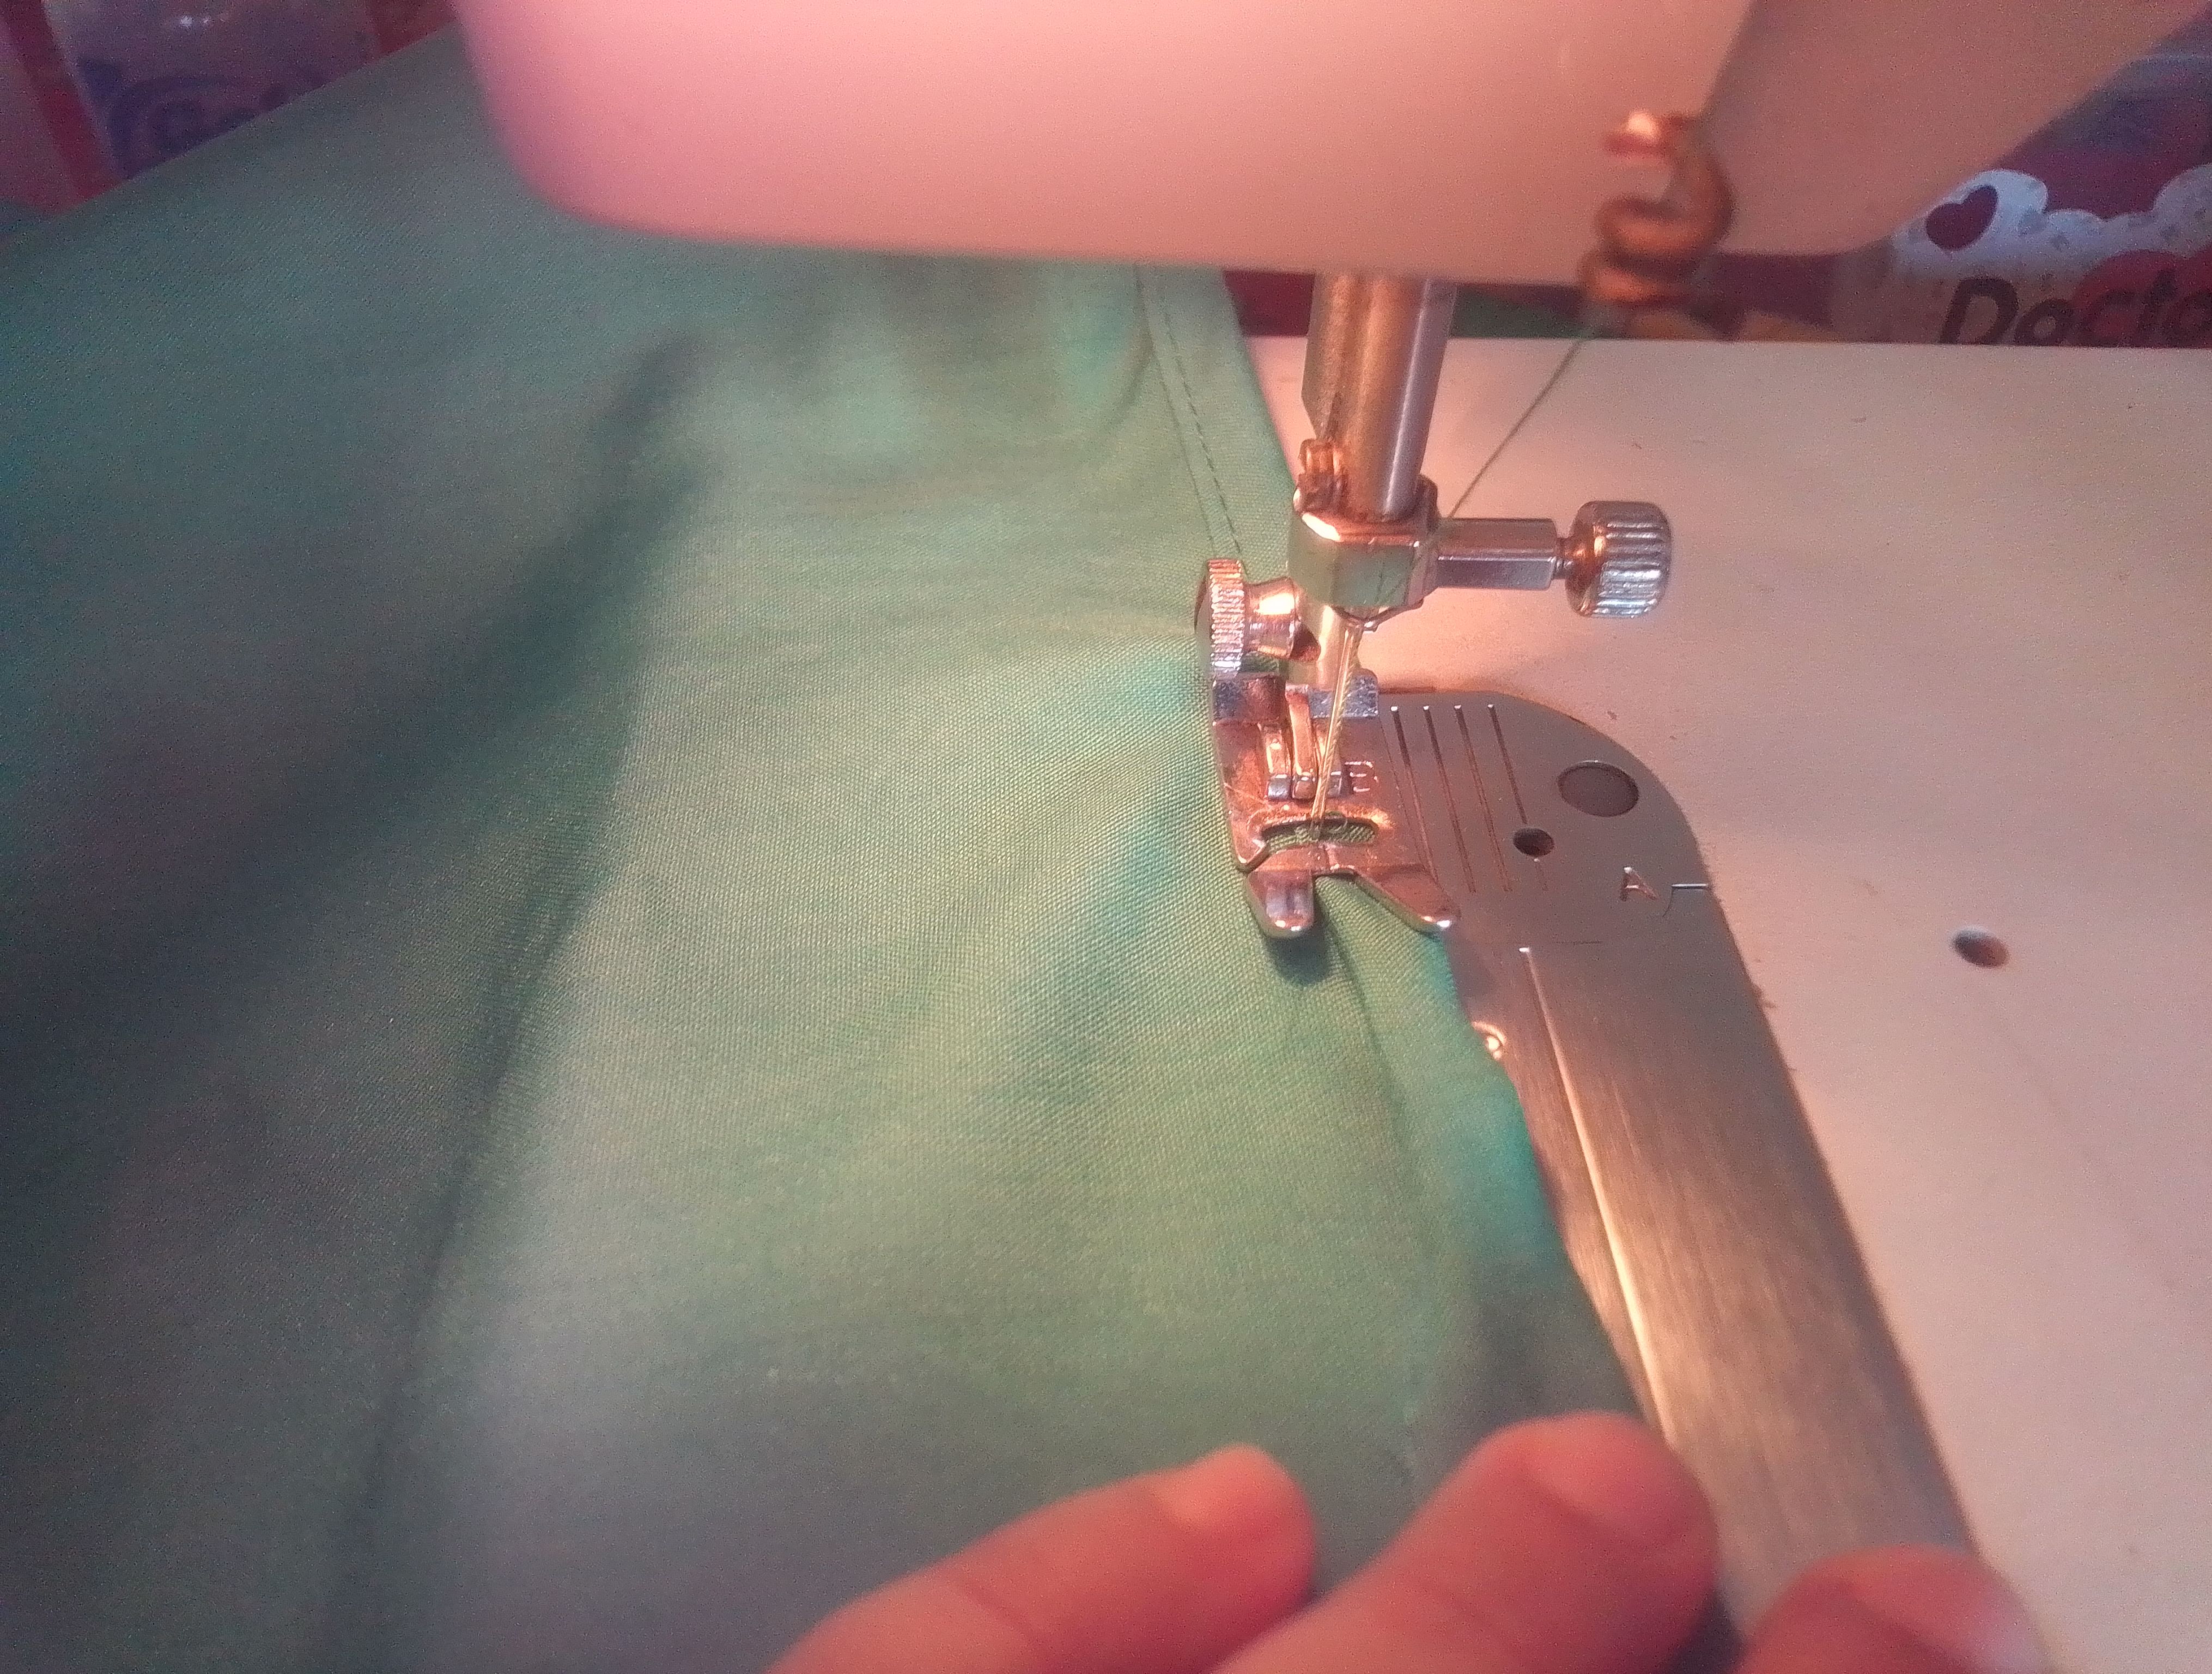
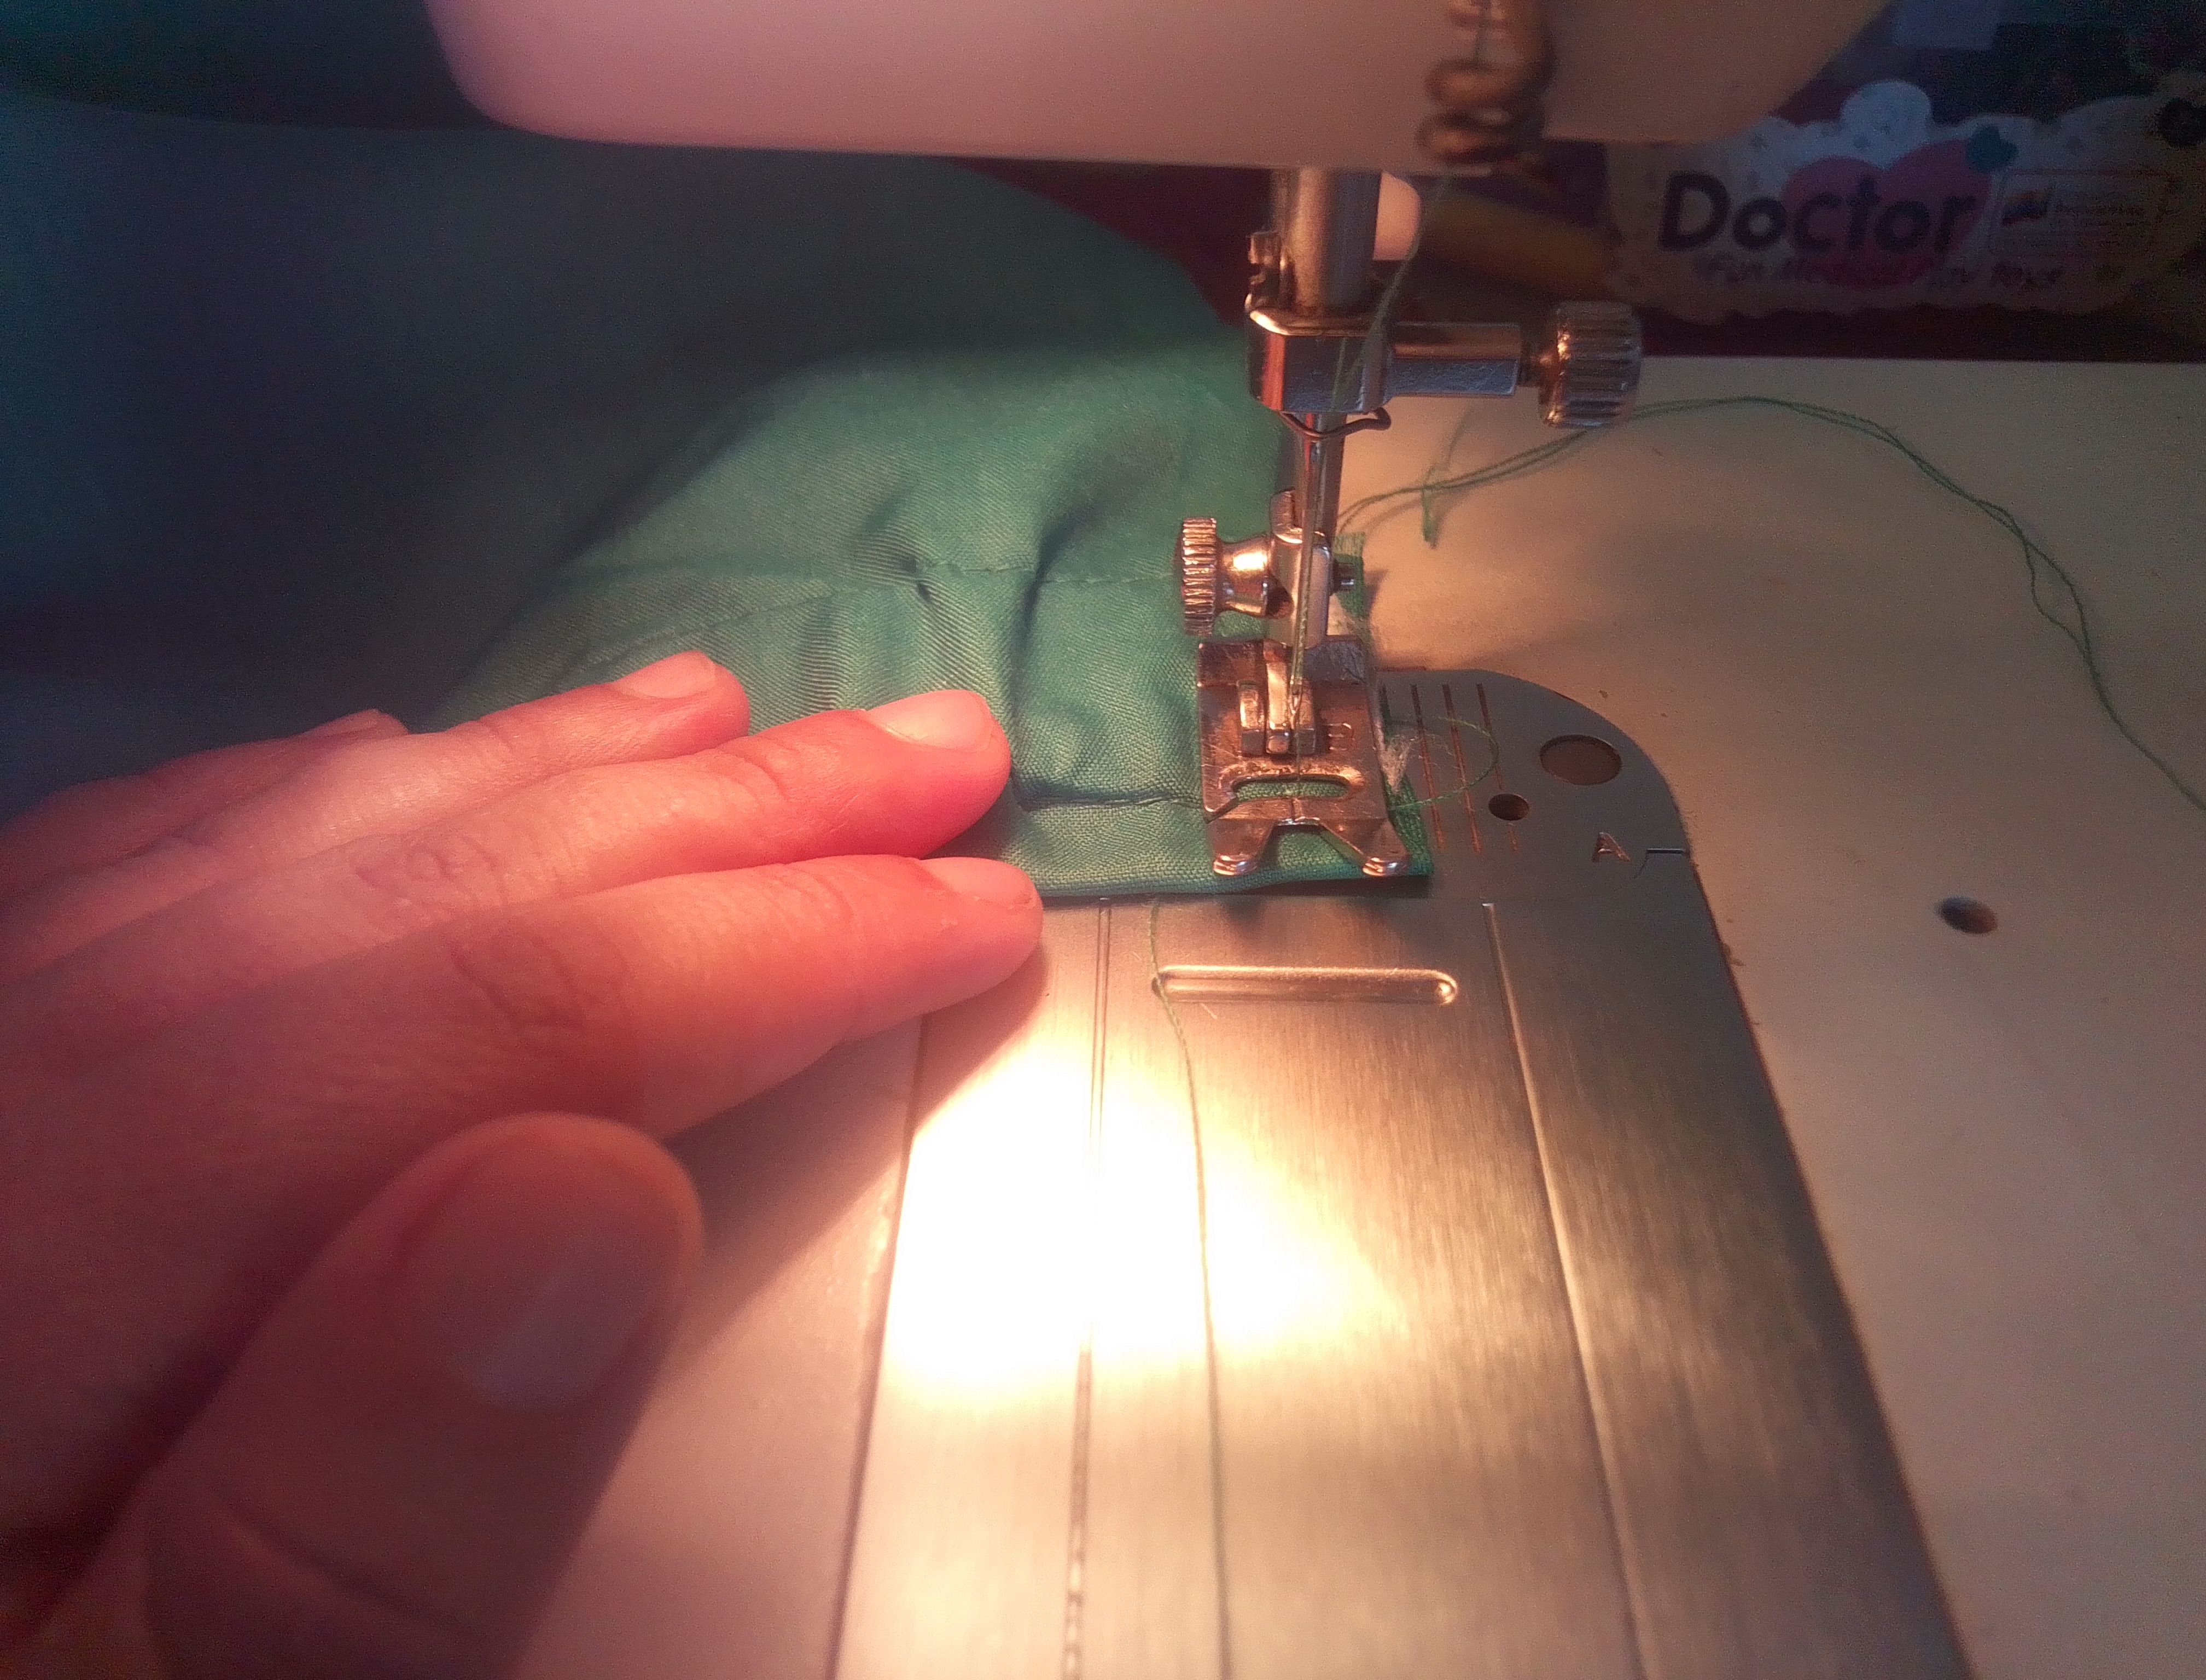
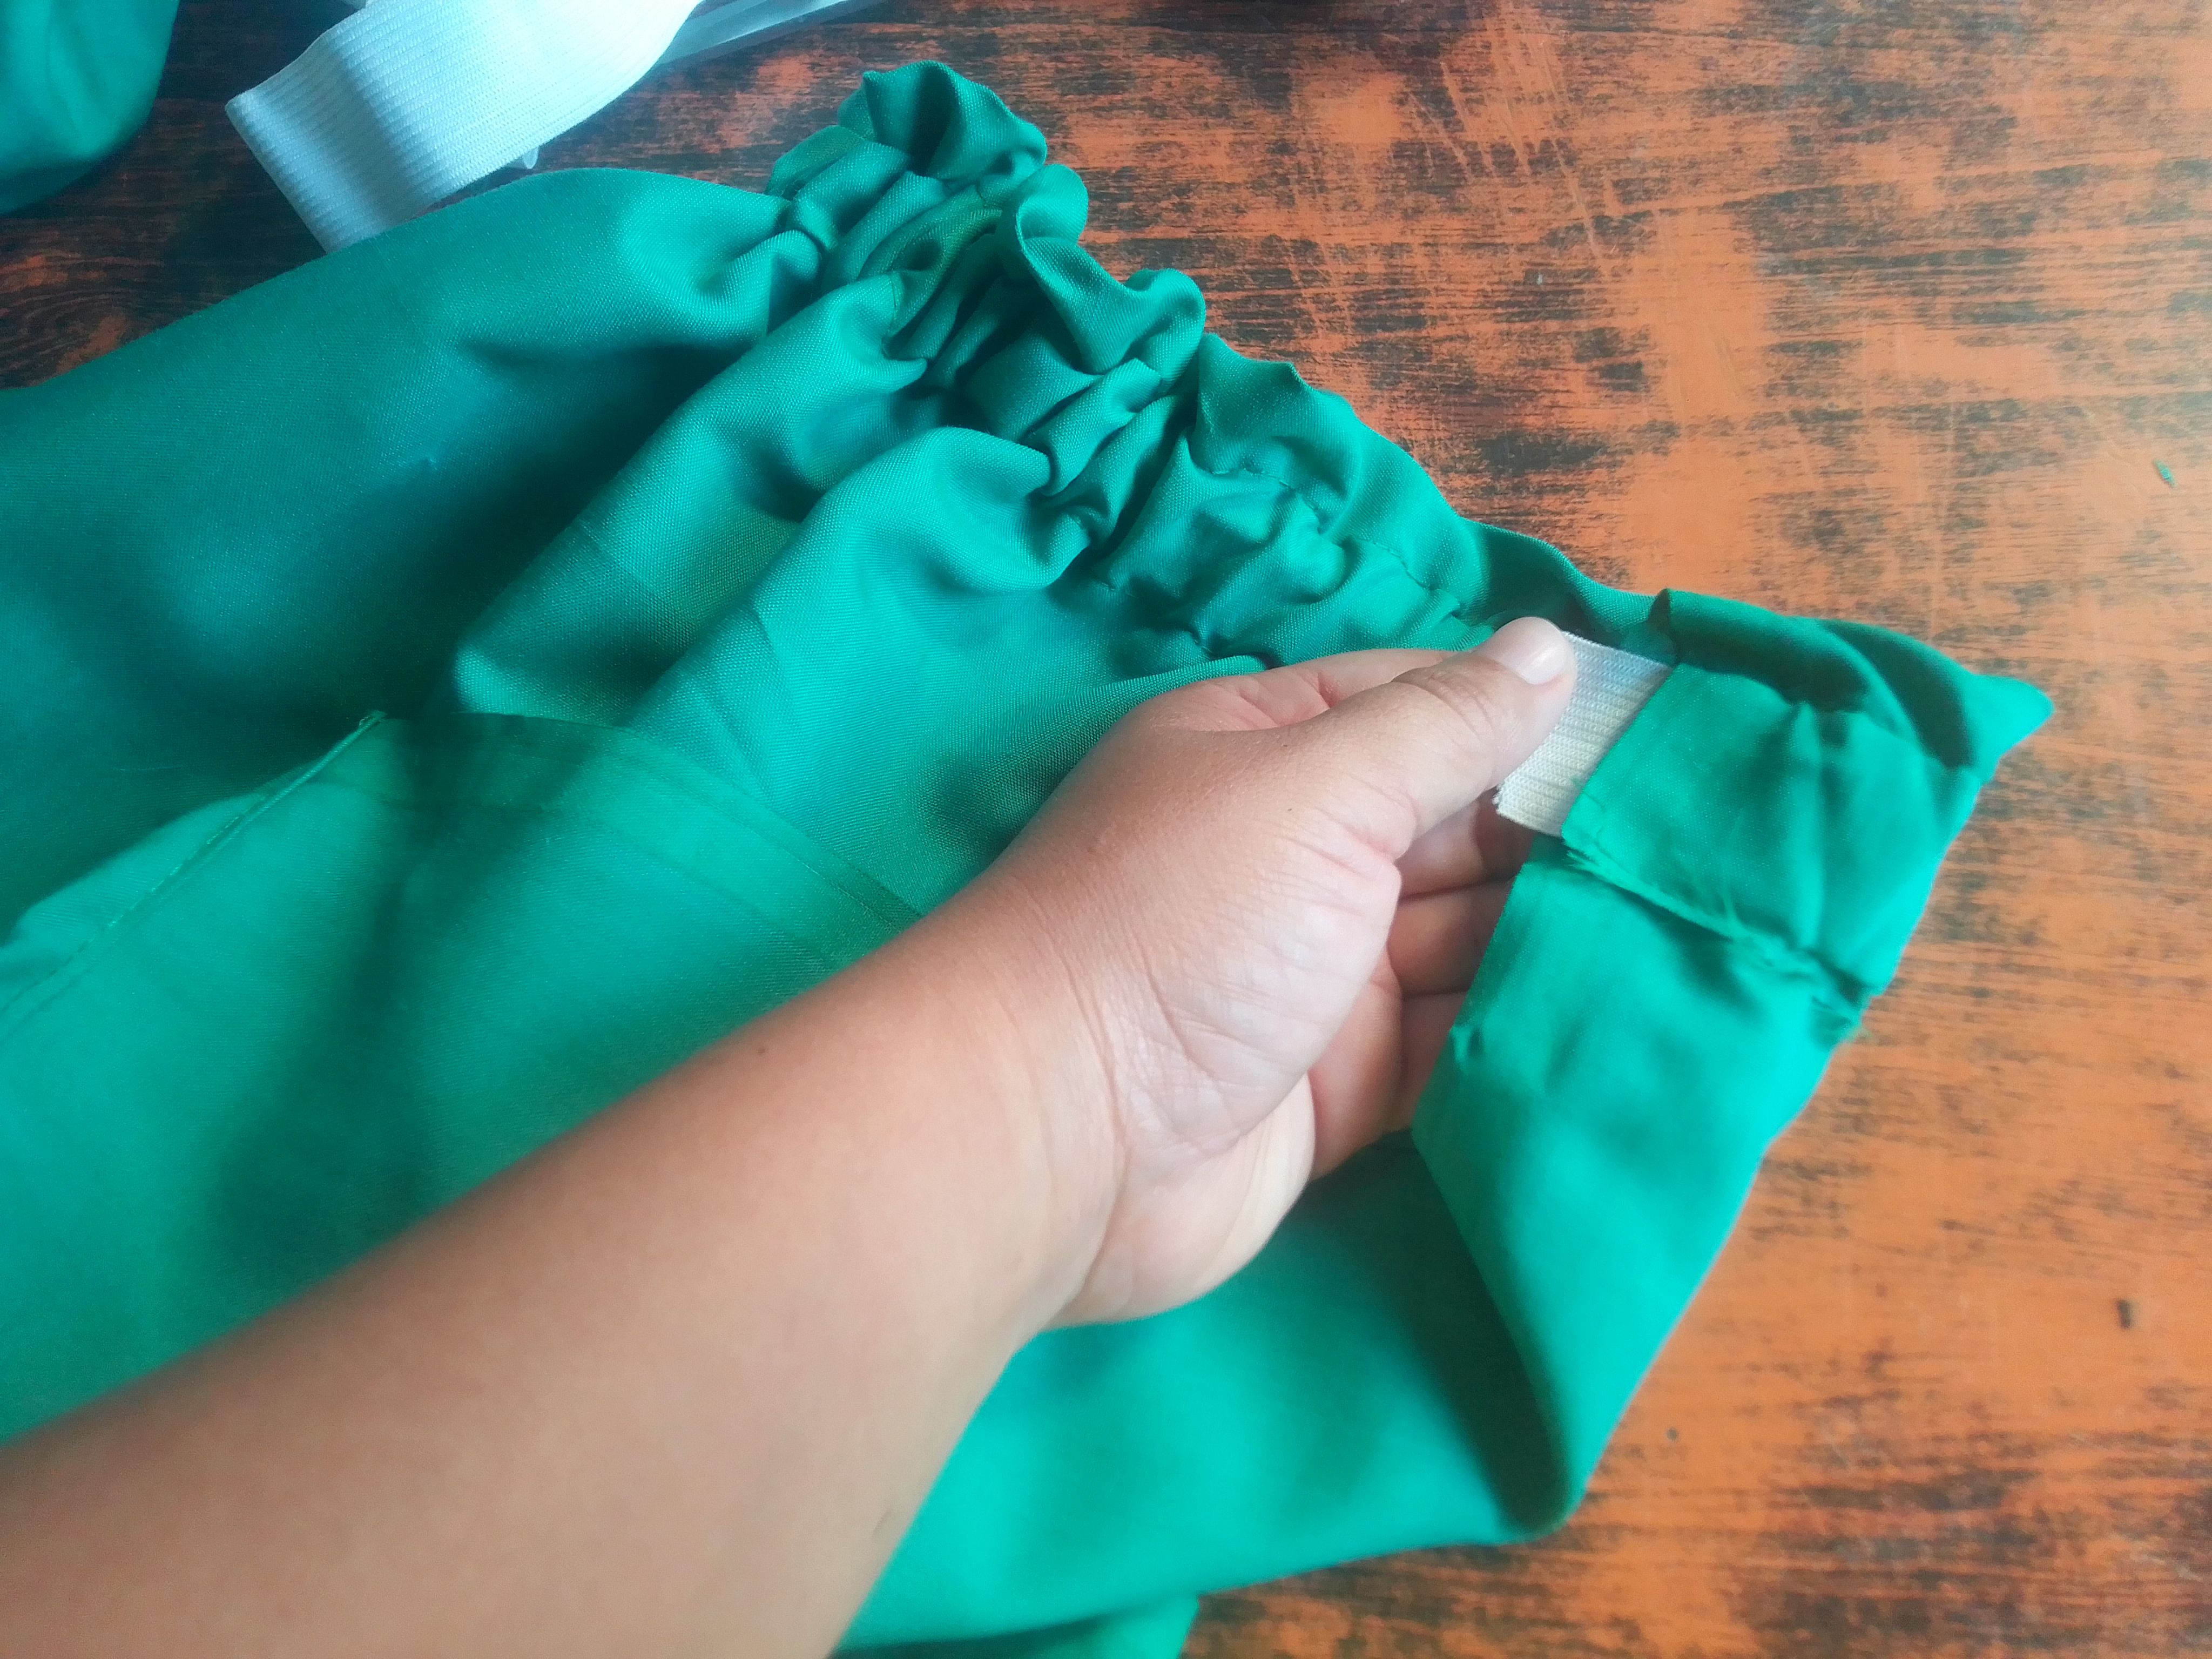
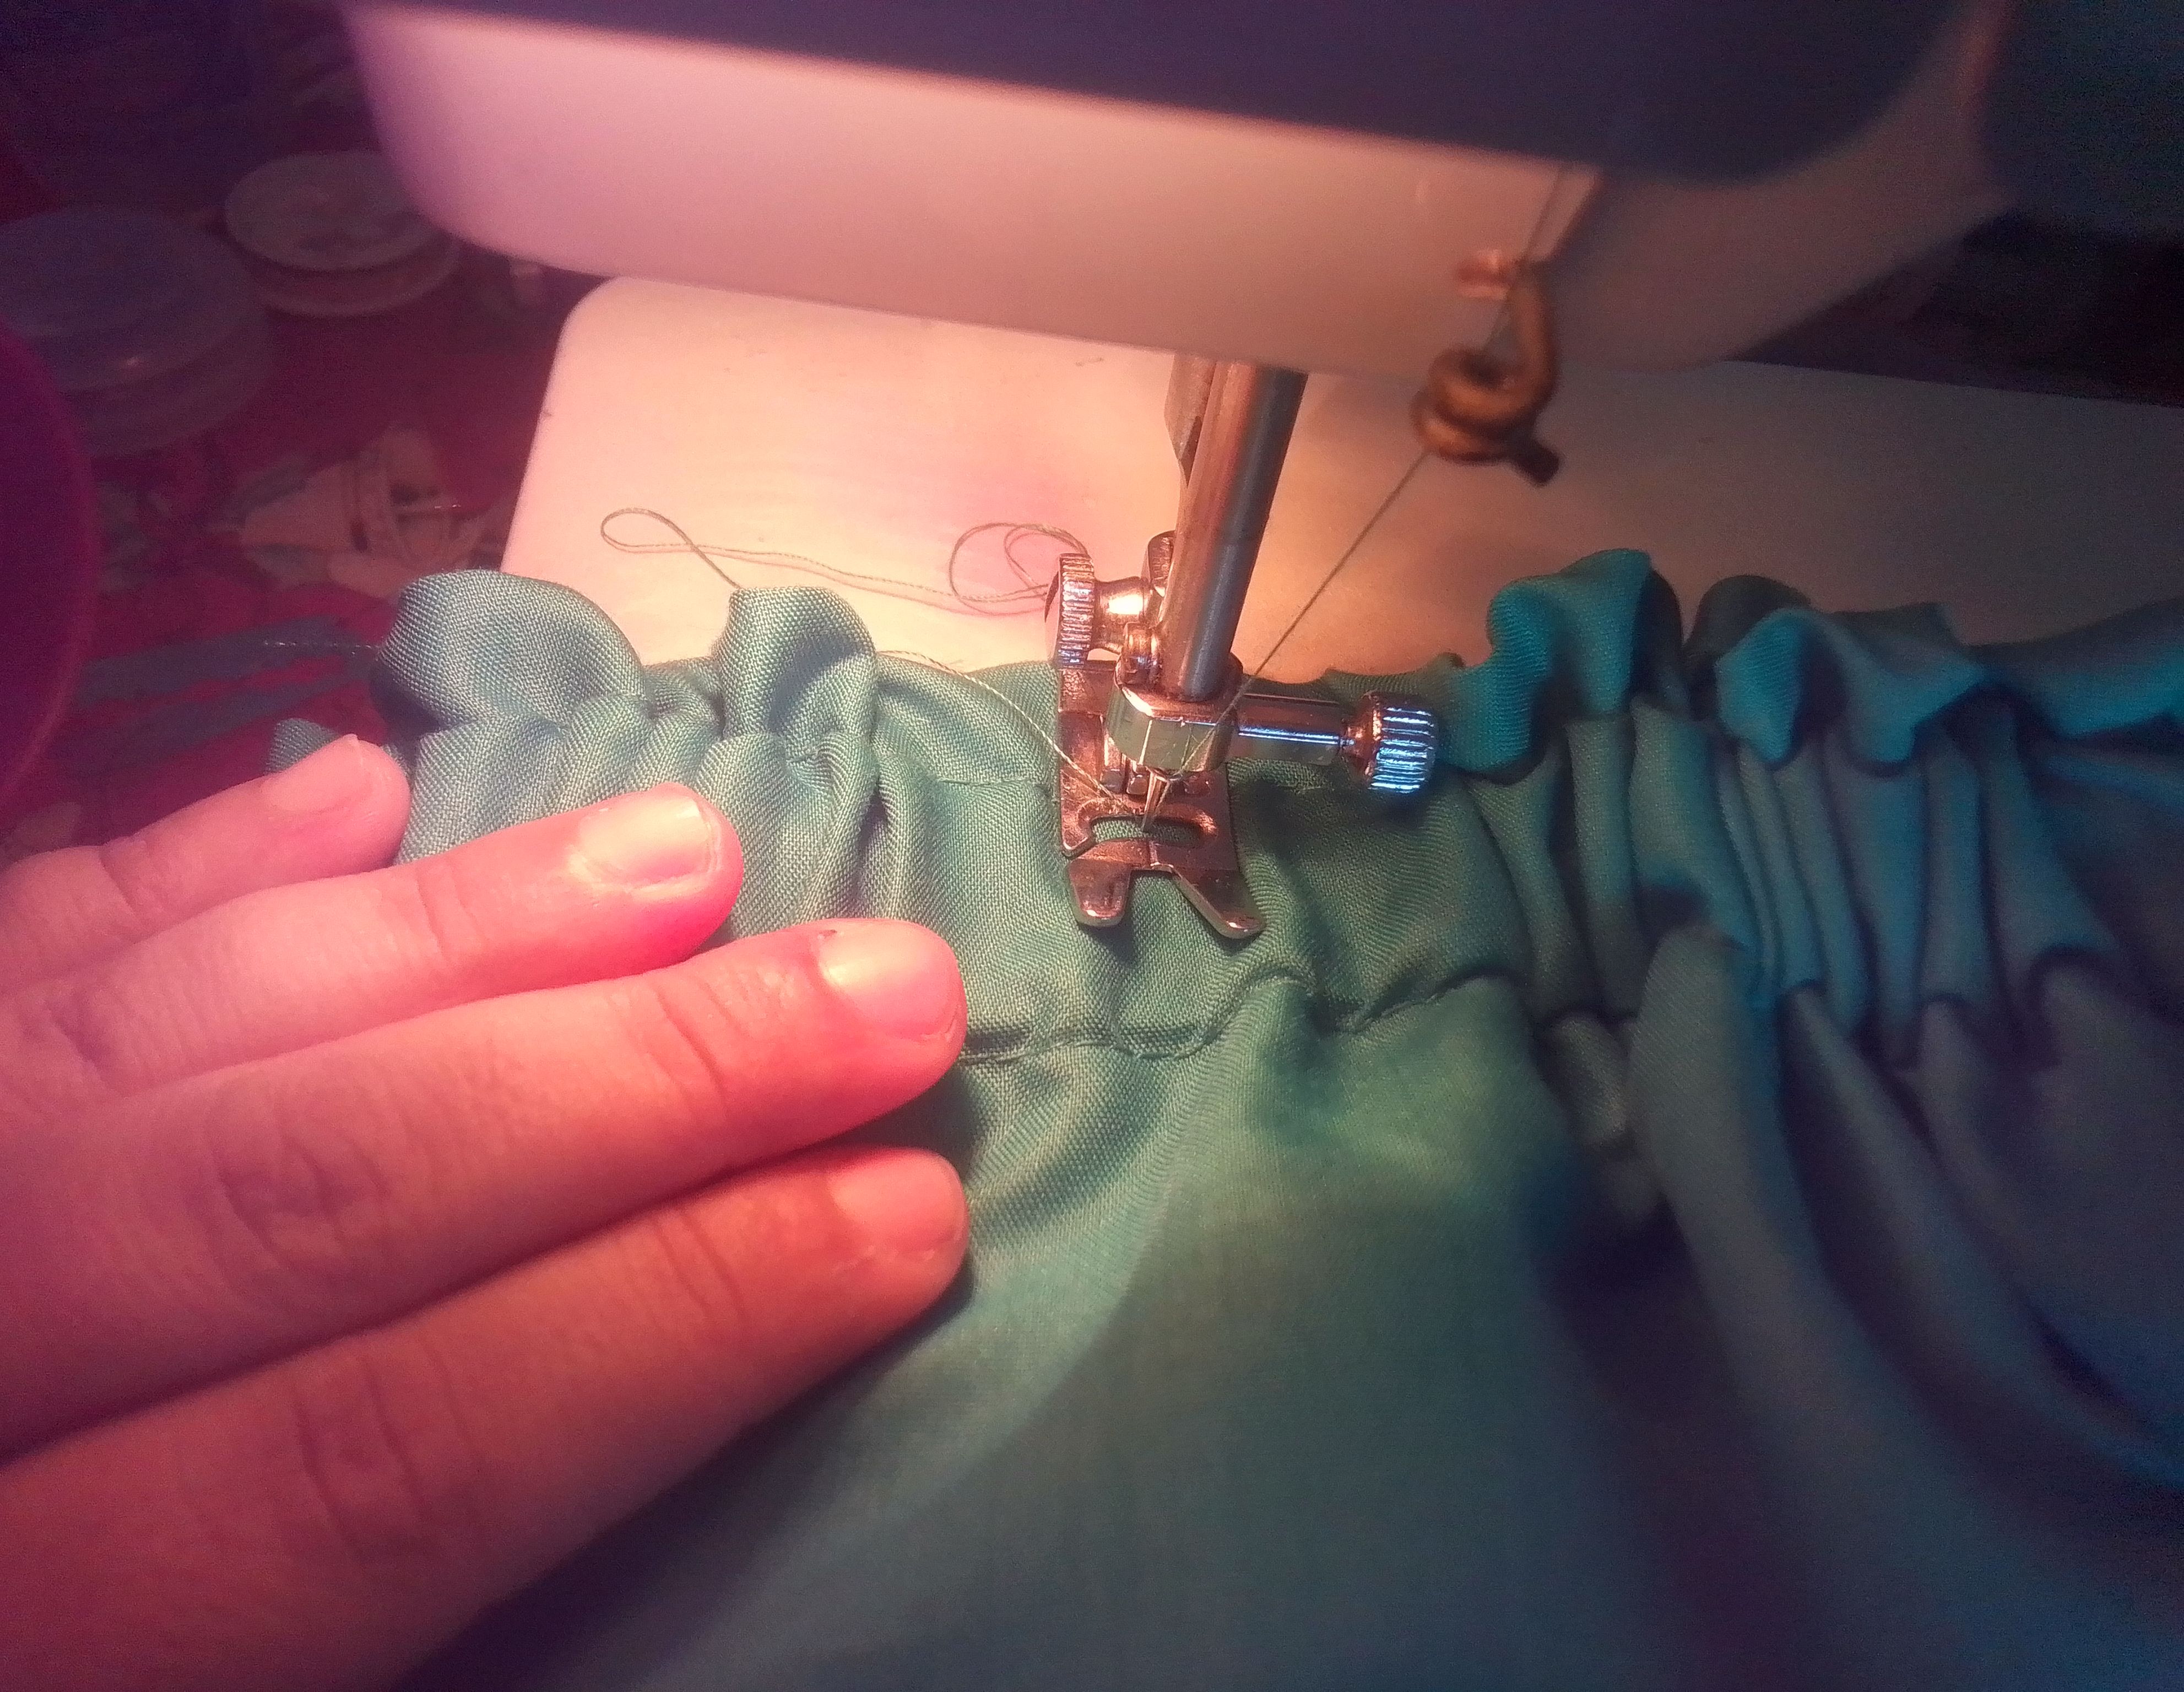
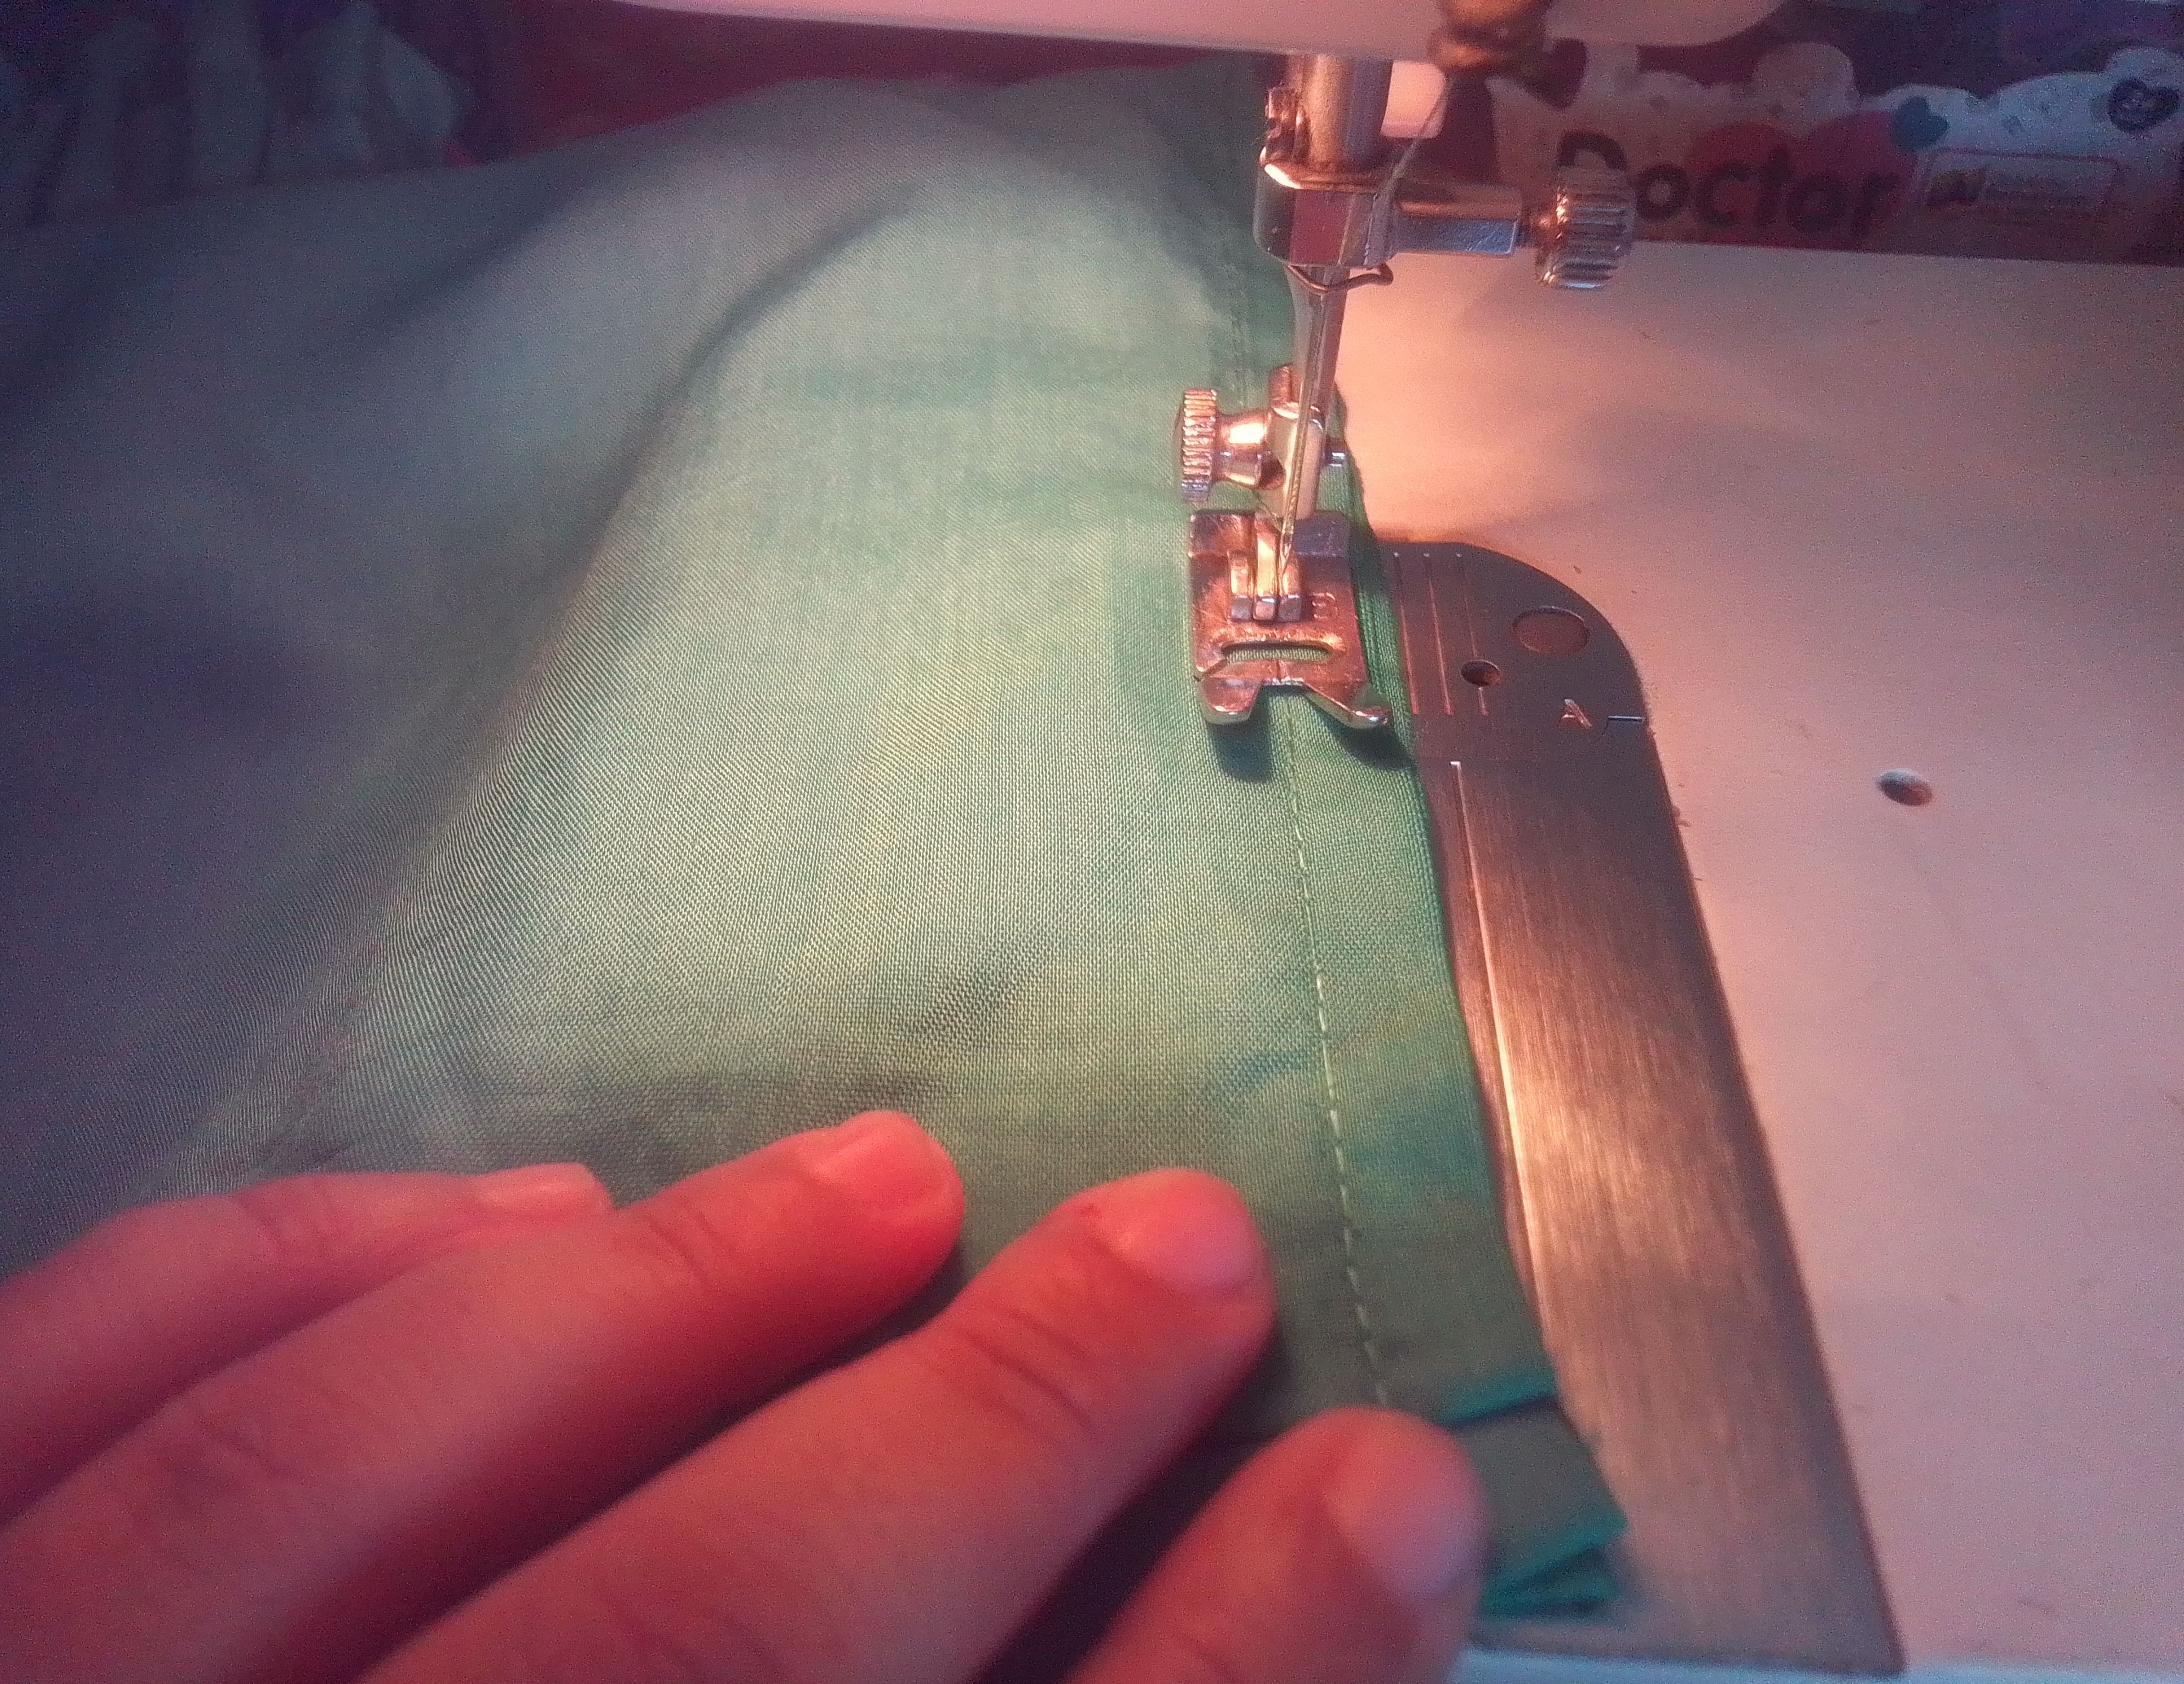
Para que no se nos salga de primer extremo voy hacer una costura para fijarla y al tener el tamaño fruncido que deseamos hago una costura del otro lado. Acomodo muy bien y hago unas pisadas de costura en forma vertical para que la goma no se doble en el centro. Luego continuamos con la costura recta uniendo ambos extremos.
Step 02
So that it doesn't come off at the first end, I'm going to make a seam to fix it and once we have the gathered size we want, I'm going to make a seam on the other side. I arrange it very well and make some sewing steps vertically so that the rubber does not bend in the center. Then we continue with the straight seam joining both ends.
Paso 03
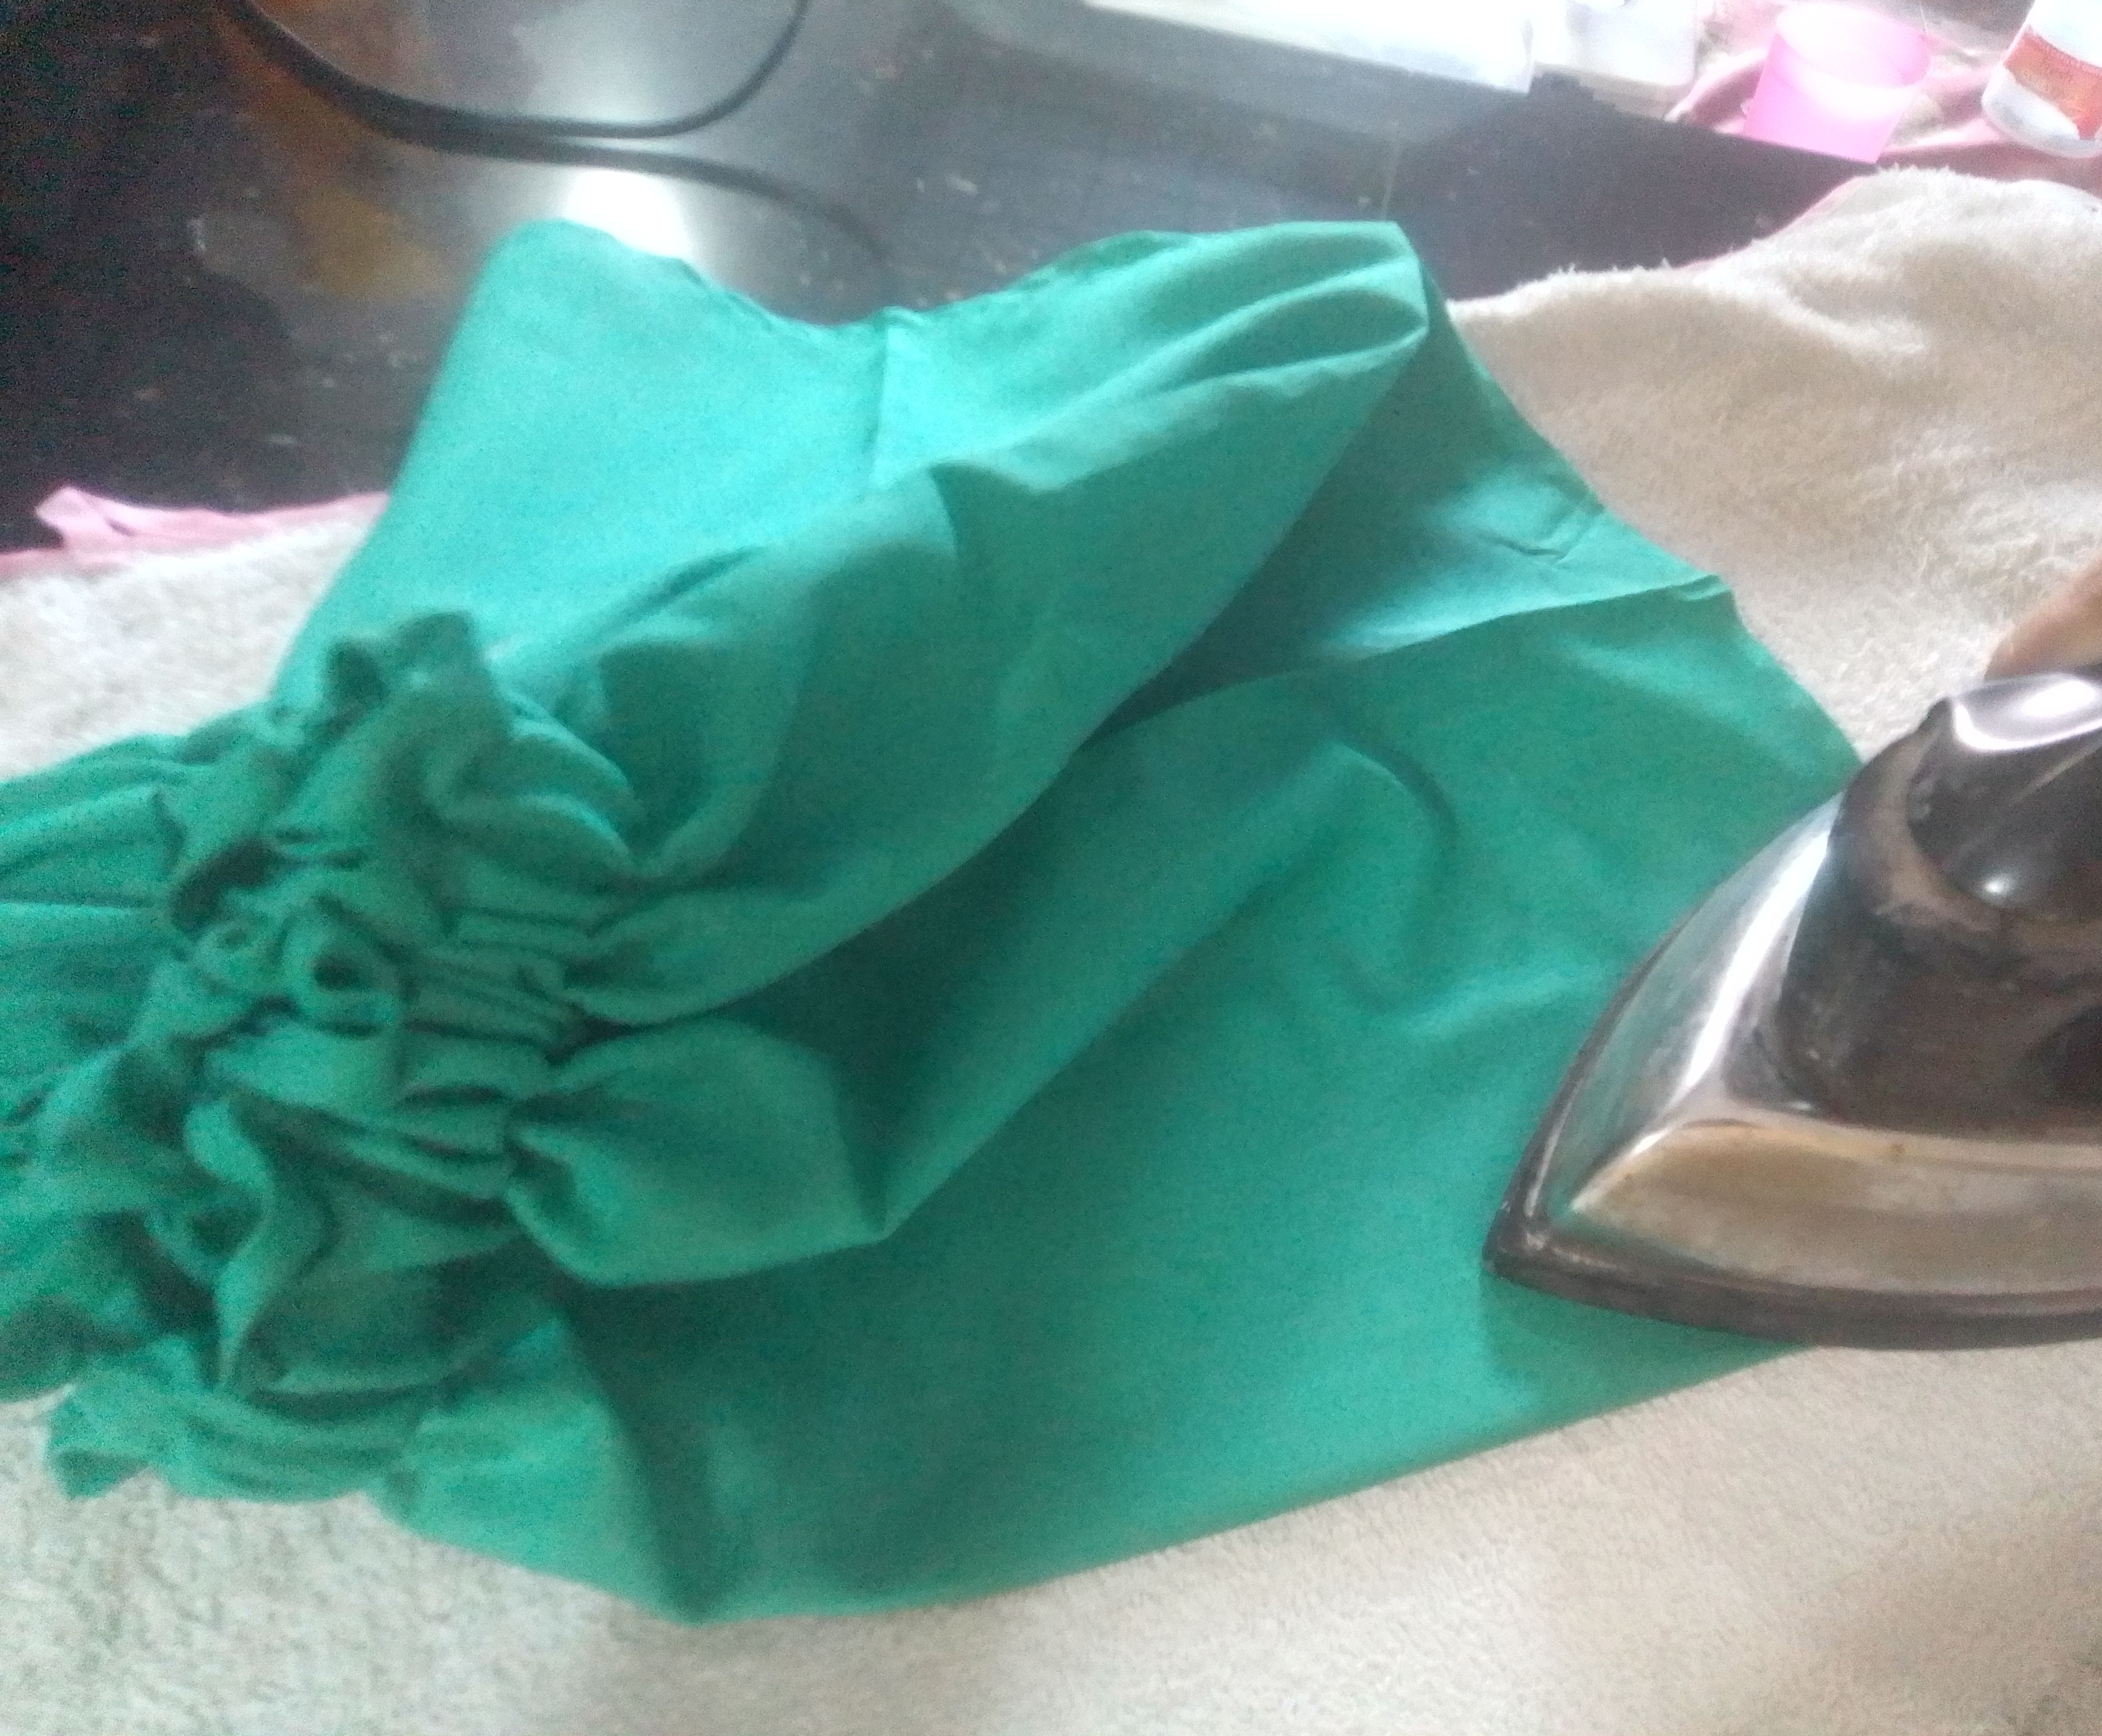
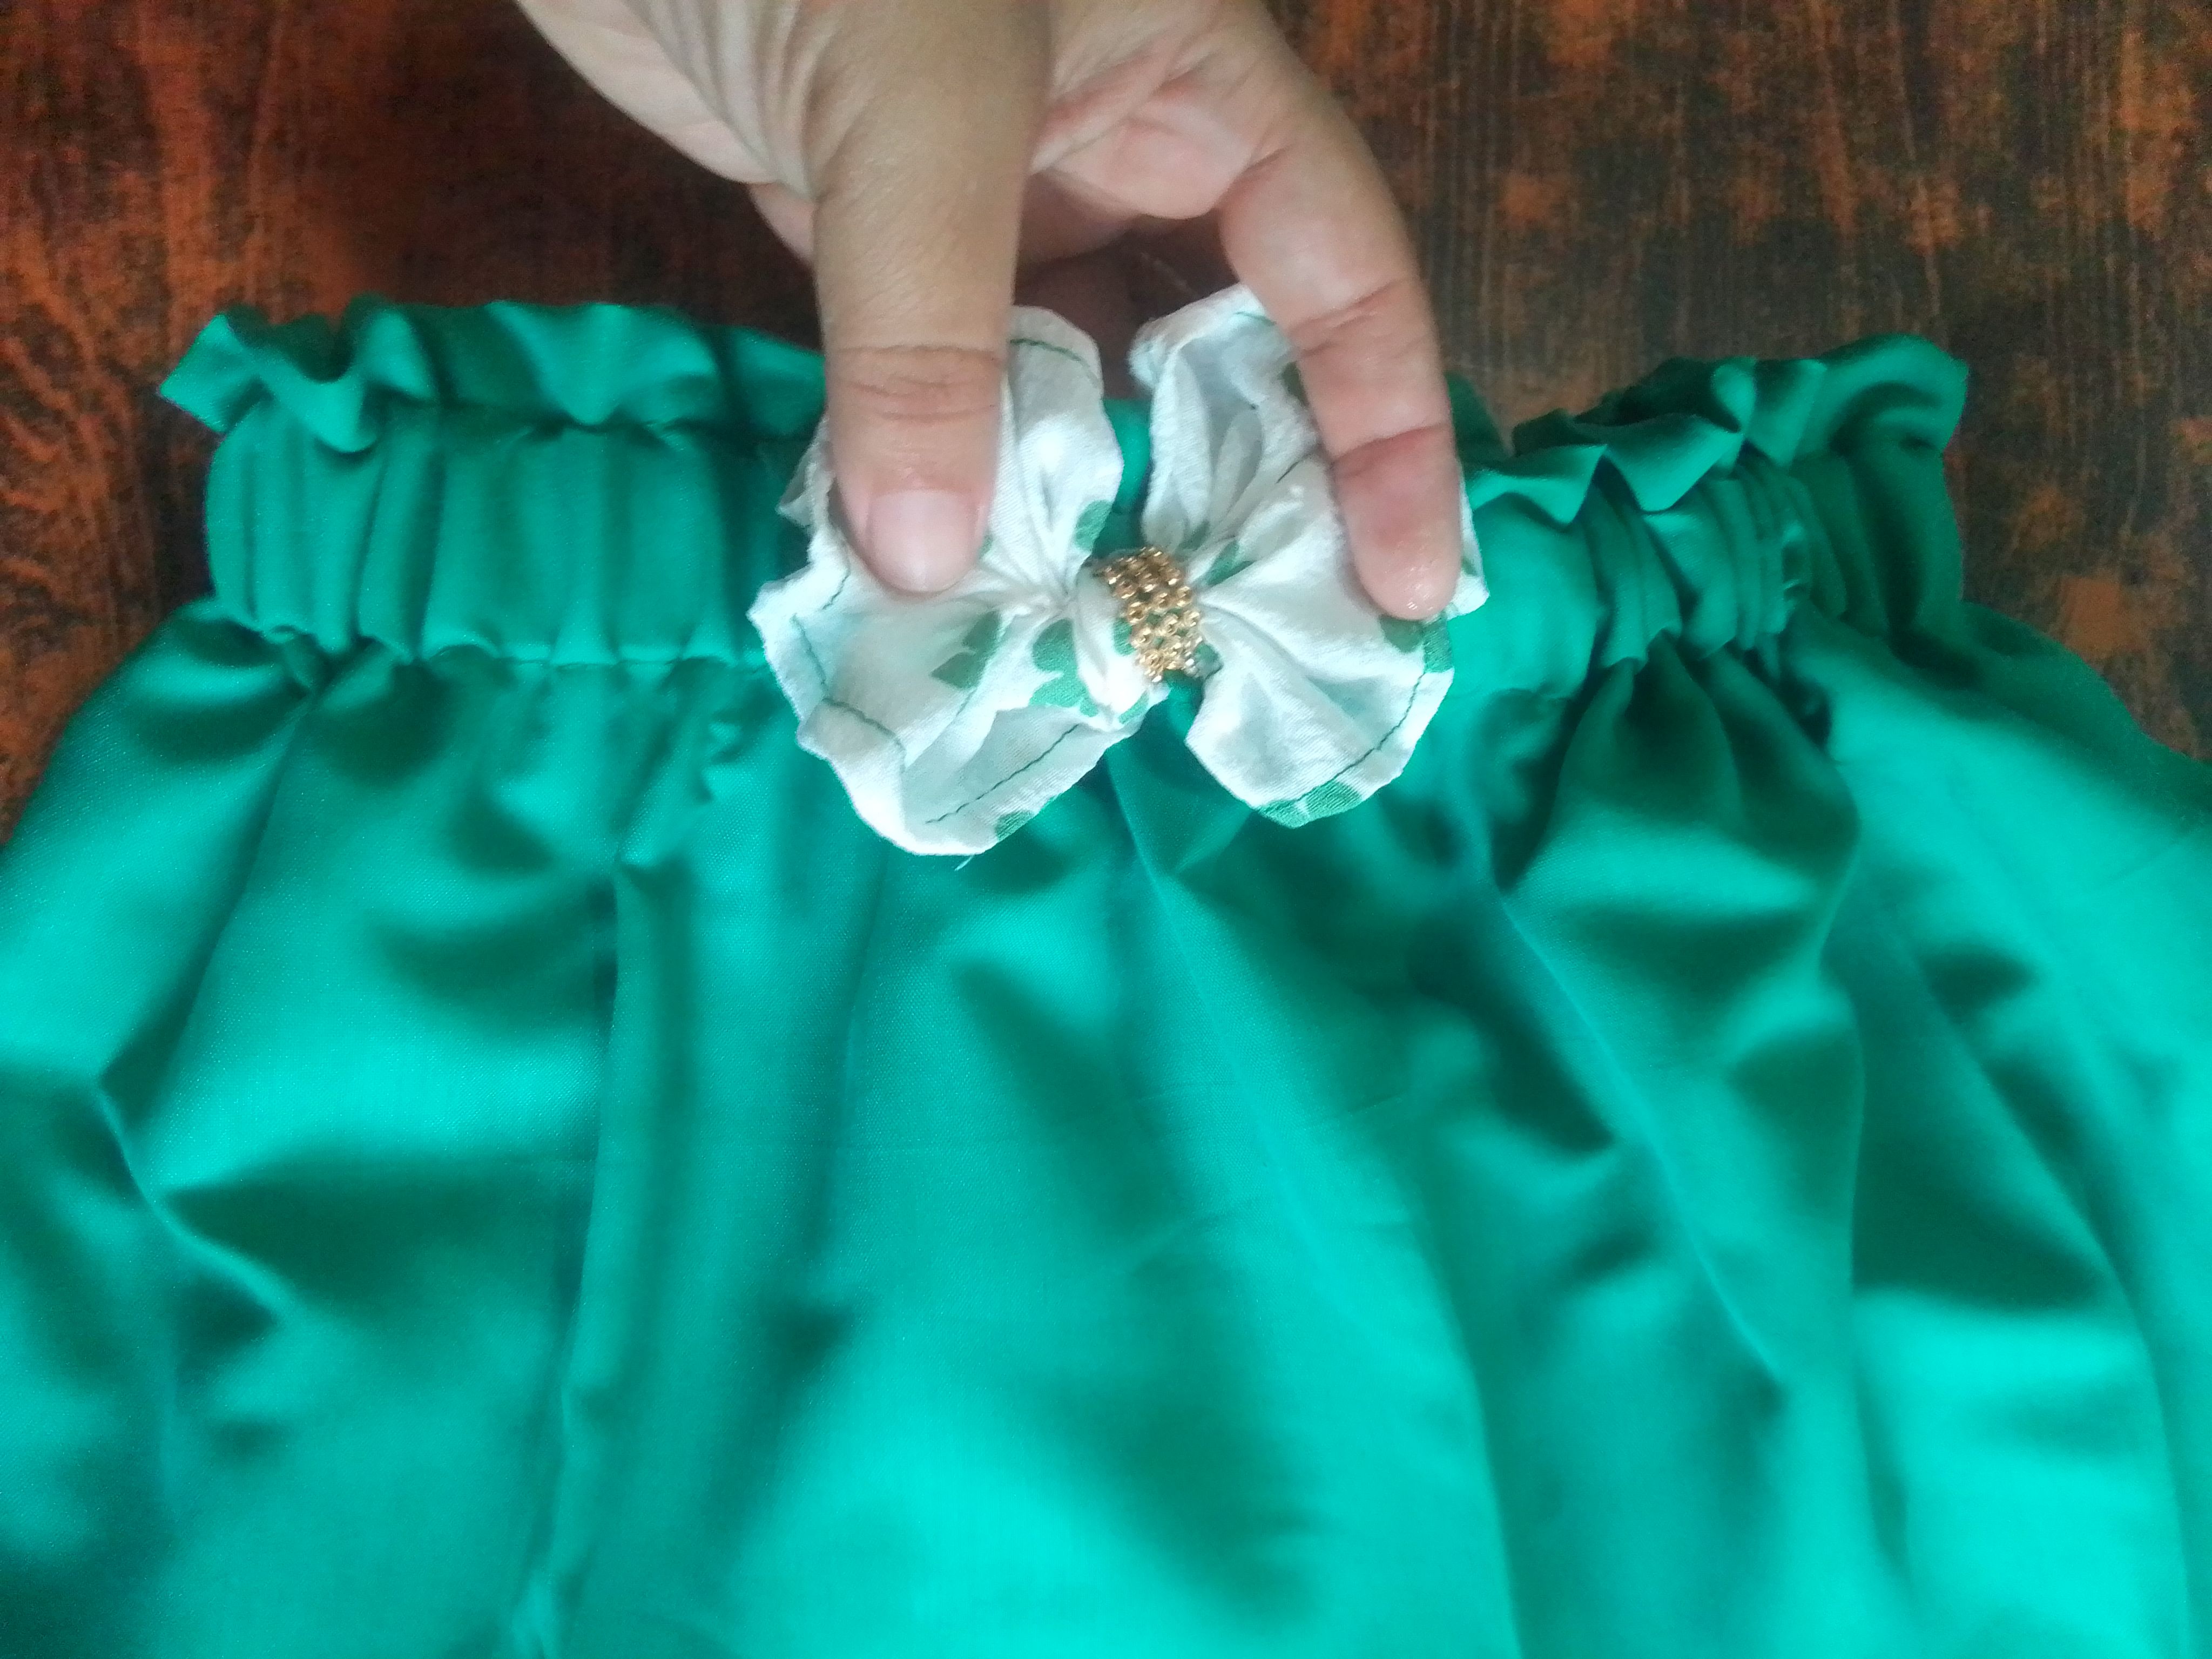
Para darle un acabado más bonito voy a tomar en cuenta los pliegues que hace el fruncido de la pretina para planchar y darle esle formita binta que ven en la foto. La costura de ubica hacia el lado trasero y en el delantero coloco un bonito moño, lazo o el aplique de su preferencia.
Step 03
To give it a more beautiful finish I am going to take into account the folds that the gathering of the waistband makes when ironing and give it the neat little shape that you see in the photo. The seam is placed towards the back side and on the front I place a pretty bow, bow or the appliqué of your preference.
Resultado!
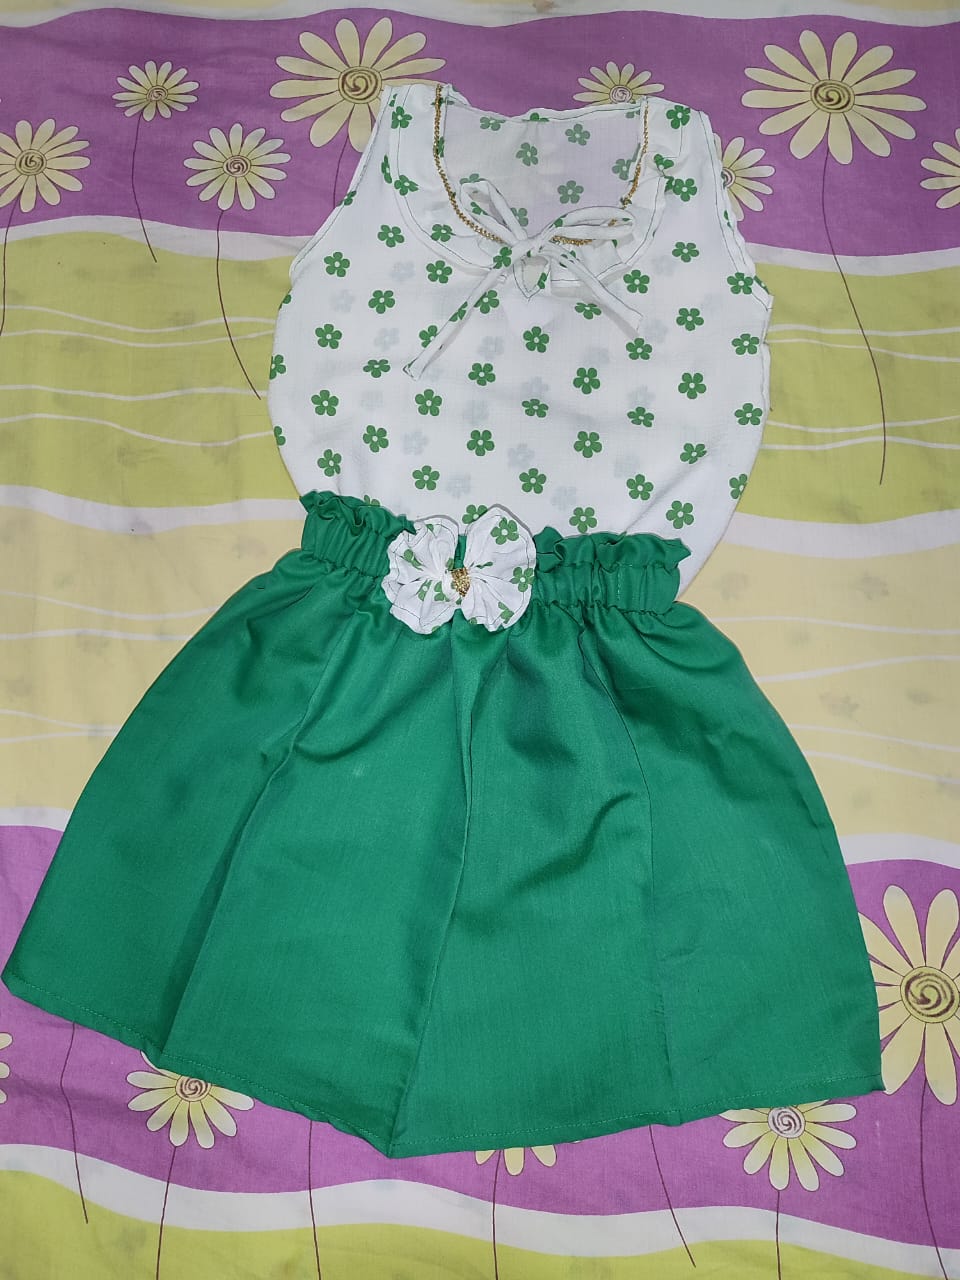
Es así si como hemos terminado el paso a paso y ahora le muestro este lindo resultado que espero les guste.
This is how we have finished the step by step and now I show you this nice result that I hope you like.
Muchas gracias por compartir este espacio conmigo, por el tiempo que dedicaste en leer y apoyar está idea, déjame saber que te pareció...Hasta pronto!!.
Thank you very much for sharing this space with me, for the time you spent reading and supporting this idea, let me know what you thought...See you soon!!.
I love the result, this is amazing! I love the green color of he skirt and it matches so well with the top in the last picture, you've also provided clear steps on how to make this. Weldone!
¡Me encanta el outfit completo, está muy tierno! Da vibras veraniegas, bastante apropiado para estos calores, jijiji. ¡Muy lindo tu trabajo! 💚
Hola bella.. Muchas gracias por comentar, aprecio mucho sus palabras.. Me alegra que le guste.., yo también amé este traje.. Feliz día..
Muy lindo trabajo y lo haces ver muy sencillo. Gracias por dejarnos tu paso a paso el proceso creativo...
!discovery 40
Hola mi linda.. Agradecida por todo el apoyo.. para mí es un gusto.. Feliz noche.
What a delightful skirt. The cute little design is perfect. Good work
Your comment, as always, is so encouraging. Thank you very much.
This post was shared and voted inside the discord by the curators team of discovery-it
Join our Community and follow our Curation Trail
Discovery-it is also a Witness, vote for us here
Delegate to us for passive income. Check our 80% fee-back Program
🥰🥰 thanks..
Esta muy hermoso tu trabajo amiga! Felicidades te quedó hermosa!
Gracias linda..feliz día..
Congratulations @razielmorales! You have completed the following achievement on the Hive blockchain And have been rewarded with New badge(s)
Your next target is to reach 2500 comments.
You can view your badges on your board and compare yourself to others in the Ranking
If you no longer want to receive notifications, reply to this comment with the word
STOPgood design, simple but looks beautiful, good color combination
Thanks very much.. 🥰❤️
que genial.! buen trabajo!
Great job!
Gracias linda.. Bendiciones..