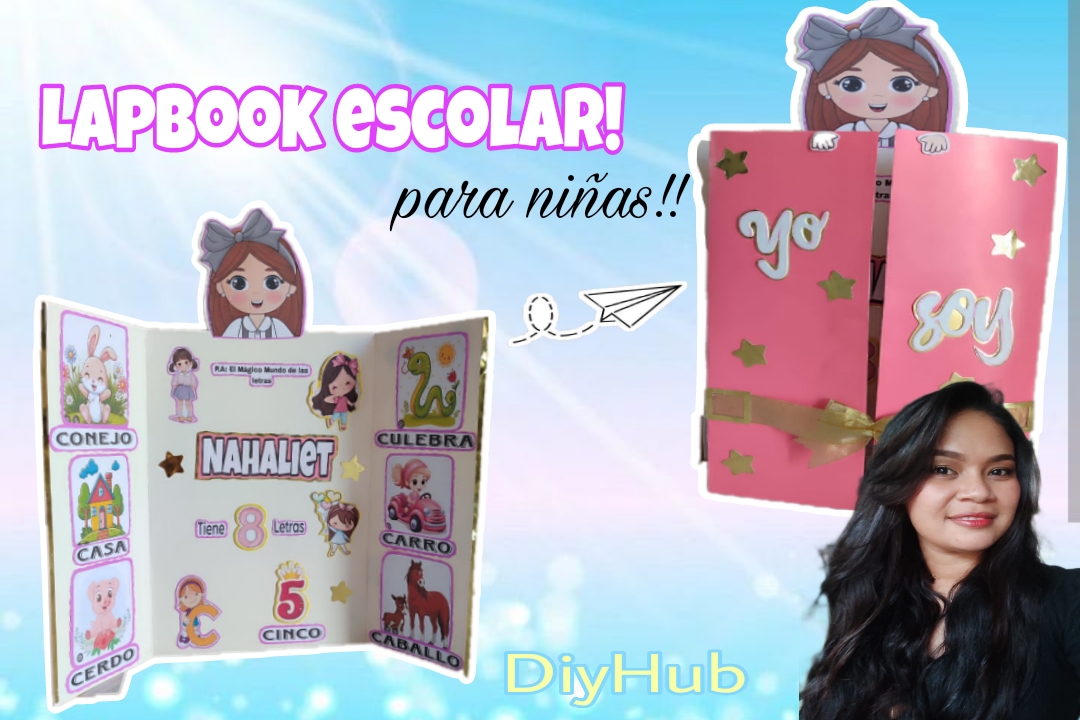

Hola, hola cómo está la comunidad más linda y creativa de Hive??? Espero que muy alegres y en bendición.. Es un gran gusto darle las bienvenida a mi blog, luego de unos dias de descanso, buena la verdad no me sentía muy bien, pero aquí estoy, muy contenta de traerles un nuevo contenido creativo.
Particularmente a mi me impresiona mucho la evolución que se ha tenido al momento de crear un material de apoyo para las presentaciones escolares de hoy día... Poder hacer este tipo de proyectos es algo que me causa mucha emoción, pues para ser sincera nunca lo hice cuando estudié 🤭, y no porque no me gustaba, si porque trabajamos con otro tipo de cosas.. Yo quedó enamorada con la gran variedad que hoy existe para ayudar a nuestros hijos a aprender cosas nuevas y a desenvolverse con mucha seguridad en sus presentaciones de la escuela..
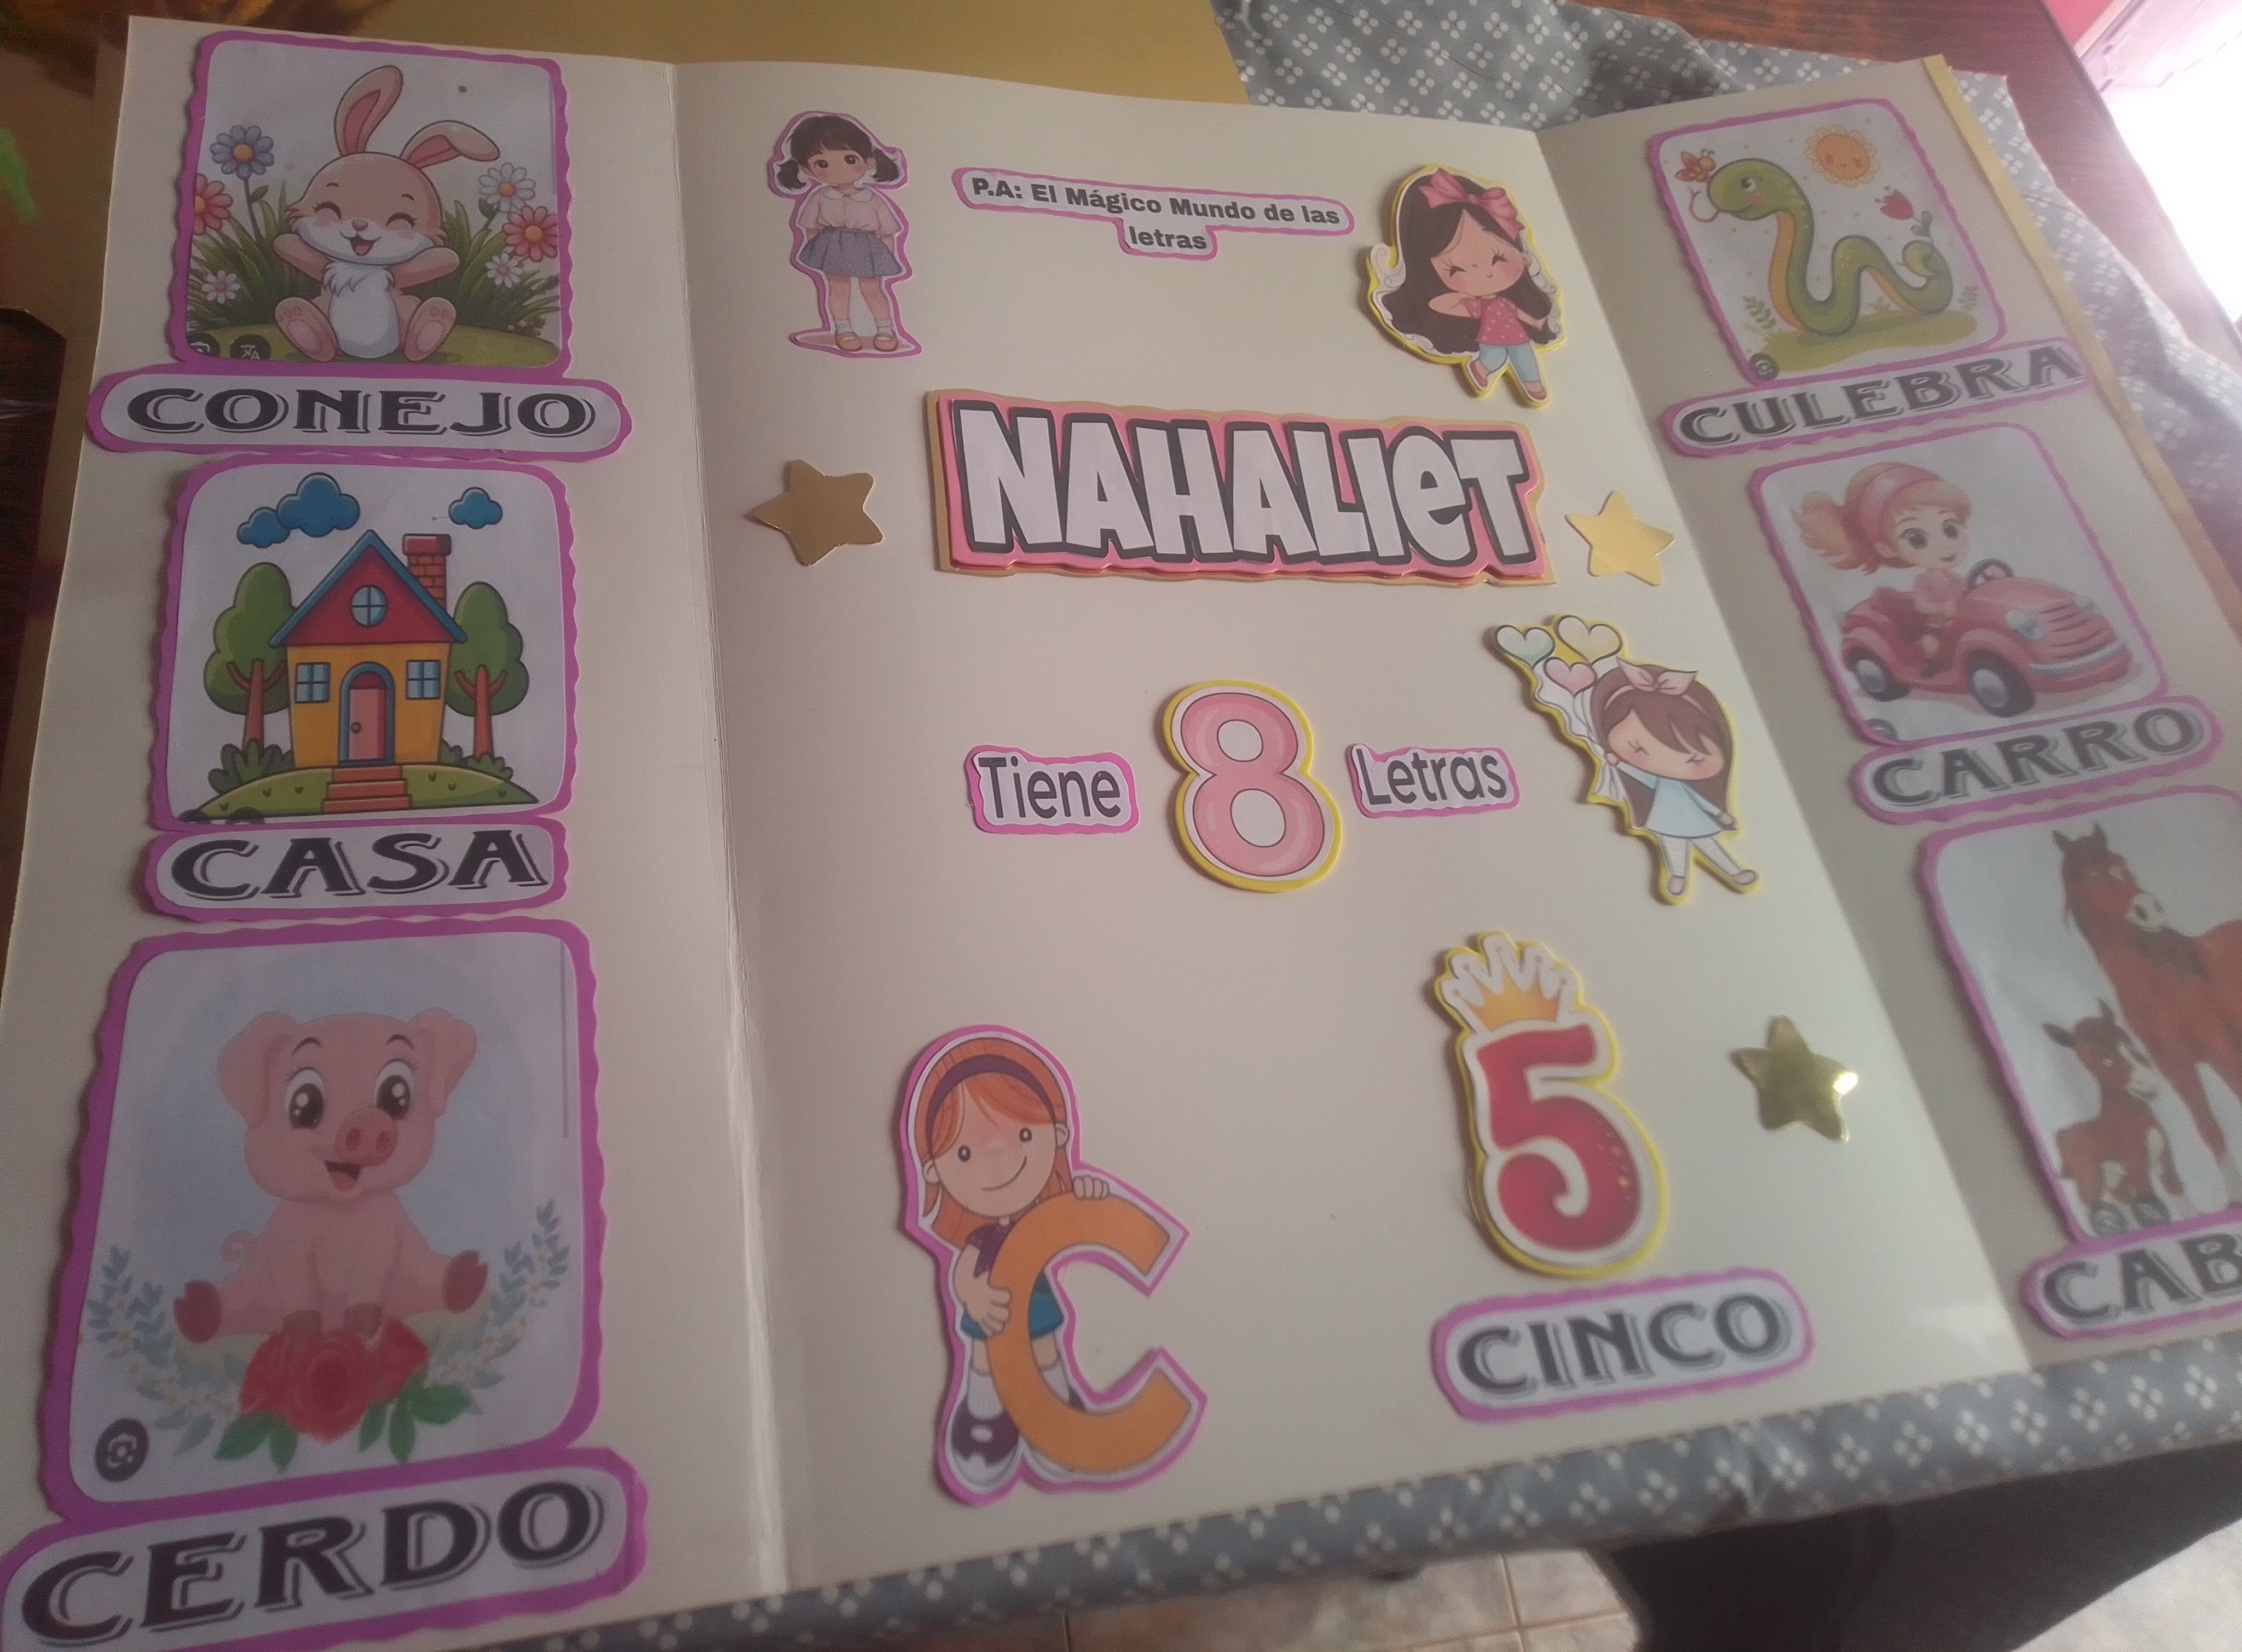
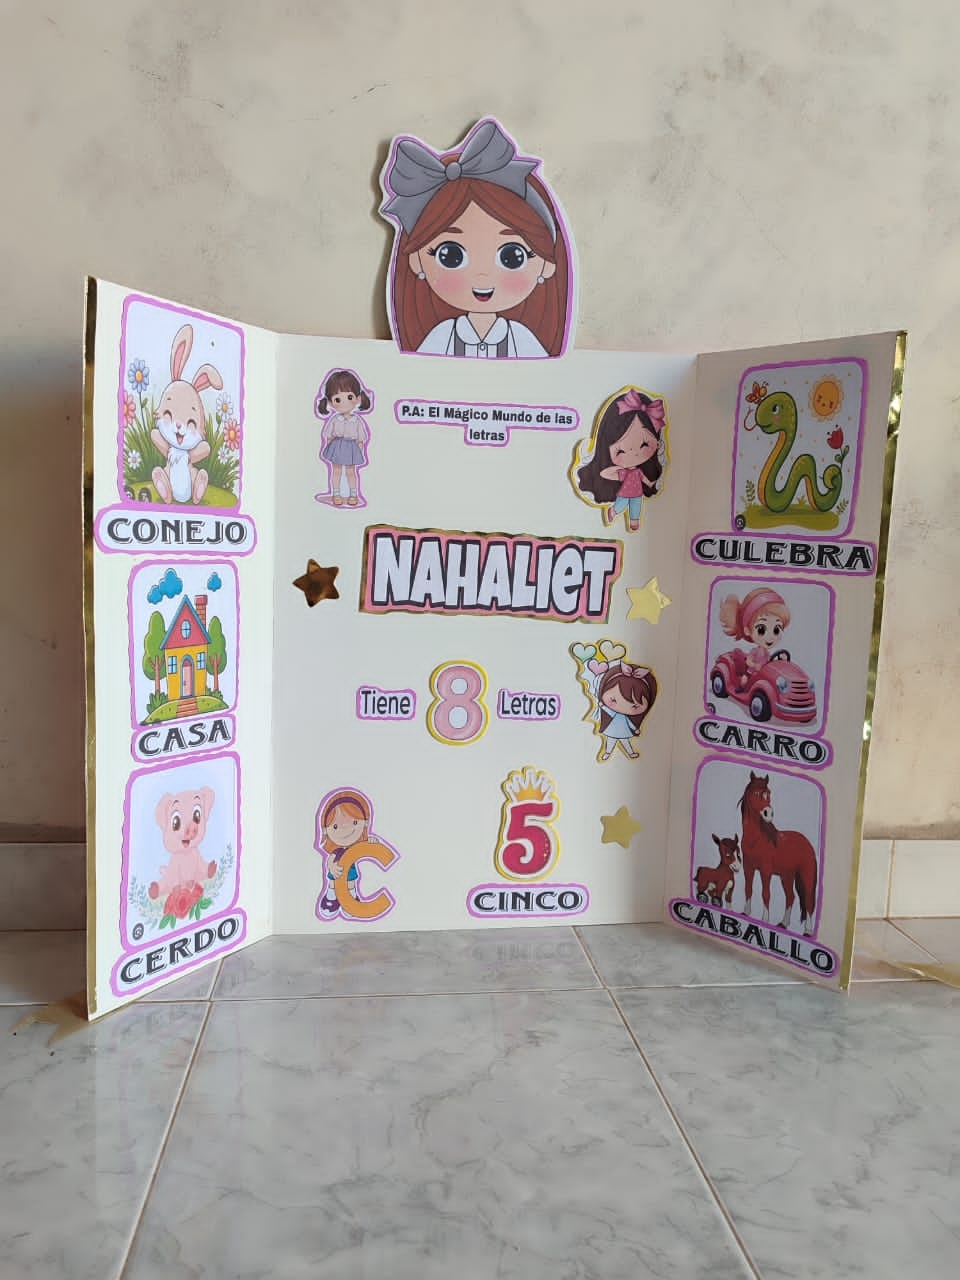
Este bonito lapbook o cuaderno desplegable que se utiliza para presentar información sobre un tema lo hice para mi sobrina que pronto tendrá su prestación de proyecto de fin de lapso, éste le permitirá fácilmente decir deletrear su nombre y decir su edad, también podrá desglosar toda palabra que se escriba la la letra “C” y su diseño muy animado también la ayudará a guiarse por cada figura.. Si te gusta acompañame te muestro como lo hice.
Hello, hello, how is the most beautiful and creative Hive community??? I hope you are very happy and blessed. It is a great pleasure to welcome you to my blog, after a few days of rest, well the truth is I was not feeling very well, but here I am, very happy to bring you new creative content.
Particularly I am very impressed by the evolution that has taken place when creating support material for today's school presentations... Being able to do this type of projects is something that I find It causes a lot of emotion, because to be honest I never did it when I studied 🤭, and not because I didn't like it, but because we work with other types of things... I fell in love with the great variety that exists today to help our children learn things new and to get along with a lot of confidence in their school presentations..
I made this nice lapbook or foldout notebook that is used to present information on a topic for my niece who will soon have her term project benefit, this will allow her to easily say or spell her name and say her age, she will also be able to break down every word that is written in the letter “C” and its very animated design will also help her guide herself through each figure. If you like it, come with me and I will show you how I did it.
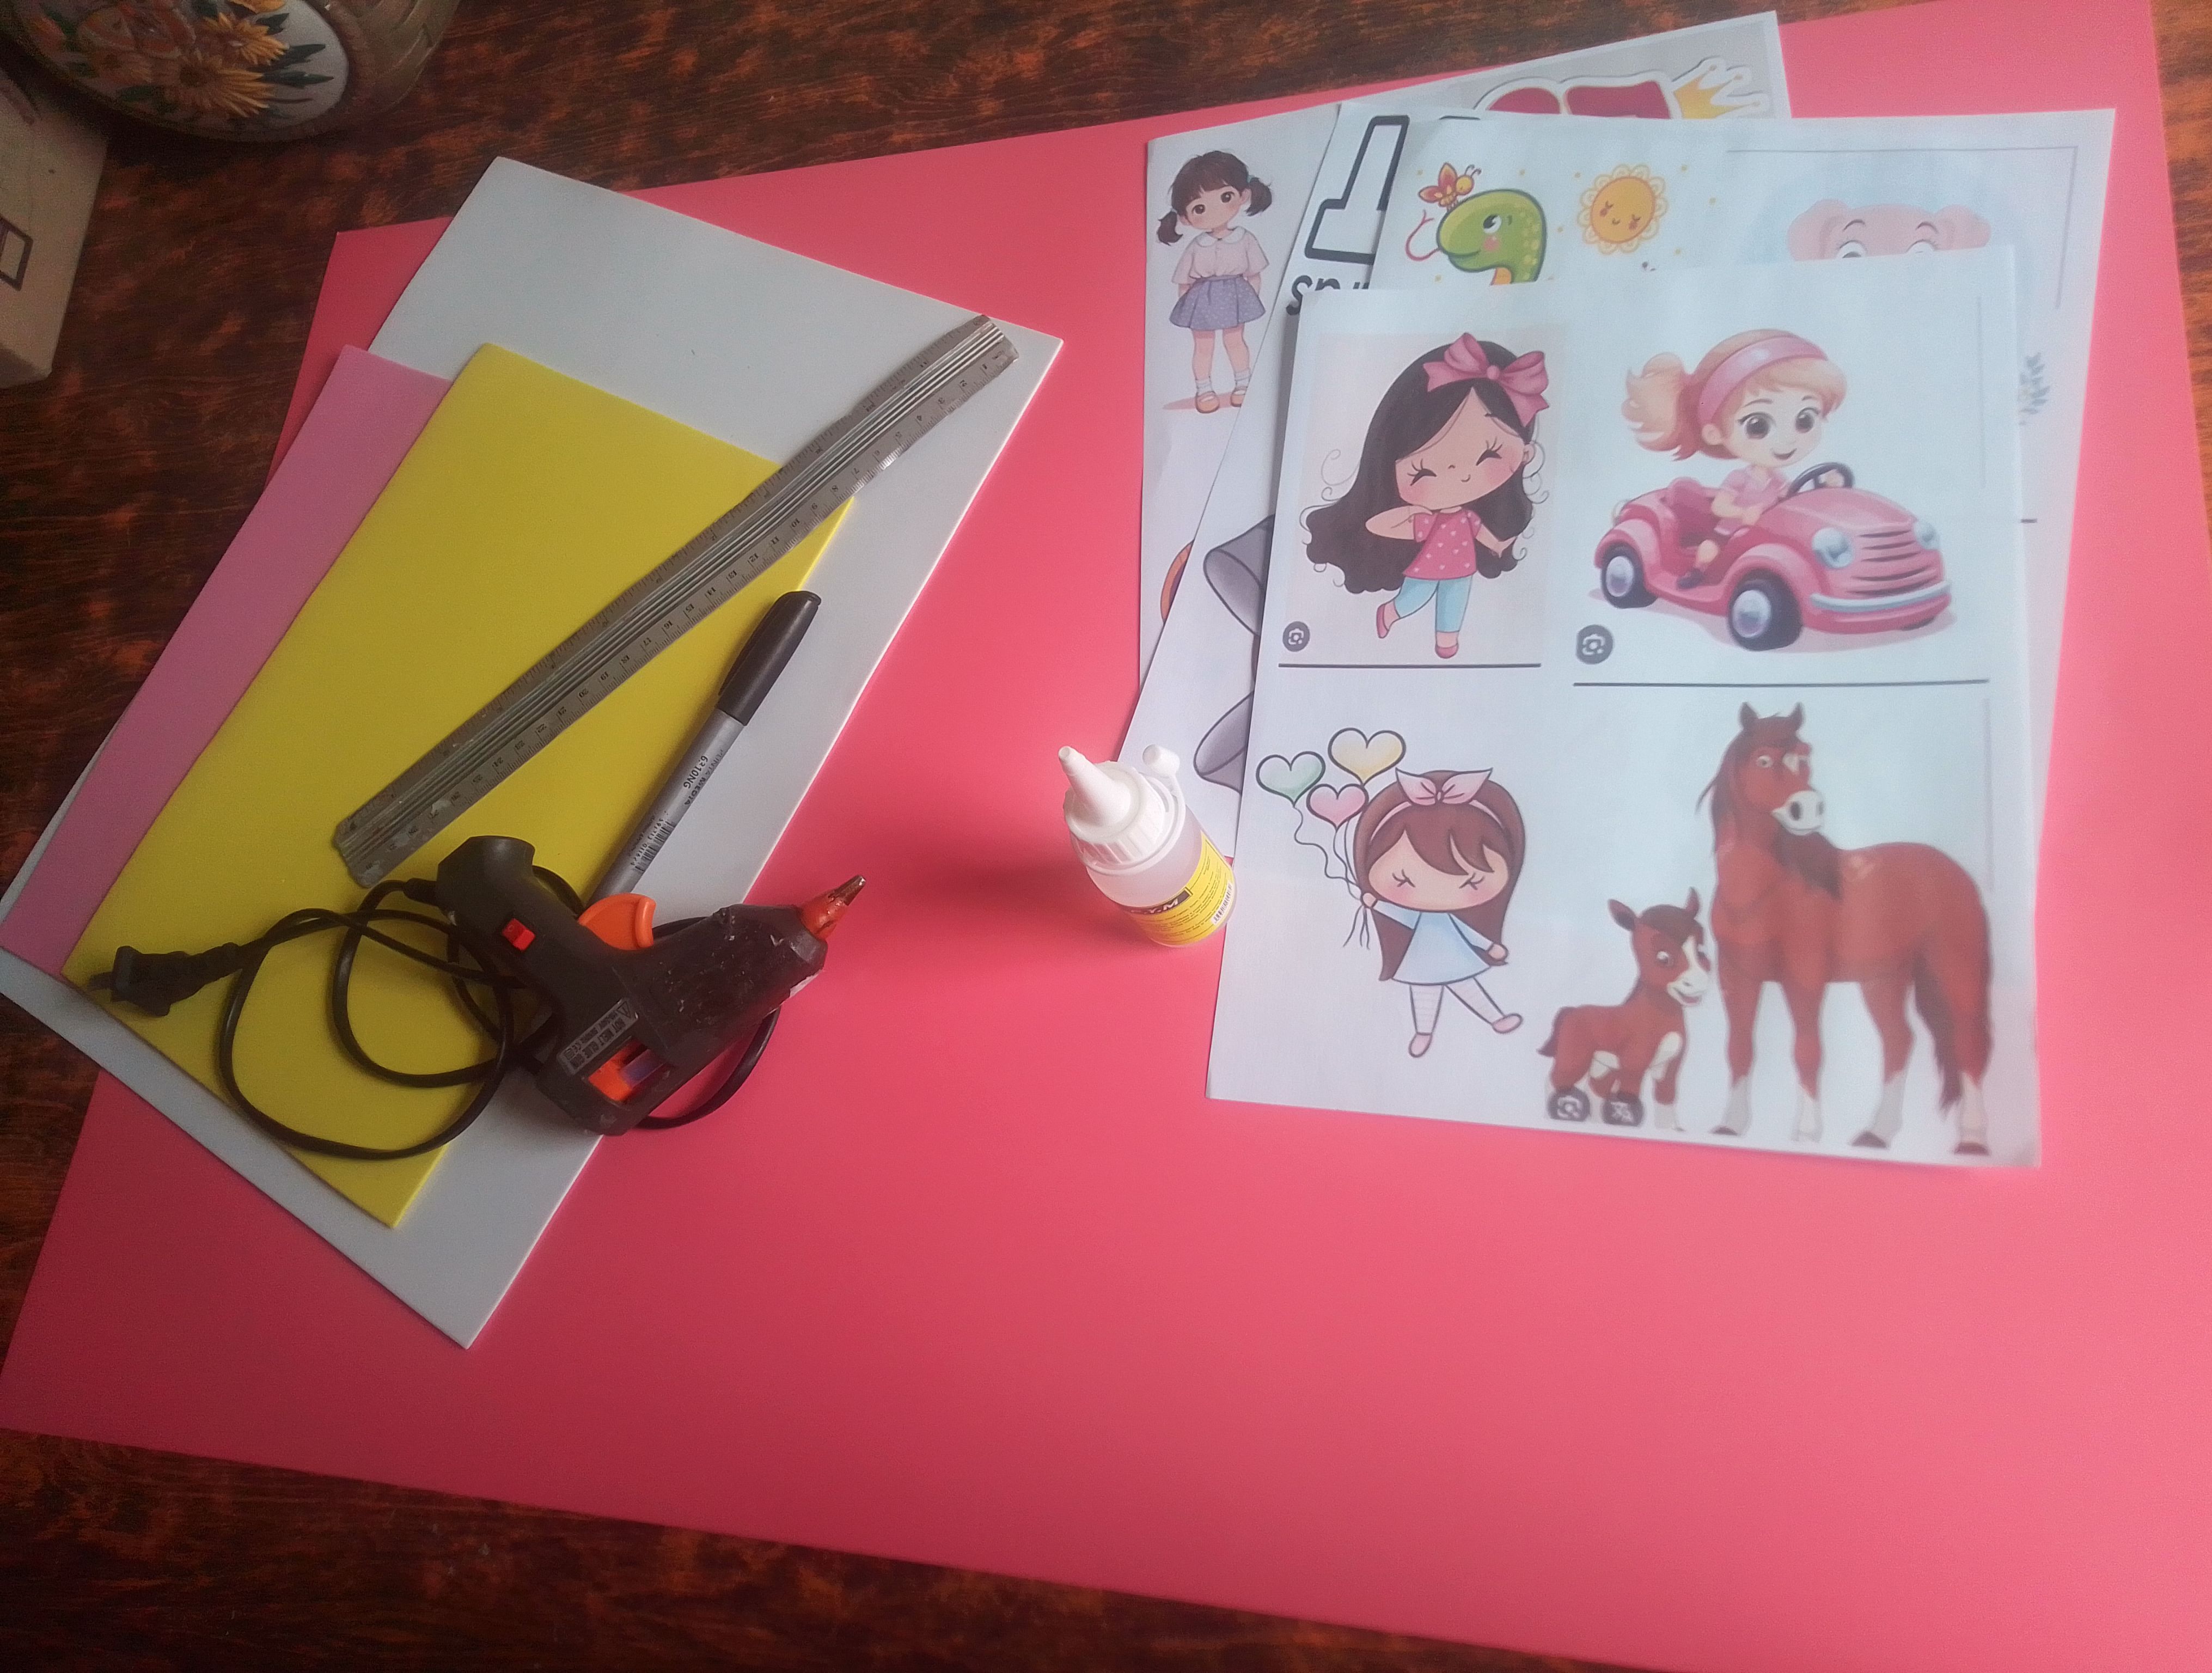
Materiales que necesitas:
Materiales que necesitas:
Materials you need:
- Cartulina doble faz rosada.
- Foami amarillo y blanco.
- Cartulina metalizada.
- Tijeras.
- Silicón líquido.
- Cinta dorada
- Cartulina escolar fucsia.
- Cinta métrica o regla.
- Impresiones a color
- Pink double-sided cardboard.
- Yellow and white foami.
- Metallic cardboard.
- Scissors.
- Liquid silicone.
- Golden ribbon
- Fuchsia school cardboard.
- Tape measure or ruler.
- Color prints
PROCEDIMIENTO
PROCEDIMIENTO
🌟Paso 01
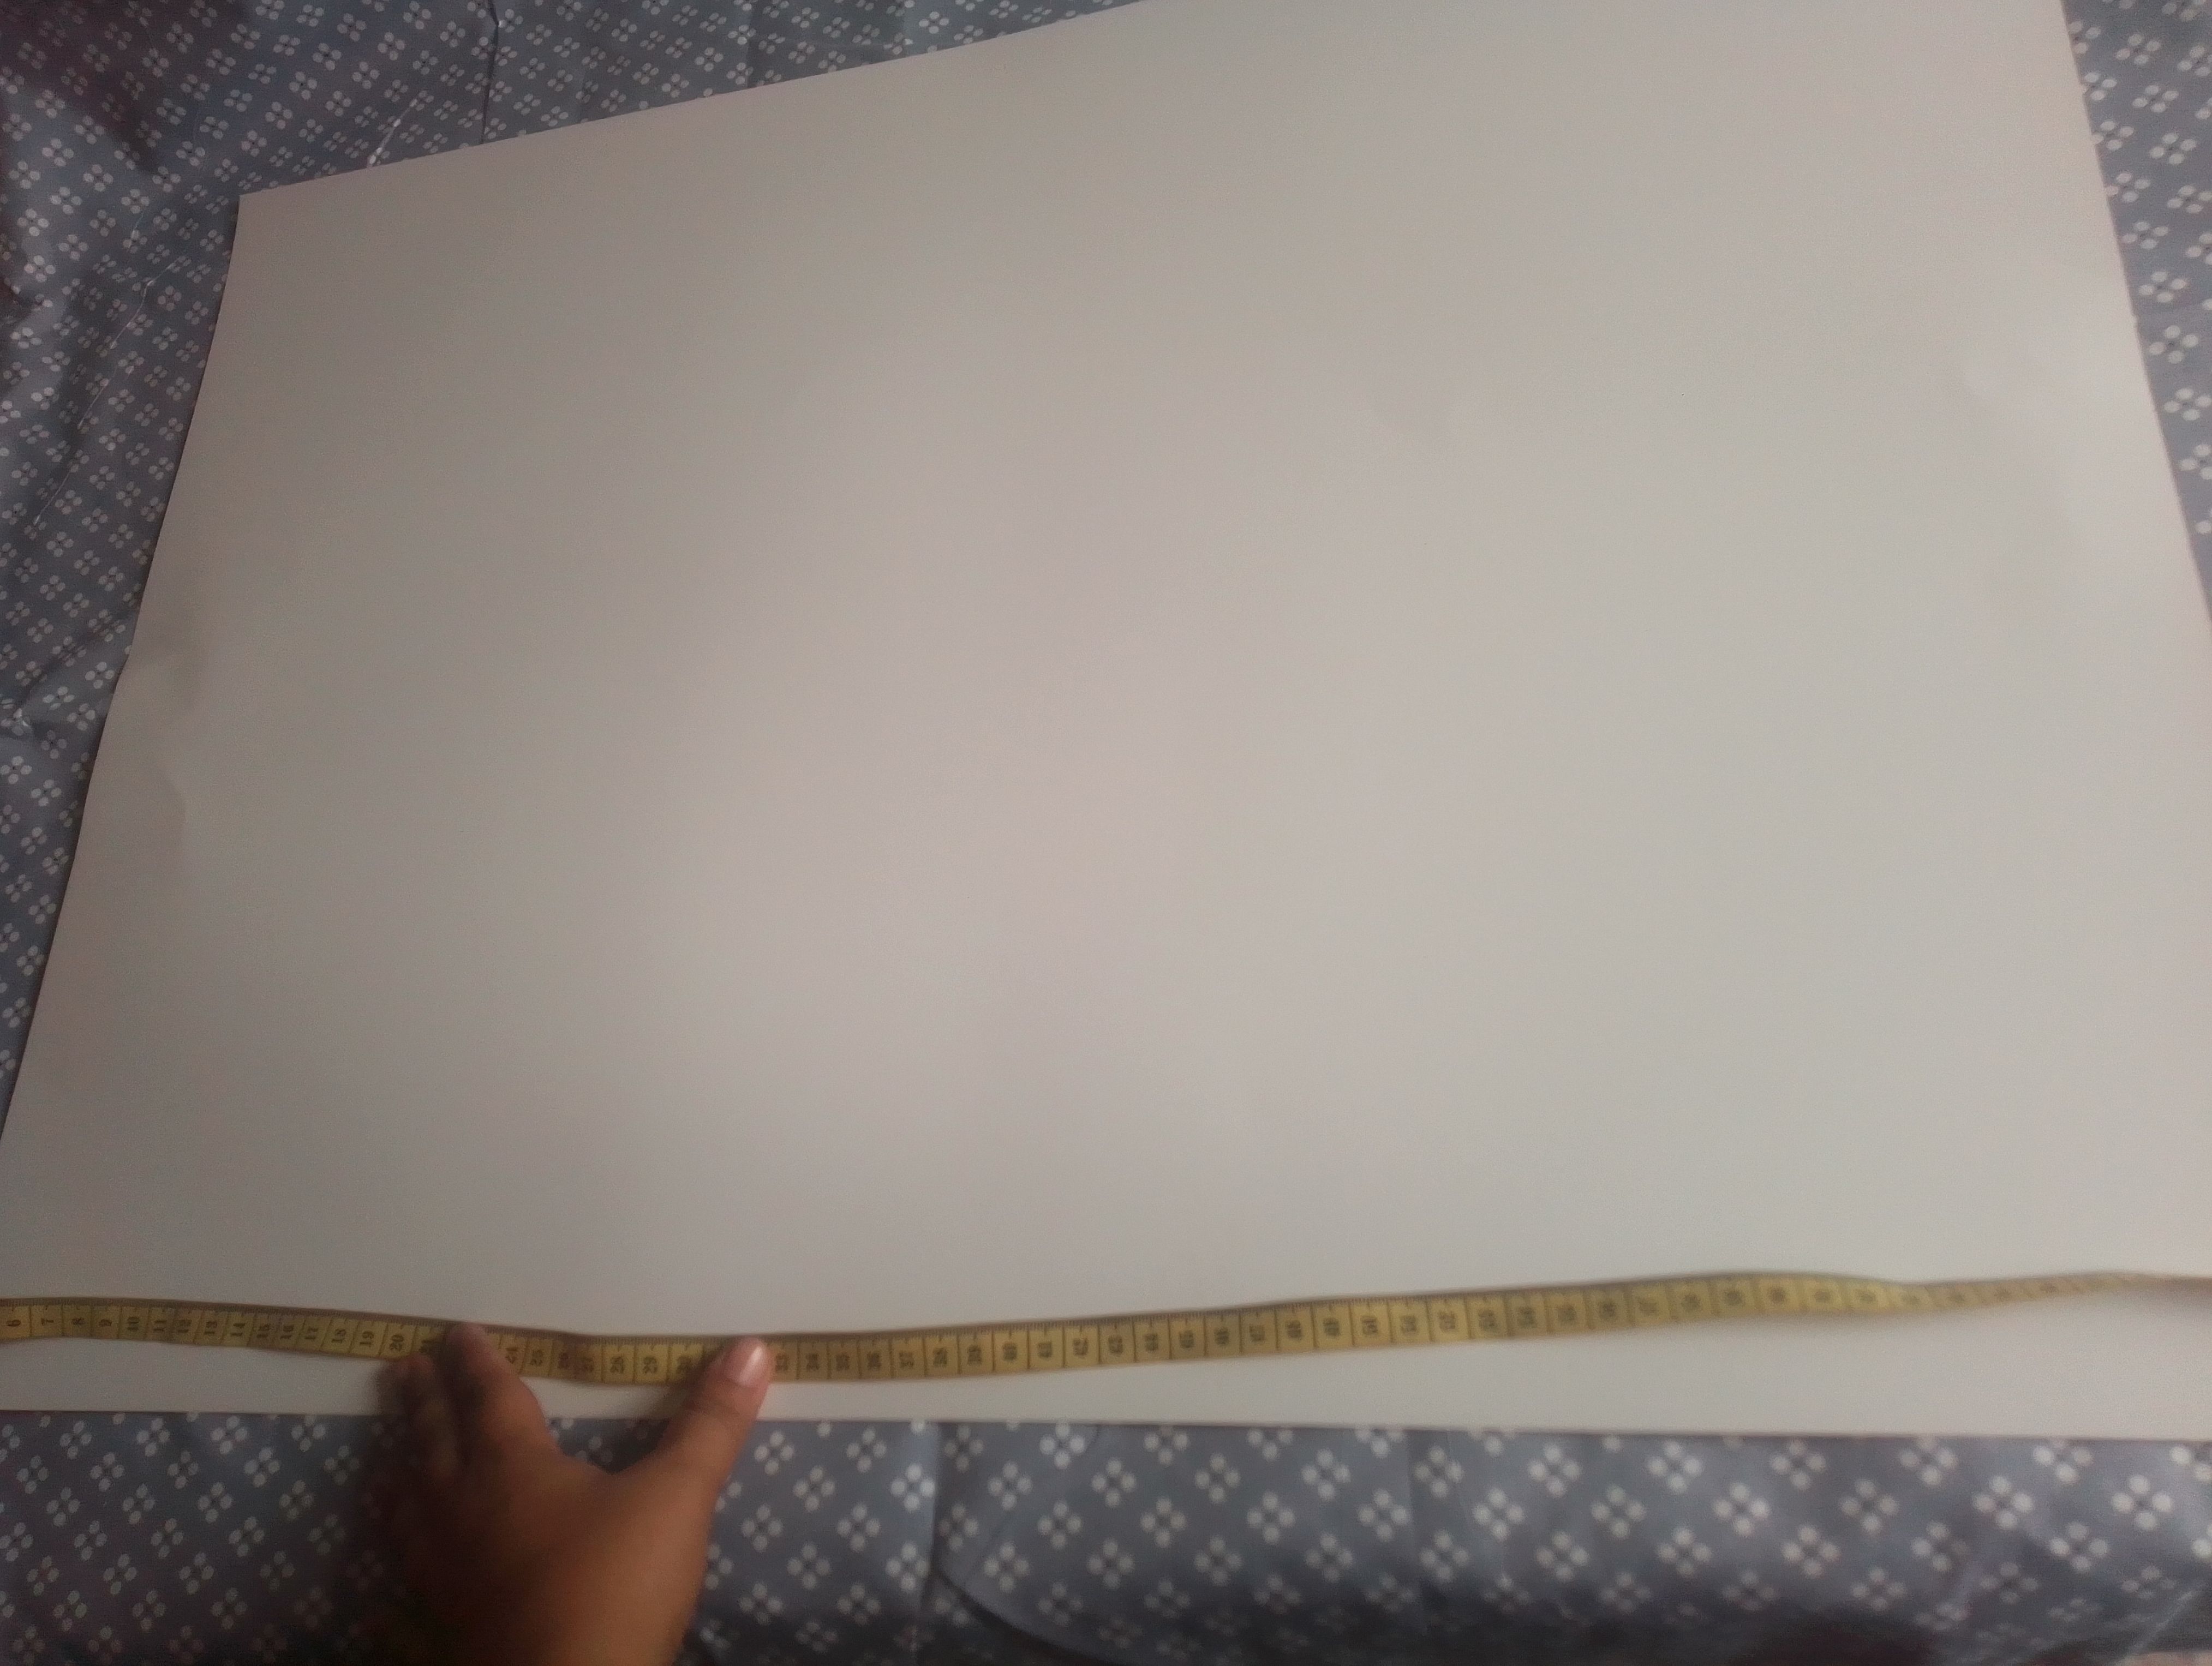
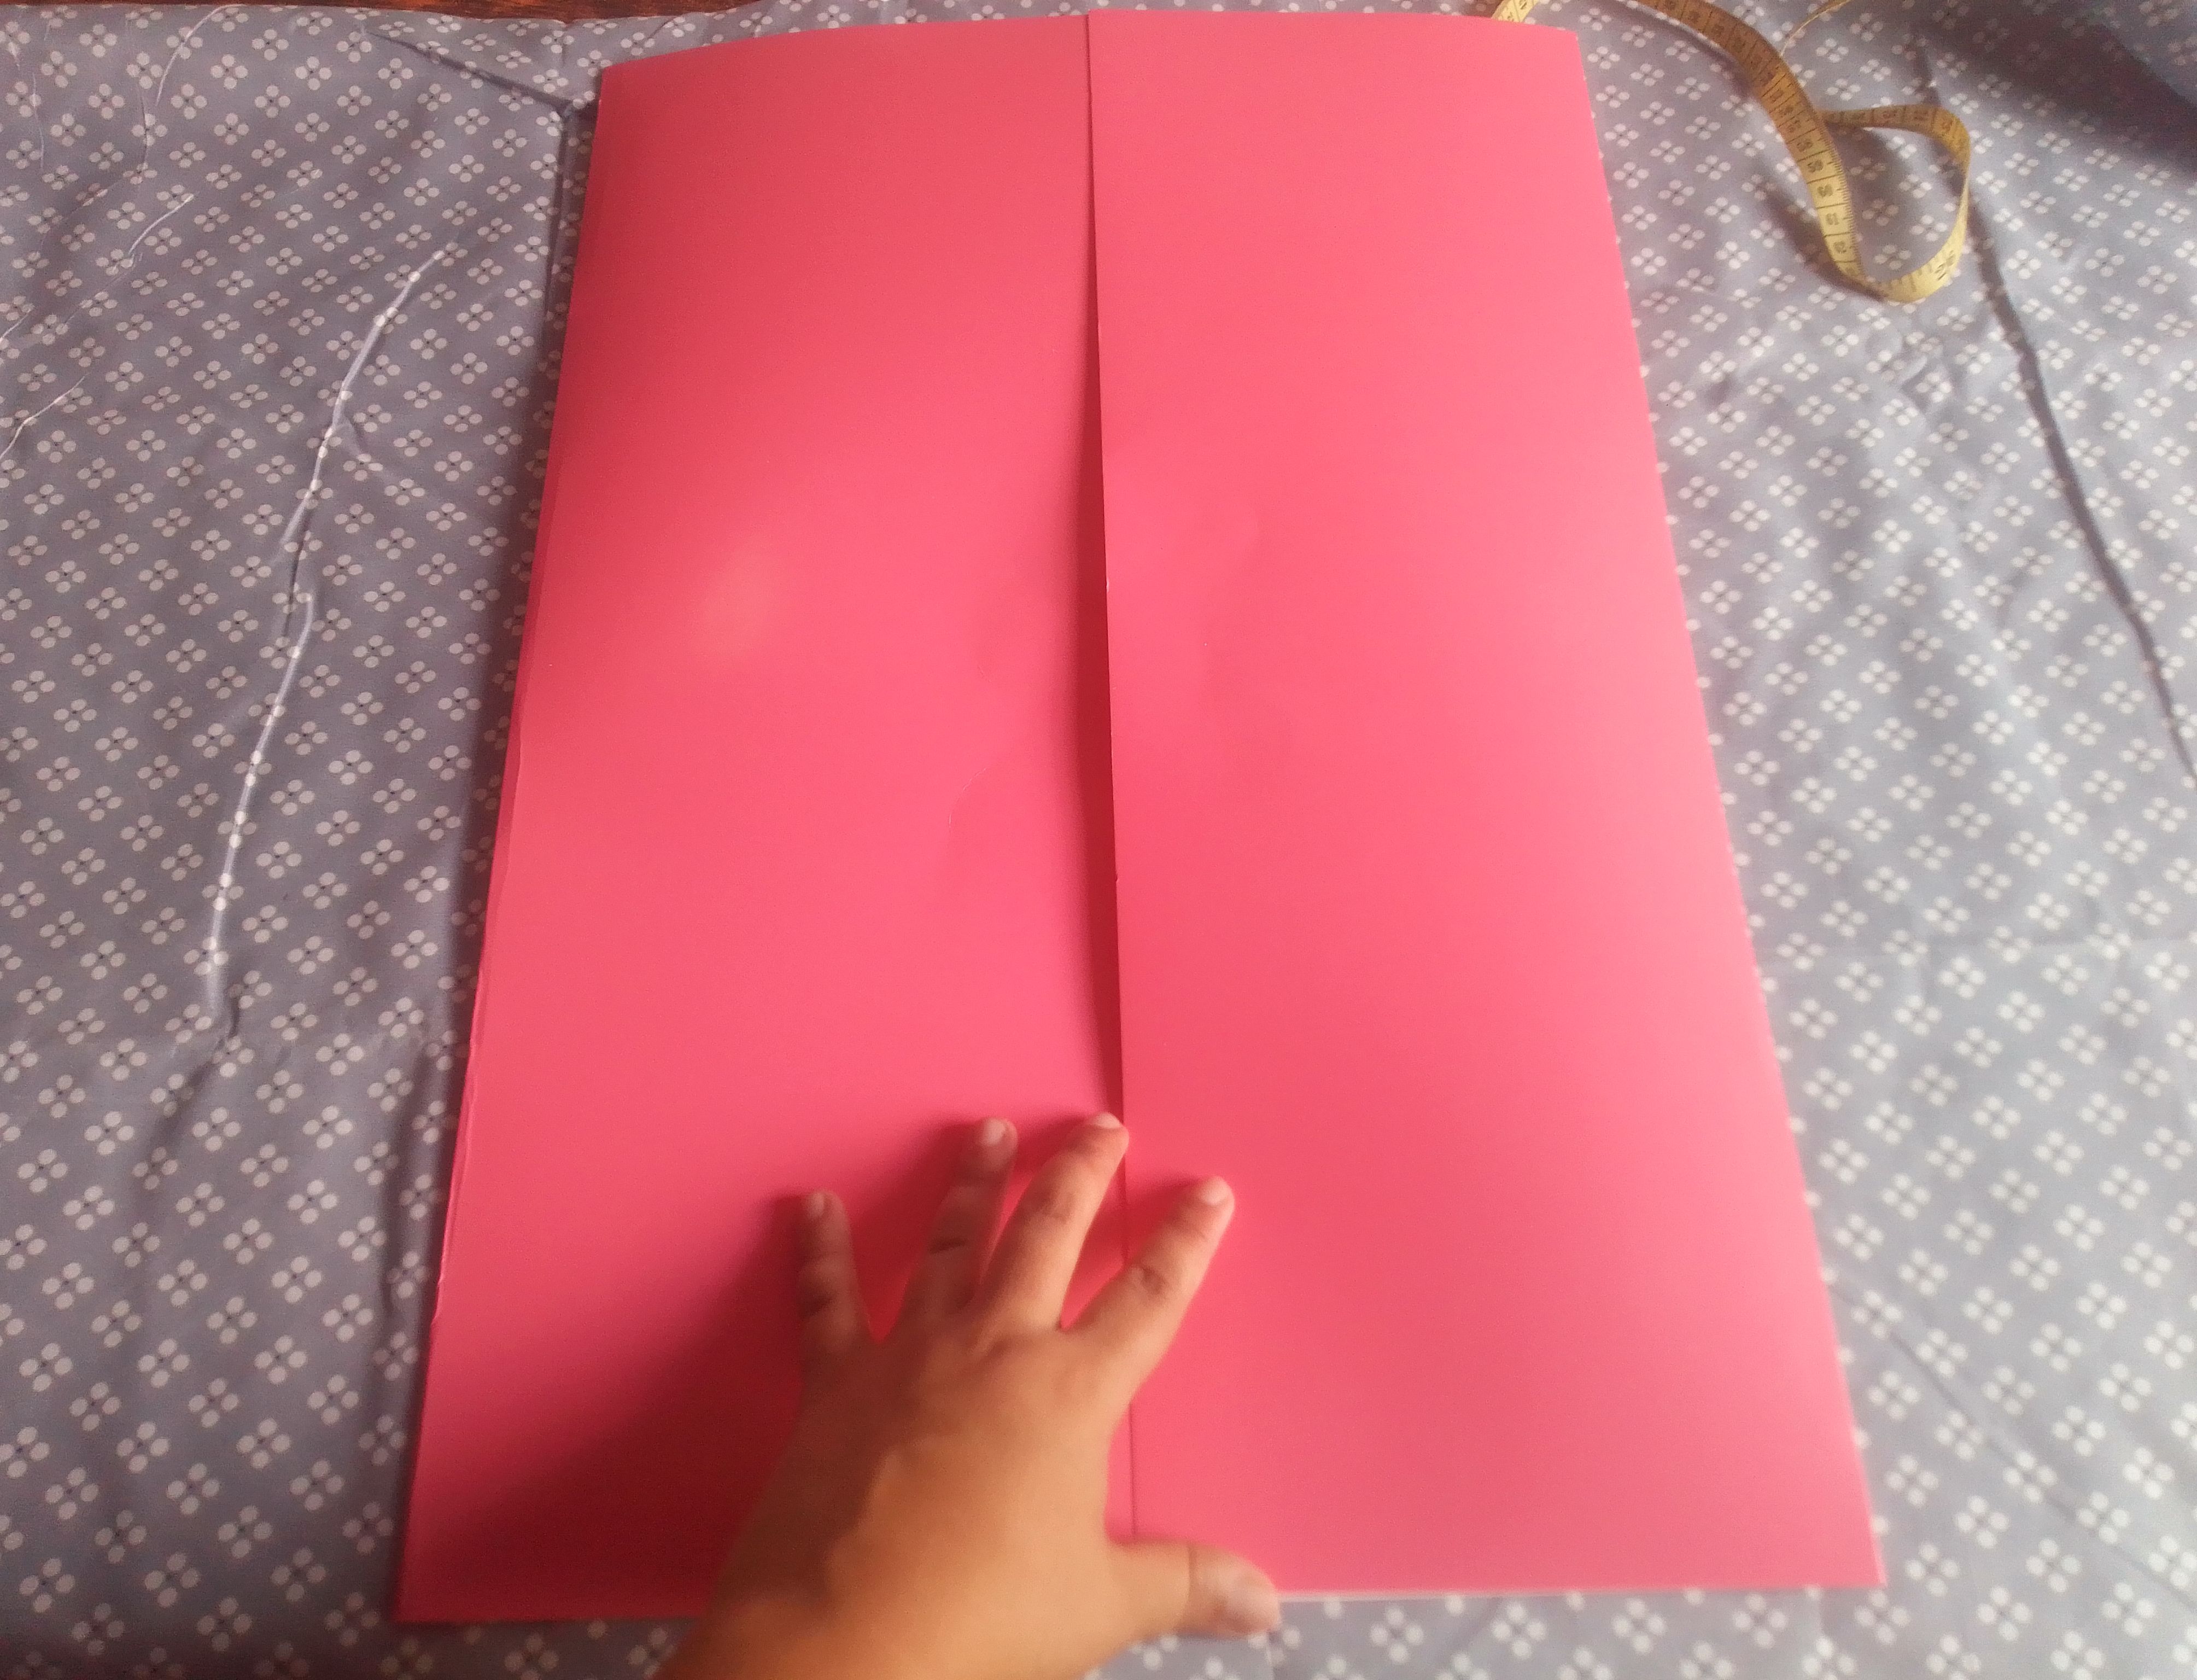
Para iniciar voy a tomar las medidas que tiene mi cartulina, comúnmente las venden de 70 cm largo por 50 de ancho, pero toda va a depender del tamaño que quieras crearlo; yo decidí déjalo al tamaño completo de la cartulina.. Así que solo se tome medidas para ubicarme en la mitad de cartulina. Marcamos está zona para así volver a marcar cada mitad en dos partes, es decir, en total tendremos cuatro partes de 17,50cm. Es muy importante tomar bien las medidas, de lo contrario podríamos dañar la cartulina.. Al tener marcado, voy a doblar cada mitad hacia el centro, ayudándome con algo filoso para un acabado más bonito, a mí me sirvió la misma regla( es opcional).
🌟Step 01
To start I am going to take the measurements of my cardboard, they are commonly sold 70 cm long by 50 cm wide, but everything will depend on the size you want to create it; I decided to leave it at the full size of the cardboard. So I only took measurements to locate myself in the middle of the cardboard. We mark this area in order to mark each half again in two parts, that is, in total we will have four parts of 17.50cm. It is very important to take the measurements correctly, otherwise we could damage the cardboard. Once I have marked, I am going to fold each half towards the center, helping me with something sharp for a more beautiful finish, the same rule worked for me (it is optional ).
🌟Paso 02
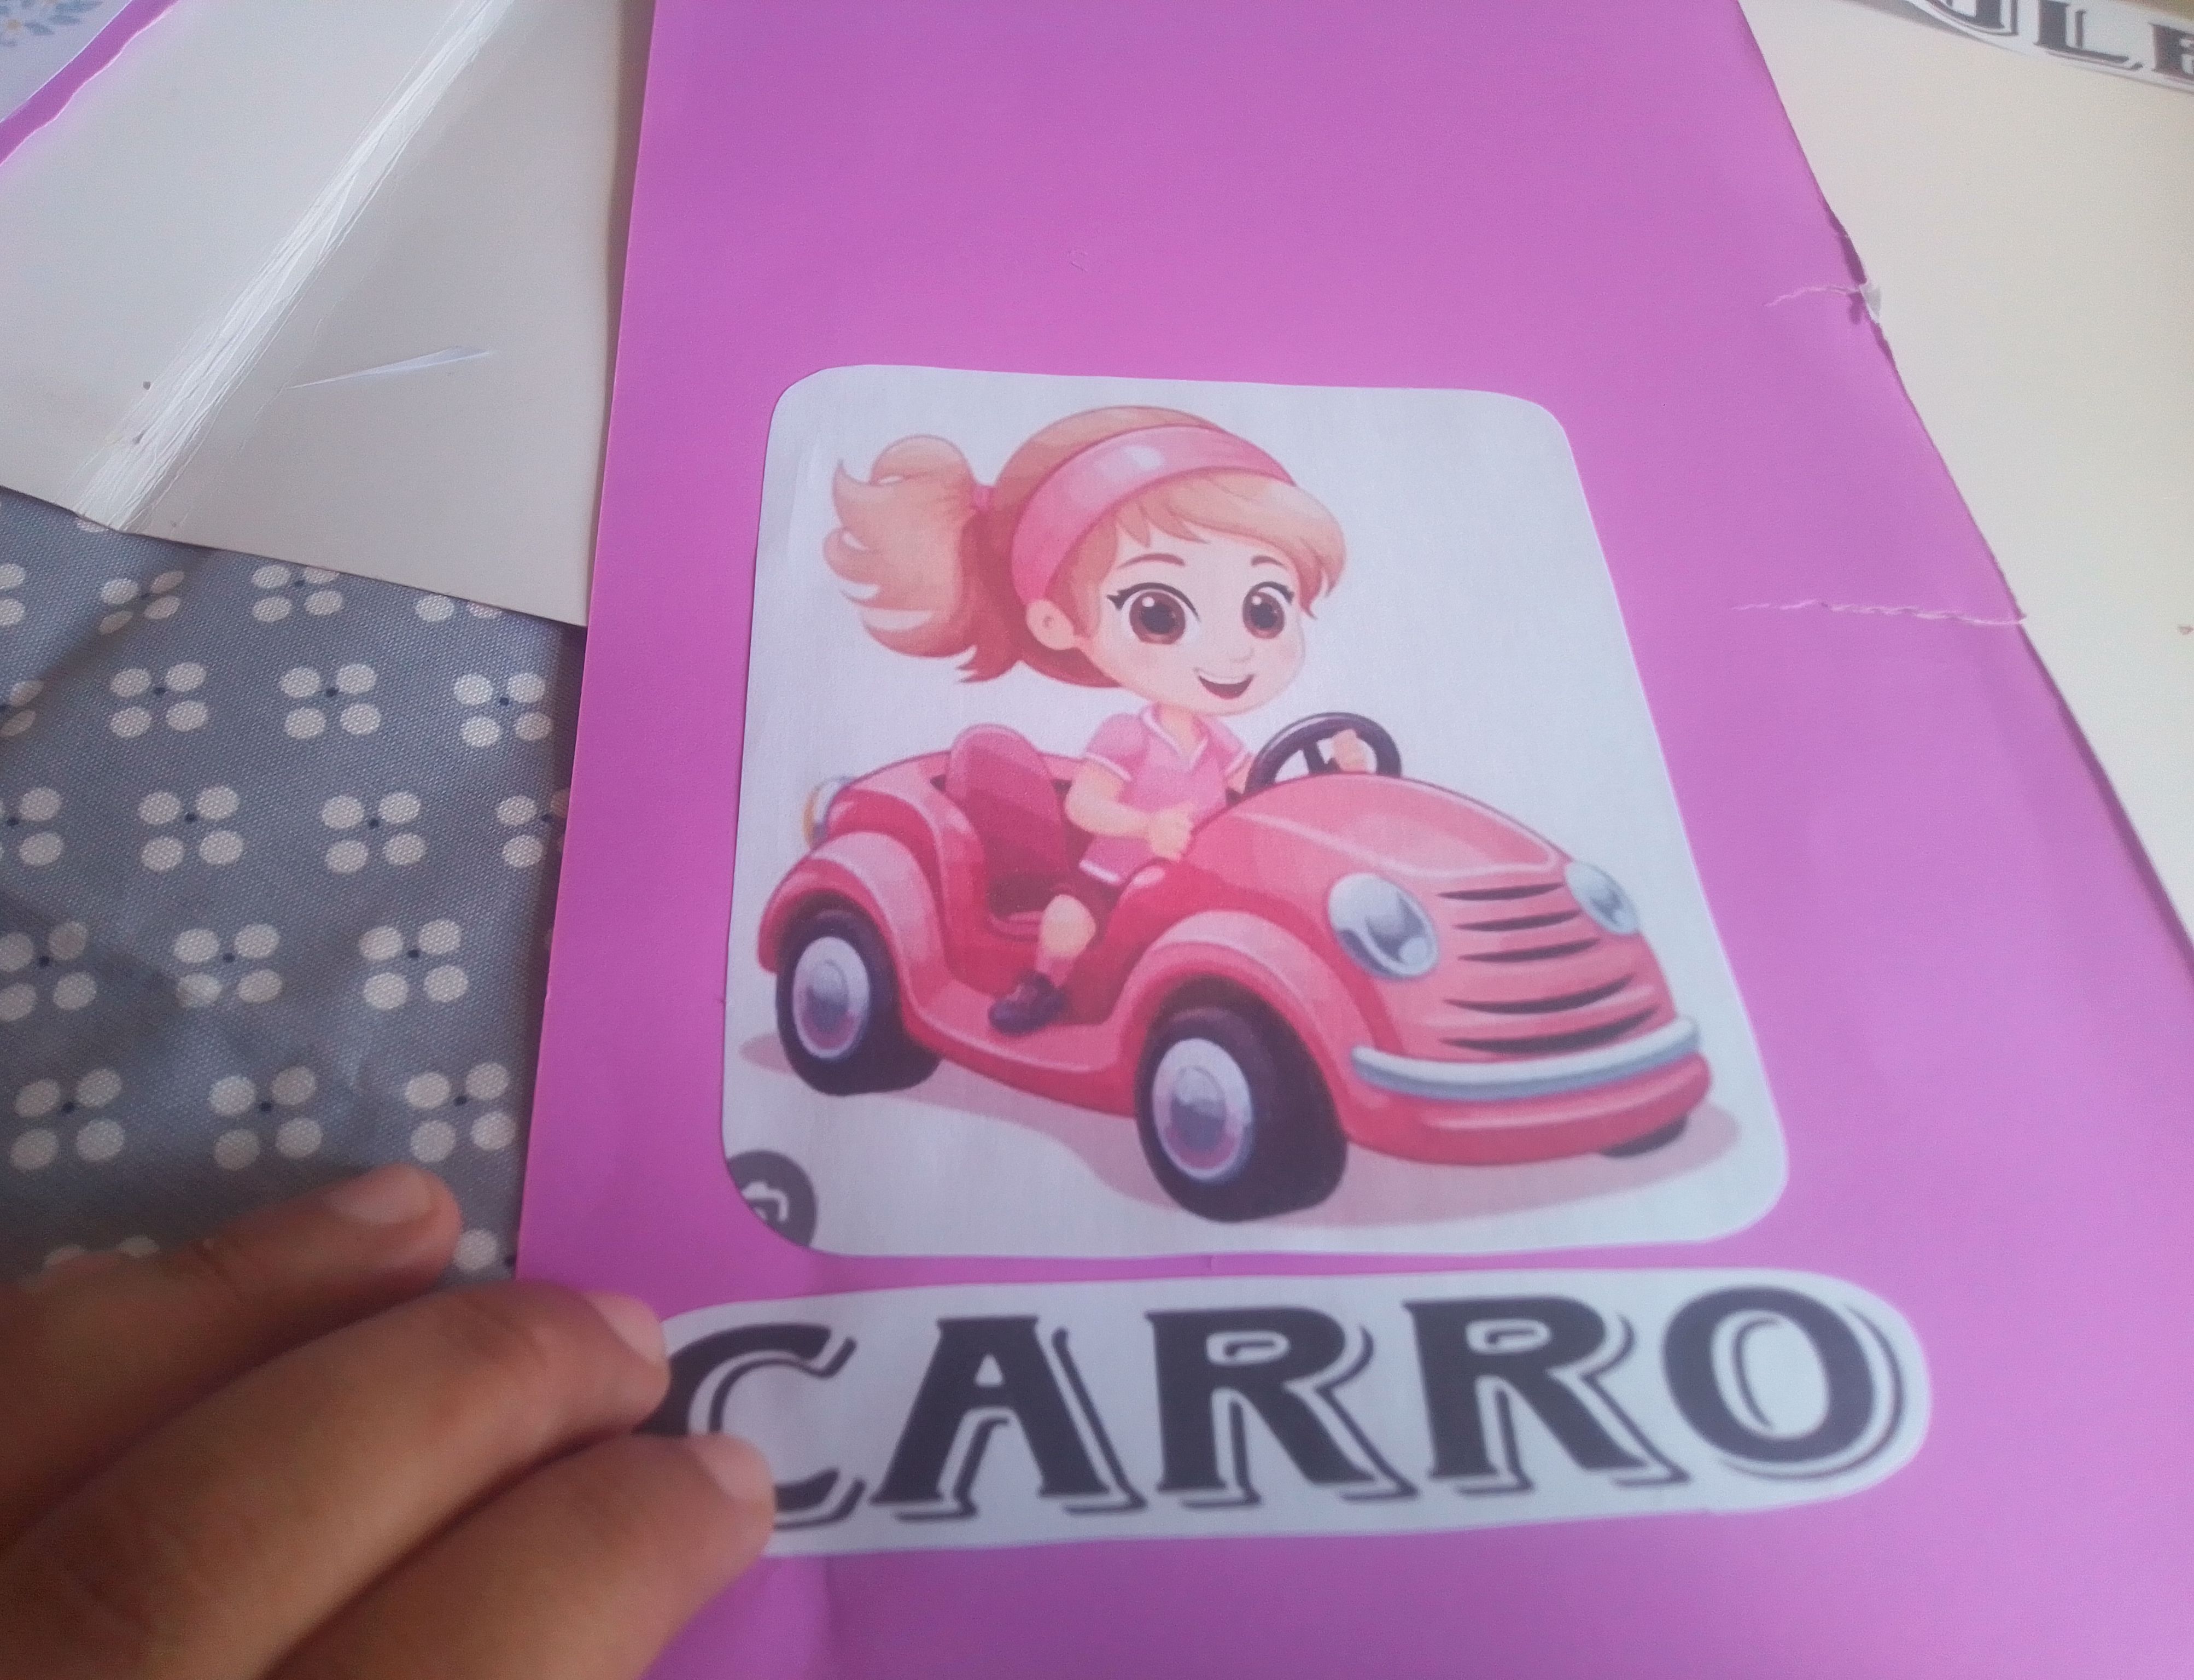
Al tener lista nuestra base, voy a recortar cada figura impresa junto al nombre y la pegamos en una cartulina fucsia para que tenga un fondo y ésta resalte. Procedo a recortar toda la forma y así mismo voy hacer con todas las demas. Vamos viendo dónde podemos ubicarlas para que no queden tan juntitas.
🌟Step 02
When we have our base ready, I am going to cut out each printed figure next to the name and we glue it on a fuchsia cardboard so that it has a background and it stands out. I proceed to cut out the entire shape and I will do the same with all the others. We are seeing where we can place them so that they are not so close together.
🌟Paso 03
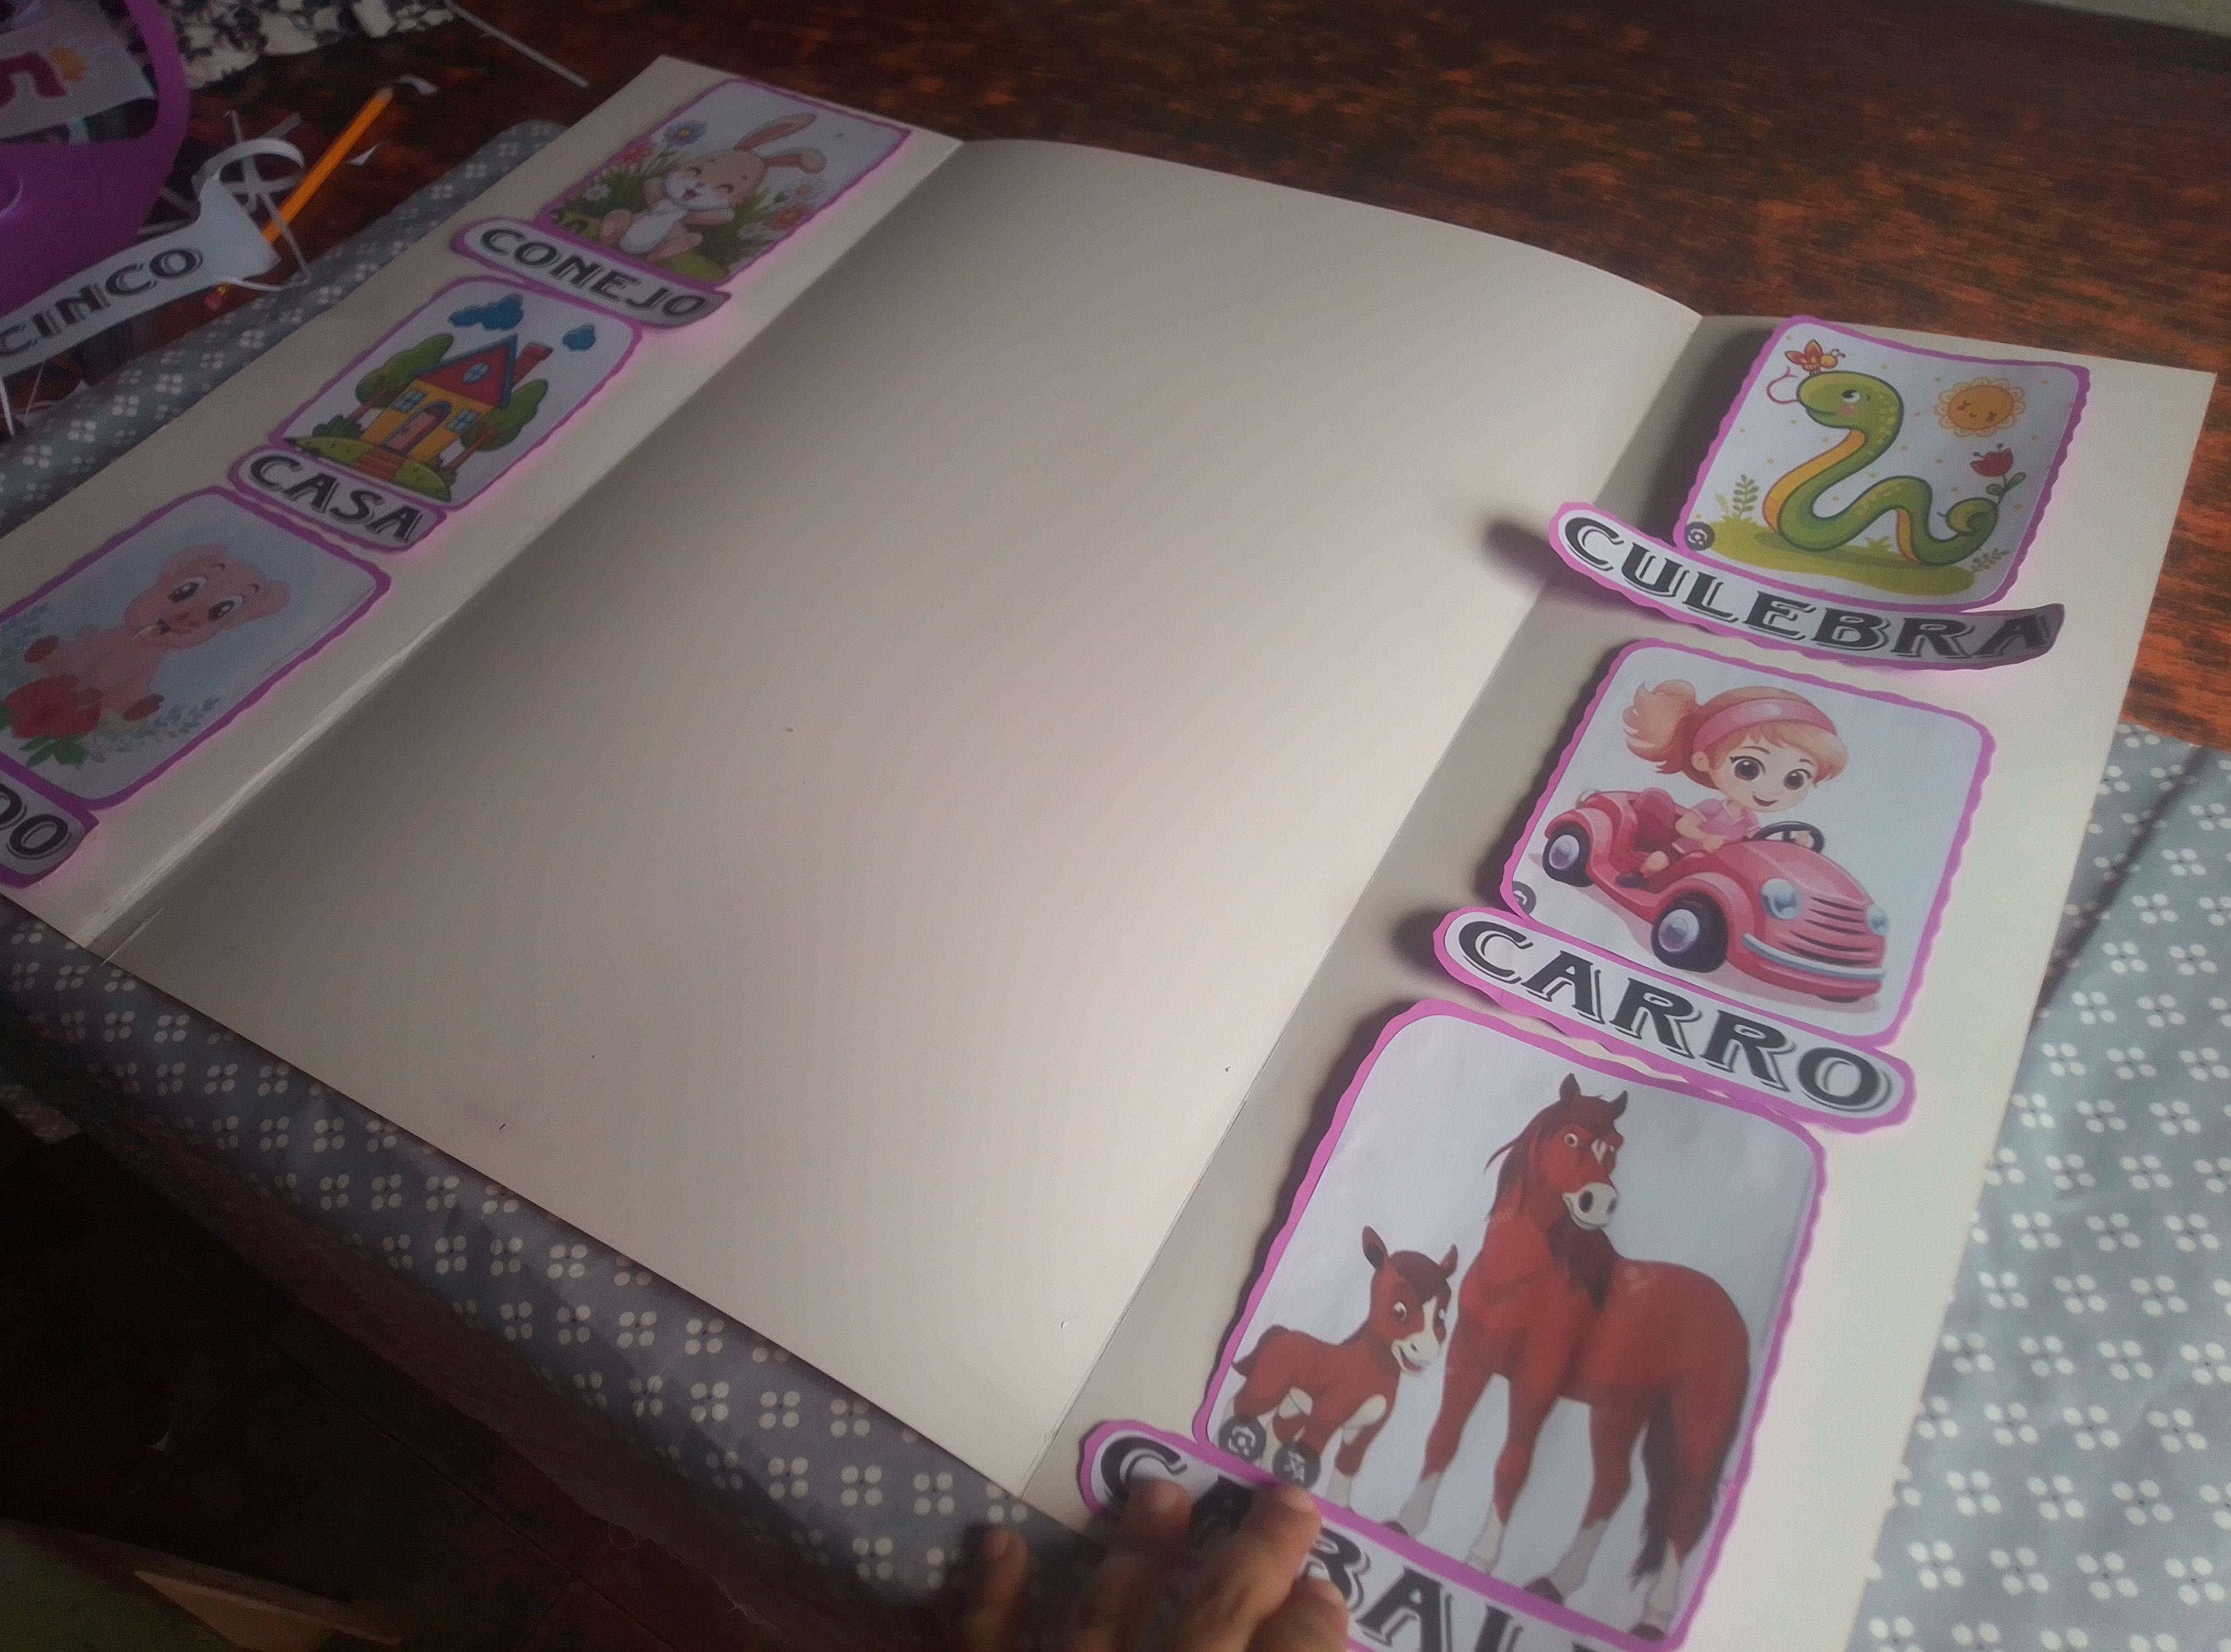
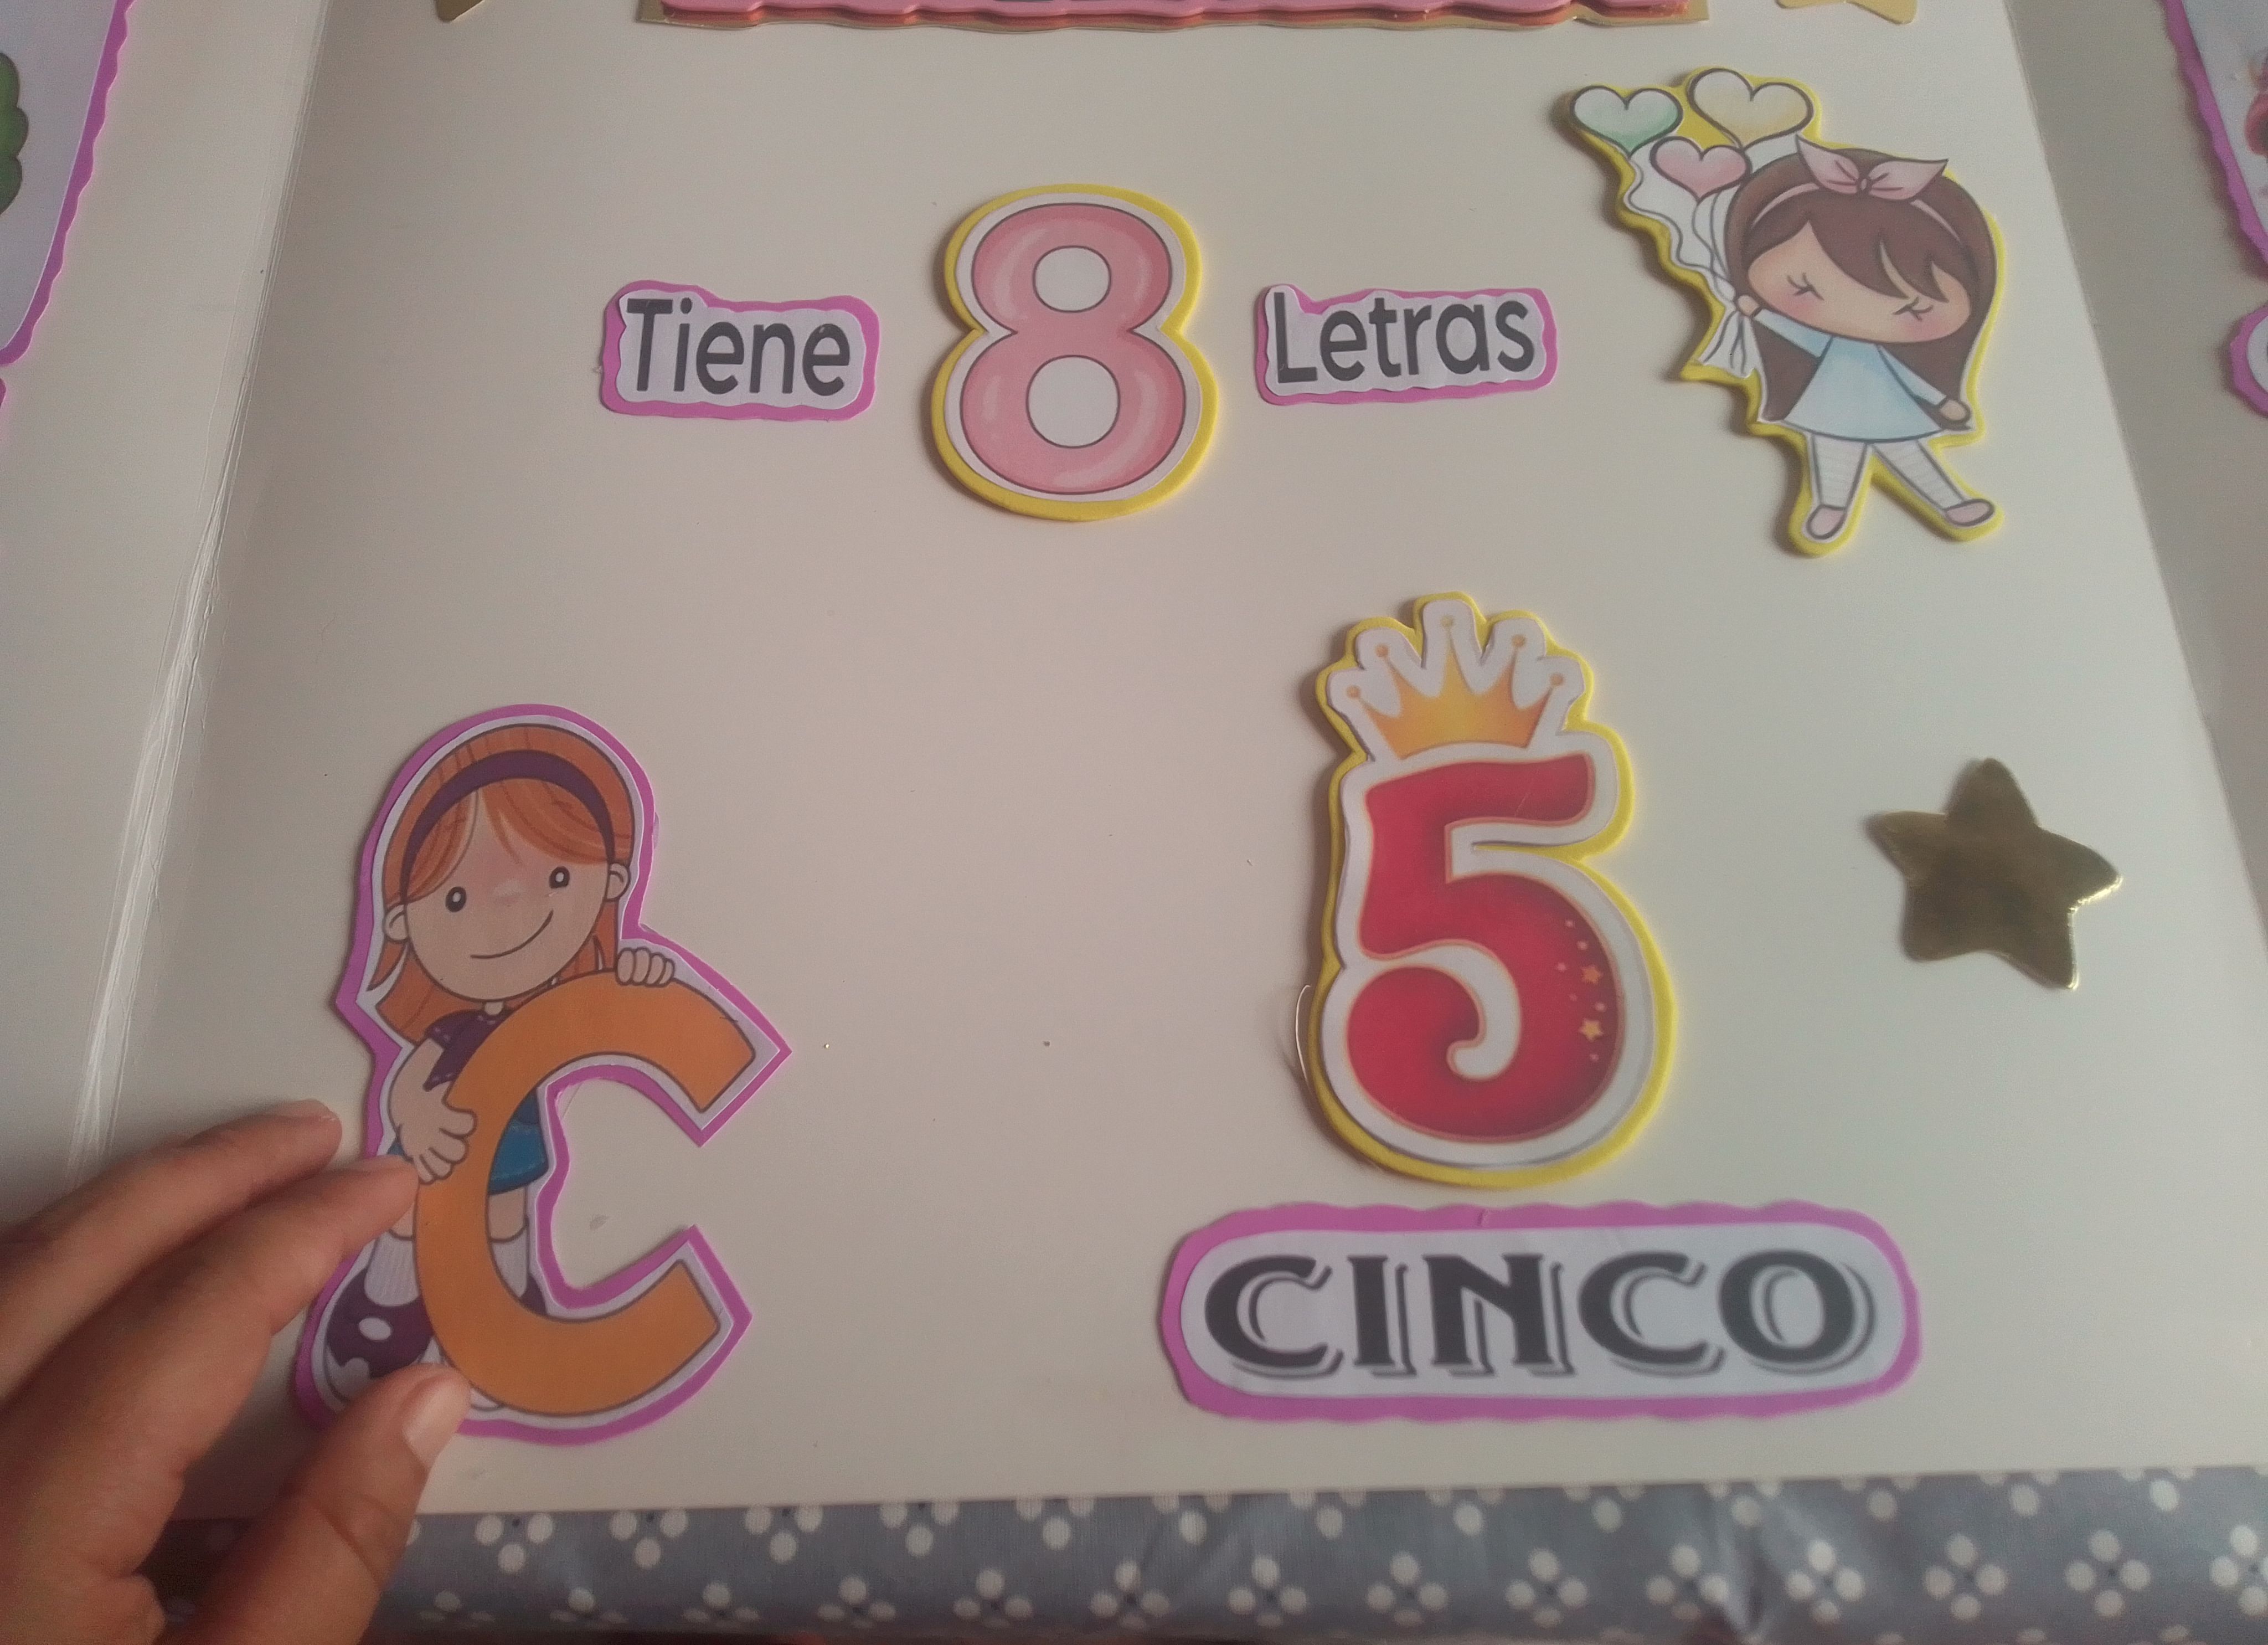
Ahora sí privemos a pegarlas en el centro y en todo el cuaderno desplegable de una manera muy ordenada y de acuerdo al punto a exponer. Usamos algunas imágenes que le den un poquito más de decoracion y atracción a este proyecto. No solo utilicé cartulina fucsia para el fondo de las figura, también agregue foami amarillo y cartulina metalizada para crear algo más armonioso y creativo.
🌟Step 03
Now let's stick them in the center and throughout the folding notebook in a very orderly manner and according to the point to be made. We use some images that give a little more decoration and attraction to this project. Not only did I use fuchsia cardboard for the background of the figures, I also added yellow foam and metallic cardboard to create something more harmonious and creative.
🌟Paso 04
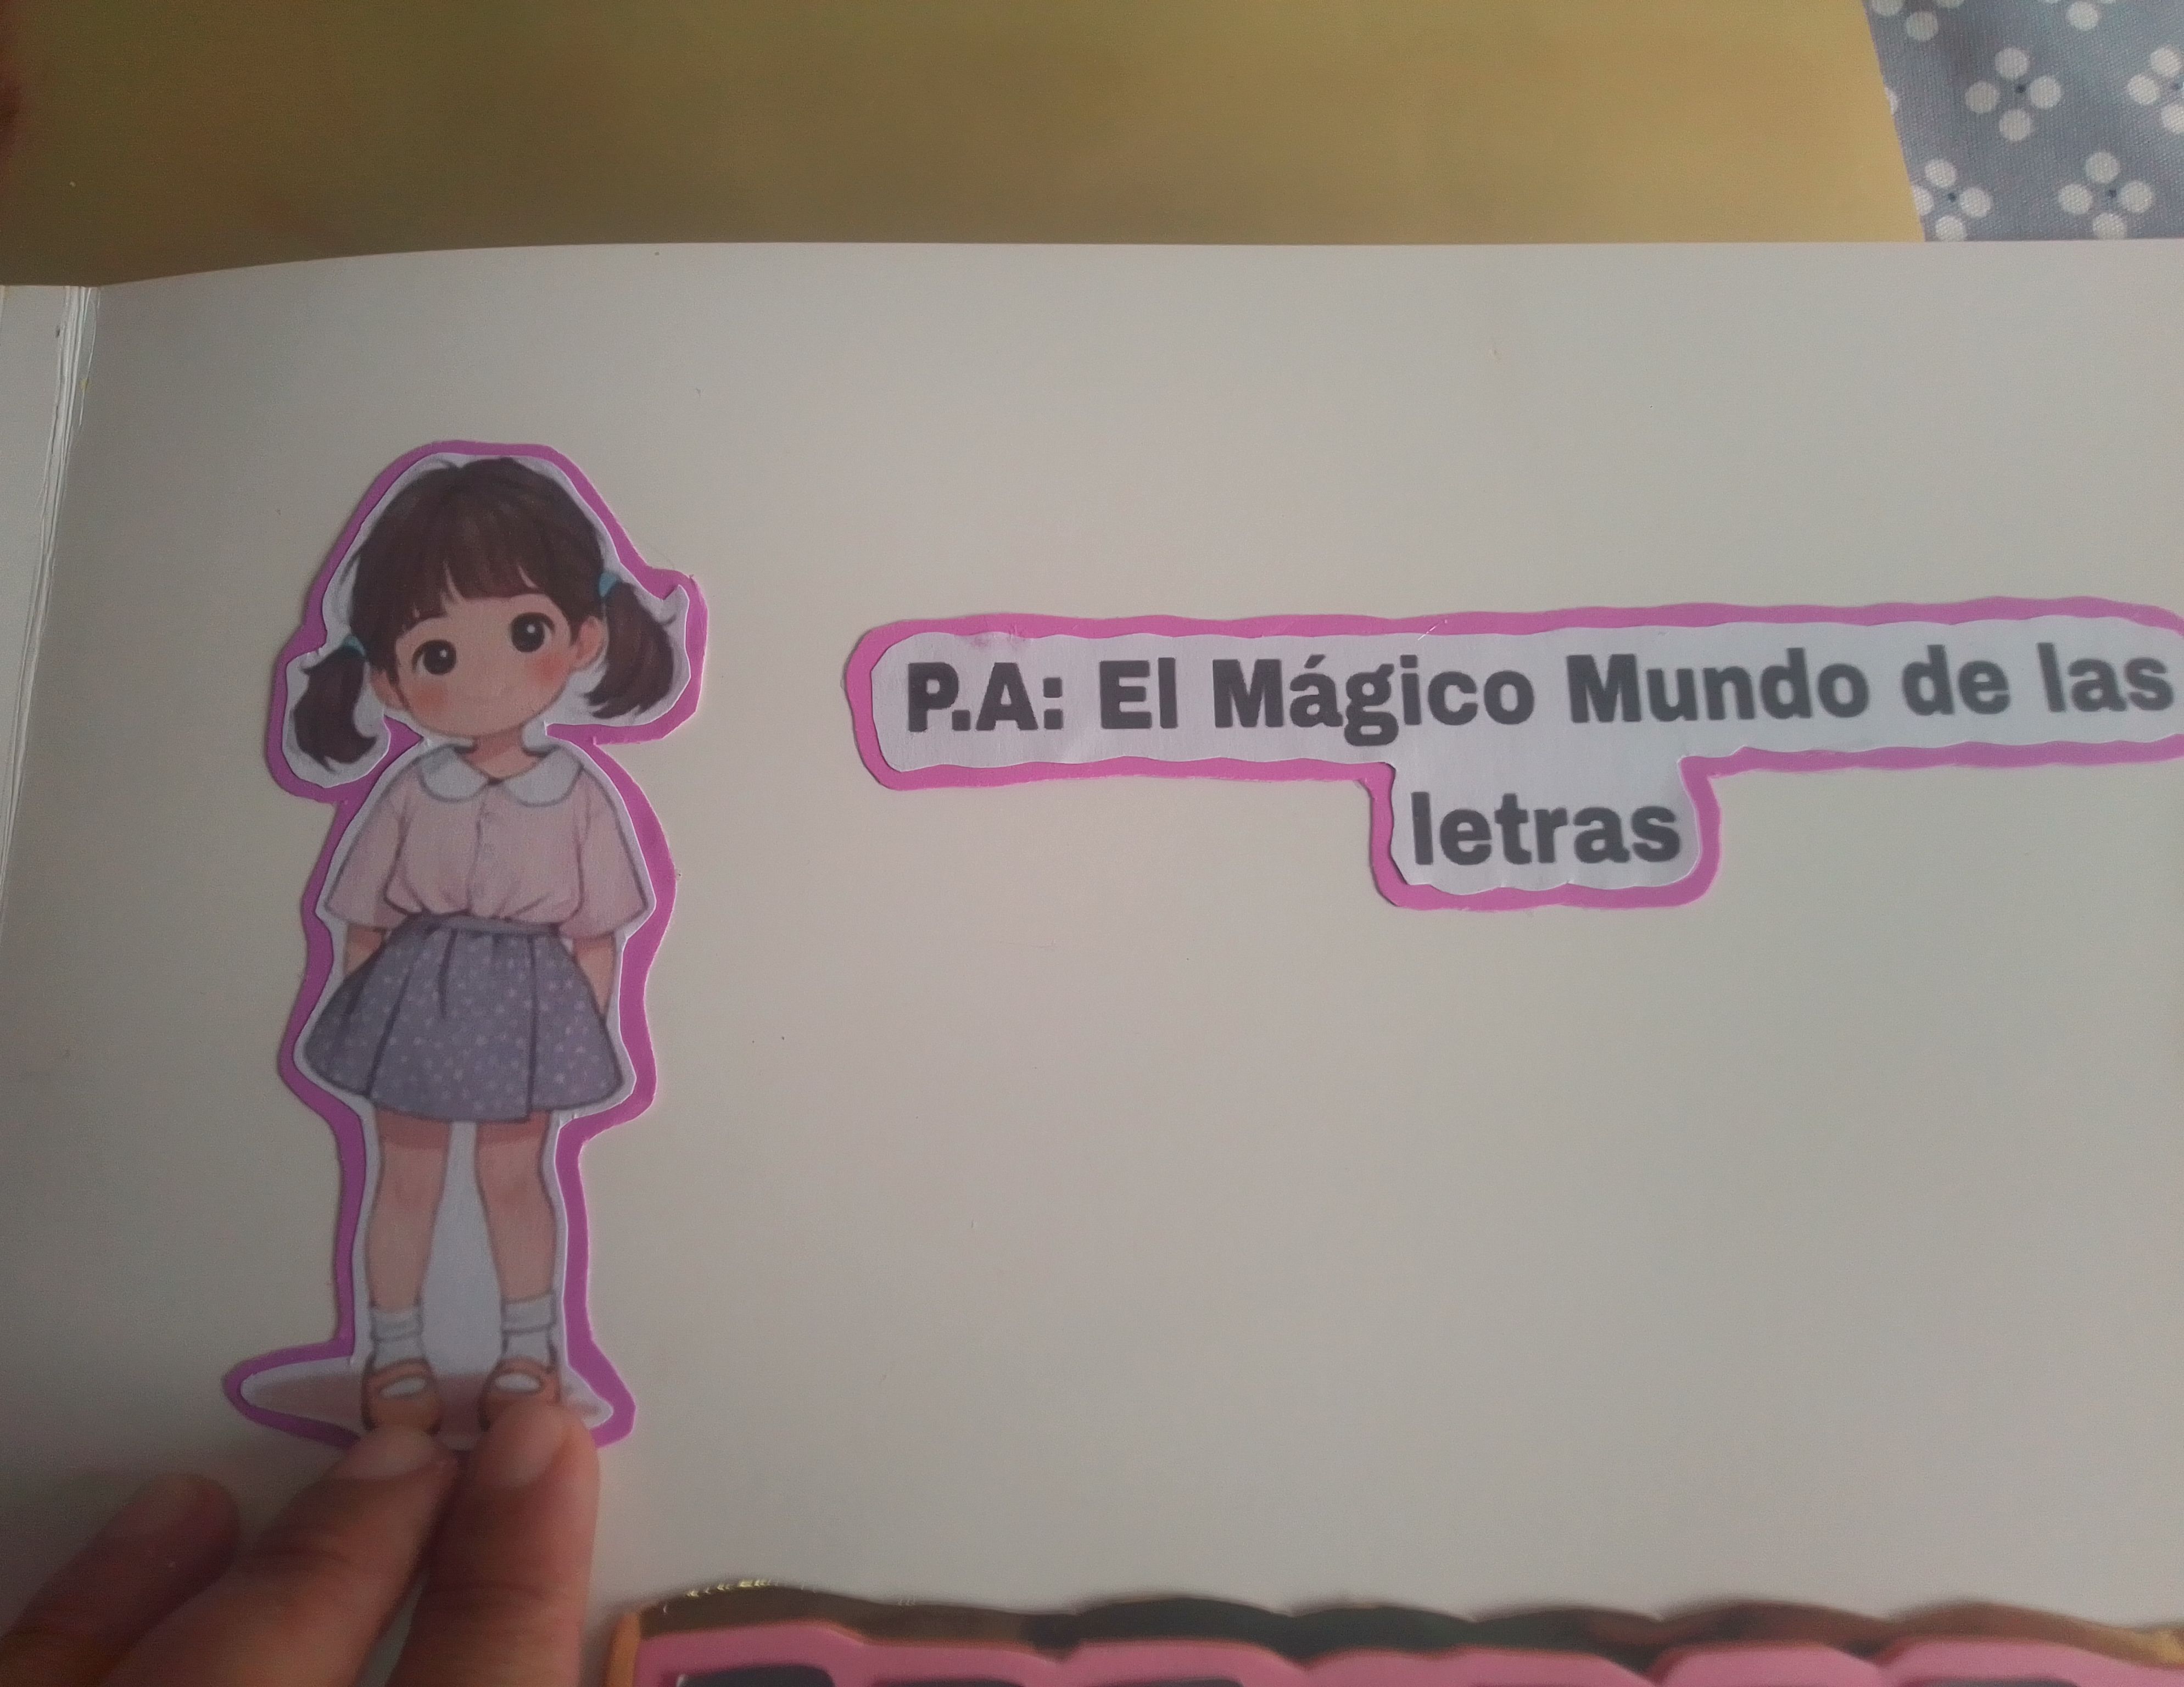
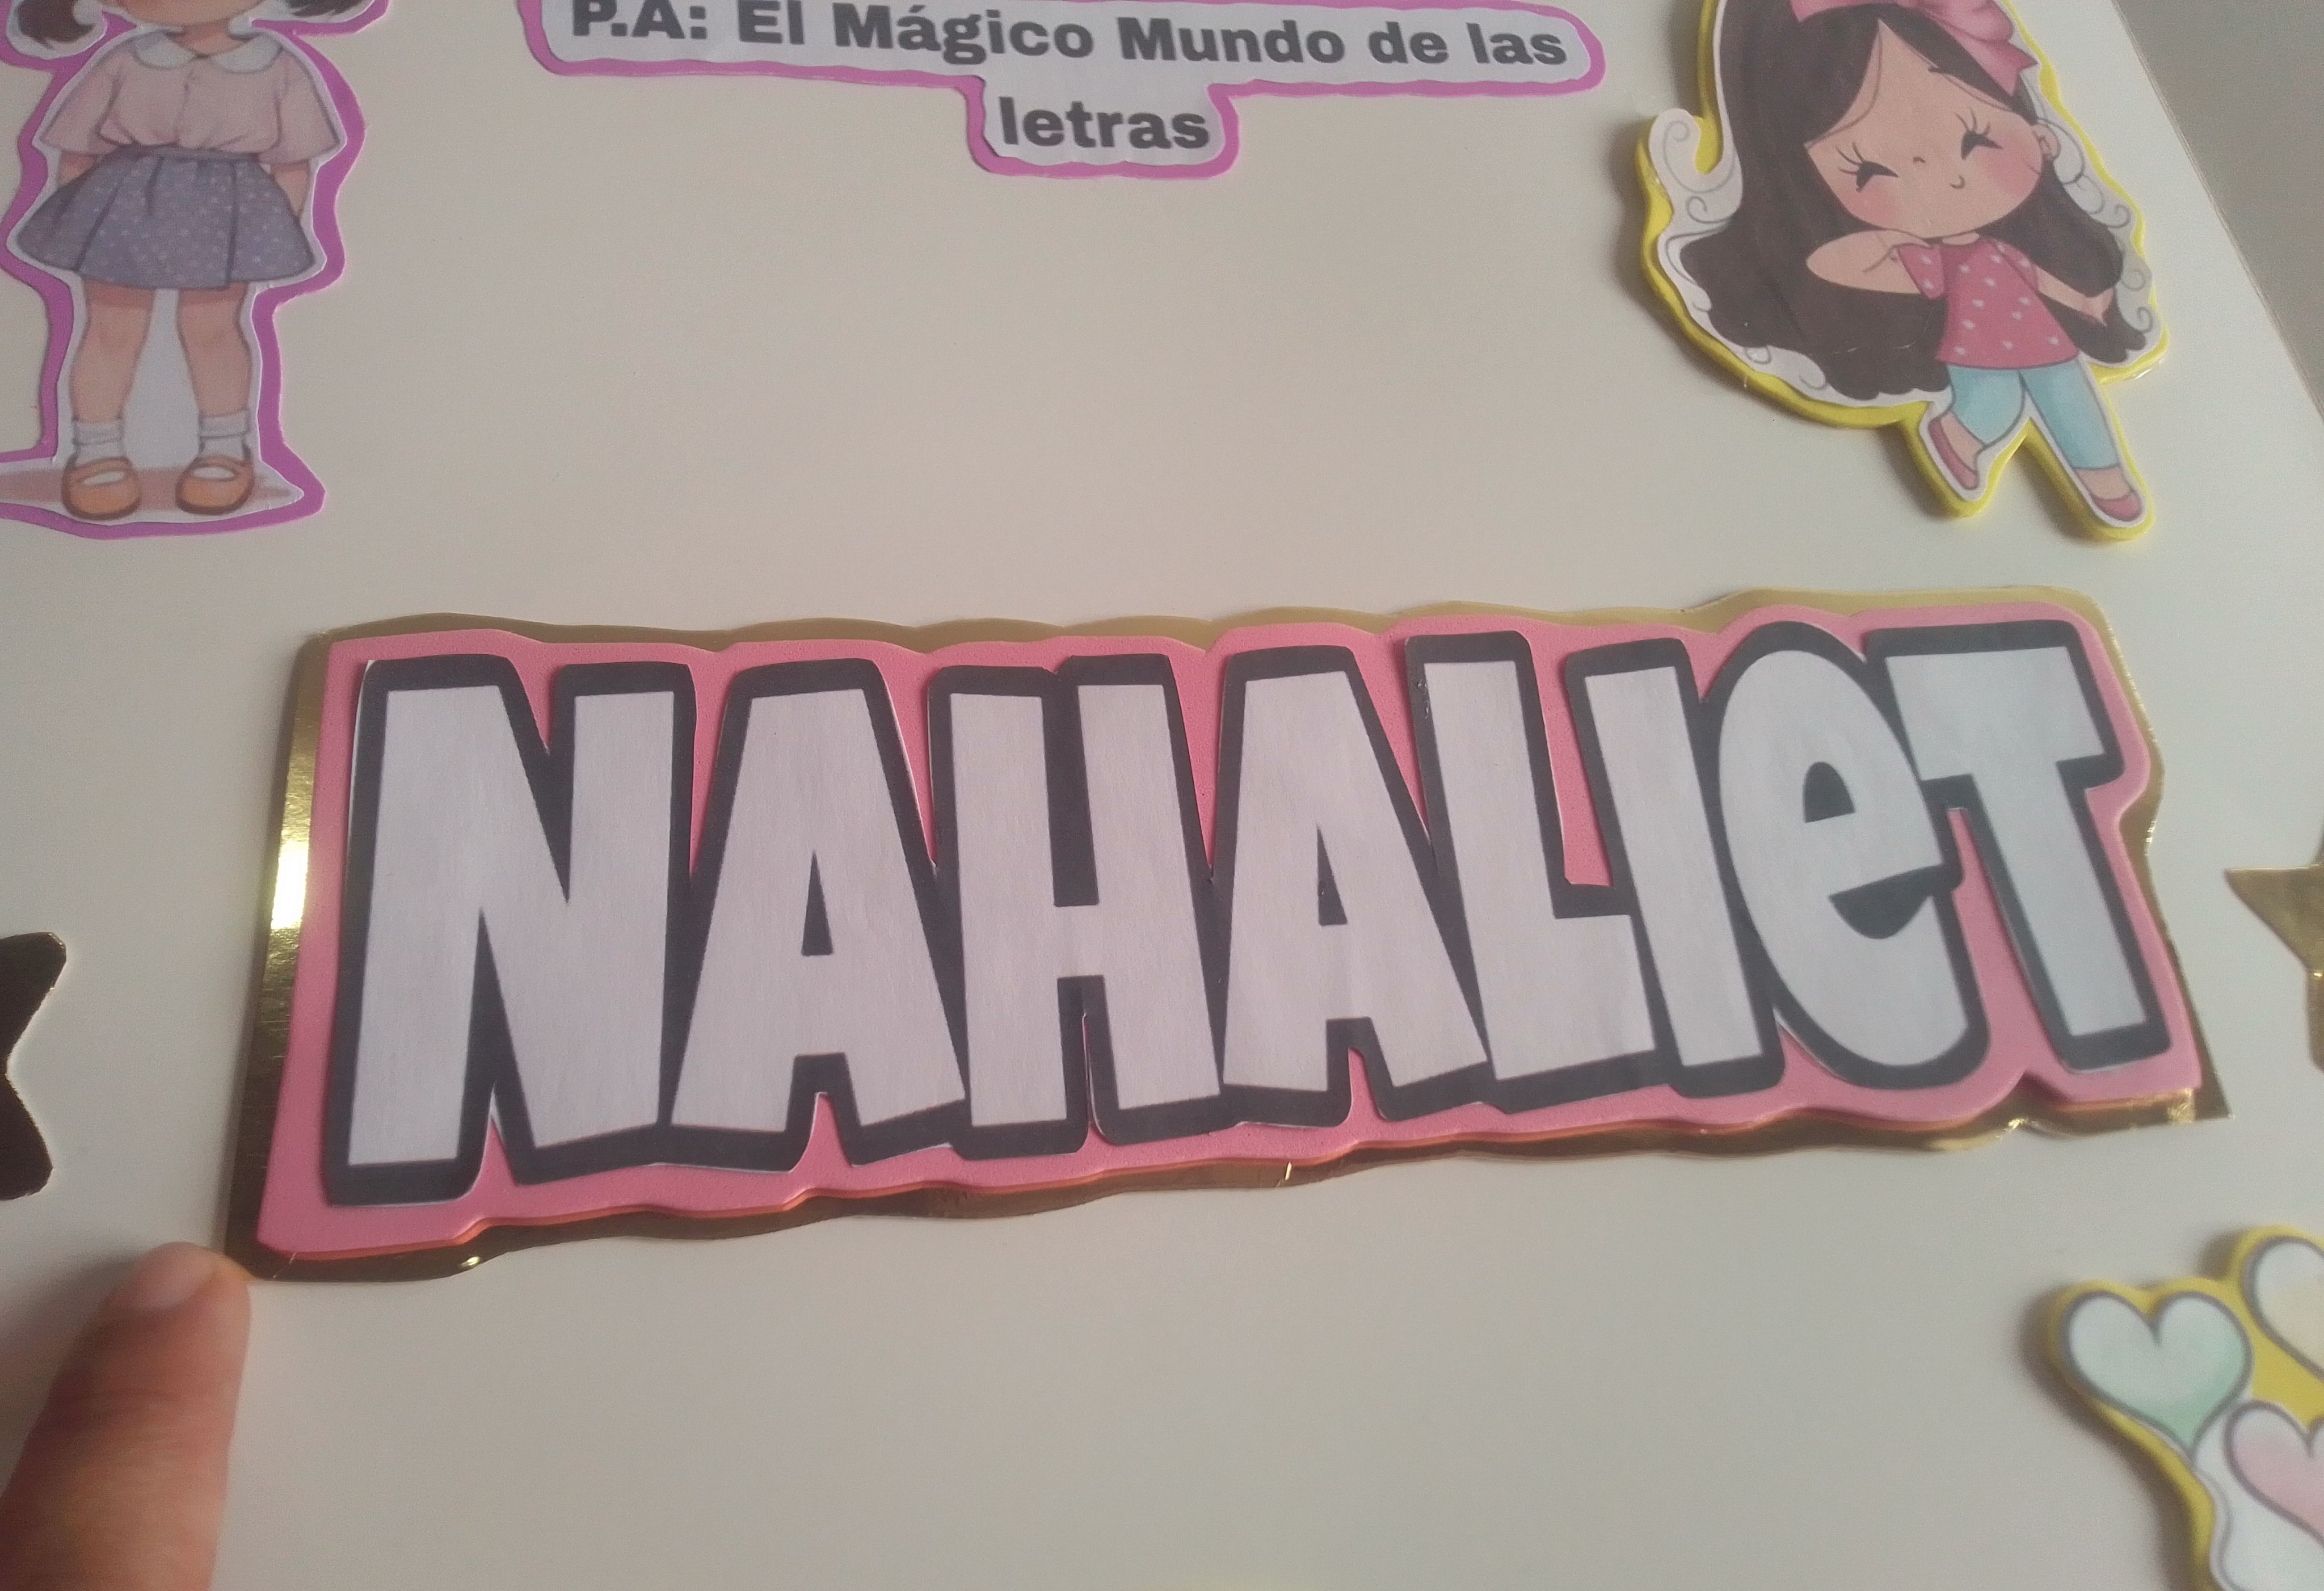
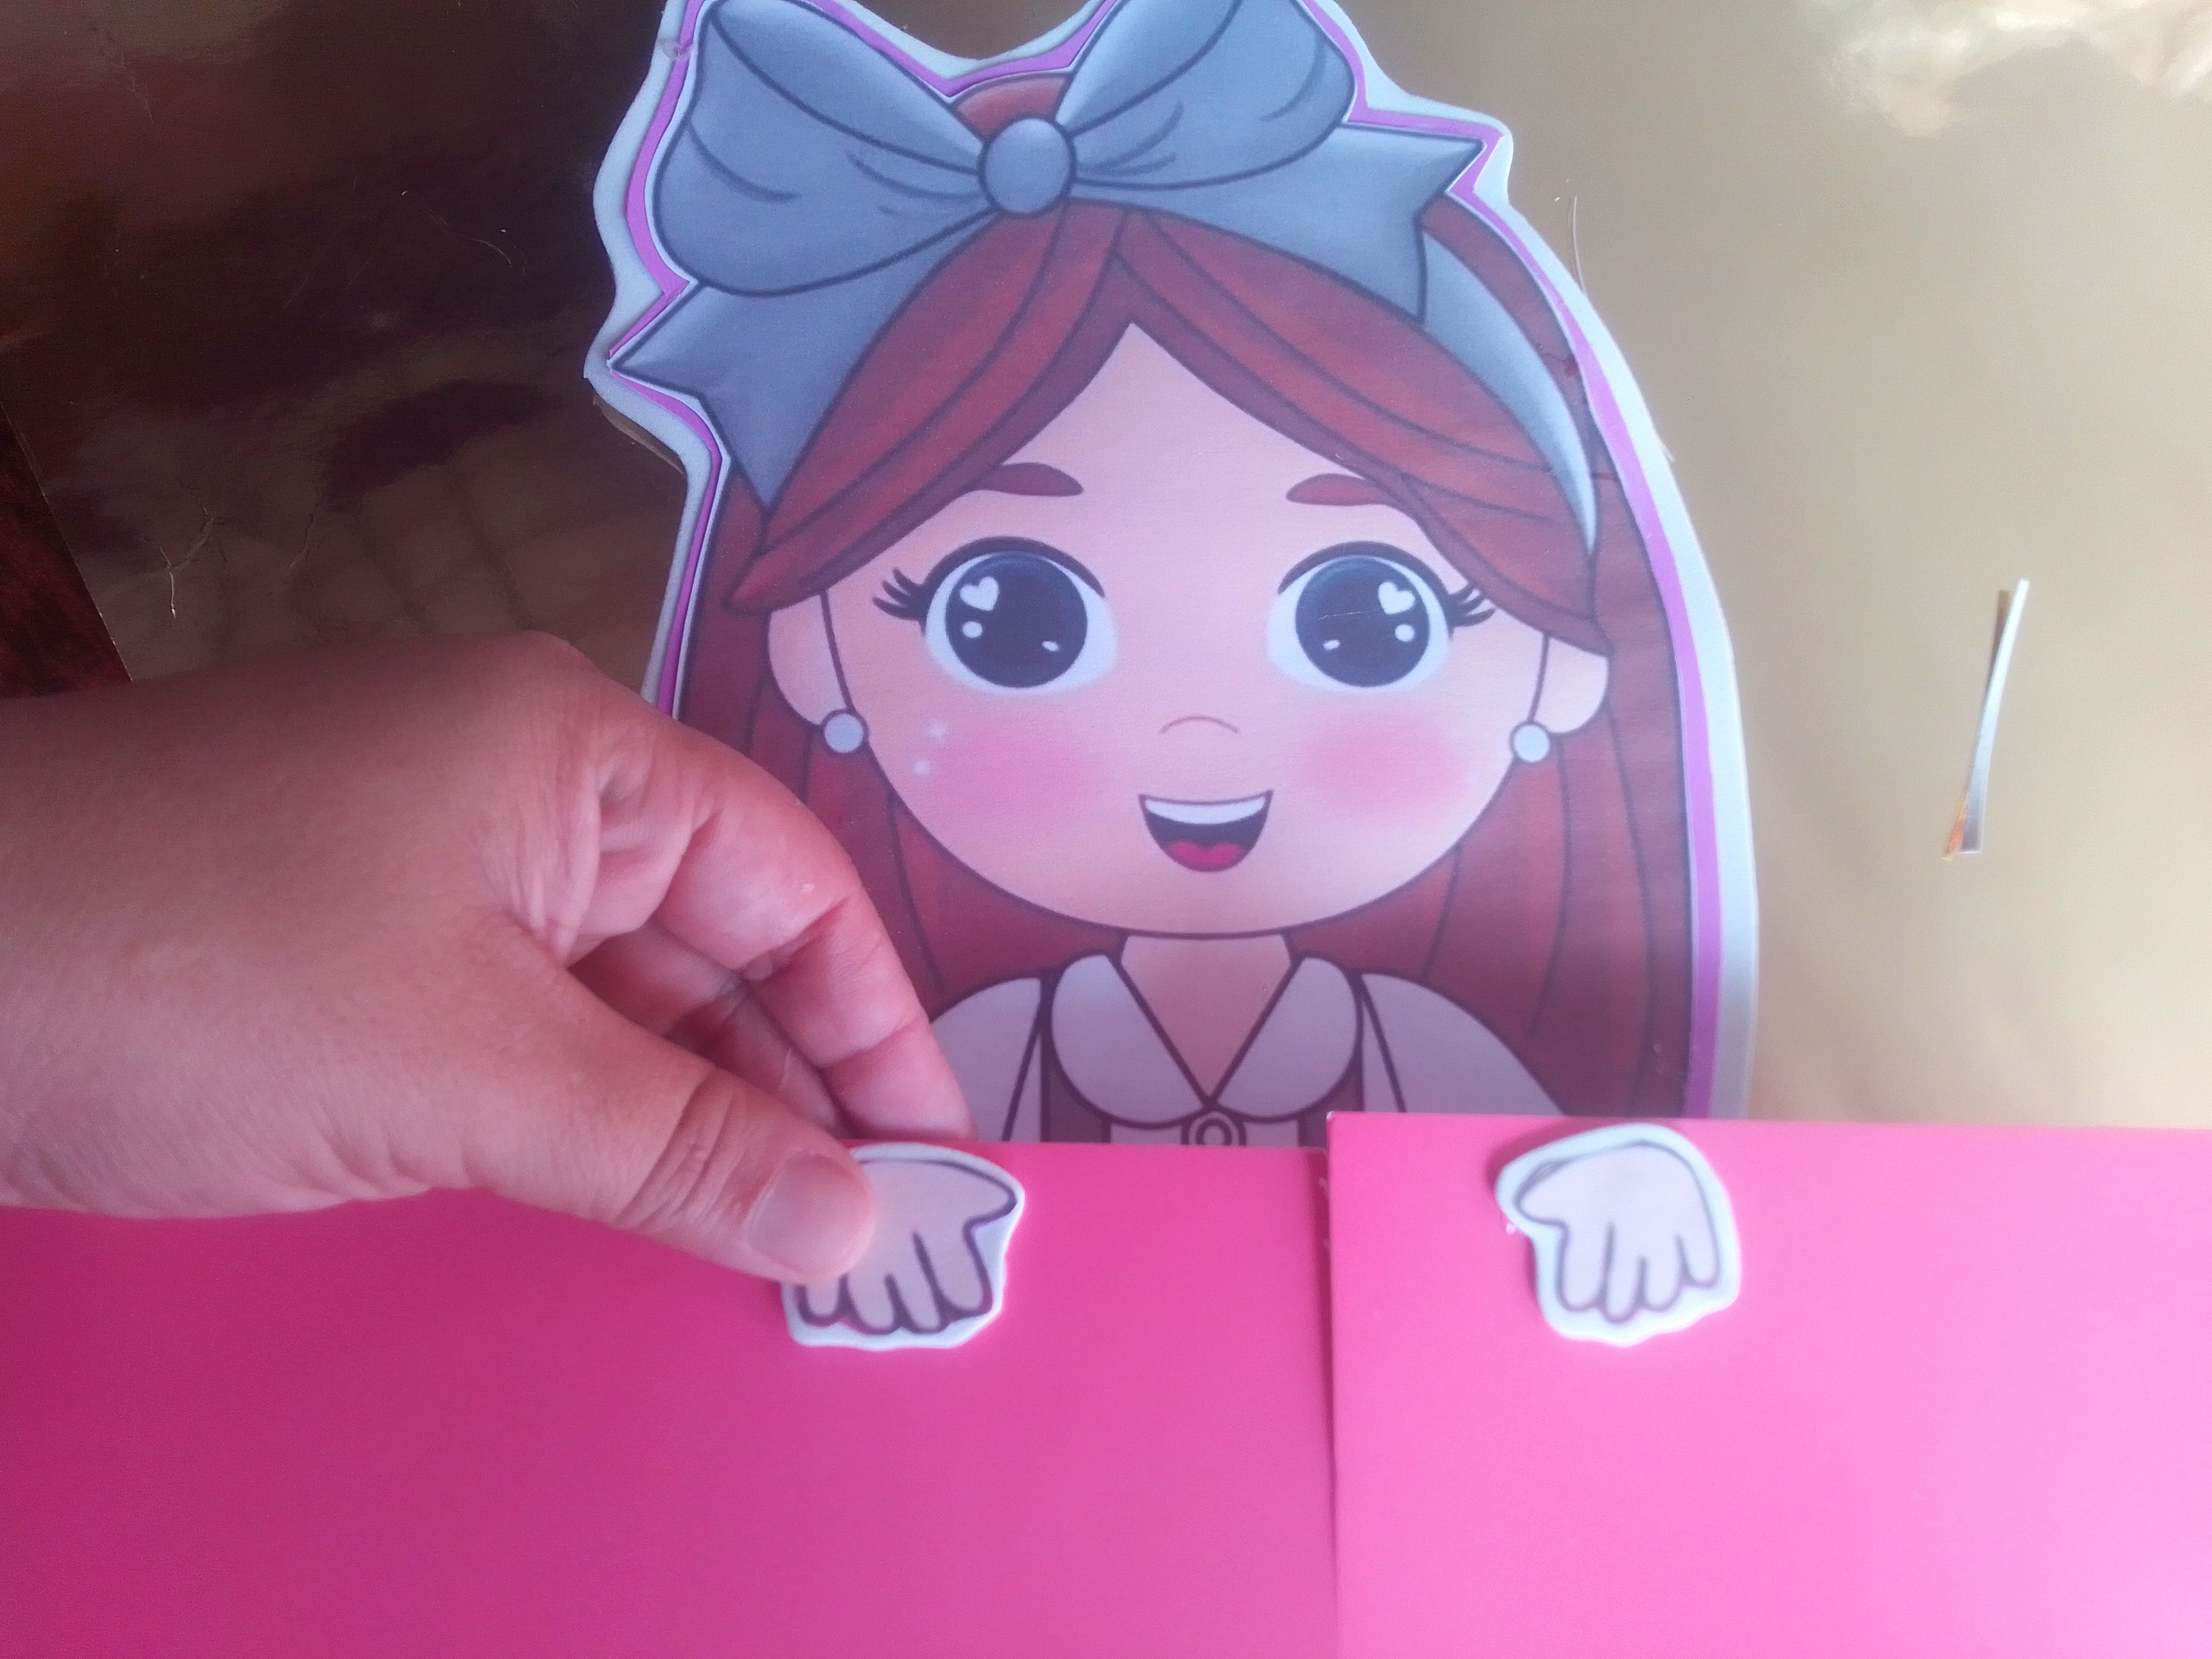
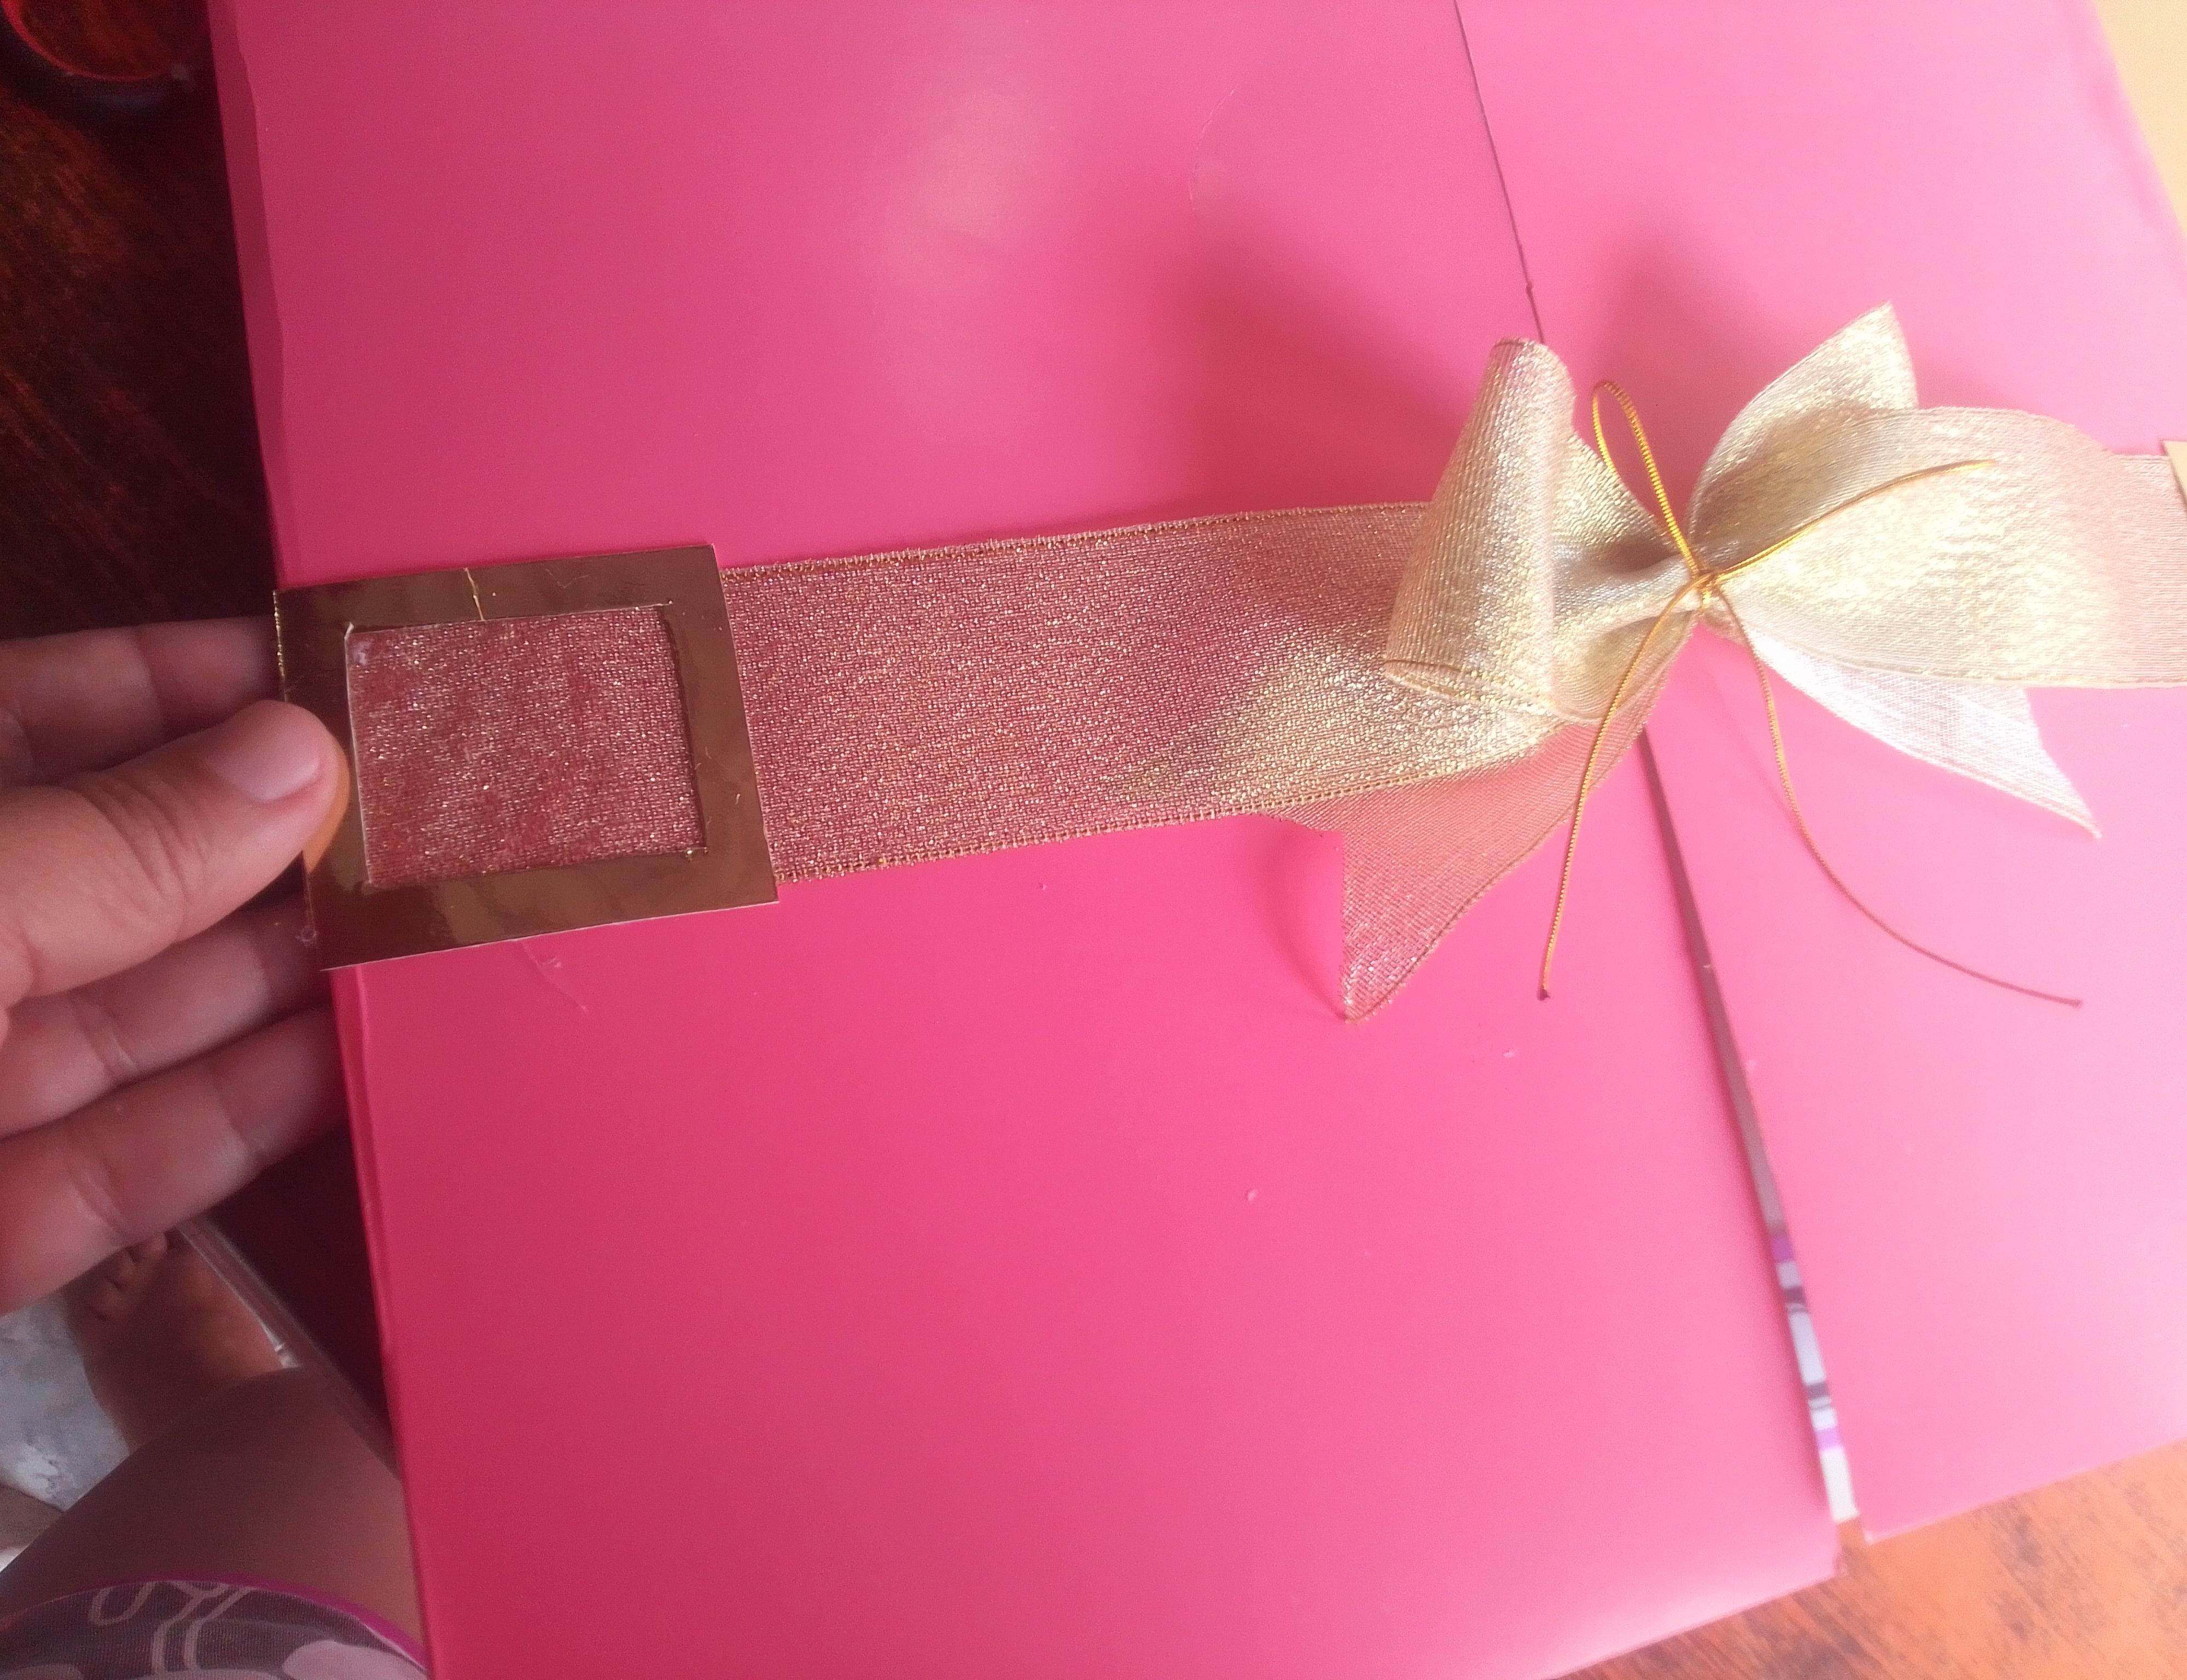
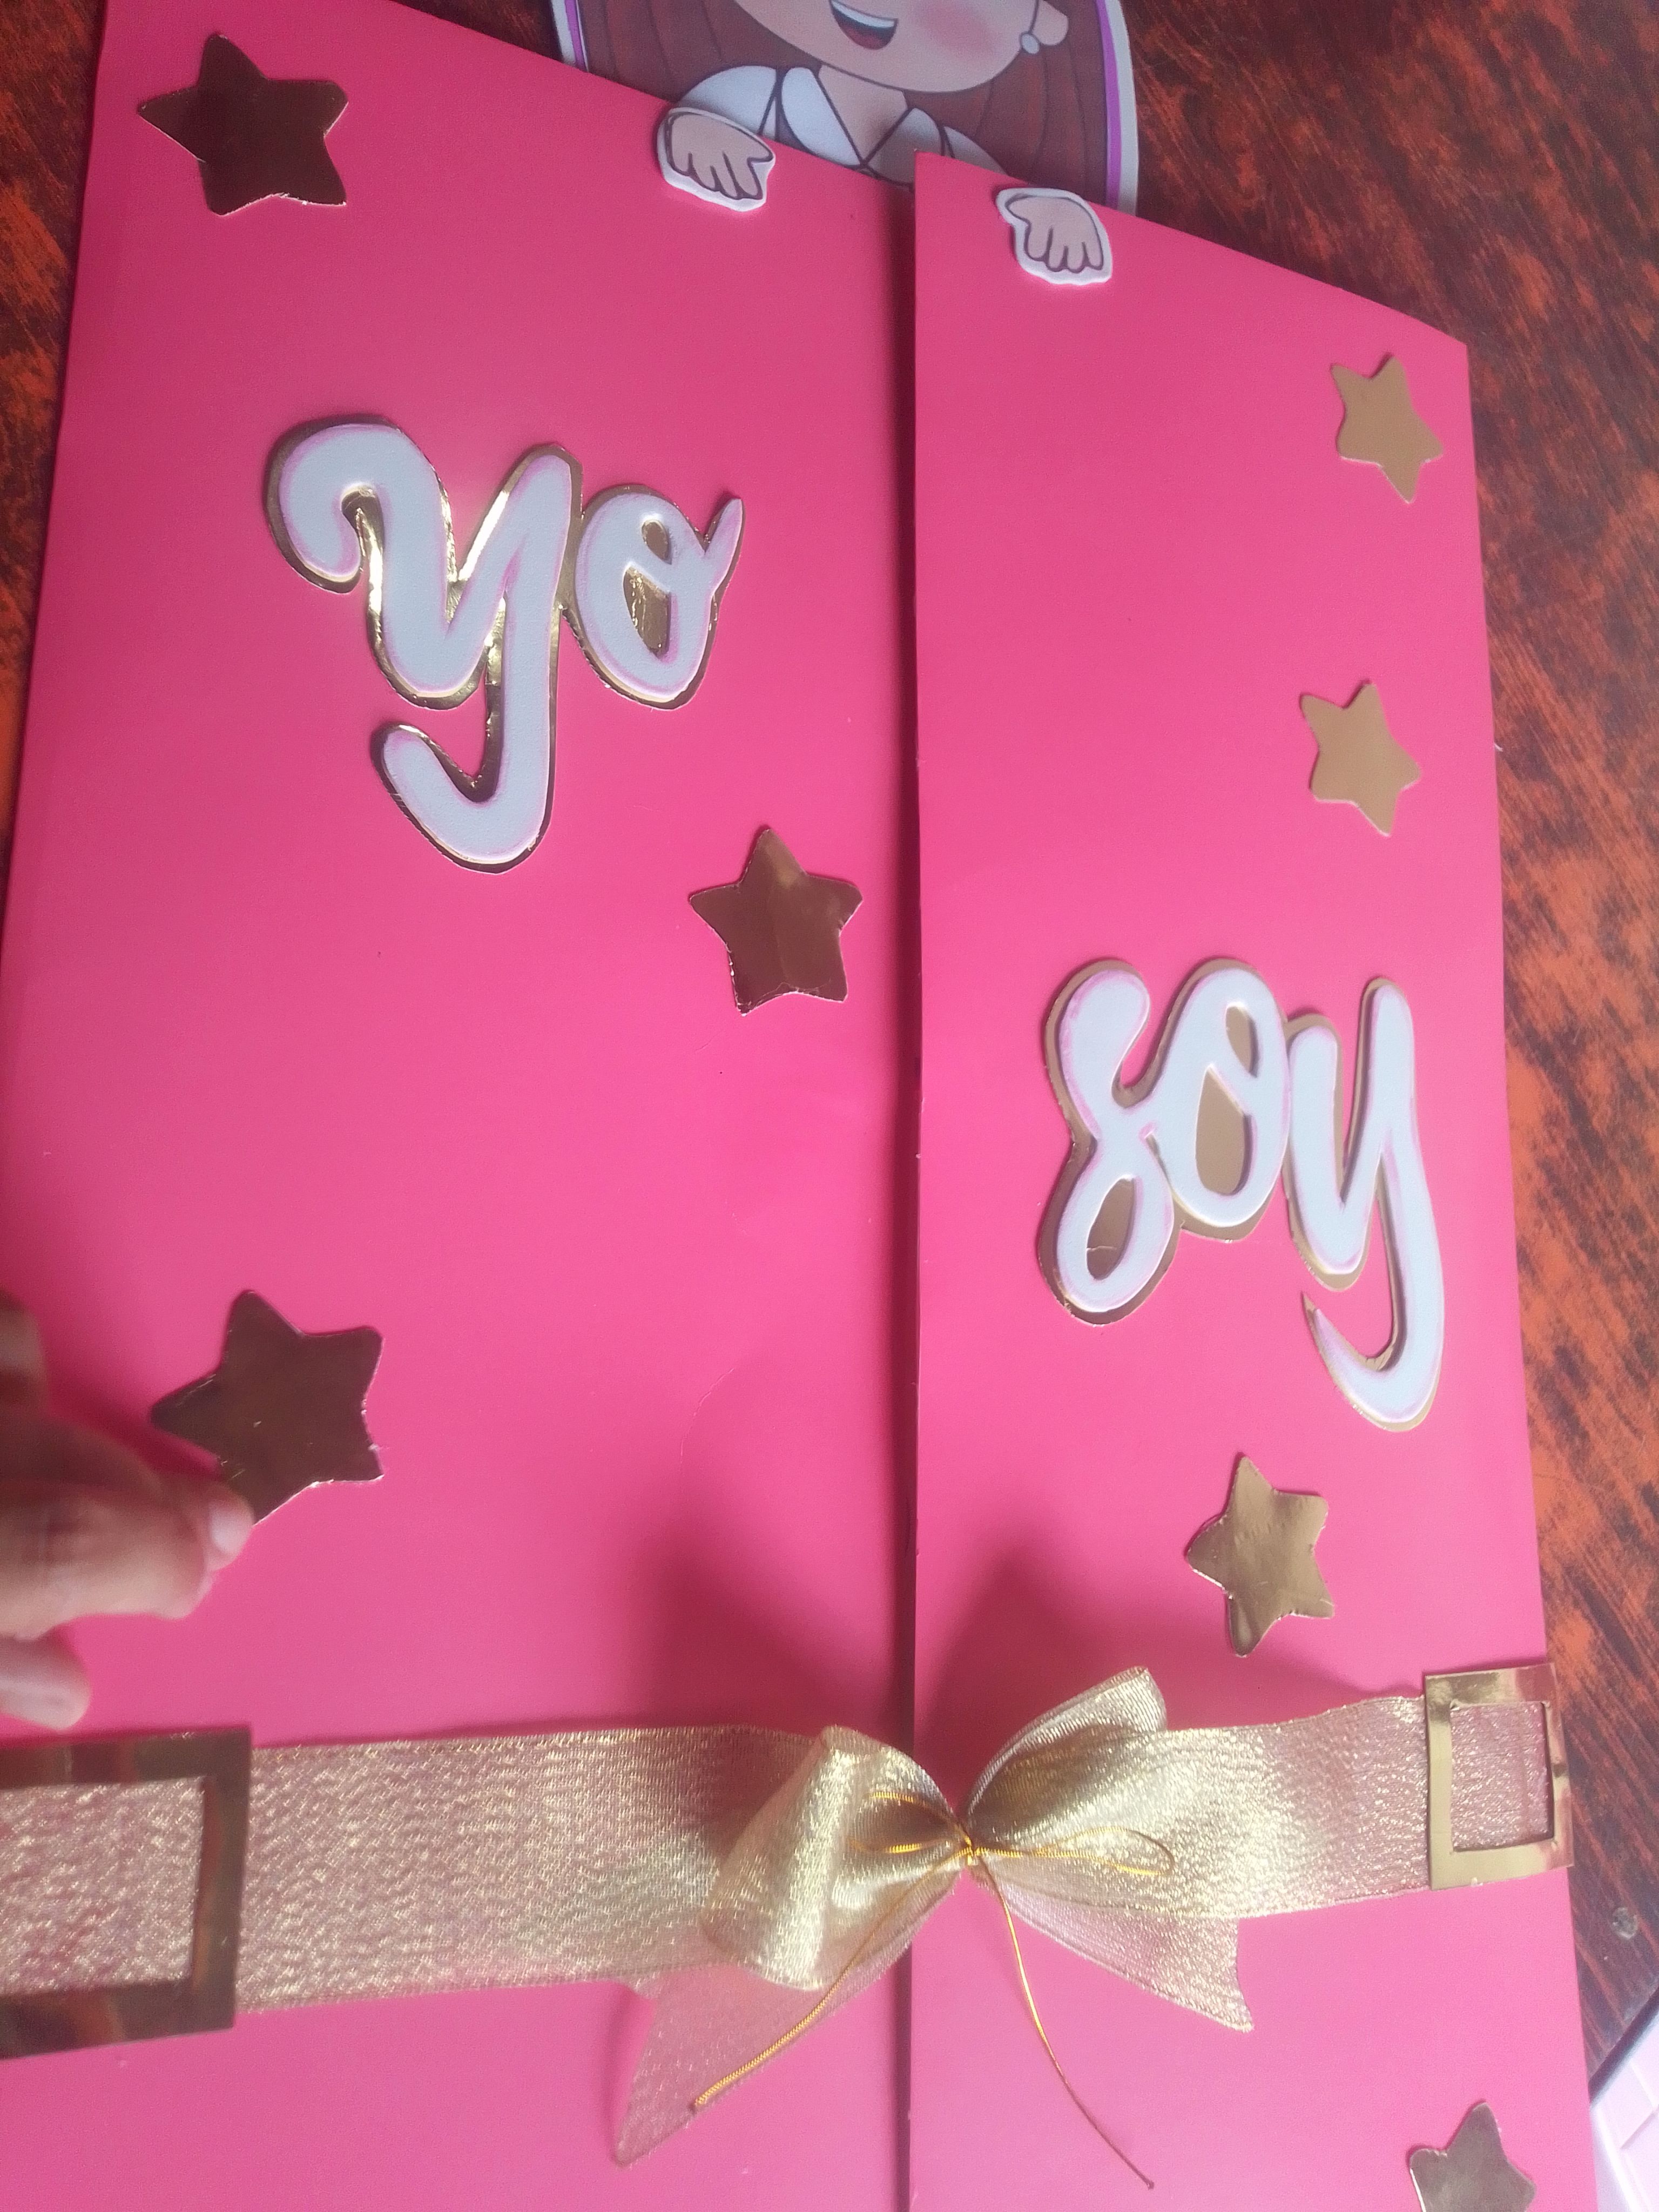
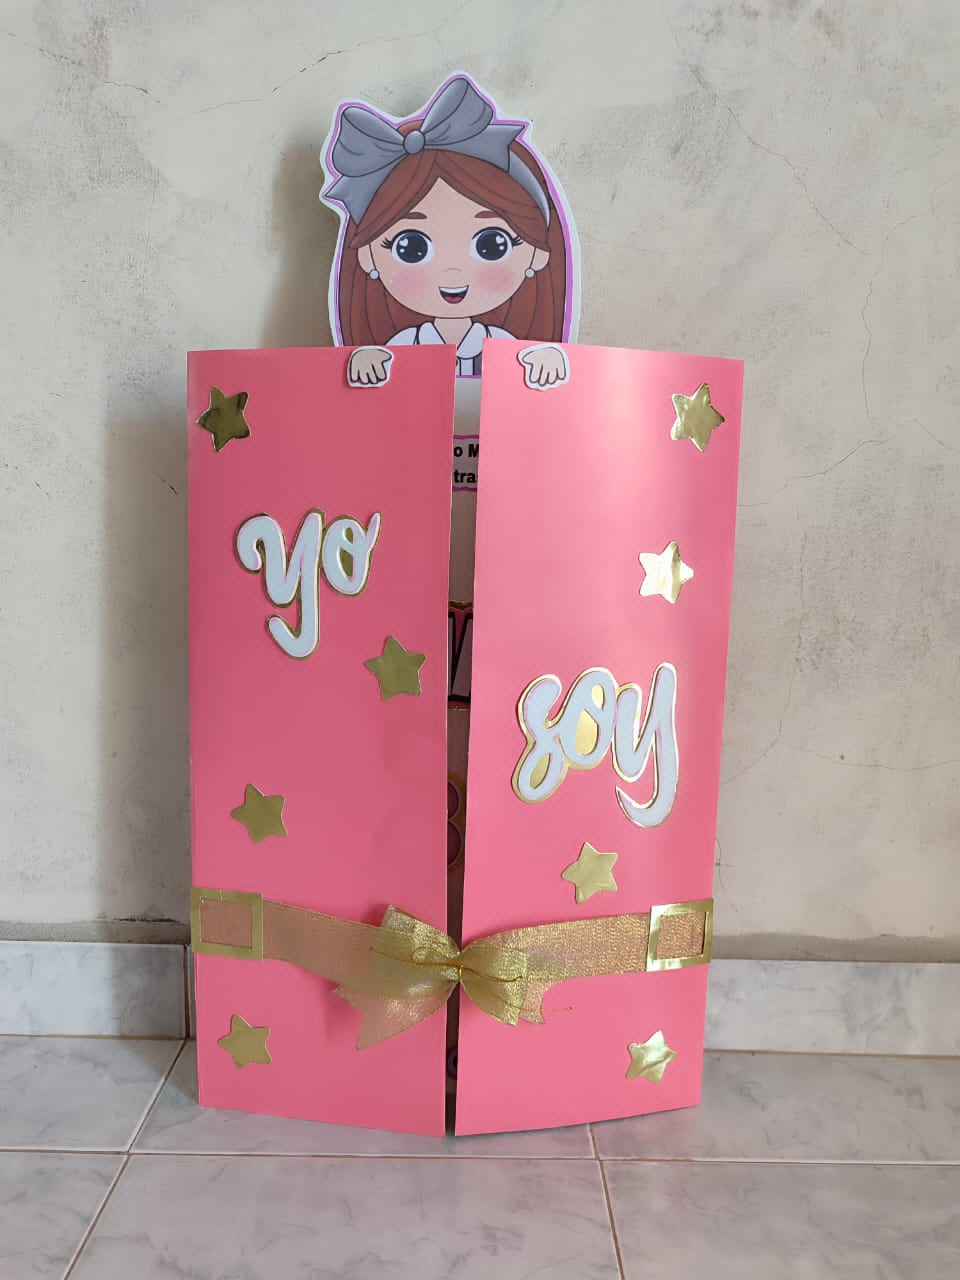
Al terminar de pegar todas las figuras, voy a crear la parte delantera, para esto imprimí una muñequita muy bonita que será básicamente la figura principal, ya que quedará pegada la parte superior, también pegué su manos en cada parte doblada para hacer un pequeño efecto de que abre y cierra el cuaderno. Para cerrarlo y también hacer algo más decorativo realicé un cinturón de cinta y cartulina metalizada a cada lado del Lapbook y termine decorando con algunas estrellas y un diseño de letras “Yo Soy”.
🌟Step 04
When I finish gluing all the figures, I am going to create the front part, for this I print a very pretty doll that will basically be the main figure since the upper part will be glued and I glued its hands on each part folded to make a small effect that opens and closes the notebook. To close it and also do something more decorative, I made a belt of ribbon and metallic cardboard on each side of the Lapbook and finished decorating with some stars and a letter design “I am”.
Resultado!
Resultado!
Result!
Me encanta como se ve este trabajo, definitivamente es algo muy práctico para cualquier estudiante crear; pero para los más pequeñitos es algo muy beneficioso. Espero les guste.
I love how this work looks, it is definitely something very practical for any student to create; but for the little ones it is very beneficial. I hope you like it.
Gracias por tu tiempo y por todo el apoyo, cuéntame que te pareció este proyecto en los comentarios. Dios les bendiga, hasta pronto!
Thank you for your time and all the support, tell me what you thought of this project in the comments. God bless you, see you soon!
Este recurso no lo conocía, nunca lo hice cuando hice te agradezco mis hijos, pero me parece genial y muy didáctico. Te felicito te quedó hermoso
Gracias linda.. me alegro que se de beneficio para usted.. Bendiciones
An engaging and educational DIY project. The lapbook is a great way to make learning interactive and visually appealing. Well done.
Thank you very much.. Very wise words, I think exactly the same..! I'm happy you like it! Blessings.