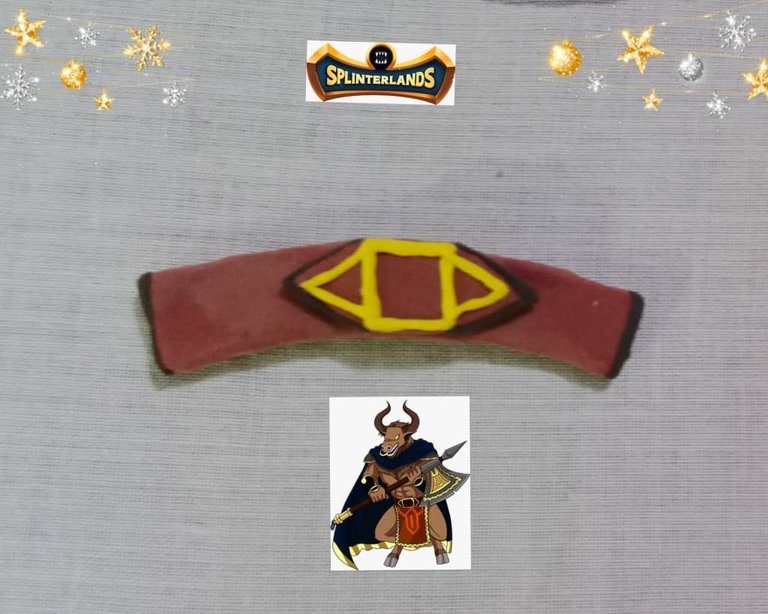
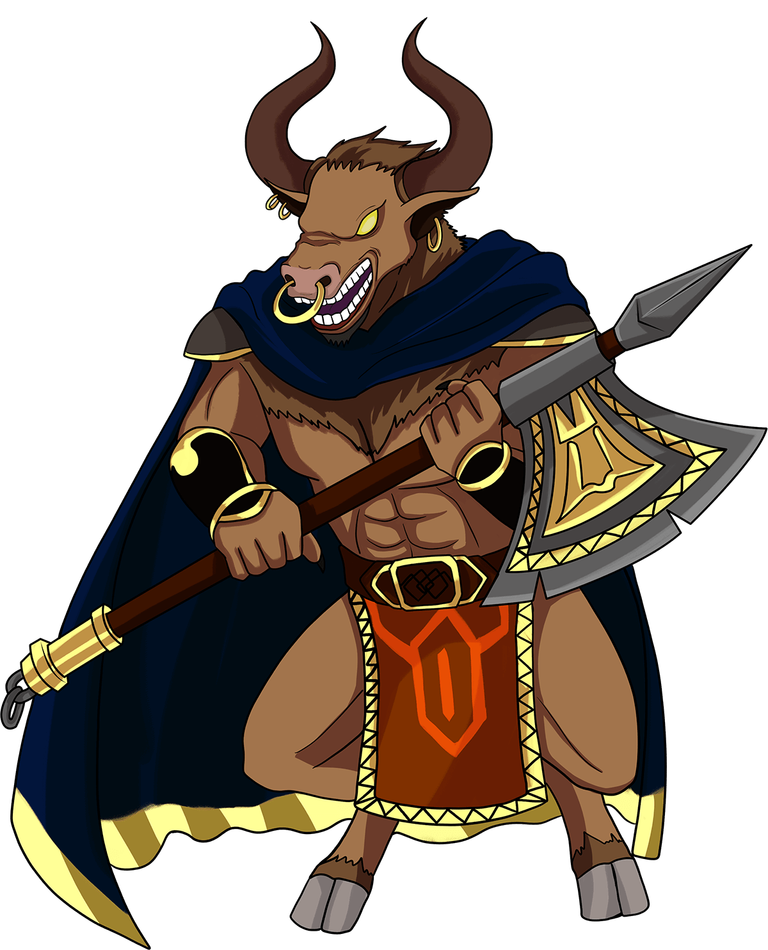
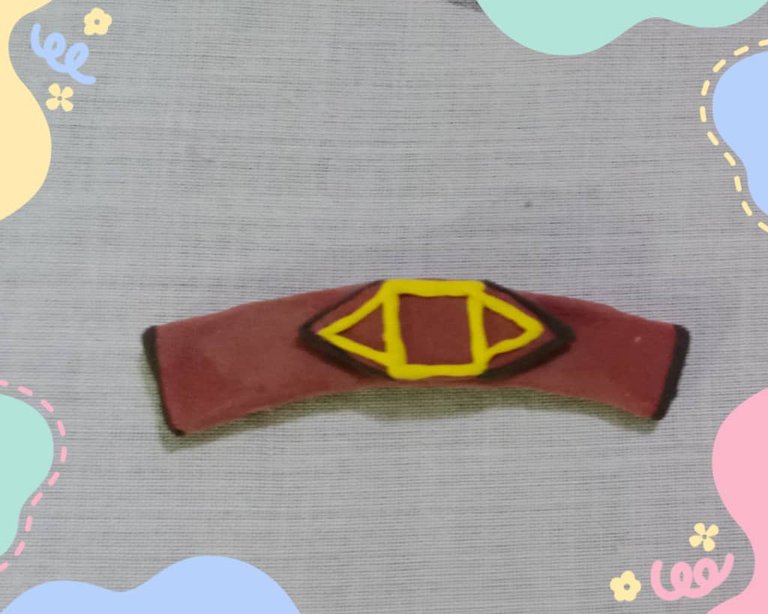
Minotaur Warrior, de Splinterlands quien lleva en el vestuario una correa marrón.Saludos amigos creativos de #hive y comunidad @diyhub, deseo se encuentren bien y tengan una gran semana en unión de sus seres queridos, hoy comparto un proyecto creativo elaborado con foami moldeable, este material me ha gustado mucho y estoy aprovechando los días de vacaciones para moldear, el proyecto es una hebilla inspirada en
Minotaur Warrior, from Splinterlands who wears a brown belt in the costume.Greetings creative friends of #hive and community @diyhub, I wish you are well and have a great week together with your loved ones, today I share a creative project made with moldable foami, I really liked this material and I'm taking advantage of the vacations to mold, the project is a buckle inspired by

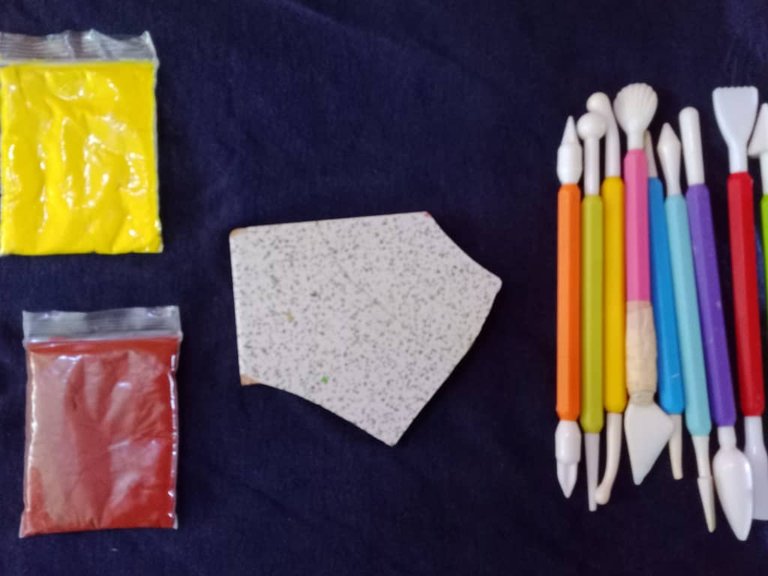
Foami moldeable
Estecas
Superficie plana (cerámica)
Moldable Foami
Castings
Flat surface (ceramic)
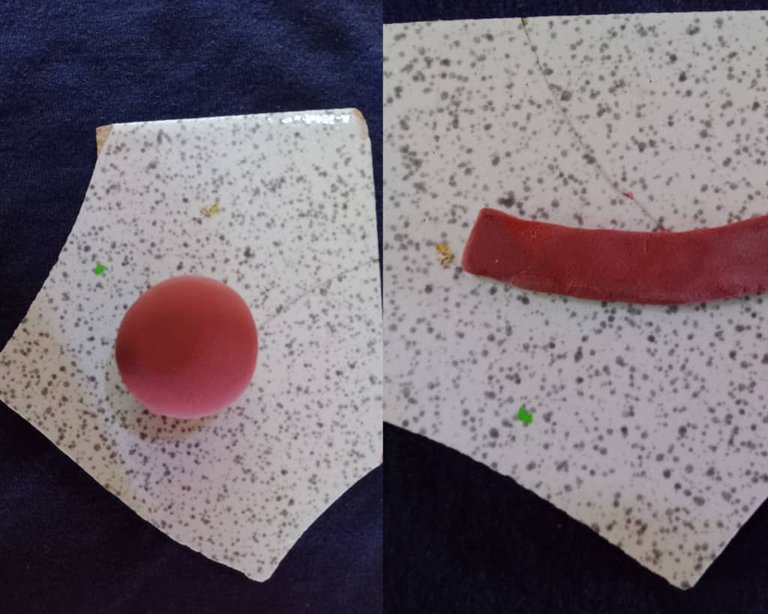
Para hacer la hebilla empezamos moldeando foami marrón, hacemos una bola, luego aplanamos hasta formar un rectángulo, en la parte central con ayuda de las estecas le damos forma de arco.
To make the buckle we start by molding brown foami, we make a ball, then we flatten it to form a rectangle, in the central part with the help of the stecas we shape it as a bow.
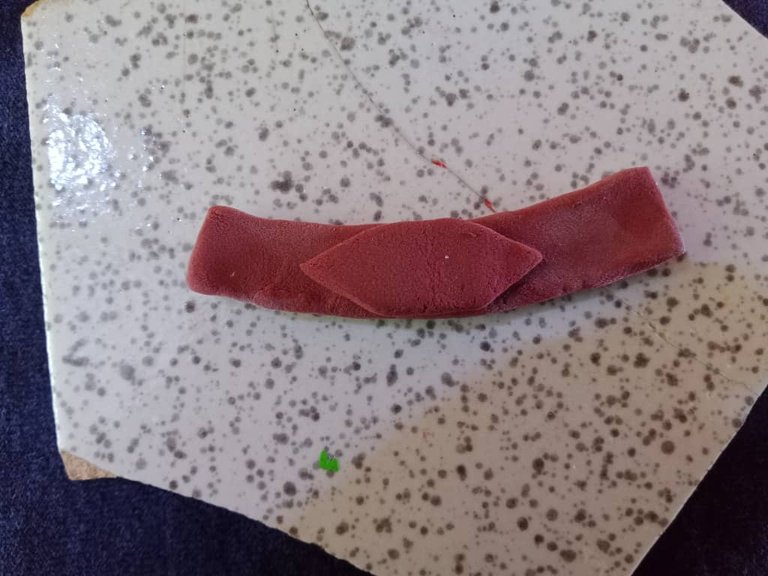
Luego, aplanamos nuevamente y hacemos un rombo, con las estecas damos las terminaciones en punta y pegamos el rombo encima y en el centro del rectángulo que hicimos anteriormente.
Then, we flatten again and make a rhombus, with the stecas we give the point endings and glue the rhombus on top and in the center of the rectangle that we made previously.
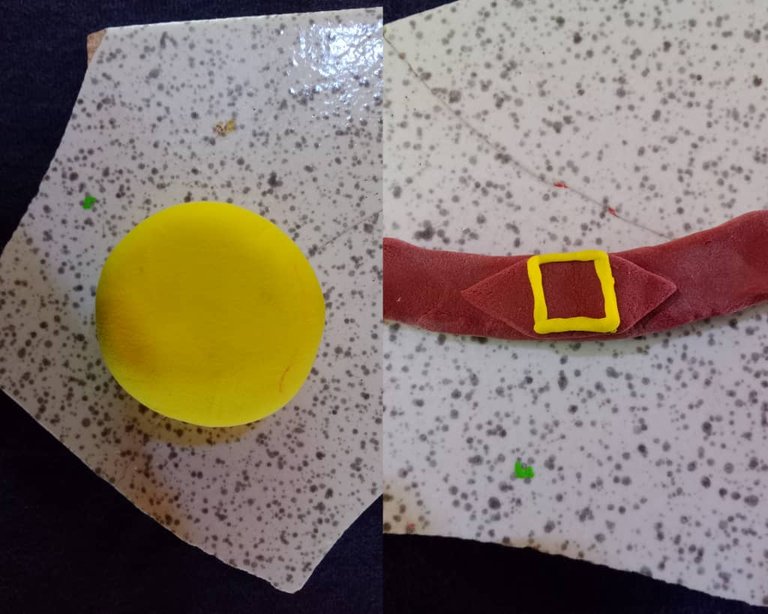
Seguidamente tomamos una porción de foami moldeable amarillo, aplanamos y sacamos tiras delgadas que luego vamos a pegar en el rombo, con las tiras hacemos un cuadrado que pegaremos en el centro y dos triángulos, uno a cada lado del rombo.
Then we take a portion of yellow moldable foami, flatten it and take thin strips that we will glue in the rhombus, with the strips we make a square that we will glue in the center and two triangles, one on each side of the rhombus.
Para terminar la hebilla aplanamos foami moldeable negro y sacamos pequeñas tiras que colocaremos en los bordes del rombo y en las terminaciones de la hebilla, ya con estos pasos tenemos terminado el proyecto.
To finish the buckle we flatten black moldable foami and remove small strips that we will place on the edges of the rhombus and at the ends of the buckle, with these steps we have finished the project.
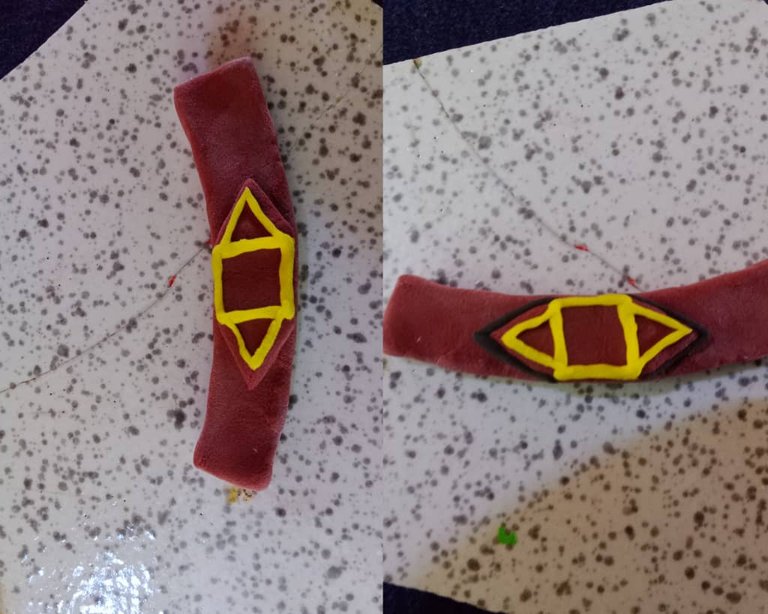
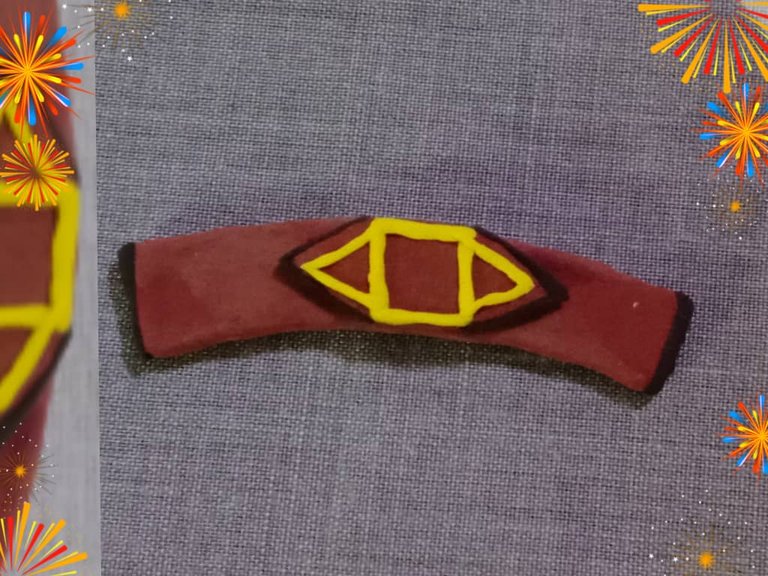
Les muestro el resultado.
I show you the result

Gracias por Leer.
Thank you for reading.
Hasta Luego!
See you later!
    All images are of my authorship captured with an Alcatel phone.


      Todas las imágenes son de mi autoría capturadas con un teléfono Alcatel.
Translated with https://www.deepl.com/translator
How cool bro, I love to see you always inspire yourself in something new based on Splinterlands, you have wonderful ideas and I really enjoy you sharing it on DIYHub, good for you...
Greetings my friend, glad to hear you liked the Splinterlands inspired project, the variety of cards offer a wide source of inspiration.
Happy Wednesday!
Thank you very much!
My friend, what a great idea you have had, it is very original that you shared the elaboration of this belt, a nice detail to enhance Splinterlads, Hive and our DIYHub community, congratulations!
Hi @diyhub, glad to hear you liked the project, grateful for the support.
Regards!
Congratulations @samuell12! You have completed the following achievement on the Hive blockchain And have been rewarded with New badge(s)
Your next target is to reach 10000 upvotes.
You can view your badges on your board and compare yourself to others in the Ranking
If you no longer want to receive notifications, reply to this comment with the word
STOPCheck out our last posts:
Thanks @hivebuzz.
Thanks for sharing! - @isaria
