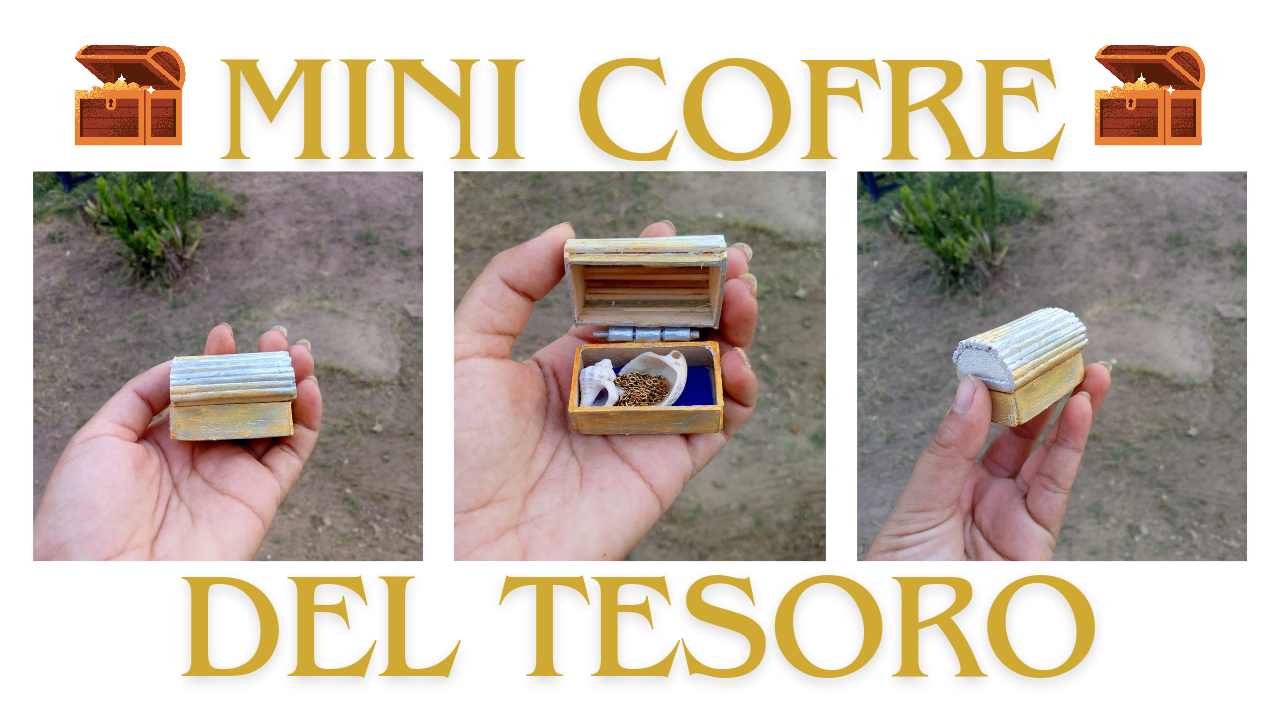
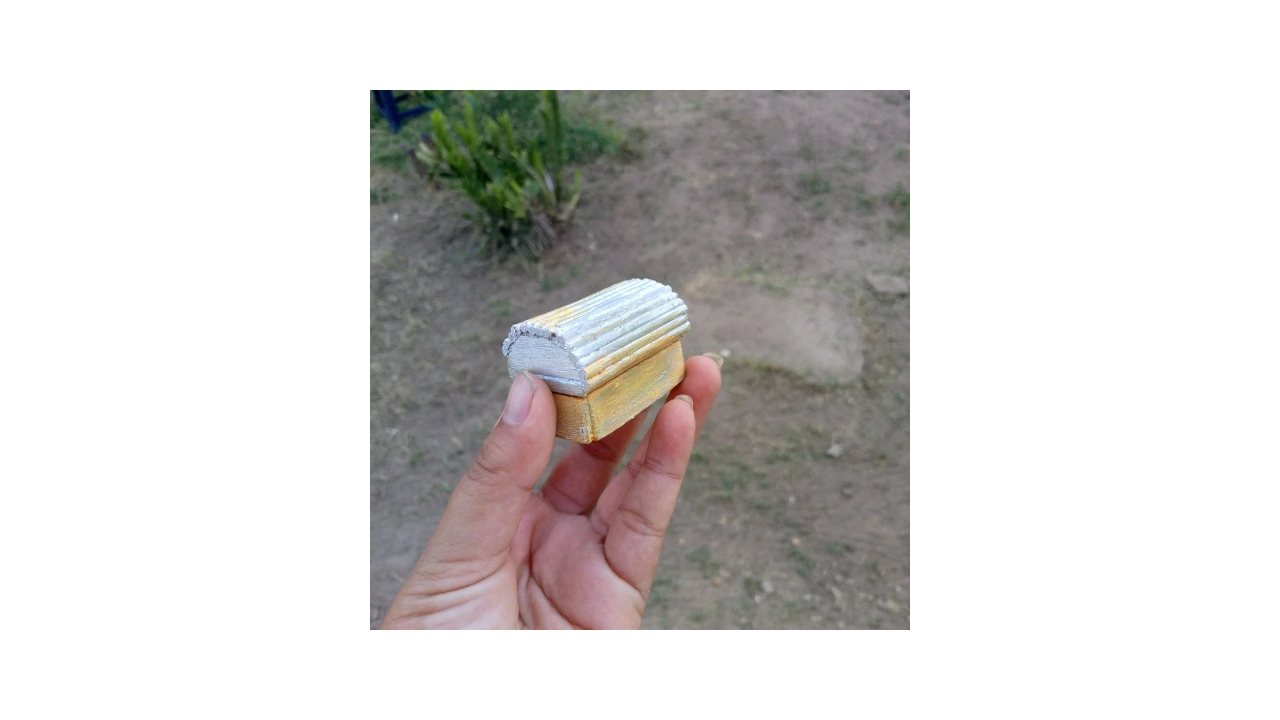
Hello, hello, greetings to all the friends of the DIYHub community. I am here on this beautiful day today to show you how I made a mini chest with pallets and wooden sticks. This chest is intended to complete my desk decoration. In it I can put things that are valuable memories. I made it mini because, as I said, the material I made it with are pallets and sticks, and I would have liked to have more pallets to make a bigger chest. I hope you like this chest and the idea I had when making it with pallets.
(Materiales:)||(Materials:)
- Tijeras
- Silicón líquido
- 2 paletas de helado
- 4 palitos de madera
- Pintura blanca
- Marcador en gel plateado y dorado
- Regla y lápiz
- Scissors
- Liquid silicone
- 2 popsicle sticks
- 4 wooden sticks
- White paint
- Silver and gold gel marker
- Ruler and pencil
(Procedimiento:)||(Procedure:)
Paso nro 1
Paso nro 1
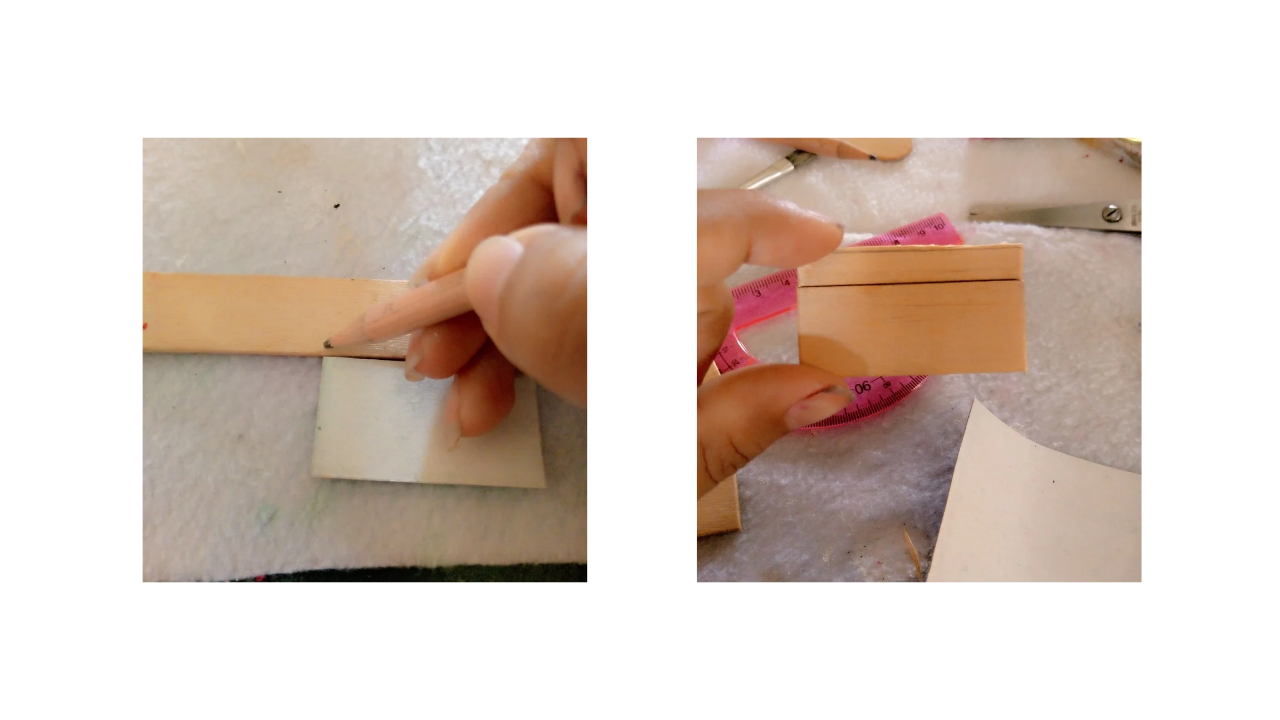
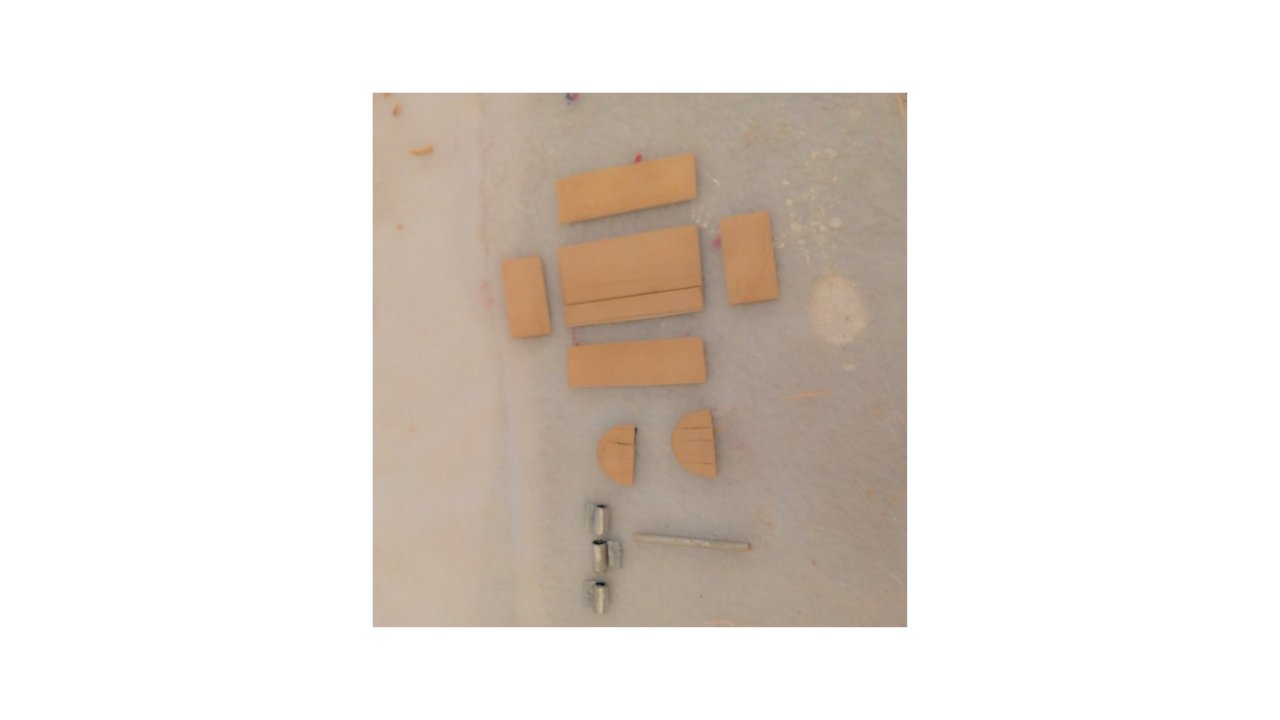
The first step I took was to mark the measurements of 4 cm long and 2 cm wide on the pallets. This is the measurement of the base. With these dimensions, I will proceed to make the other parts of the chest, such as the sides and the lid.
Paso nro 2
Paso nro 2
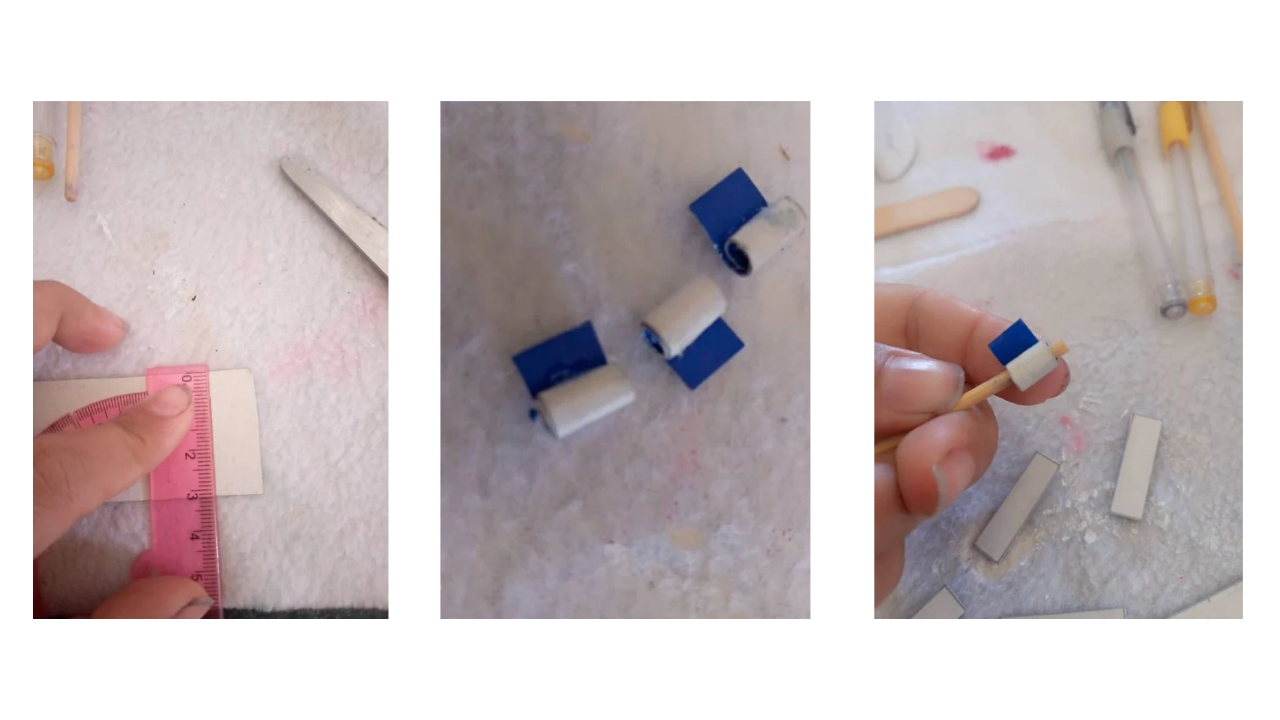
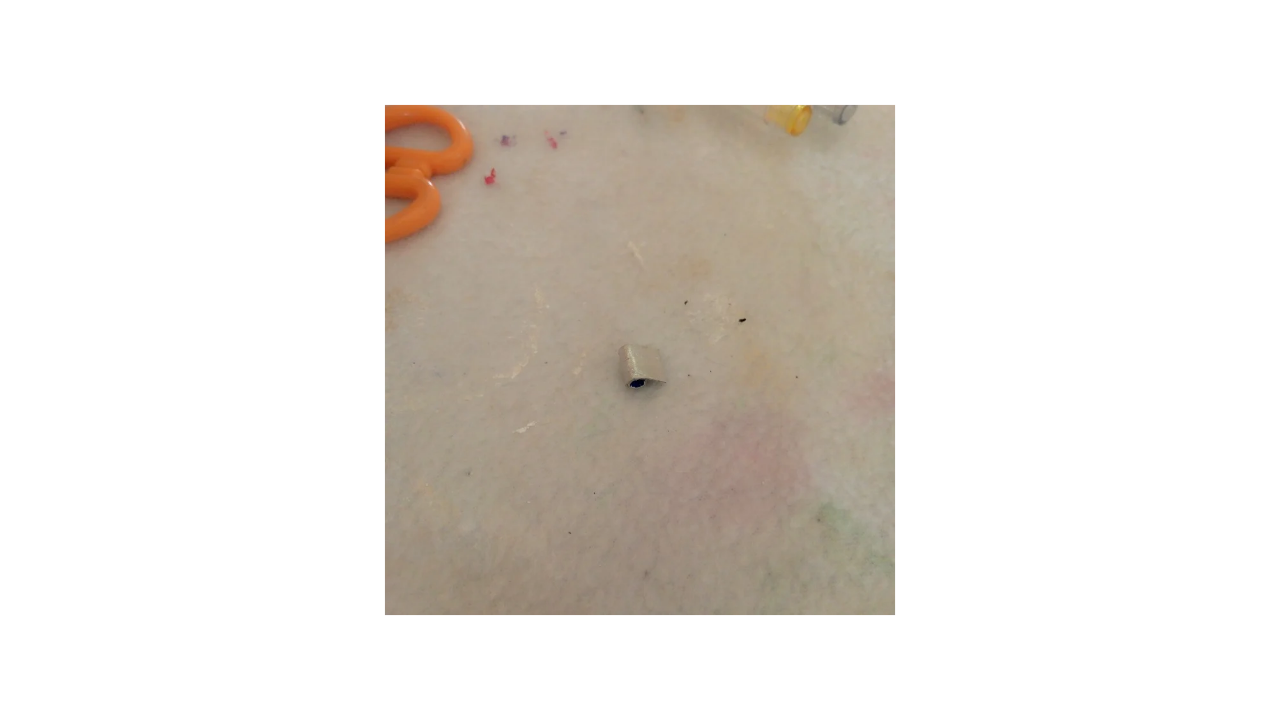
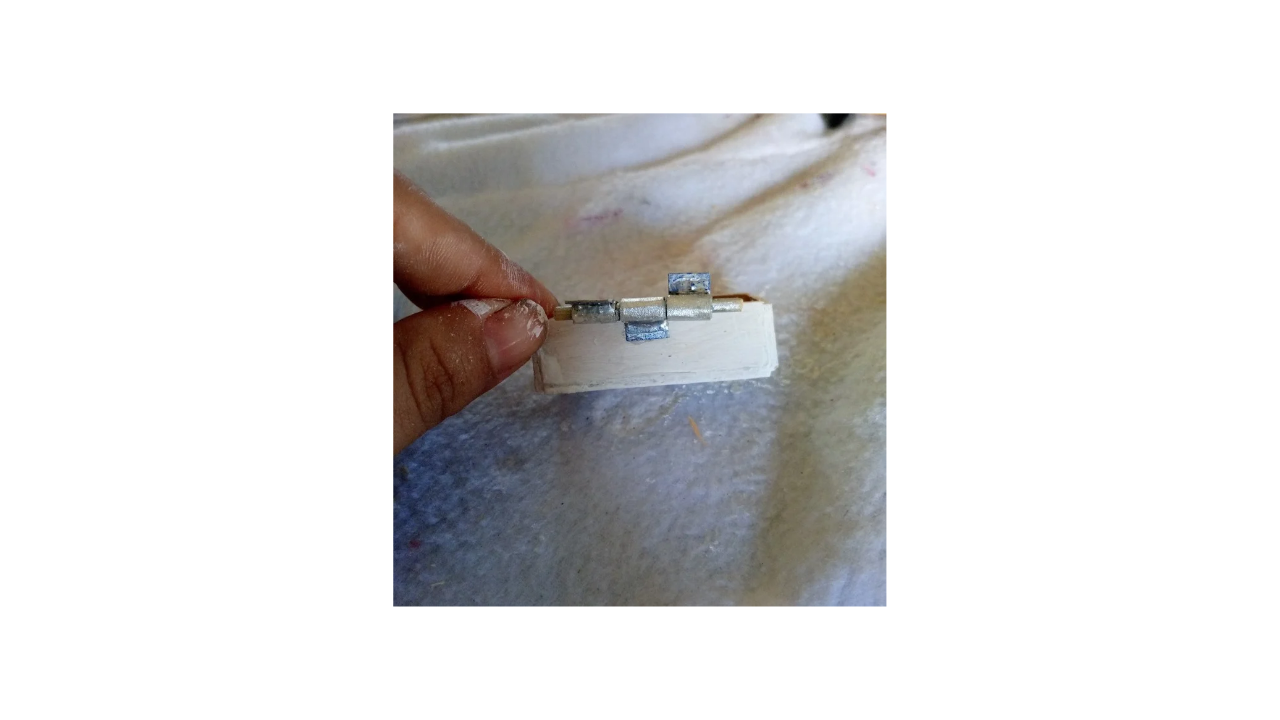
I also made the hinges for the chest. To do this, I used pieces of cardboard that I cut about 3 cm long and not too wide, as I didn't want them to be too big. Then, I took a wooden stick and liquid silicone. I rolled the cardboard around the stick, leaving a little bit of excess. Finally, with the silver gel marker, I gave it a finish that simulates metal.
Paso nro 3
Paso nro 3
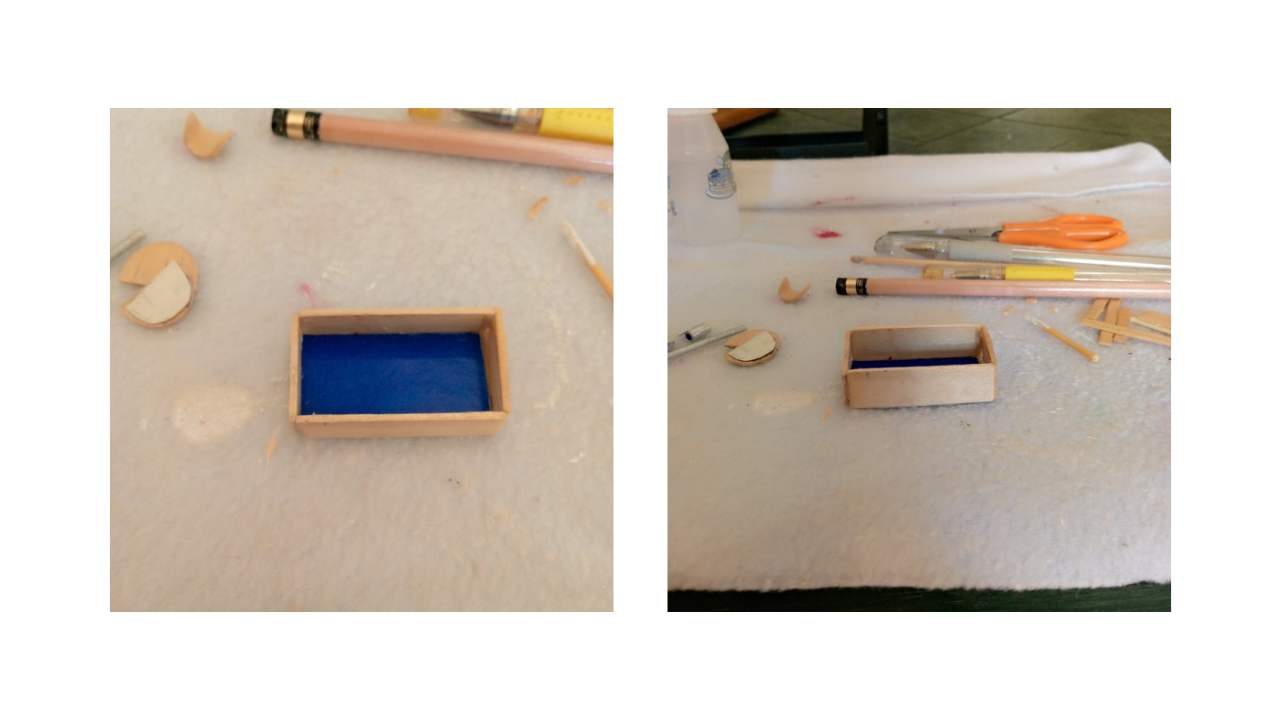
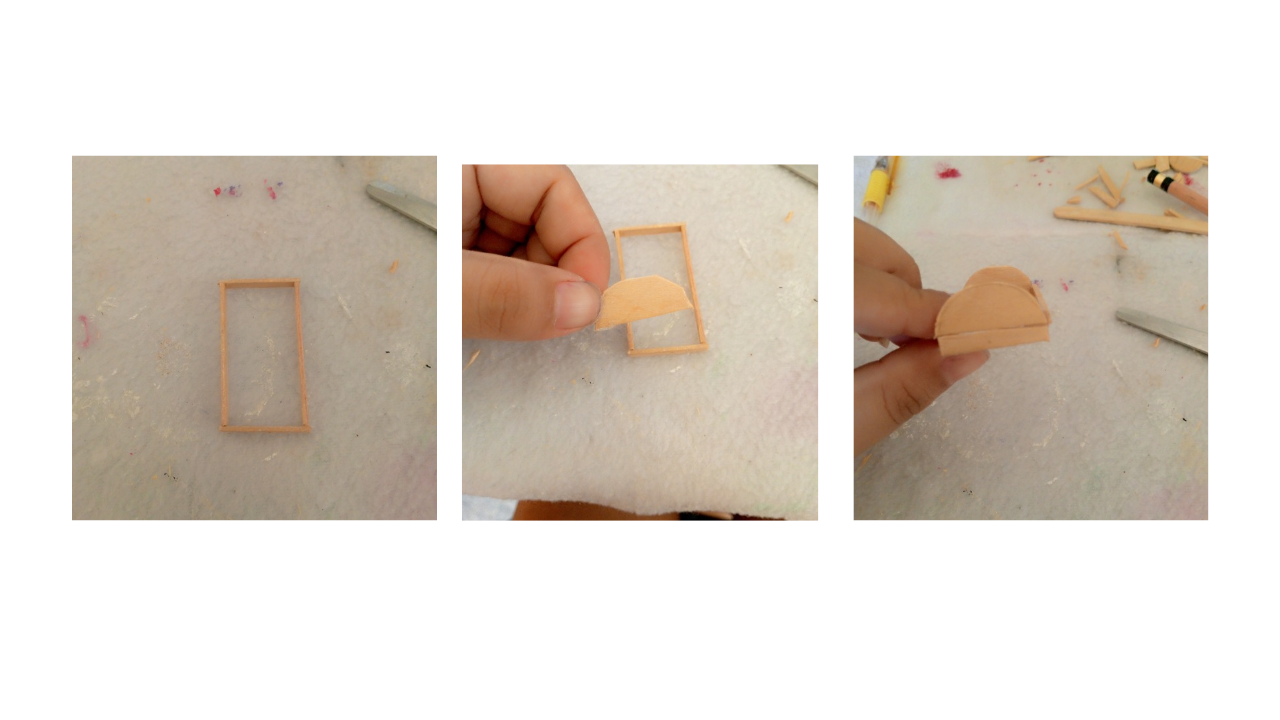
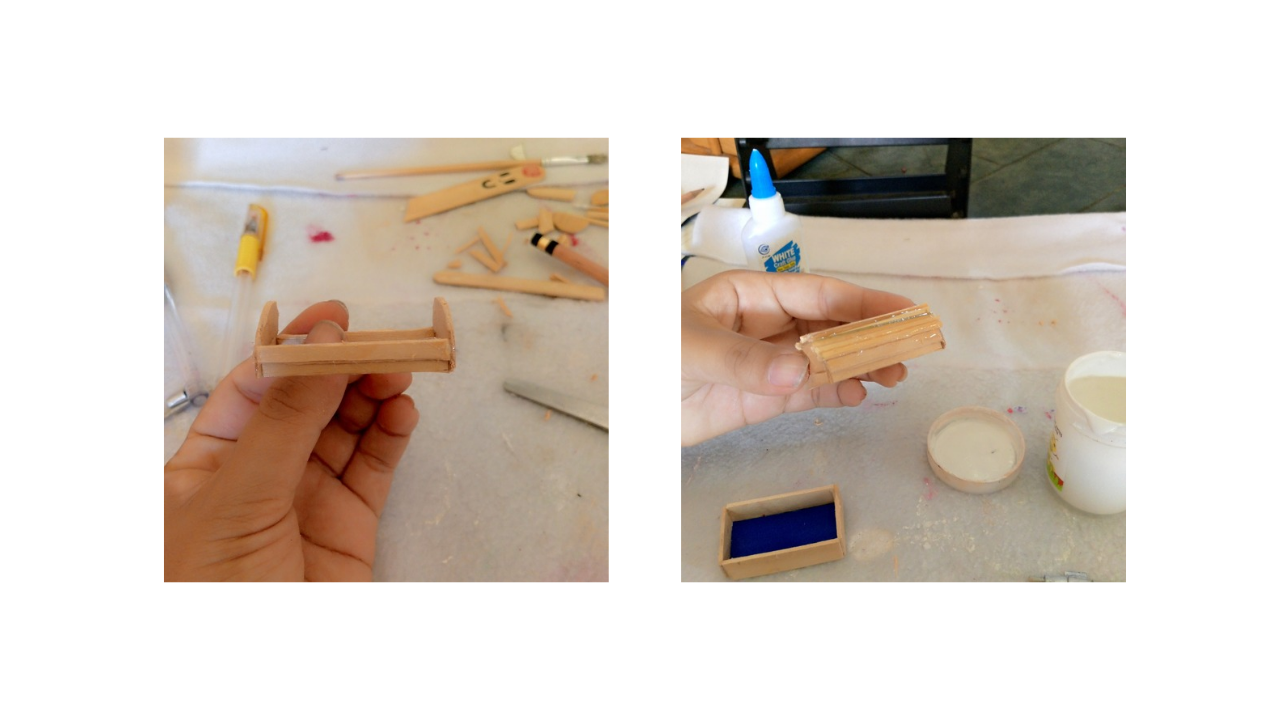
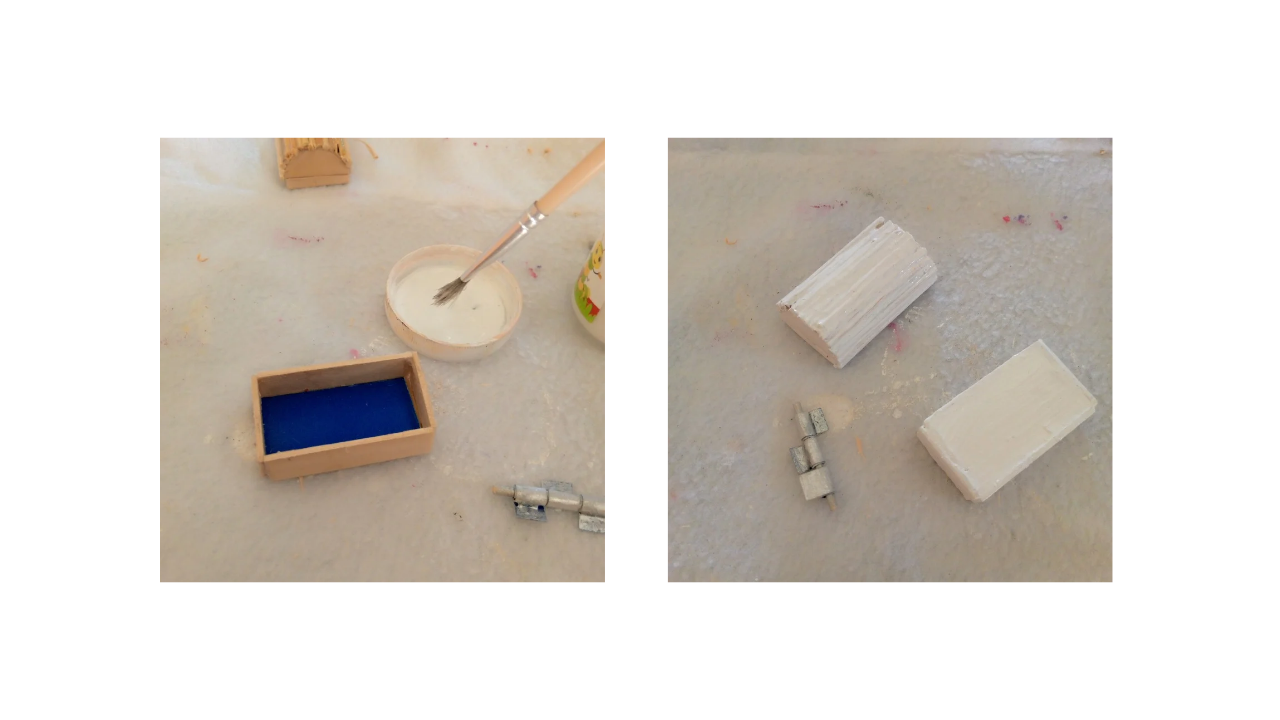
Now that I have the chest pieces ready, the next step is to glue them together. First, I assembled the bottom part. Then, I worked on the lid, which has an arched shape. Around the lid part, I glued the wooden sticks following the shape of the lid.
Paso nro 4
Paso nro 4
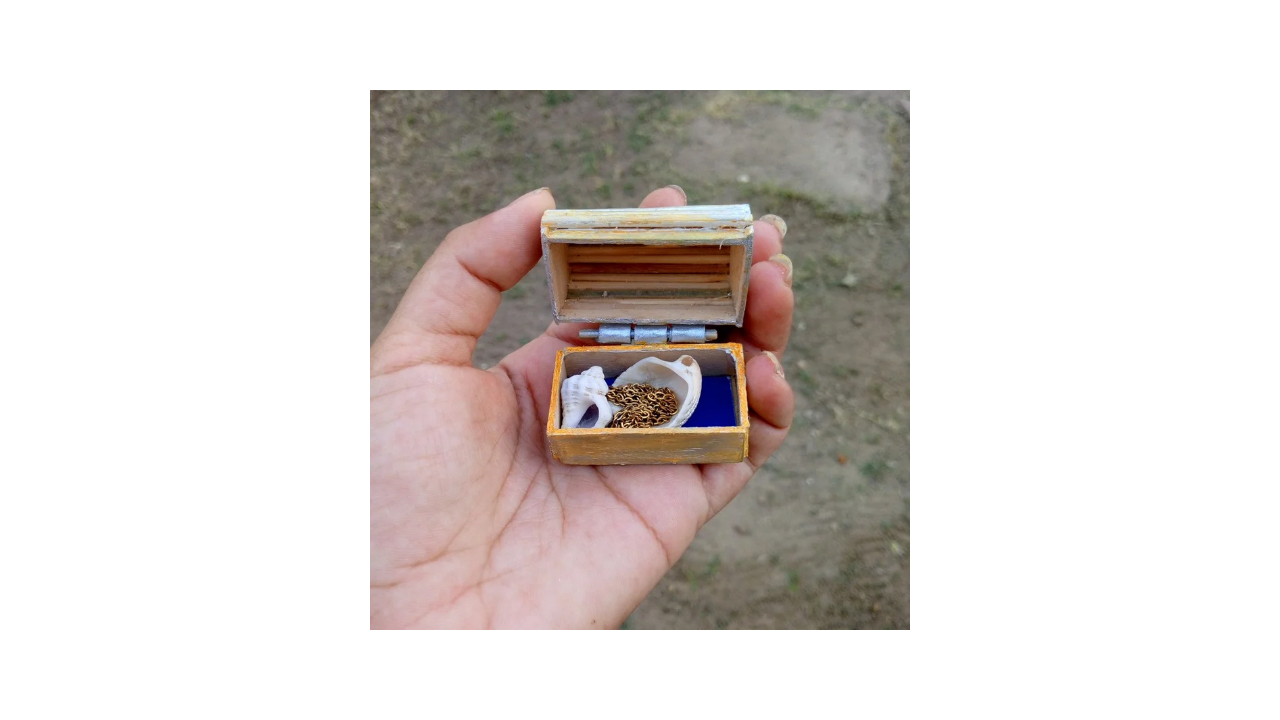
After I had glued the corresponding parts of the chest together, I started painting it white. Once the paint dried, I started using the gel markers to give it a bit of shine, as these markers have that special effect.
Paso nro 5
Paso nro 5
Finally, I attached the bottom and the lid by gluing the hinges I made. They actually worked really well, even though they were made of paper. For the first time I've done something like this, I'm impressed with how the chest turned out.
(Resultado final:)||(Bottom line:)
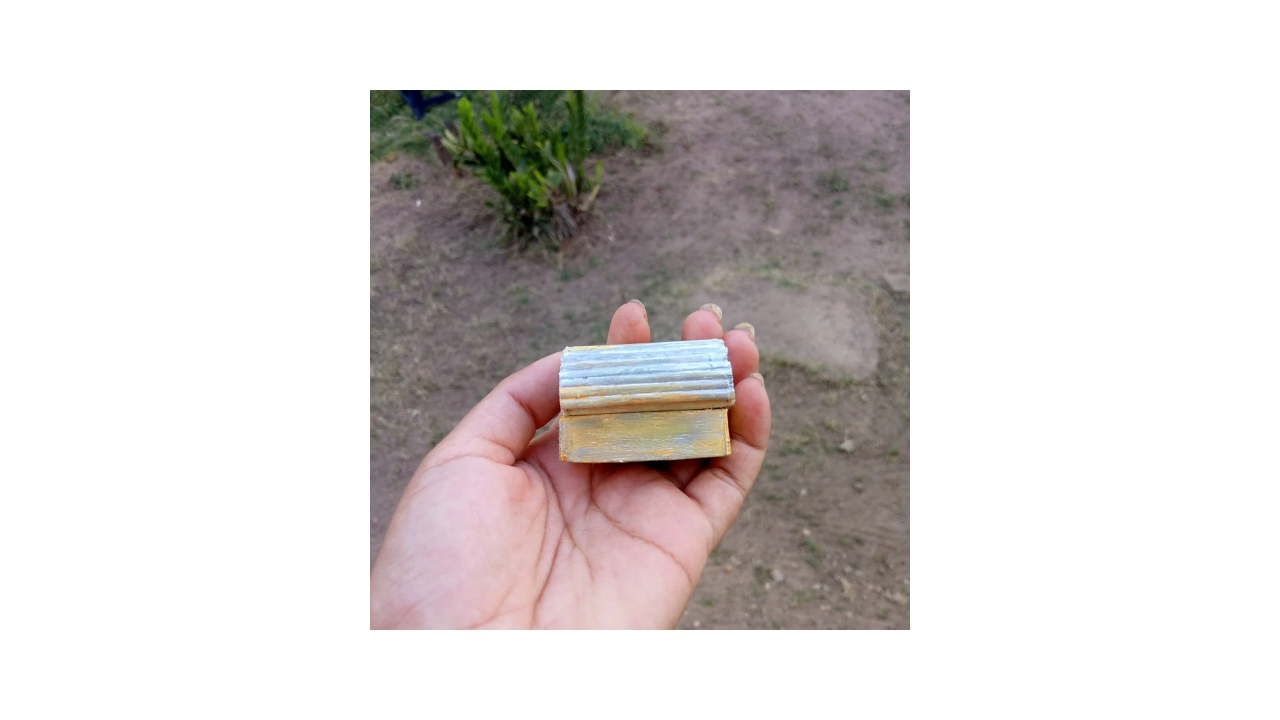
Creating this mini pallet chest has been a rewarding and fun experience. Not only have I been able to express my creativity, but I have also learned about the importance of recycling and reusing materials. Despite the challenges, such as making the paper hinges, the end result surprises me and motivates me to continue exploring DIY projects. I hope my experience inspires others to create and personalize their own objects, proving that with a little imagination, amazing things can be achieved.
Las fotos de este blog son de mi propiedad|Las imágenes son editadas en canva|Fotografías tomadas en mi celular infinix Smart 7|El contenido está traducido en el traductor de Firefox.
Hola amiga muy creativa tu idea!!
Hola gracias,feliz día
Yo adoro los detallitos pequeños y debo decir que ese cofrcito meencanto. Muy buen trabajo.
Hola,si a mí también me gusta los detalles pequeños y si es por mi tuviera más, gracias