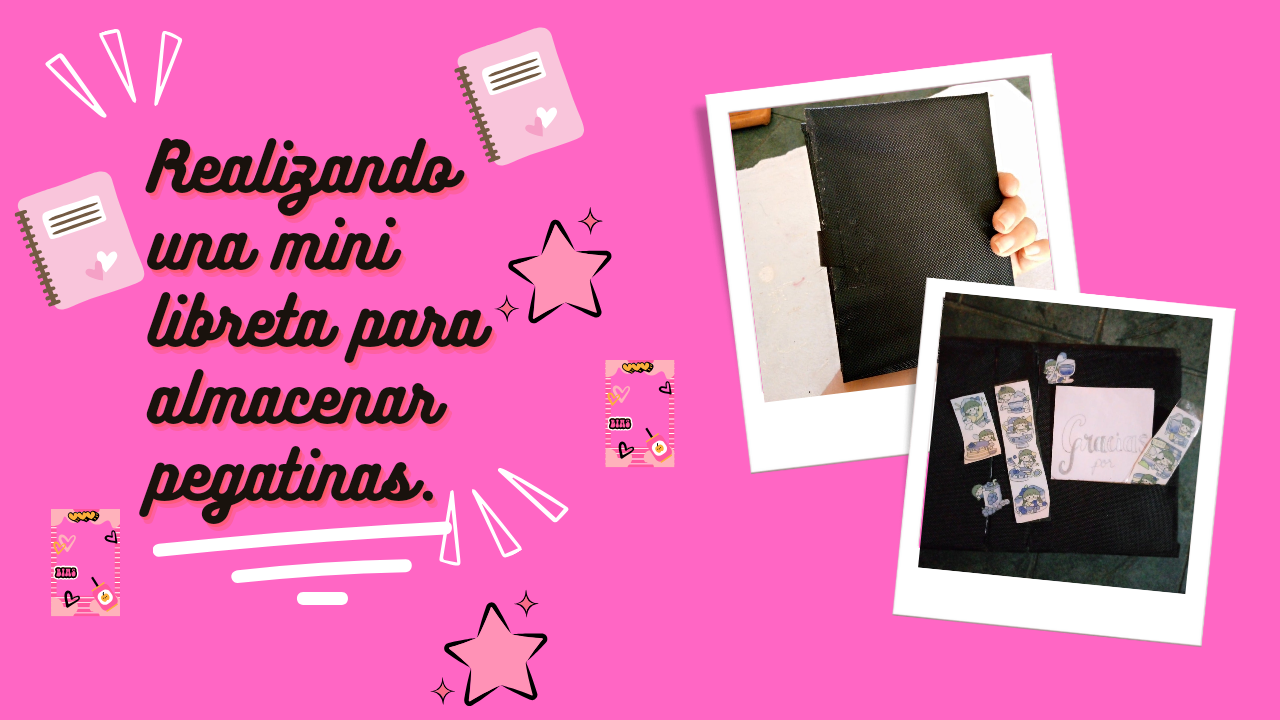
Hello, friends of the diyhub community, I welcome you to my blog. This time I will show you how I made a mini notebook to store my stickers and some cards to decorate my notebooks so I have somewhere to store my stickers without losing them. I hope you like this idea so you can also have your own mini sticker notebook.
This idea came to me because I saw a post in which they showed a notebook but made of transparent material and I had several stickers stored, and they don't sell them here so I thought about making one myself but the material I will use is black waterproof fabric, I love this type of material for pretty stationery.
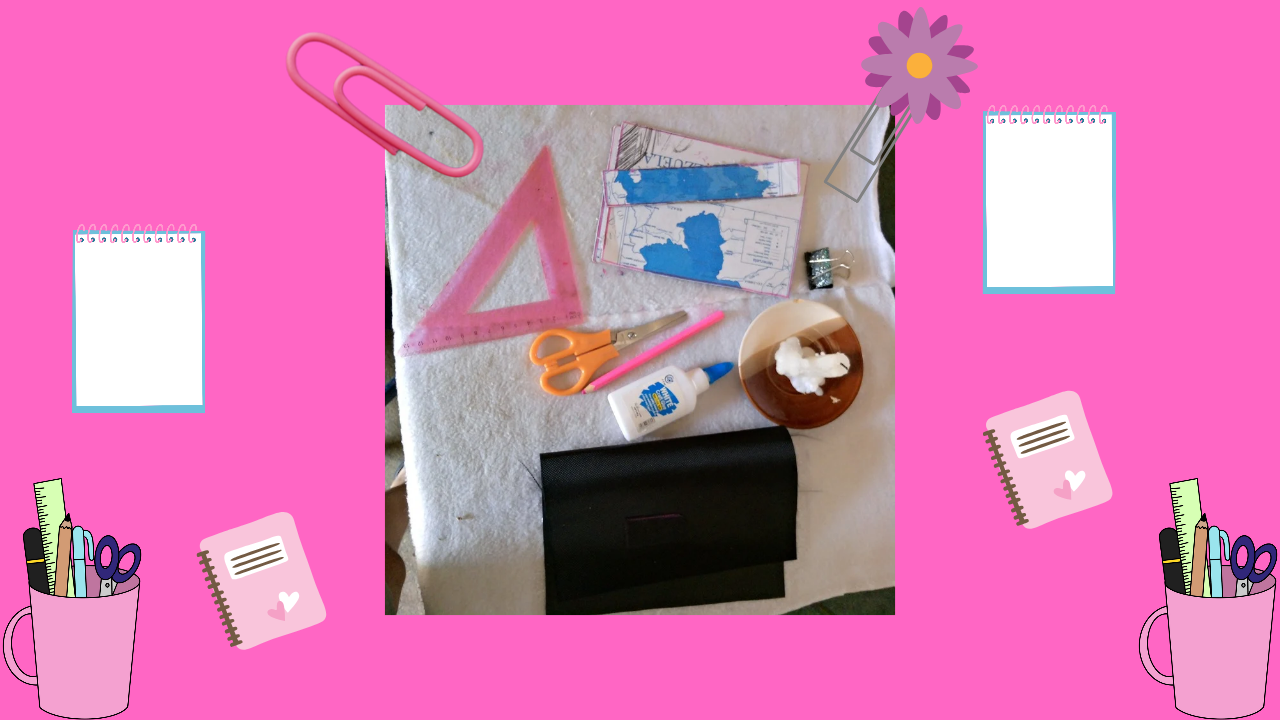
(Materiales:)||(Materials:)
- Tela impermeable negra
- Tijeras
- Regla
- Cartón
- Pega blanca
- Una vela
- Lápiz y un clip
- Black waterproof cloth
- Scissors
- Ruler
- Cardboard
- White glue
- A candle
- Pencil and a clip
(Procedimiento:)||(Procedure:)
Paso nro 1
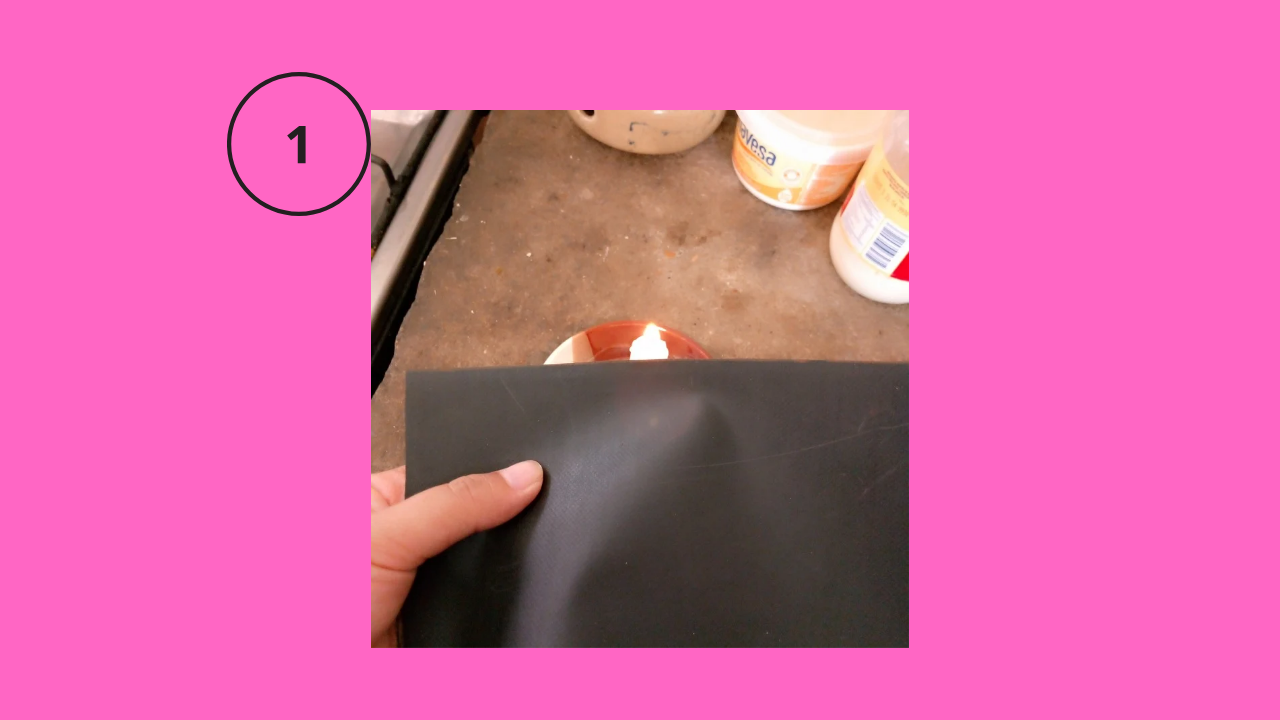
Paso nro 1
First I started by cutting the fabric to a size of 14cm high and 22cm wide, and after having cut it with the help of a candle I began to pass the edge of the fabric little by little through the flame, this is to prevent the fabric from coming loose because this fabric comes loose at the edges.
Paso nro 2
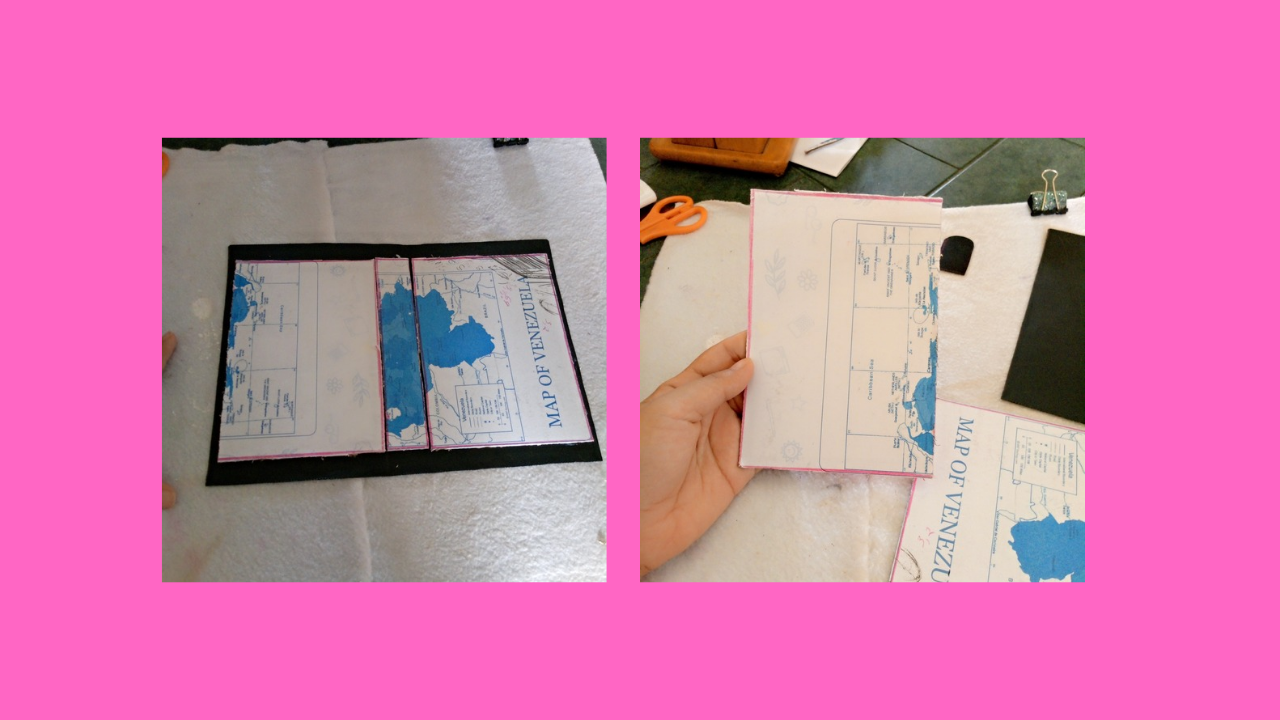
Paso nro 2
Then I started cutting the cardboard one centimeter less than the fabric and cut the pieces separately so it will have the shape of a notebook. When I glued the cardboard I pressed it because I used white glue and white glue takes a long time to dry.
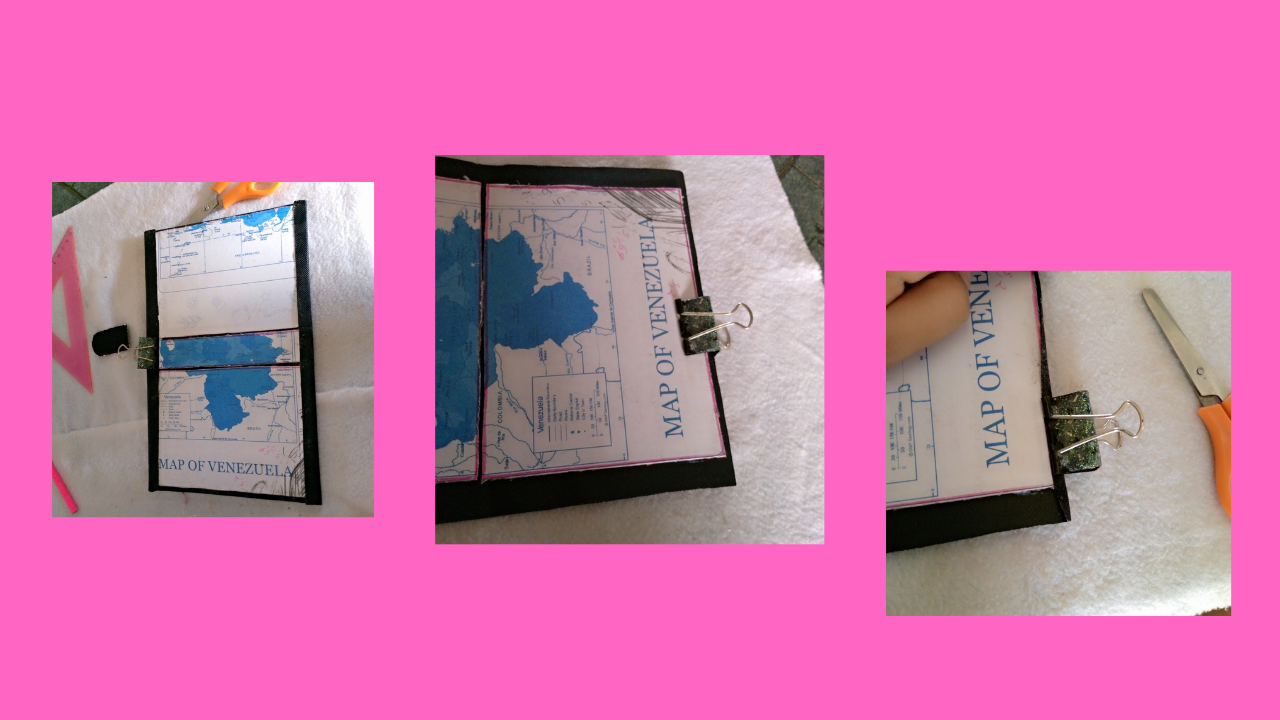
Paso nro 3
Paso nro 3
Then I started to glue the edges of the fabric inwards and I helped myself with the paper clip to hold it in place while the glue dried well. After the glue dried well, I also put some fabric on the inside so that it was well lined inside and out.
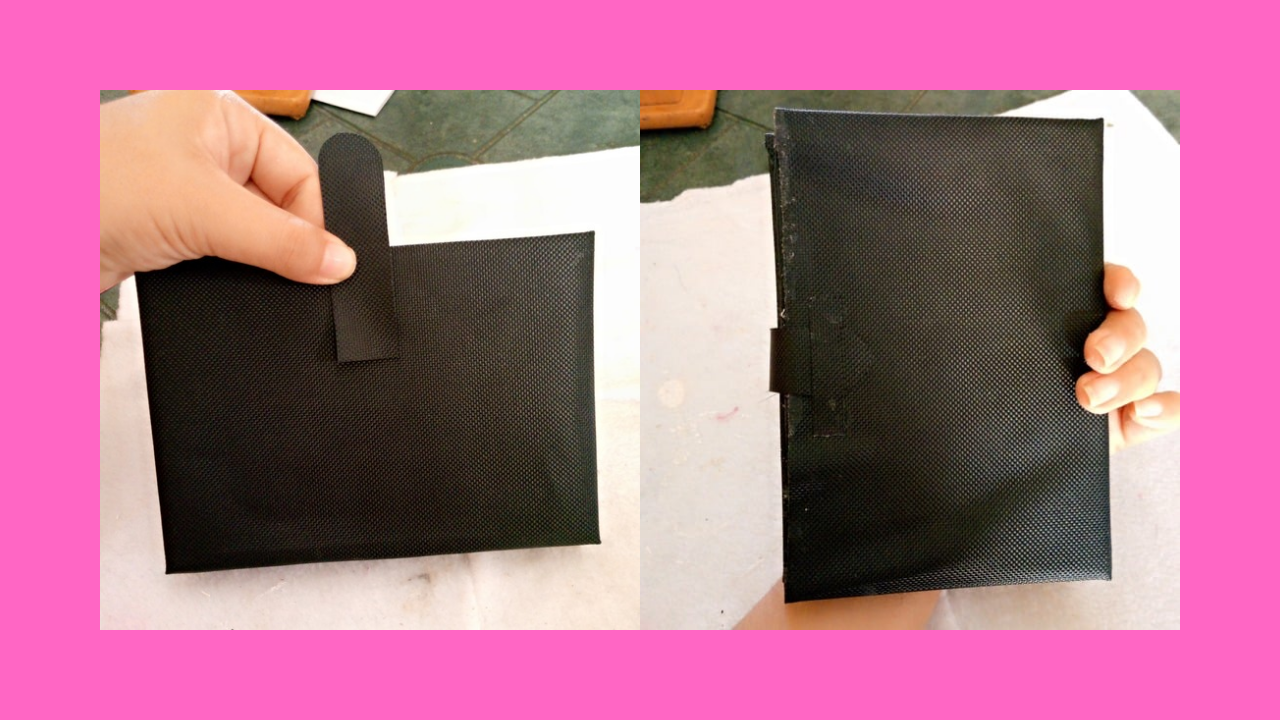
Paso nro 4
Paso nro 4
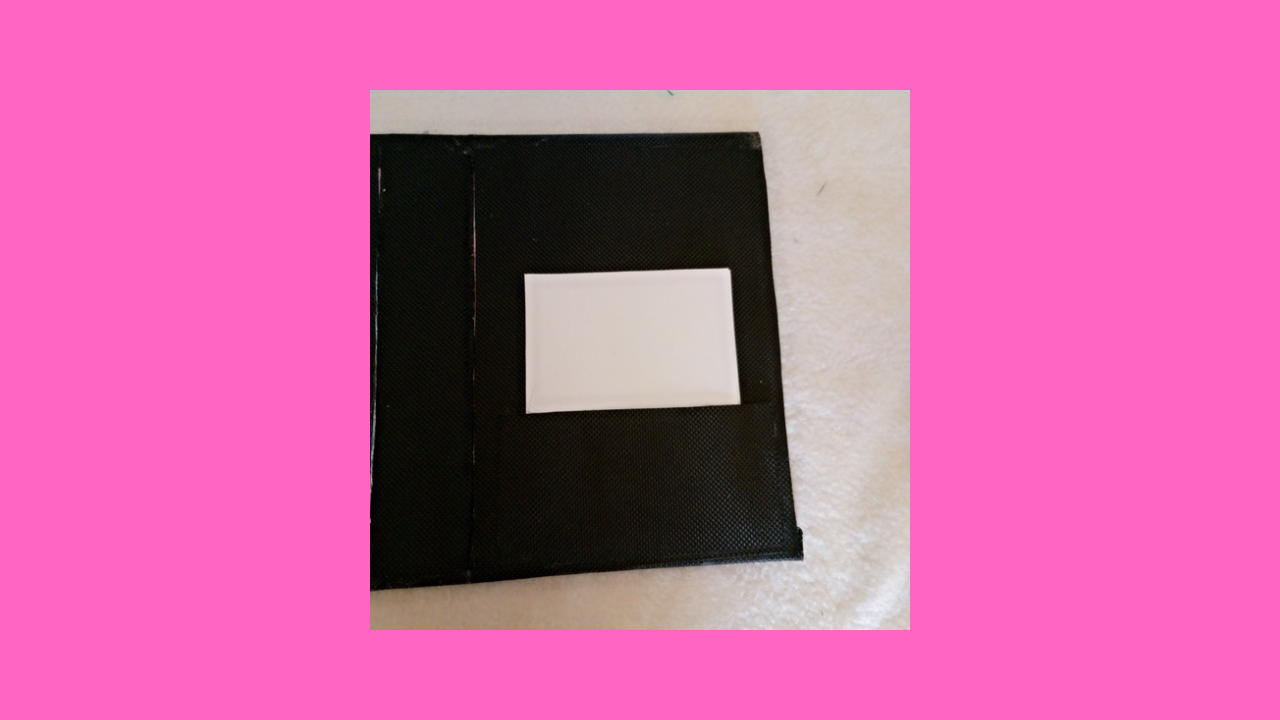
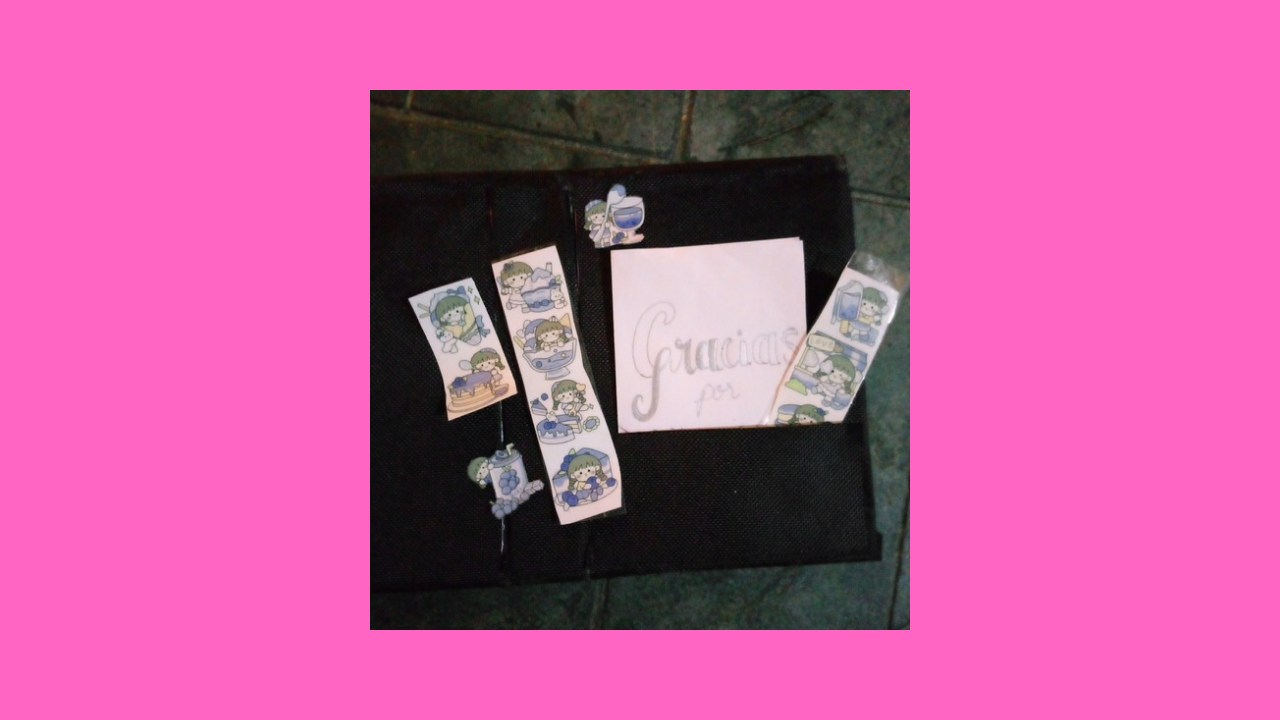
To finish, I made a kind of brooch to give it a little detail that is not very noticeable because of the black fabric, and I also made a pocket to put the stickers and as I store more stickers, the notebook will take on its personality because don't think I'm going to leave it like that, I'm going to add a lot of color and stickers.
(Resultado final:)||(Bottom line:)
This is how my notebook turned out. I didn't think it would turn out well, but the truth is that I even surprised myself. I hope you liked this idea for stationery supplies. I hope we continue to see each other on this and another occasion so I can continue sharing more and more crafts with you.
Las fotos de este blog son de mi propiedad|Las imágenes son editadas en canva|Fotografías tomadas en mi celular infinix Smart 7|El contenido está traducido en el traductor de Firefox.
Creo que realmente necesito también una cajita o sobre o algo para organizar los stickers, tu idea es excelente y el proyecto quedó maravilloso.
Deseo que pases un feliz año
Hola cómo estás saludos, que bueno que te gustó está libreta la verdad quedó bien, feliz año para ti también gracias
¿ᴺᵉᶜᵉˢᶦᵗᵃˢ ᴴᴮᴰ? ᵀᵉ ˡᵒ ᵖʳᵉˢᵗᵃᵐᵒˢ ᶜᵒⁿ @ruta.loans
বাহ্, আপনার আইডিয়াটা অনেক সুন্দর। আপনার ছোট নোড বুক তৈরির উপায়টা আমার কাছে বেশ ভালো লেগেছে। ধন্যবাদ আপনাকে আমাদের মাঝে শেয়ার করার জন্য।
হ্যালো, আমি আনন্দিত যে আপনি আমার নোটবুকটি আপনার সাথে শেয়ার করতে পেরে আনন্দিত।
hola que bueno que te allá gustado mi libreta es un placer compartir contigo está creativa manualidad
Thank you. 🙏🥰
interesting idea👍
Hola, gracias que bien que te allá gustado saludos
muy linda y útil!
very nice and useful!