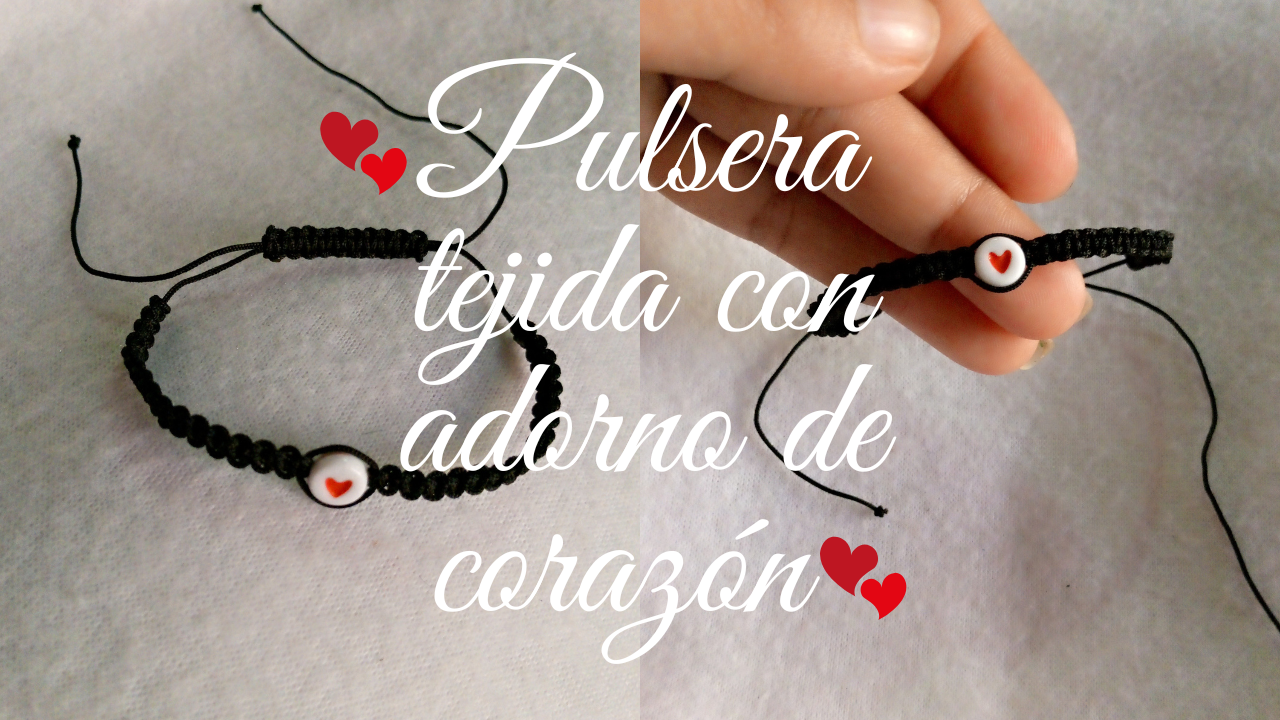
Hello, hello everyone. I send a big hello to all my friends at DIYHub. Today, I want to show you how to make a woven bracelet to see if I haven't lost my touch, because I used to make them quite a lot. It had been too long since I made one and I had even forgotten how to weave it, but when I saw how to make it, I remembered it again. I hope you like it and together we can continue learning crafts.
This bracelet is a macramé art, since the way to make it is by weaving. There are several types of weaving for bracelets, and the one I will be making is one of the simplest. In addition, making woven bracelets is a very relaxing hobby; you entertain yourself so much that time flies, and when you finish one, you already want to make another. That's me 🤭. Now I will tell you what materials I used.
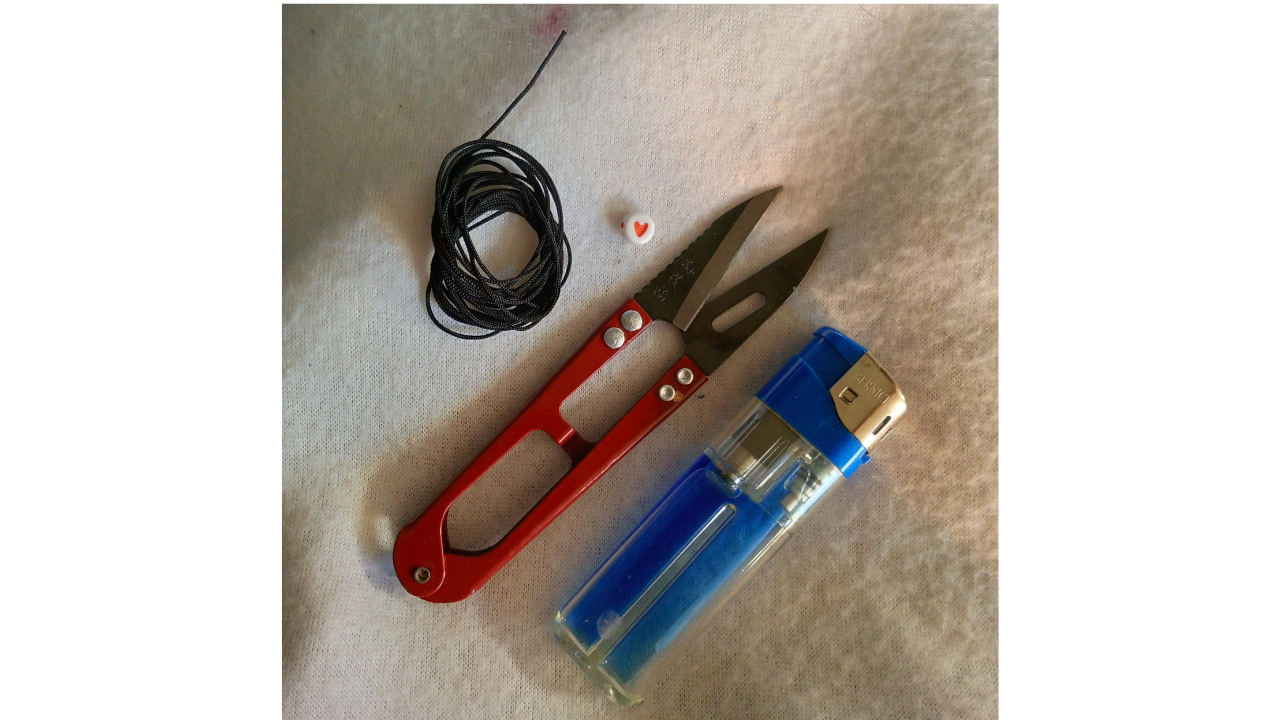
(Materiales:)||(Materials:)
- Hilo chino de color negro
- Tijeras
- Un adorno de corazón
- Encendedor
- Black Chinese thread
- Scissors
- A heart ornament
- Lighter
(Procedimiento:)||(Procedure:)
Paso nro 1
Paso nro 1
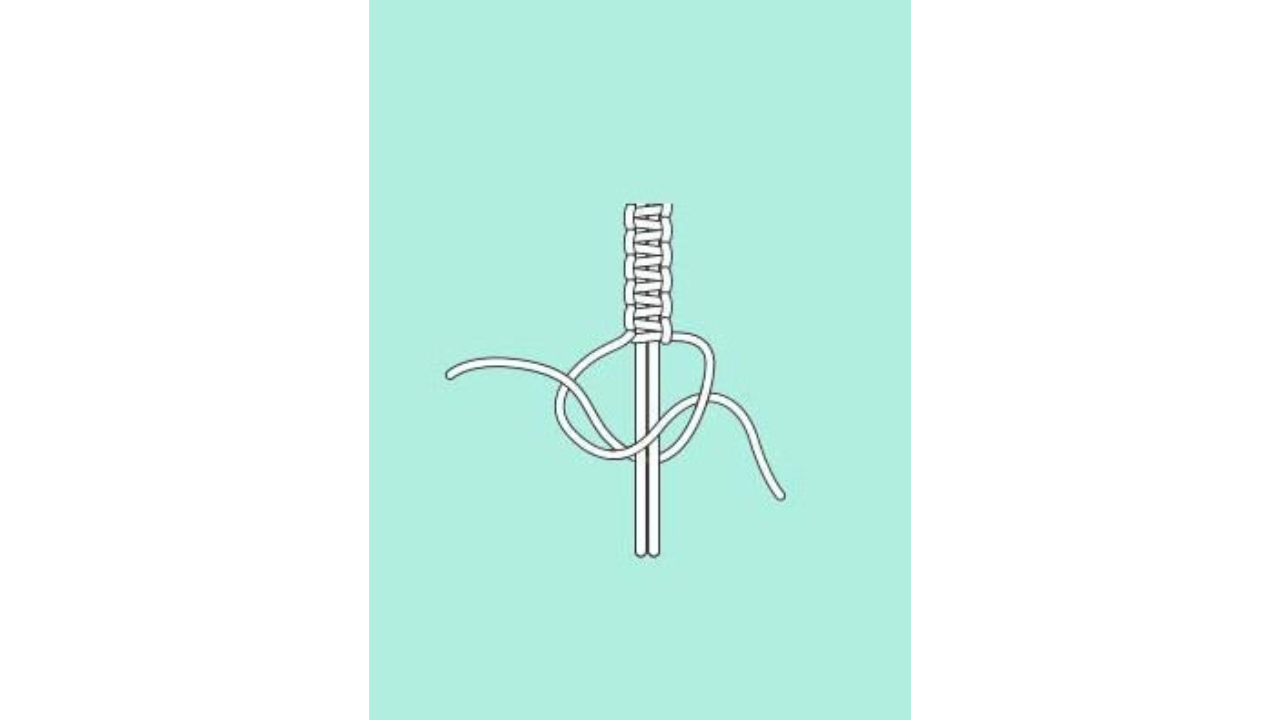
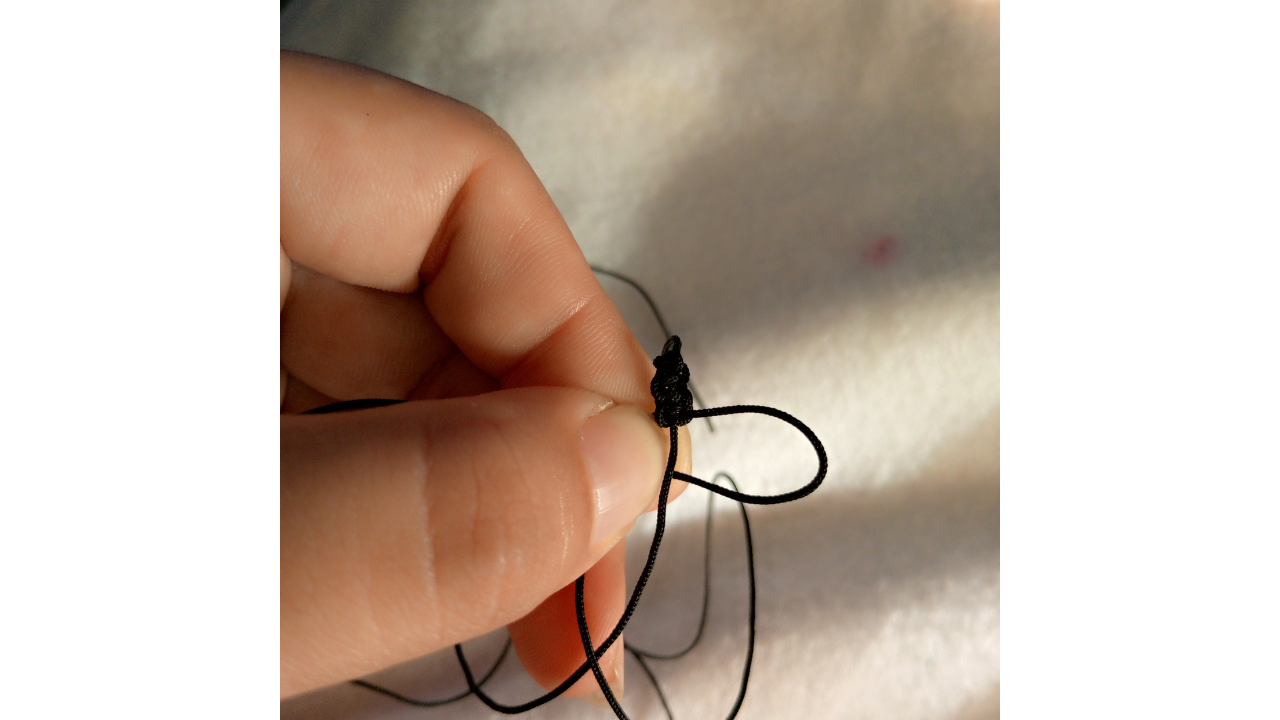
I added a reference image of what the weaving will look like, because, after making bracelets for so long, I don't know the names of the weaves. For me, they are all woven bracelets, really. To make it, I cut a 30 cm piece of thread for the base of the wrist; that's the measurement of the hand. For the weaving, I used approximately half a meter, because I will be weaving only the middle part. The part with the closed knot will have a heart decoration in the center.
Paso nro 2
Paso nro 2
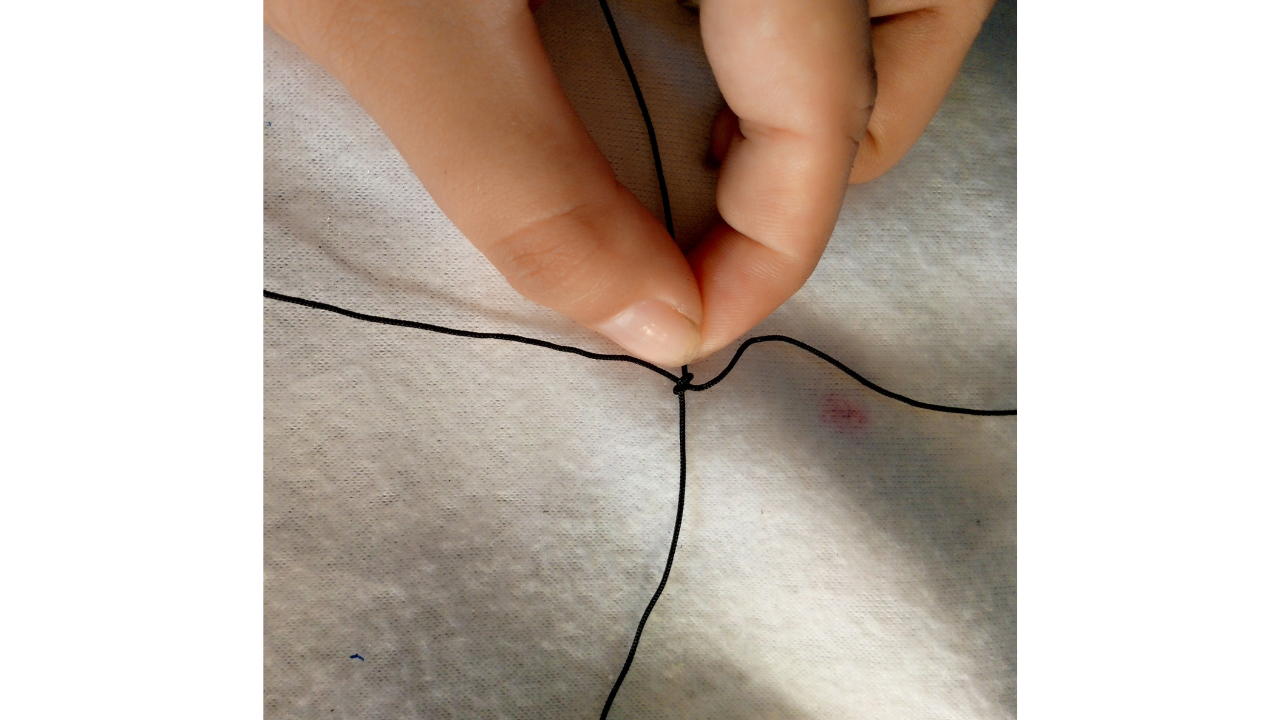
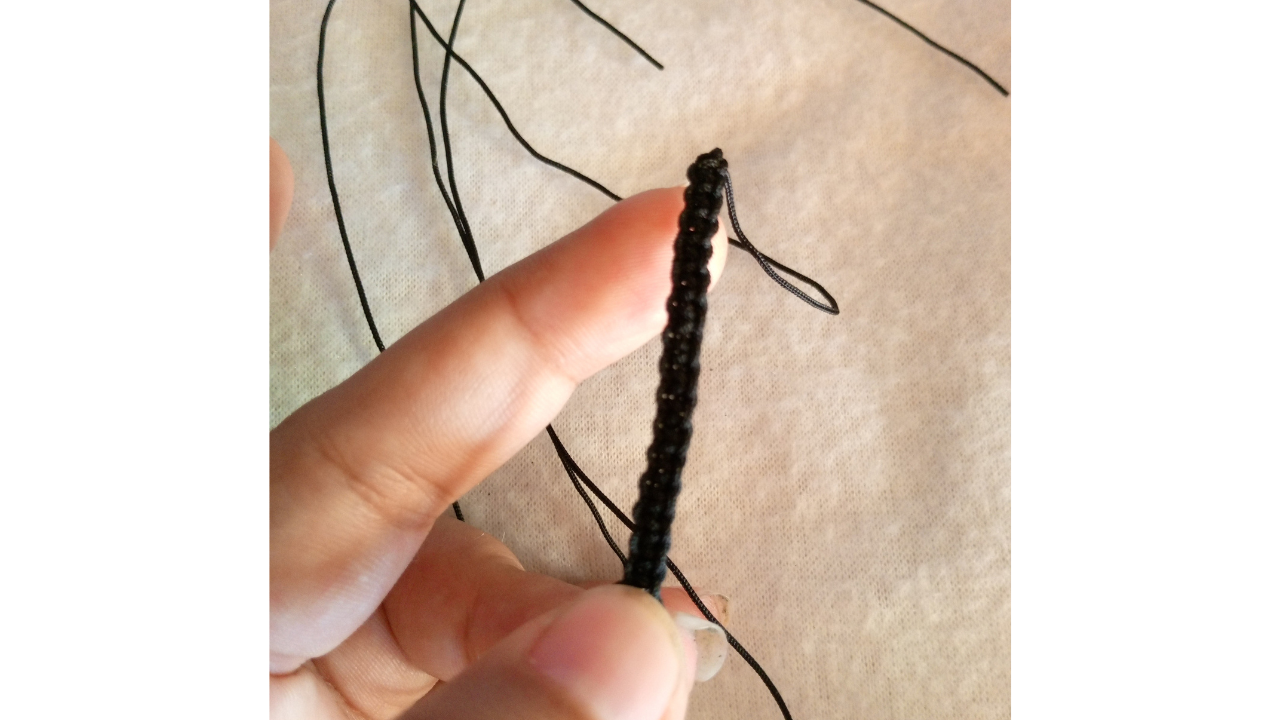
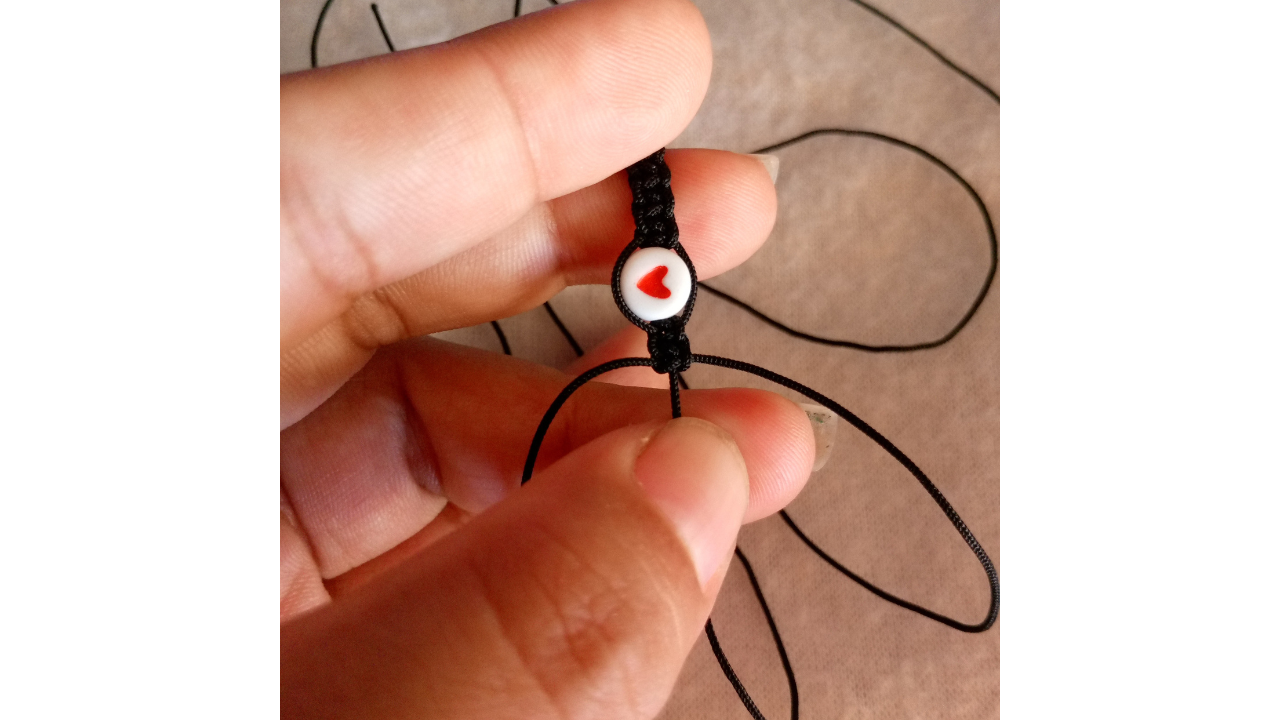
I started by making a knot so that the fabric wouldn't come loose, and so I started knitting. What I like about Chinese thread is that it leaves a delicate finish due to its shape, since it is a thin thread. I counted 15 knitted rows, since I am going to place a decoration that has a heart in the middle.
Paso nro 3
Paso nro 3
The center decoration needs to be tightened so that it doesn't move. I tied a knot with the same fabric I'm using and then another knot, but this one needs to be tightened well. Once that was done, I continued making the other rounds.
Paso nro 4
Paso nro 4
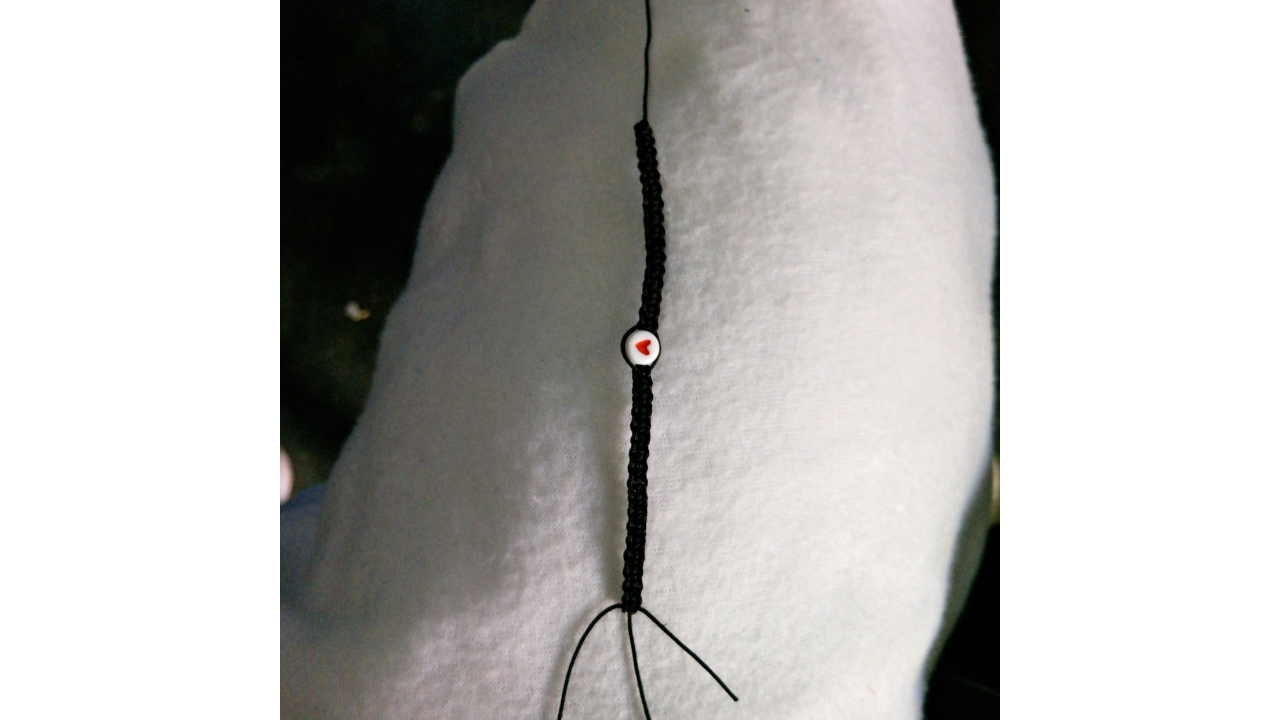
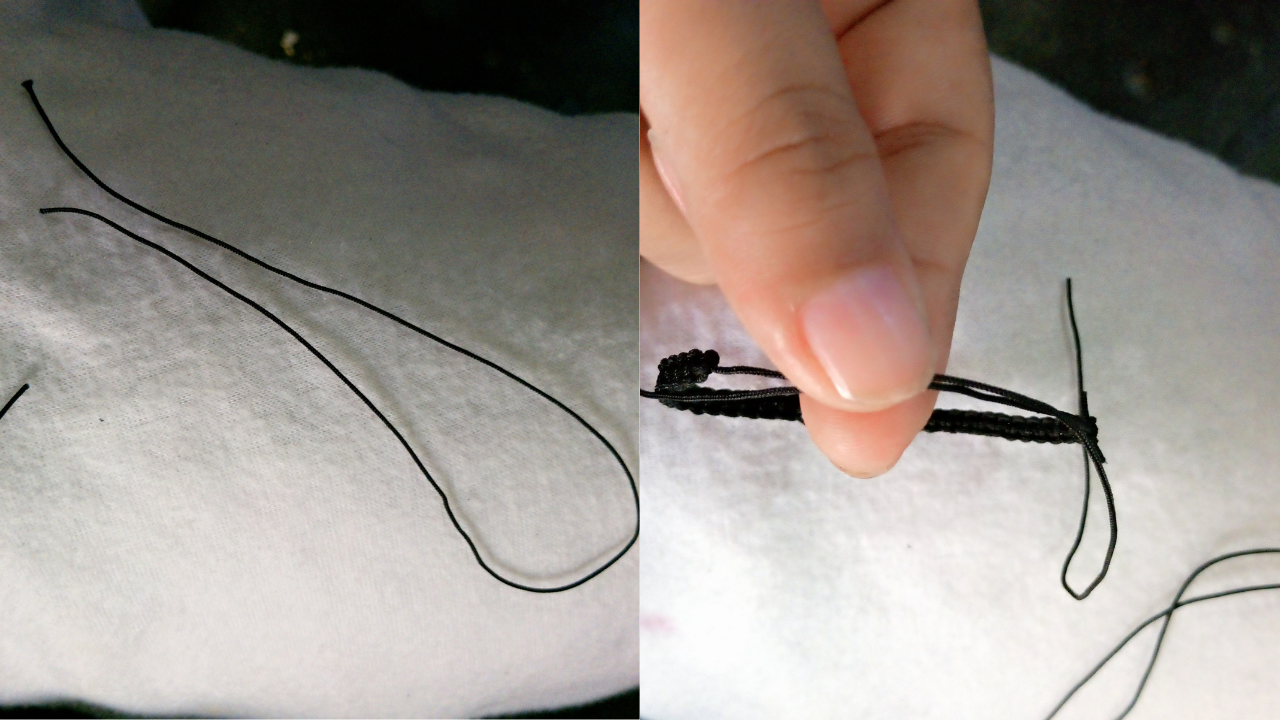
This is how the bracelet looks like. At the end, I'm going to tie a knot to tighten it. I interlaced the threads so that the weave is in the middle; for this I'll use the same thread. After finishing the weave, I used a lighter to burn the ends of the thread a little so that they don't come loose.
(Resultado final:)||(Bottom line:)
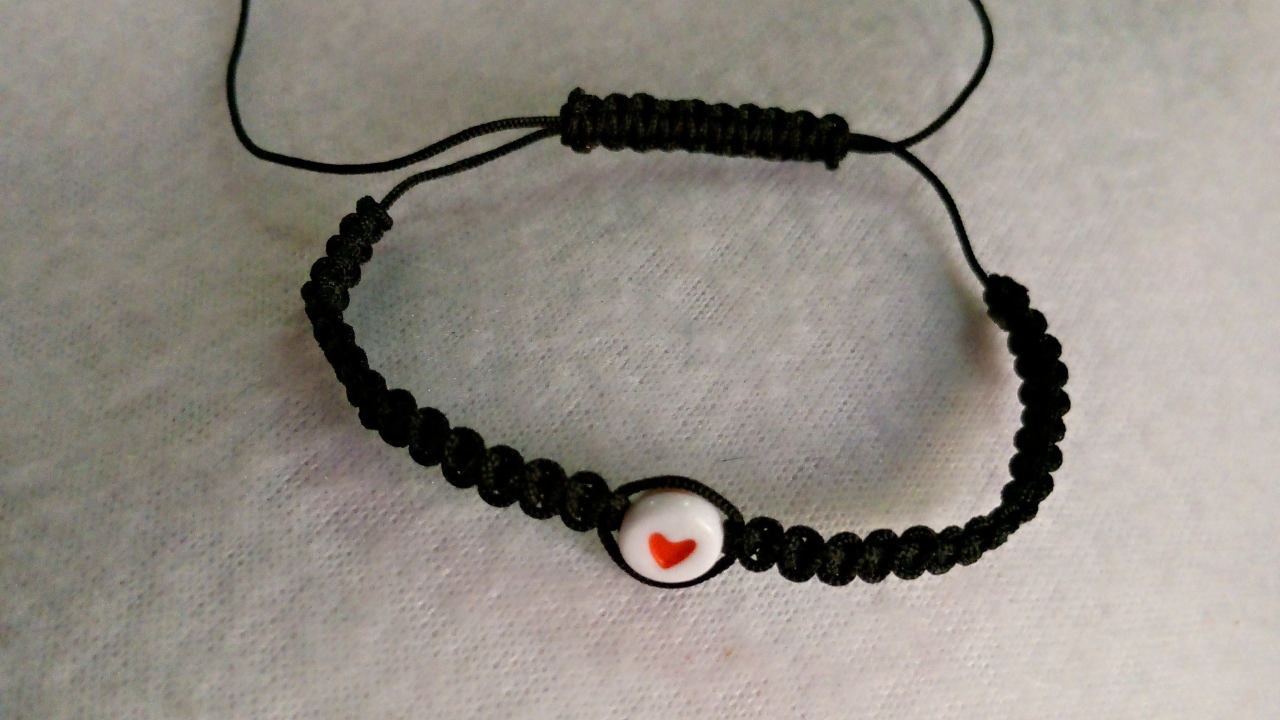
This is how the bracelet turned out, I hope you like it. I loved this accessory and making it was not difficult at all. See you another time.
Las fotos de este blog son de mi propiedad|Las imágenes son editadas en canva|Fotografías tomadas en mi celular infinix Smart 7|El contenido está traducido en el traductor de Firefox.
আপনার ব্যাসলেট তৈরি অনেক সুন্দর হয়েছে। ধন্যবাদ আমাদের মাঝে শেয়ার করার জন্য।
হ্যালো, আপনার মনোযোগের জন্য আপনাকে ধন্যবাদ.
Thank you
A lovely bracelet with a nice little design. Nice work
Thank you, I'm glad you liked it, have a nice day