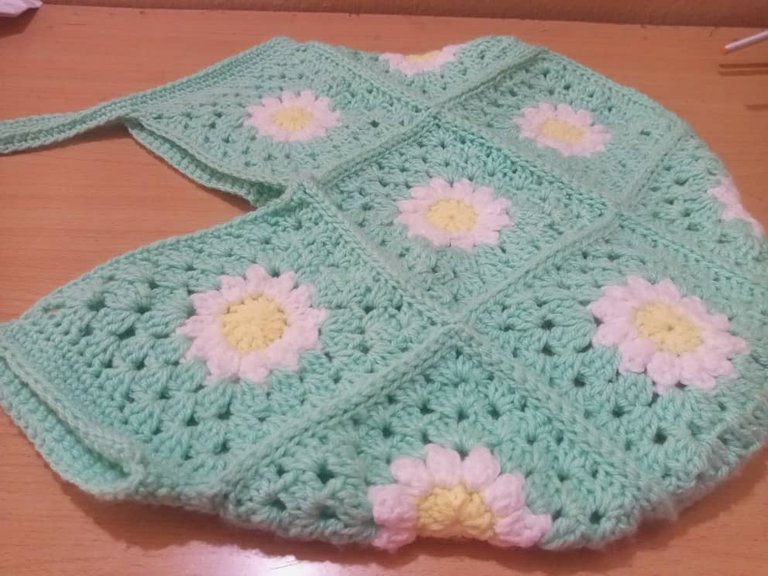
Hiii🌼
This is my first post in the DIYHub community. Crocheting is one of my favorite things to do, it's quite up there along with singing and writing.
I thought it'd be nice to share one of my recent creations and the process here.
In this post, I'll be showing you how to make your own Daisy tote bag🤍.
Materials needed
- A 4.5mm crochet hook
- Yarn: 200g 3ply of the main color (I used two balls of yeye extra); A ball of white yarn and a ball of yellow yarn
- Scissors
- Darning needle
Abbreviations used
- Magic circle : mc
- Chain: ch
- Slip stitch : sl st
- Double crochet : dc
- Single crochet : sc
Procedure
- Start by making a magic circle (mc) with your yellow yarn, (an alternative is to ch 3, and sl st to the first chain to form a ring)
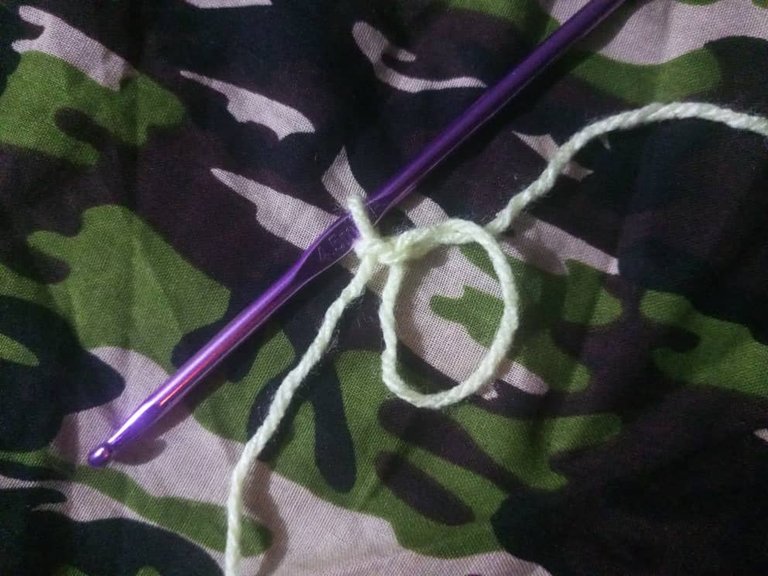
Round 1: Chain 2(does not count as a stitch) and work 12 dc into the ring. When working your 12th dc, change to the white yarn and slip stitch to the first dc to close off the first round.
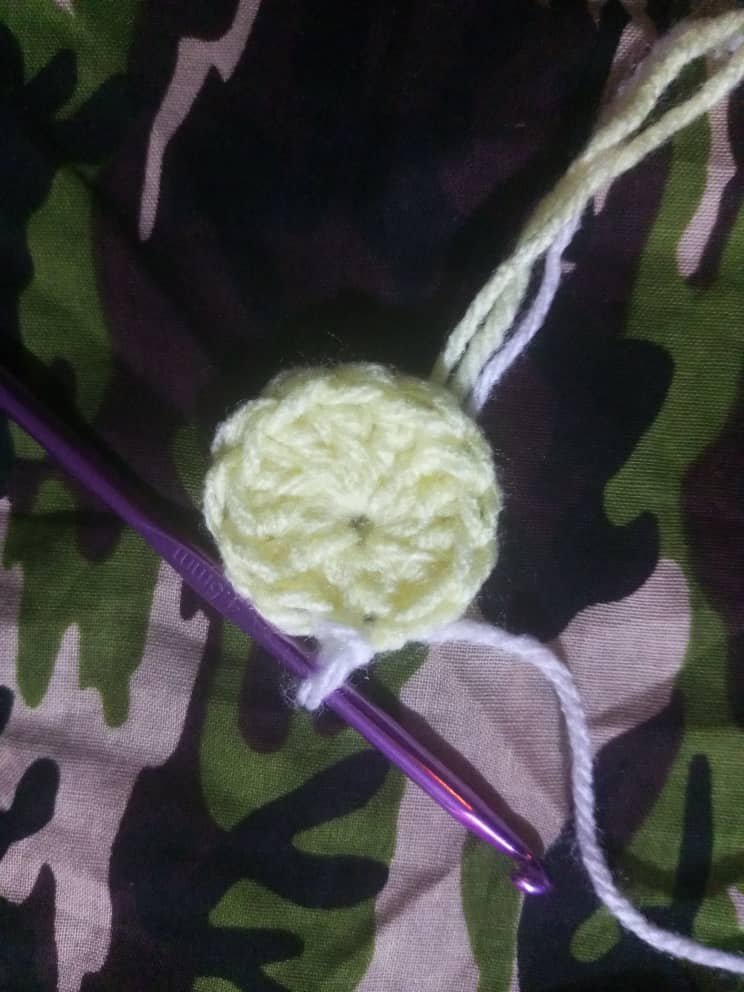
Round 2(Petals): Ch 3 and make 2 dcs into that same stitch. Next, put your hook in the 3rd chain you first made and make a slip stitch with your 3rd dc, you would have made your first petal after this.
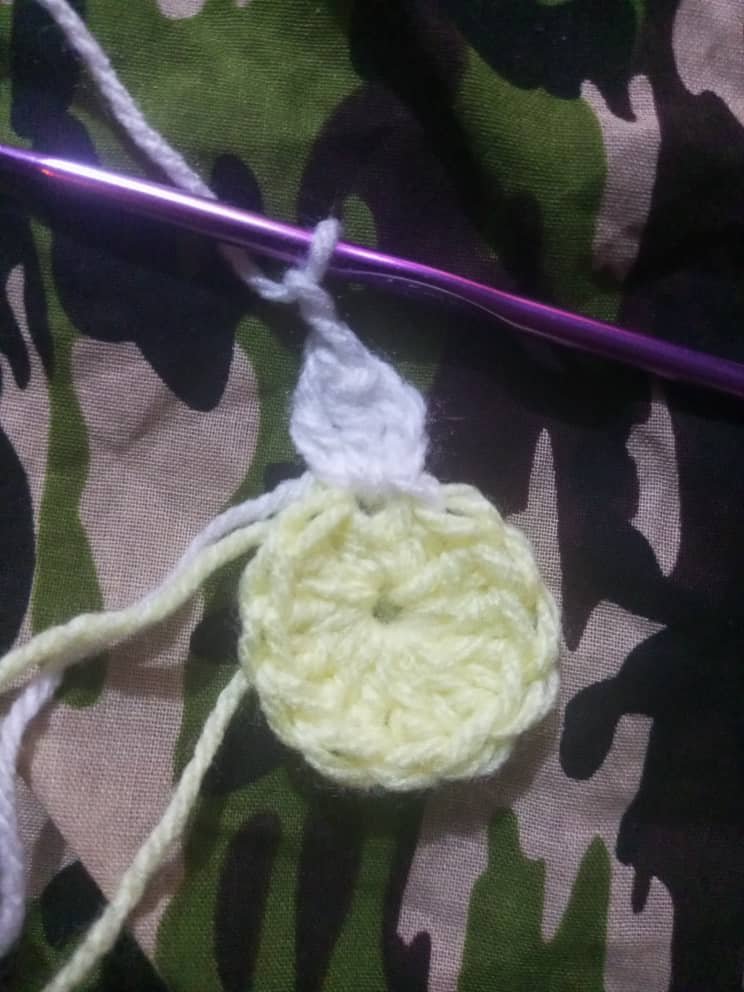
Ch 2 , make 3 dc into the next stitch, put your hook through the first dc and make a slip stitch, ch 2 and repeat this process till you have 12 petals. Ch 2 and slip stitch to first petal and cut off white yarn.
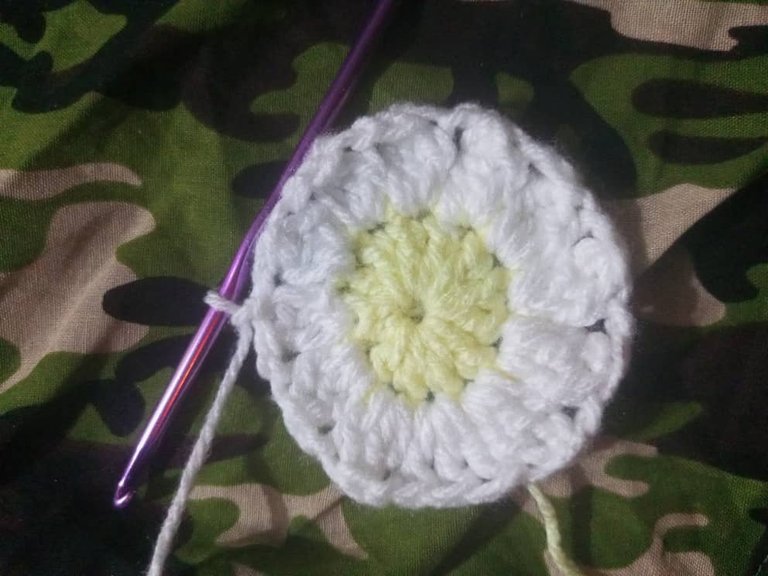
Round 3(with main color): Attach main yarn to the just rounded off space,
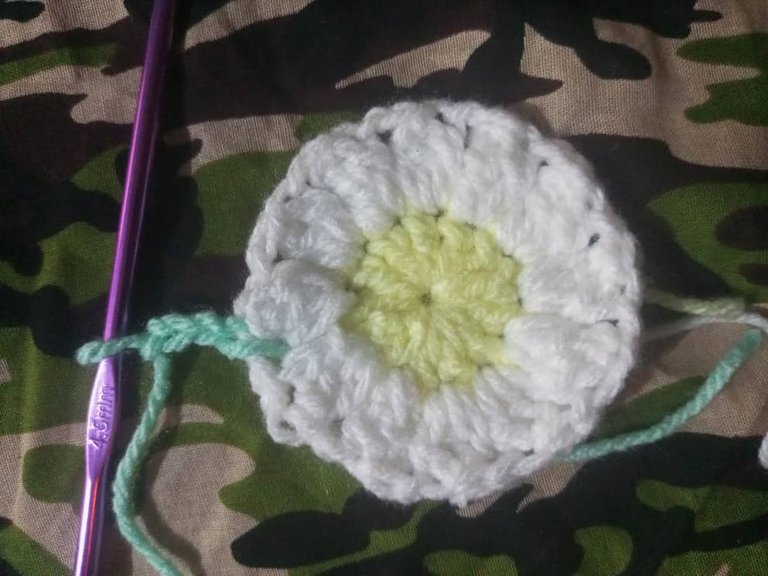
ch 3 and make 2 dc into that space , ch 2 and make another 3 dc into the same space. That will count as your first corner.
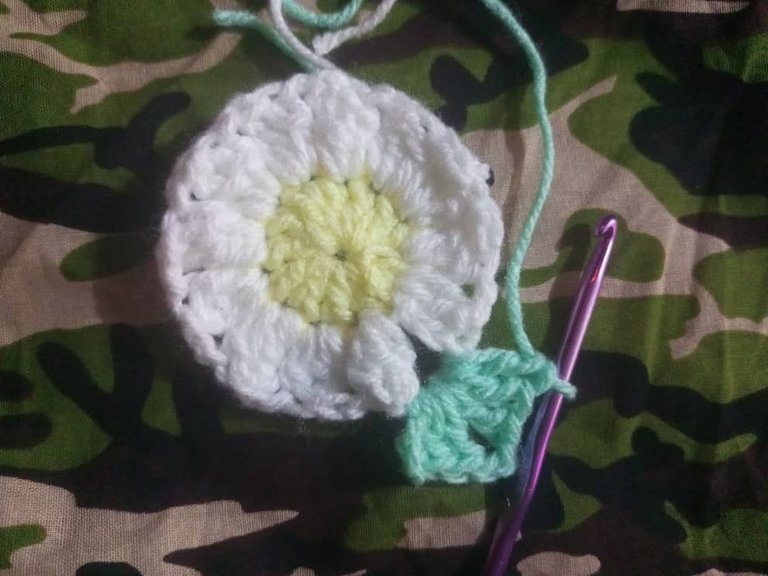
In the next 2 spaces, make 3 dcs each. This is your first side.
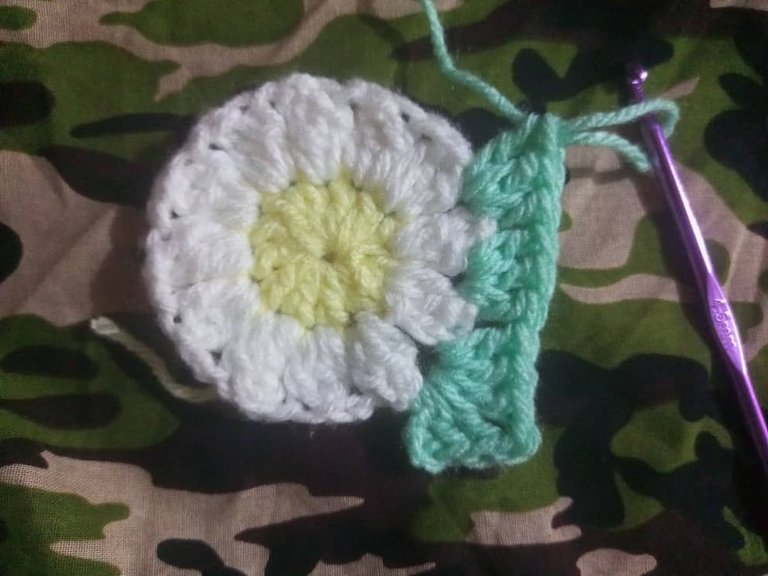
In the next space, create another corner (3 dc, ch2, 3 dc).
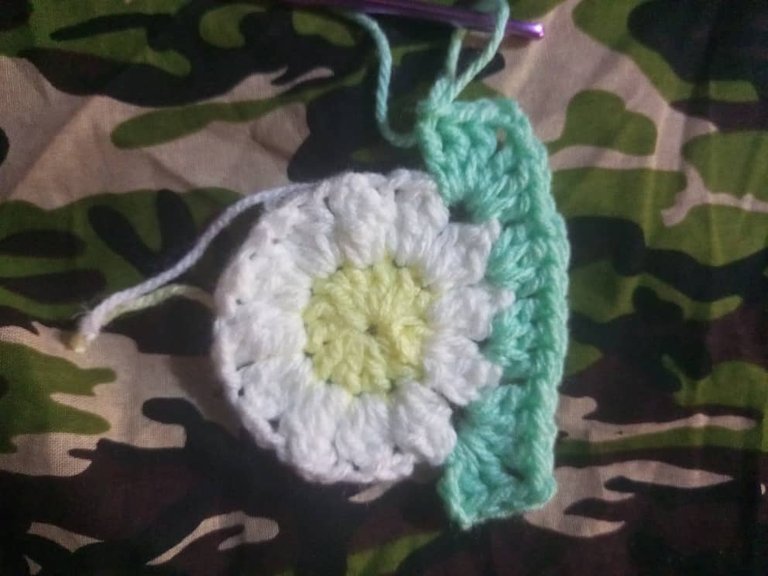
Again for the next two spaces, make 3 dcs until you reach another corner.
Repeat the process for another side and corner, you should have 4 corners.
Make a slip stitch with the 3rd chain from your first corner to complete this round.
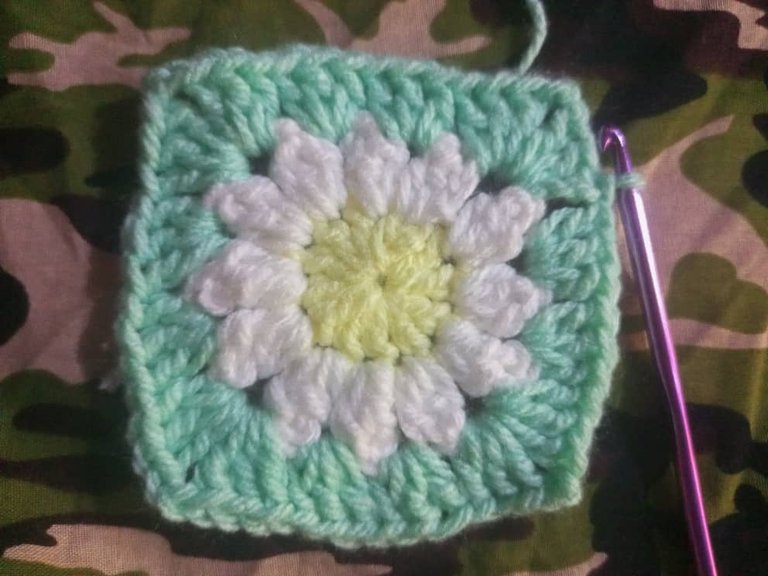
Sl st in next two stitches till you reach the next space.
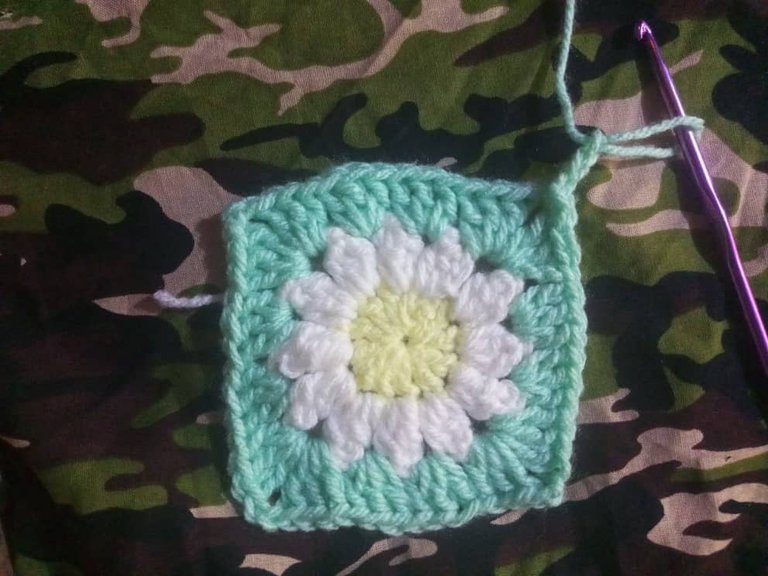
- Round 4: Ch 3 and make 2 dcs into the space, ch 2 and make another 3 dcs into the same space. That's the first corner of this round. Go on to make 3 dcs in the next 3 spaces for your side and make another corner in the space after.
Repeat this 3 times till you reach your first corner.
Sl st into the 3rd chain and sl st still you reach the first corner space.
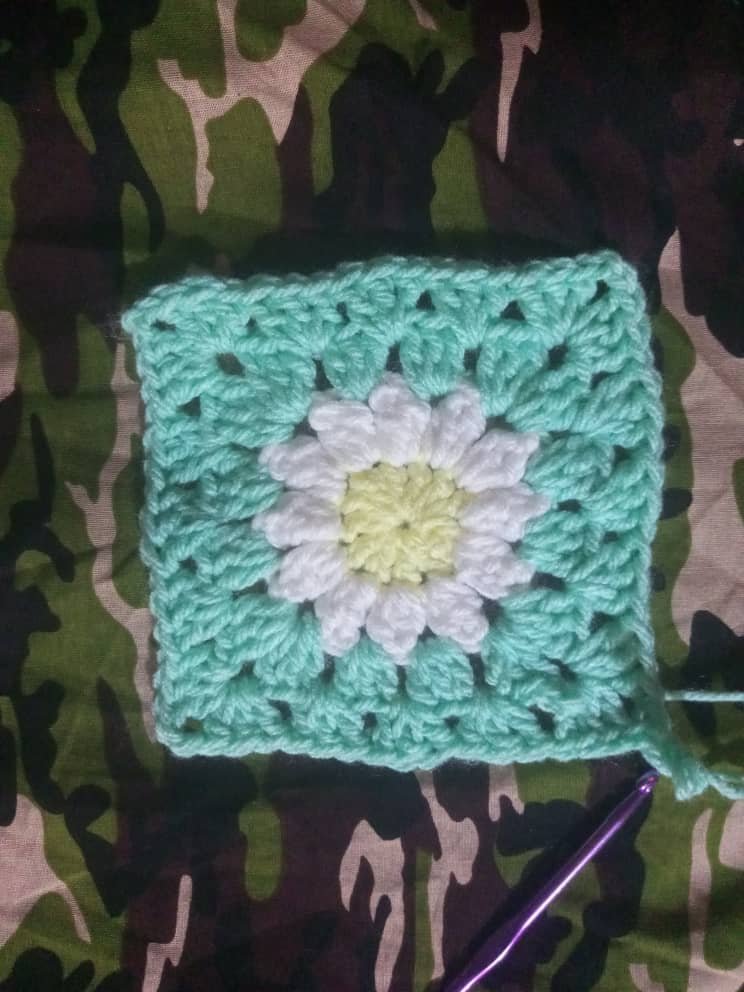
- Round 5: Repeat Round 4, note that you'll be making 3 dcs in 4 spaces for this round before you reach your next corner.
Cut off your yarn after this round.
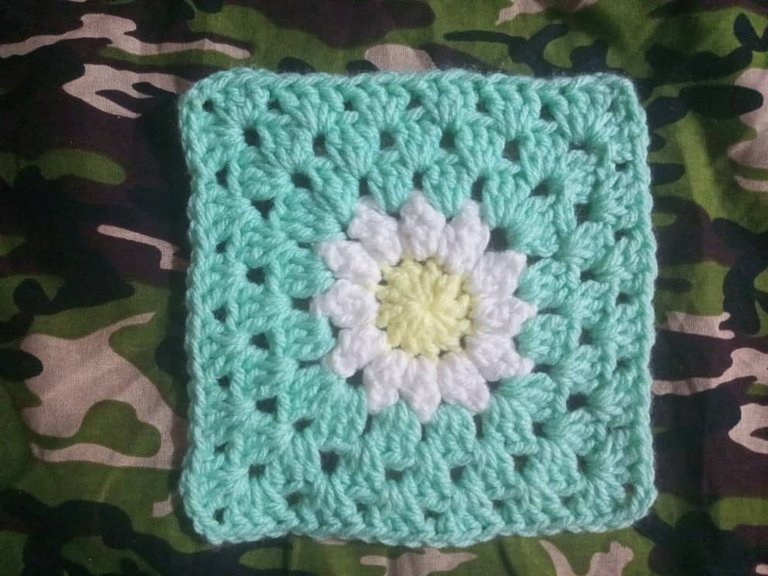
You can go ahead and start trimming and tucking in your ends for your square.
Repeat rounds 1-6 till you have 13 squares.
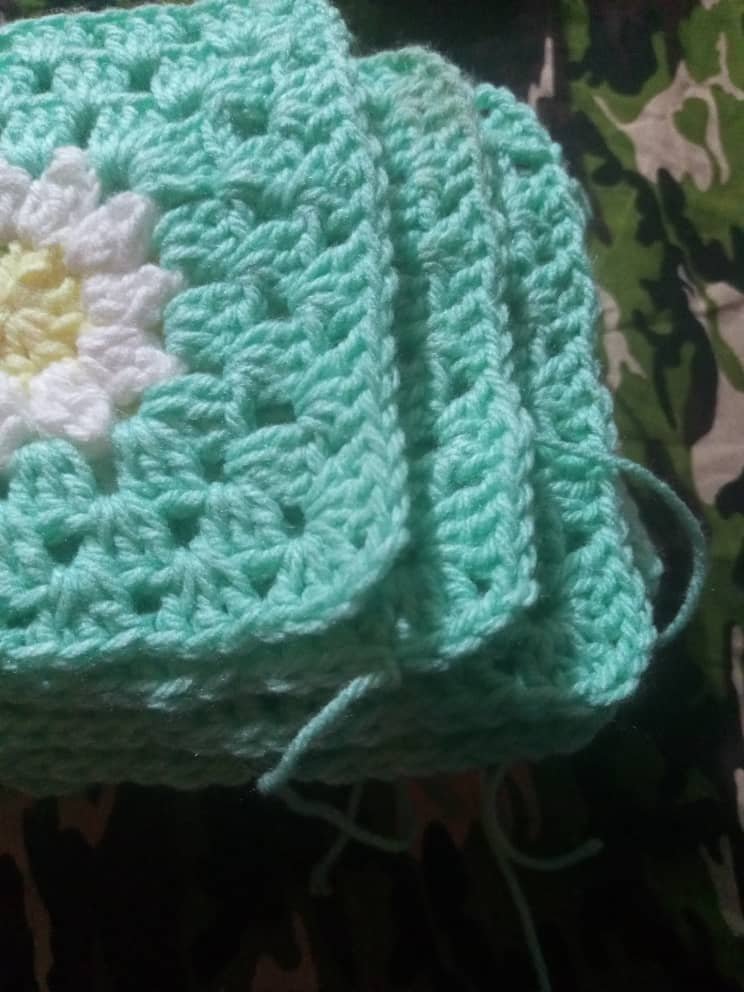
- Joining Squares Together : Arrange your squares as shown below and join using the mattress technique(you can look this up on youtube).

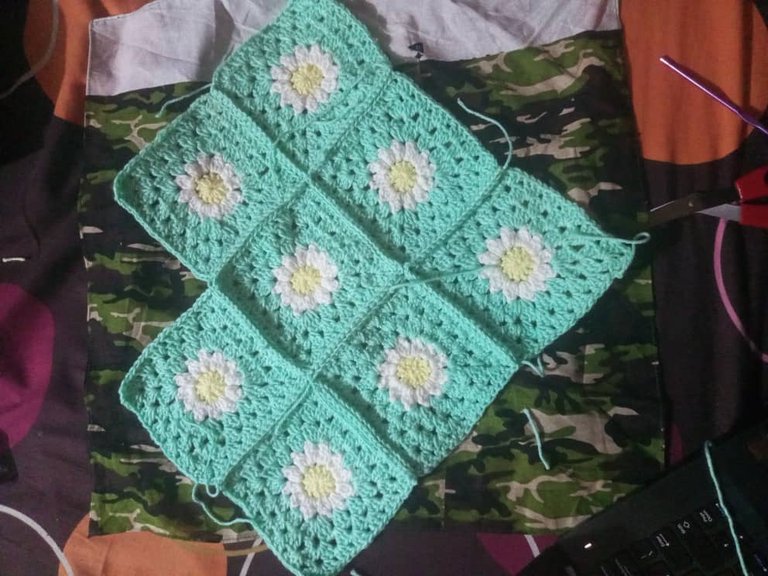
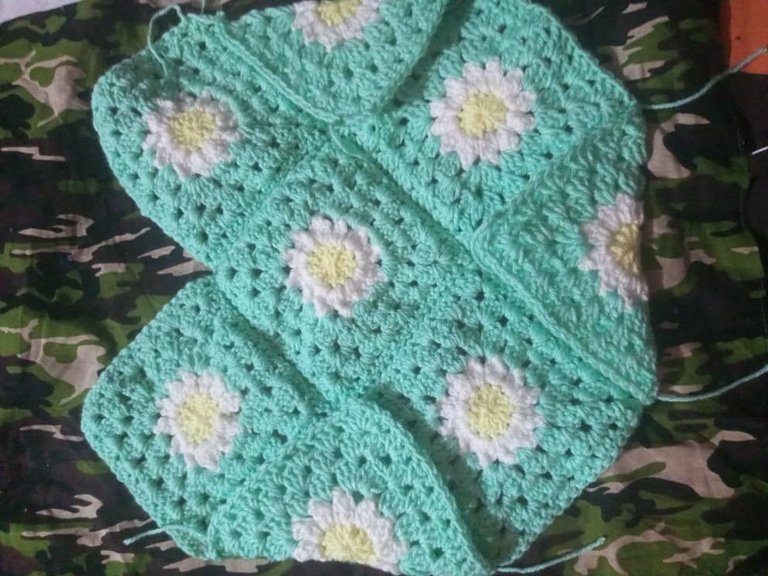
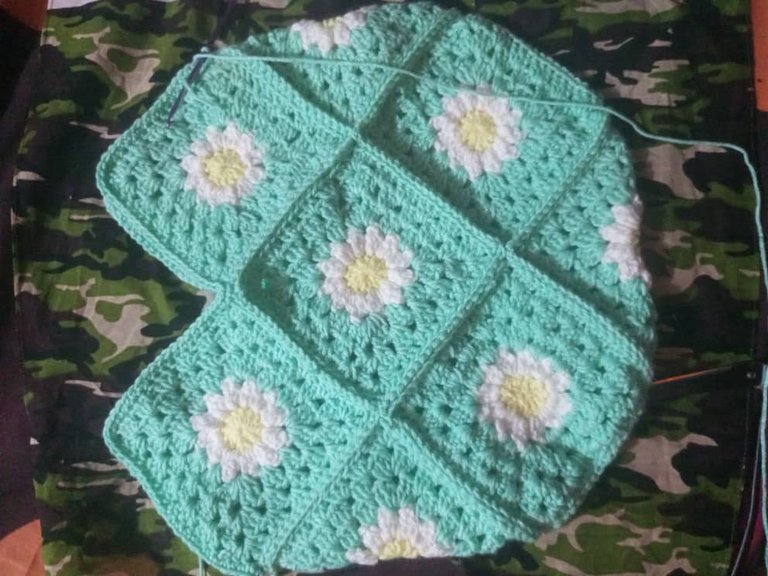
It is essentially where you join both outer loops of a stitch using slip stitch.
Turn the bag to the right side after this
- Bag strap: Join your yarn into the corner of one of the sides and ch 1 to secure. Make scs around the whole edge of the bag. Sl st with the first sc when you're back where you started.
Make scs till you get to the first corner of your top granny square. Ch 60 to make your strap length (increase or decrease to make it longer or shorter).
Sl st on the top of the second corner of the adjacent granny square.
Then single crochet along till you get to the next top granny square. Ch 60 for another strap and sl st in the top of the adjacent granny square. continue to make scs till you reach your beginning and sl st into the first sl st.
Go on to make scs into the scs and into the chains kf the straps till you reach the beginning and sl st.
(You can do this one more time to make the straps thicker.).
Ch 1 and cut off your yarn.
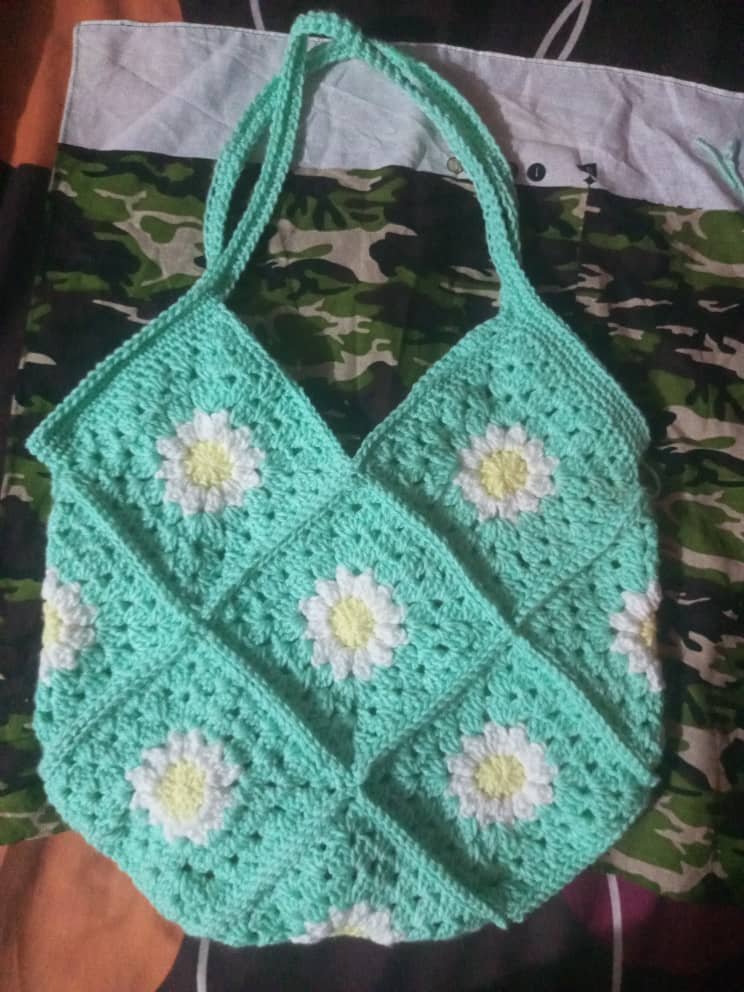
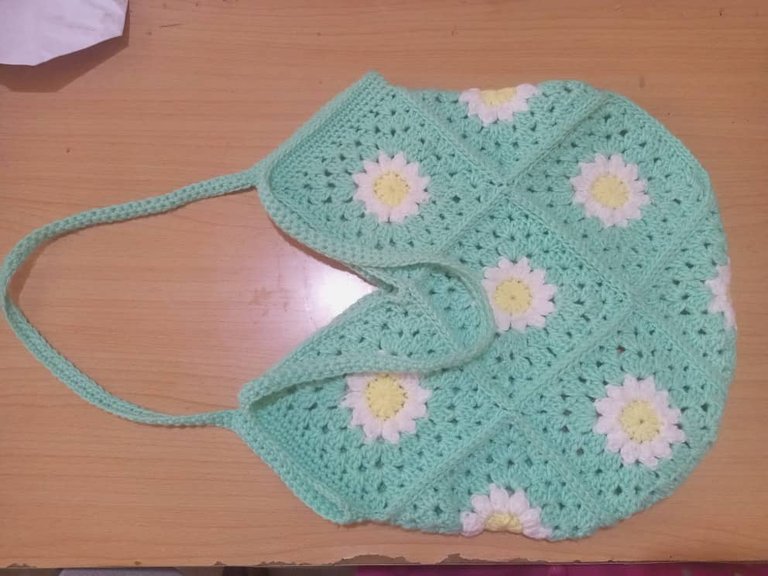
Your bag is done!!!
I hope you found this helpful.🌼🤍
Till next time, stay crafty🦋.
Congratulations @tenesha! You have completed the following achievement on the Hive blockchain And have been rewarded with New badge(s)
Your next target is to reach 800 upvotes.
You can view your badges on your board and compare yourself to others in the Ranking
If you no longer want to receive notifications, reply to this comment with the word
STOPCheck out our last posts:
Hi @tenesha welcome to our wonderful community. I must confess I am in love with your tote bag. Do you sell?
Thank you so much❤
Yes..I dooo
una belleza, excelente trabajo!
a beauty, excellent work!
Muchas gracias🥺🤍
Hi @tenesha welcome to the Diyhub community, it’s such an Honour to have you here. Your daisy tote bag looks so nice and unique. Well done and thanks for walking us through the creative process of your tote bag.
Thank you so much for the warm welcome❤
❤❤❤
Wooooow está bella !, me encantó ese patrón con la combinación de colores ,está listo para hacer ese un buen look
Wooooow it's beautiful! I loved that pattern with the color combination, it's ready to make that look good