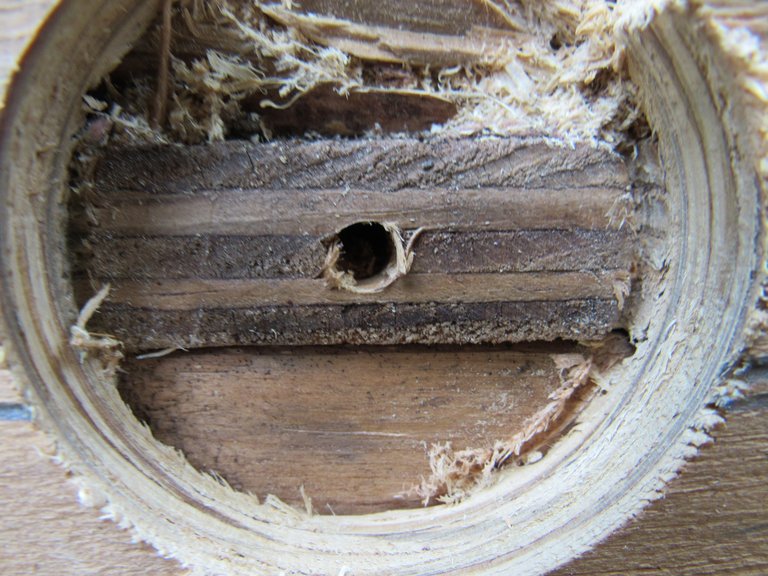
I know you are probably wondering what the heck is this a picture of and why did I use it for the cover image.
I don't know how many of you guys have ever played darts and have put that feathery flying spear smack in the middle of the dart board. If you did, I know that you jumped for joy, yelling Bull's Eye. That was exactly my reaction after drilling this hole in the side of our house.
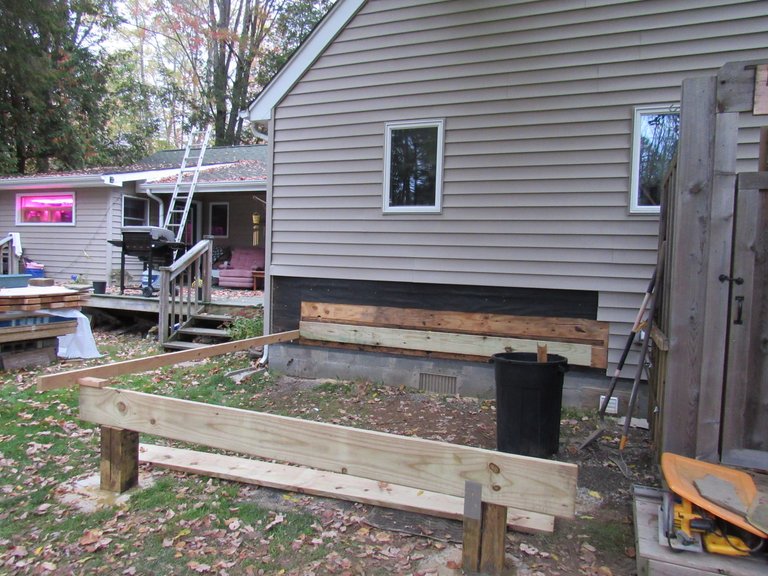
The next step in the construction of @farm-mom's sunroom was to locate the subflooring in the existing room. Locating the exact location of the existing floor would ensure that when I framed the flooring system in the new room, it would be at the same elevation as the existing floor.
Once I take down the wall that separates the two rooms, having the transition from the old room to the new room, being right on the money, will guarantee a perfectly flush floor throughout the entire living space.
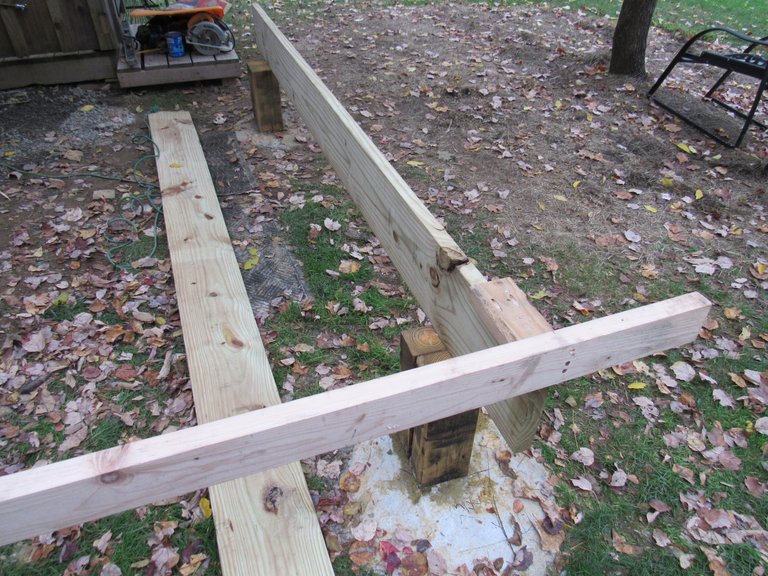
The 2 x 8 x 10 that you see fastened to the existing wall of the house can now be installed at just the right elevation. Once this point was established, the columns that support the floor girder were cut to the correct height.
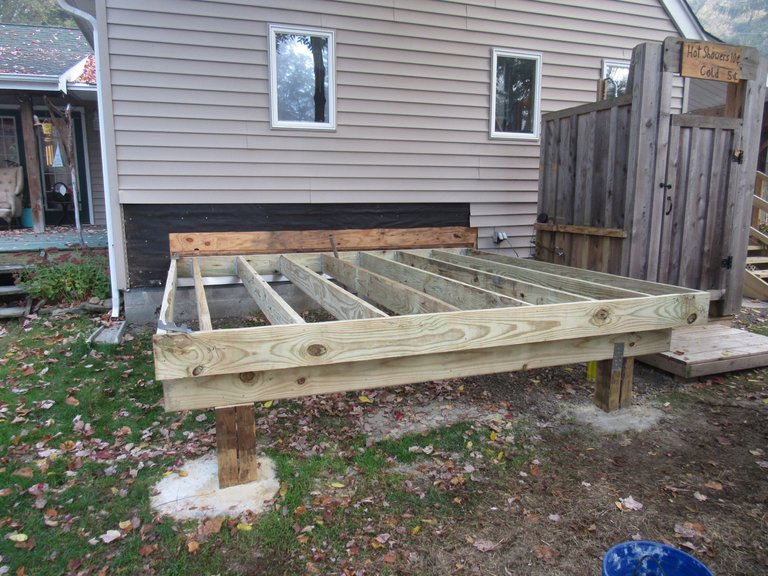
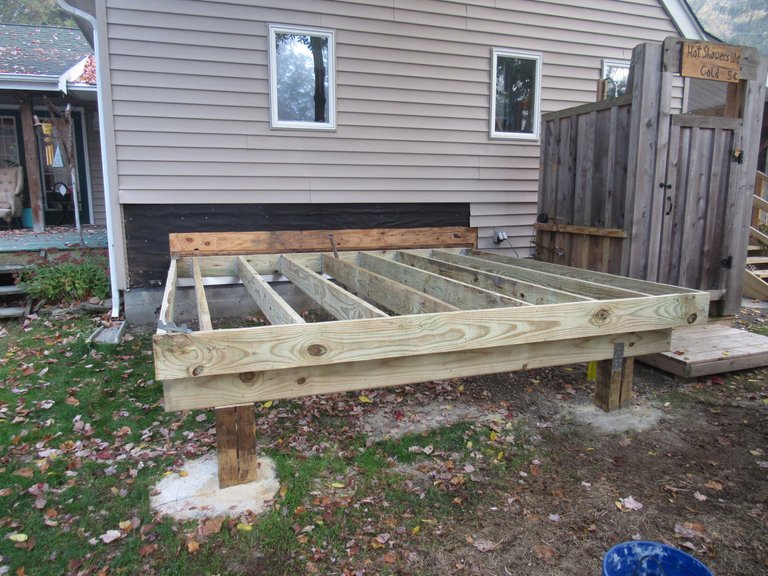
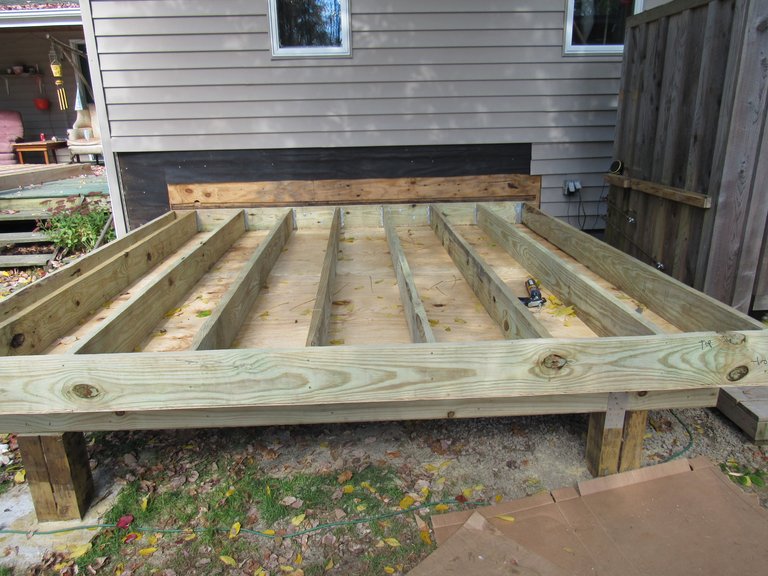
With one of the girders in place and a temporary piece of lumber secured, simulating the placement of the first-floor joist, while connecting the ledger to the girder, it's almost time to install the floor joists. At this point, the setup has to be perfectly square and level.
Any mistakes made here will show up in both the wall framing and the roof framing. Any miscalculation only gets compounded as you make your way to the roof.
For the entire floor system, I did use Pressure-Treated lumber that I purchased at Lowes. Using PTL, I knew that any possible moisture that was to encroach on the floor system would not affect the integrity of the floor.
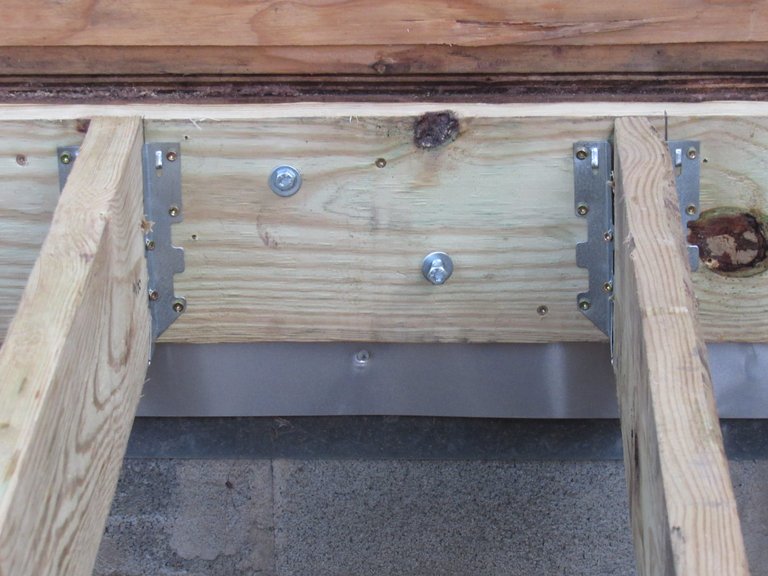
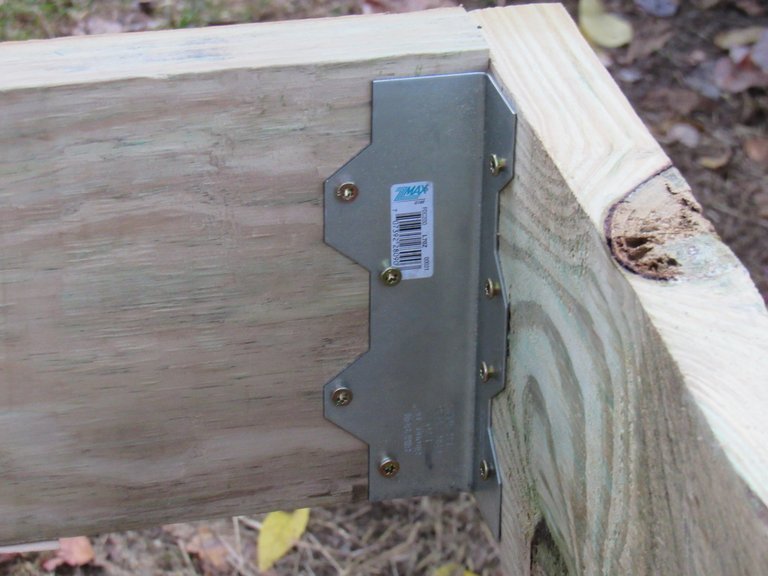
After installing all of the floor joists, 2 x 8 joists hangers are used to further ensure that the structure is sound. 1/2-inch lag bolts are used to securely fasten the ledger to the house.
Corner brackets are used where joist hangers will not work.
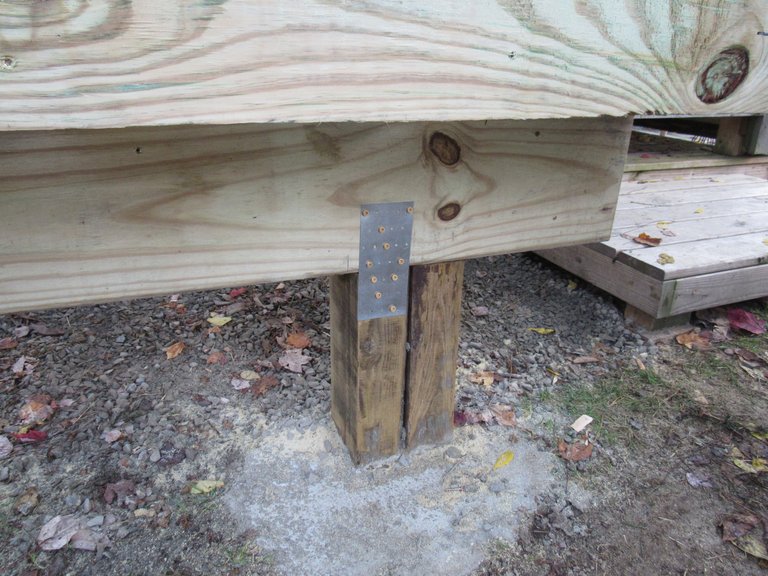
The floor girder is also strapped to the columns.
Being pleased with everything up to this point, it was time to move to the next step.
This part of the job, I was not looking forward to.
Closing off the bottom of the structure would require some wiggling around. The underside of the floor system is only 16 inches off the ground, and I knew I would be spending a few hours working in a very confined area. It's times like this that another set of hands would have been very helpful. Holding 4-foot x 8-foot pieces of plywood in place required some ingenuity, but after getting a few screws in each piece, screwing off the remainder of the plywood was a cinch.
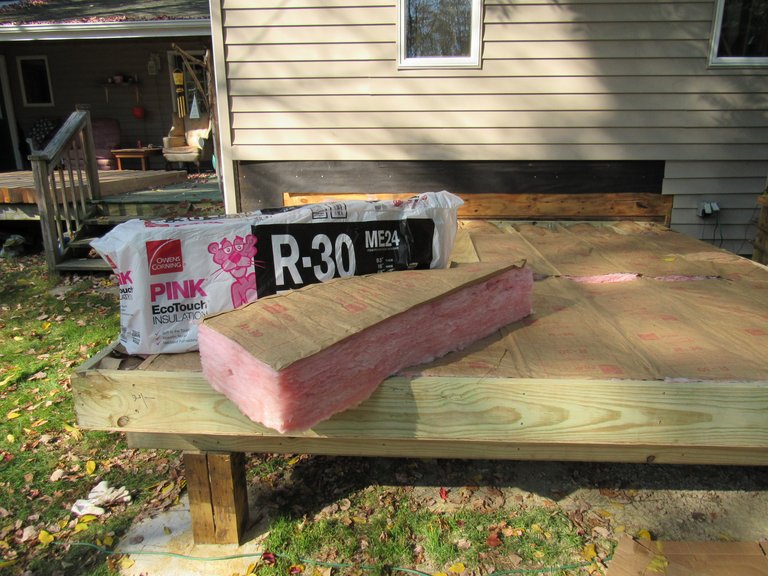
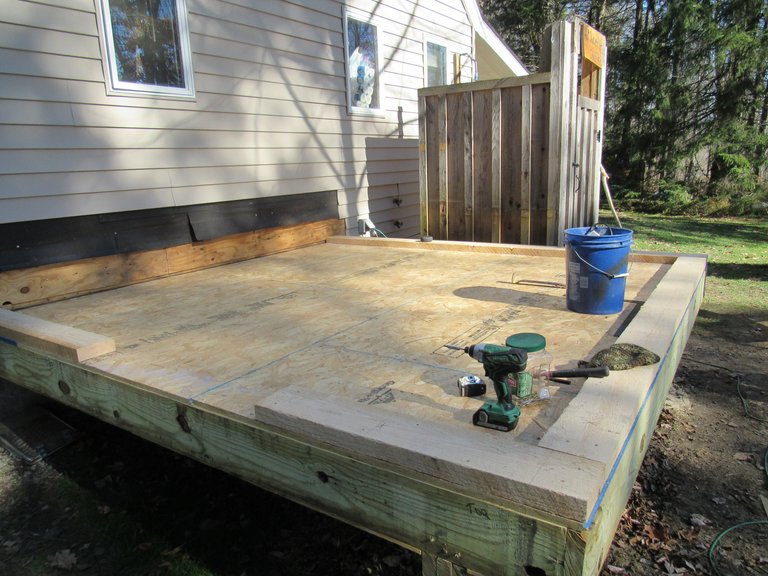
With this phase completed it was time to insulate the floor. Using R-30 insulation should keep winter's frigid air from making its way inside.
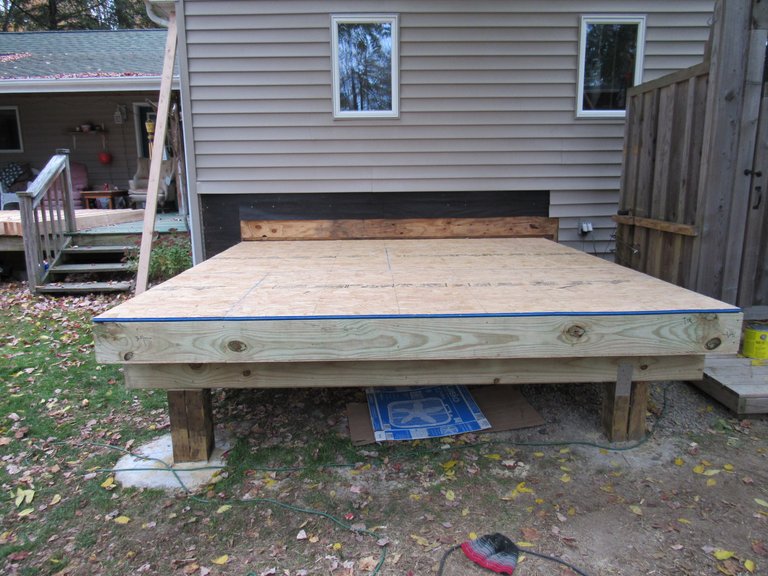
Now it was time to install the interior subflooring, which matched up perfectly with the subflooring of the existing room. 😁
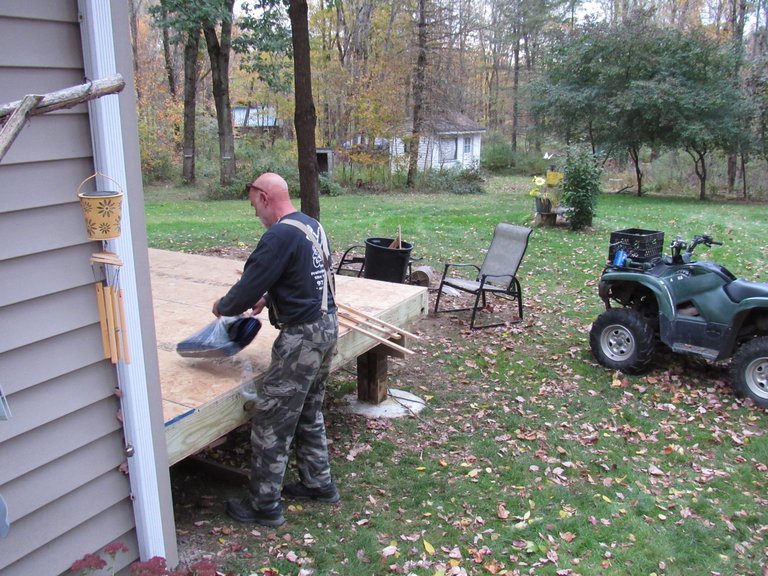
With all of the insulation and the subflooring laid, all that was left to do was to tarp the floor.
Keeping the insulation dry until our son arrived to give me a hand, was something that needed to be done with the greatest of care. If the insulation were to get wet, soaking up any moisture like a big sponge, that would be a disaster.
That was as far as I thought I would be able to take this project until our son arrived.
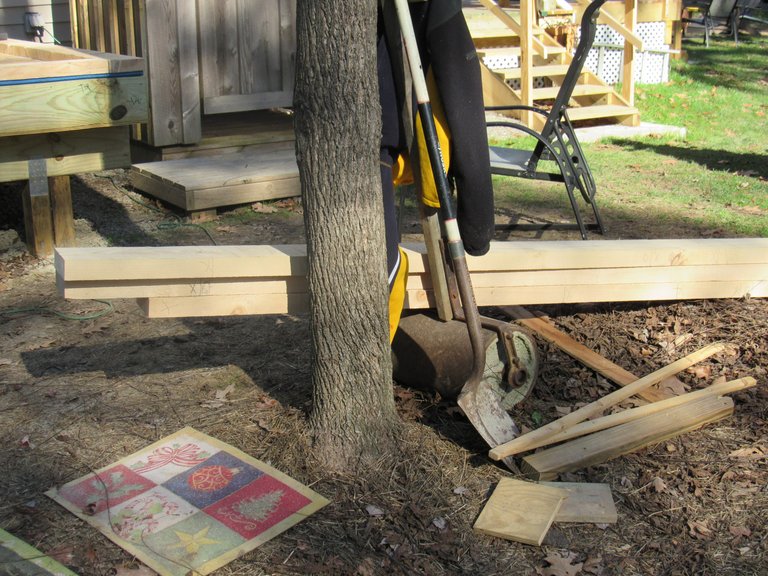
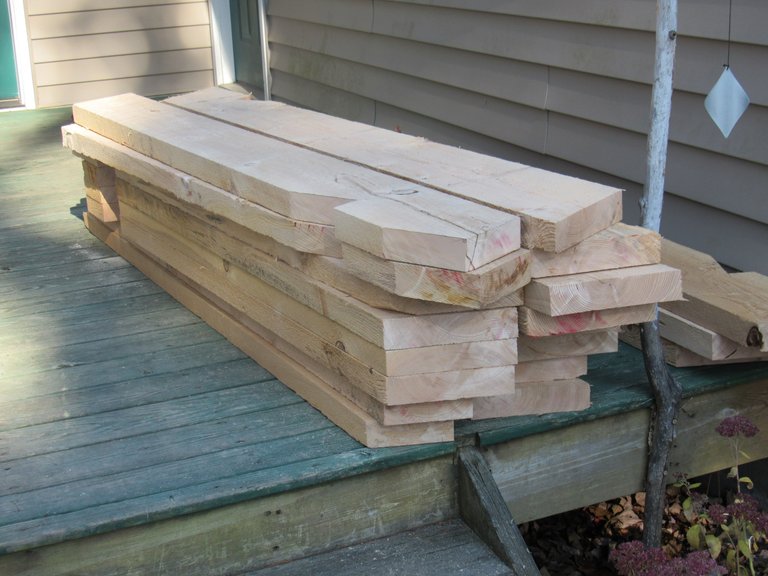
The following morning, I decided to precut as many pieces of the project as possible. My intention was to get a jump start on framing the sunroom. Doing as much as I could before his arrival may allow us to have the structure completely framed in two days, before @ryan313 would have to return home.
Cutting, installing, and laying out the bottom plates, with the location of the windows and door being established beforehand, I knew would save me hours, and it was a one-man job.
With the top plates marked and ready to go I was getting a real jump on doing as much as possible before his arrival
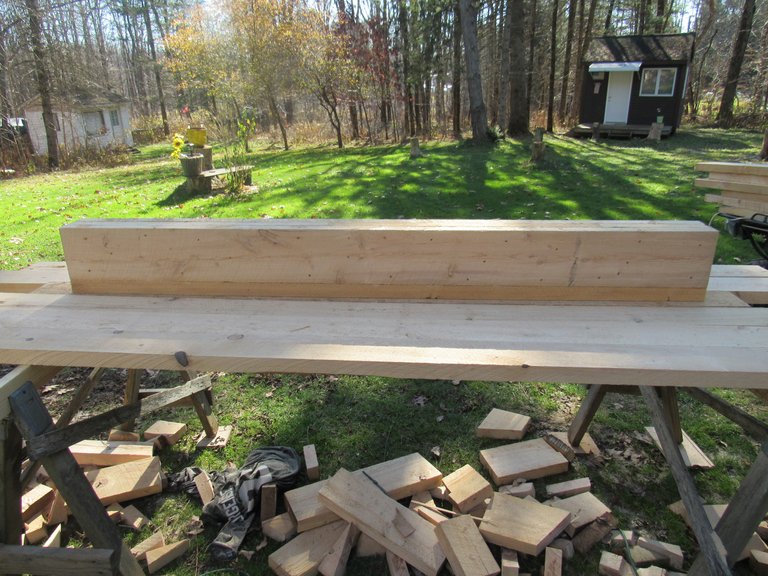
This is a picture of the header for the large set of windows that were going in the gable end.
The smaller headers in this photo are for the door and another single window.
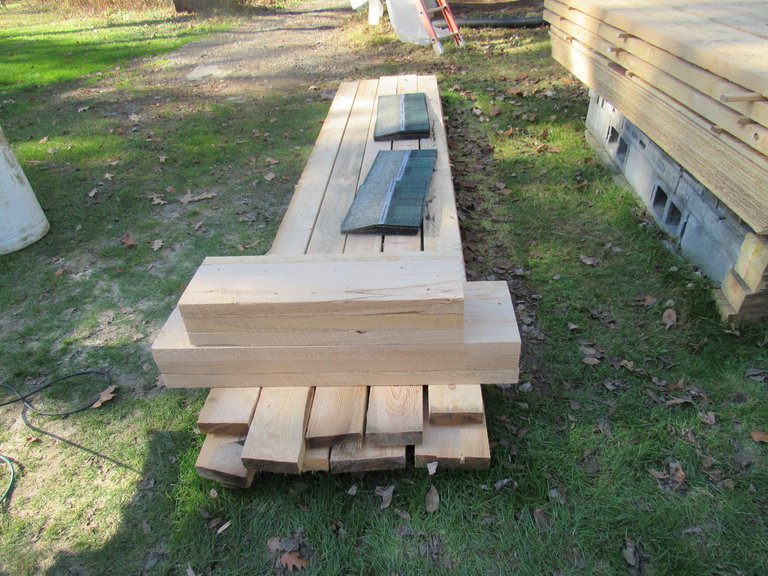
I decided to go with a 5 on 12 roof pitch. After determining the roof pitch, laying out the plumb cuts and the bird-mouth cut on the rafters was followed by precutting all of the rafters needed for framing the roof system.
Completing this step before his arrival, I knew was a big time saver.
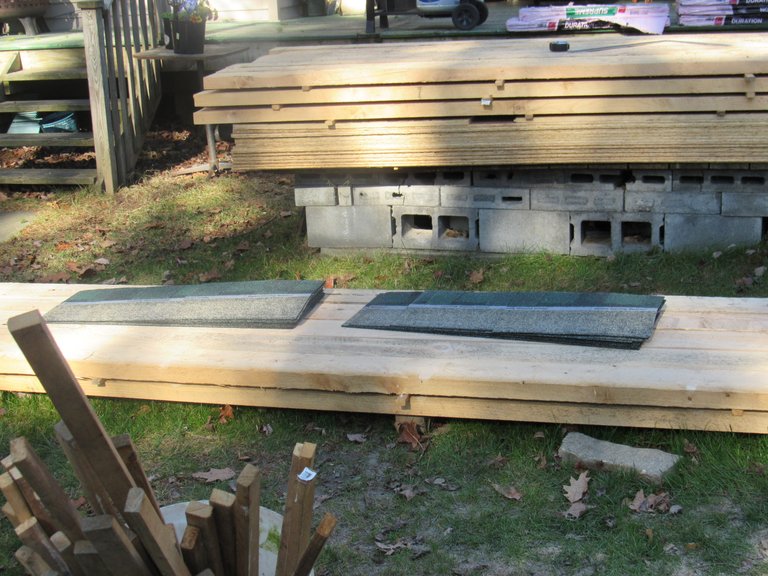
I also cut all of the starter packs of shingles. Now, if we get as far as laying down shingles while he's still here, all of my prep will have paid off.
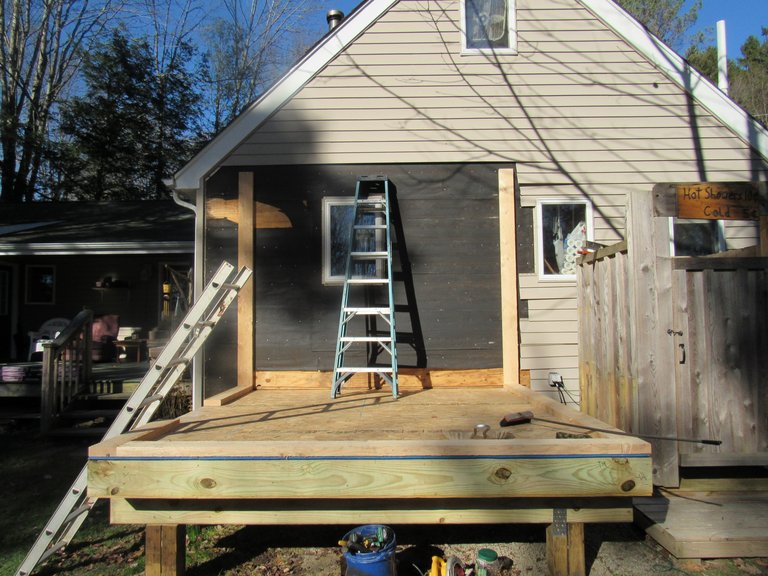
The final thing I did in advance of his arrival, was to strip a good part of the siding from the existing gable wall and install the first two wall studs of the new addition.
With as much as I had gotten ready before our son arrived, I felt that we had a good chance of framing and shingling the roof before he had to return to New Jersey.
Stay tuned, if you are interested to see how we made out.
Dang that's coming along nicely. You must be the go-to dude in the neighborhood. How many times does someone stop by to have you listen to the tink-t-tink-tank tank sound under the hood?
Once you explained yourself, that cover image made sense. Nice shot!
Why did you sheet the bottom of the floor? 🤔 You must have a reason. That's not typical, wouldn't it be a lot easier just to sheet the perimeter or just open boards facing the ground? Lookin forward to this one.
Quick! Add it to your blog feed.
Never, very few people in the area, and I'm not one to let
too manyanybody into my circle.I felt a little like you feel when trying to choose a cover image, I went back and forth before finally deciding. I'm glad you think it works!
The insulation is just to ensure that NO COLD AIR gets into the living space. #farm-mom doesn't really like the cold. The warmer I can keep the house in the winter the better, otherwise she would have my ass in Florida 5 months out of the year.
I will be closing off the bottom of the structure at a later date, that's the reason for leaving the boards at the corners, and where the addition butts the existing house, long. Having them go to the ground will give me a place to secure the wood that will close in the sides of the room.
Thanks for a reply that asked a few questions.
Place is looking good😊💖👍
The insulated floor will be super nice and since it is attached to the house and will open to it it is going to keep the heating costs down for it and you won't loose heat or gain cold from the floor. I'd love to have done that with the studio but I am pretty close to the ground on one end and would need PT ply which is stupid pricey.
I was just able to get my self under the floor, tight squeeze. I hear you about the cost of PT plywood. I went with regular 3/8 plywood, and for extra protection, I rolled on 2 coats of a wood preservative. Going about it this way saved me over $100.00. Our woodstove is just on the opposite side of the wall to the new addition. With a small fan, I should be able to direct enough warm air into the new living space.
With the stove right there you may not need a fan depending on the doorway. If left as an archway the air would move more normally. Is this a south side sun room?
We've got a door in the room, but if left open the room heats up nicely. Being that I'll be taking out the entire adjacent wall, the heat should make it to that area as well. The bank of windows face SE.
Nice so it will have the morning and mid day sun. With the interior heat that should make for a really killer area!
@farm-mom can't wait.
Your post has been voted as a part of Encouragement program. Keep up the good work!
Try https://ecency.com and Earn Points in every action (being online, posting, commenting, reblog, vote and more).
Boost your earnings, double reward, double fun! 😉
Support Ecency, in our mission:
Ecency: https://ecency.com/proposals/141
Hivesigner: Vote for Proposal
It's great to have you stop in once again! Thanks for all of your support.
It looks perfectly done! Excellent work! I can't wait to see the finished project!
Neither can @farm-mom, she is already picking out some furnishings. 😁
C'mon now, I am JUST shopping, I haven't bought a thing...YET😍
Well yeah! A whole new room to shop for!
I would be shopping, too.
Shopping and planning! So much fun!
Daaaang!!! Things are coming along nicely!! Once @farm-mom puck out those furnishings and has them shipped in from Italy along with the marble floors of course, you will have something’s really nice. 😉
I am hoping to get my back patio/deck rebuilt this spring... fingers crossed. I want to get that done before I paint the house.... well not me but someone paints the house.
Now that's funny, furniture from Italy? Marble floors ?😁
Thank you for sharing this amazing post on HIVE!
Your content got selected by our fellow curator @priyanarc & you just received a little thank you via an upvote from our non-profit curation initiative!
You will be featured in one of our recurring curation compilations and on our pinterest boards! Both are aiming to offer you a stage to widen your audience within and outside of the DIY scene of hive.
Join the official DIYHub community on HIVE and show us more of your amazing work and feel free to connect with us and other DIYers via our discord server: https://discord.gg/mY5uCfQ !
If you want to support our goal to motivate other DIY/art/music/homesteading/... creators just delegate to us and earn 100% of your curation rewards!
Stay creative & hive on!
Thank you #diyhub I'll be keeping an eye out, and thanks @priyanarc for curating this post, and feeling it worthy of being part of the curation complication.