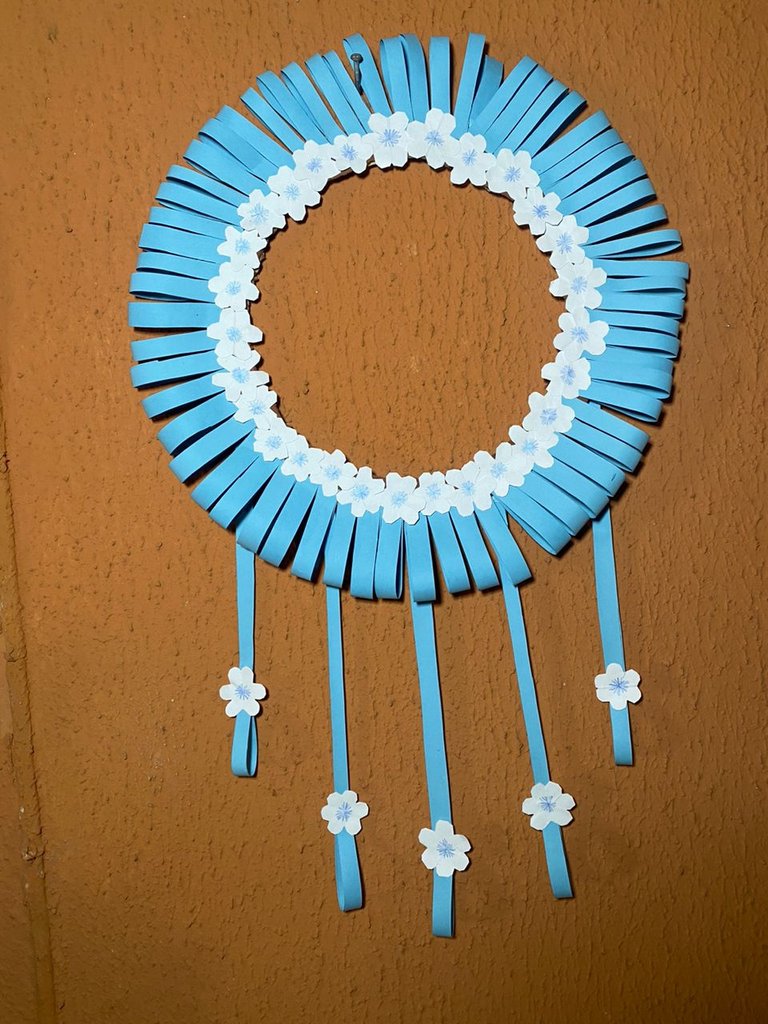
Hello everyone, today I decided to make a Wall Hanging DIY, it was lots of fun and I hope you like it.
Materials used;
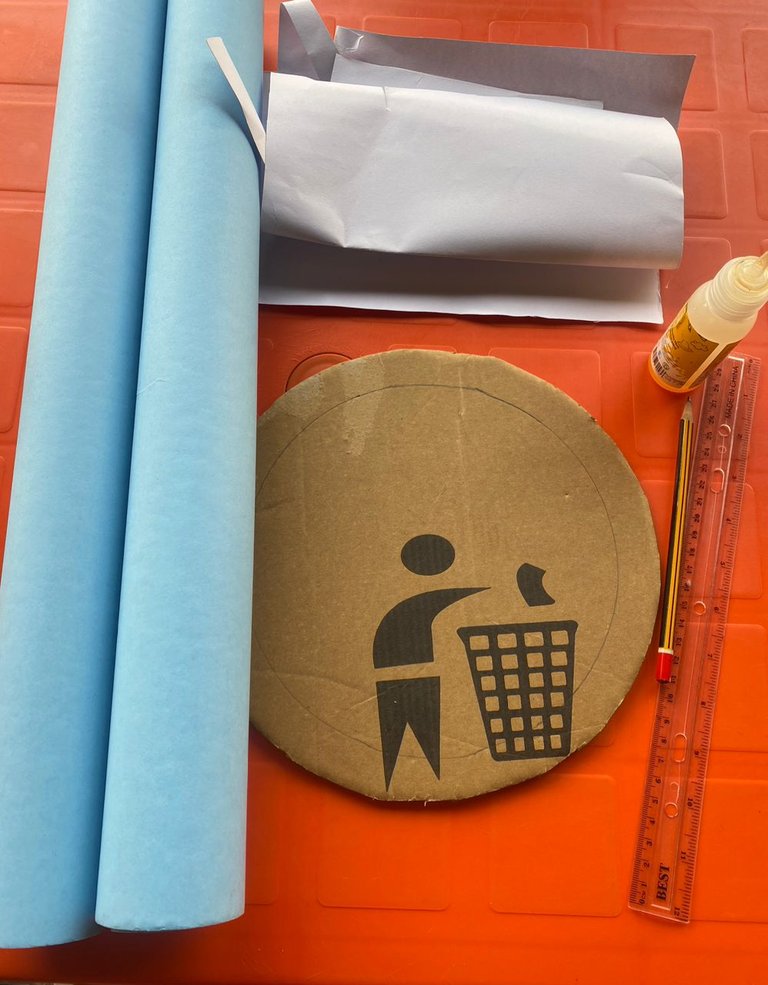
- cardboard paper (blue and white )
- Scissors
- Carton paper
- Pencil
- Brown colour paint
- Blue colour pencil
- Glue
- Ruler
Step 1;
I cut out a circle of 9cm in diameter, from the carton paper with my scissors, and paint it with the brown colour paint;
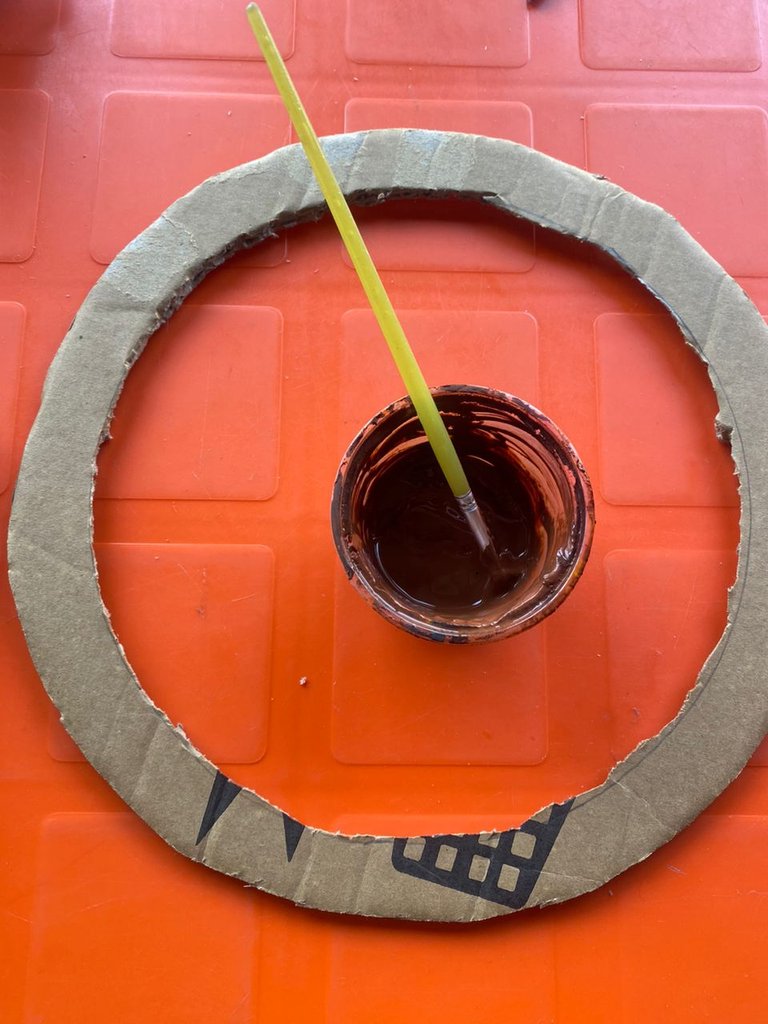
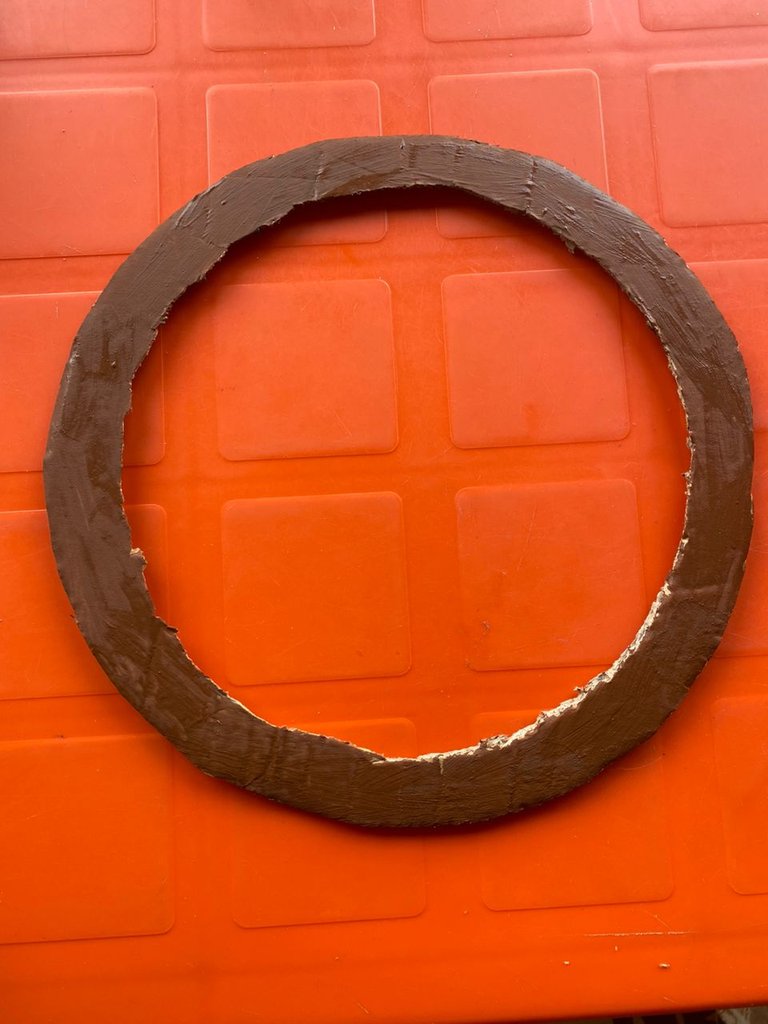
Then allow to dry.
Step 2;
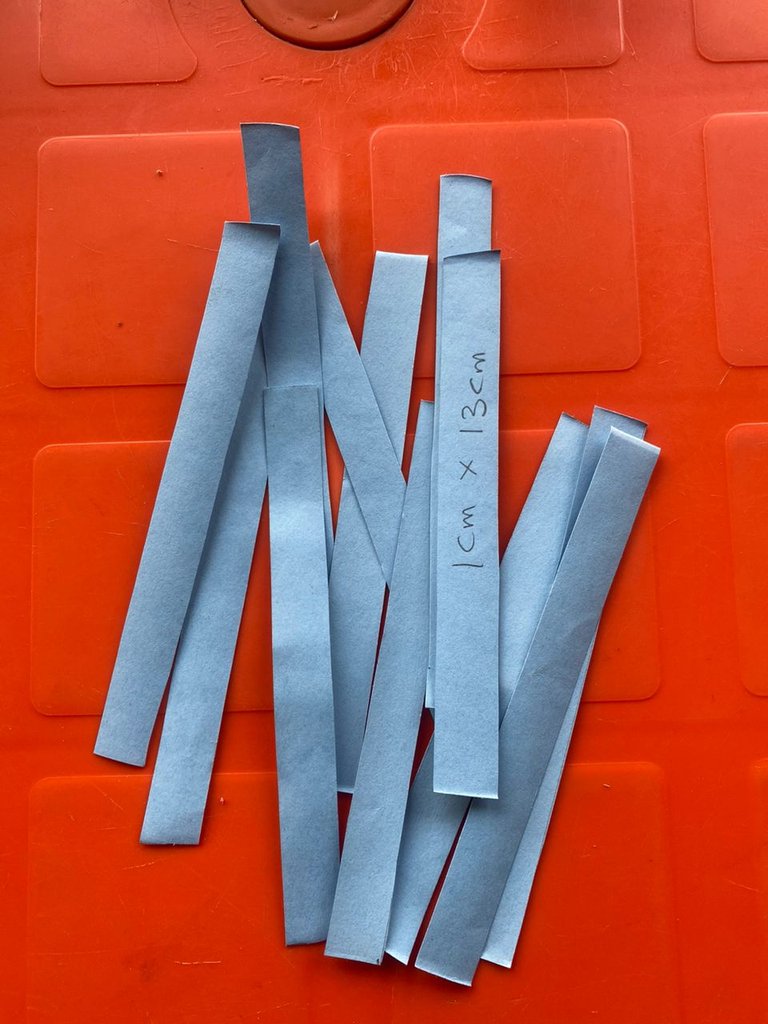
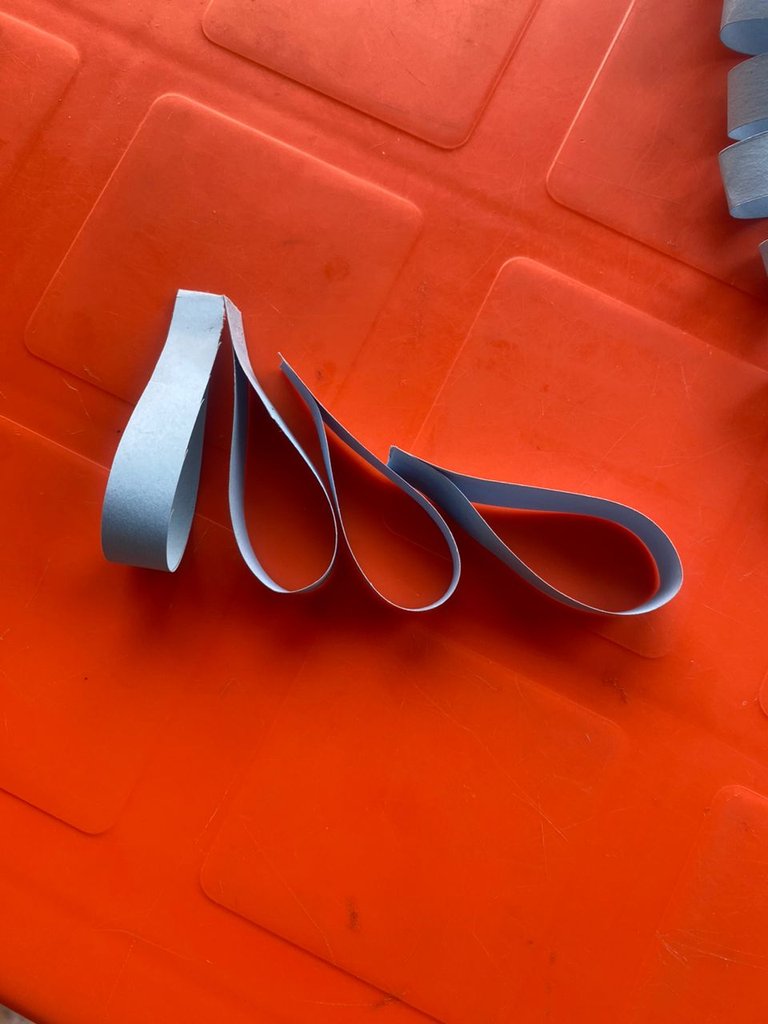
I cut out long strips measuring 1cm by 13cm;
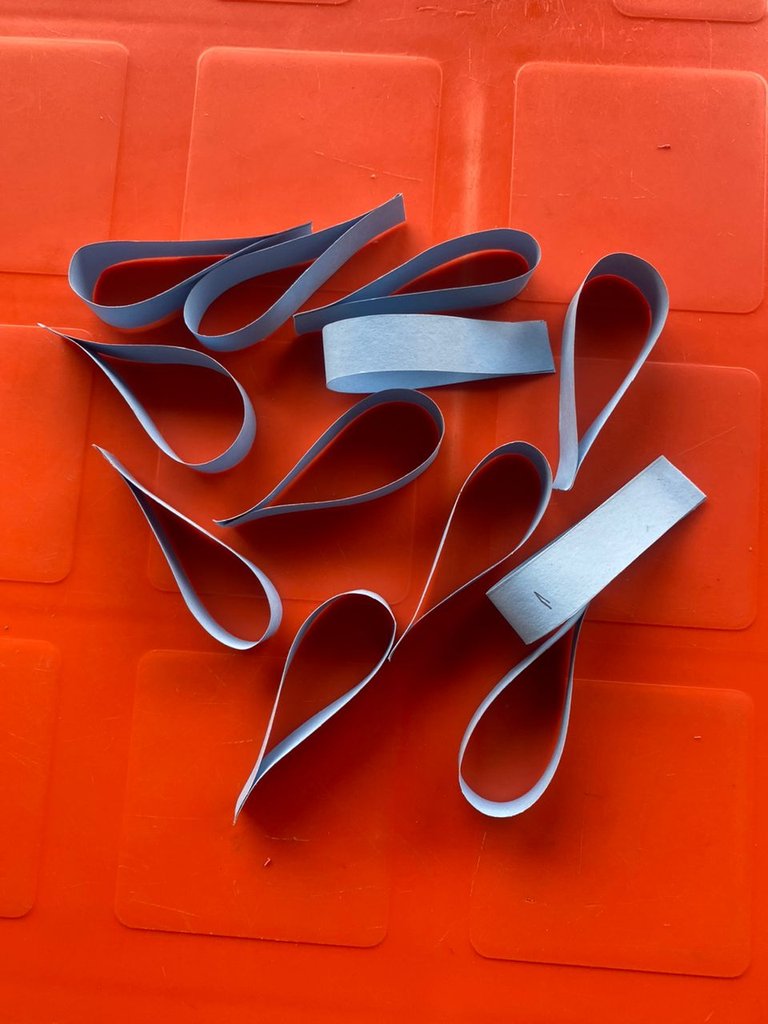
And glue them at both ends;
Step 3;
Then I start glueing the folded strips on the cardboard as shown below;
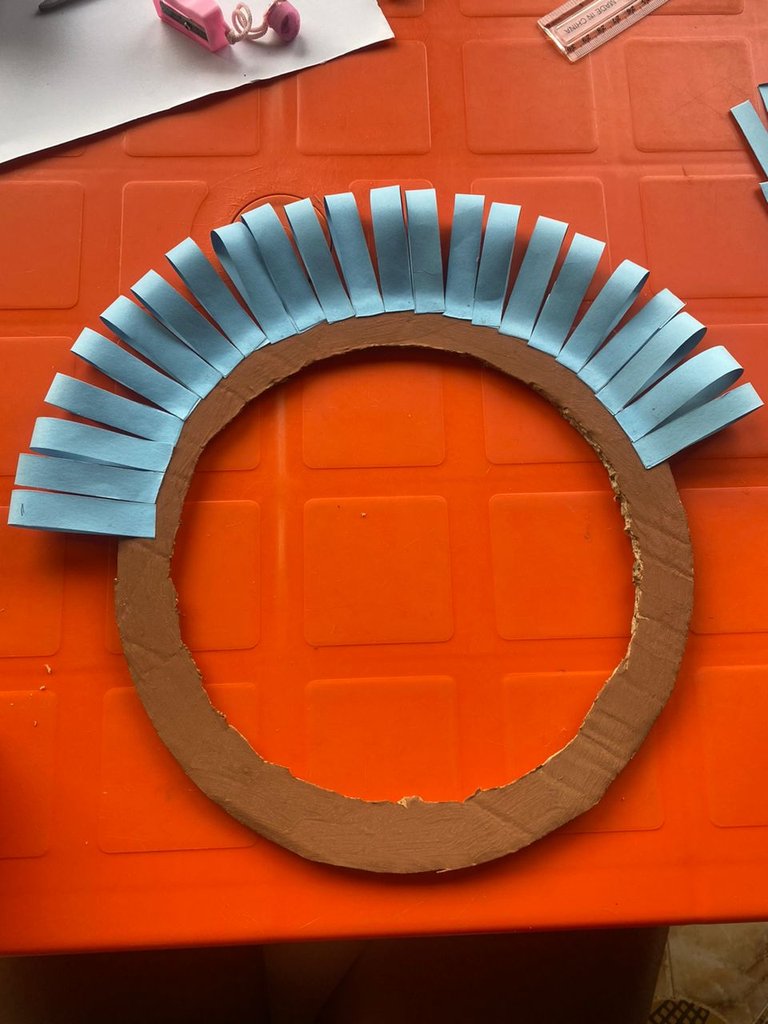
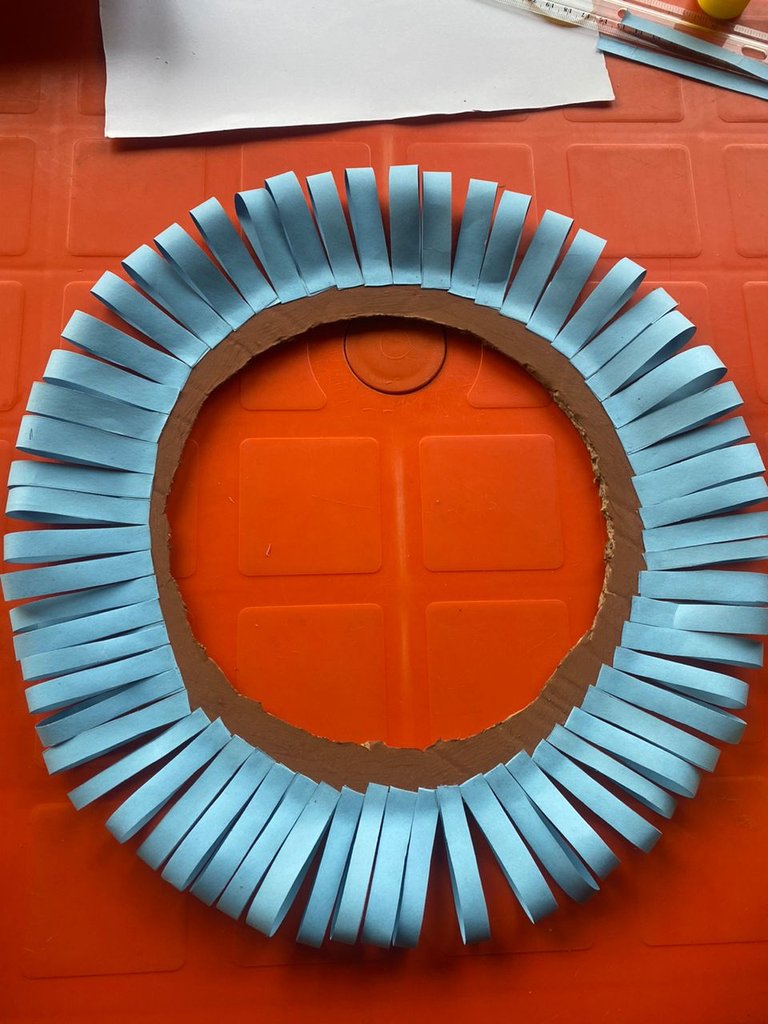
I finished glueing the strips round the carton paper until it is completed;
Step 4;
Then I cut out white cardboard measuring 4cm by 4cm for my flowers.
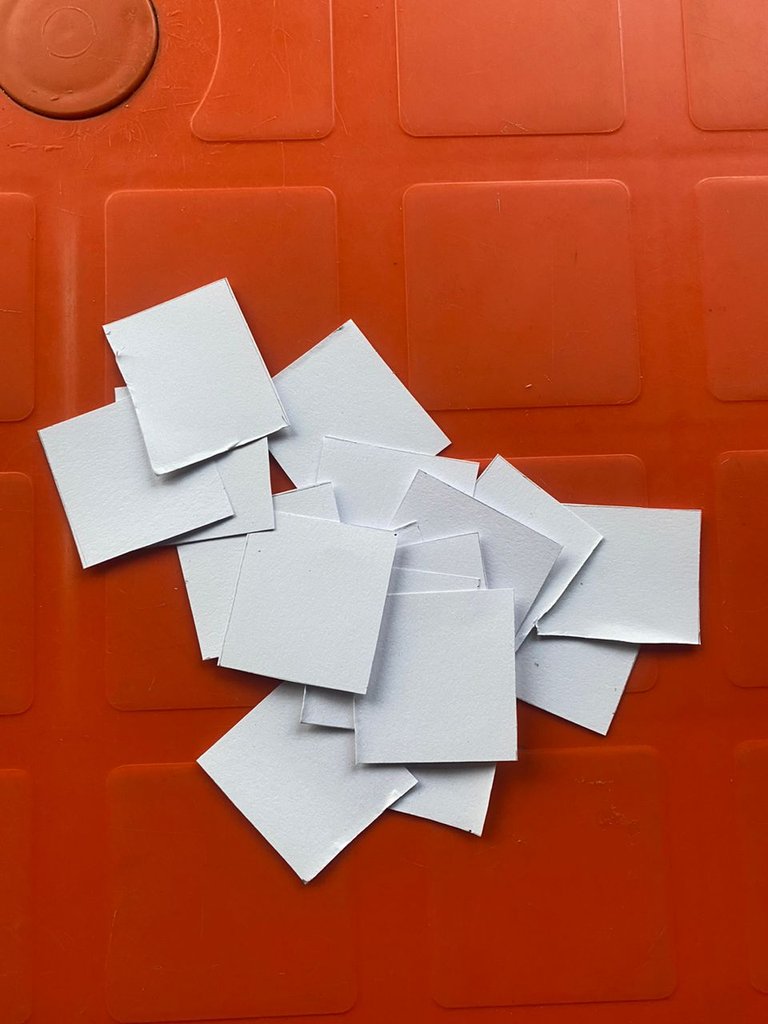
Step 5;
I cut out the flower as shown below;
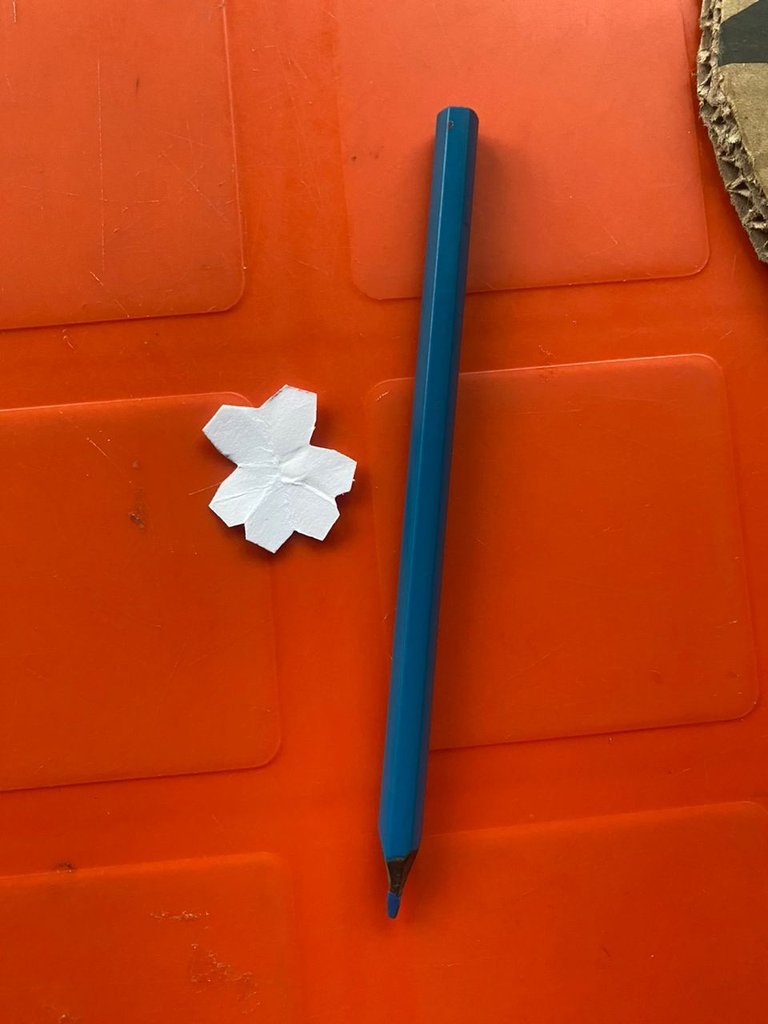
And design the middle with the blue colour pencil;
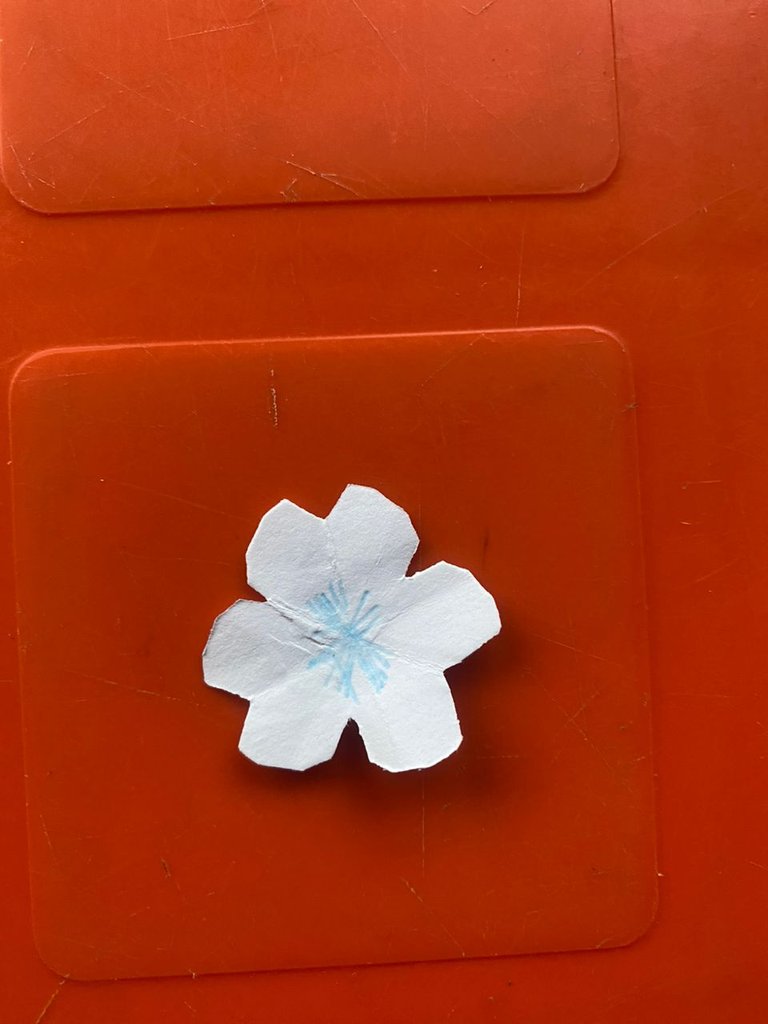
Step 6;
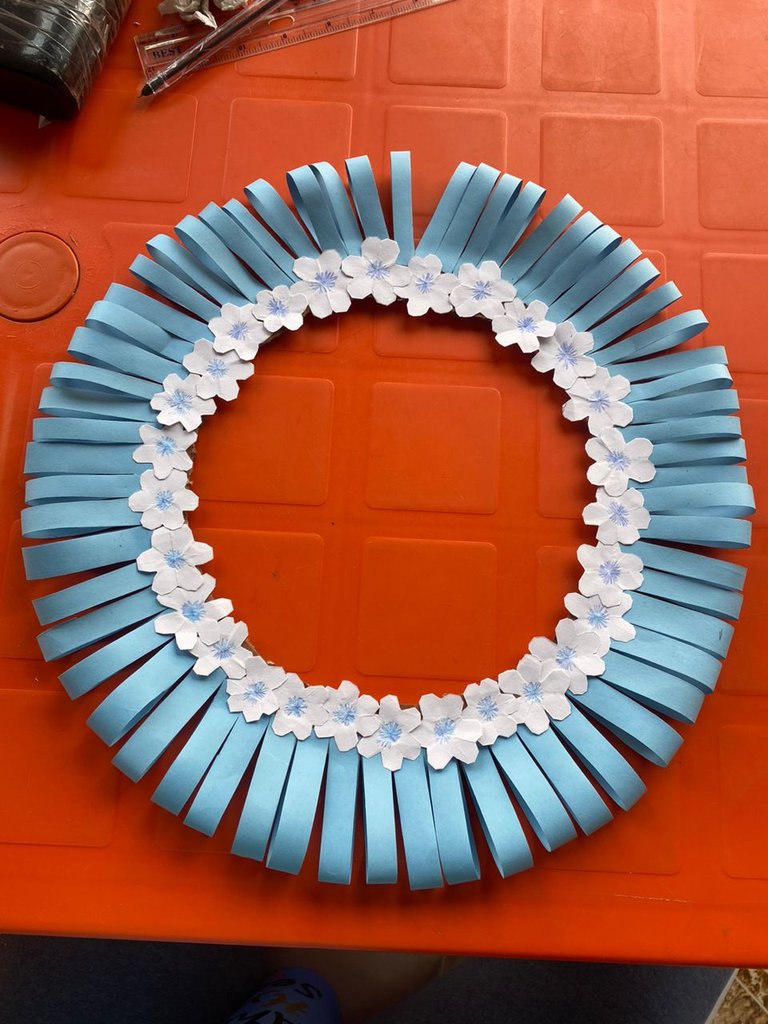
Then I glue the flowers right round the middle of the cardboard like this;
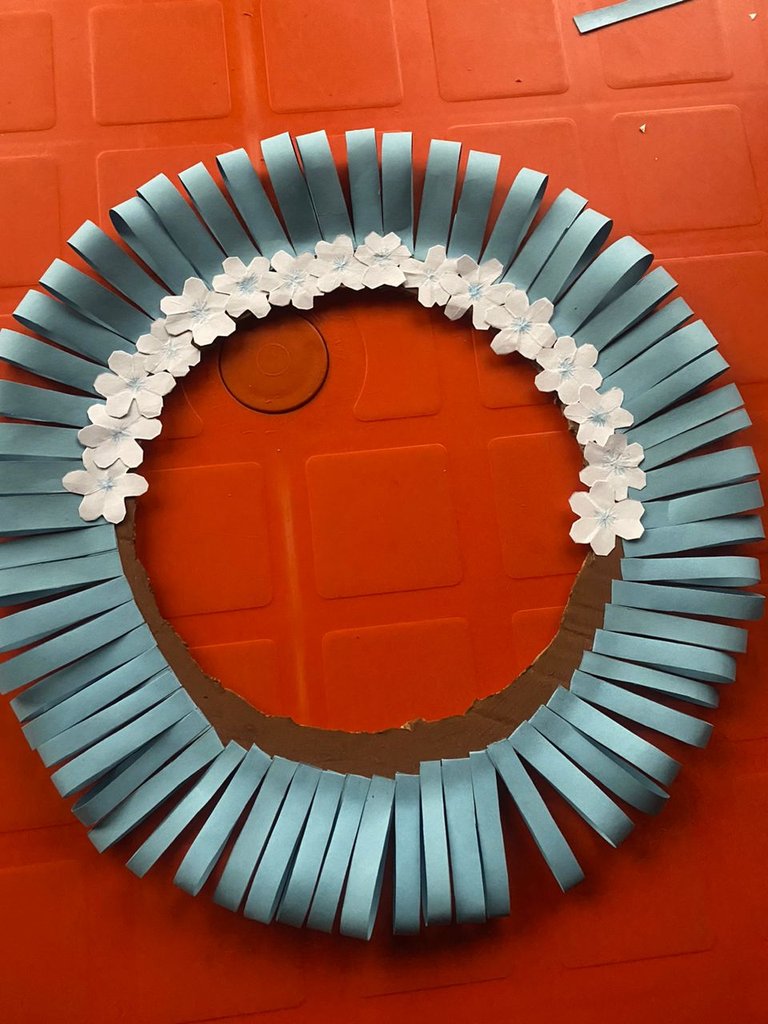
The completed version;
Step 7;
I cut out five strips measuring 0.5cm by 15cm;
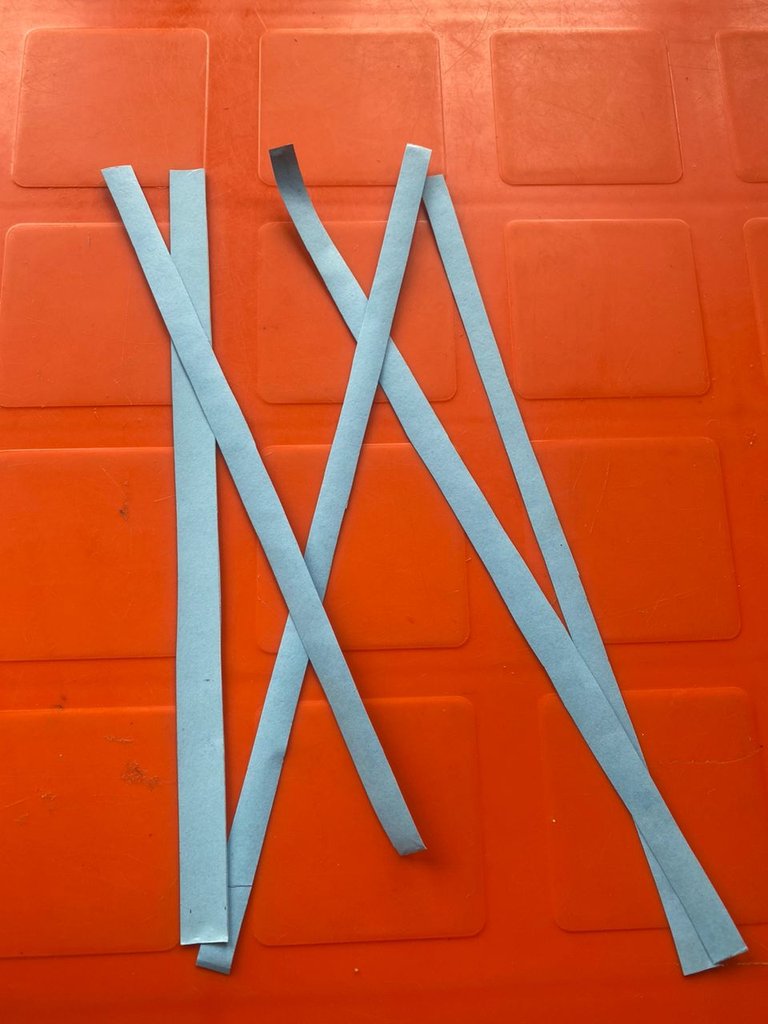
And glue them to the back of the cardboard paper as shown below;
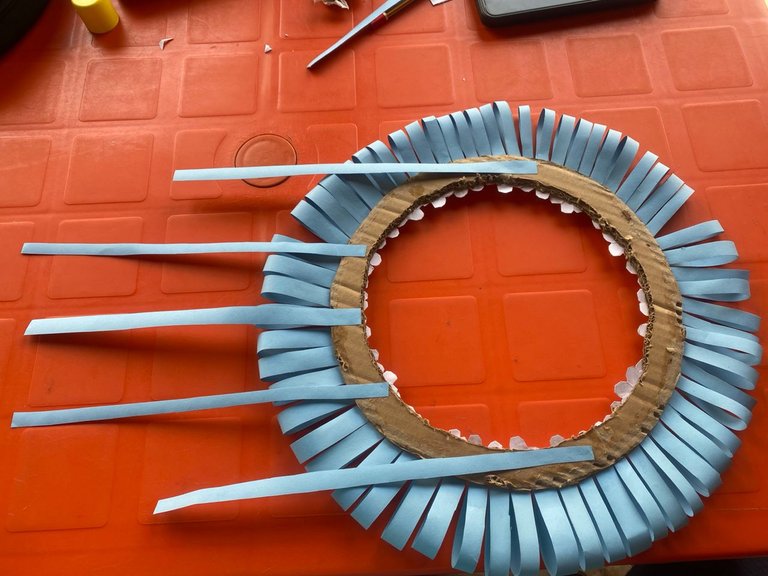
Step 8;
Then I glue the folded strips to the end of the long strips and seal it with the flowers, as seen below;

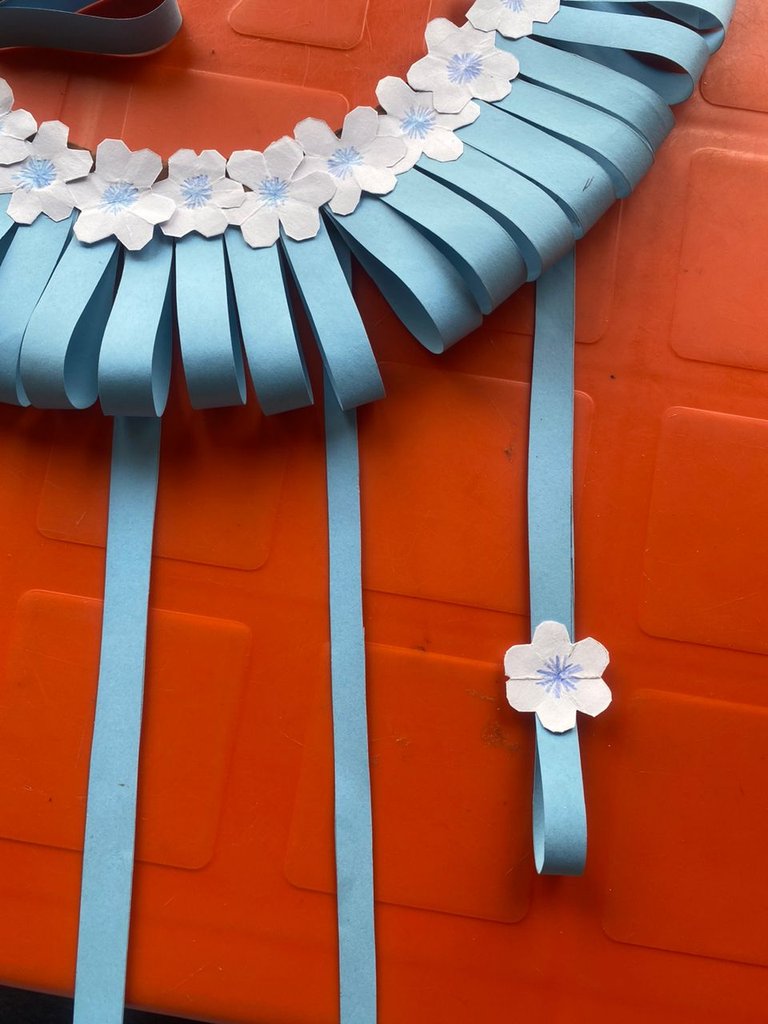
This is the final result;

I hope you like it!
Thank you very much for your continuous support 🙏
I love this wall hanging idea of yours. You have illustrated each step wonderfully and beautifully. Your presentation was great though it is a simple paper wall hanger but its beauty makes it extraordinary. Thank you so much for sharing this with us.
Your wall hanger looks really great friend. The colour combination and design is lovely. Well done.
Thank you very much 🙏