It's Christmas season and as expected, the theme this time is Christmas. Christmas is such a joyful time, characterized with beautiful decorations and colors. I decided to make a Paper Christmas trees in accordance with this month's theme.
Christmas is my favorite time of the year, and I was really excited to make this project.
Materials
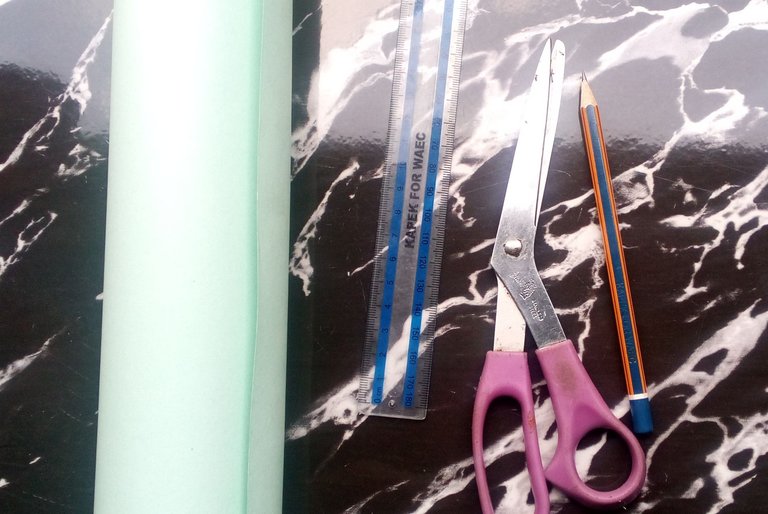
- Cardboard paper
- A pair of scissors
- Pencil
- Ruler
Steps
Step 1
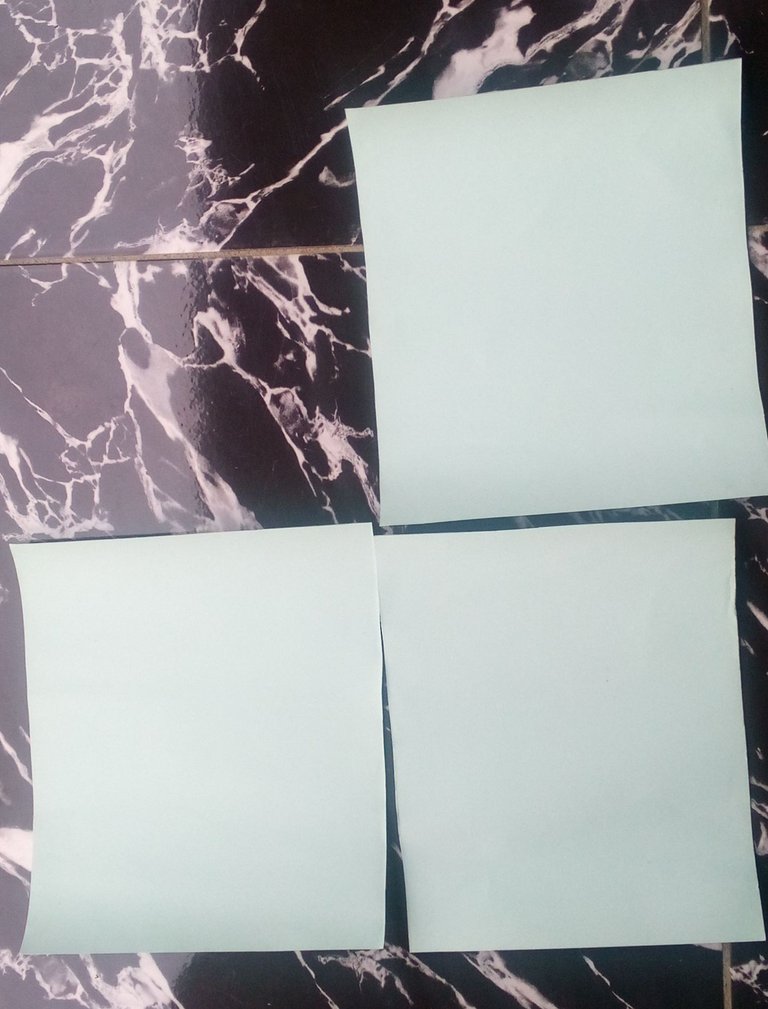
Using my scissors, I cut out three square shaped cardboard papers.
Step 2
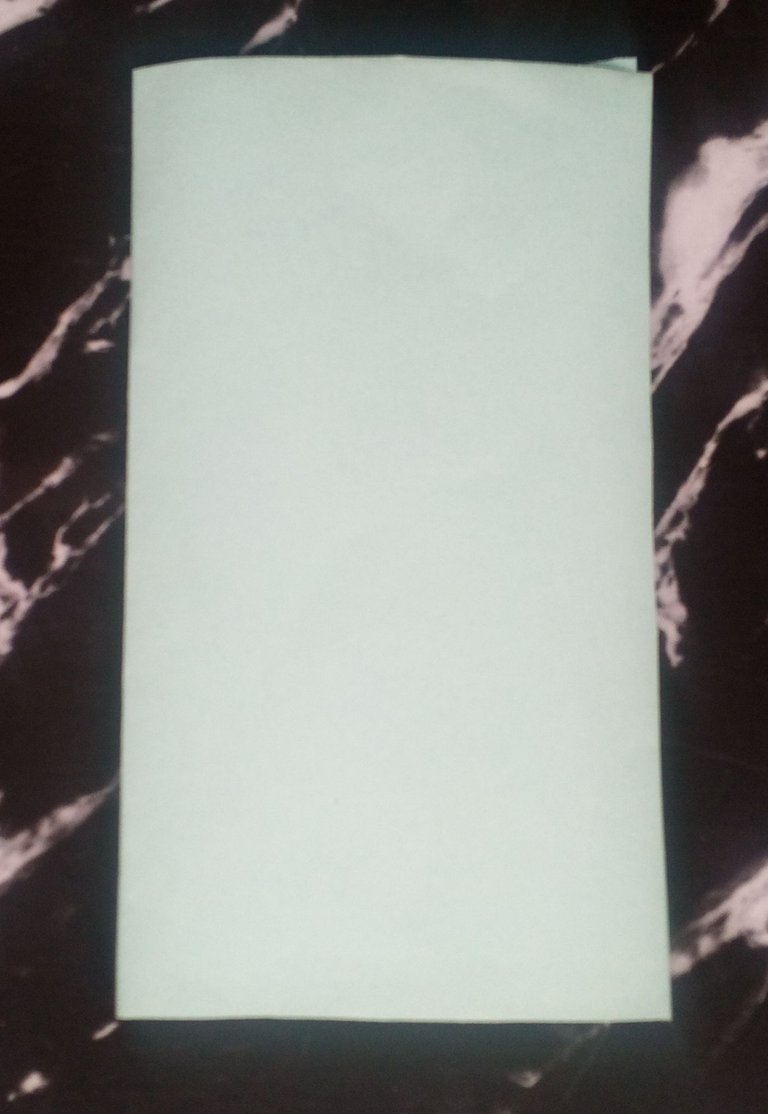
I folded the square cardboard paper into two
Step 3
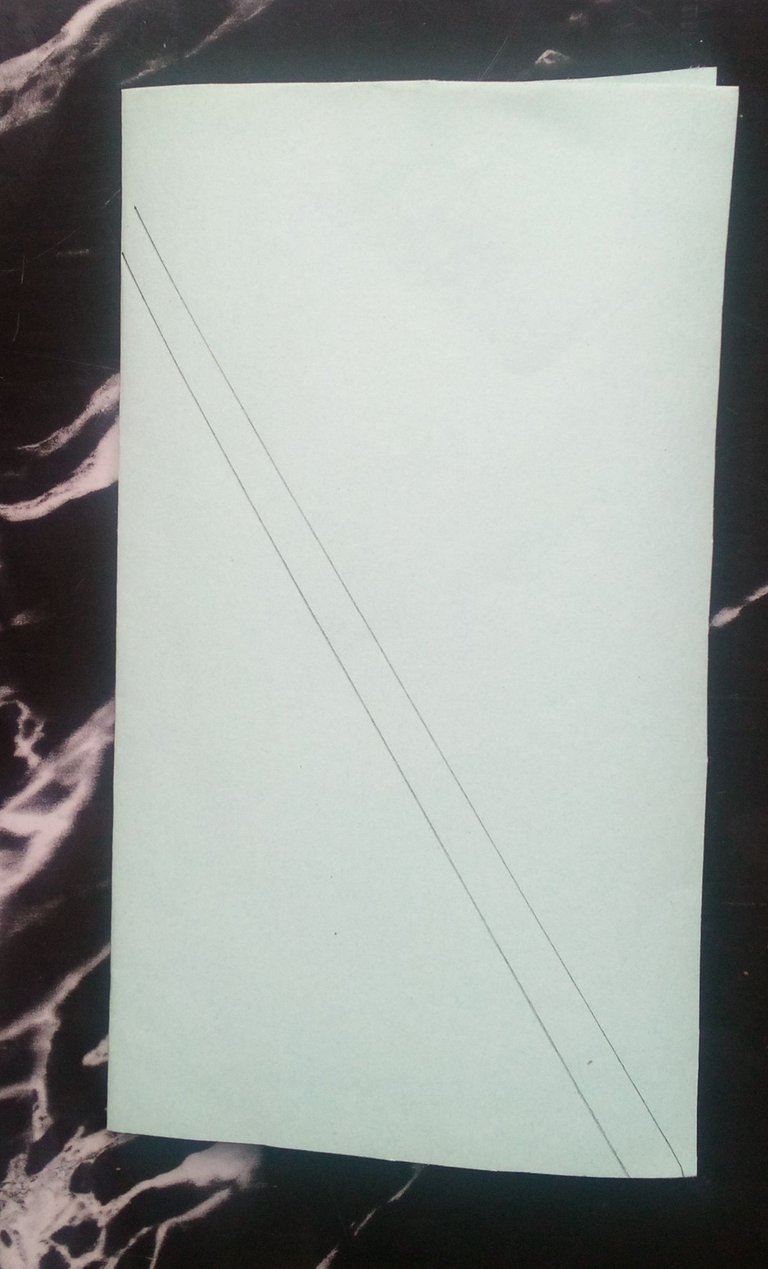
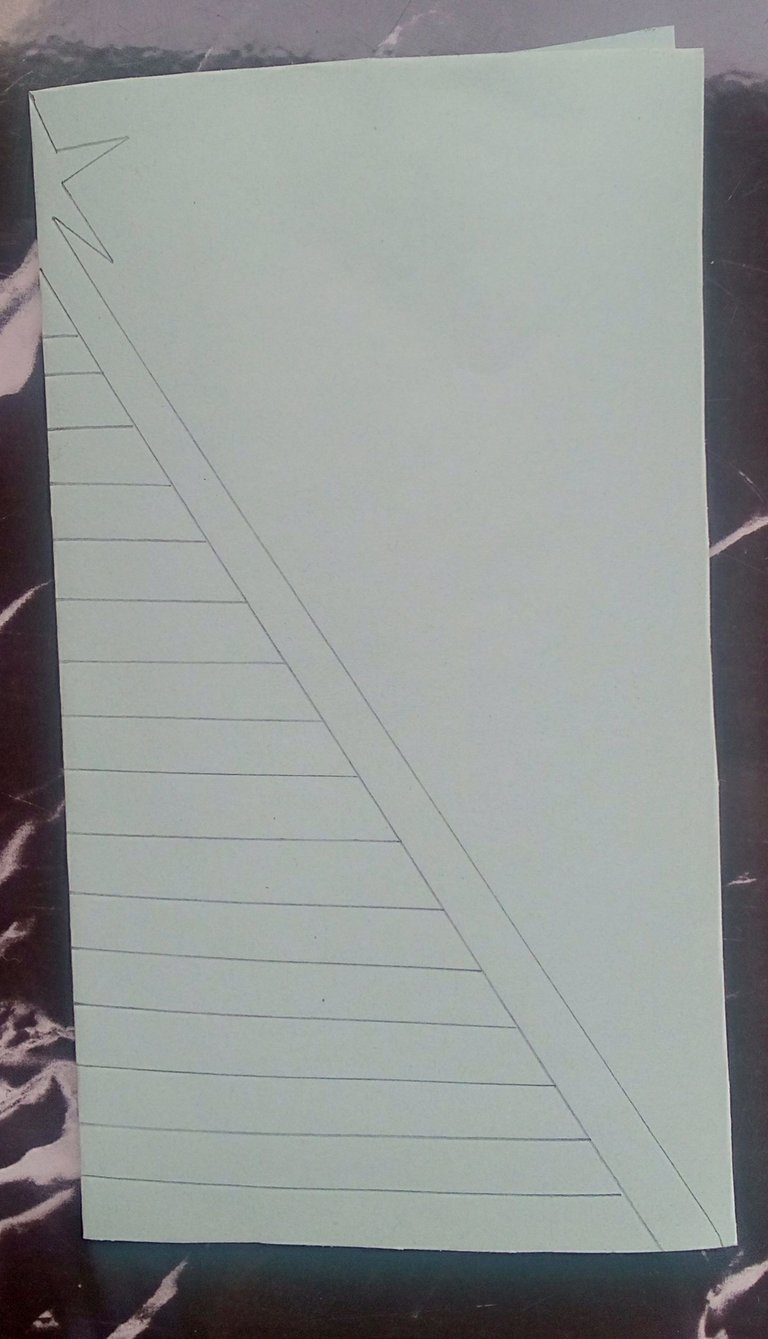
I drew two parallel diagonal lines on the cardboard paper.
Step 4
Next, I drew horizontal lines and a half star at the top
Step 5
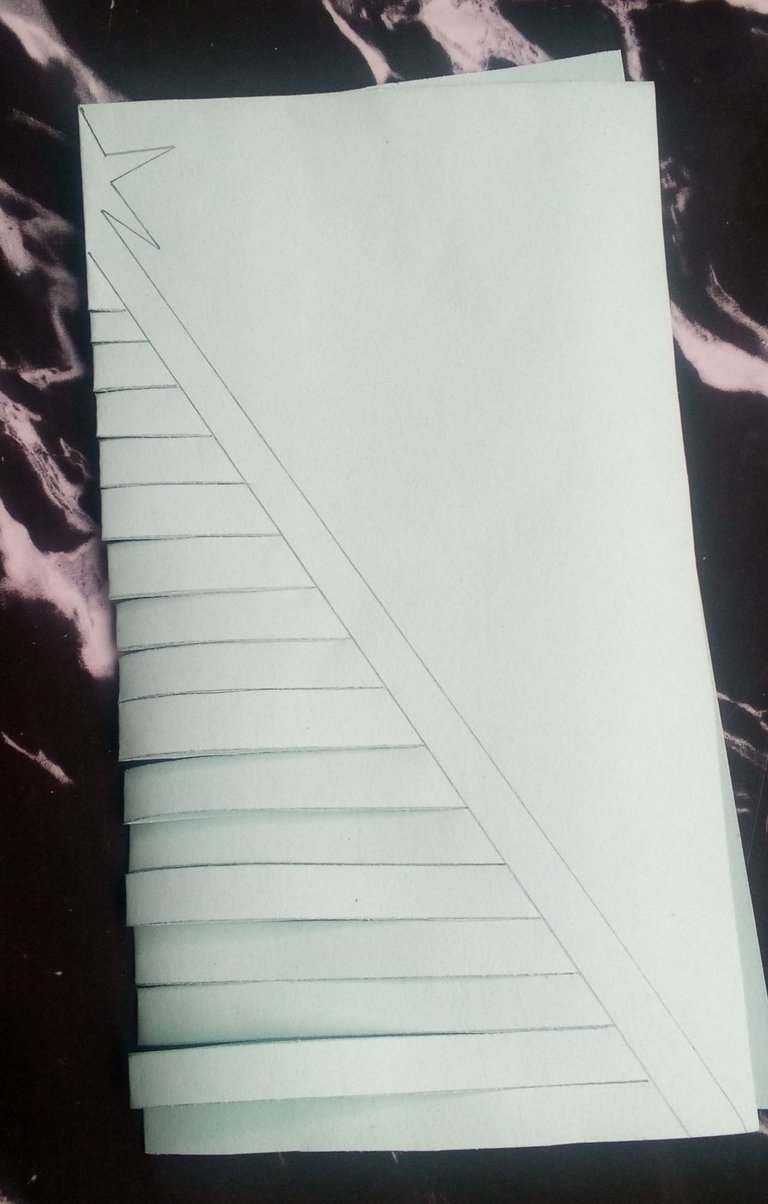
Using my scissors, I cut the paper following the horizontal lines I drew.
Step 6
I also cut out the excess paper and traced the star

Step 7
I opened the paper, and began separating the horizontal parts I cut.
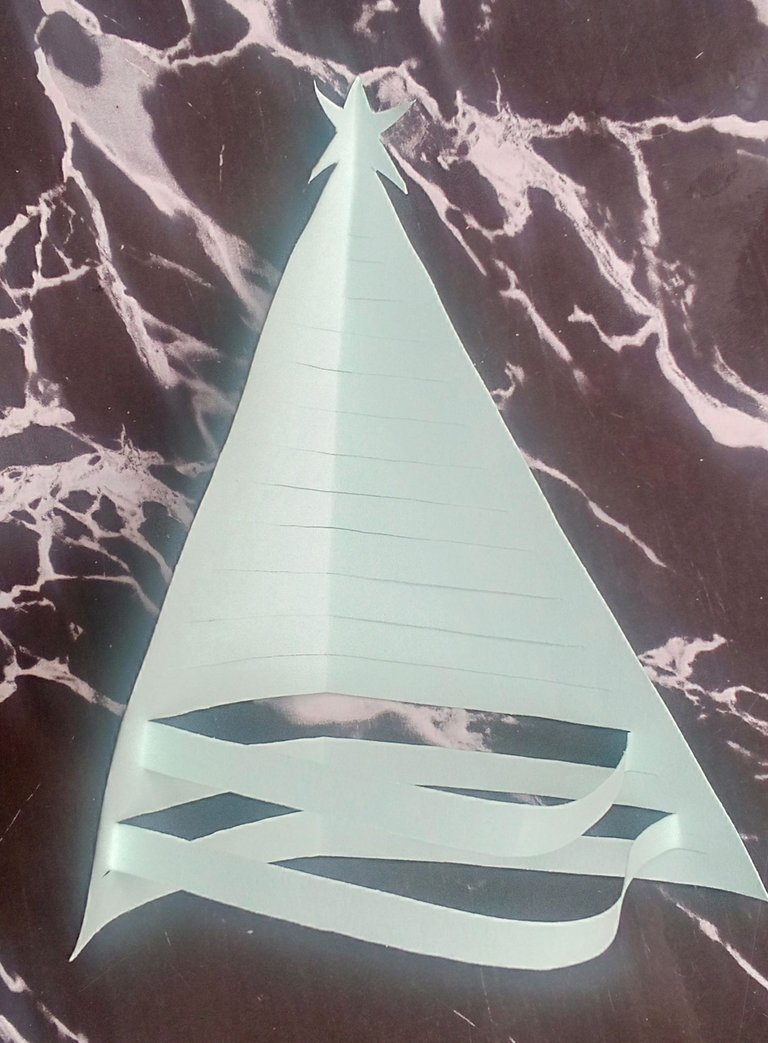
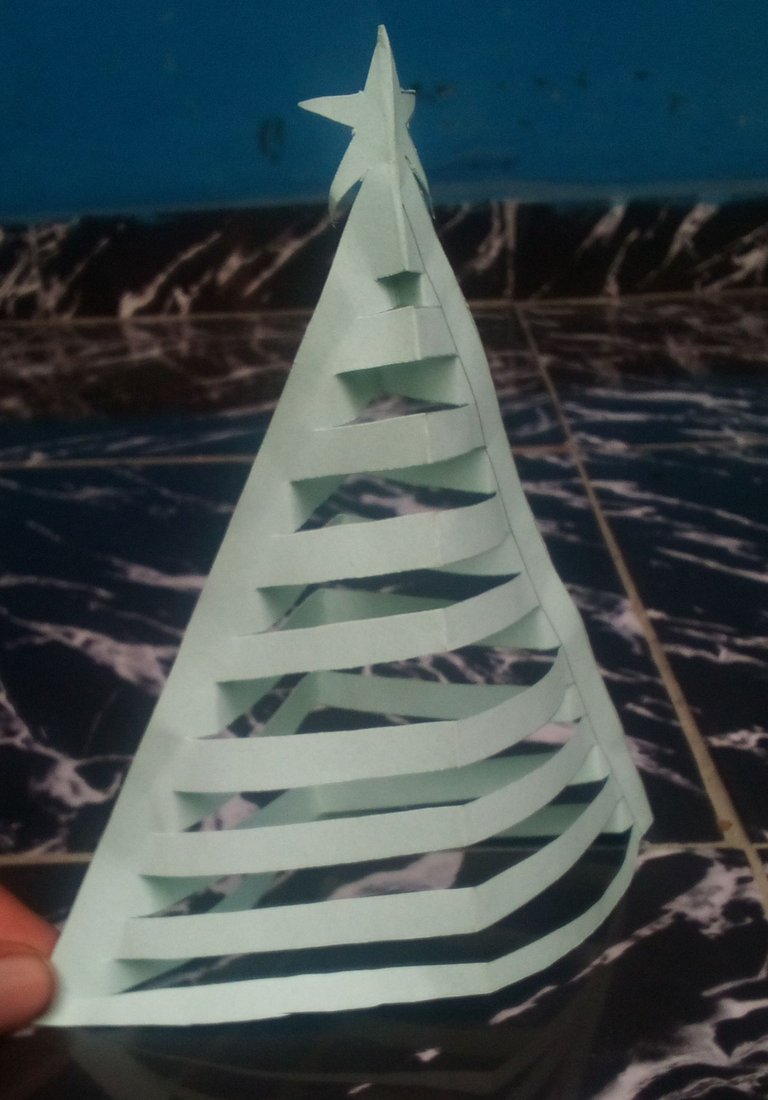
The paper tree is ready
Step 8
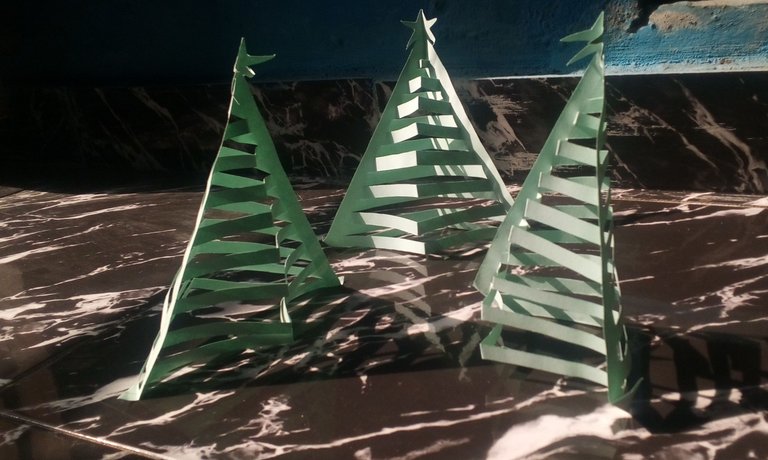
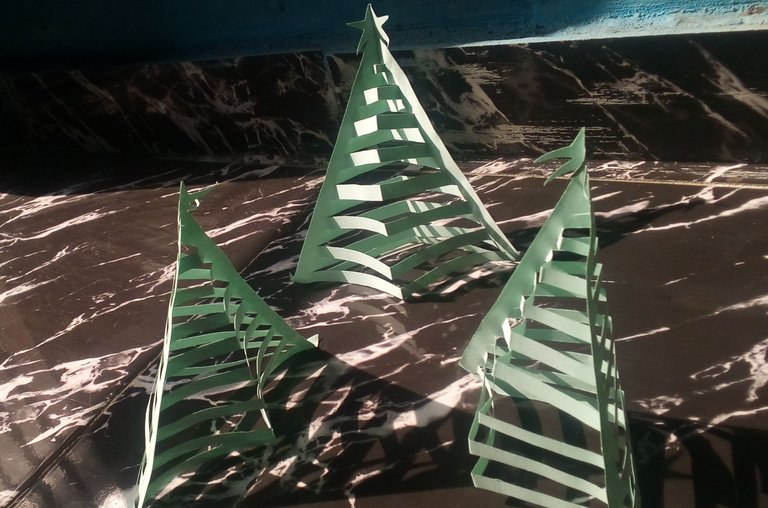
I repeated the same process for the other 2 papers and that makes it 3 paper Christmas trees to decorate my space.
Conclusion
Once again, I was really excited while making this DIY craft. It's a very great and simple way to decorate a home, a table or anywhere this Christmas season. I intentionally chose the green color because green is one of the popular Christmas colors. It drives home that Christmas feeling. The star on top also added to the aesthetics.
I really hope you enjoyed my craft.
The final result is pretty good. It shows your creativity. What you did with the paper, that's awesome. Keep it up!