Welcome to a new adventure, on this new occasion I will present you a new project titled.
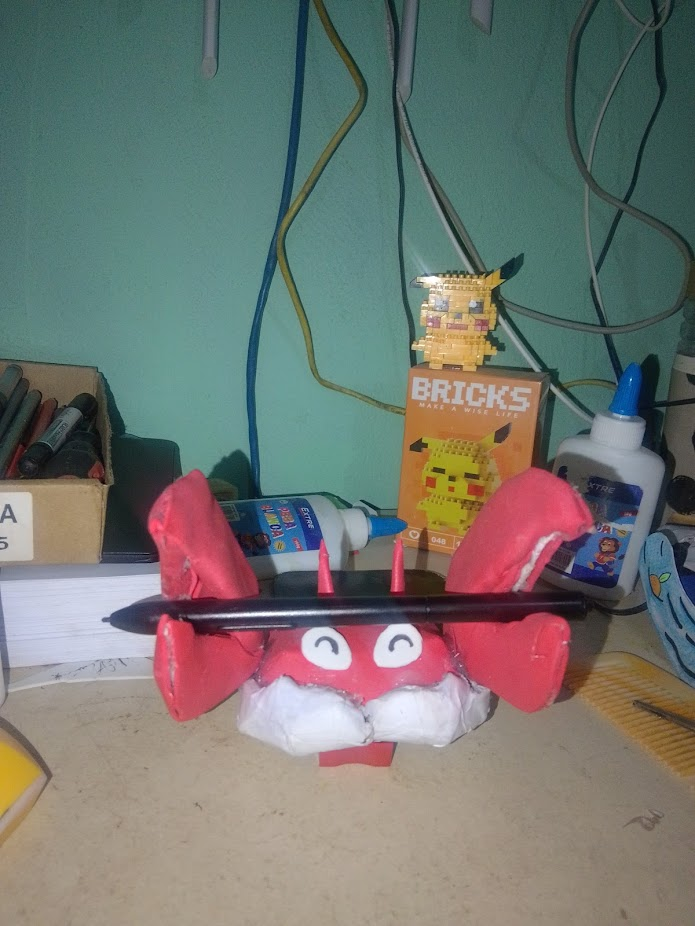
Krabby Pencil Holder
In which I will demonstrate step by step how anyone who has the desire and determination to create can always make it possible.
Without further ado, join me once again on this new journey.
Bienvenidos a una nueva aventura, en esta nueva ocasión les presentare un nuevo proyecto titulado.
Krabby Pencil Holder
En el que demostrare paso a paso como cualquiera que tenga las ganas y la determinación de crear, puede hacerlo siempre posible.
Sin mas que acotar acompáñame una vez mas en esta nueva travesía.
Reveal spoiler
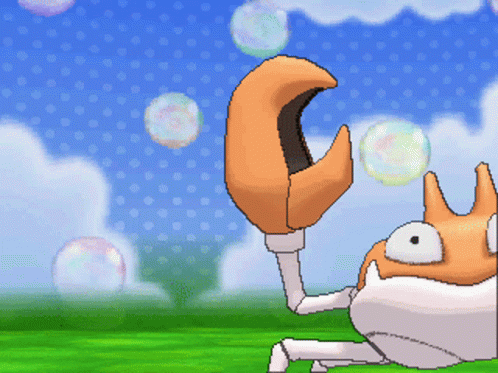
This design is inspired by:
Este diseño esta inspirado en:
Welcome to this new entry where we will make another craft this time with a little more complexity but at the same time simplicity, which will be based on a pokemon-themed pencil or pen holder, as always and that said, you can make the model that you want and the materials that I will say below are optional because we can use the materials with which we feel most comfortable.
Without further ado, let's get started.
Bienvenidos a esta nueva entrada donde realizaremos otra manualidad esta vez con un poco mas de complejidad pero al mismo tiempo sencillez, el cual estará basado en un sujetador de lápiz o lapicero con temática de pokemon, como siempre e dicho ustedes pueden realizar el modelo que ustedes deseen y los materiales que diré a continuación son opcionales pues podemos utilizar los materiales con los que mas nos sentimos cómodos.
sin mas que decir empecemos.
The materials that we are going to use on this occasion will be the following:
- 2 red foamis
- 1 white foam
- black marker
- colors
- silicone
- scissors
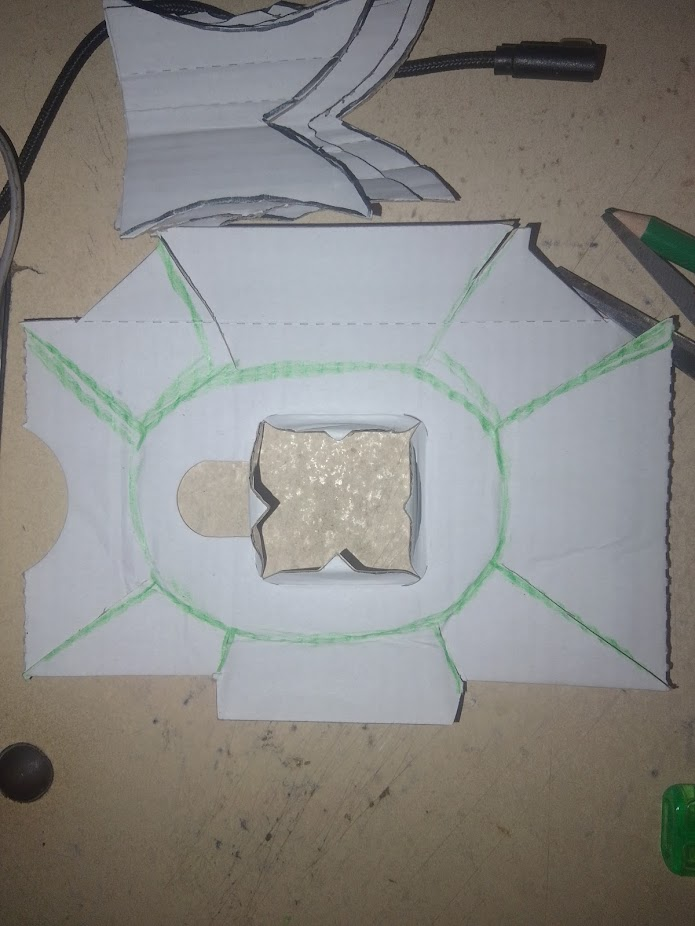
For this work it is necessary to follow the instructions that can be seen in the image and follow them to the letter, the design is very simple so this will not take us much time, that is why I left the patterns in the first images to cut and then paste.
Los materiales que vamos a utilizar e esta ocasión serán los siguientes:
- 2 foamis color rojo
- 1 foami blanco
- marcador color negro
- colores
- silicon
- tijeras
Para este trabajo es necesario seguir las indicaciones que se aprecian en la imagen y cumplirlas al pie de la letra, el diseño es muy sencillo así que esto no nos tomara mucho tiempo, es por eso que deje los patrones en las primeras imágenes para cortar y luego pegar.
 | |  |
|---|---|---|
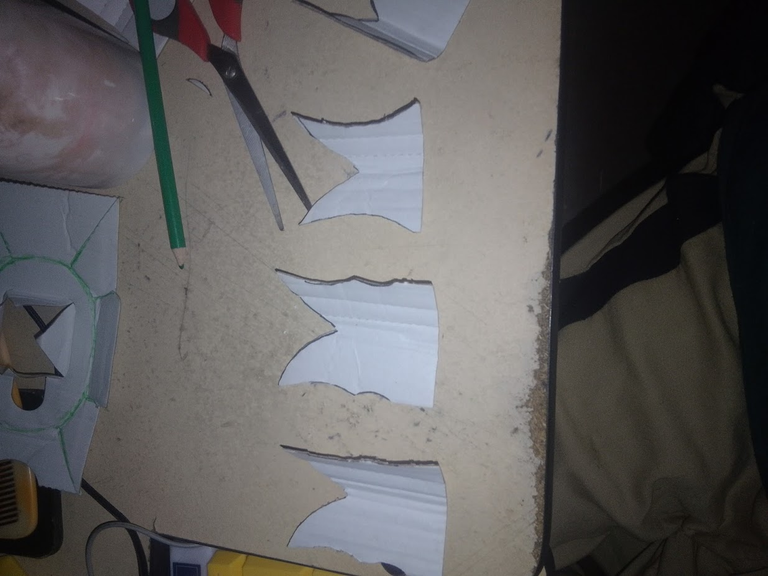 | 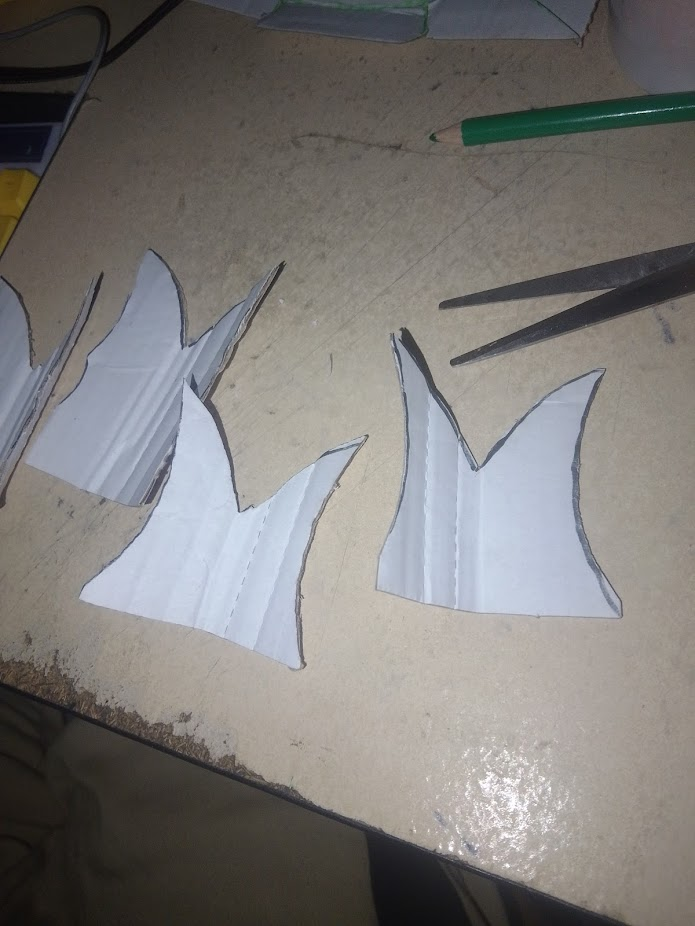 | 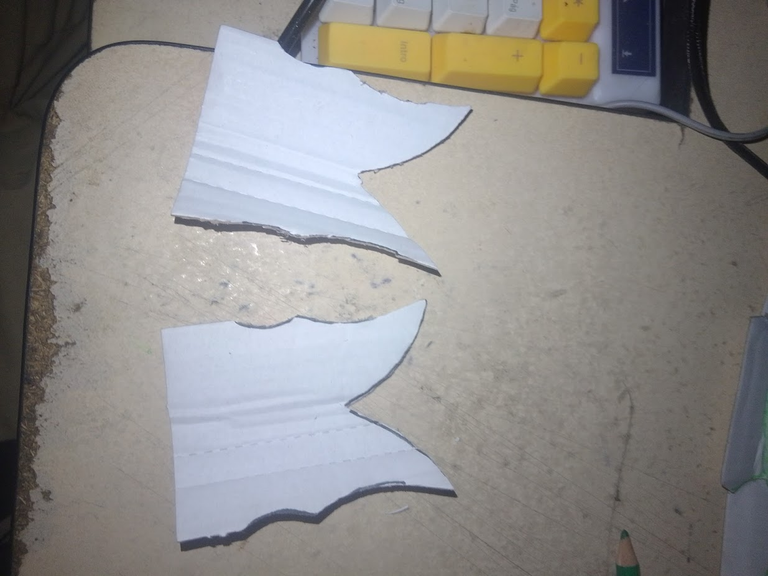 |
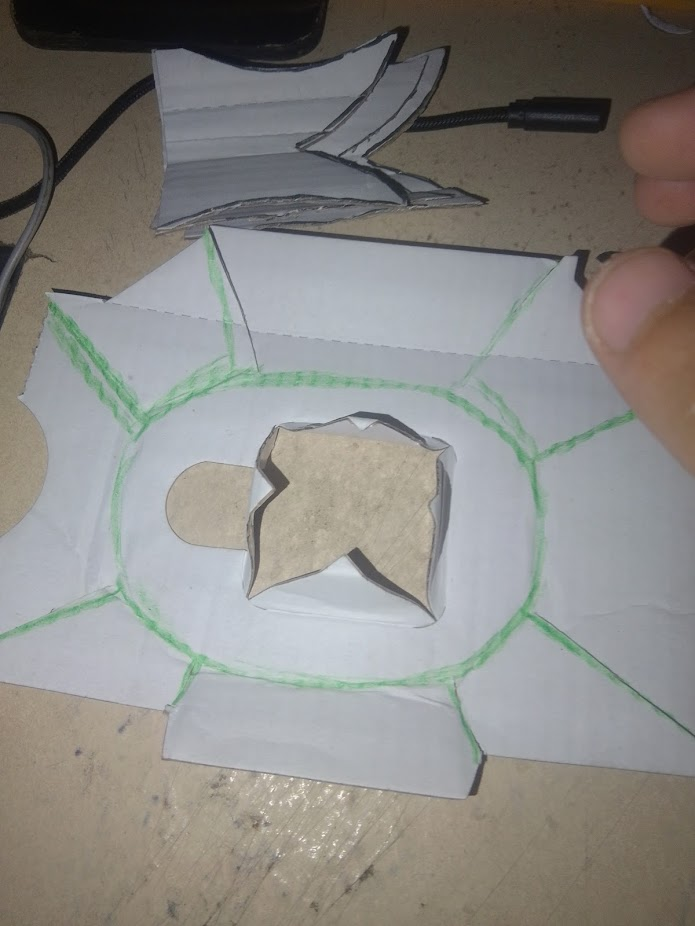
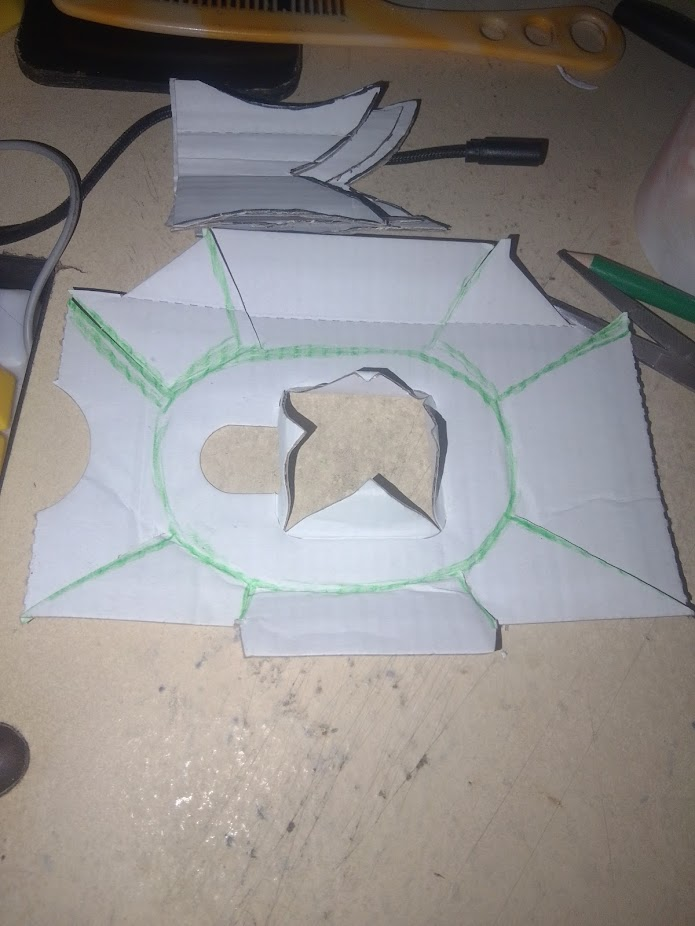
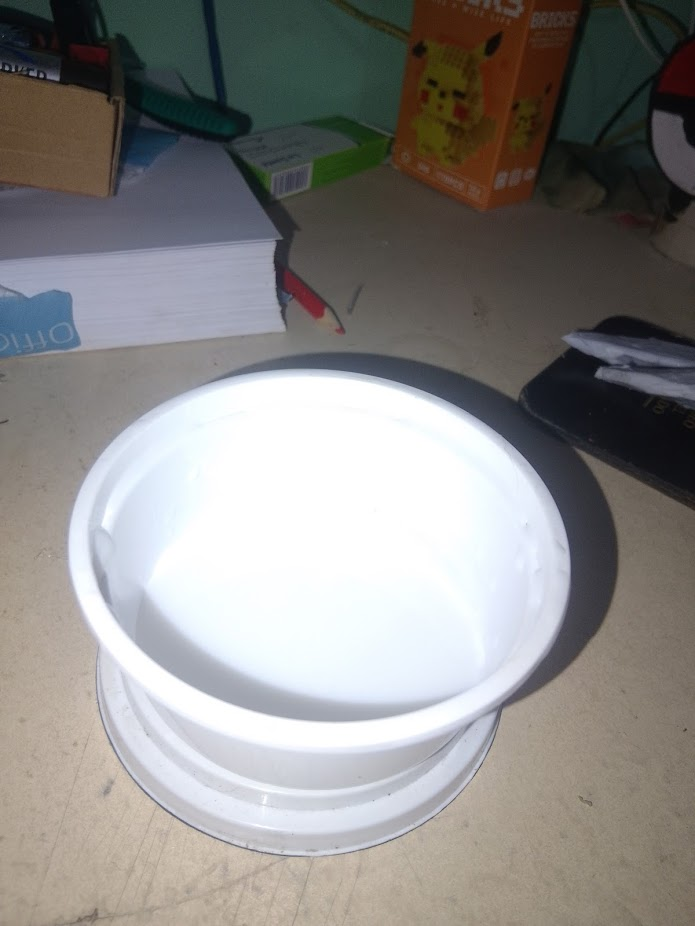
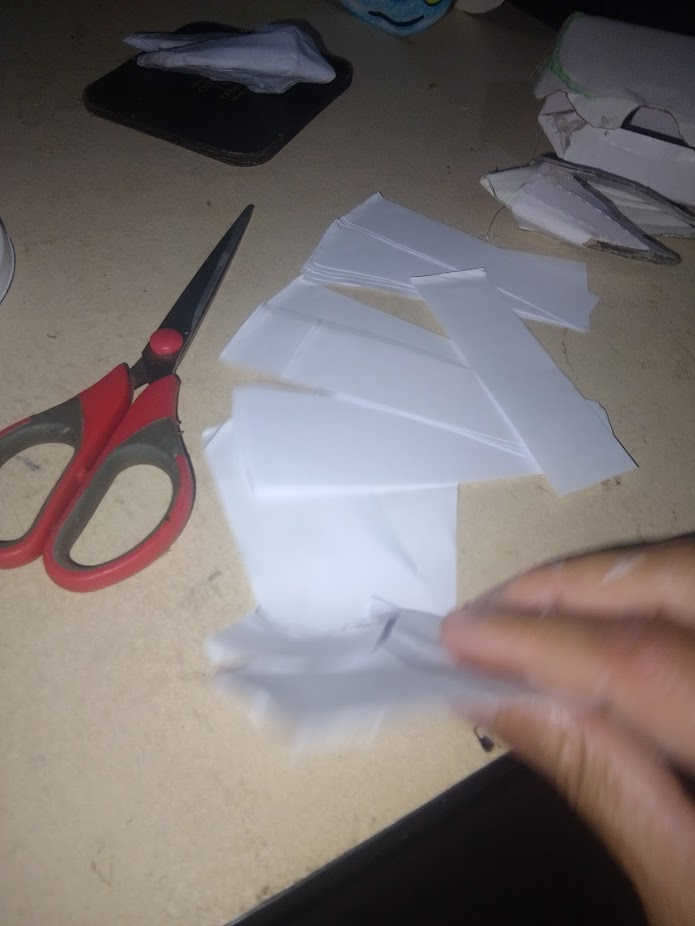
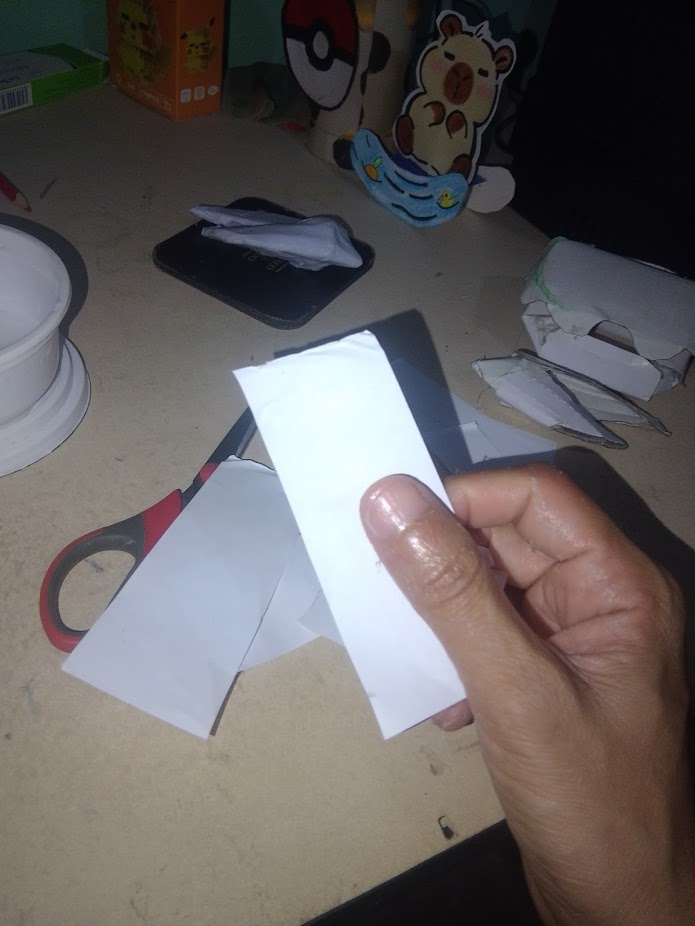
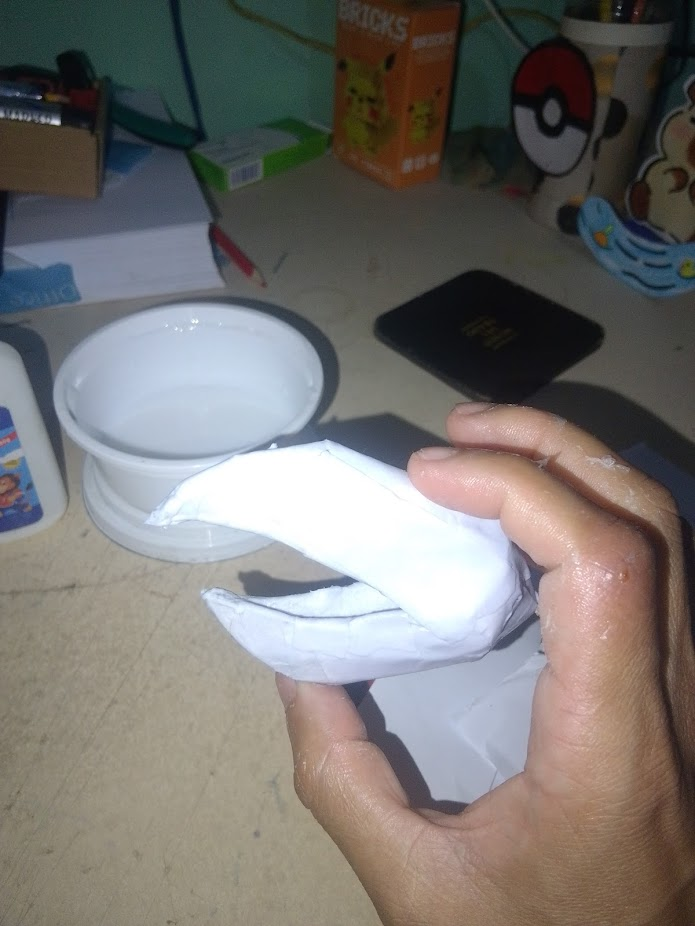
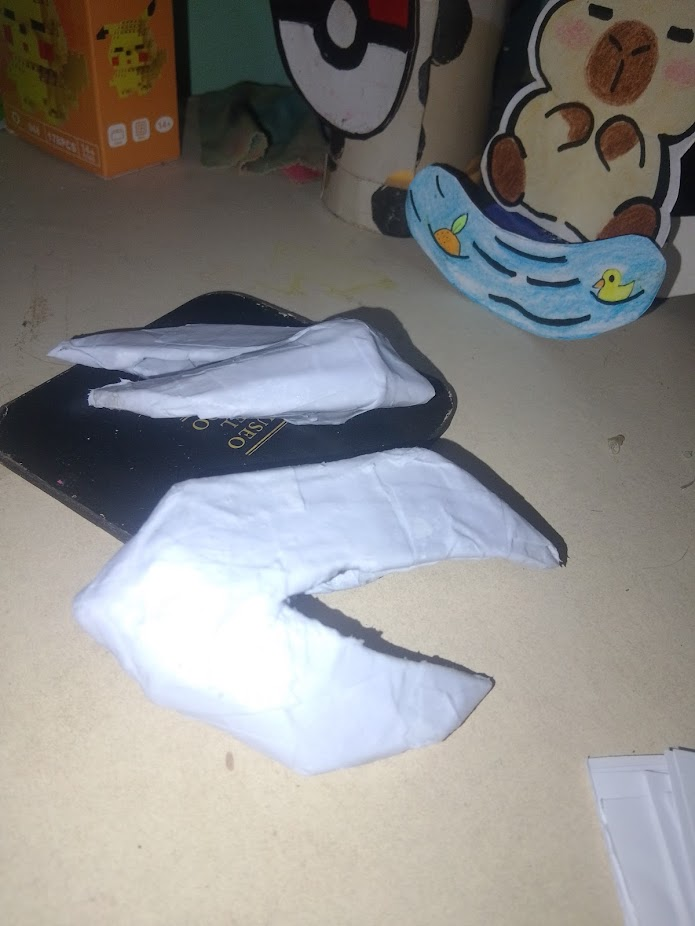
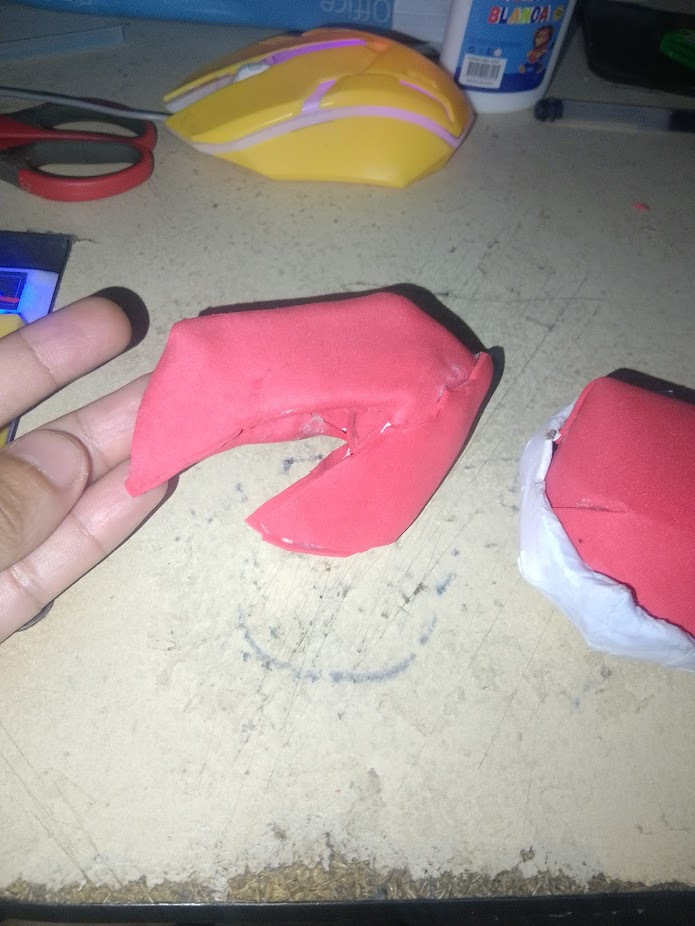
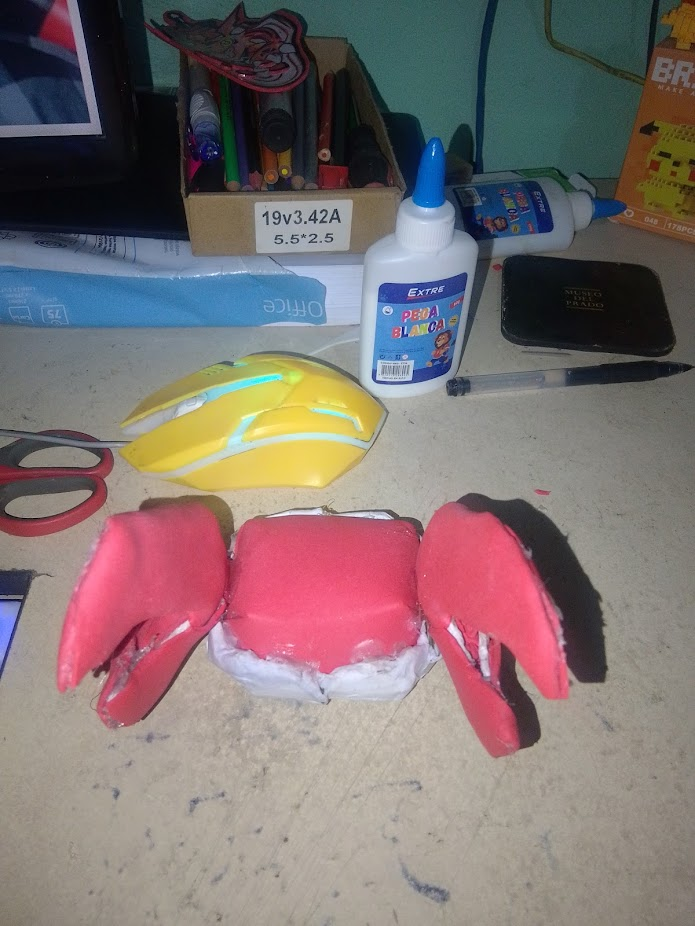
After marking all the pattern pieces we have to cut them making sure they look aesthetically presentable. I do not have specific measurements since the size can vary depending on what you plan to place. In my case I am going to use it to place the pen of the graphic tablet.
Luego de marcar todas las piezas de los patrones tenemos que cortar percatándonos que queden estéticamente presentable, yo no tengo unas medidas especificadas ya que el tamaño puede variar mediante que tengan pensado colocar, en mi caso lo voy a utilizar para colocar el lápiz de la tableta gráfica.
 |  |  |
|---|---|---|
 |  |  |
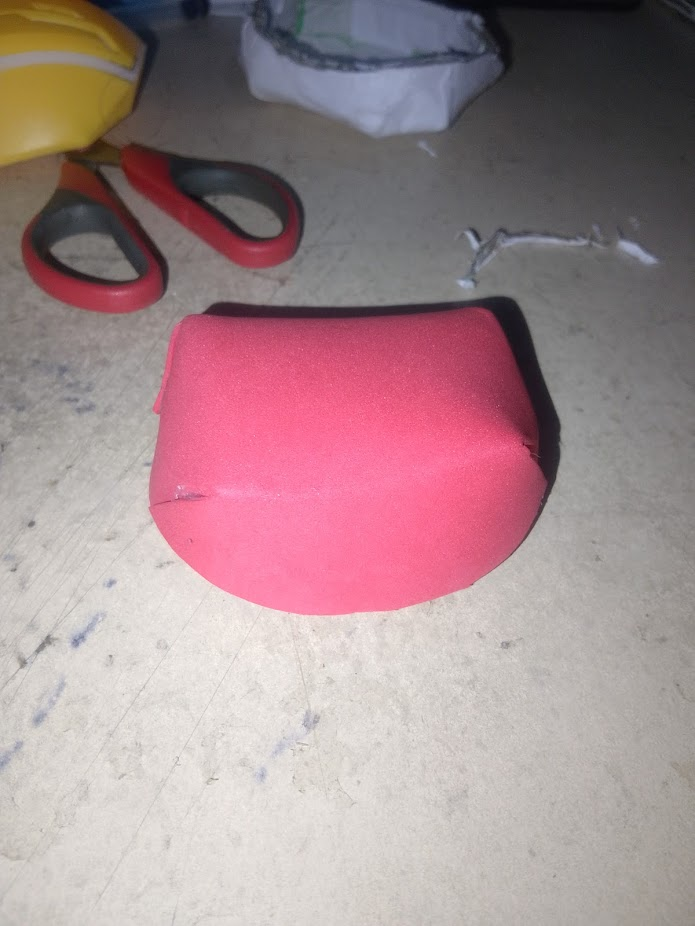
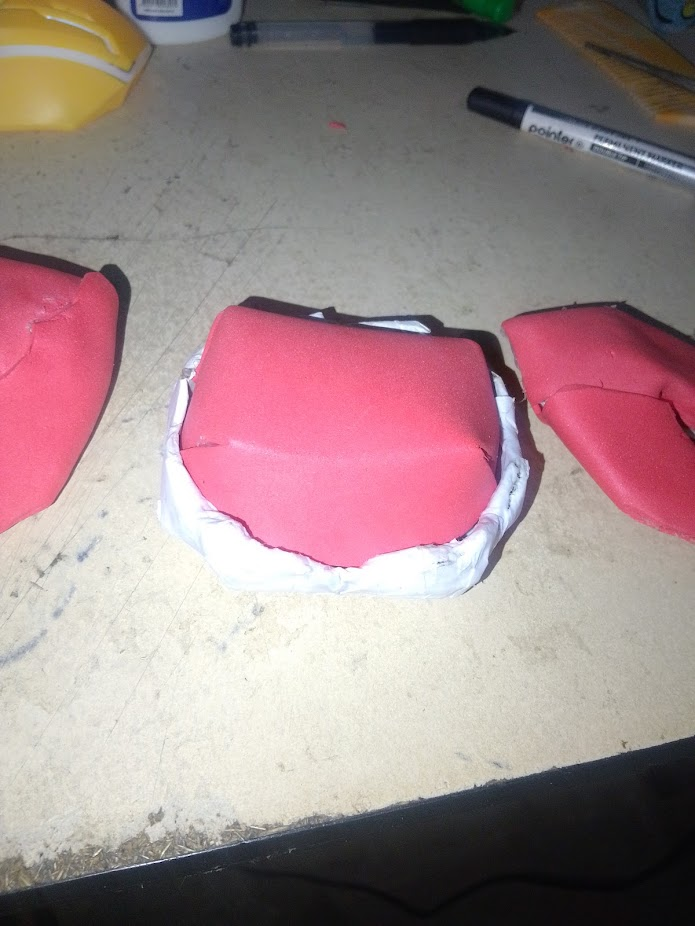
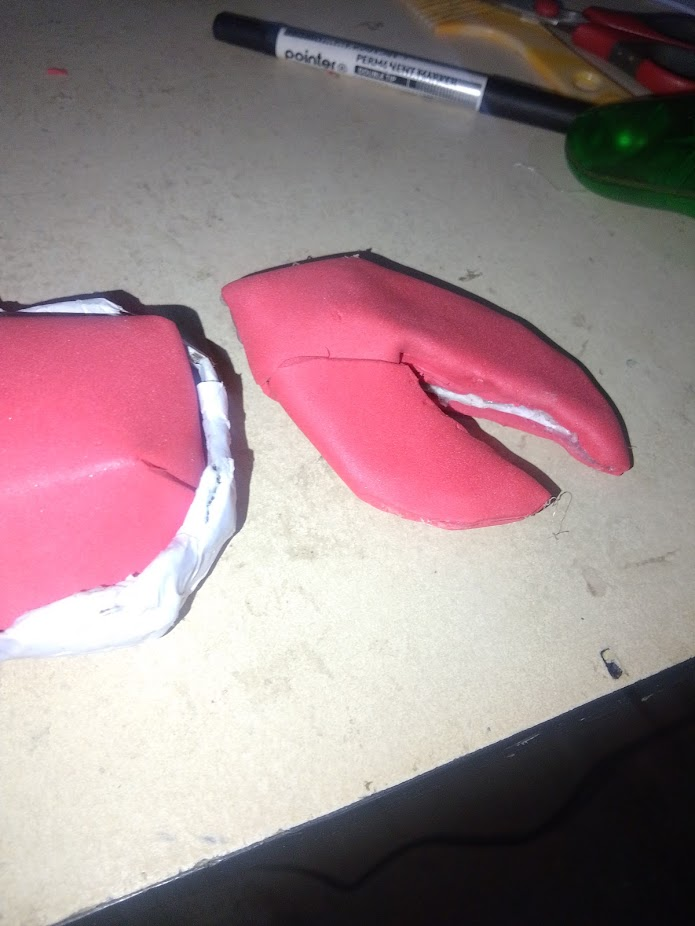
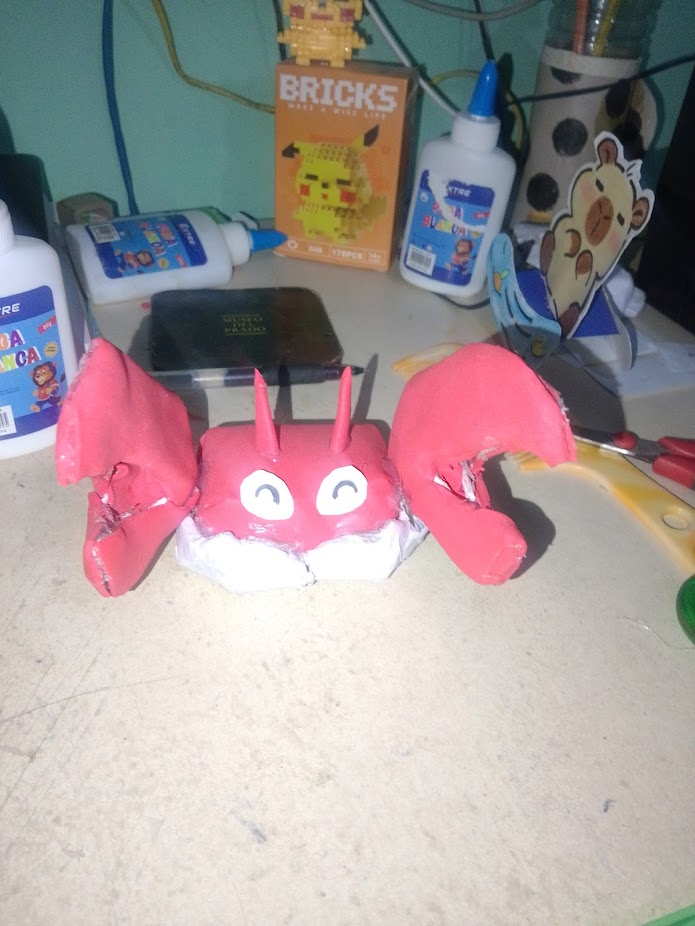
We now proceed in three steps to glue each and every one of the pieces as seen in the images. I would like to know if you dare to make one of these designs, either this one or another that you like to see how it would look on you or even what could have been included.
Procedemos ahora en tres paso a pegar todas y cada una de las piezas asi como se ve en las imágenes, me gustaría saber si te atreves a hacer uno de estos diseños ya sea este o otro que te guste ver como les quedaría a ustedes o incluso que se le podía haber incluido.
 |  |  |
|---|---|---|
 | 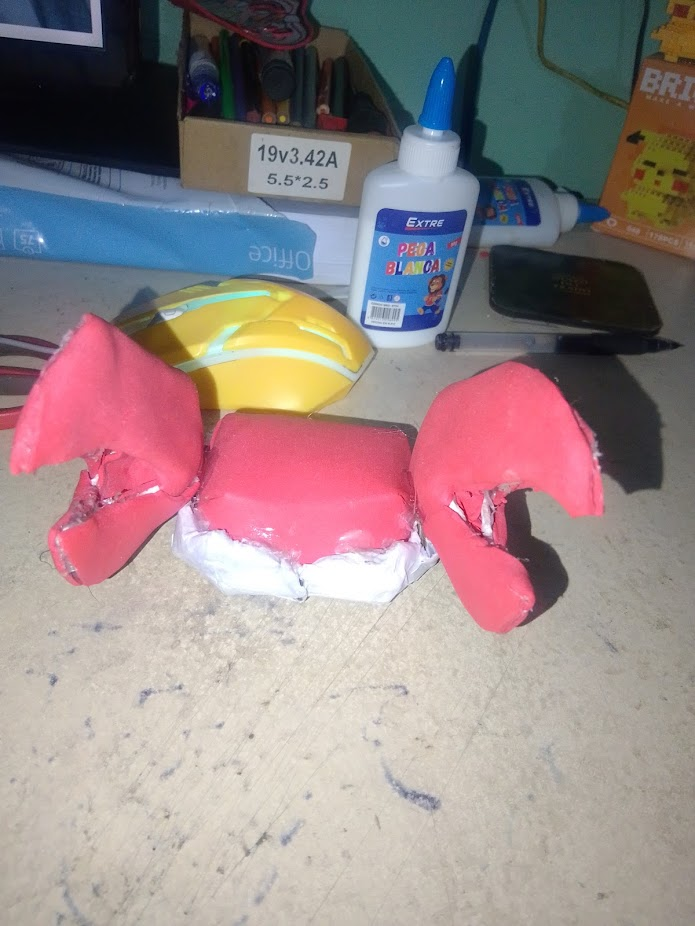 |  |
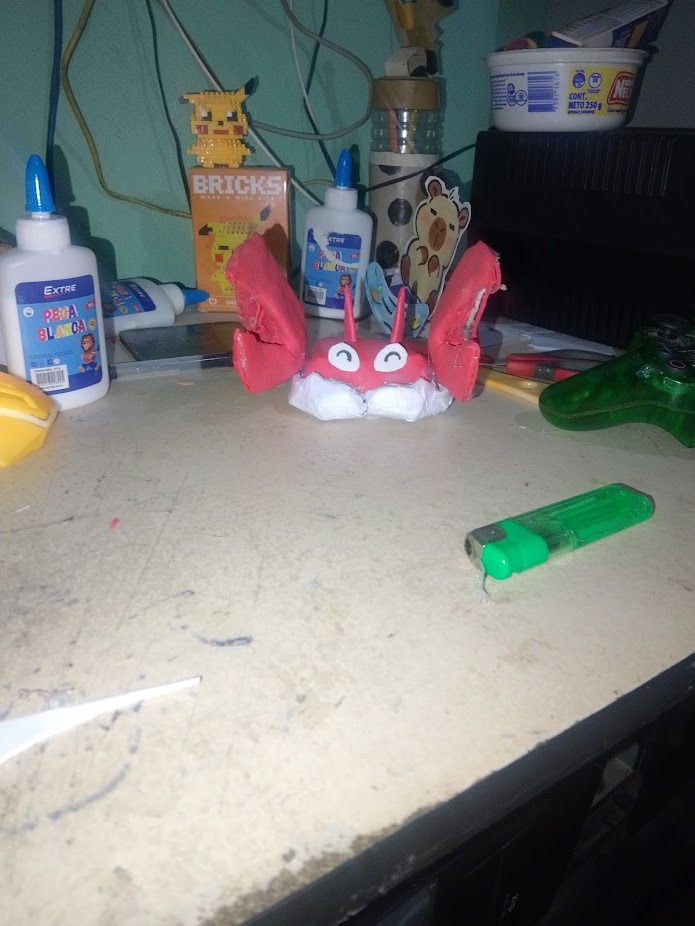
To give it a more aesthetic touch I decided to paint the eyes and skin with a red and gray tone to give it that 3D feel.
para darle un toque un poco mas estetico e decidido pintale los ojos y la piel con tono de color rojo y grises para que de ese sentido de 3d
 |  | |
|---|
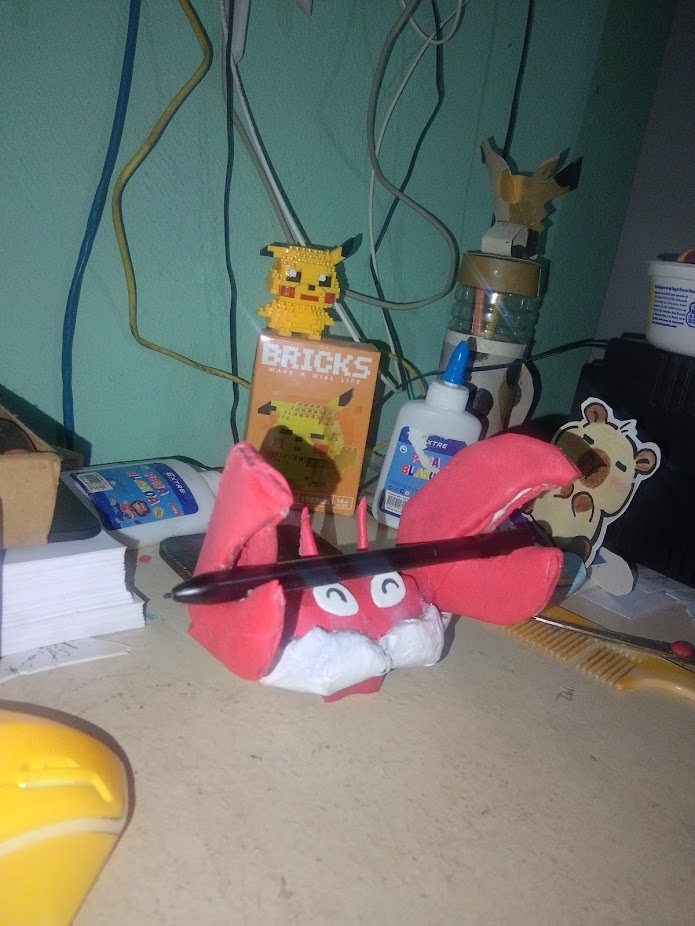
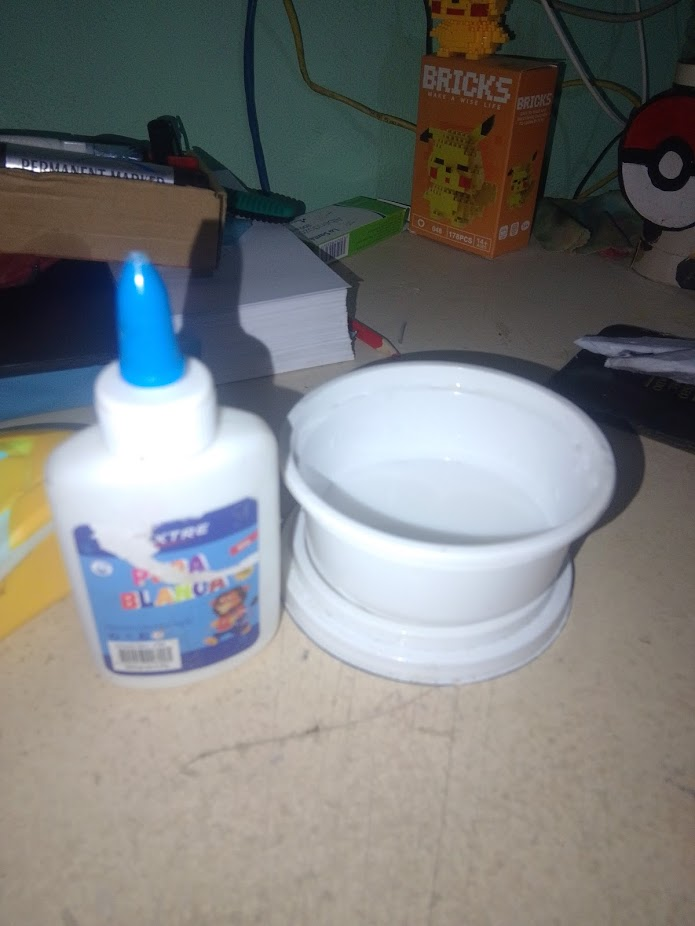
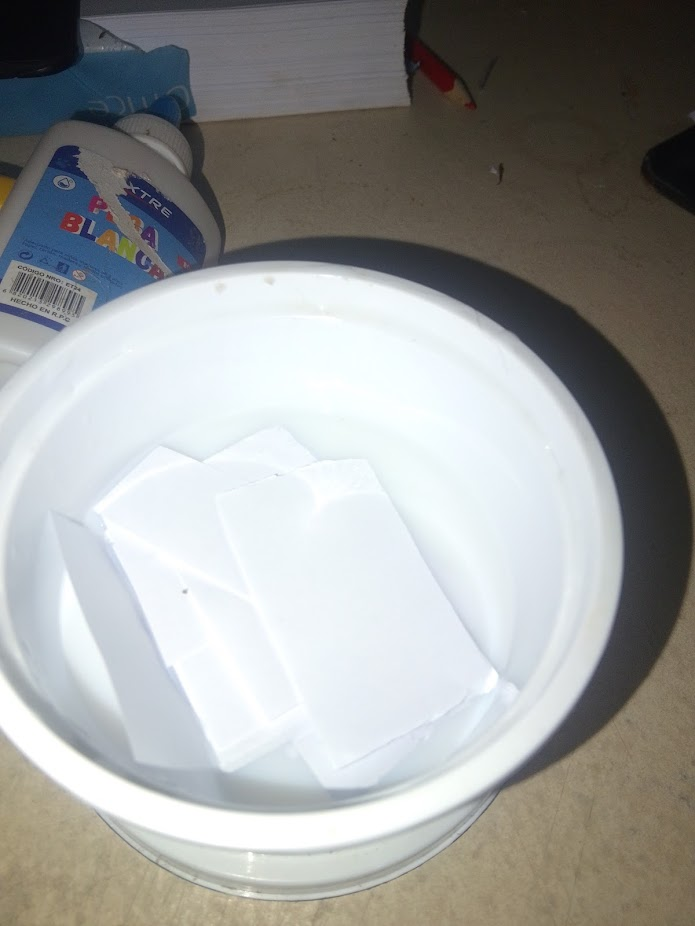
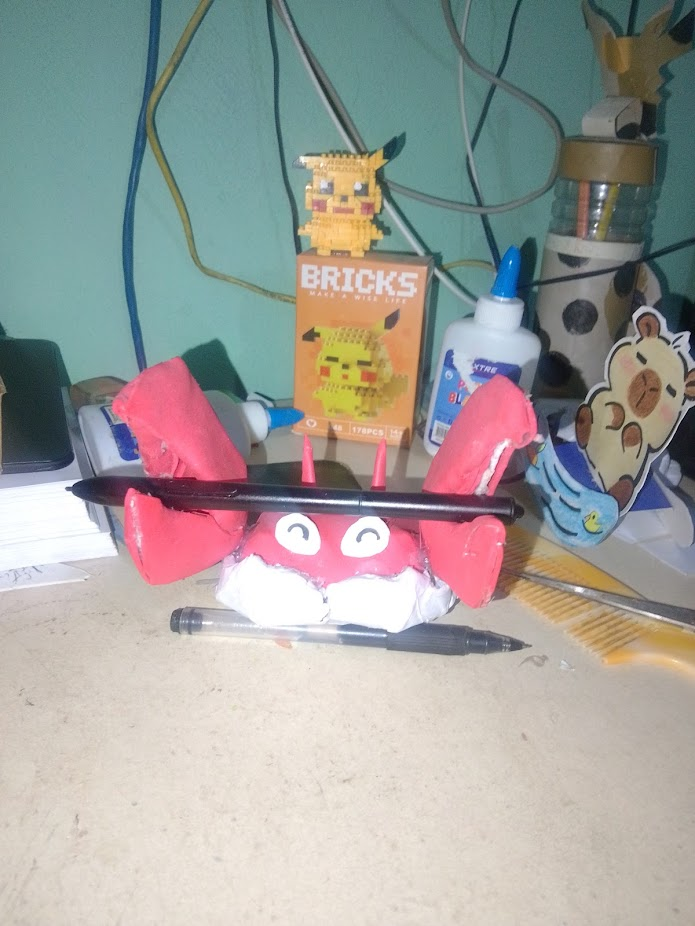
And in the end this is how this little project turned out. I consider it to be a bit complex since I used a special paste of white glue and water with a small portion of cornstarch to create a paste and make the base of the Pokemon and make it strong enough to stand.
Y al final así es como quedo este pequeño proyecto, yo considero que es un poco compleja ya que utilice un engrudo especial de pegamento blanco y agua con una mínima porción de maizena para crear un engrudo y hacer la base de el pokemon y sea lo suficientemente fuerte para mantenerse en pie.
Grateful to all of you who are also part of my life. 💖
Agradecido con todos ustedes que tambien forman parte de mi vida. 💖
Que la luz sea la llave que guie vuestros corazones.
May the light be the key that guides your hearts.

Considera unirte a nuestro trail de curación en HIVEVOTE haciendo click en la imagen inferior, Les agradecemos todo el apoyo.

A todos los artistas ahí afuera en HIVE, si alguna vez se sienten solos y perdidos, unanse al canal de discord de Bokura No Digital World
Ciertamente las manualidades que influyen una estructura tiene su nivel de complejidad, también incorporarte engrudo aumenta mucho el trabajo.
Te quedó genial y es muy creativo, te felicito por este trabajo.
Sending Love and Ecency Curation Vote!
 Follow Eceny's curation trail to earn better APR on your own HP. : )
Congratulations @ushiro.snow! You have completed the following achievement on the Hive blockchain And have been rewarded with New badge(s)
Your next target is to reach 30000 upvotes.
You can view your badges on your board and compare yourself to others in the Ranking
If you no longer want to receive notifications, reply to this comment with the word
STOPCheck out our last posts:
What a unique and amazing craft, it's is exceptionally done and wonderful. Well done and good job 👍
This Pokemon pencil holder is such a fun and functional DIY project. Thanks for sharing.