
Greetings, community, best Christmas wishes to you all! ✌🏼
Finally the time has come where creativity and Christmas merge to create various handmade decorations and gifts. I love all the tutorials I can see in the community with activities, easy, unique and very cute inspired by this month.
Today I want to show you this Christmas card made with cardboard and decorated with a character that has been in fashion for years, I'm talking about Pikachu. Well yes, my godson still likes this character and in fact he has become more of a fan, he has already started collecting the cards to play with and he keeps drawing the characters 😁. I'm sure he will be very excited when he receives his aguinaldo (small surprise gift given in December) accompanied by this little card.
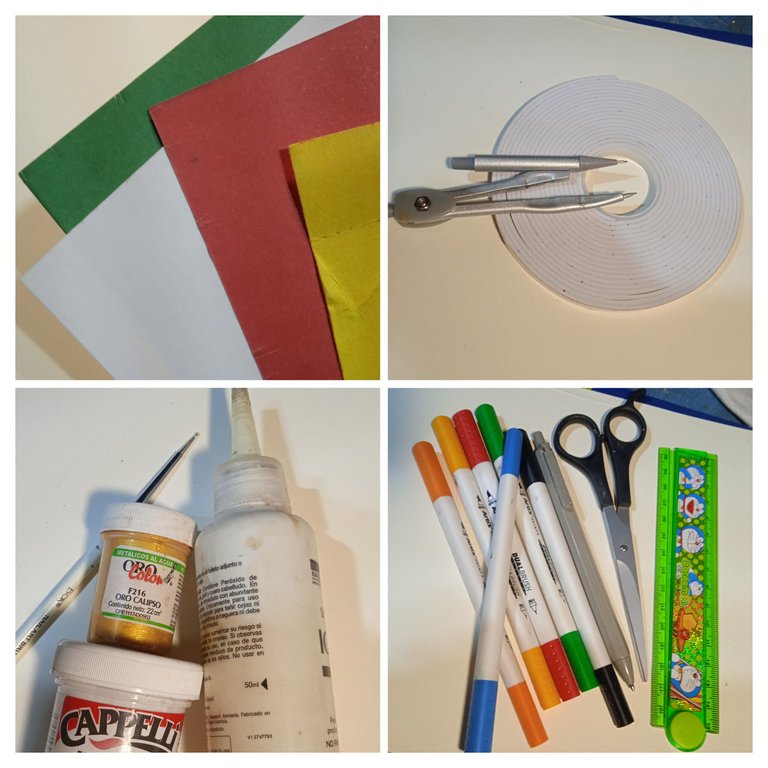
These are the materials needed to make this card:
- Colored cardstock: red, white, yellow and green.
- White glue.
- Scissors.
- Gold paint and white paint.
- Pointer.
- Colored markers.
- Ruler.
- Compass.
- Double-sided tape.

Step 1
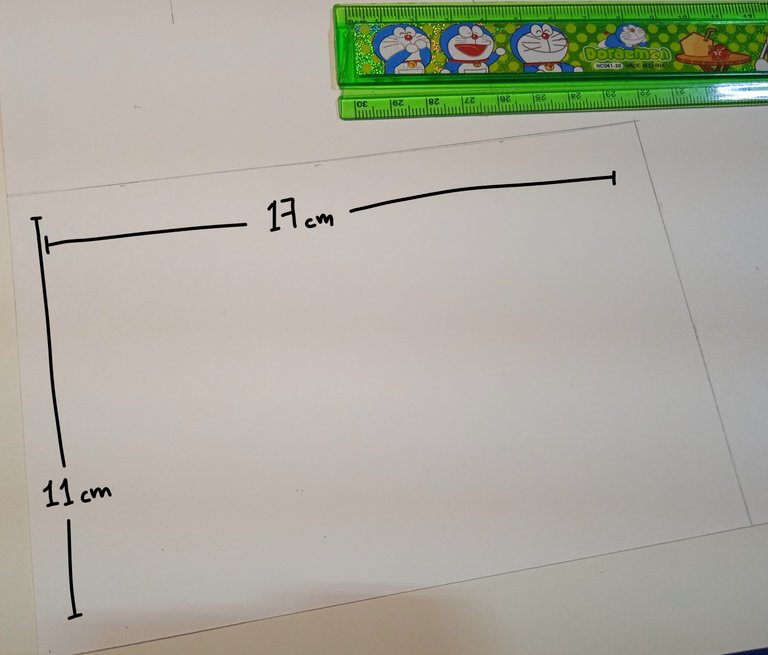
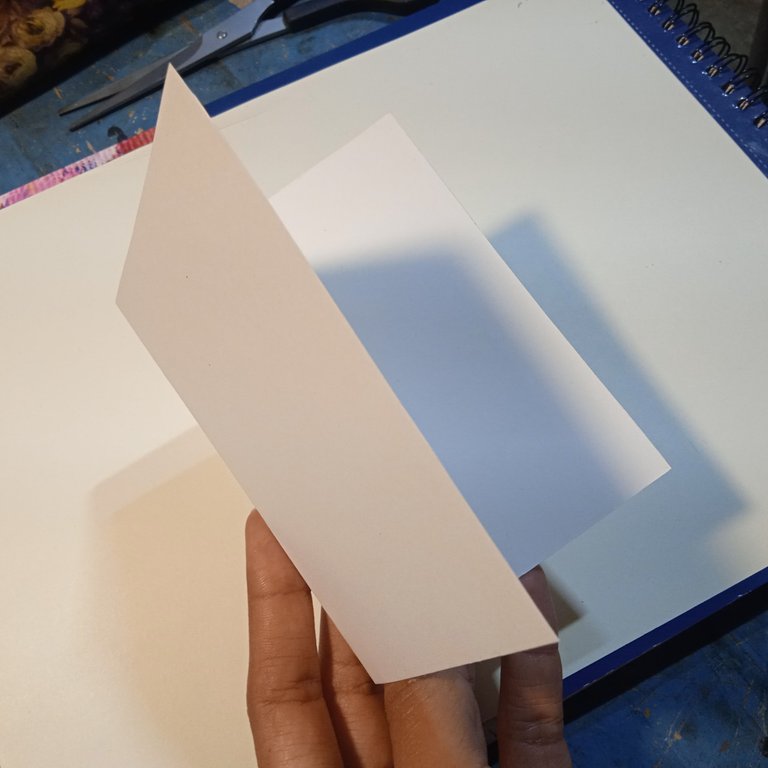
On the white cardstock I draw a 17 cm x 11 cm rectangle that will be folded in half.

Step 2
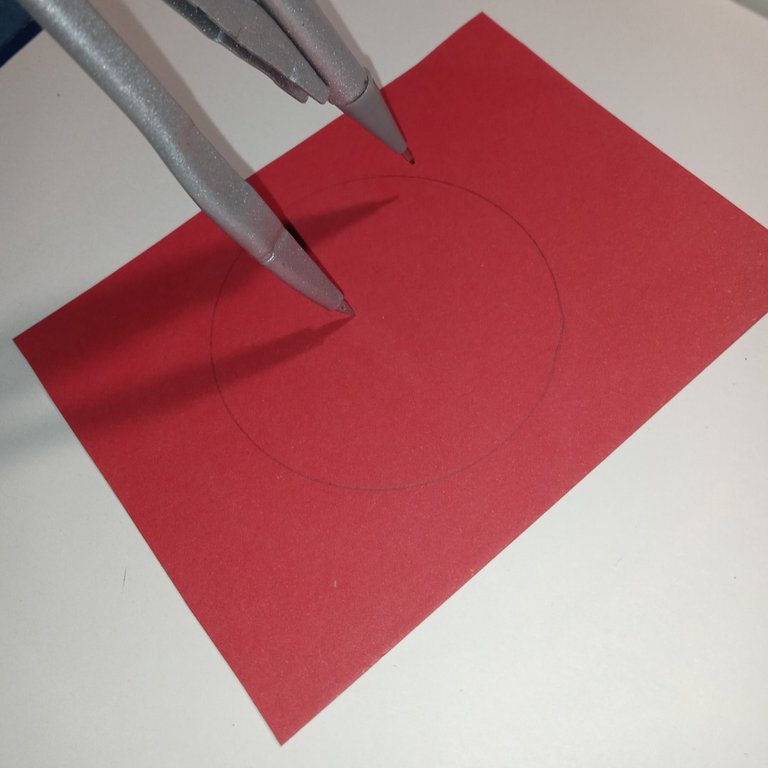
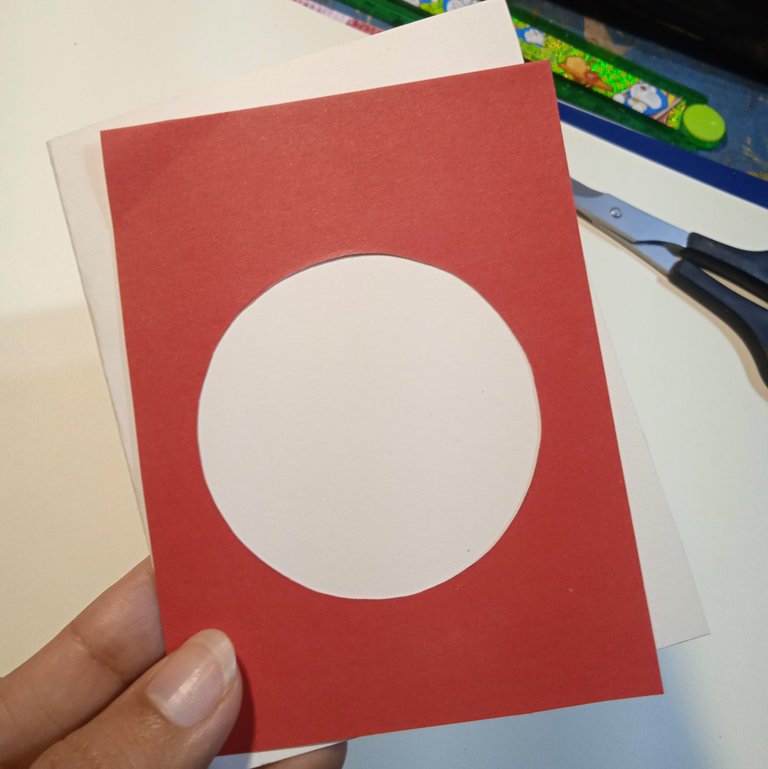
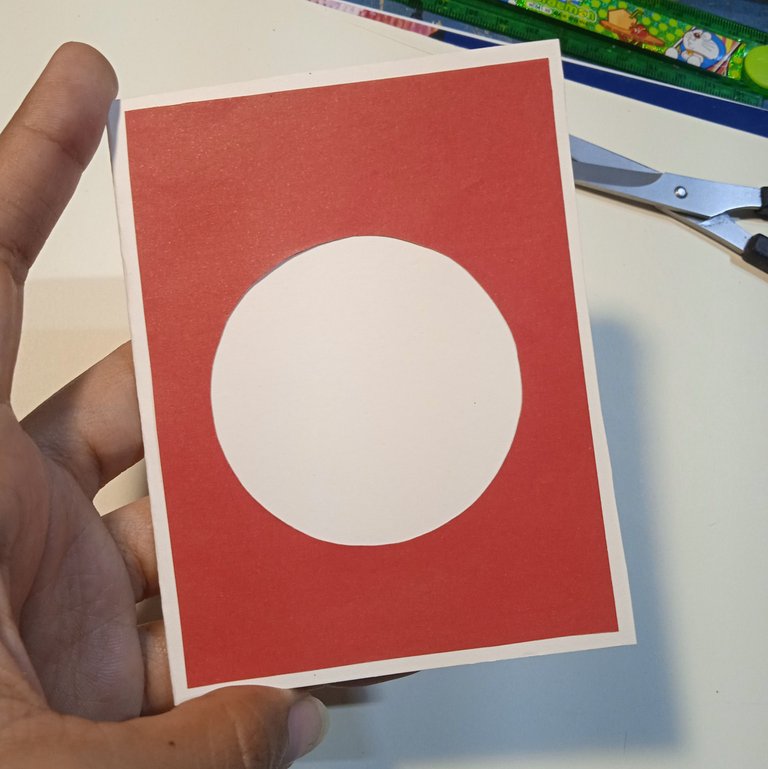
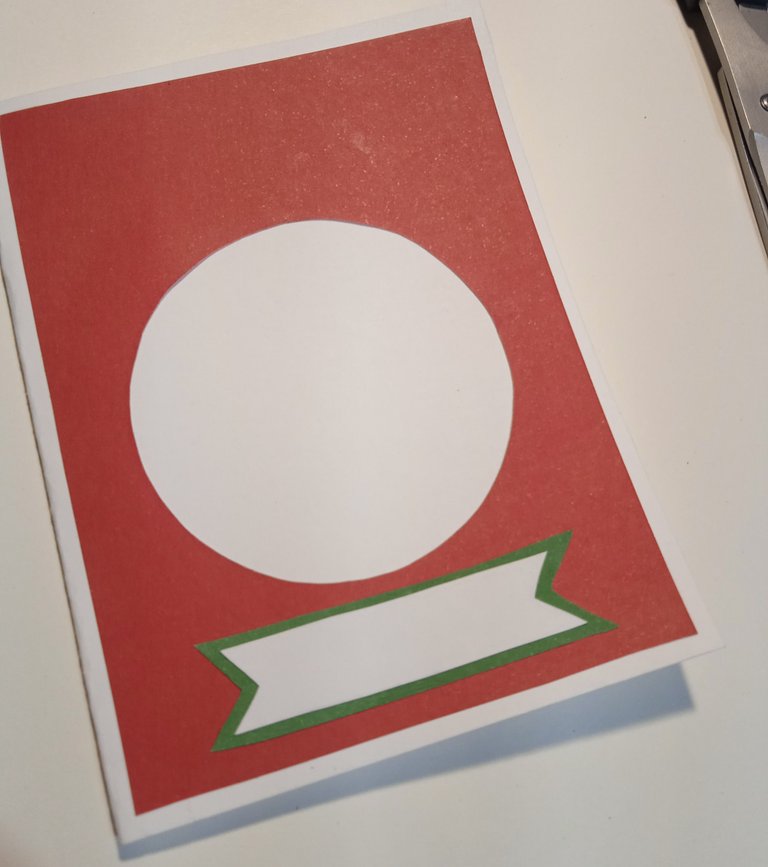
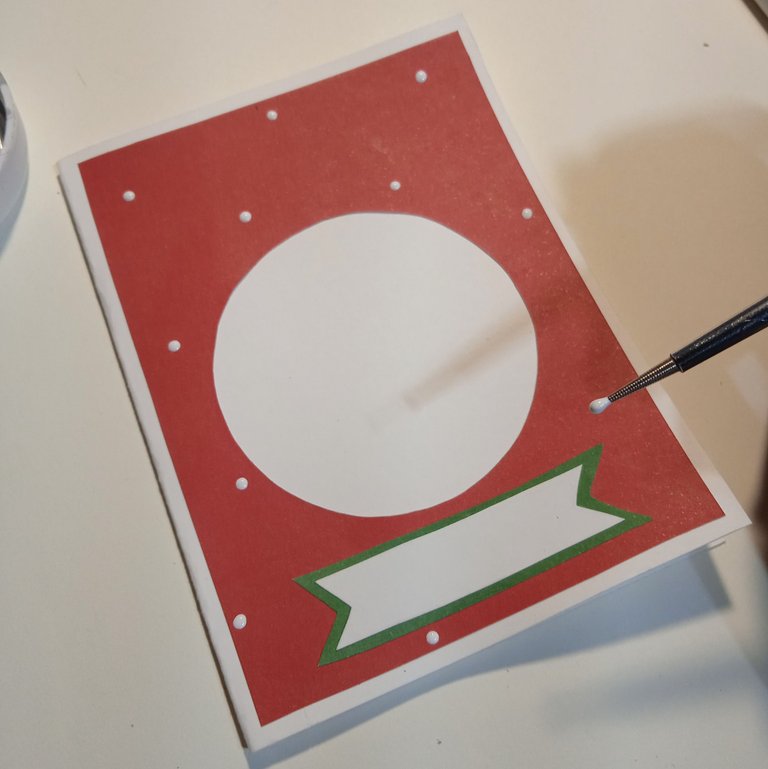
Now on the red cardboard I draw a rectangle of 8 cm x 10.5 cm, in that rectangle I am going to draw a circle with the help of the compass, you can also do it with a lid of the size you want.
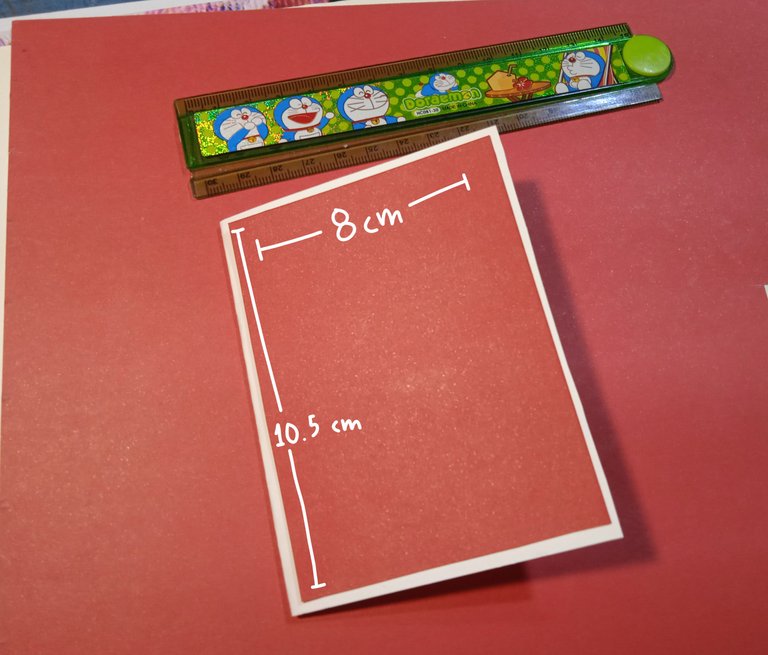
This circle will be the backdrop, which will be glued on the card. You can make the backdrop with paint or card stock.

Step 3
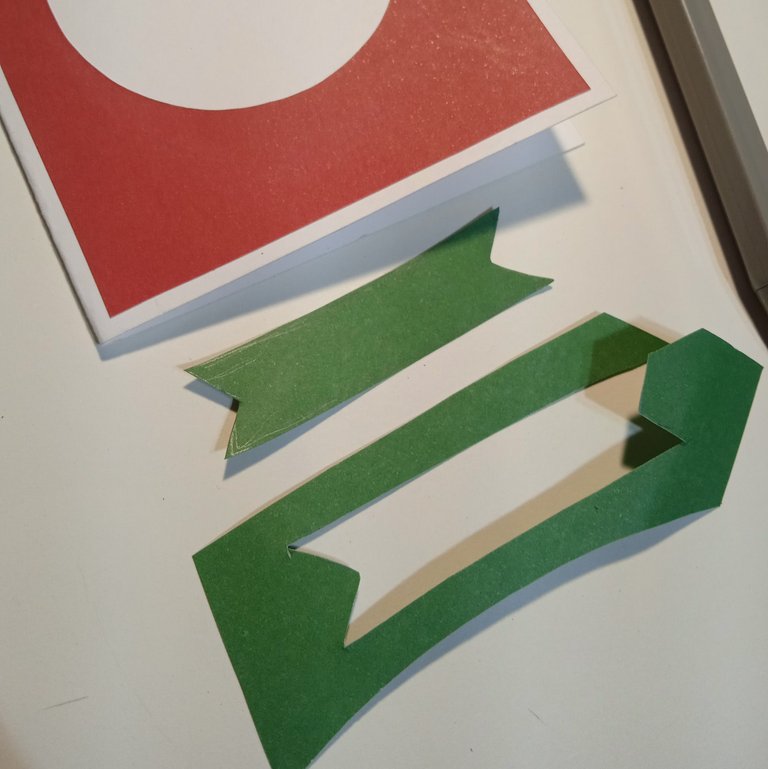
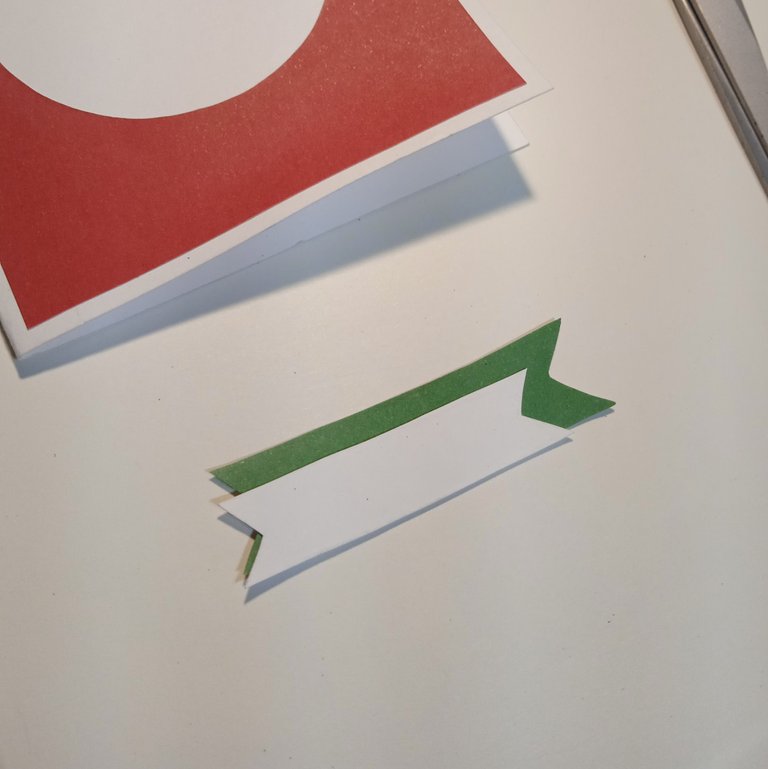
With the green cardboard I draw a green ribbon and a smaller white ribbon that is glued inside the green one.

Step 4
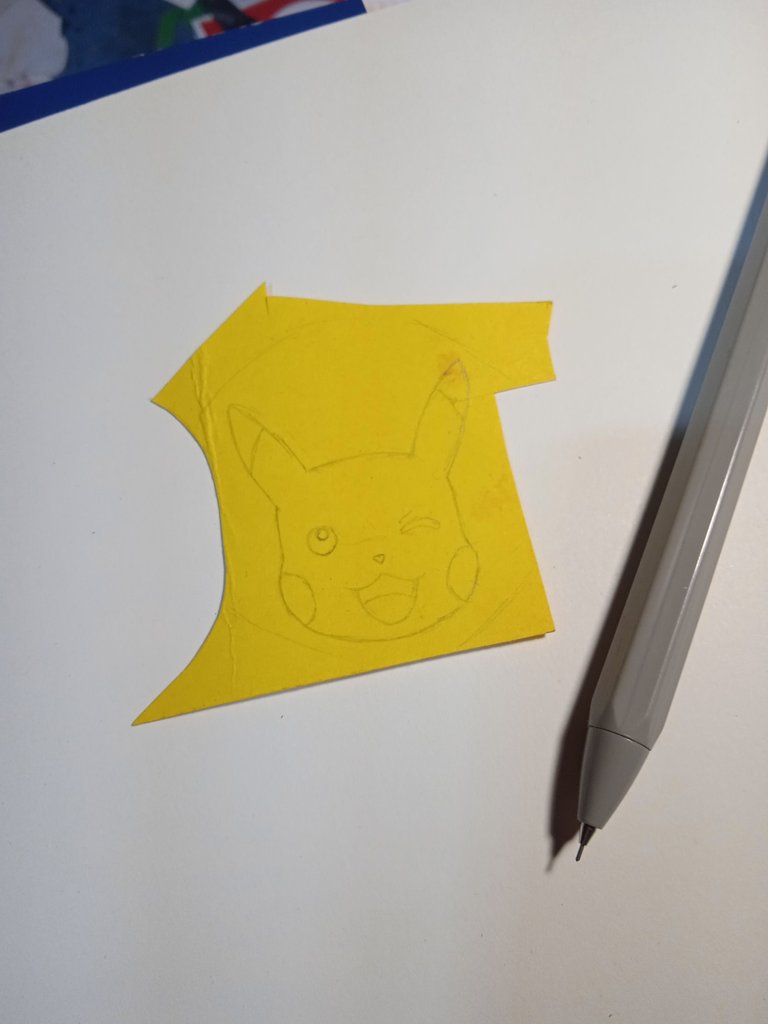
Pikachu will be inside the backdrop and to make the drawing look good, on the yellow cardboard I make some small marks. I got the reference from the internet and I paint with the markers.

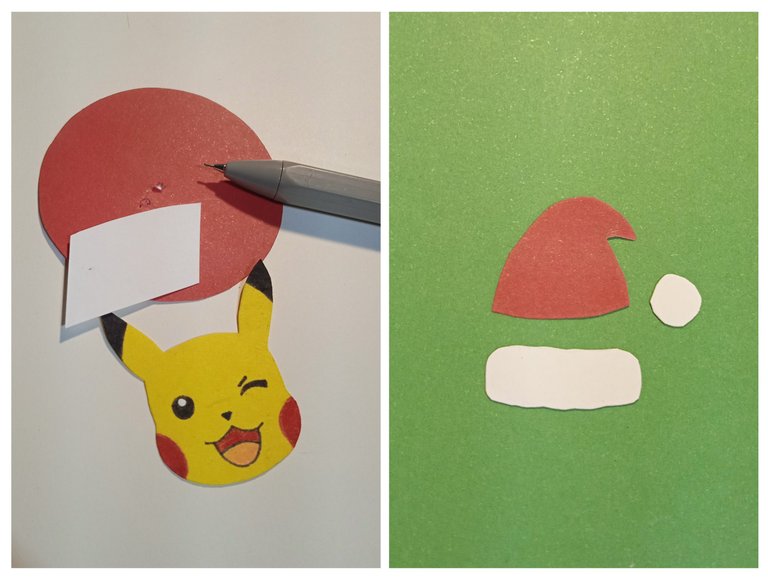
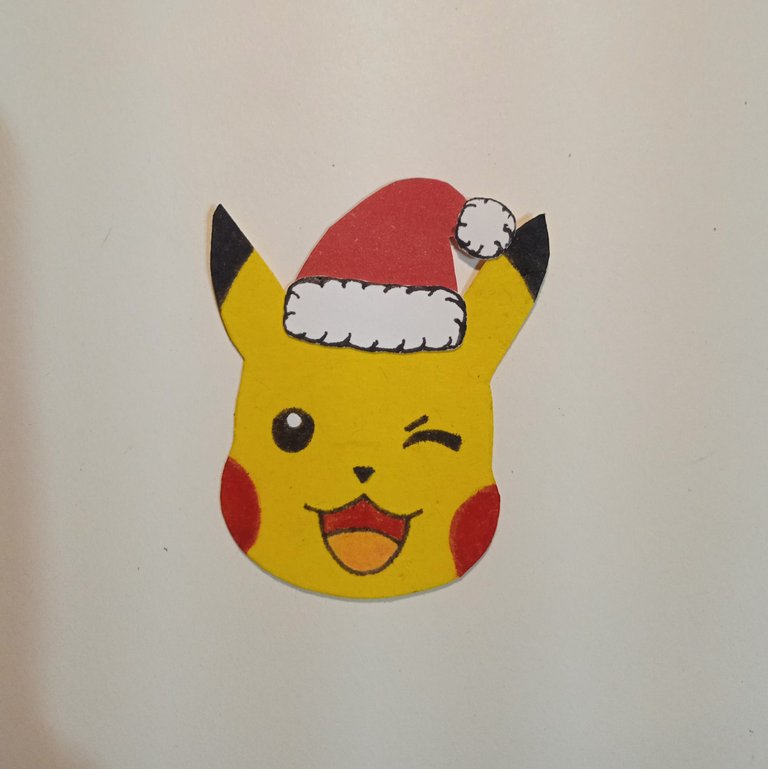
The little Christmas hat I made with the leftover red cardstock from the circle.

Step 5
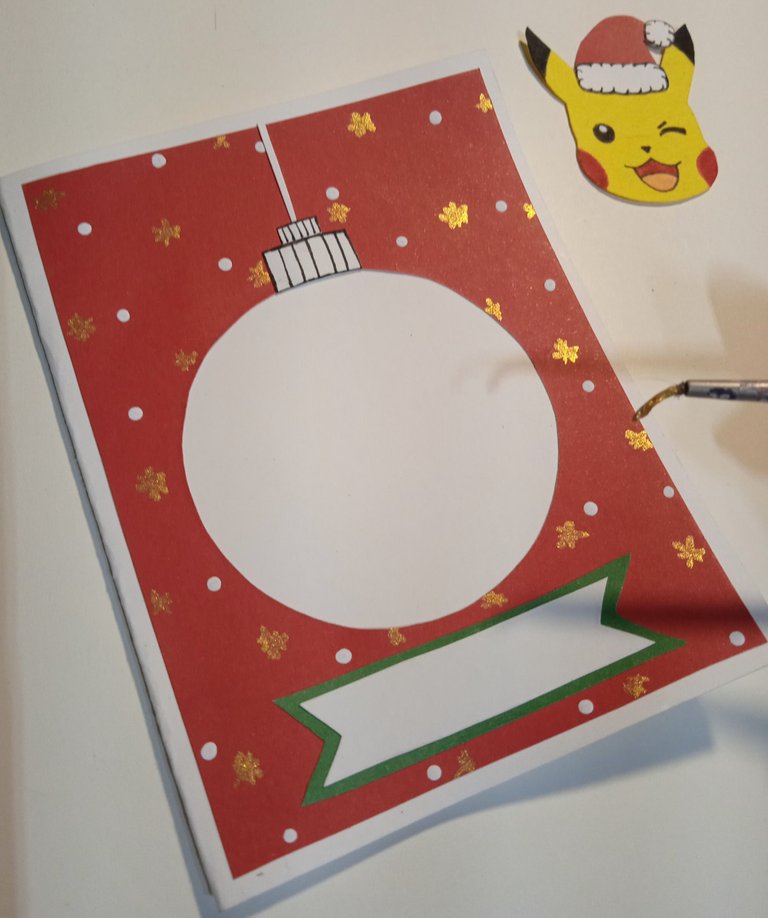
In this part I make the details with the gold color, dots with the white color and hearts with the marker. Where Pikachu goes I draw some Christmas lights. I make other details for the backdrop with white cardboard. And with some double-sided tape I glue the drawing of Pikachu to the card.
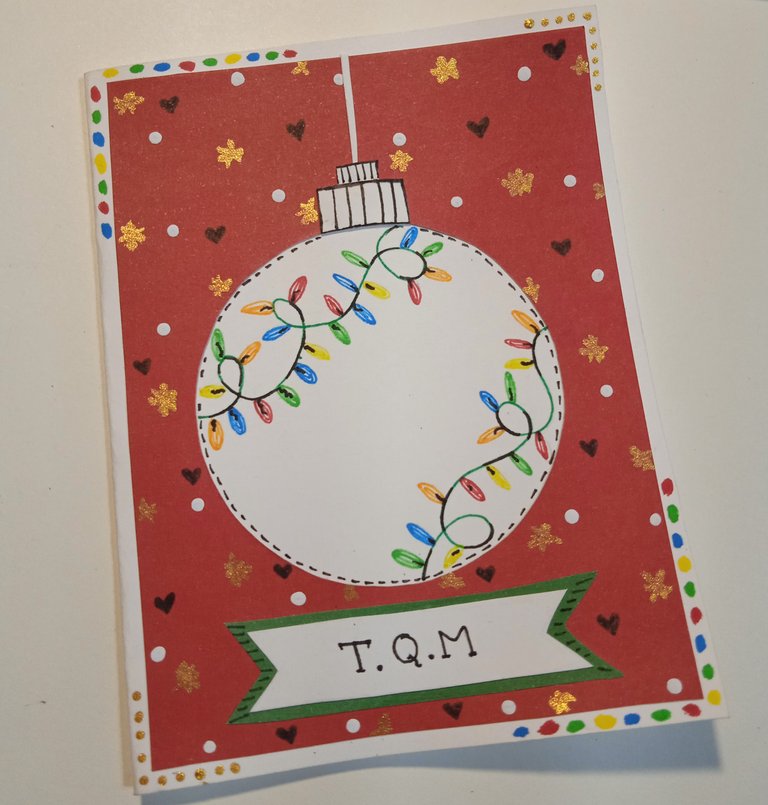
I wrote on the outside T.Q.M (I love you very much) a message that comes from the childhood of many to express affection. It was a fashion years ago in my country and here I bring it back for my godson to know. 😁
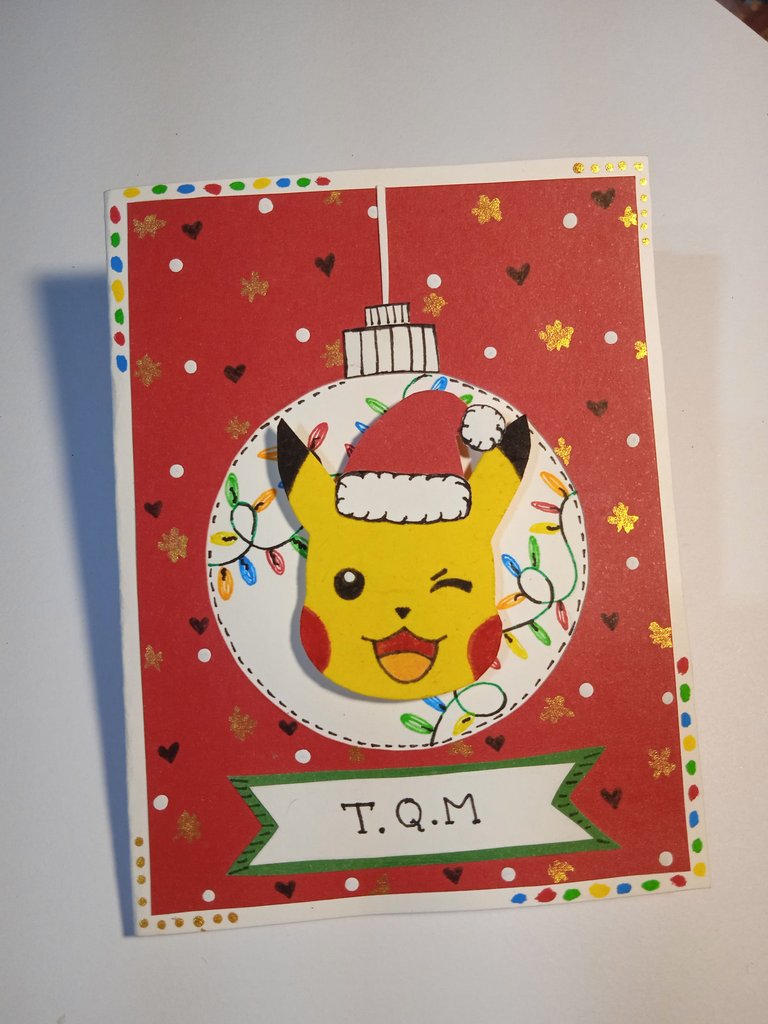
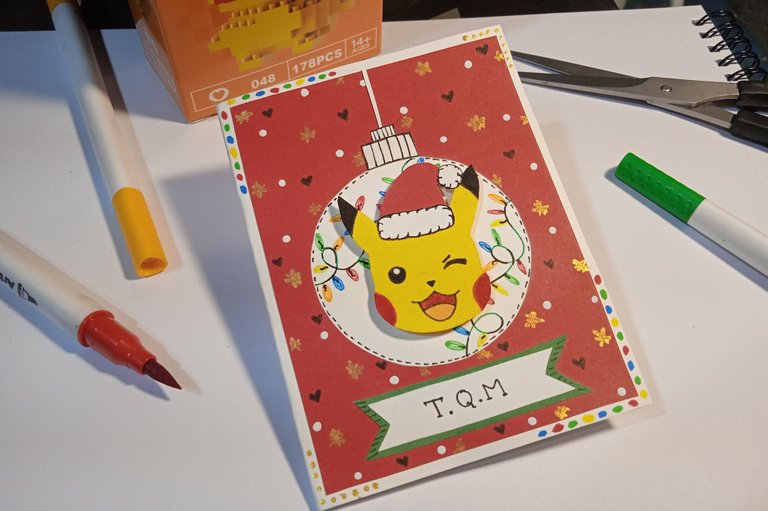
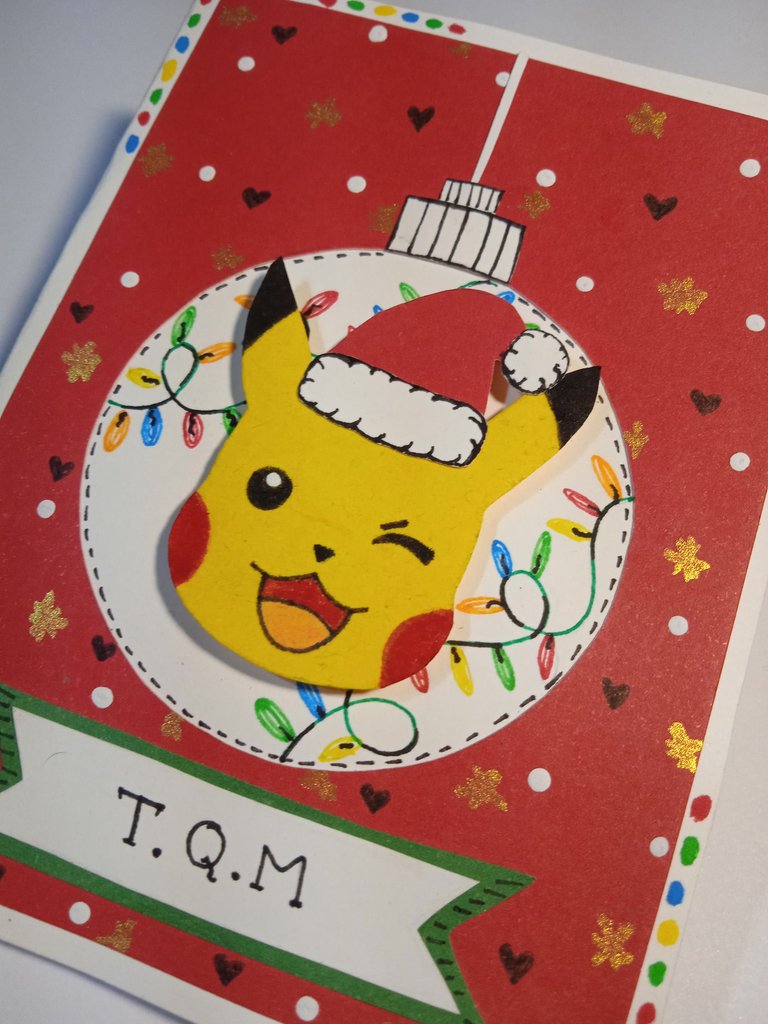
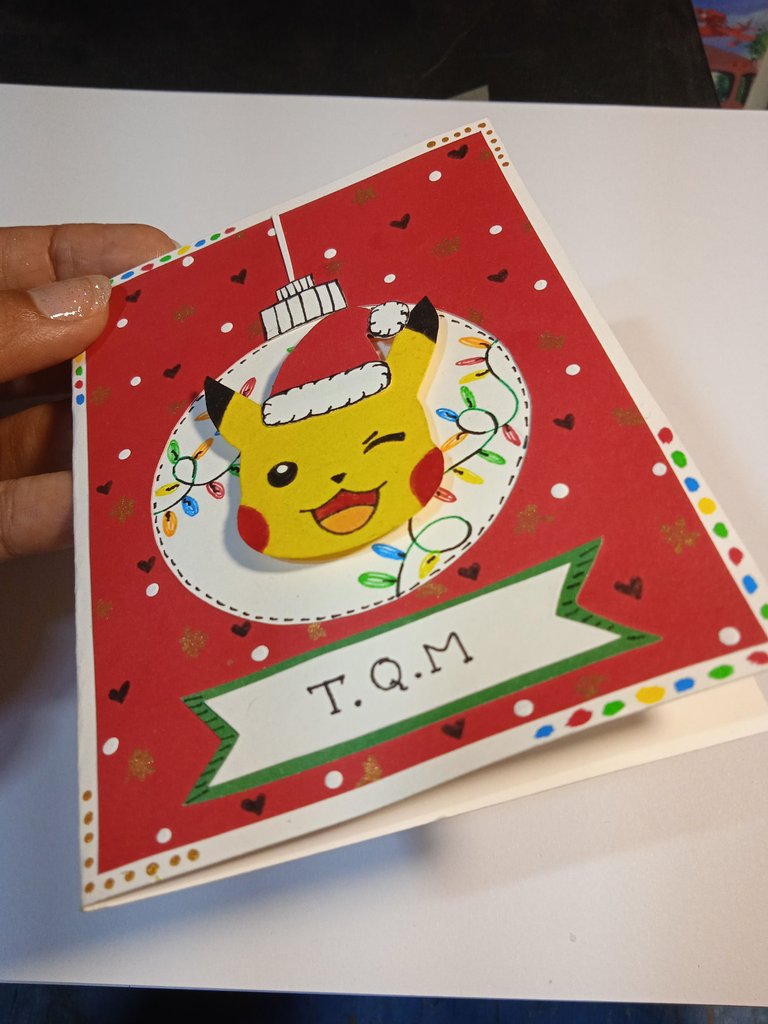
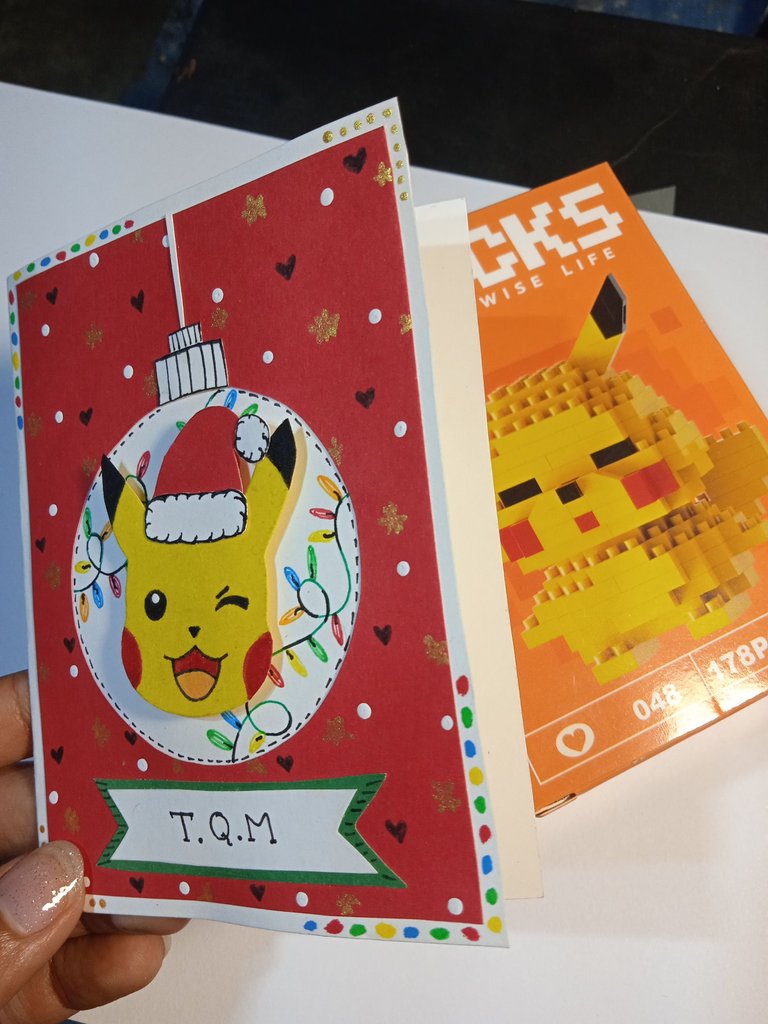
This is how it turned out 🥰
Note: in this type of card the character actually goes inside the card and there is no cardboard covering the circle, but I wanted to take advantage of the space to write, that's why I made it this way.
I hope you like it and it inspires you to make Christmas cards for your whole family 🎄 see you in a next post with more celebration vibes ✨.
Credits:
Cover made in Canva.
Photos edited in IbisPaint X.

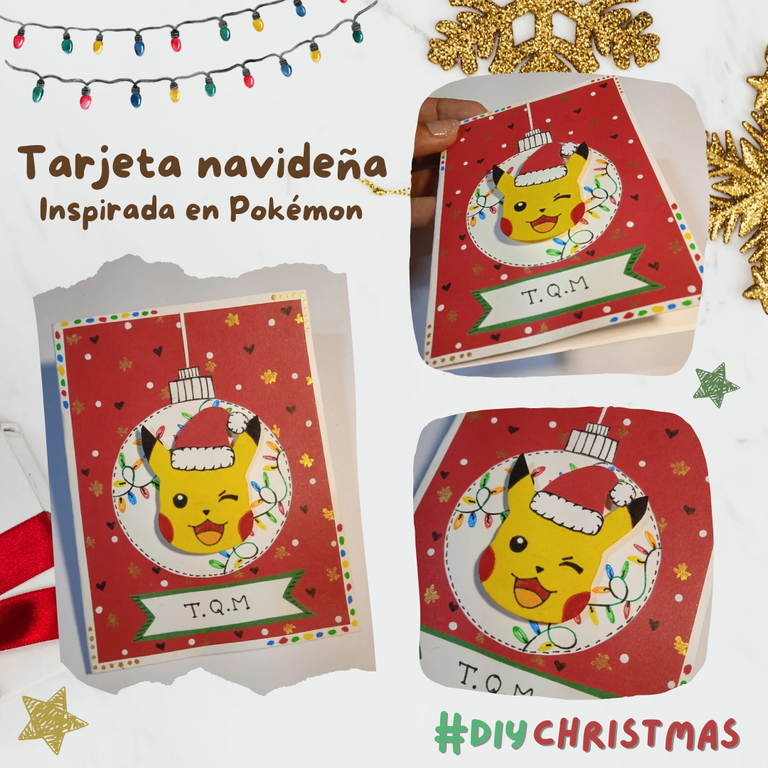
¡Saludos, comunidad, mis mejores deseos navideños para todos ustedes! ✌🏼
Por fin ha llegado el momento donde la creatividad y la Navidad se fusionan para crear diversas decoraciones y obsequios hechos a mano. Me encantan todos los tutoriales que puedo ver en la comunidad con actividades, fáciles, únicas y muy bonitas inspiradas en este mes.
Hoy quiero mostrarles esta tarjeta navideña hecha con cartulina y decorada con un personaje que está de moda desde hace años, te hablo de Pikachu. Pues sí, a mi ahijado aún le gusta este personaje y de hecho se ha vuelto más fan, ya comenzó a coleccionar las tarjetas para jugar y se la pasa dibujando a los personajes 😁. Estoy segura de que se emocionará mucho cuando reciba su aguinaldo (pequeño obsequio sorpresa que se da en diciembre) acompañado de esta tarjetita.
Estos son los materiales necesarios para hacer esta tarjeta:
- Cartulinas de color: Rojo, blanco, amarillo y verde.
- Pega blanca.
- Tijera.
- Pintura dorada y pintura de color blanco.
- Puntero.
- Marcadores de colores.
- Regla.
- Compás.
- Cinta doble faz.

Paso 1
En la cartulina de color blanco dibujo un rectángulo de 17 cm x 11 cm que se doblará a la mitad.


Paso 2
Ahora en la cartulina de color rojo dibujo un rectángulo de 8 cm x 10.5 cm, en ese rectángulo voy a dibujar un círculo con ayuda del compás, también se puede hacer con alguna tapa del tamaño que deseemos.

Este círculo será la bambalina, que estará pegada en la tarjeta. Puedes hacer la bambalina con pintura o con cartulina.


Paso 3
Con la cartulina verde dibujo una cinta verde y una blanca más pequeña que va pegada dentro de la verde.


Paso 4
Pikachu estará dentro de la bambalina y para que el dibujo quede bien, en la cartulina amarilla hago unas pequeñas marcas. La referencia la saqué de internet y pinto con los marcadores.


El pequeño gorro de Navidad lo hice con la cartulina roja sobrante del círculo.

Paso 5
En esta parte hago los detalles con el color dorado, puntos con el color blanco y corazones con el marcador. En donde va Pikachu dibujo unas luces navideñas. Hago otros detalles para la bambalina con cartulina blanca. Y con un poco de cinta doble faz se pega el dibujo de Pikachu a la tarjeta.


Escribí en la parte de afuera T.Q.M (te quiero mucho) un mensaje que viene desde la infancia de muchos para expresar cariño. Fue una moda hace años en mi país y aquí lo traigo de vuelta para que mi ahijado lo conozca. 😁


Así ha quedado 🥰
Nota: en este tipo de tarjeta el personaje en realidad va en el interior de la tarjeta y no hay una cartulina que tape el círculo, pero yo quise aprovechar el espacio para escribir, por eso la elaboré de esta forma.
Espero que les guste y los inspire a realizar tarjetas navideñas para toda su familia 🎄 nos vemos en un próximo post con más vibras de celebración ✨
Créditos:
Portada hecha en Canva.
Fotos editas en IbisPaint X.
excelente bellísimo trabajo, para las personas como yo fans de esta franquicia es un detalle totalmente único.
justo acabo de armar a ese pikachu que sale de fondo, lo vi y lo compre 😂
¡Muchas gracias Ushiro! 😉 Me alegra que gustara a un fan de Pokémon, quiere decir que voy por buen camino 💪🏼🤭 jaja no pues que puedo decir, también se cruzó ese Pikachu en mi camino y listo! Yo dije "este es el regalo ideal".
Me parece una buena idea lo de los ojos, así no parece estar durmiendo.
Wow, this Christmas card is very beautiful, Pikáchu really stands out in the red color. It is really inspiring to see the creation process through these pictures, thank you for choosing our DIYHub community to show your art. Happy start of the week!...
¡Gracias! Saliendo un poco de lo convencional, las vibras de diciembre despiertan la creatividad en uno 🤭✨ felices días para ti.
Congratulations @verdeayer! You have completed the following achievement on the Hive blockchain And have been rewarded with New badge(s)
Your next target is to reach 90 posts.
You can view your badges on your board and compare yourself to others in the Ranking
If you no longer want to receive notifications, reply to this comment with the word
STOPCheck out our last posts:
Son muy creativas tus tarjetas, una maravilla, totalmente hecho a mano...
Pues... de mis pasatiempos favoritos 🤭
Hermoso!!
This work is really beautiful and makes us happy to see it in our community feed. Thank you so much for giving your best and sharing such an elegant step by step through the images!.
Thank you! I appreciate every word! A hug for the community:)
Sharing what we do and teaching something not so conventional, that's also a way to generate empathy and appreciation, making community from DIYHub. 🌷
Outstanding work my friend, it's so beautiful and good for Christmas also. Nicely done and good job 👍
Thank you! Making these cards is one of my hobbies, although they are not professional I always make them with love! Happy days to you
hola, te quedo muy lindo
me das permiso para hacer un post tuyo en la comunidad de pizza para promover tu trabajo??