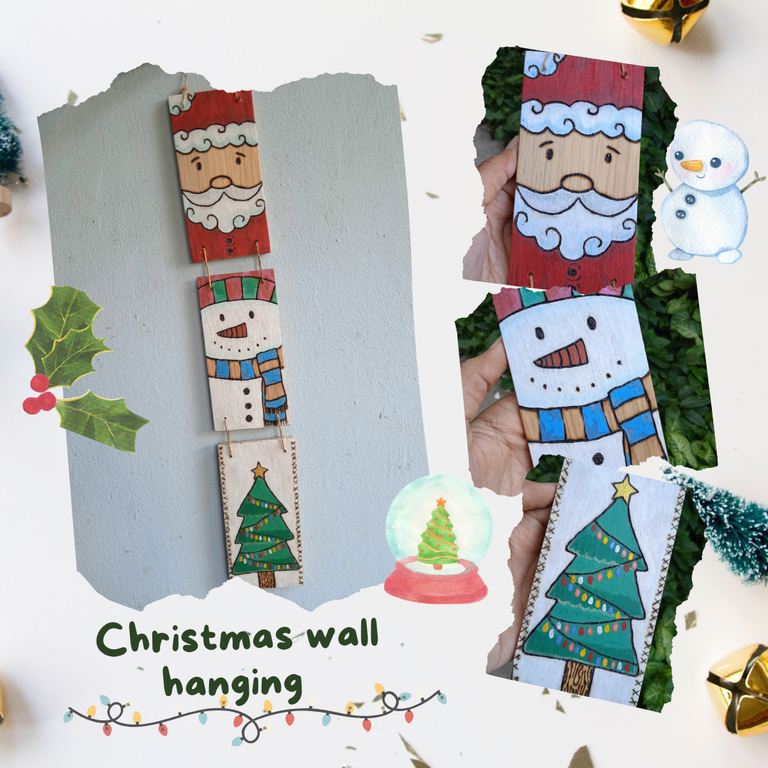
A good day to all of you! I hope you are doing great and putting your heart into everything you do ✌🏼
I share with you this idea to decorate the walls of your house, made with material that is always left over from my husband's work. When working with wood at home there is always a possibility of creating something new, whether it is merely decorative or an artistic piece.
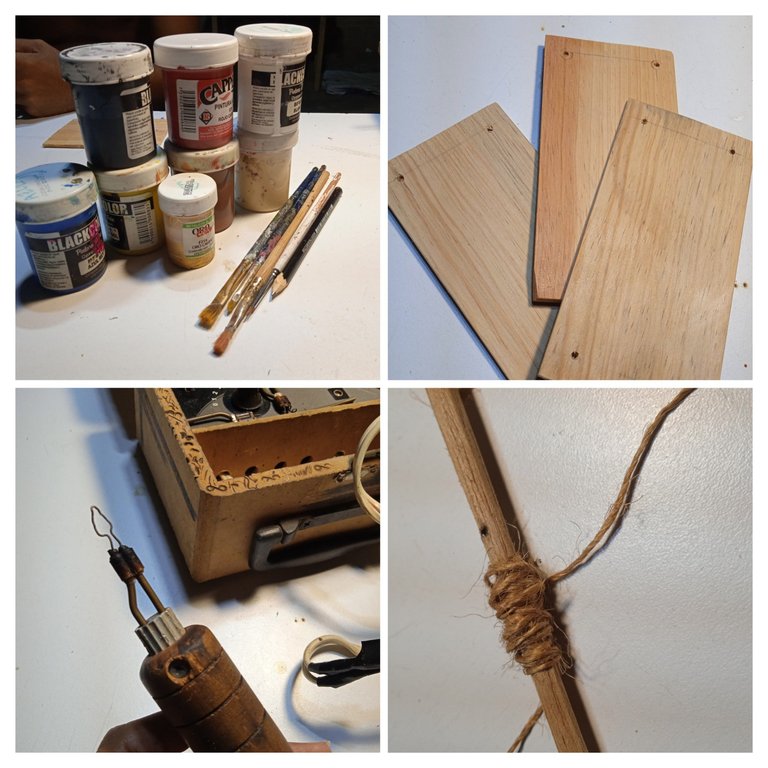
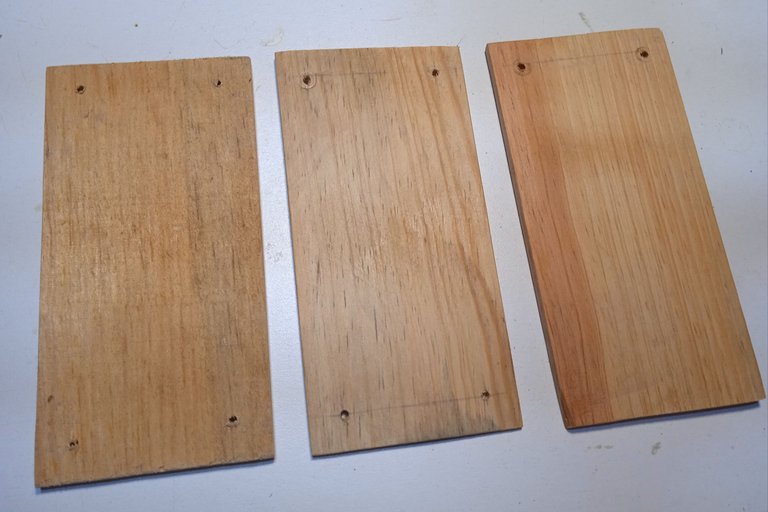
The wood used is pine, this was a small block from which my husband cut three 3 mm thick veneers. I asked him for help for that since I don't know how to use the saw, for now 😬 the size was more than perfect to create what I had in mind, so I left it that size, its measurements are: 7 cm x 14 cm.
Last year I made to give as a gift to our closest friends some miniature little trees, I didn't leave any for myself, so maybe I'll make one and show them to you soon 😁. This year I'm spending Christmas at my mom's house and it's my turn to get a head start on the details I want to give as gifts.
It is very easy to do, it doesn't matter if you don't have a pyrographer, instead you can outline all the work with paint, it will still be a very nice and Christmasy work ✨.
You need the following materials:
- Wooden sheets of at least 3 mm.
- Jute rope.
- Brushes.
- Paint: red, white, yellow, blue, blue, gold.
- Pyrograph.
- Water based glitter.

Step 1
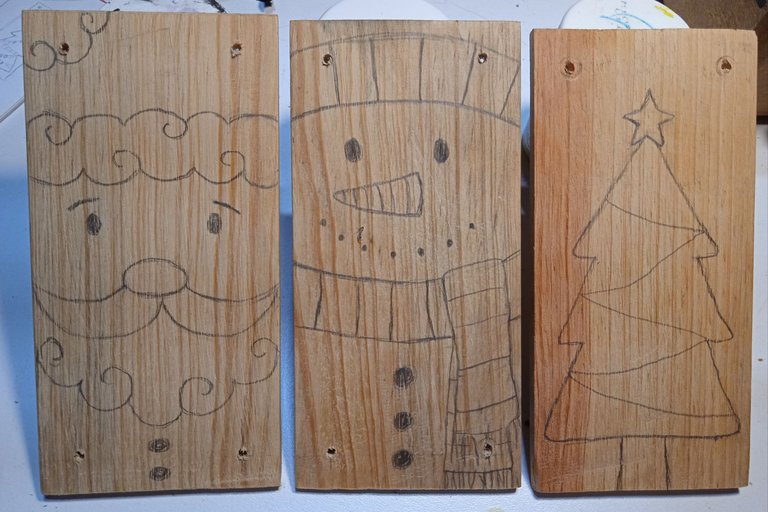
I freehand draw the chosen designs for each tablet: a Santa, a snowman and a Christmas tree.
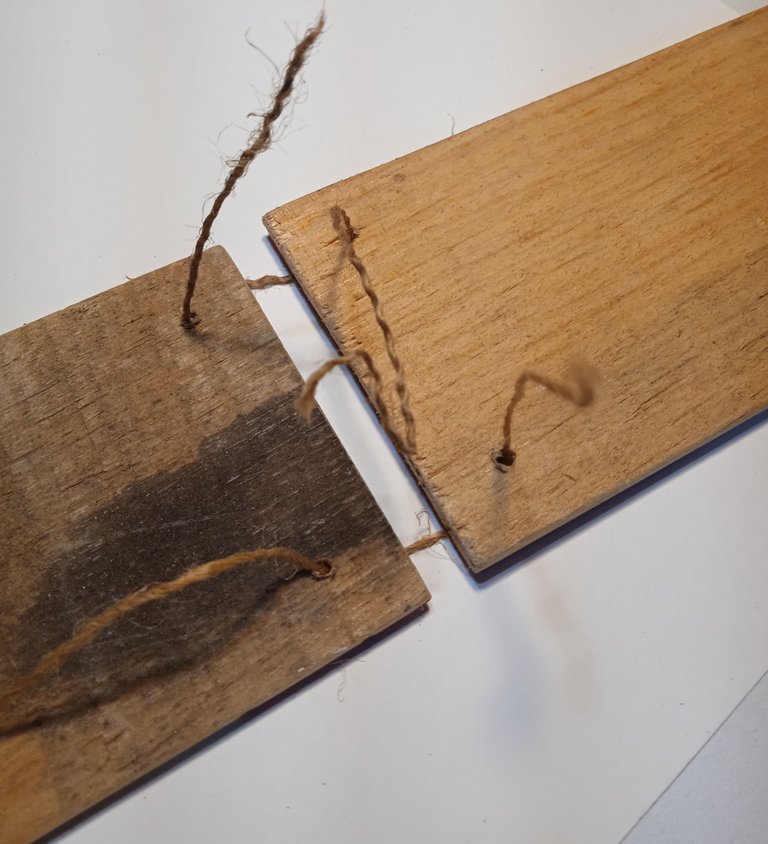
Before proceeding with the work, the holes through which the rope will be passed must be opened. In two of the slats holes are opened at the top and bottom, in the one that remains only on one side.

Step 2
Start working with the pyrographer on the wood. I always have a separate piece of wood to test on before making the strokes and practicing the lines.
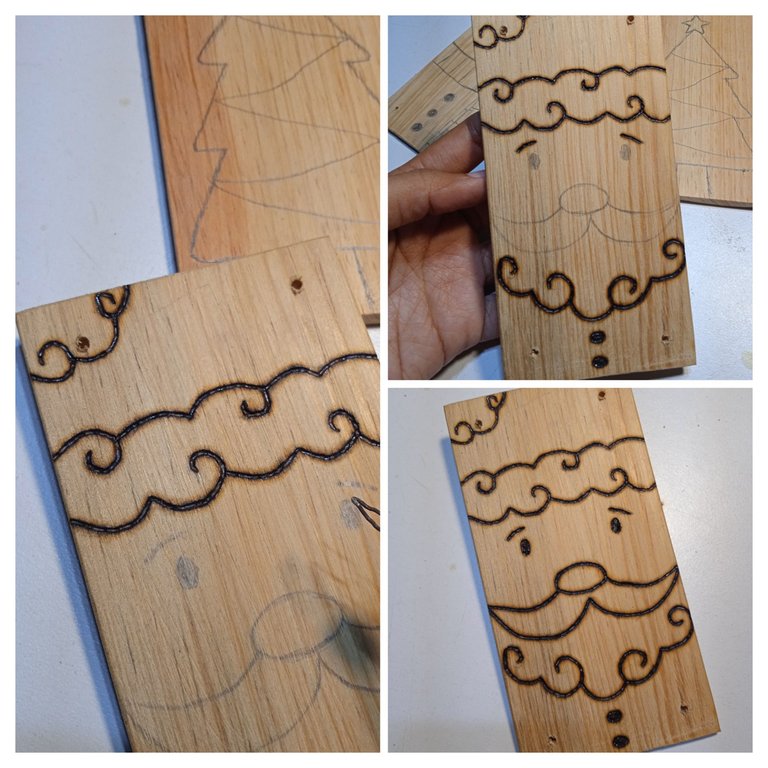
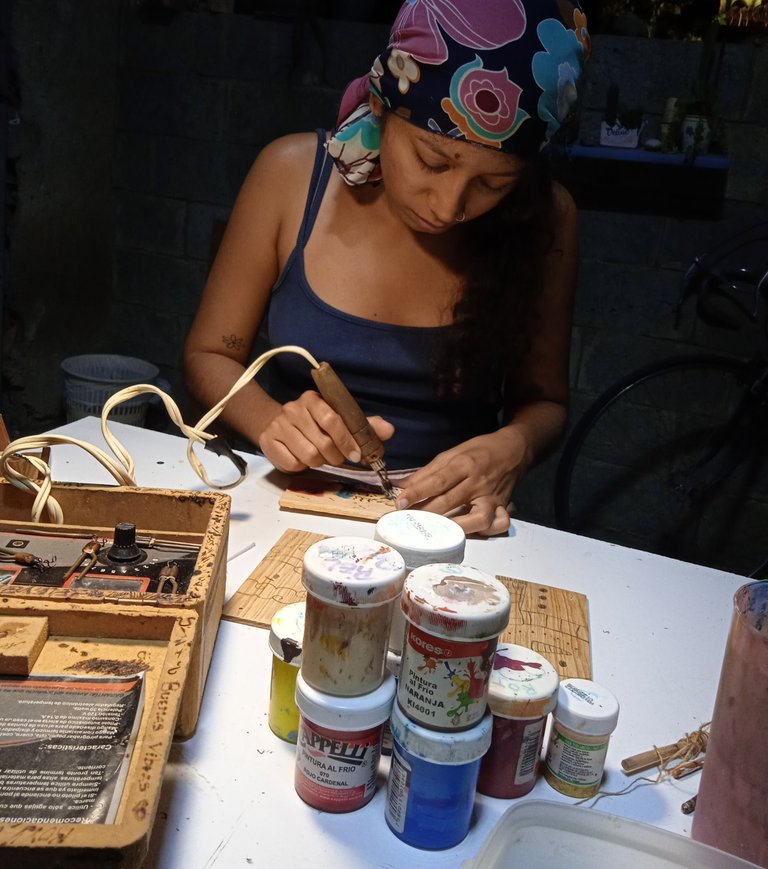
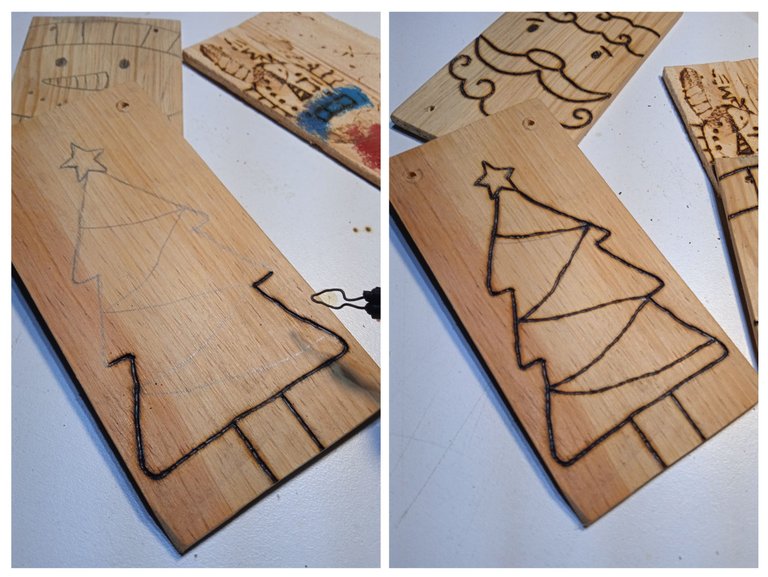
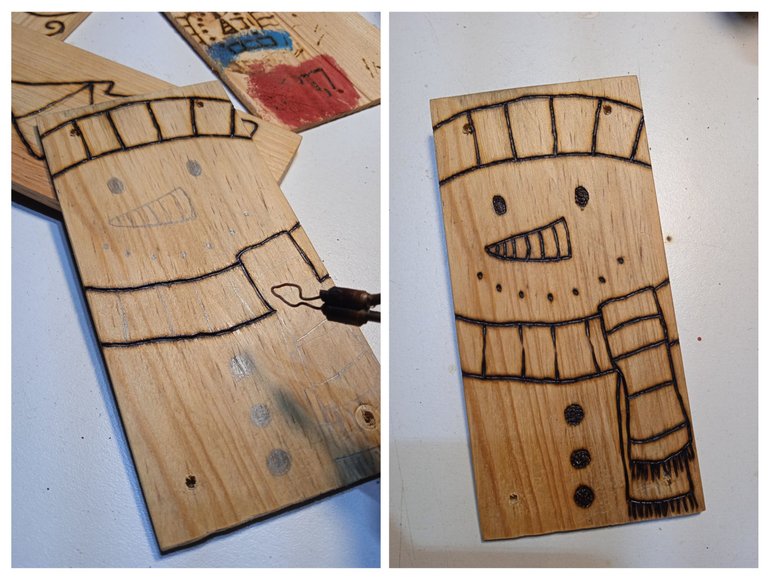
Remember that if you are not using the pyrographer, you can skip this step and start painting; lastly you will outline everything with brown or black.

Step 3
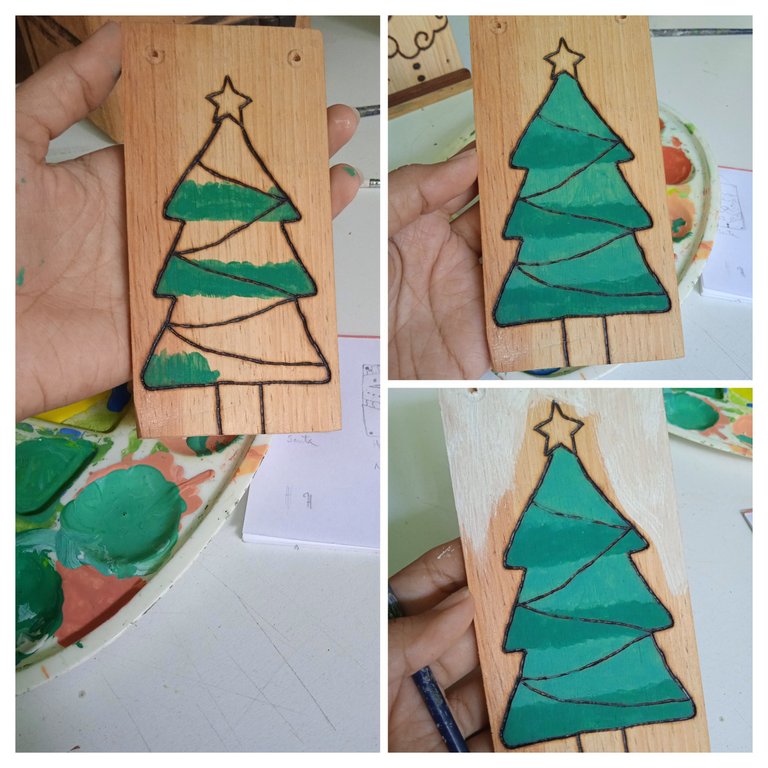
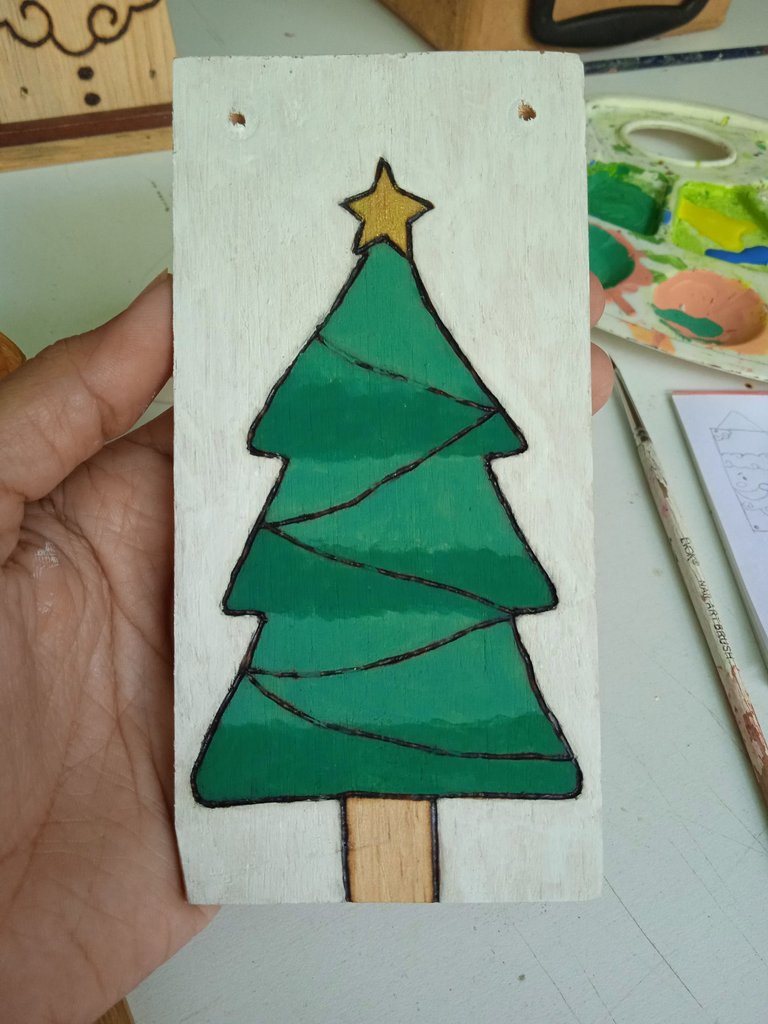
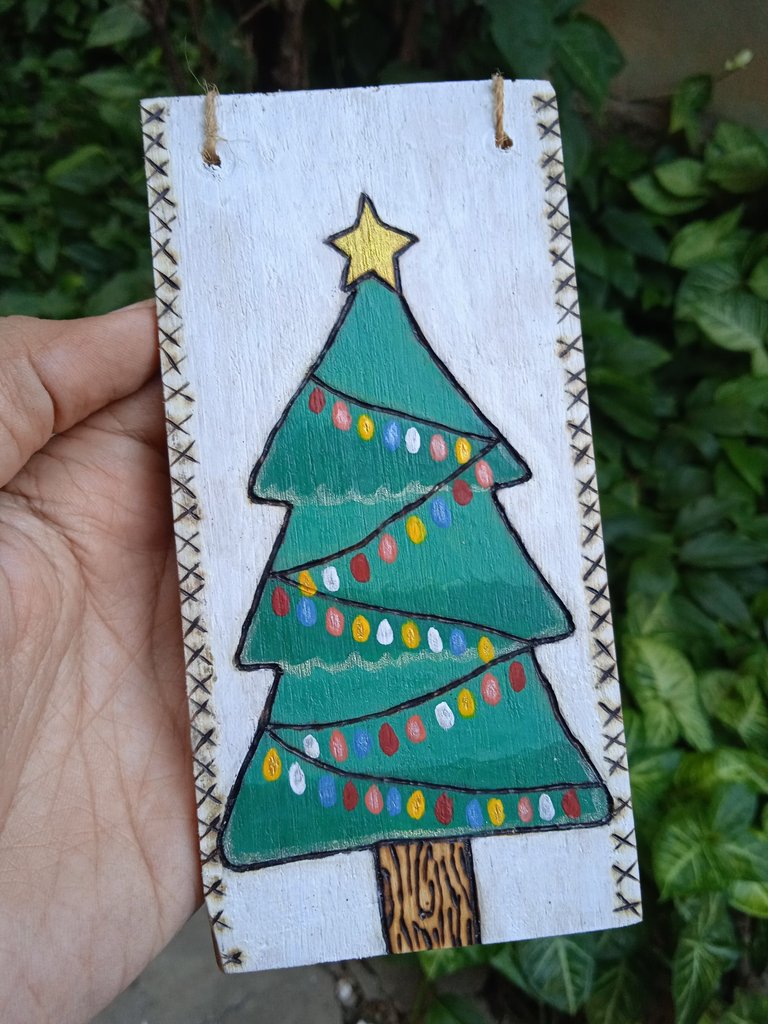
Paint the Christmas tree in green (yellow + blue), the star in gold and the background in white. The trunk of the tree will not be painted.
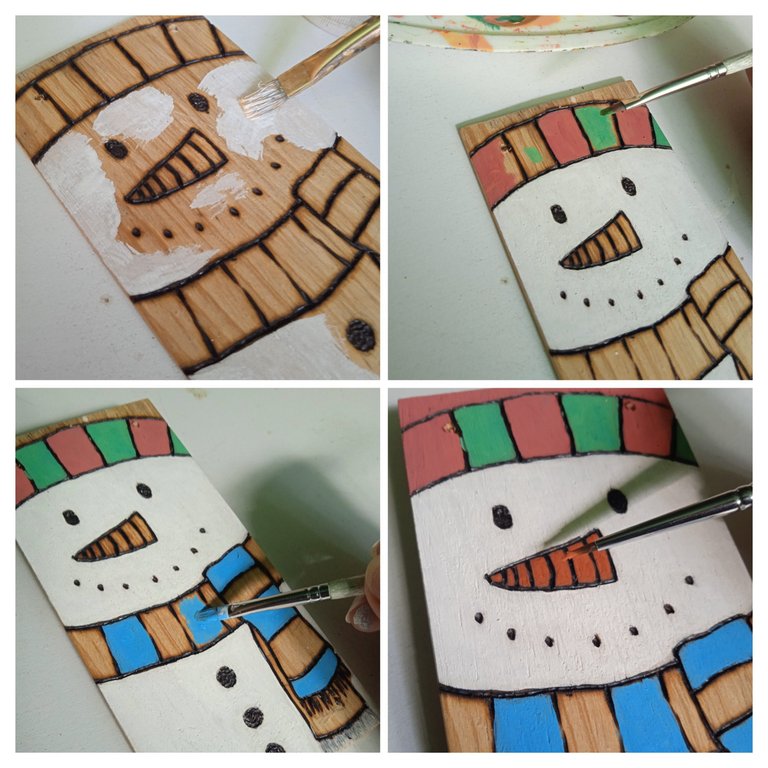
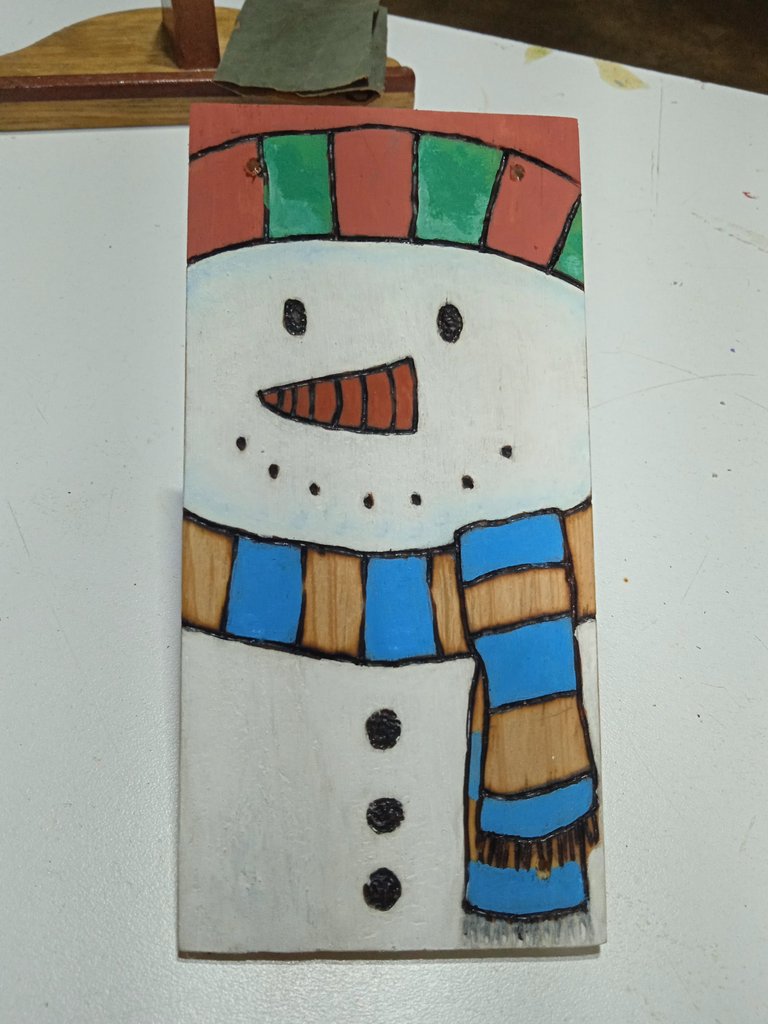
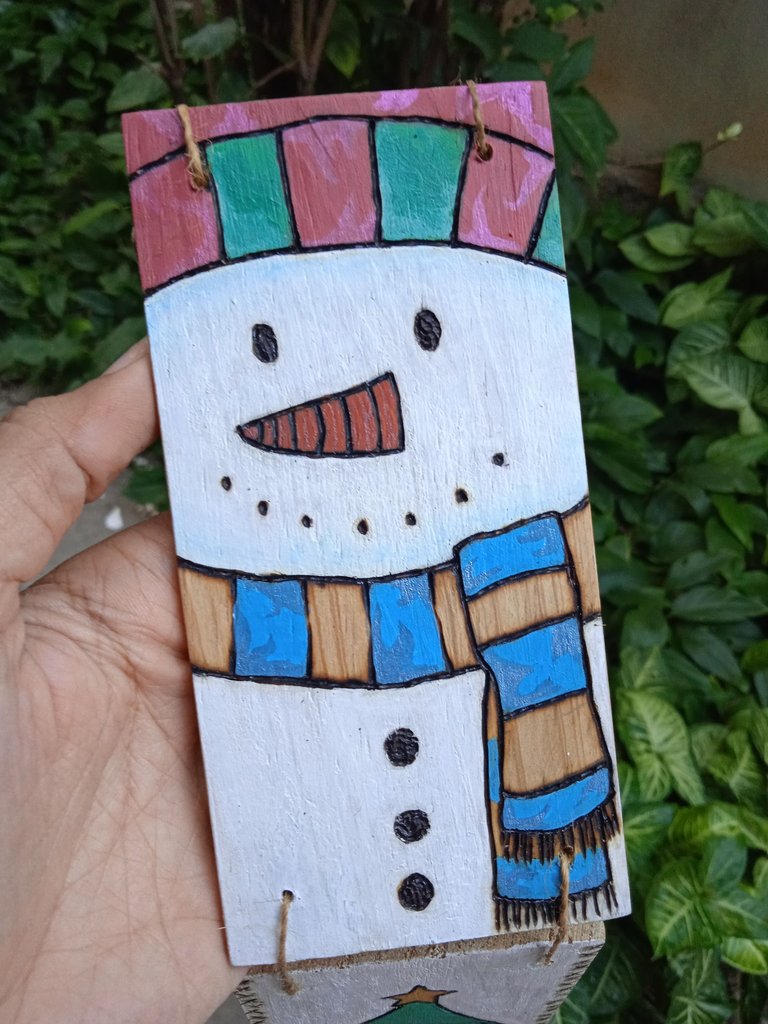
Now for the snowman, color white, orange and the colors of your choice for the hat and scarf.
The scarf will have stripes that we will not paint.
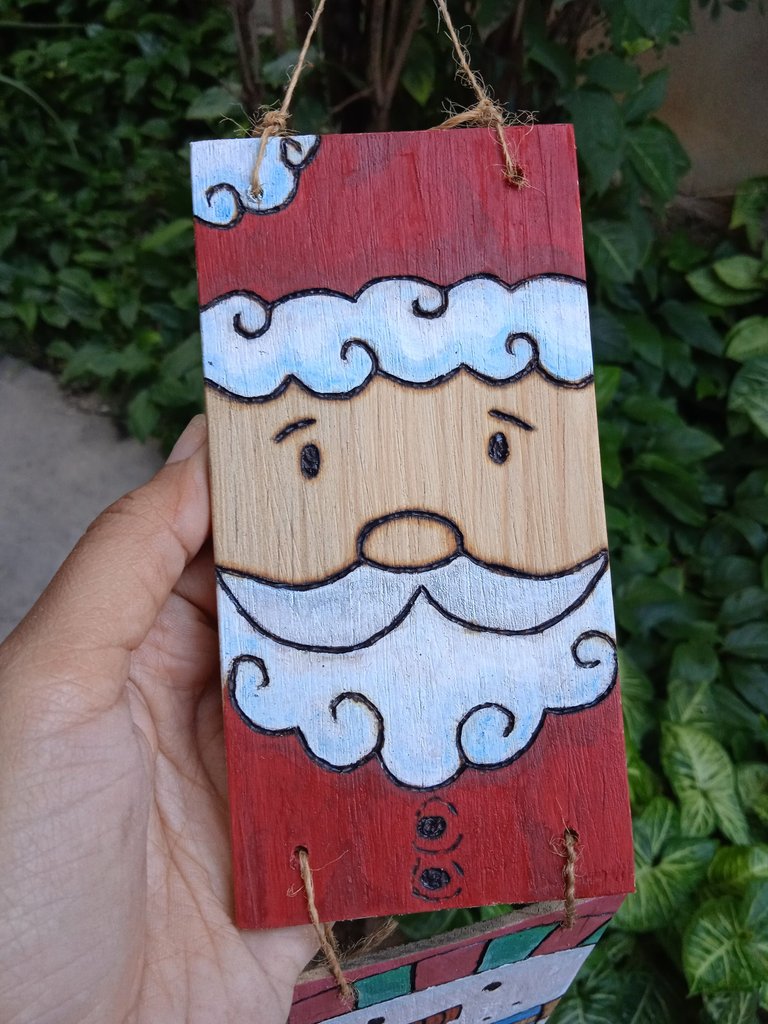
And finally Santa, we painted him in his signature red and white color. To give Santa one more detail, apply small strokes of blue color and quickly apply white color giving small strokes with the brush, you can do this in the parts of the hat and beard.
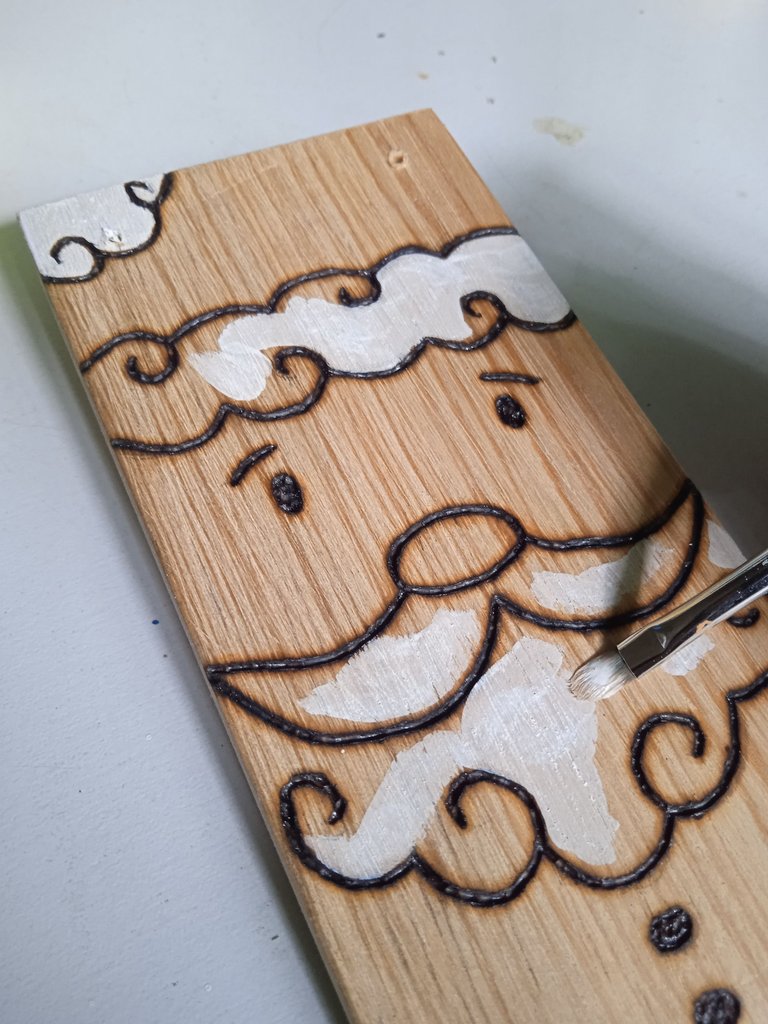
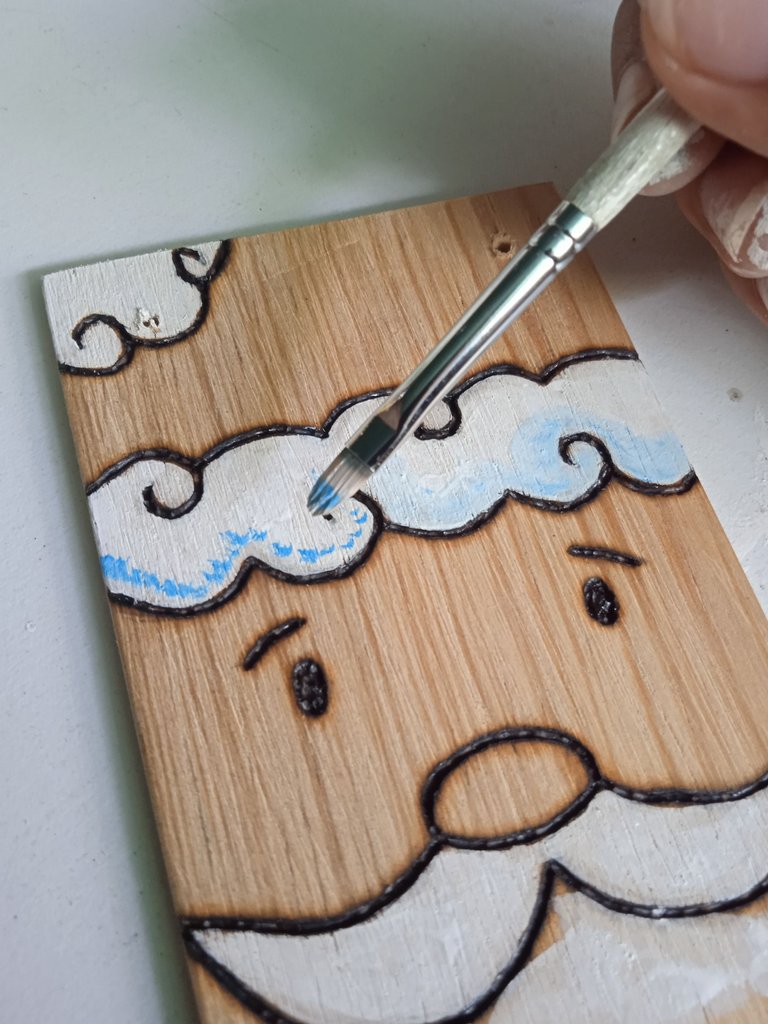
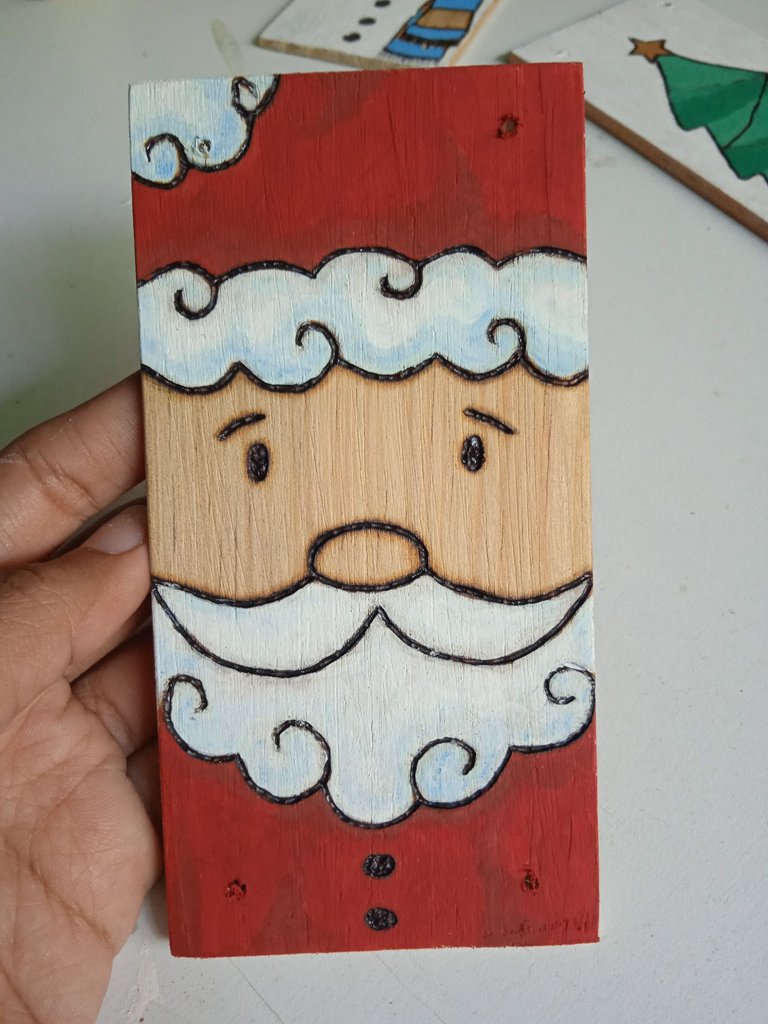
In this character, the area we will not paint will be his face and nose.
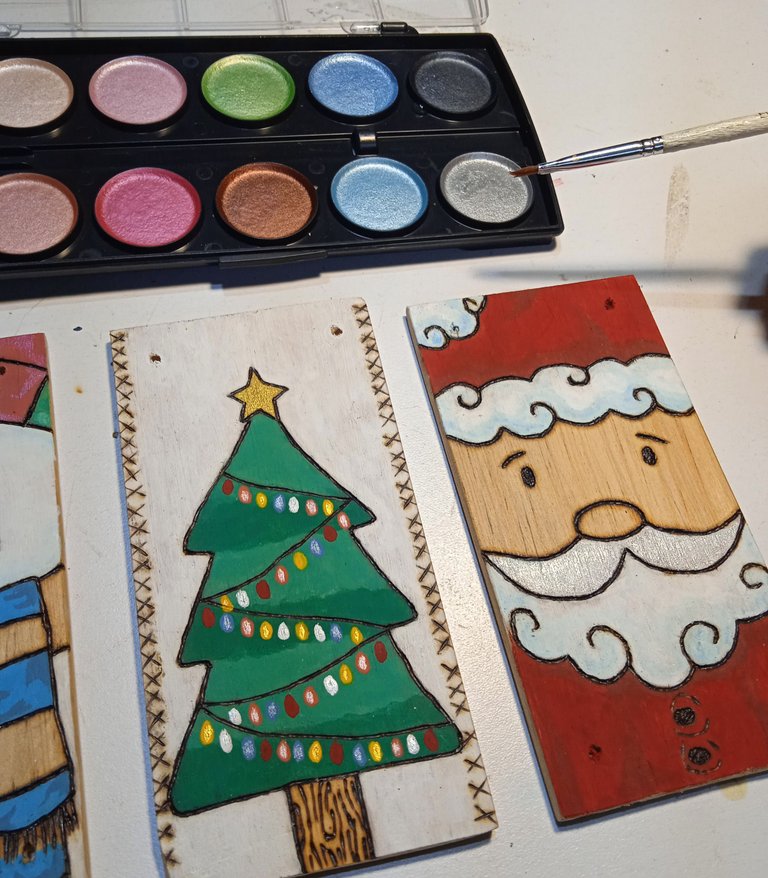
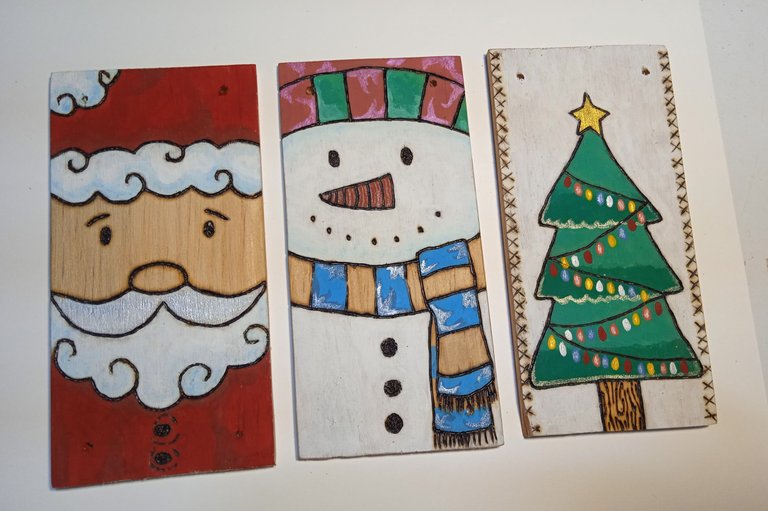
You can give it more personality by decorating the Christmas tree however you like, using frosting for example. I decided to experiment with some metallic watercolors and I liked how it turned out. I also made details with the pyrographer to the tree along the edges of the slat.

Step 4
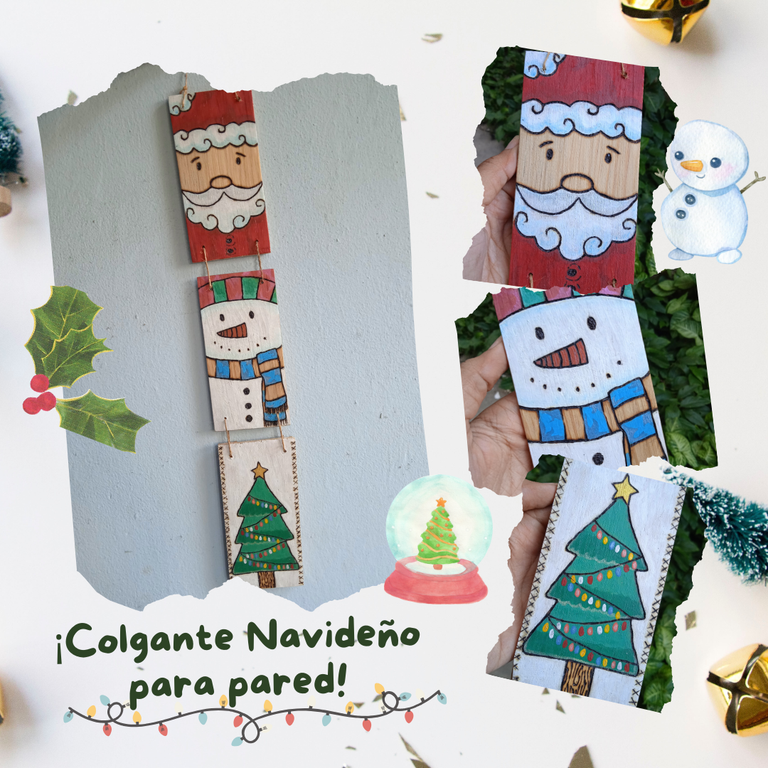
We give it a brushstroke with the water glitter. And with the string we attached each slat, in the following order: Santa, snowman and finally the Christmas tree. 🎄
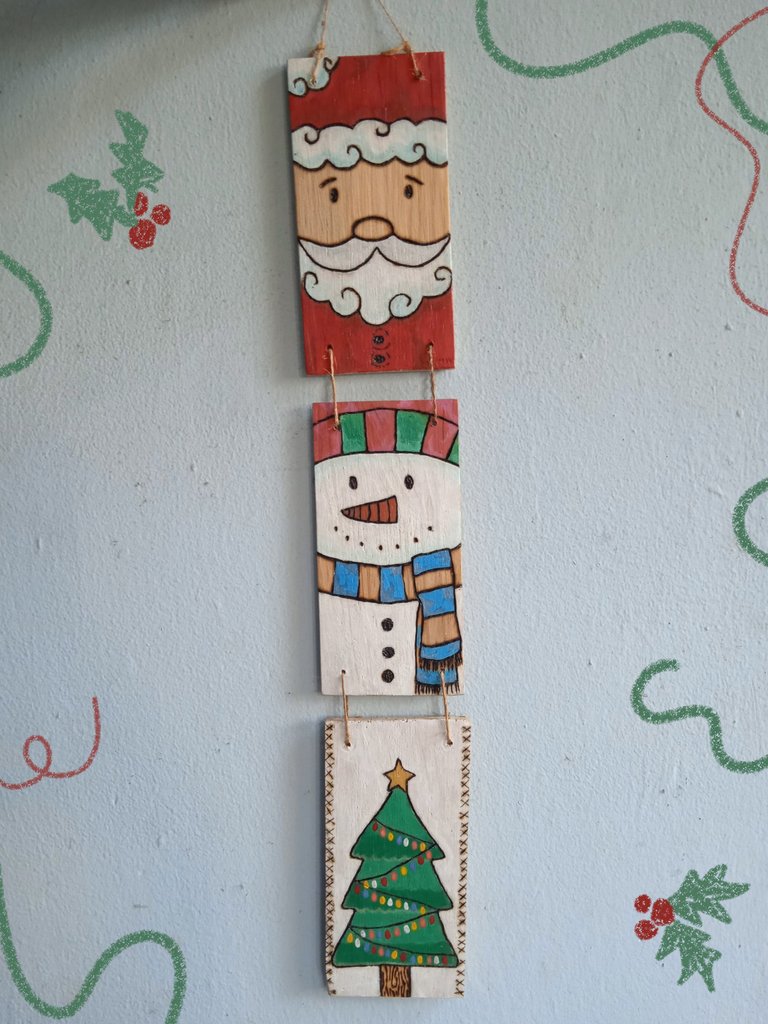
Now I have about 3 more sets to make 😅 hope you like it and make your decorations with your favorite Christmas characters. See you in another post! 🐝
Credits
- Cover made in Canva.
- Separator made by me in Adobe Illustrator.
- Translation at DeepL.

¡Bonito día para todos! Espero que se encuentren muy bien y poniéndole ganas a todo lo que hacen ✌🏼
Les comparto esta idea para decorar las paredes de su casa, hecha con material que siempre sobra de los trabajos que hace mi esposo. Cuando en casa se trabaja con madera siempre hay una posibilidad de crear algo nuevo, ya sea meramente decorativo o una pieza artística.
La madera usada es pino, este era un pequeño bloque del cual mi esposo cortó 3 chapas de 3 mm de espesor. Le pedí ayuda para eso ya que yo no sé usar la sierra, por ahora 😬 el tamaño estaba más que perfecto para crear lo que tenía en mente, así que lo dejé de ese tamaño, sus medidas son: 7 cm x 14 cm.
El año pasado hice para regalar a nuestros amigos más cercanos unos arbolitos miniatura, no dejé ninguno para mí, así que tal vez me haga uno y se los muestre pronto 😁. Este año voy a pasar Navidad en casa de mi mamá y me toca adelantar los detalles que quiero obsequiar.
Es muy fácil de hacer, no importa si no tienen pirografo, en su lugar pueden delinear todo el trabajo con pintura, igual les quedará un trabajo muy bonito y Navideño.✨
Necesitan los siguientes materiales:
- Chapas de madera de al menos 3 mm.
- Cuerda de yute.
- Pinceles.
- Pintura al frío de color: Rojo, blanco, amarillo, azul, dorado.
- Pirografo.
- Brillo al agua.


Paso 1
Dibujo a mano alzada los diseños elegidos para cada tablilla: un Santa, un hombre de nieve y un árbol navideño.
Antes de avanzar con el trabajo hay que abrir los orificios por donde se pasará la cuerda. En dos de las tablillas se abren orificios arriba y abajo, en la que queda solo en un lado.


Paso 2
Se comienza a trabajar con el pirograbador en la madera. Siempre tengo una maderita aparte donde probar antes de hacer los trazos y practicar las líneas.


Recuerda que si no usas el pirografo, puedes saltarte este paso y comenzar a pintar; por último vas a delinear todo con marrón o negro.

Paso 3
Pintamos el árbol navideño en color verde (amarillo + azul), la estrella en color dorado y el fondo en color blanco. El tronco del árbol no lo pintaremos.


Ahora para el hombre de nieve, color blanco, naranja y los colores de su preferencia para el gorro y bufanda.
La bufanda tendrá franjas que no pintaremos.


Y por último a Santa, lo pintamos con su color rojo y blanco característico. Para darle un detalle más a Santa, aplica pequeñas pinceladas de color azul y rápidamente aplica color blanco dando pequeños golpes con el pincel, esto puedes hacerlos en las partes del gorro y barba.


En este personaje, la zona que no pintaremos será su cara y nariz.


Puedes darle más personalidad, adornando el árbol navideño como quieras, usando escarchas por ejemplo. Yo decidí experimentar con unas acuarelas metalizadas y me gustó como quedó. También hice detalles con el pirografo al árbol por los bordes de la tablilla.

Paso 4
Le damos una pincelada con el brillo al agua. Y con la cuerda unimos cada tablilla, en el siguiente orden: Santa, hombre de nieve y por último el árbol de Navidad. 🎄


Ahora me falta hacer unos 3 juegos más 😅 espero que les guste y hagan sus decoraciones con sus personajes navideños favoritos. ¡Nos vemos en otro post! 🐝
Créditos
- Portada hecha en Canva.
- Separador hecho por mí en Adobe Illustrator.
I love this
This is indeed beautiful
Well Crafted, right colors in the right places
What an awesome art
What a nice comment, thank you very much! I'm glad you appreciate it, over here I will continue to show what I do to encourage others to continue creating at home 😁.
Wow, I'm impressed by the high quality of your work, plus you transmit a lot of love for what you do in the whole process of elaboration, congratulations and thank you very much for sharing it on DIYHub, it's really nice to agree with you...
Lo que está hecho con amor, siempre le da un toque de calidez al hogar, me gusta enseñar y mas si tiene que ver con artes manuales, gracias por comentar✨
Demasiado lindos amiga, un trabajo hermoso, prolijo, con magia navideña y lleno de creatividad, y por su puesto tu toque personal, no es un comentario evaluador, simplemente que me encantan los detalles que le agregaste, lo hecho con amor ❤️.
¡Feliz noche y muchas gracias!🤗 en casa también gustó mucho 😁 el primero ya me lo quedé yo 😅 aunque lleva su tiempo es bastante entretenido hacer las decoraciones uno mismo en lugar de comprarlas.
WOW! It looks amazing. What you did, that's great. It shows your skills and creativity. Well done!
Thank you very much! I like to share with you what I am learning 😁.
This wall hanging is so nice.its a perfect one for Christmas.tums up
Happy night! Thank you, there are so many beautiful decorations that can be made with recycled wood. Just a little bit of creativity, some paints and we have ready a beautiful, personal and unique piece 😁.
very beautiful💥
Thanks!!✌🏼
You are welcome, friend.
Que hermoso pirograbado, te quedó genial esa decoración navideña, el Santa Claus me encantó.
¡Gracias! Con la llegada de la navidad, llega también la creatividad 😁 tus decoraciones navideñas también han quedado muy bellas ✨🤗
Muchas gracias 🥰, me alegra saber que te han gustado.
está muy bonito, sencillo y práctico para decorar estas navidades
it is very nice, simple and practical to decorate this Christmas.
Congratulations @verdeayer! You have completed the following achievement on the Hive blockchain And have been rewarded with New badge(s)
Your next target is to reach 800 replies.
You can view your badges on your board and compare yourself to others in the Ranking
If you no longer want to receive notifications, reply to this comment with the word
STOP