I wish a great Saturday to all my fellow creatives 🐝
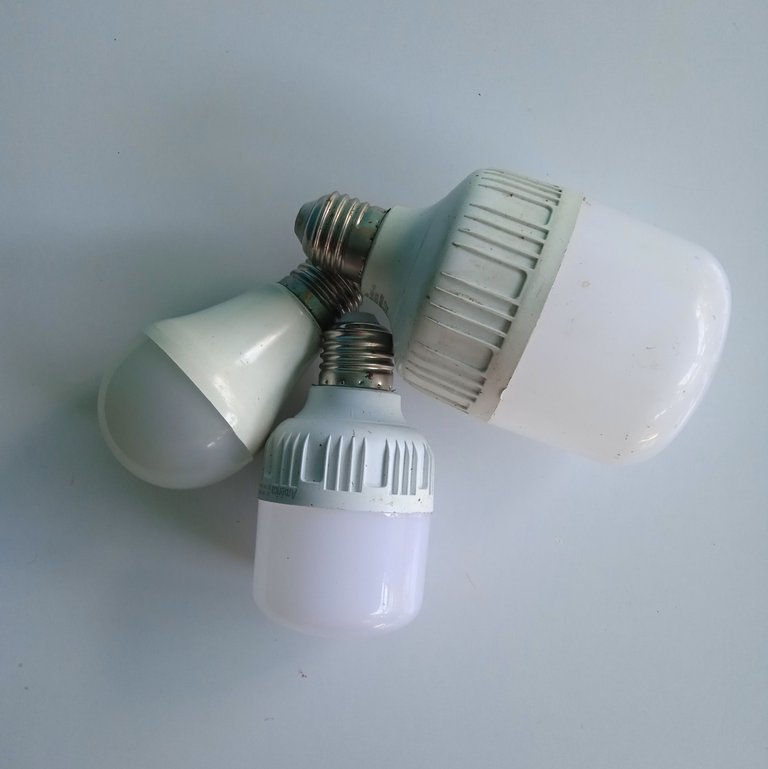
I tell you that at my mom's house I found several light bulbs that would be the perfect material to make a recycling activity, easy and that doesn't need many materials. I had bulbs of various shapes and sizes, for now I will use the round ones and I will be thinking about how to transform the others.
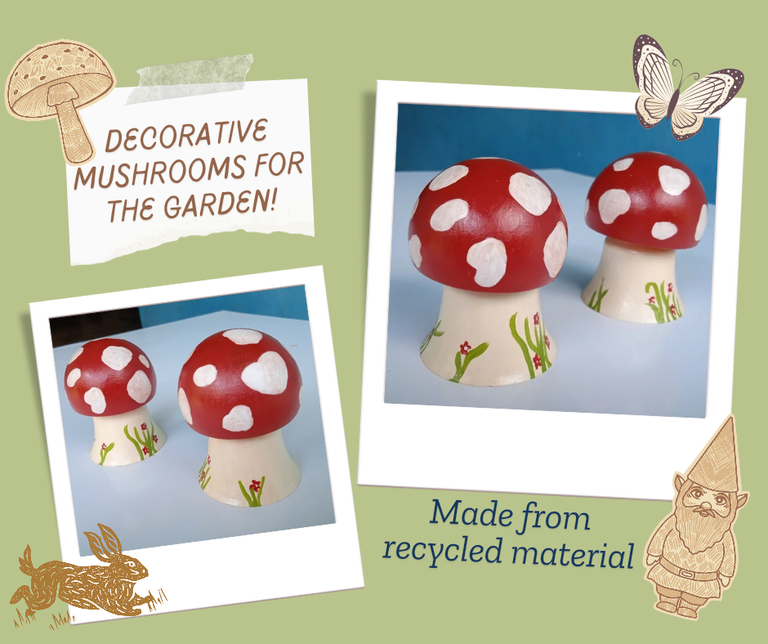
So today I will show you how to make a decoration inspired by what you can find in an enchanted forest; that is, some cute little mushrooms for the elves to sit on 🍄🤭. Apart from how cute they will look among the flowers, we are transforming an everyday object and prolonging its life, we have to turn things around and look for solutions to problems we have at home such as: plastic objects that no longer work.
It may not be a novel solution, but at least it will keep the boxes and drawers slightly empty. I invite you to join me in this simple and beautiful activity, which I think is great for teaching children about recycling ✨ And for this we will need the following materials:
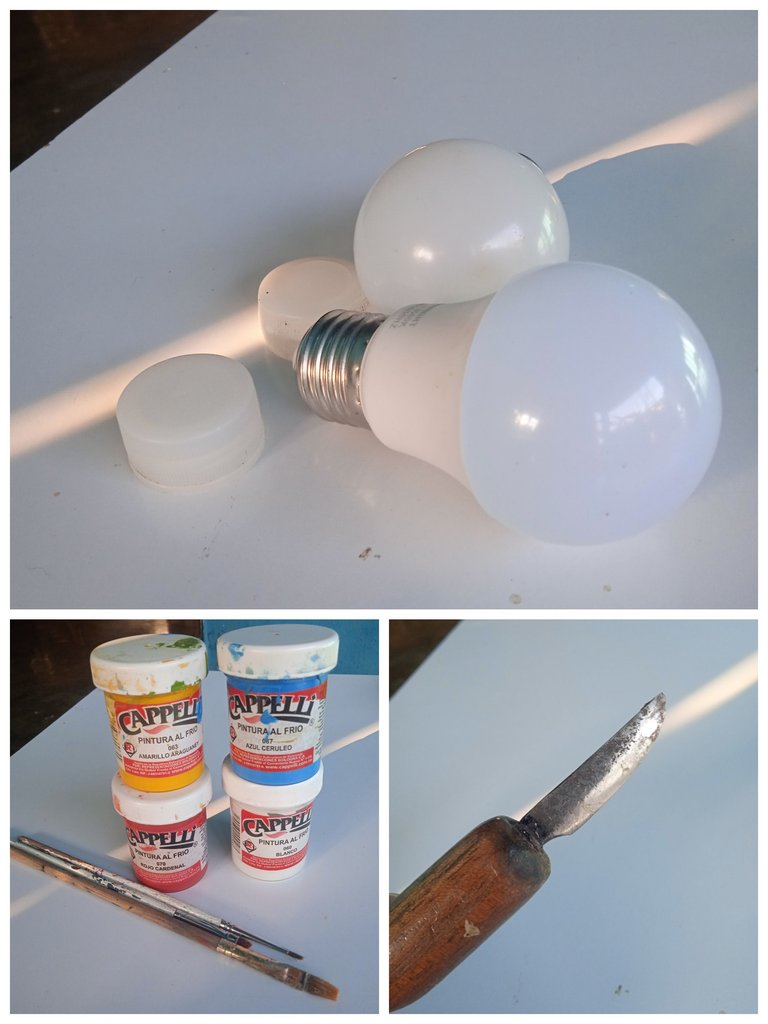
- Light bulbs.
- Cold paint in color: white, blue, yellow and red.
- Brushes.
- Blade.
- Soda caps.
- Silicone.
- Water based gloss.

Step 1
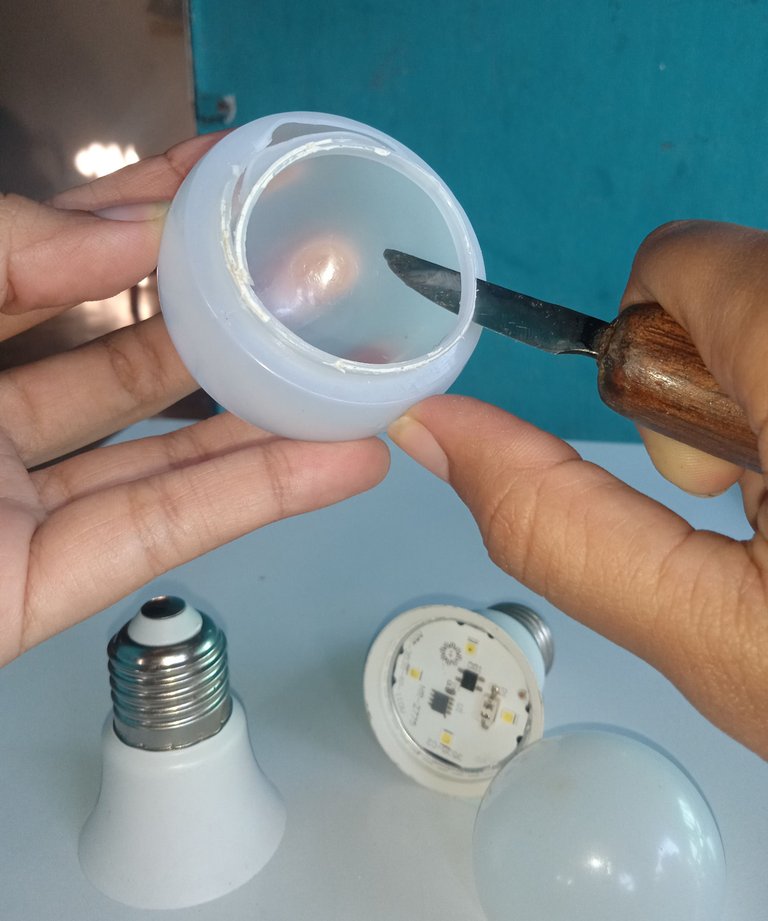
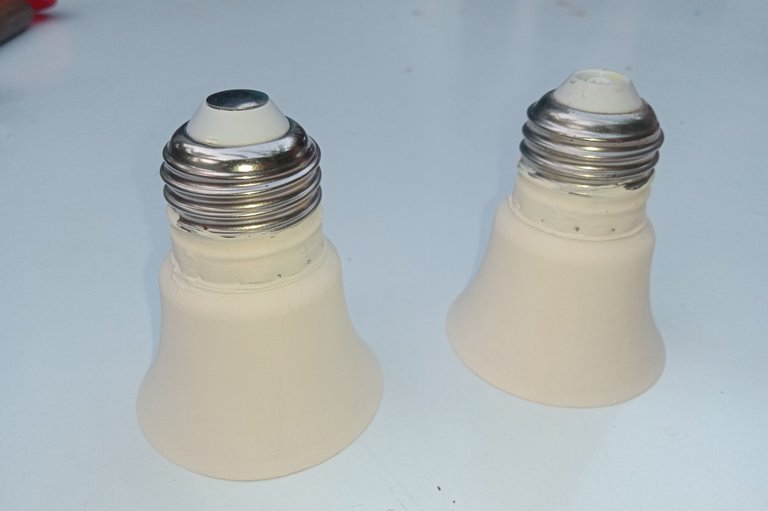
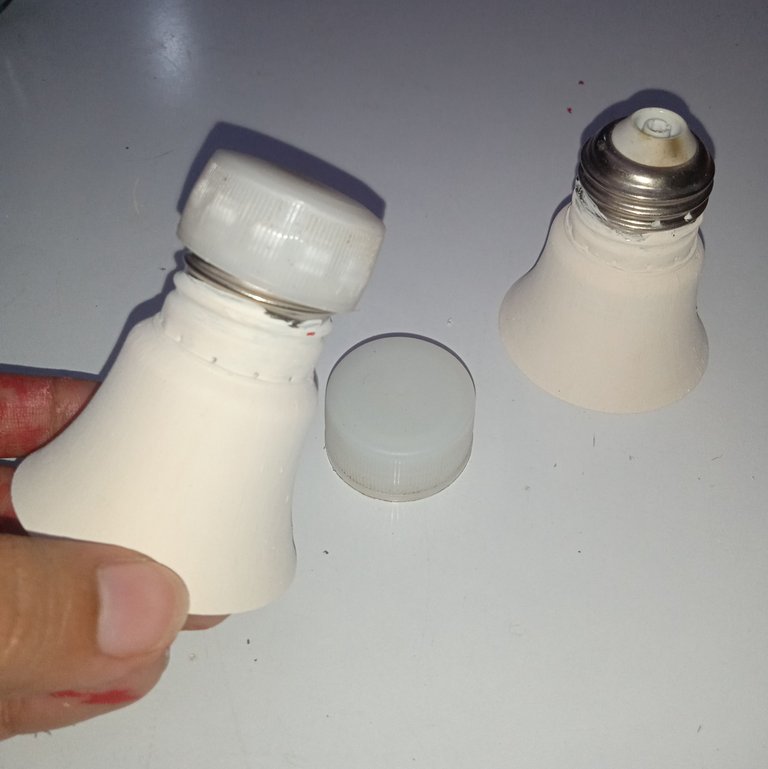
We start by separating the plastic part that covers the led lights, we can call it "the dome" 🤭.
This dome has a plastic edge that we can easily remove with the help of the blade, it is optional, you can also leave it like this.
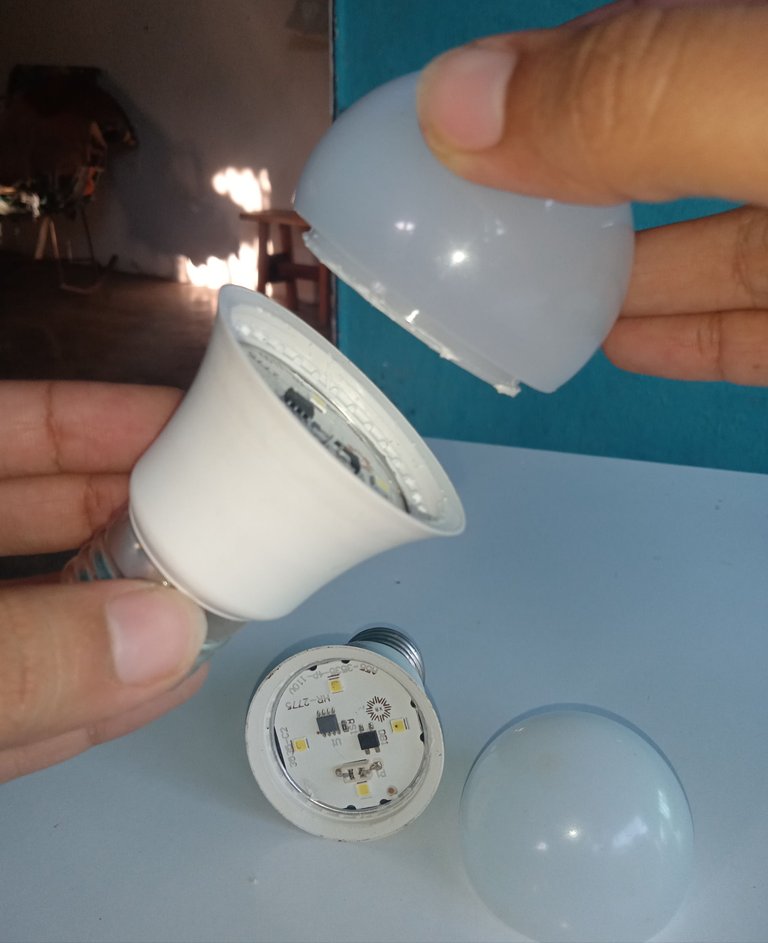
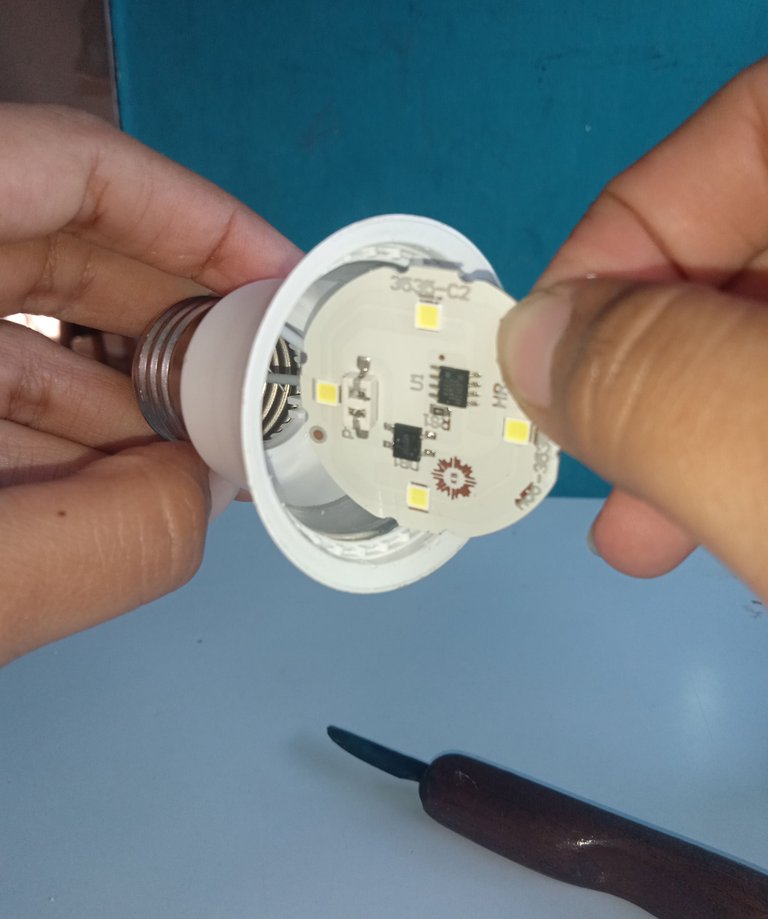
Now we remove the circuits that are inside the other part of the bulb.
Step 2
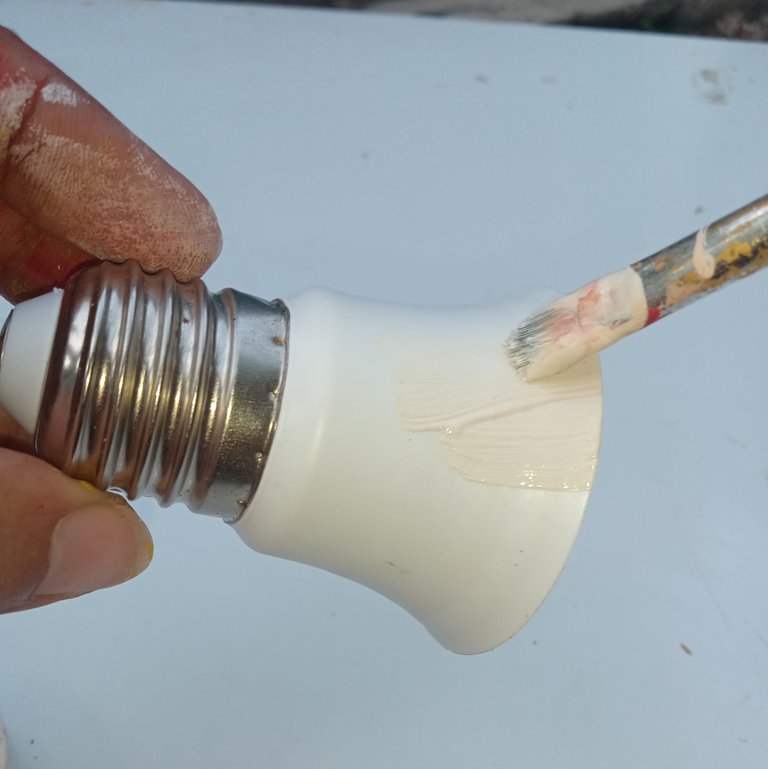
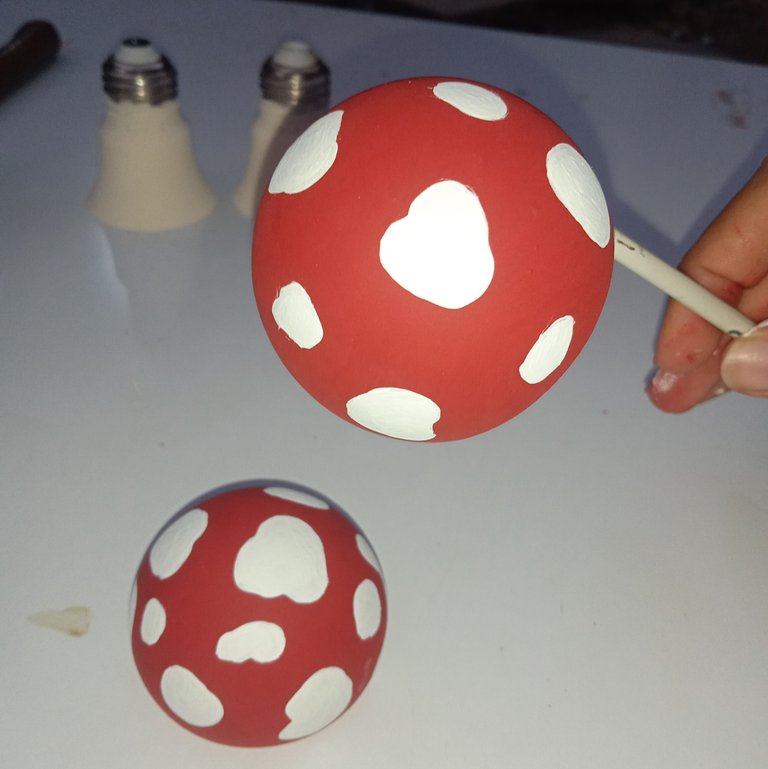
We paint the part that we will use as the trunk of the mushroom with a cream color, I did this by mixing white with a small drop of yellow, it looks white, but it is not.
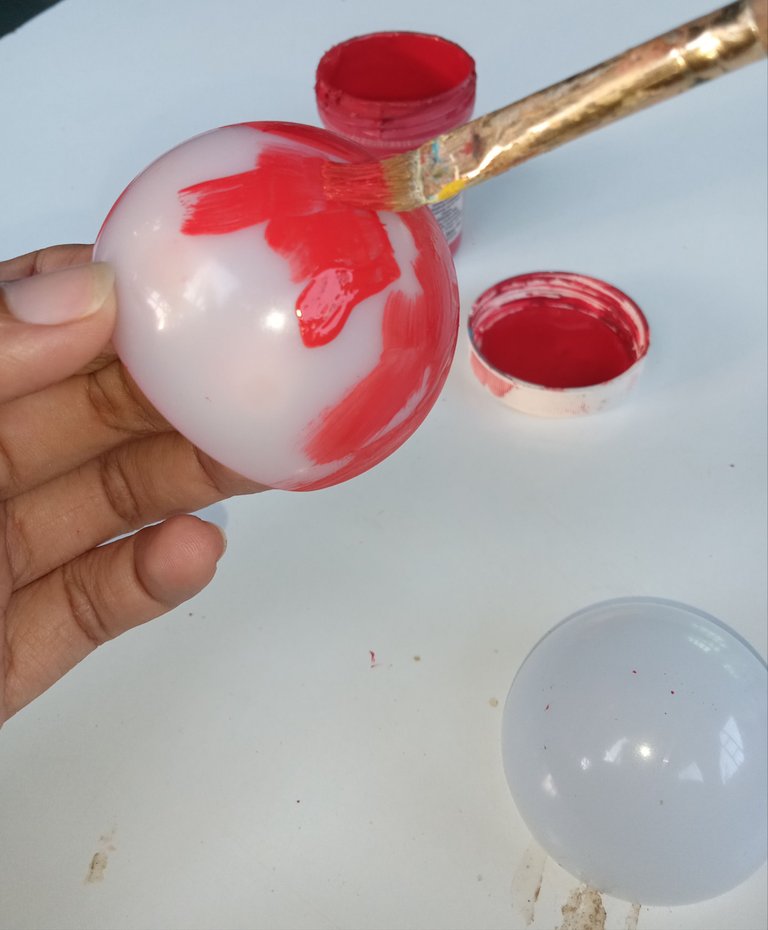
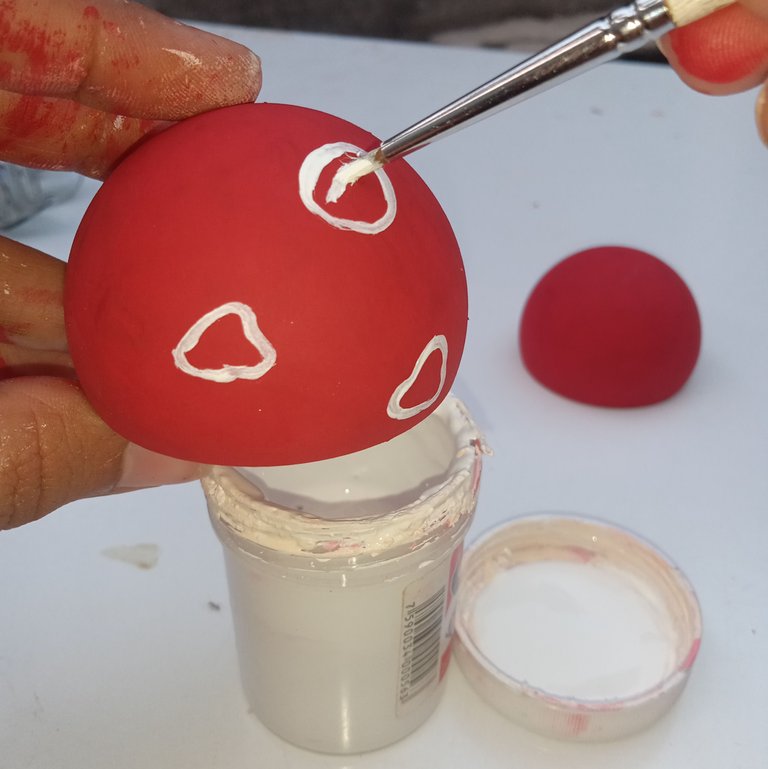
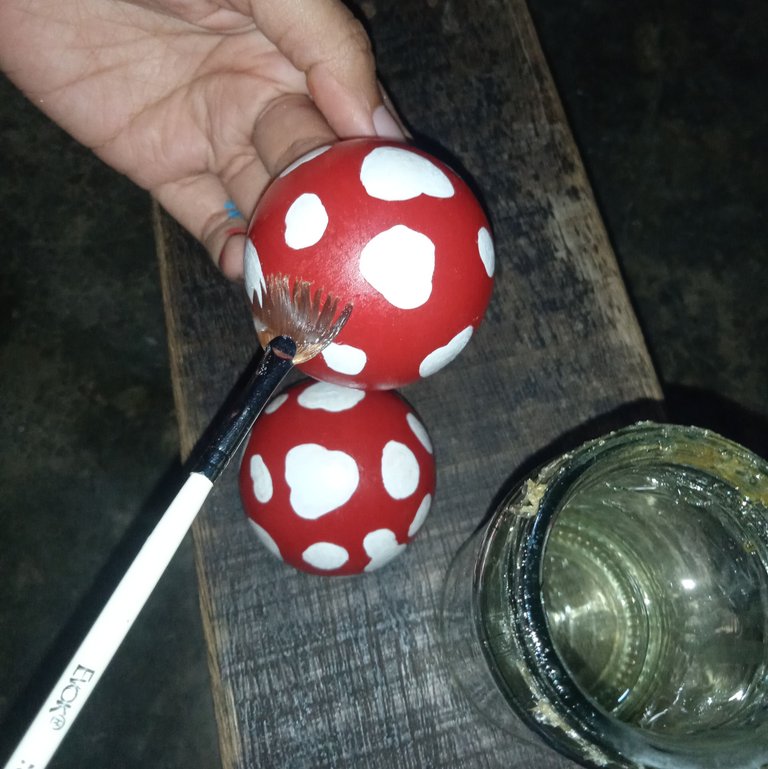
Now we paint the domes in red color, at least 3 layers of color so that no translucent spaces are seen and with a thinner brush we make spots that we will paint with white color.
Step 3
Time to discover the secret use of the caps 🤭 we will use them to give a little height, if the cap is not placed the dome/mushroom hat will be too low, it also depends on the size of your bulb, it might not be necessary.
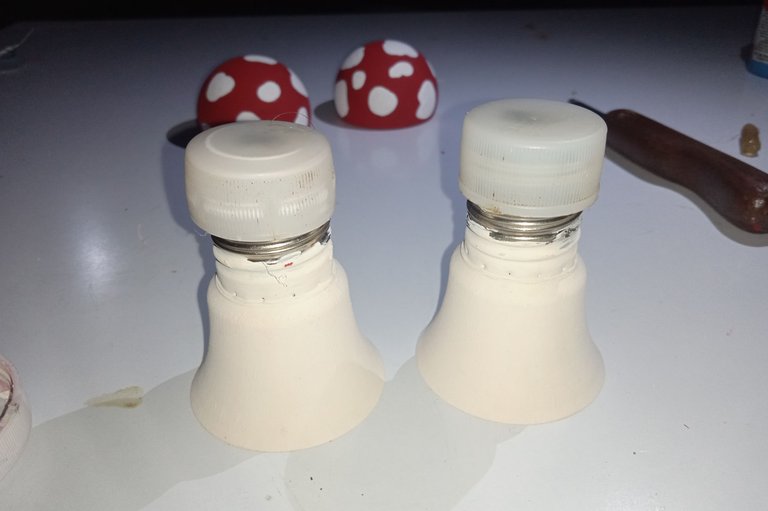
In my case, I used them and glued them with hot silicone.
You can paint on the trunk of the mushroom, colorful flowers or grass, even a little bee.
When you have your personalized trunk, we give a coat of gloss to protect the paint and finish by gluing the other part of our decorative mushroom.
Although they are protected by the shine, if you want them to last a long time, one option would be to use them as decoration where you have plants that do not need to be watered very often, you can also decorate the interior of your home and give it that touch of Alice in Wonderland 🍄🐰
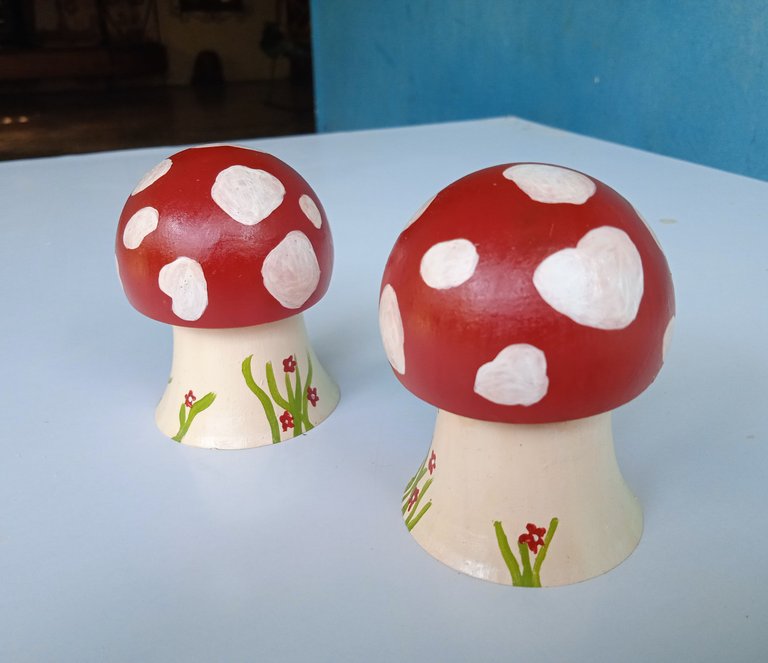
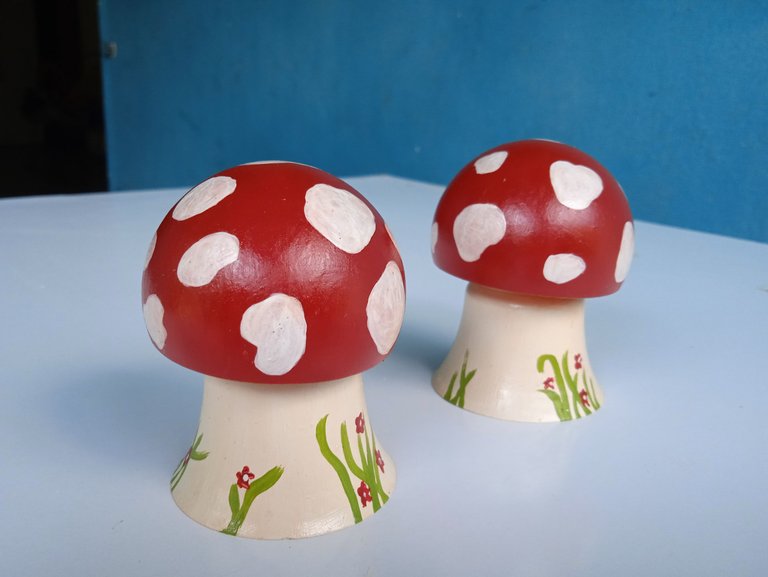
That's how cute it turned out! 🍄 Are you up for this recycling and DIY activity? You'll see that you won't want to make just one 🤭
See you in another post, happy day everyone! 🐝
Credits
- Cover edited in Canva.
- Photos are my property.
- Translated at DeepL.
Español

Les deseo un excelente sábado a todos mis compañeros creativos 🐝
Les cuento que en casa de mi mamá encontré varias bombillas que serían el material perfecto para realizar una actividad de reciclaje, fácil y que no necesita de muchos materiales. Tenía bombillas de varias formas y tamaños, por ahora usaré las redondas y estaré pensando en como transformar las otras.
Por eso el día de hoy te enseñaré a realizar una decoración inspirada en lo que puedes encontrar en un bosque encantado; o sea, unos lindos honguitos para que los duendes se puedan sentar 🍄🤭. Aparte de lo tierno que quedarán entre las flores, estamos transformando un objeto cotidiano y prolongando su duración, hay que darle la vuelta a las cosas y buscar soluciones a problemas que tenemos en casa como: objetos de plástico que ya no funcionan.
Tal vez no sea una solución novedosa, pero al menos eso mantendrá las cajas y gavetas ligeramente vacías. Te invito a que me acompañes en esta sencilla y bonita actividad, que me parece que está buenísima para enseñar a los niños sobre el reciclaje ✨ Y para ello necesitaremos los siguientes materiales:
- Bombillas.
- Pintura al frío en color: Blanco, azul, amarillo y rojo.
- Pinceles.
- Cuchilla.
- Tapas de refresco.
- Silicona.
- Brillo.
Paso 1
Comenzamos separando la parte plástica que cubre las luces led, le podemos llamar "el domo" 🤭.
Este domo tiene un borde plástico que podemos quitar fácilmente con ayuda de la cuchilla, es opcional, también puedes dejarlo así.
Ahora retiramos los circuitos que están dentro de la otra parte de la bombilla.
Paso 2
Pintamos la parte que usaremos como el tronco del hongo con un color crema, este lo hice mezclando color blanco con una gota mínima de color amarillo, parece blanco, pero no lo es.
Ahora pintamos los domos en color rojo, al menos 3 capas de color para que no se vean espacios traslúcidos y con un pincel más fino realizamos manchas que pintaremos con el color blanco.
Paso 3
Momento de descubrir el uso secreto de las tapas 🤭 las usaremos para dar un poco de altura, si no se coloca la tapa queda muy bajito el domo/sombrero de hongo, también depende del tamaño de tu bombillo, podría no ser necesario.
En mi caso, las utilicé y pegué con silicona caliente.
Puedes pintar en el tronco del hongo, flores de colores o pasto, incluso una abejita.
Cuando ya tengas tu tronco personalizado, damos una capa de brillo para proteger la pintura y finalizamos pegando la otra parte de nuestro hongo decorativo.
Aunque están protegidos por el brillo, si quieres que duren un buen tiempo, una opción sería utilizarlos de decoración en donde tengas plantas que no ameriten de riego muy seguido, también puedes decorar el interior de tu hogar y darle ese toque de Alicia en el país de las maravillas 🍄🐰
¡Así de tierno ha quedado! 🍄 ¿Te animas a realizar esta actividad de reciclaje y bricolaje? Ya verás que no querrás hacer solo uno 🤭
Nos vemos en otro post, ¡feliz día a todos! 🐝
Créditos
- Portada editada en Canva.
- Las fotos son de mi propiedad.
- Traducido en DeepL.
Queeeeeee! Me he quedado loca jajaja nunca hubiera imaginado con la imagen que son de bombillas recicladas ,está espectacular 🤌💜
¡Gracias! Me alegra que cause ese impacto jeje 🎉🤭 un bonito adorno para el jardín o cualquier lugar de nuestra casa, creo que puede servir de base para muchos proyectos con esa temática encantada 😁
Wow, how amazing they turned out, I loved the result, definitely something I would love to have in my garden, thanks for the idea
Thank you! They will look great on you and the garden will have that magic touch 😊🍄.
Que manera de reciclar un objeto que ya era desecho, te quedo hermoso el hongo, que creación tan bonita nos compartes, un abrazo @verdeayer
¡Muchas gracias! Son muchas las bellas creaciones que se pueden hacer a partir del reciclaje 🤗♻️ nada más hay que buscar en las gavetas 🤭
Congratulations @verdeayer! You have completed the following achievement on the Hive blockchain And have been rewarded with New badge(s)
Your next target is to reach 900 comments.
You can view your badges on your board and compare yourself to others in the Ranking
If you no longer want to receive notifications, reply to this comment with the word
STOPYour work is beautiful, those decorative mushrooms look great to give a beautiful touch to our garden.Thank you for leaving your great work step by step and creative process. A pleasure to have you in our community
Thank you 😁 I love being able to share this tutorial over here with all my fellow creative and talented people.
Que idea tan maravillosa, te quedaron geniales, saludos
Gracias! Feliz día para ti 😉✌🏼
Wowwww pero que trabajo tan genial 😍 Lo ReAme, de verdad me encantó esta gran idea y te quedaron bellosssss...
Gracias mi linda por tu gran aporte a la comunidad 🥰
!discovery 35
!DIY
!LADY
Your LOH token balance is not sufficient to send tips. Please hold a minimum of 25 LOH tokens to send tips.
Jiji ¡graciasss!✌🏼 También me gustó mucho el resultado, como que los bombillos vinieron al mundo a ser honguitos, porque la forma está allí 🤭 solo hay que usar la imaginación 😅
This post was shared and voted inside the discord by the curators team of discovery-it
Join our Community and follow our Curation Trail
Discovery-it is also a Witness, vote for us here
Delegate to us for passive income. Check our 80% fee-back Program
You can query your personal balance by
@dayadam just sent you a DIY token as a little appreciation for your post dear @verdeayer! Feel free to multiply it by sending someone else !DIY in a comment :) You can do that x times a day depending on your balance so:!DIYSTATSestán muy lindos, el diseño quedo bien hecho!
they are very nice, the design is well done!
Muchas gracias! 🍄
Una maravilla está idea de hacer los honguitos, como para hacer todo el reino fugi...
Jeje, si así mismo y llenar el jardín de gnomos 😊🤭
Wow que idea tan genial
Ahora guardar los bombillos quemados para transformarlos en decoración 😁✌🏼
Si jejeje