Hello Hello
A lovely day to everyone✨
Today, I will be sharing the process of making a simple diy flower vase from readily available materials. This flower vase was made courtesy of sheer necessity.
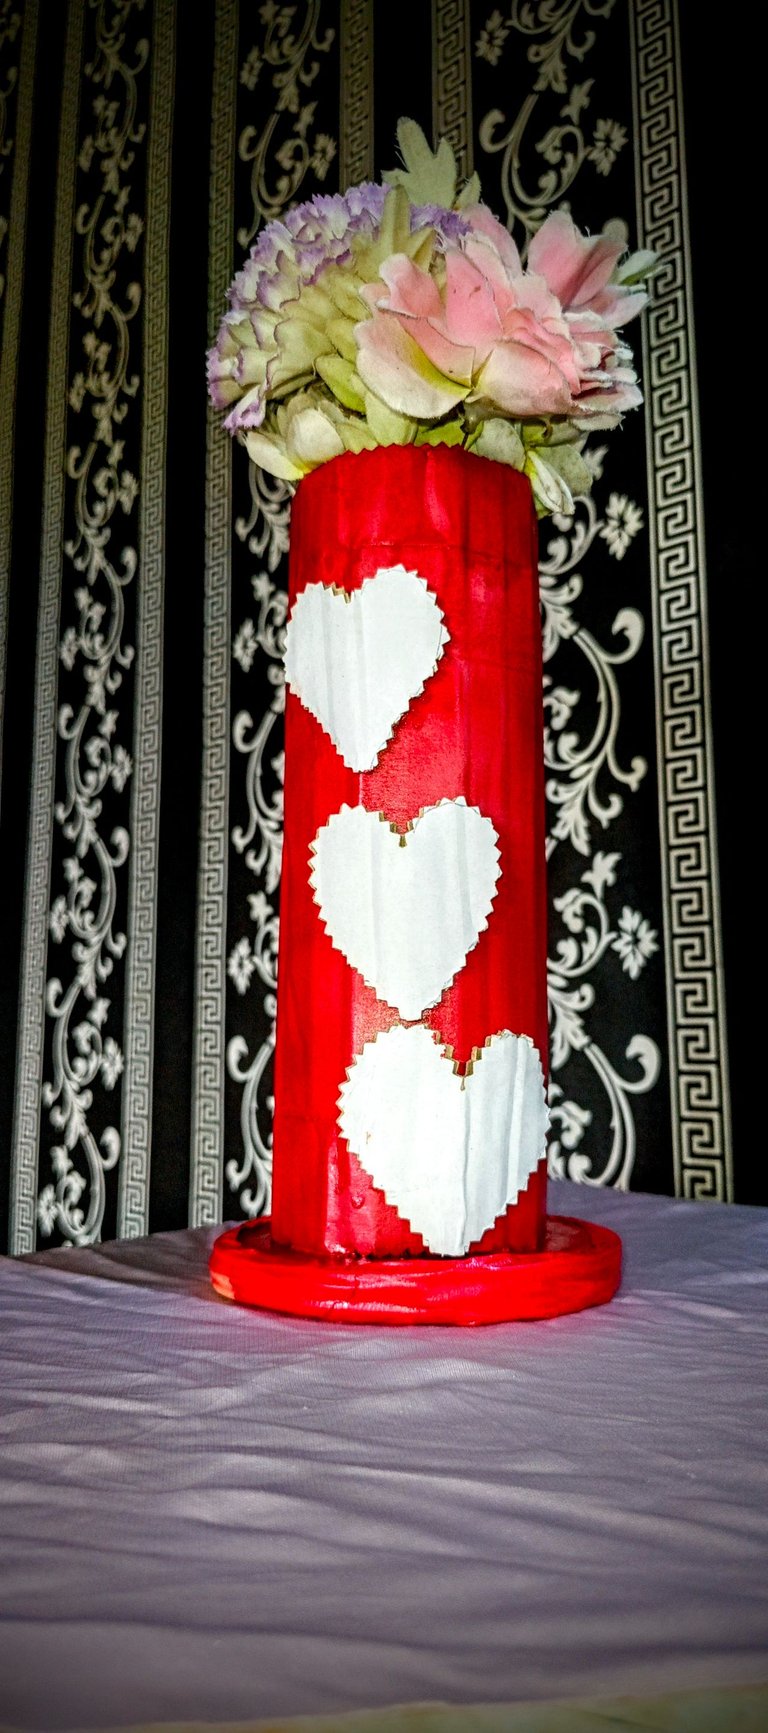
The last alluring flower vase we had was made from fired clay and over the years, it has survived so many cracks and near destruction. Because of how easily the flower vase cracked, my mom opted to store it away from human eyes to prevent any more people from getting injured.
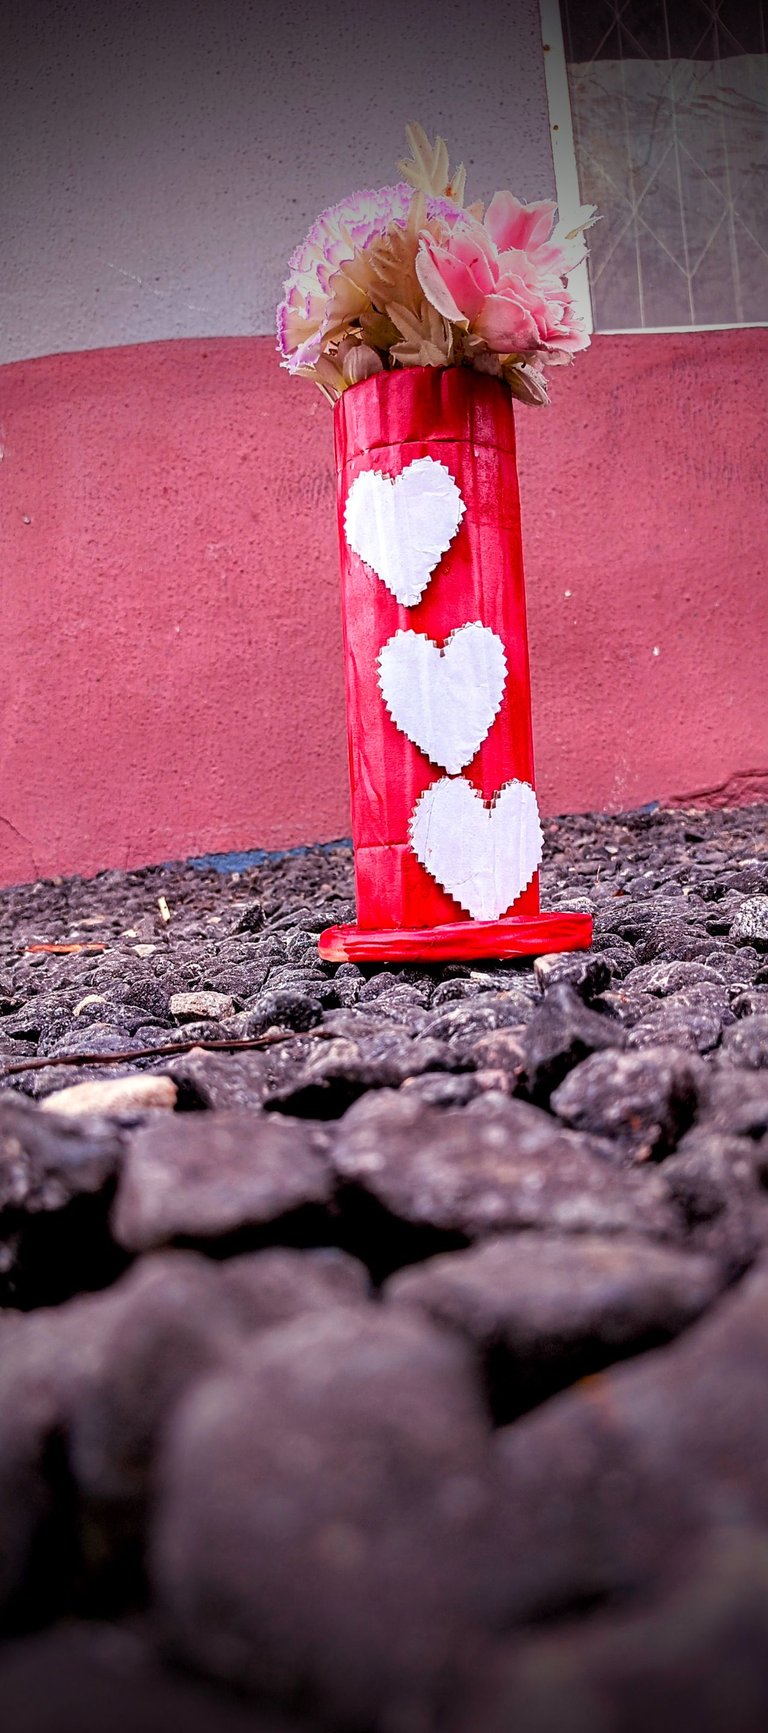
With this new development, the artificial flowers that once occupied the flower vase were also stored in a cabinet. Although they are artificial flowers, their main duty is beautification; something they cannot do in an enclosed cabinet.
As such, I decided to make a flower vase that isn't brittle and can also effectively store flowers… for beautification.
Materials Used.
- Old cartons
- Glue
- A pair of scissors
- A cutter
- Adhesive tape
- Pencil
- Spray paint
- Double-sided tape
- A circular object(a cassette disc preferably)
Procedure
First off, I cut out the width of the carton I would be using for the whole project from the larger chunk. I realised that estimating and cutting out raw material for projects, especially cartons, helps to prevent wastage and makes the jobs generally easier.
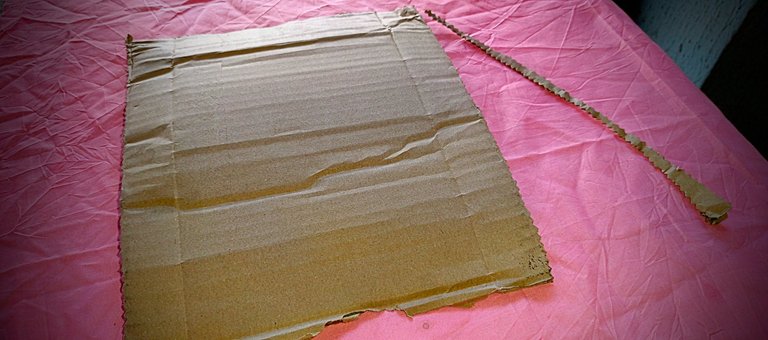
After this, I spent some minutes smoothening out the carton to ensure a symmetrical shape. I did this because some parts of the carton felt really sturdy and using the carton without smoothening would have made the task of creating a cylindrical shape a bit tougher. To smoothen it, I carefully folded the carton forward and backward a few times.
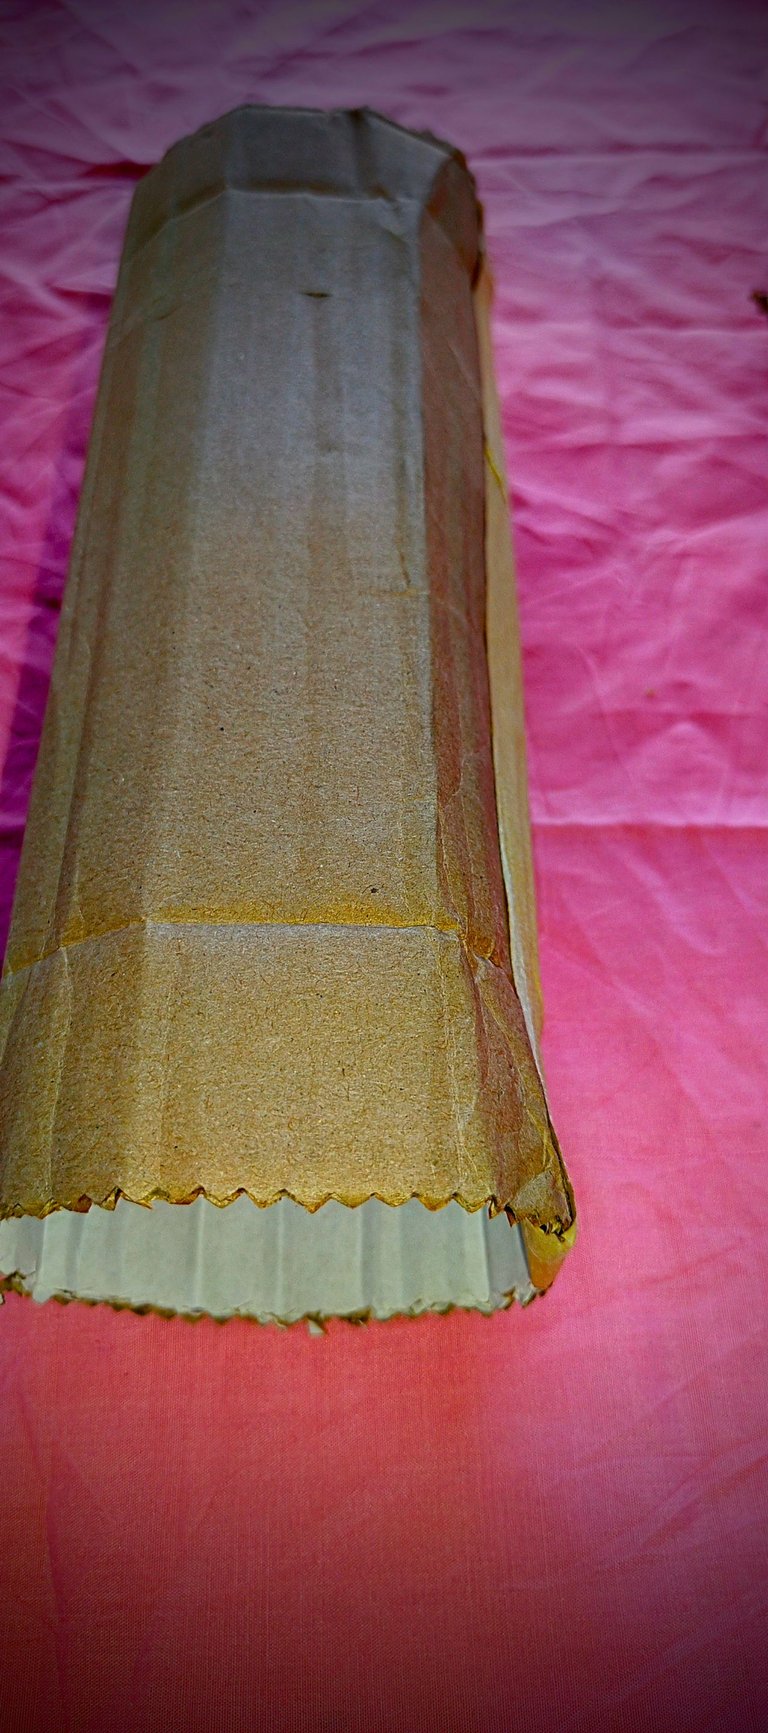
After doing this, I went ahead to attach the ends of the carton using adhesive tape. I chose to use adhesive tape to make the work look less messy.
After applying the tape, one part of my two-part flower vase was ready. With that, I moved on to the second part.
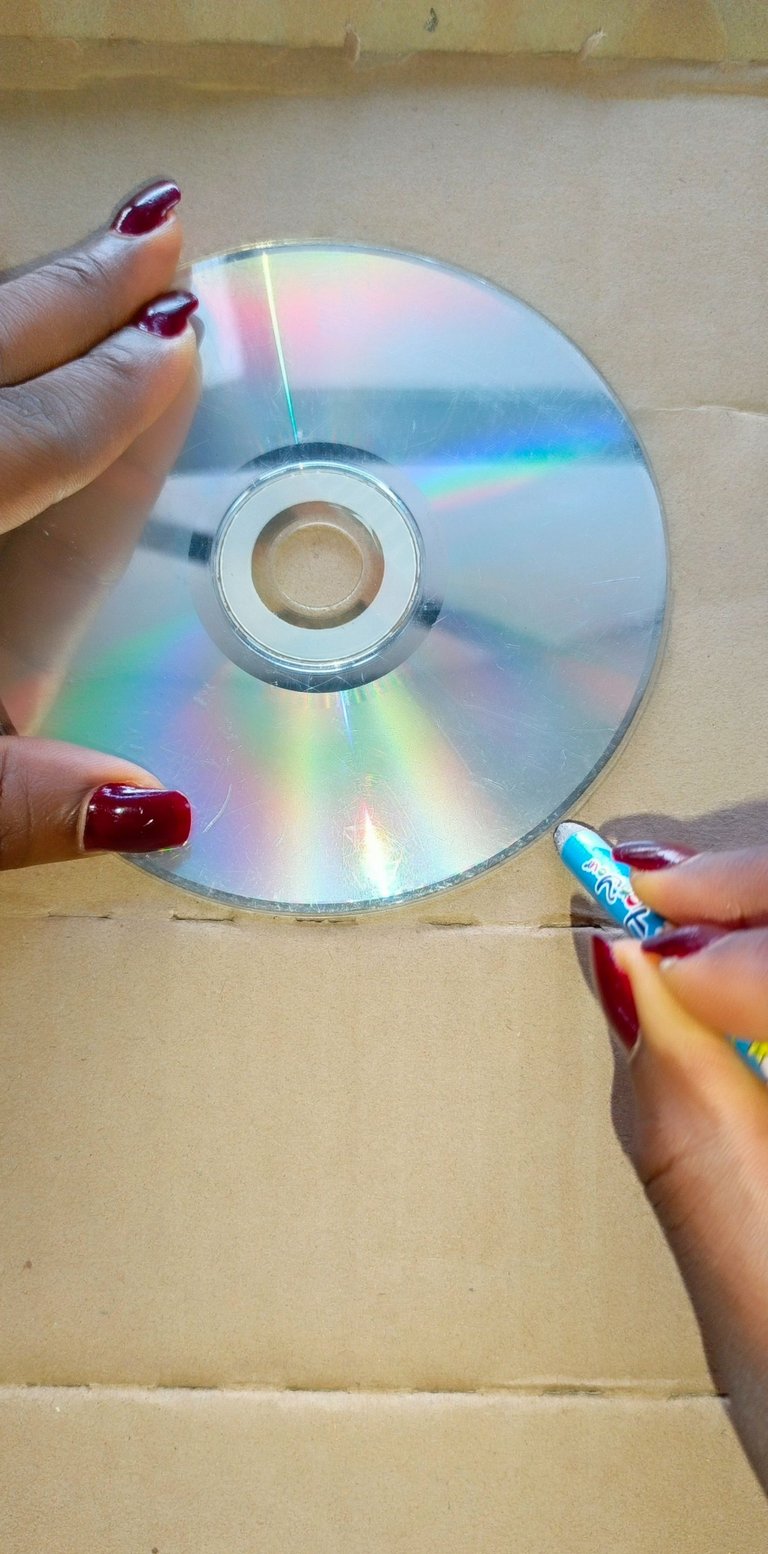
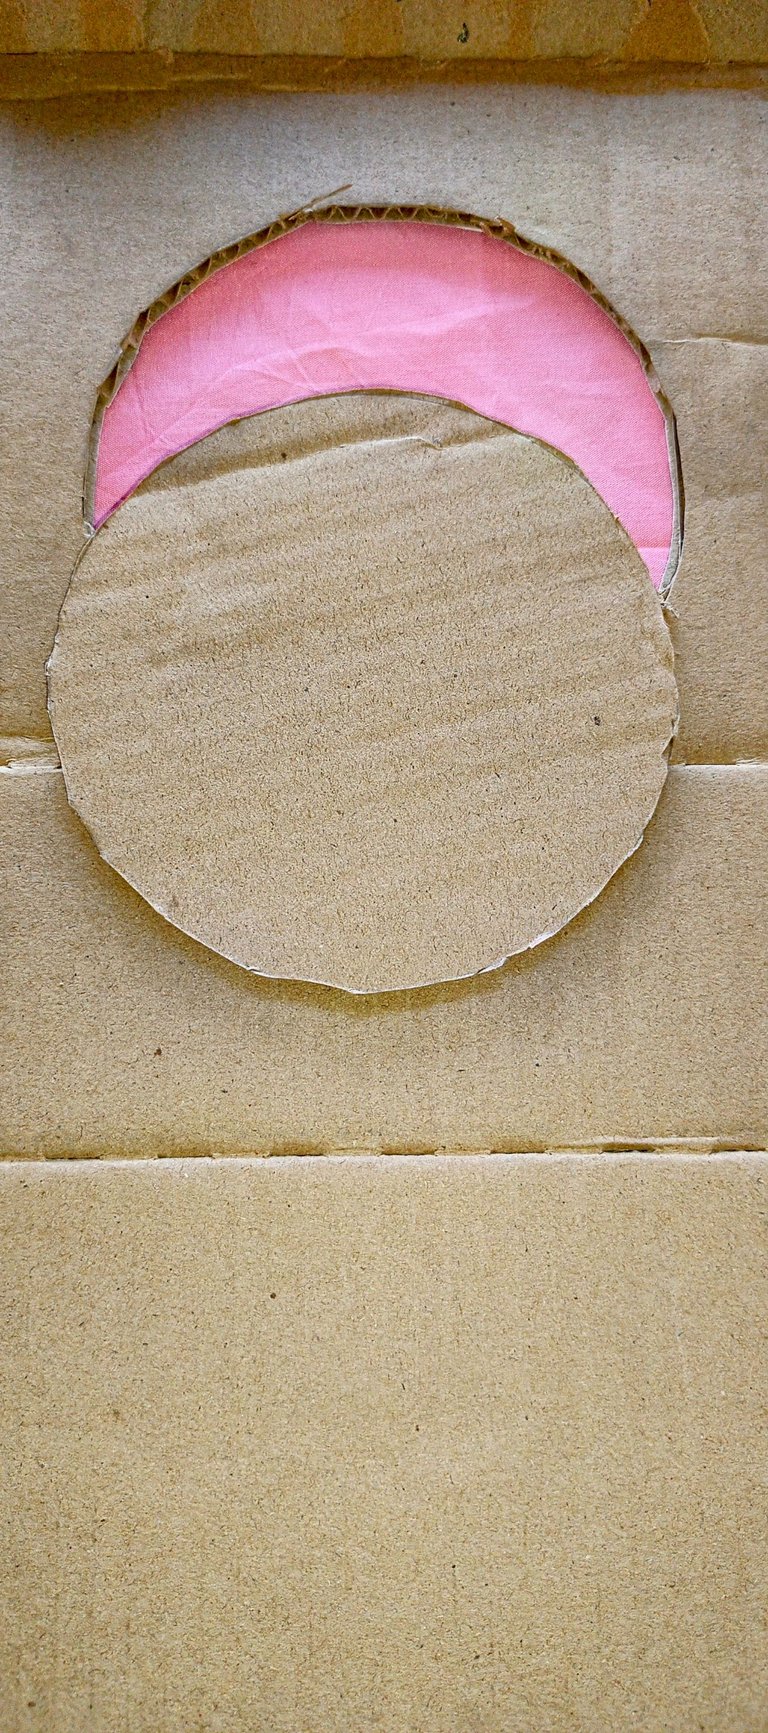
For the base of the vase, I drew a circle on the carton with the help of a cassette disc and then went ahead to carve out this circle using a sharp cutter.
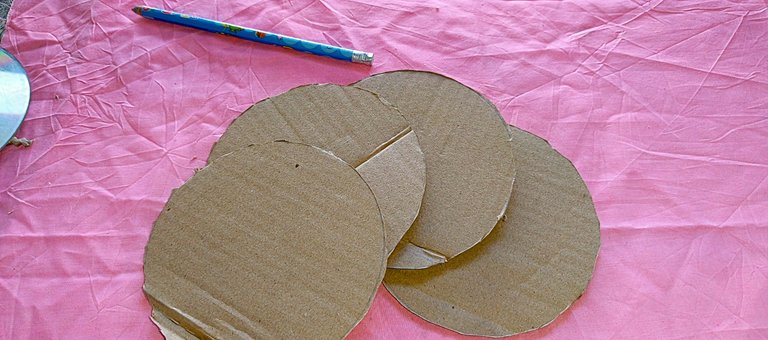
I repeated this process a few more times until I got four circular pieces for the base. The circles for the base of the vase were purposely made wider than the body of the vase to ensure equilibrium and stability by extension.
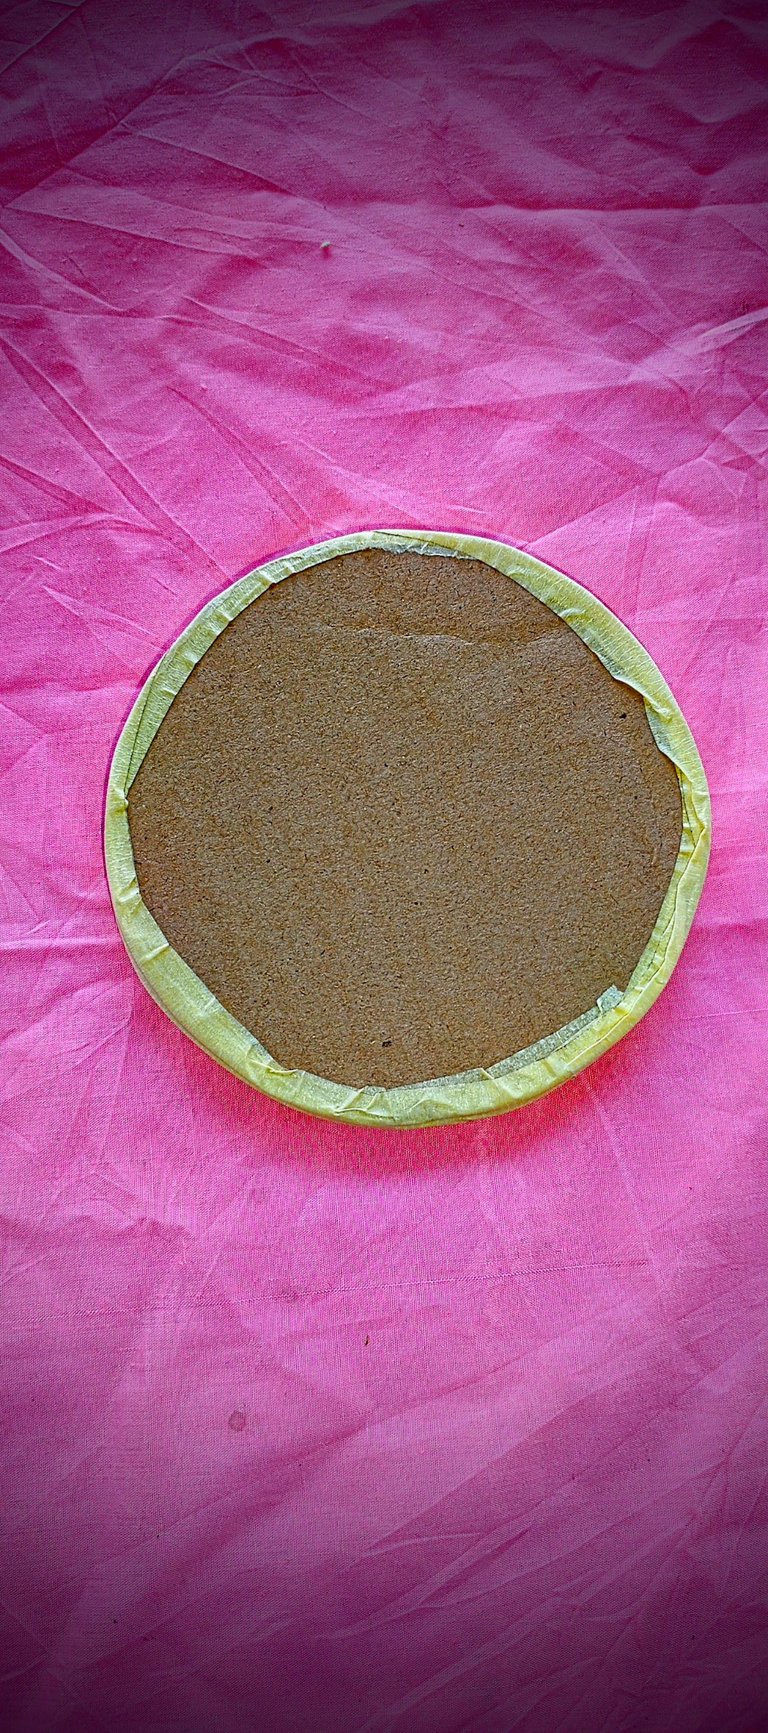
With a double-sided tape, I attached all the circles together and still went round the side of the circle with adhesive tape.
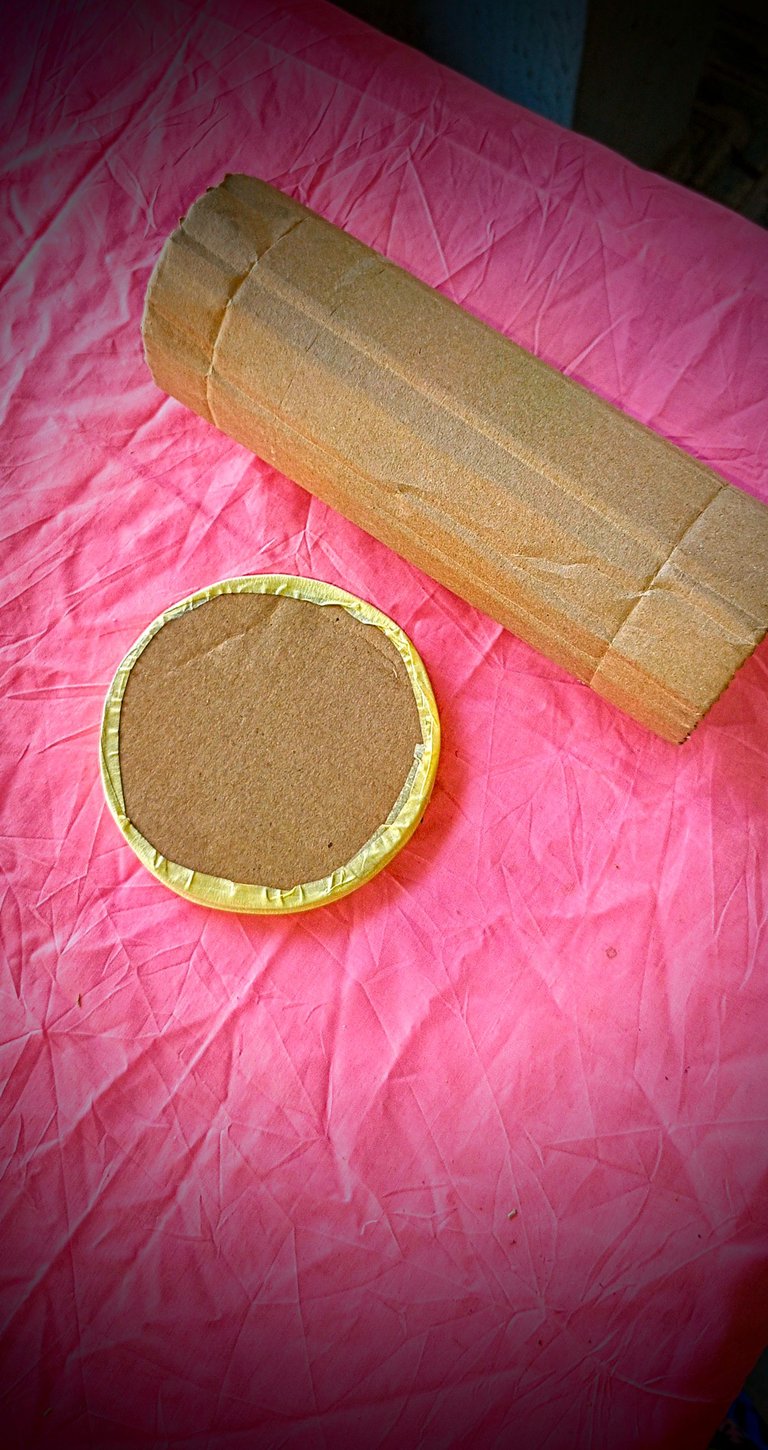
The next thing I did was to glue the body of the vase to the base. I used a really tenacious glue to prevent the project from tearing apart easily.
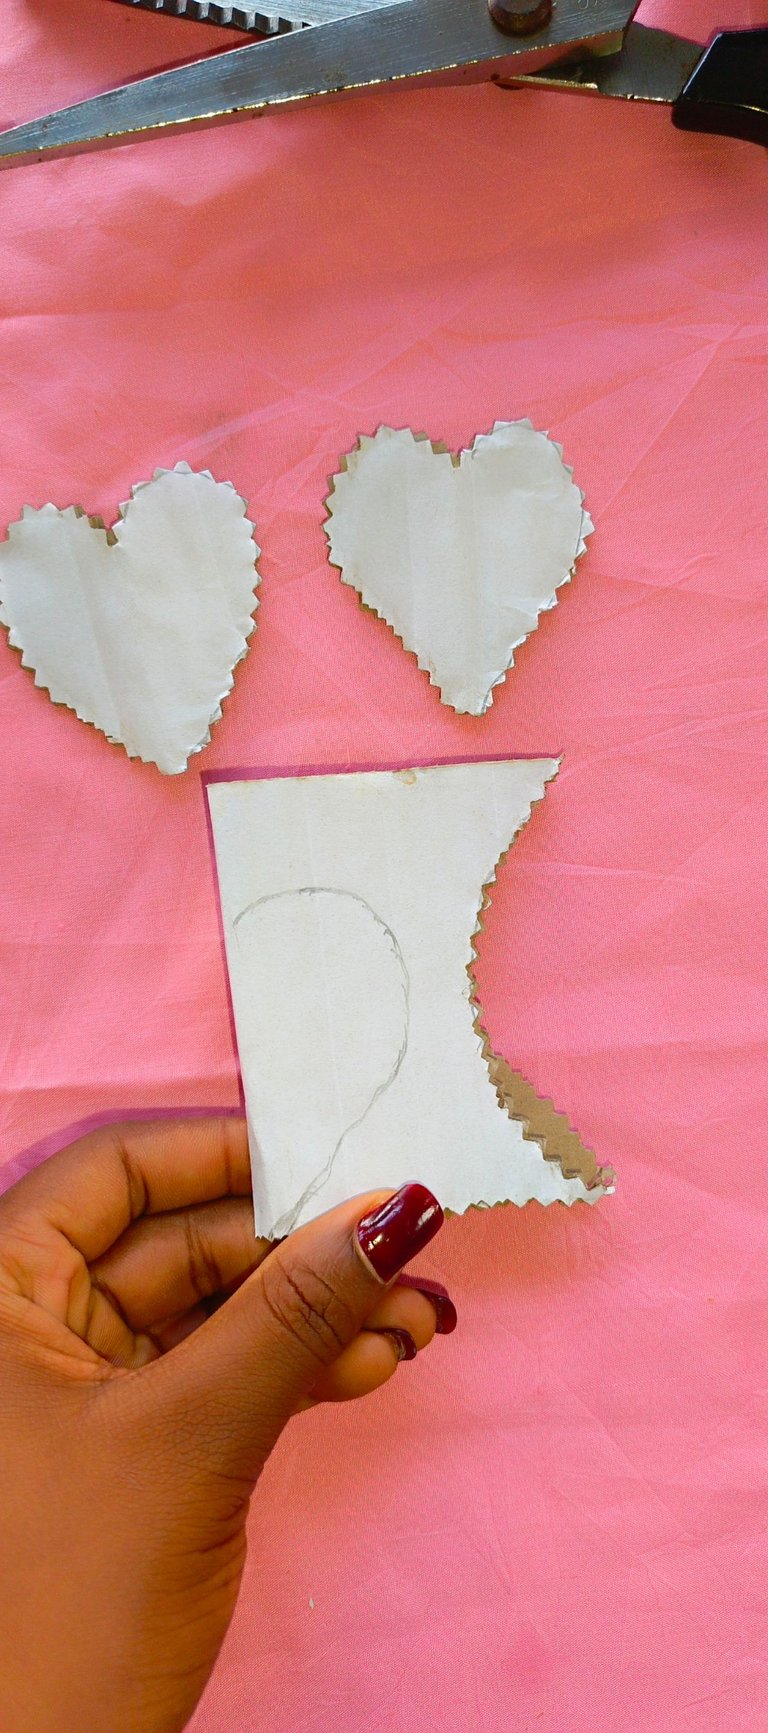
While the vase was left to dry, I went ahead to carve out these little hearts using a pair of shearing scissors. The scissors gave the zig-zag edge to the heart shapes.
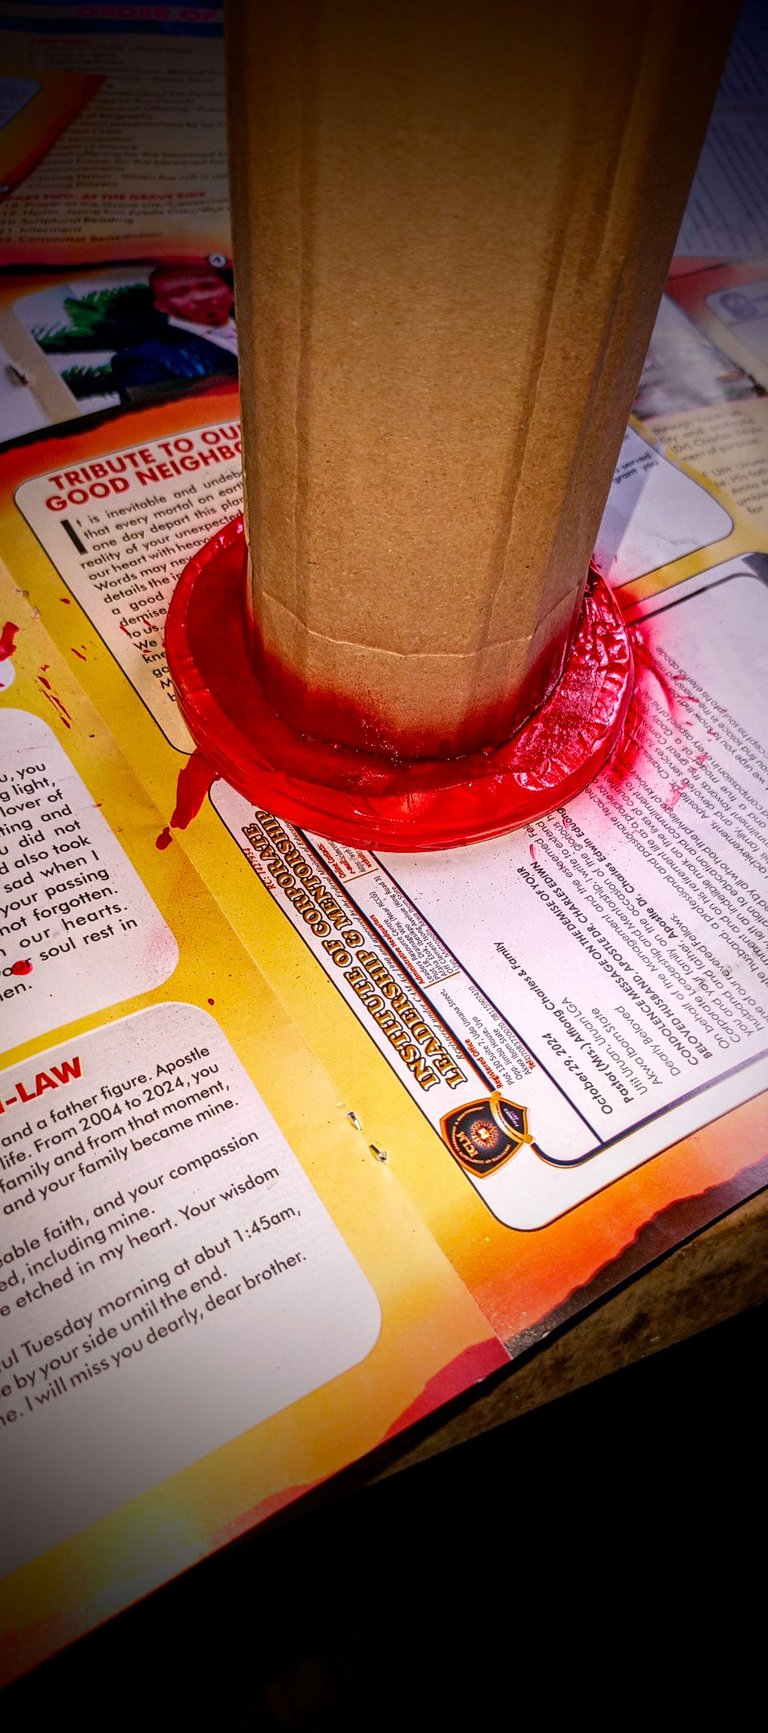
Once the vase was properly dried, I went ahead to spray it using red spray paint. This happened to be my favourite part of the project; not because I enjoyed the choking smell of the spray paint but because I liked how the smoke slowly evaporated every time I sprayed. It gave off a wee eerie vibe.
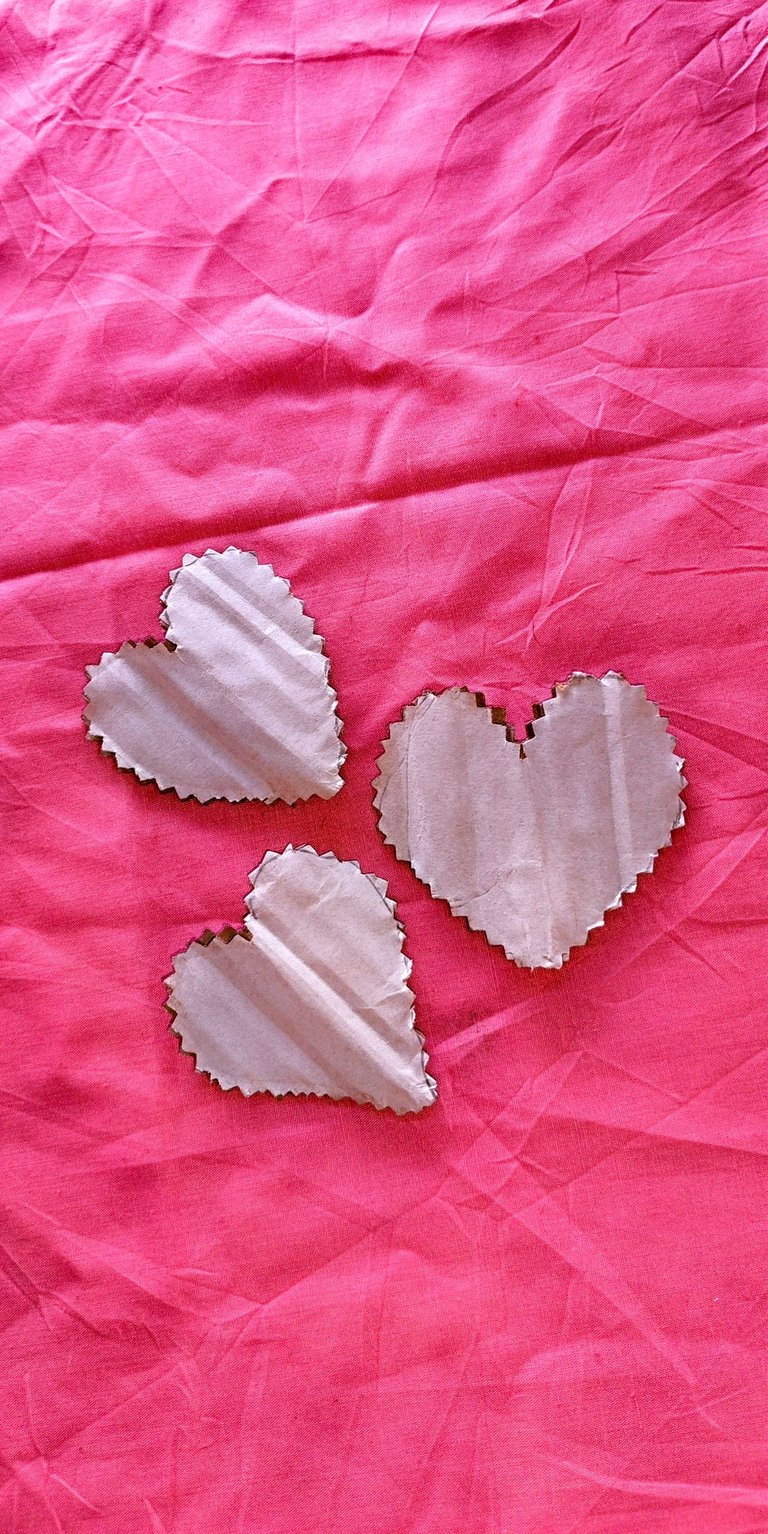
The last thing I did was to attach the heart shapes on the vase and my recycled vase was ready to be used. I particularly like the colour of the vase because it makes the vase one of the outstanding things in the one once a person steps in.
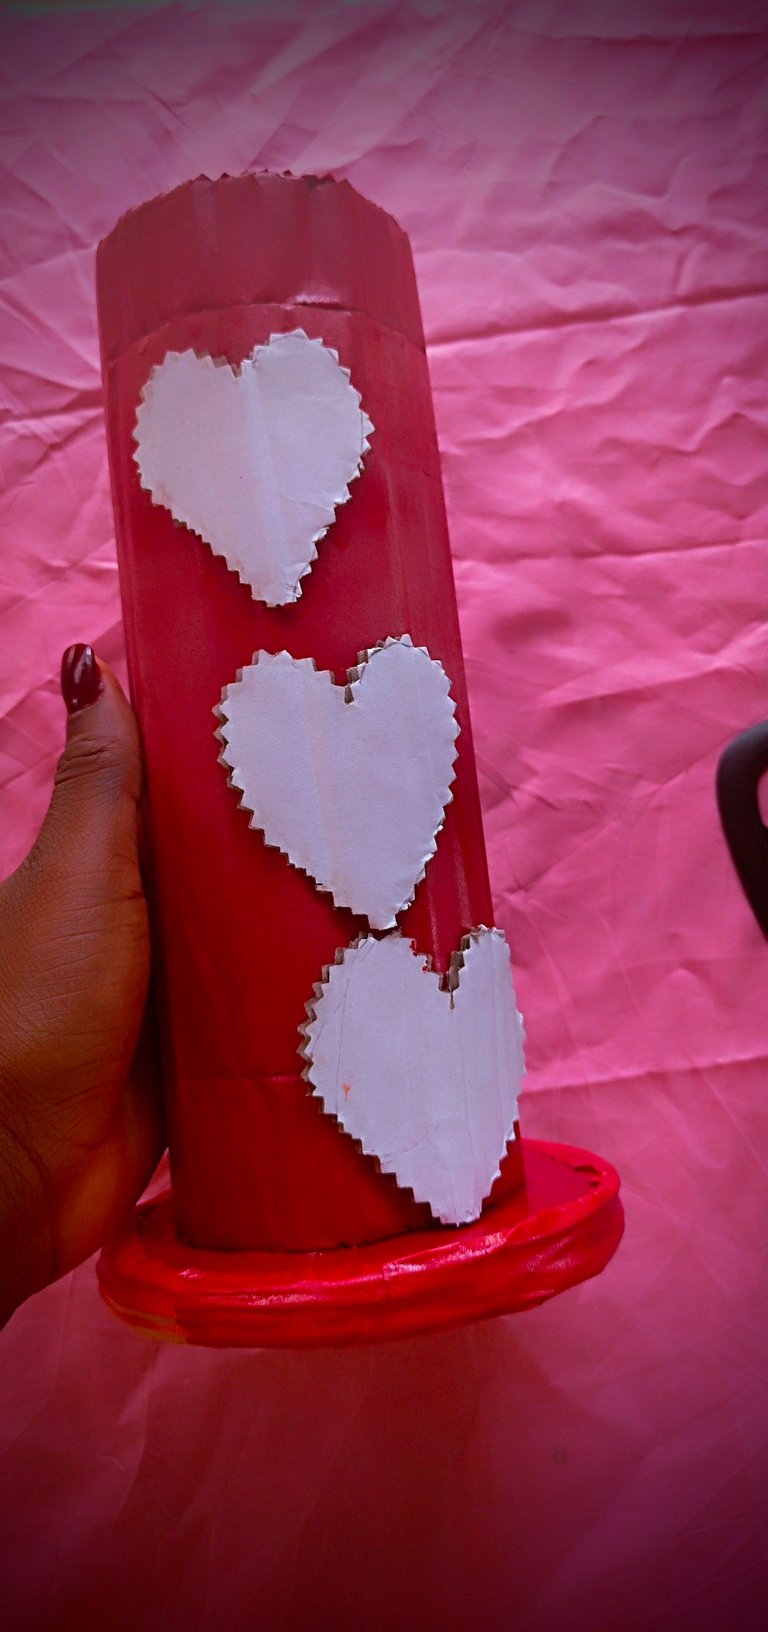
What do you think of this diy vase? Would you like to try it out?
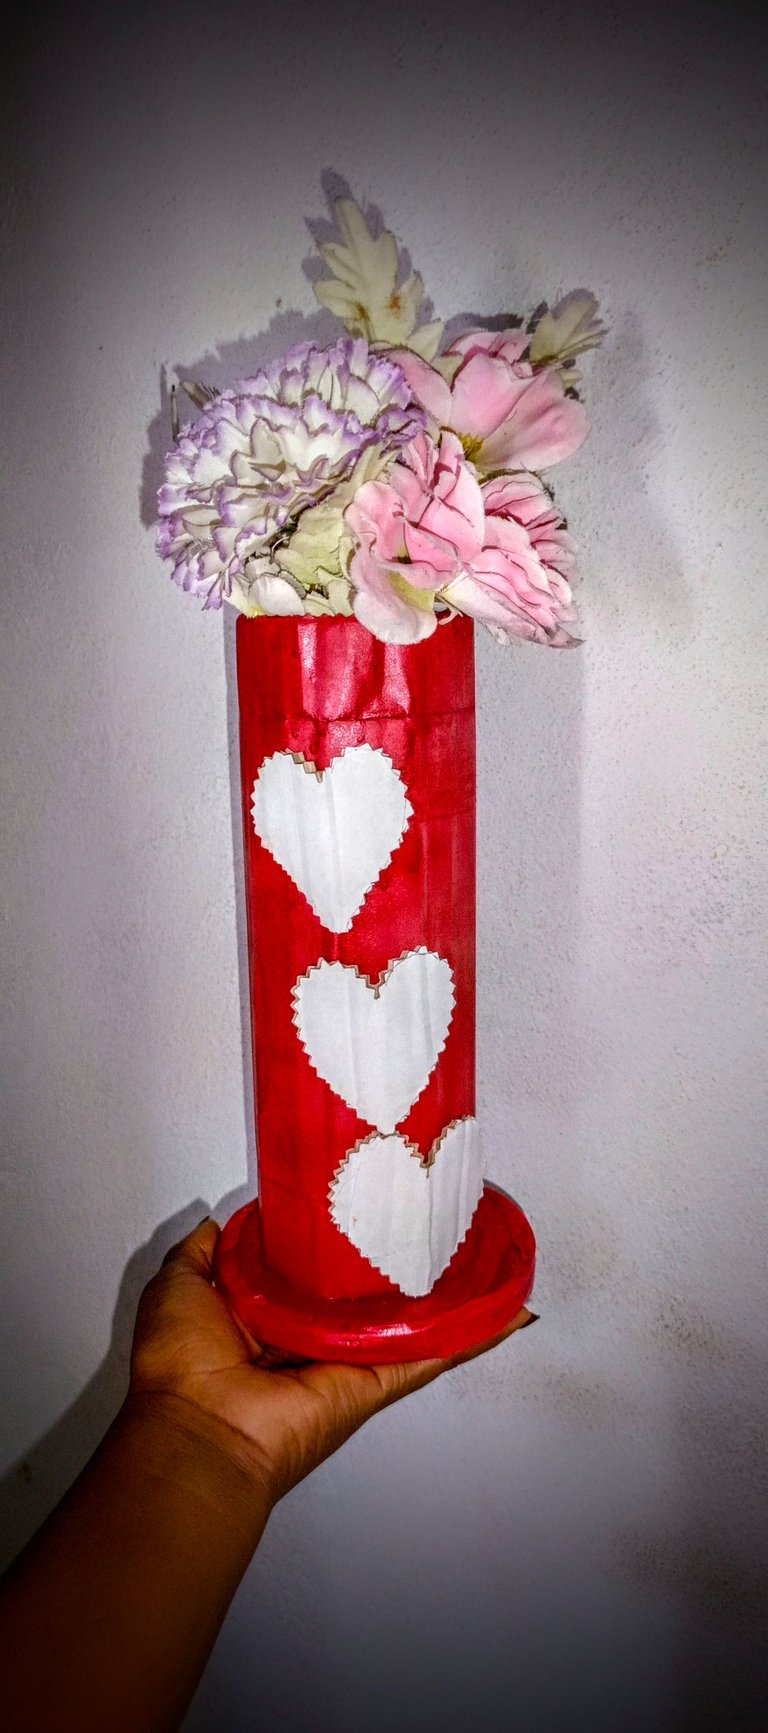
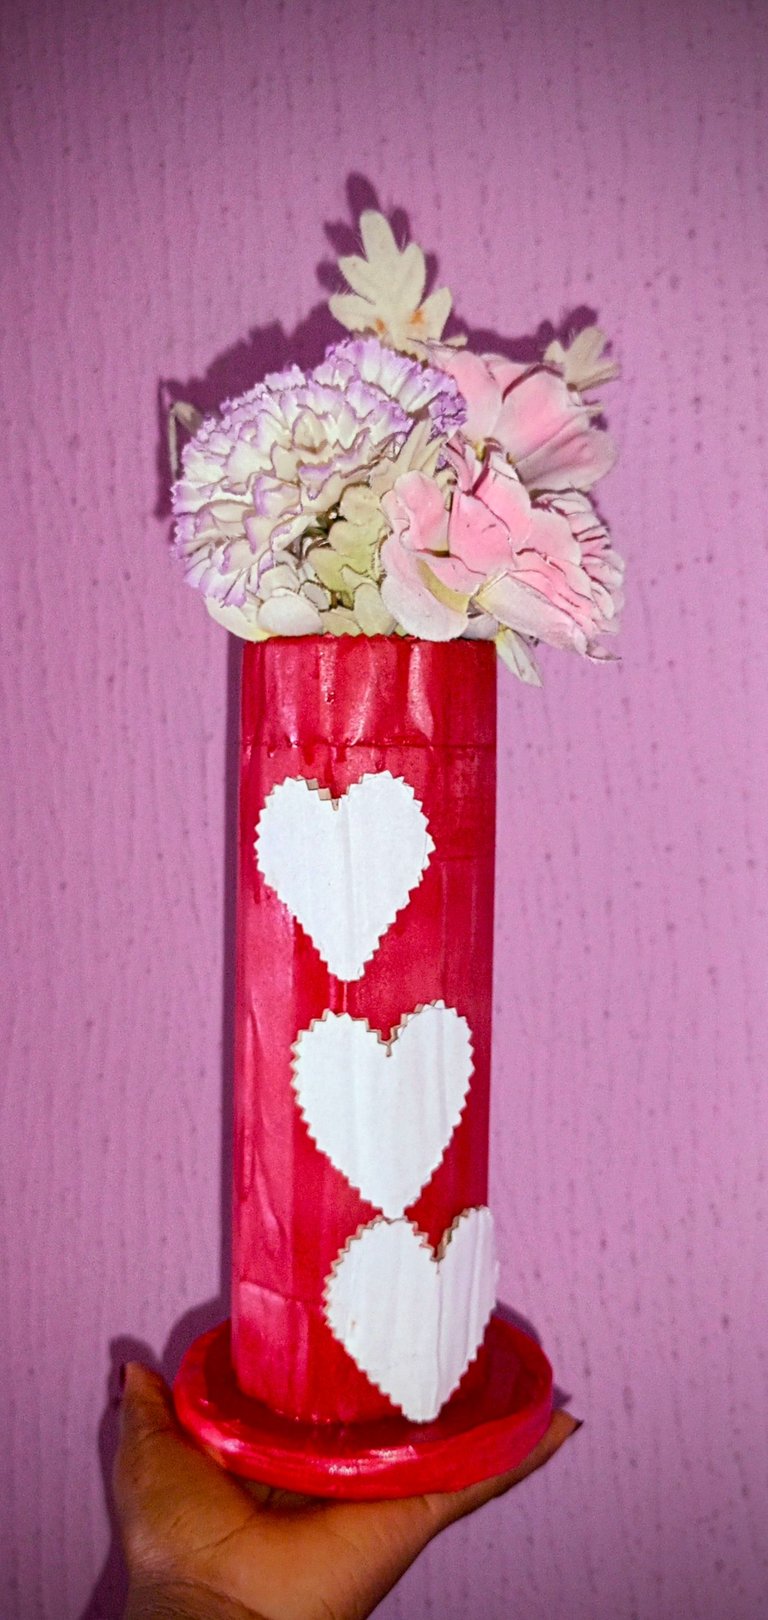
All images used belong to me and were taken with my mobile device except stated otherwise.
Liebe🤍
Posted Using InLeo Alpha
Splendid my friend,you have done an amazing job and the flower vase is beautiful. Nice job and well done
Thank you✨
Amazing ❤️
Thank you✨
This is so beautiful
You did an amazing job.
Weldone
Thank you praise😊
By the way, kindly consider our curation project to help spread more rewards. Delegators to @hive-naija get 90% of their curation rewards daily. You can simply choose the amount (by clicking) below to delegate and/or join our curation trail.
—
Hive Naija Curation Trail
Your secondary school creative arts teacher would be so proud 😂😂🔥✨
Fun fact, I never took those classes seriously 😂
E no easy 😂😂
😂
Your so creative!!
Thank you dear😊
That's so resourceful of youuu! Amazing work, @wongi. 👏🏻
Thank you so much @jeannmazing 😊
Bravo! You have a lot of style and creativity to create beauty with materials like paper and carton. The pictures of the final result look great, thanks for sharing them on DIYHub.
Thank you too😊
wow, that's great.
Thank you :)
You are welcome, friend
Thank you @qurator ✨
Wow! It's really beautiful. Nice work dear. What a talent you got there
Thank you so much dearest