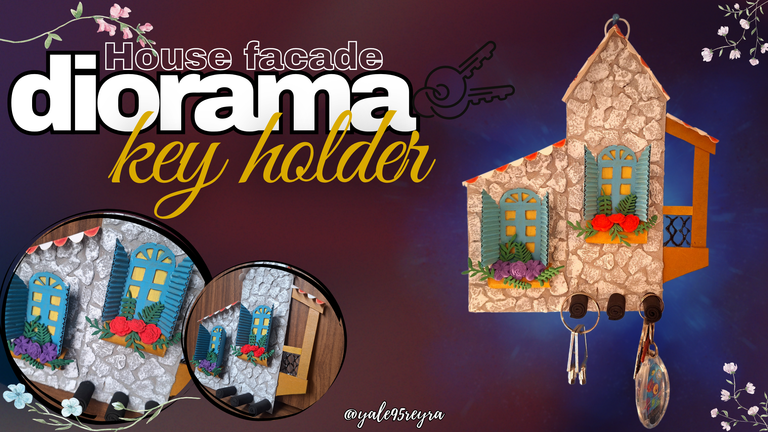
Hello, dear friends who love crafts, today I bring you a new tutorial where I show you how to make a diorama in the shape of the facade of a house. I wanted it to be not just an object to decorate any corner, but to have a practical purpose, so I turned it into a beautiful key holder. This way it would have added value and be something useful that we use in our daily lives.
Most of the materials I used for its confection are recycled materials such as cardboard, egg carton, a toilet paper tube, among other little things that I keep to contribute to recycling and that in one way or another I almost always use them in my crafts. I hope you like my latest creation. Below I show you all the materials I used and the step by step of the whole creative process.
Hola, queridos amigos amantes de las manualidades, hoy les traigo un nuevo tutorial donde les muestro cómo hacer un diorama con la forma de la fachada de una casa. Quería que no fuese tan solo un objeto para adornar cualquier rincón, sino que tuviera un objetivo práctico, por lo que lo convertí en un hermoso portallaves. De esta forma tendría valor agregado y sería algo útil que usamos en nuestra vida diaria.
La mayoría de los materiales que utilicé para su confección son materiales reciclados como cartón, cartón de huevo, un tubo de papel sanitario, entre otras cositas que guardo para contribuir al reciclaje y que de una forma u otra casi siempre las utilizo en mis manualidades. Espero que les guste mi última creación. A continuación te muestro todos los materiales que utilicé y el paso a paso de todo el proceso creativo.
🔑Materials // Materiales🔑
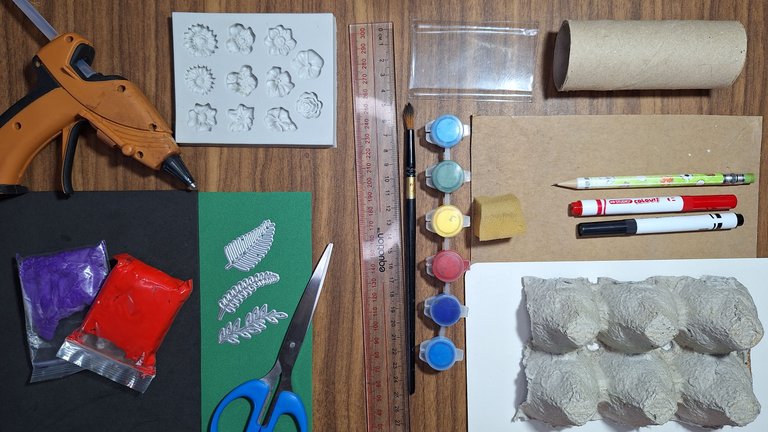
- Recycled cardboard / Cartón reciclado
- Egg carton / Cartón de huevo
- White cardboard / Cartulina blanca
- Pencil / Lápiz
- Markers / Marcadores
- Sanitary paper tube / Tubo de papel sanitario
- Transparent plastic plate / Placa de plástico transparente
- Paints / Pinturas
- Paintbrush / Pincel
- Ruler / Regla
- Scissors / Tijera
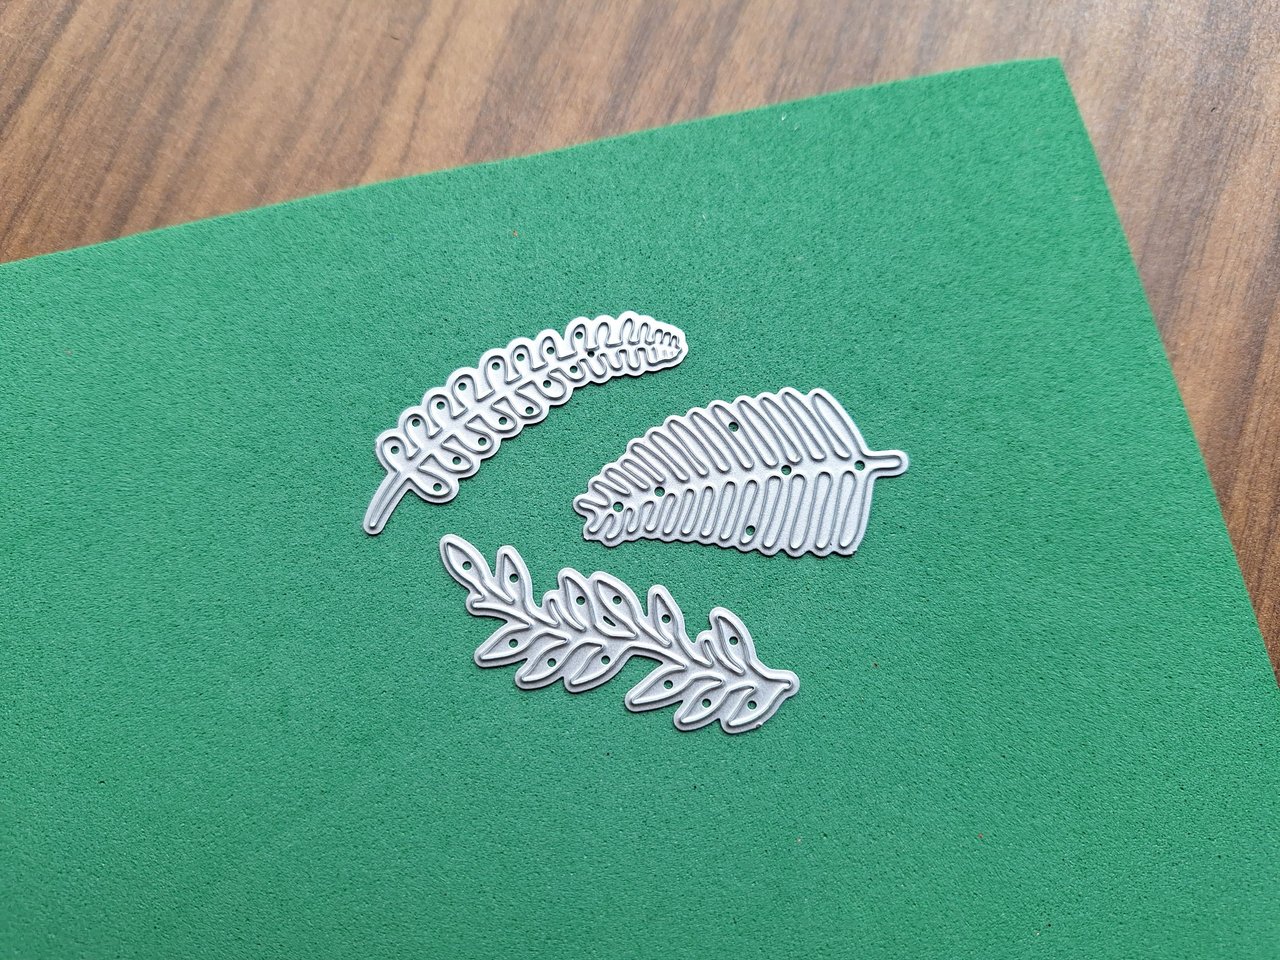
- Cutting dies in the shape of leaves / Troqueles de corte con forma de hojas
- Black and green Foami / Foami negro y verde
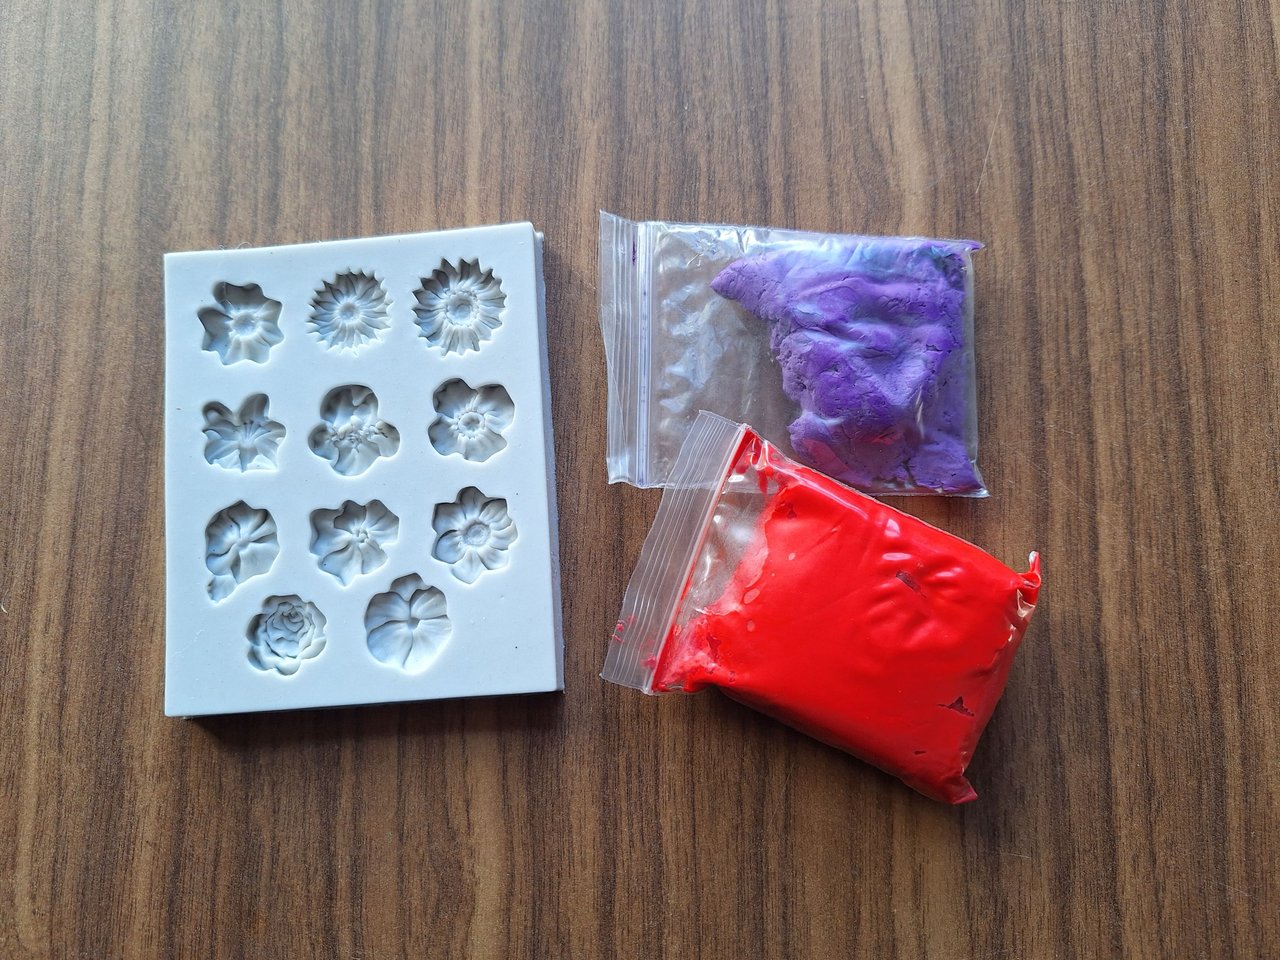
- Red and purple moldable foami / Foami moldeable de color rojo y violeta
- Silicone flower mold / Molde de silicona de flores
- Silicone / Silicona
🔑Step by step // Paso a paso🔑
 |
 |
 |
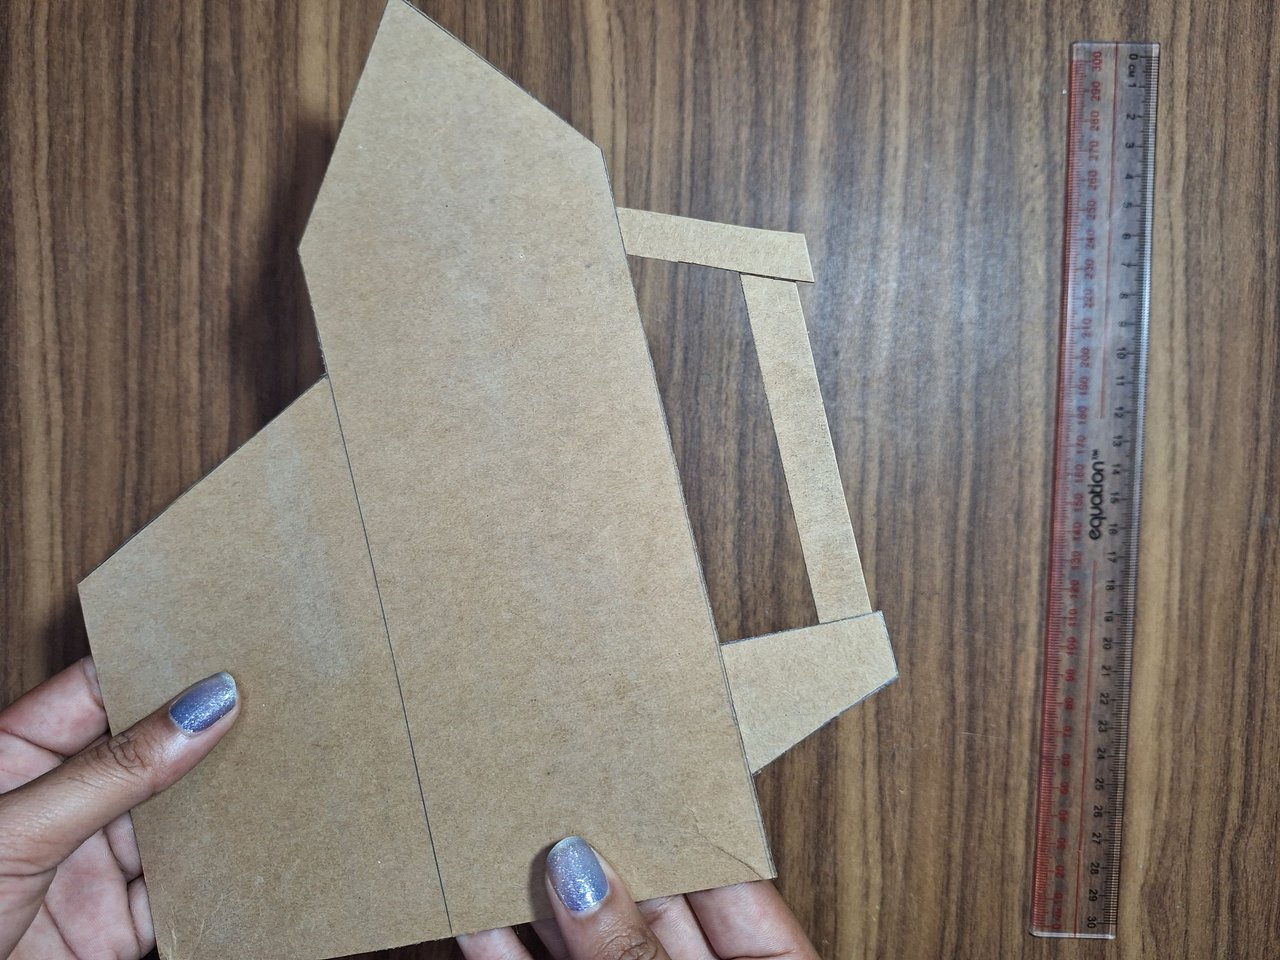 |
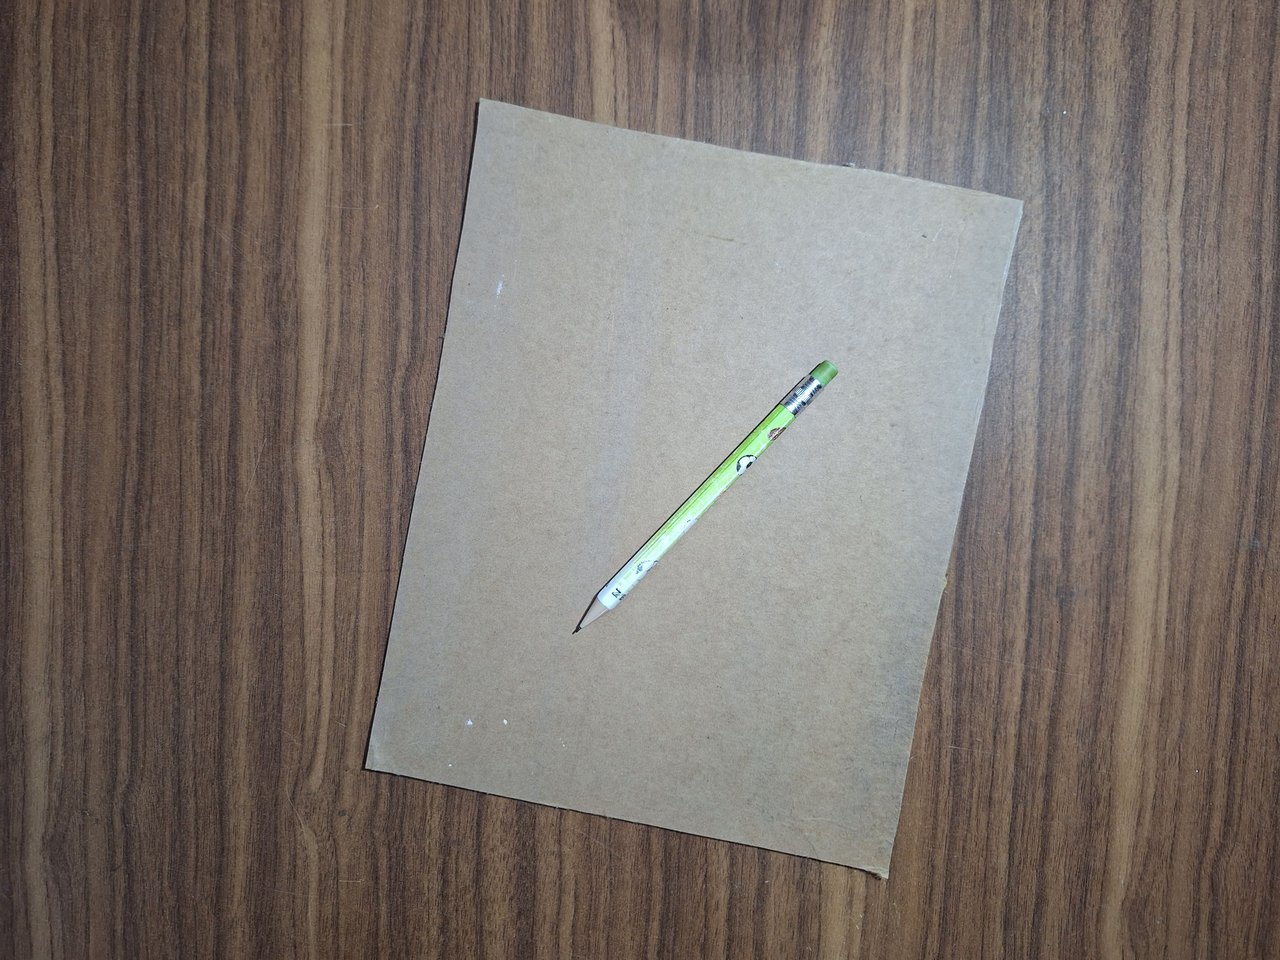
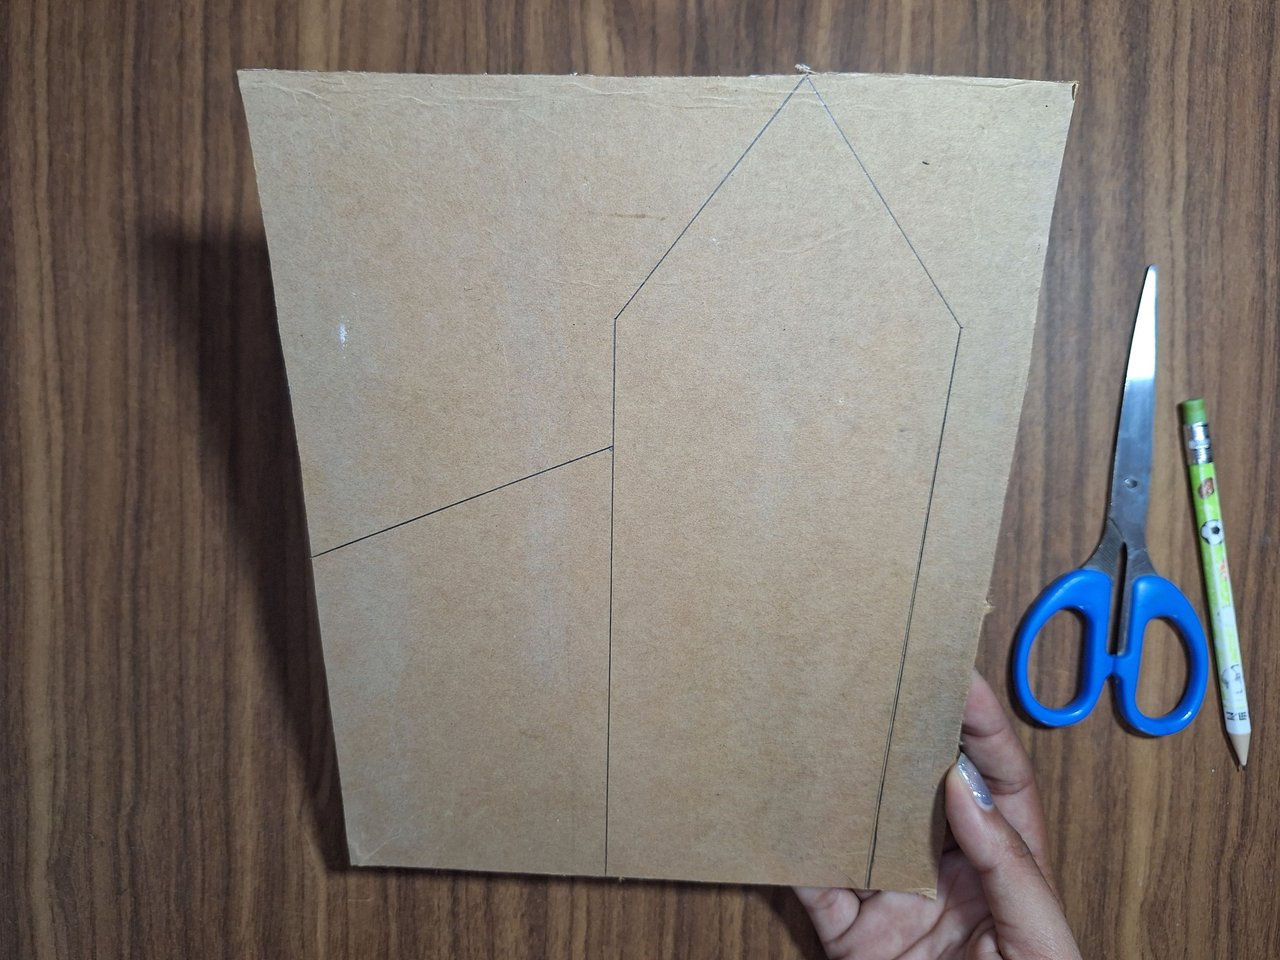
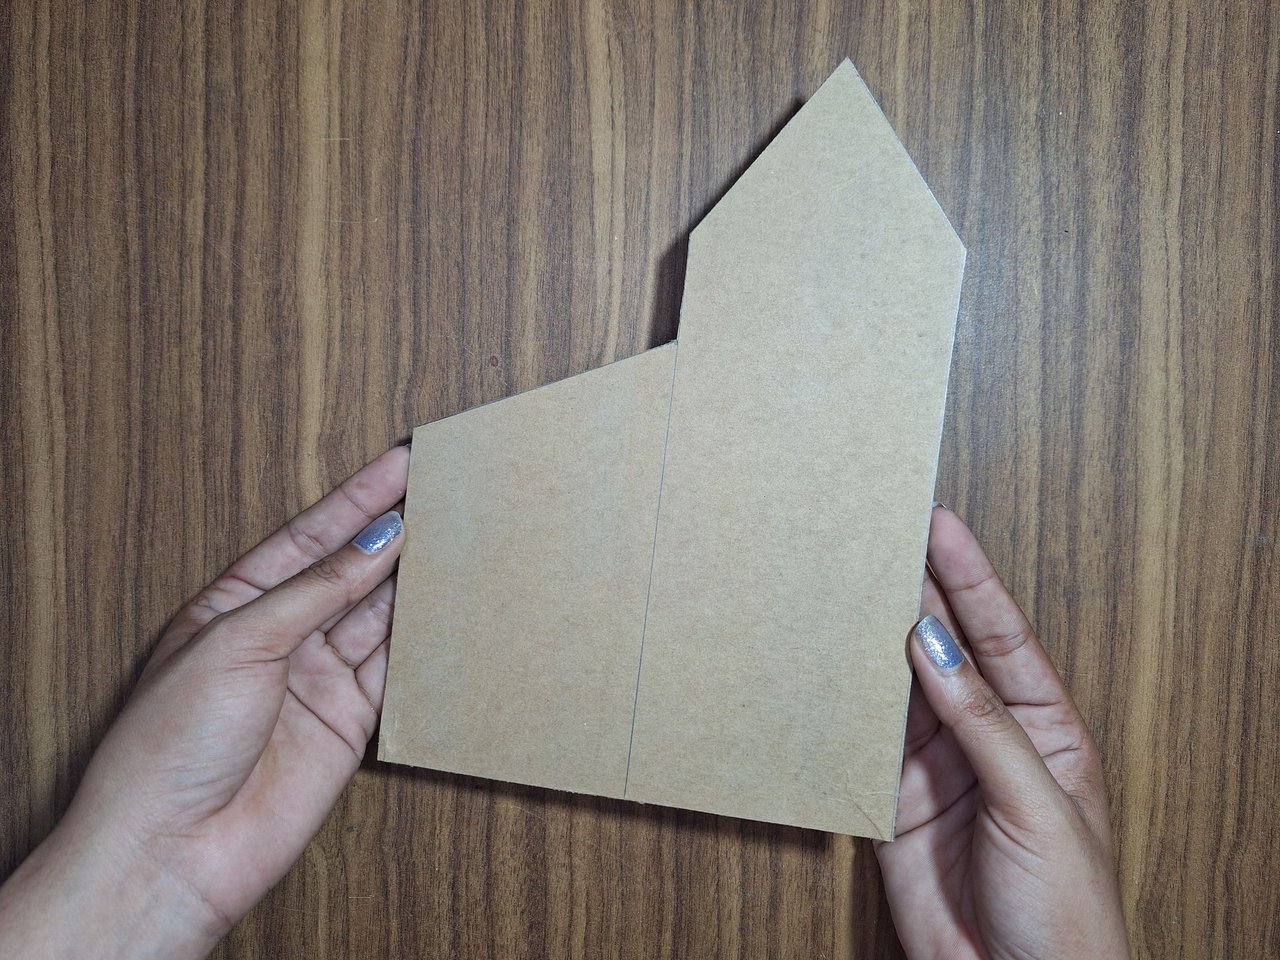
The basis for this diorama will be a thick cardboard, mark the silhouette of the house with a pencil and cut out. Then, with other pieces of cardboard, I made the portal on the side of the house. In the same way you can completely trace the whole figure and it is much better, you are left with only one piece of cardboard.
La base para este diorama será un cartón grueso, marcar la silueta de la casa con un lápiz y recortar. Luego, con otros pedazos de cartón, hice como el portal en un lateral de la casa. De igual forma se puede trazar completamente toda la figura y es mucho mejor, te queda una sola pieza de cartón.
 |
 |
 |
 |
 |
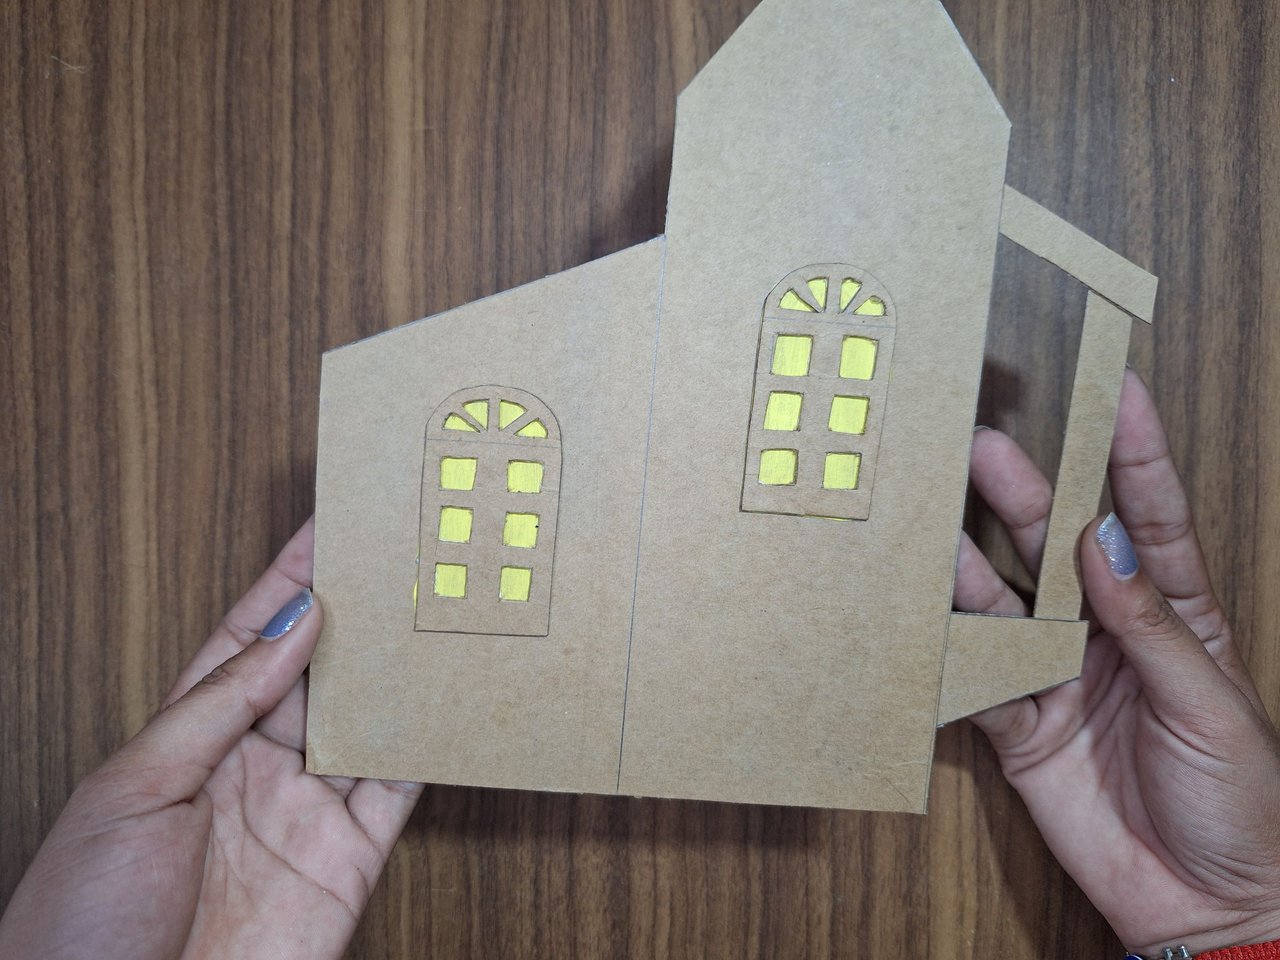 |
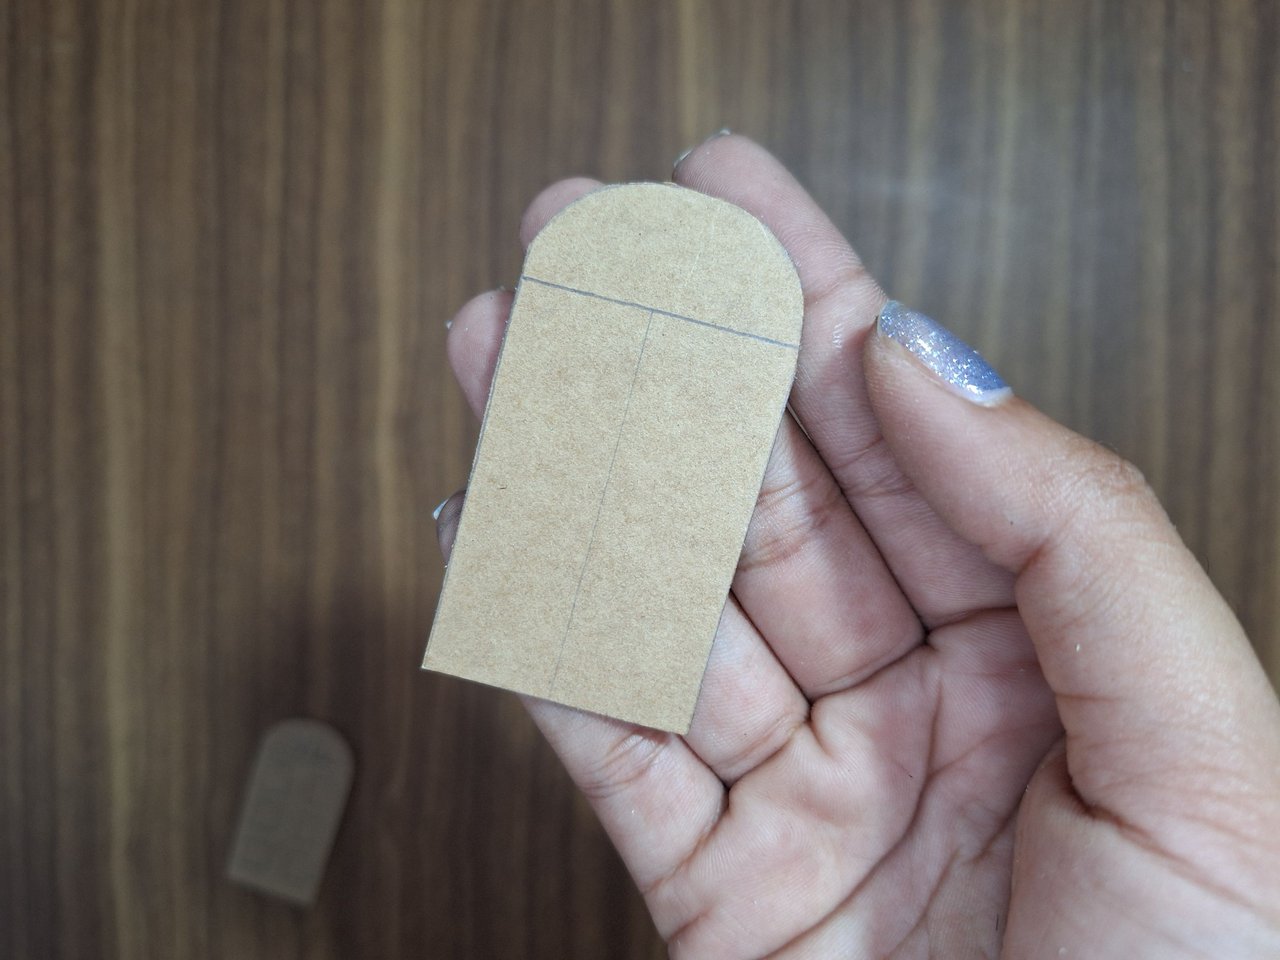
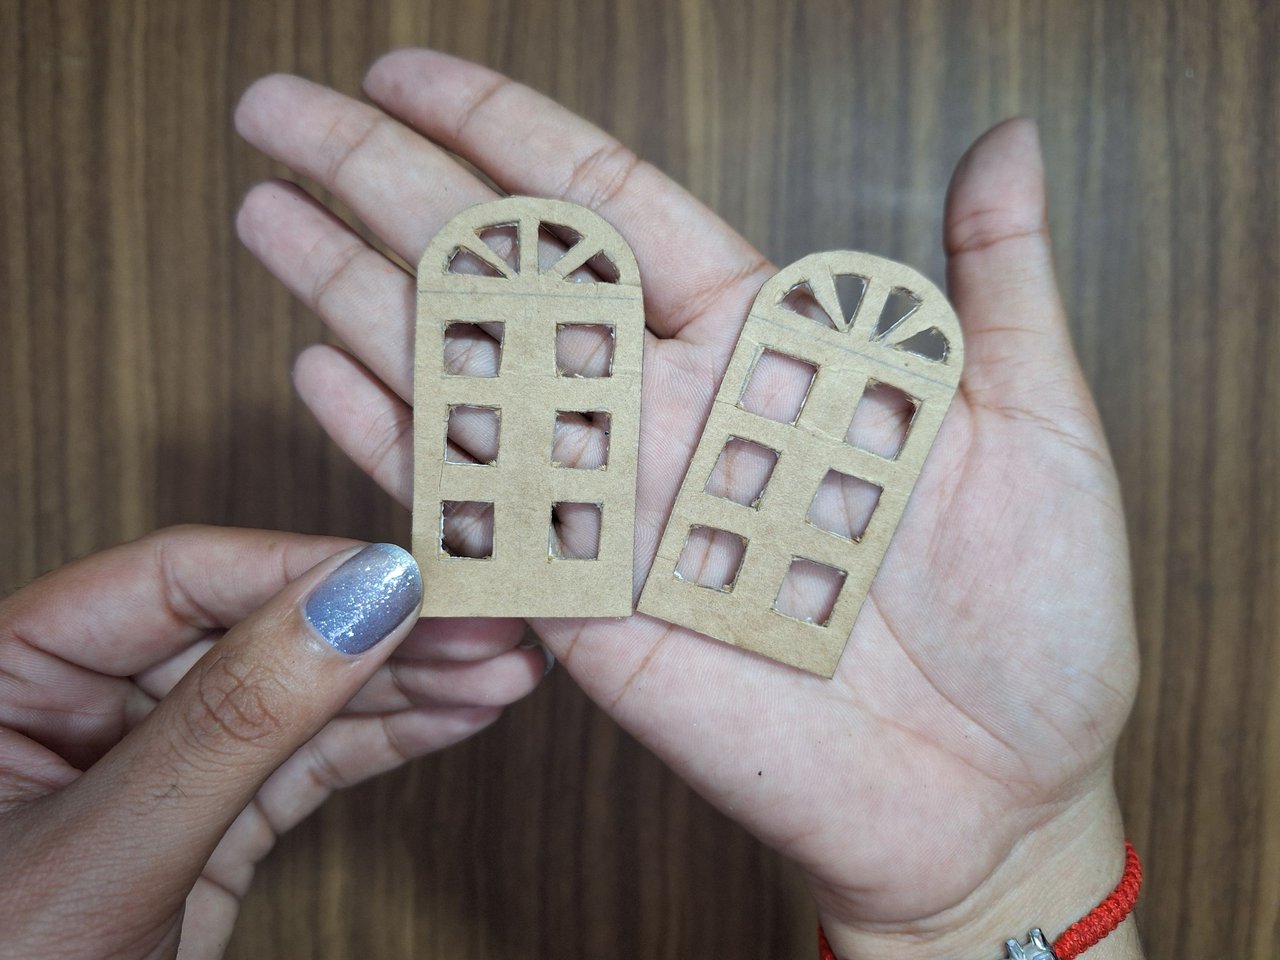
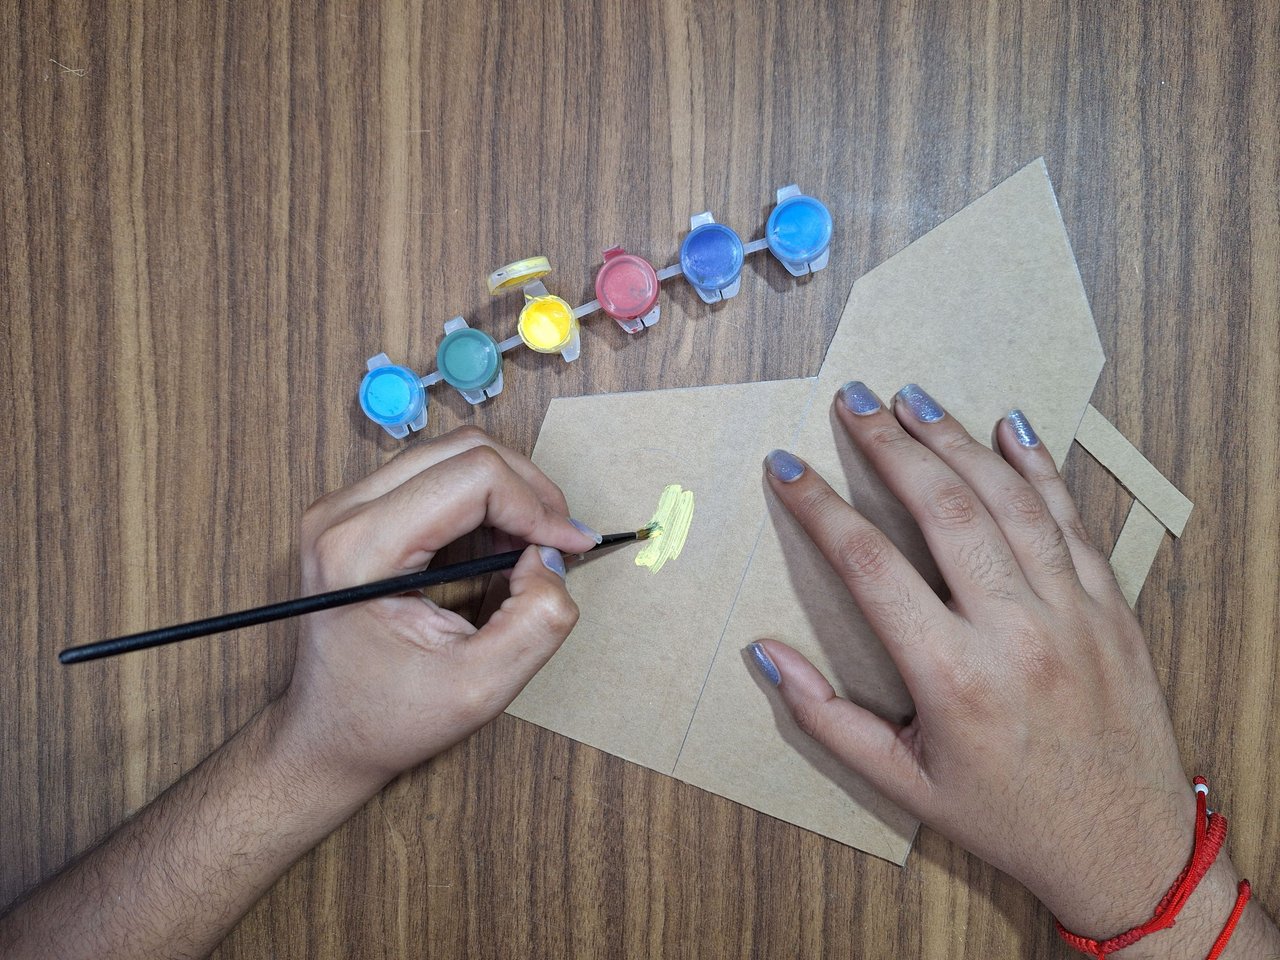
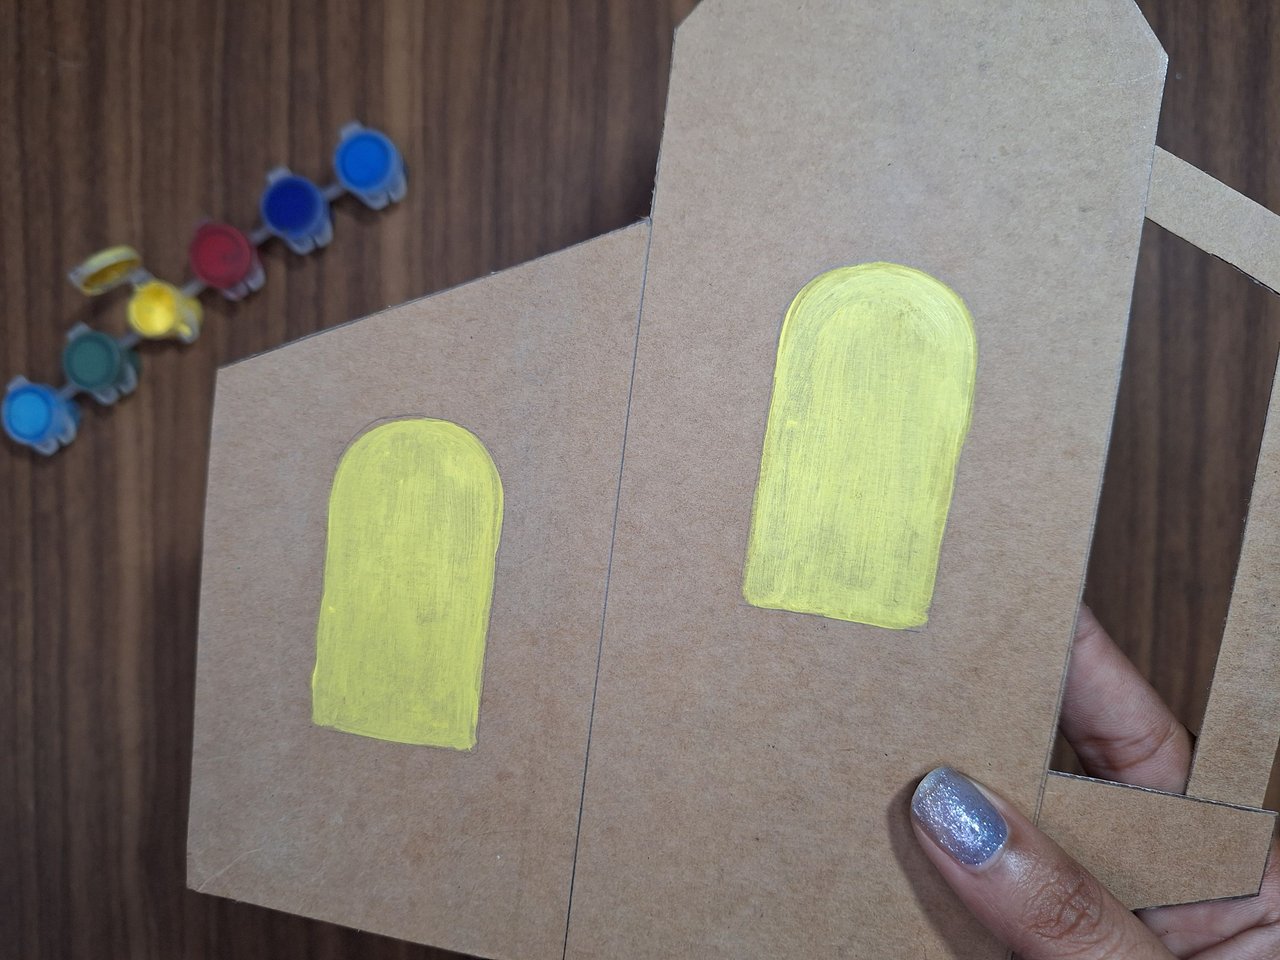
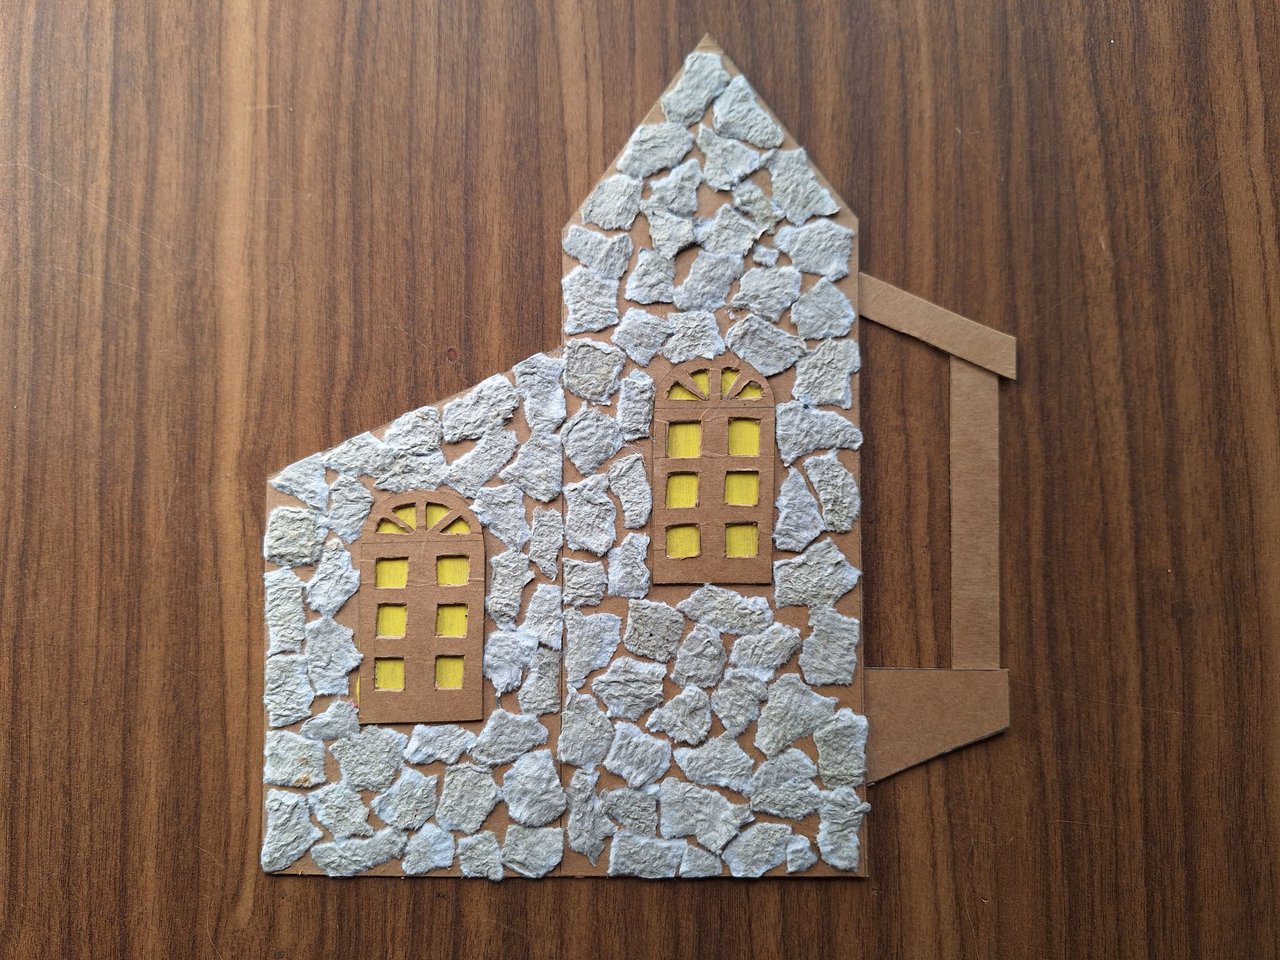
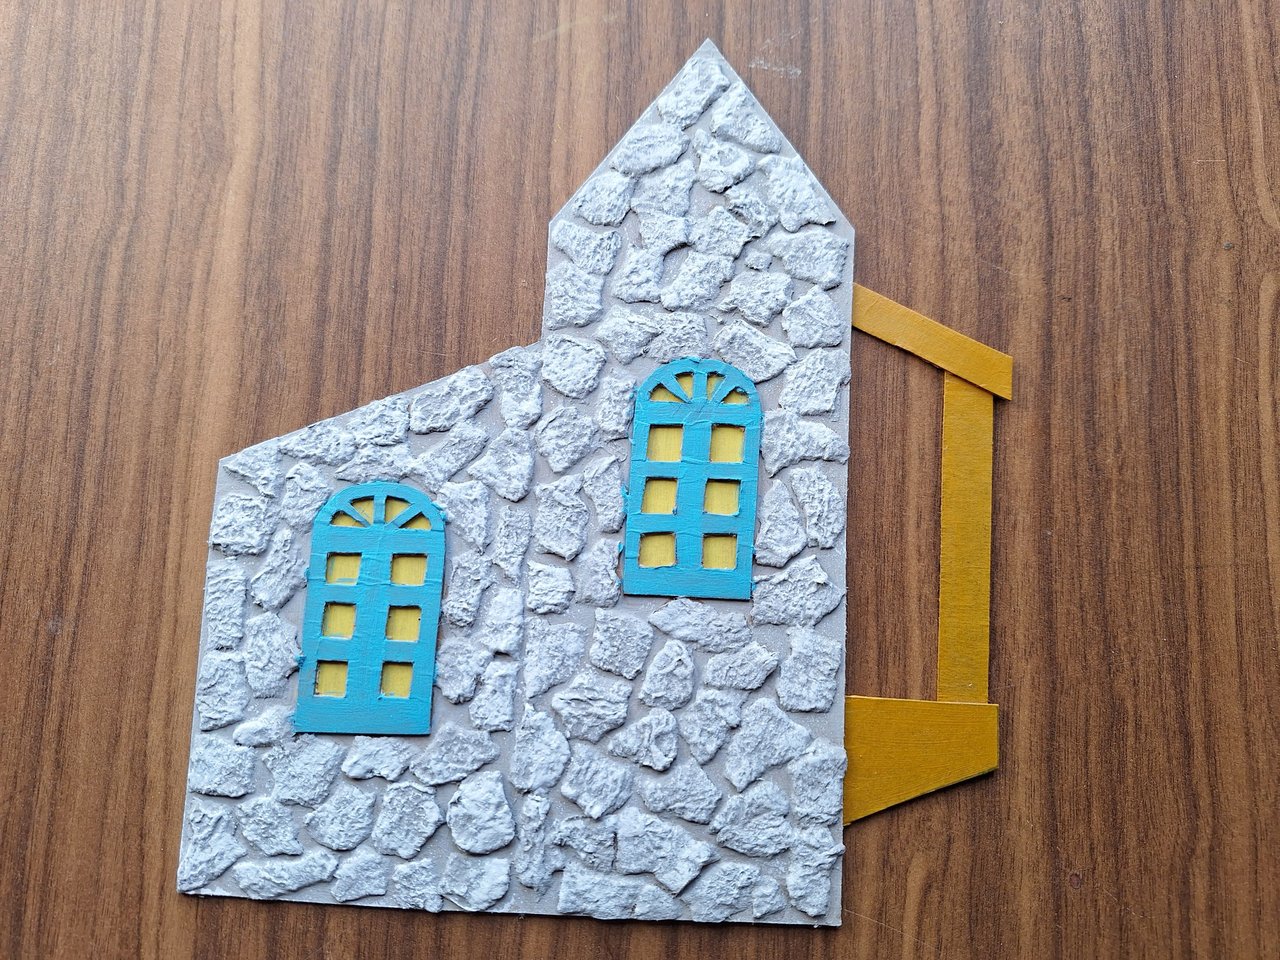
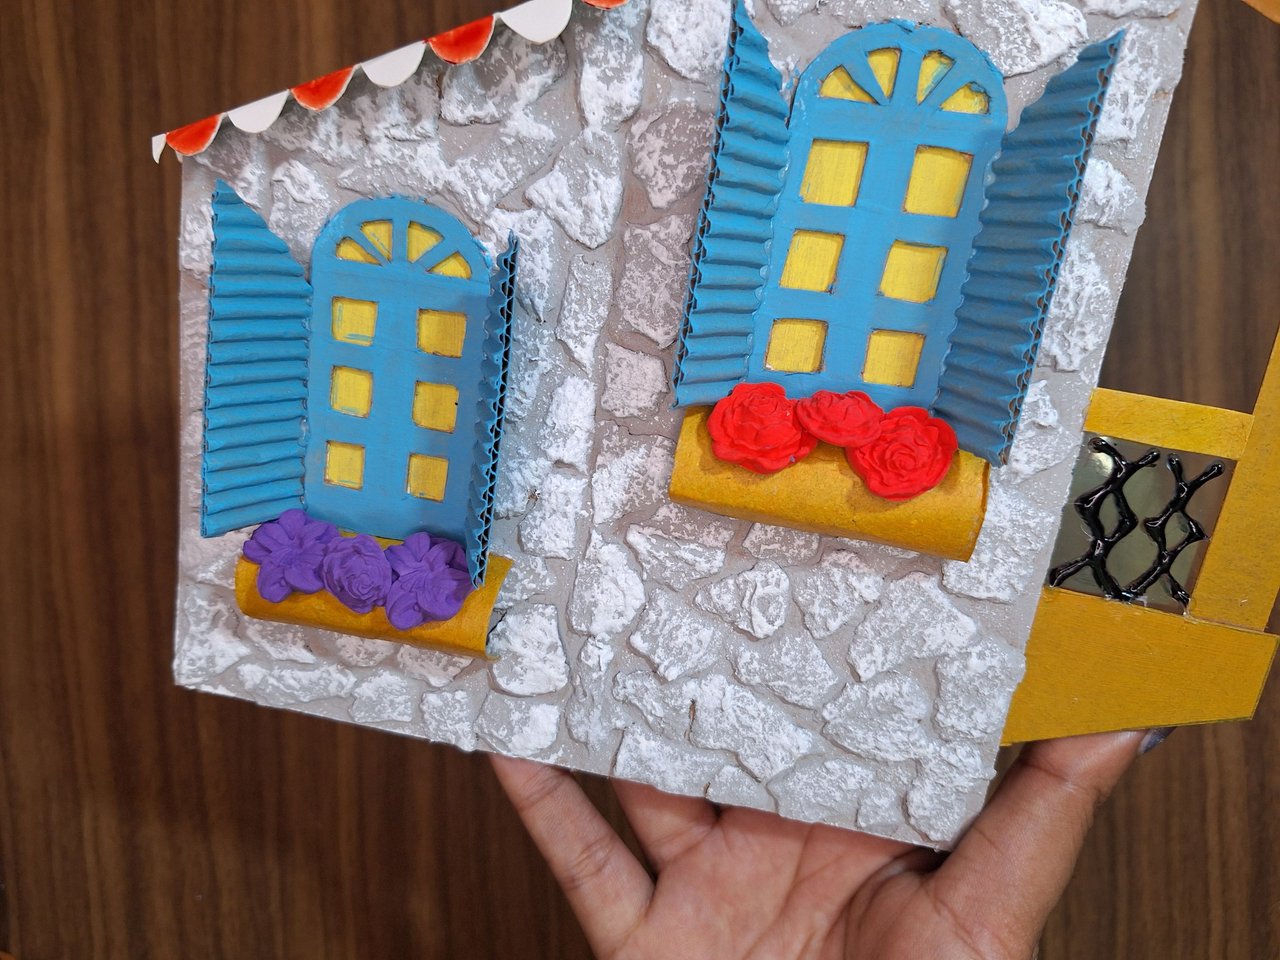
I marked the shape of the windows on another piece of cardboard and cut out the inside squares. I marked the outline where I would place them and with yellow paint I painted them and then glued the windows on top. This way it looks like the lights are on.
Marque la figura de las ventanas en otro pedazo de cartón y corté los cuadros interiores. Marqué el contorno en el lugar donde las ubicaría y con pintura amarilla las pinté para luego pegar las ventanas encima. De esta forma parece que están las luces encendidas.
 |
 |
 |
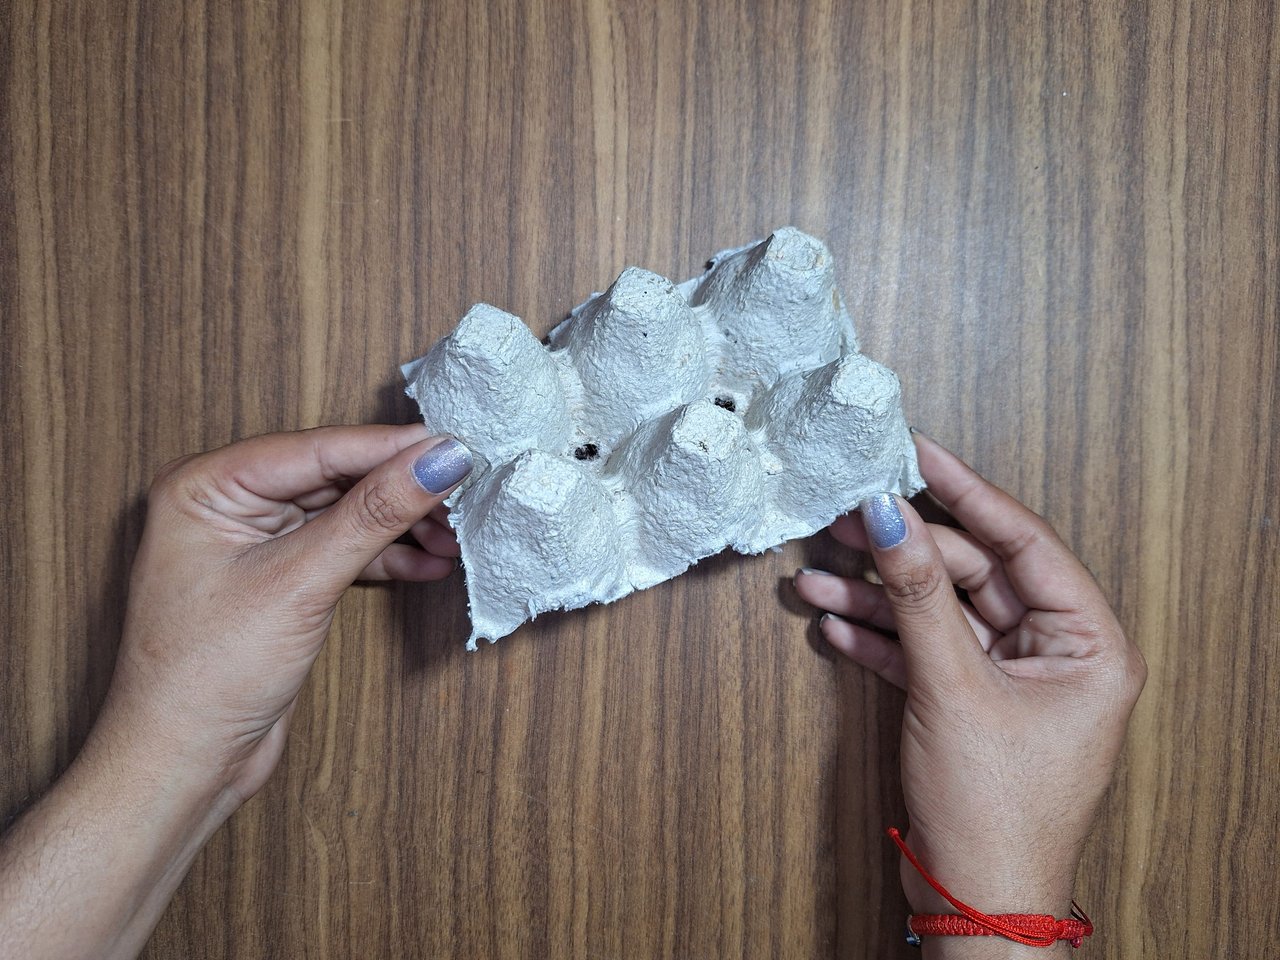
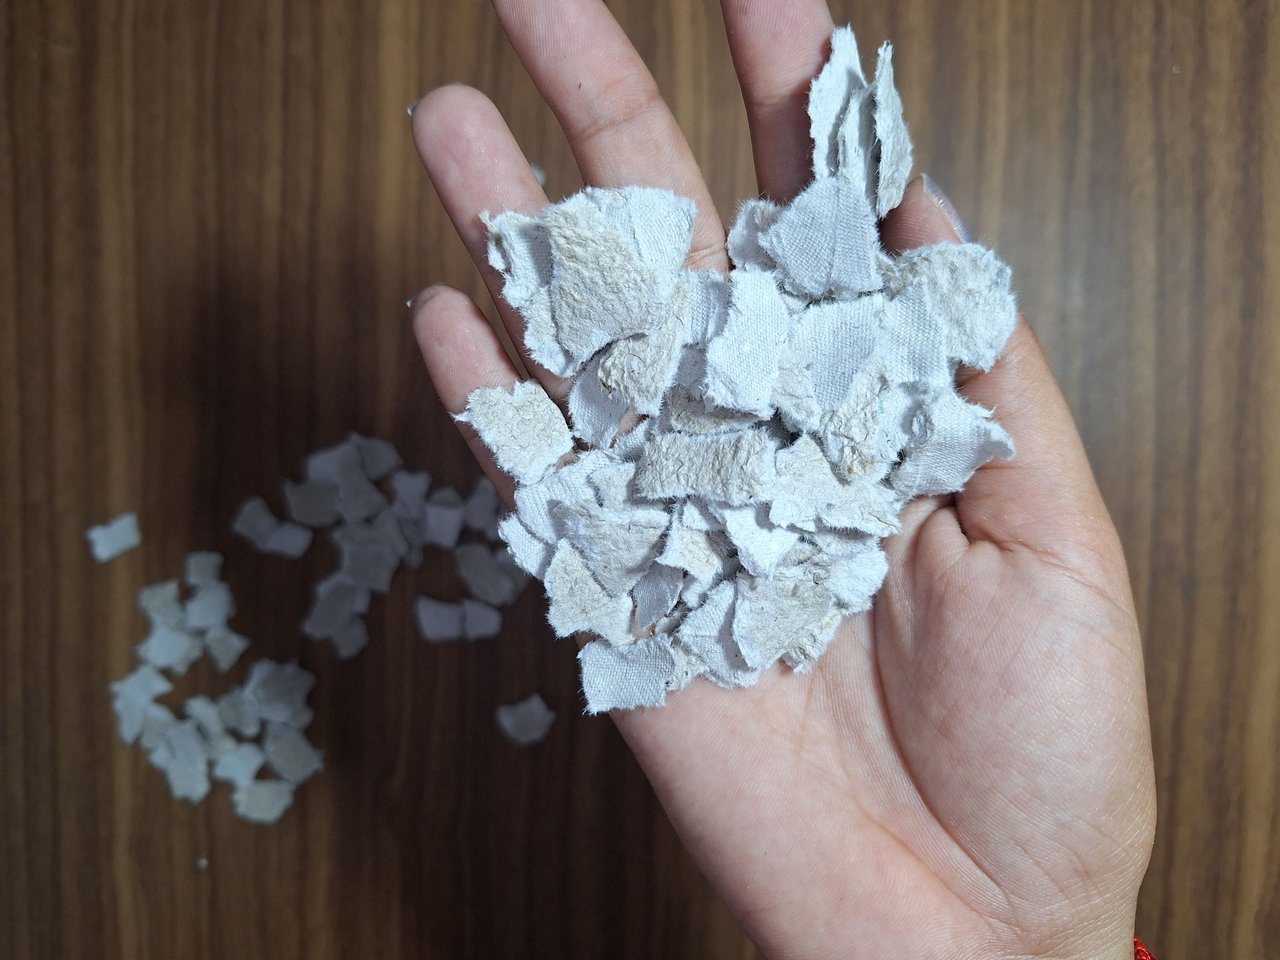
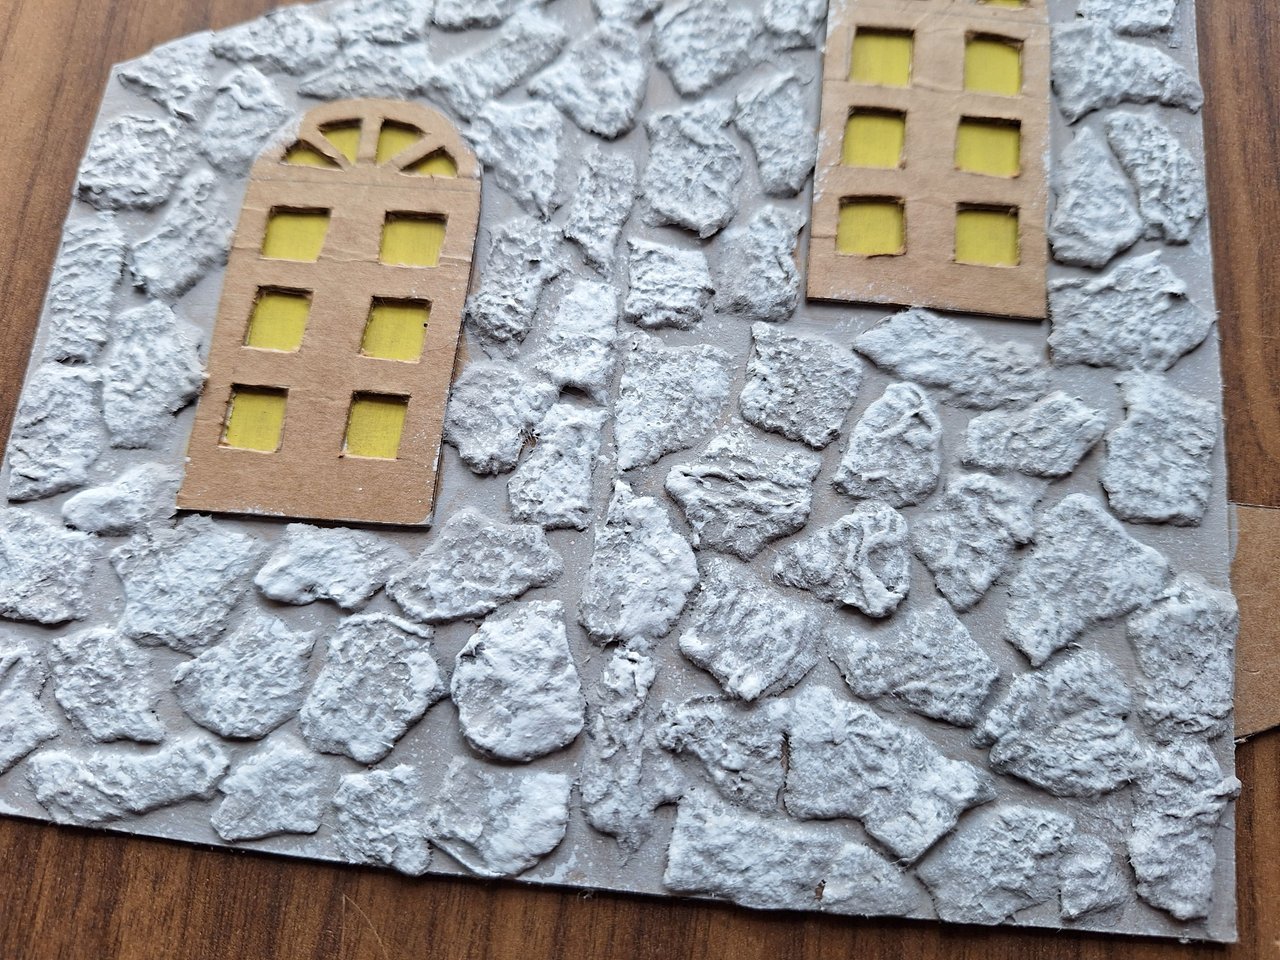
I chopped the egg carton by hand into small pieces and glued them on top of the base to make it look like a stone slab wall. I love how this effect looks, I use it a lot when I make house designs.
El cartón de huevo lo piqué con la mano en pequeños pedazos y los fui pegando encima de la base para que pareciera una pared de lajas de piedras. Me encanta cómo queda este efecto, suelo utilizarlo mucho cuando hago diseños de casas.
 |
 |
 |
 |
 |
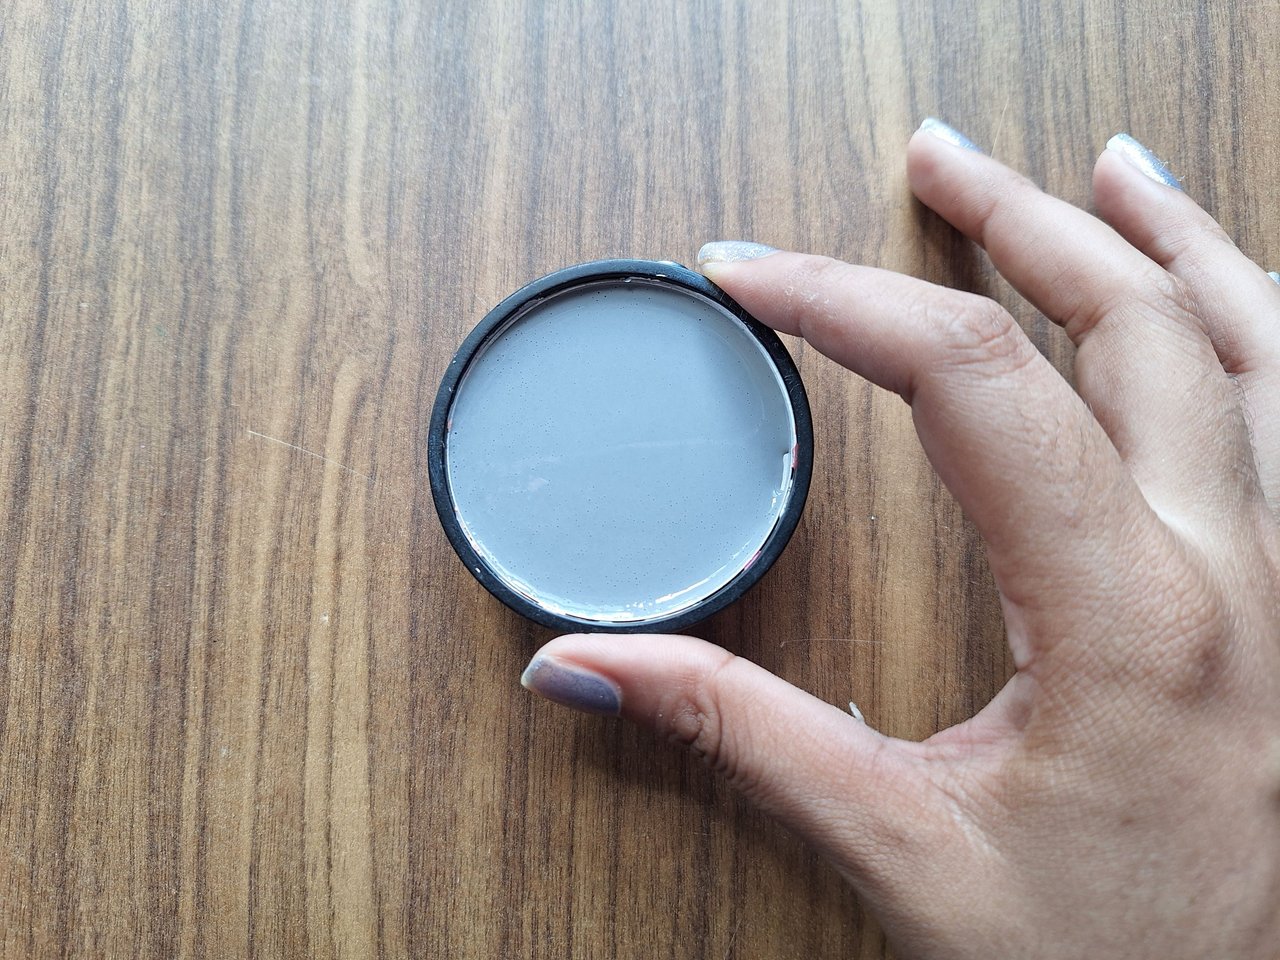
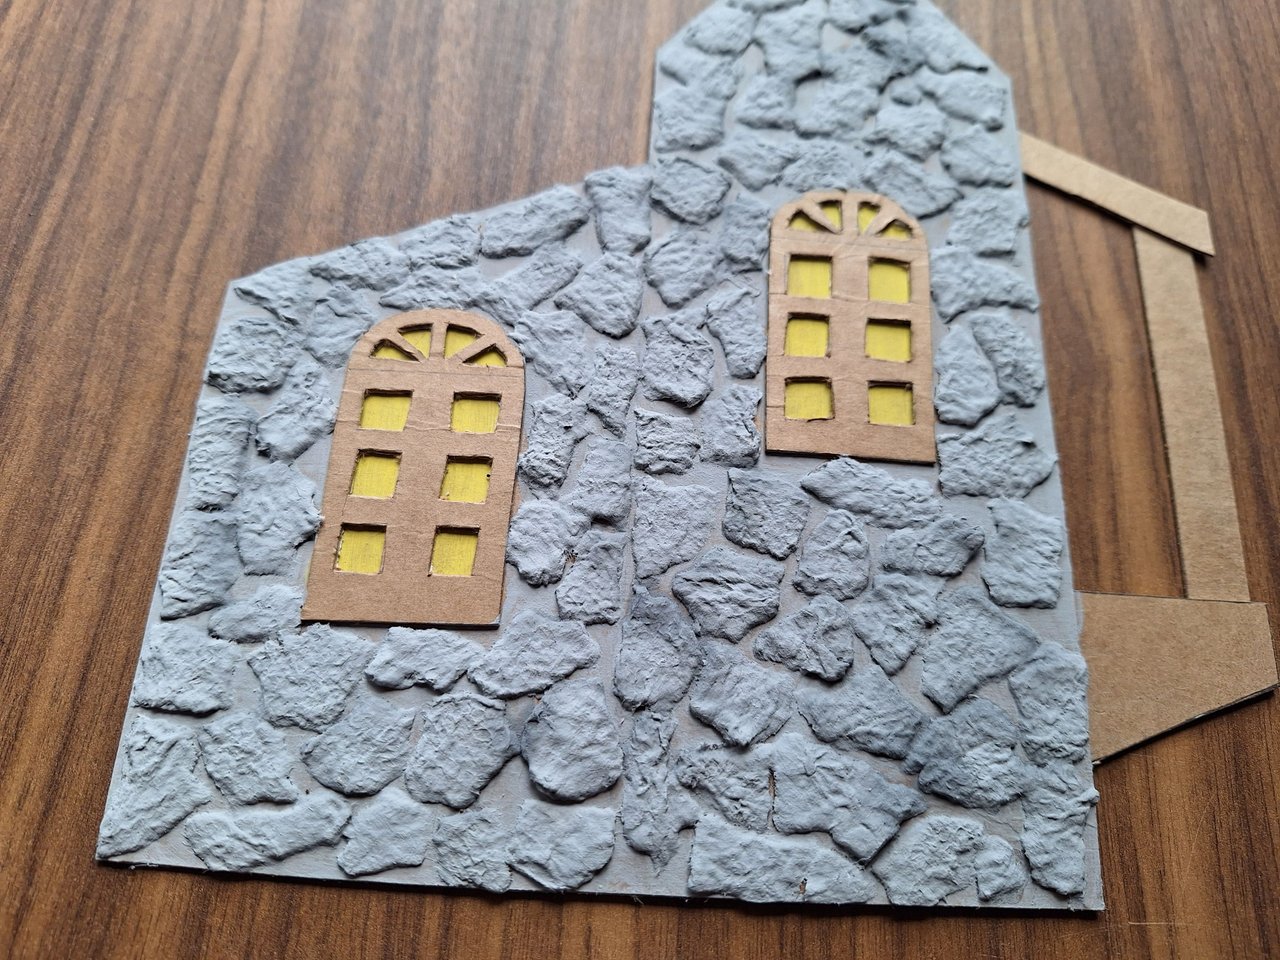
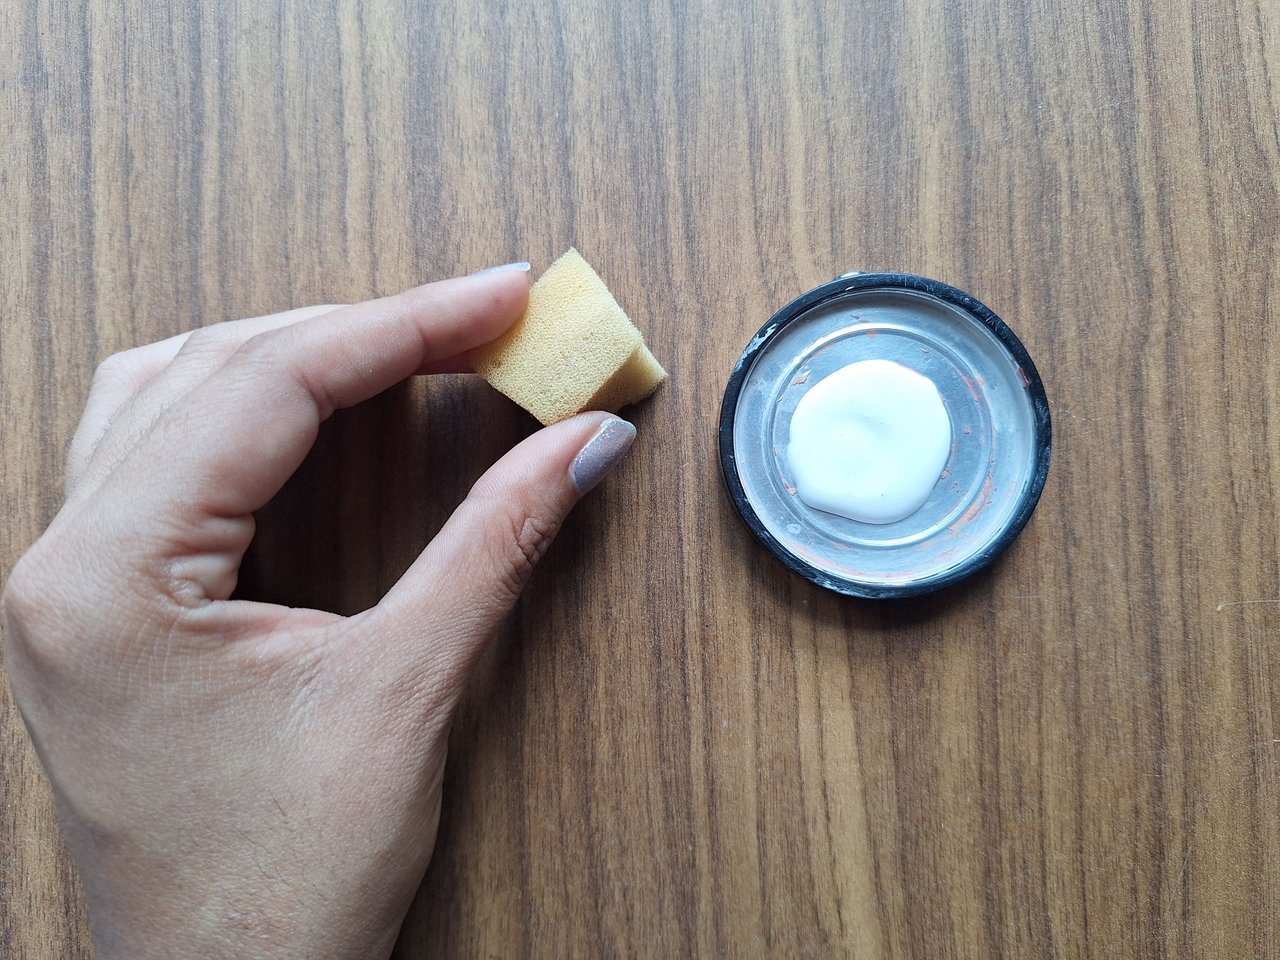
I painted the entire surface with gray paint. You can use any color, but it is preferable that it is a dark tone because then with a sponge and white paint you can give soft touches to highlight the extra of this cardboard. Then I painted the part of the doorway and the windows.
Pinté toda la superficie con pintura gris. Puedes utilizar cualquier color, pero de preferencia es mejor que sea un tono oscuro porque luego con una esponja y pintura blanca se le dan suaves toques para resaltar la extra de este cartón. Después pinté la parte del portal y las ventanas.
 |
 |
 |
 |
 |
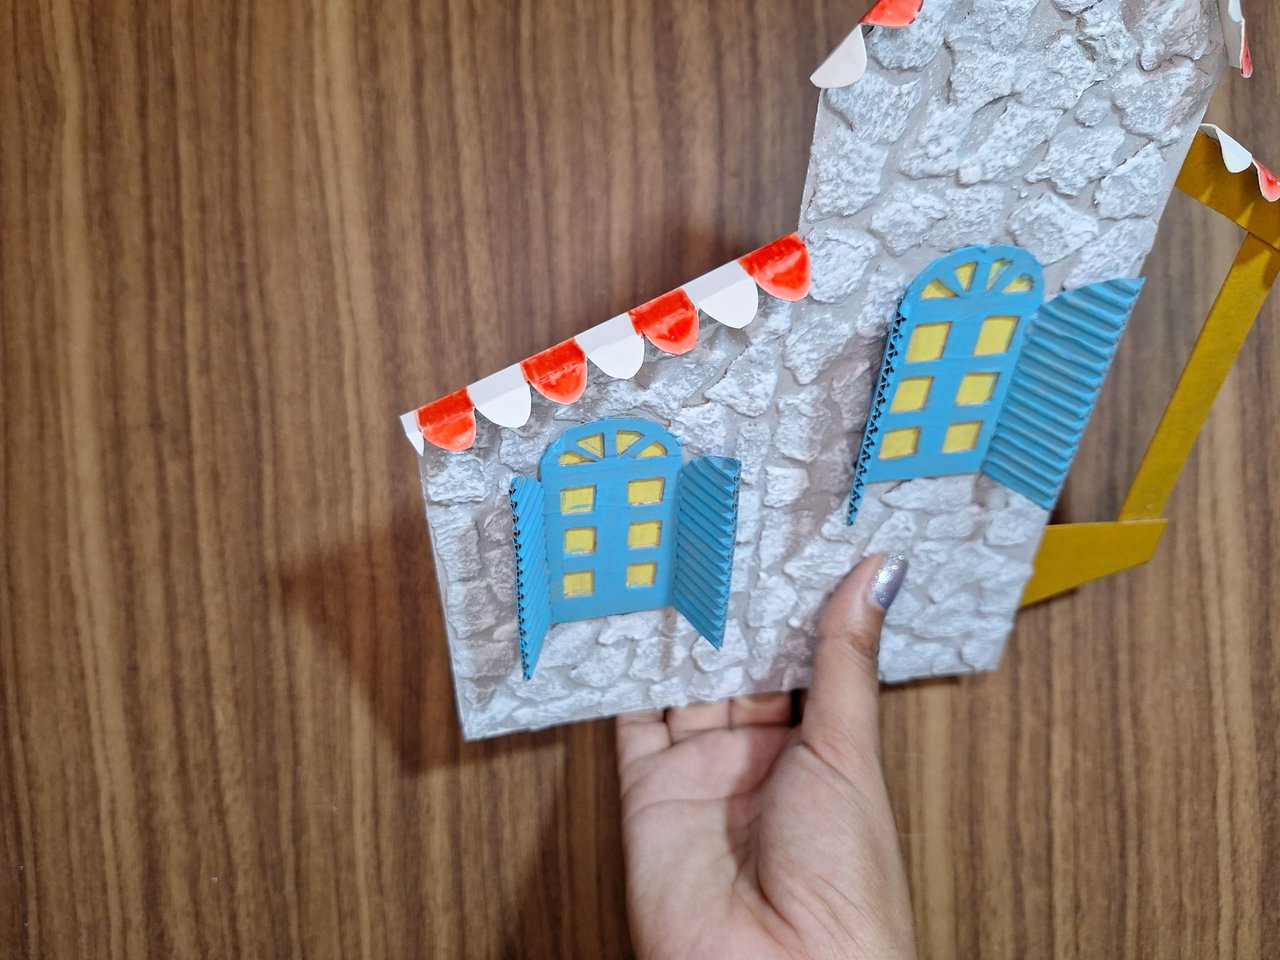 |
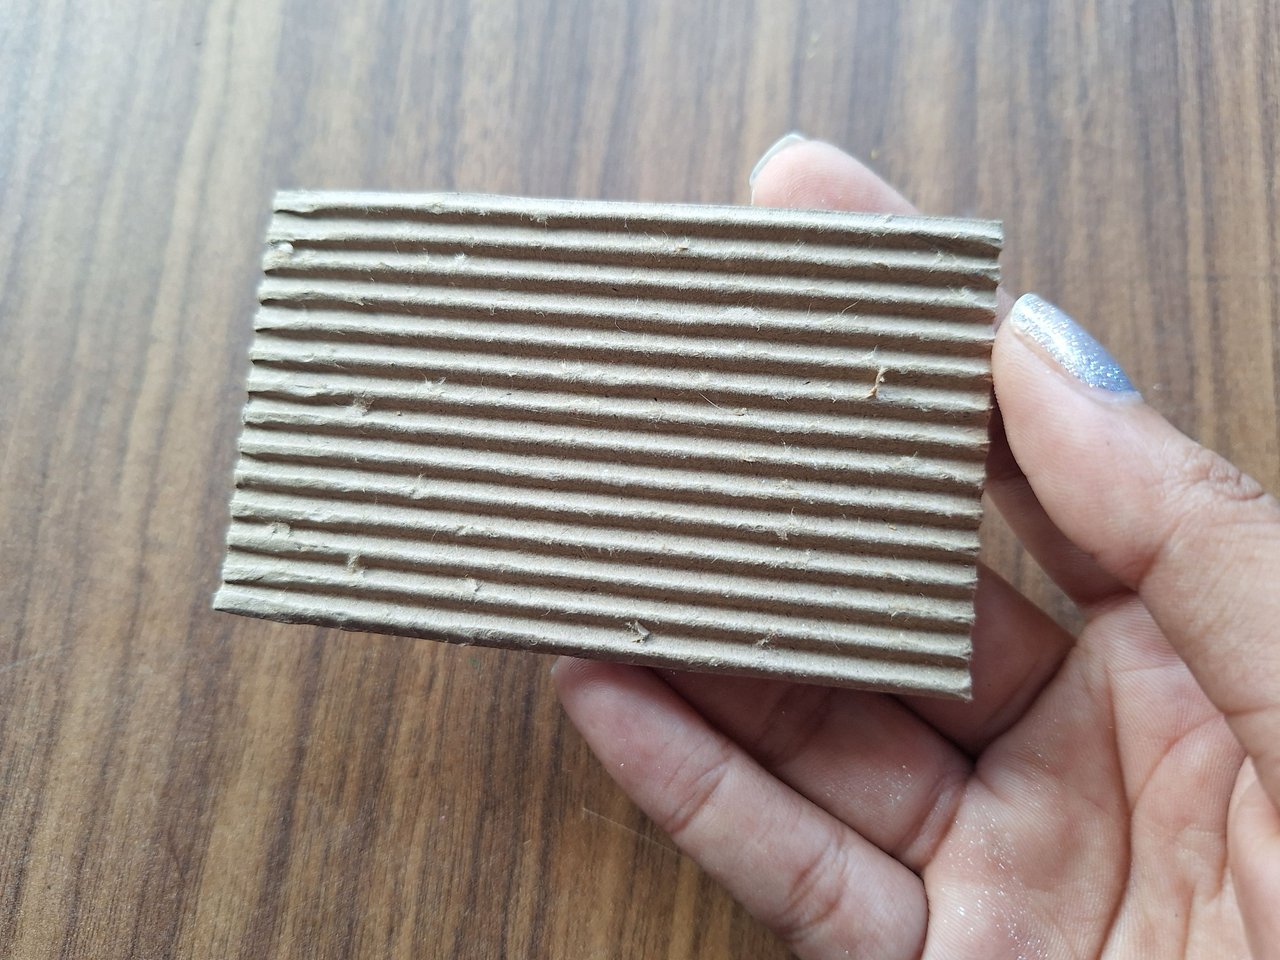
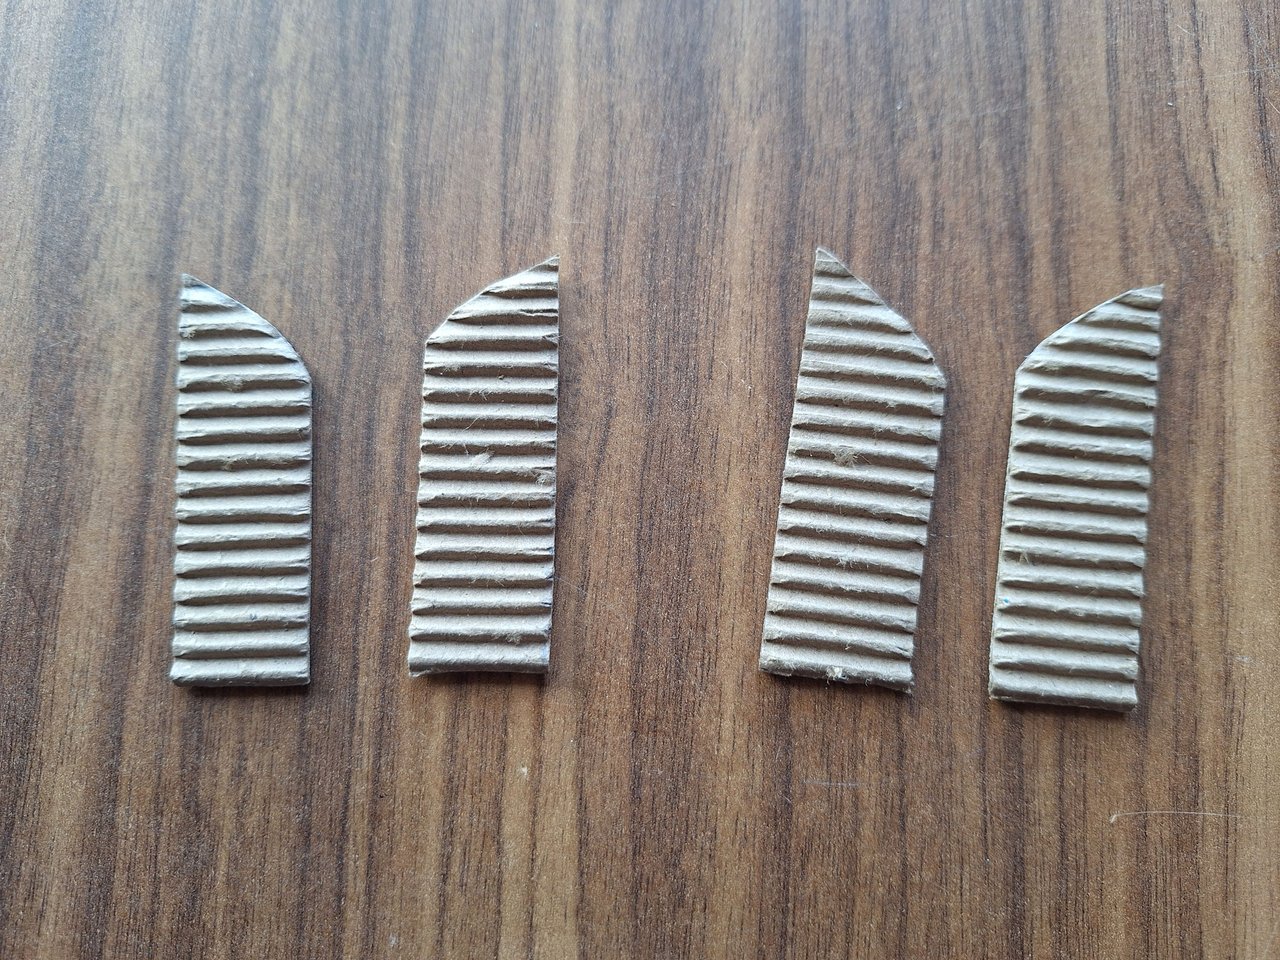
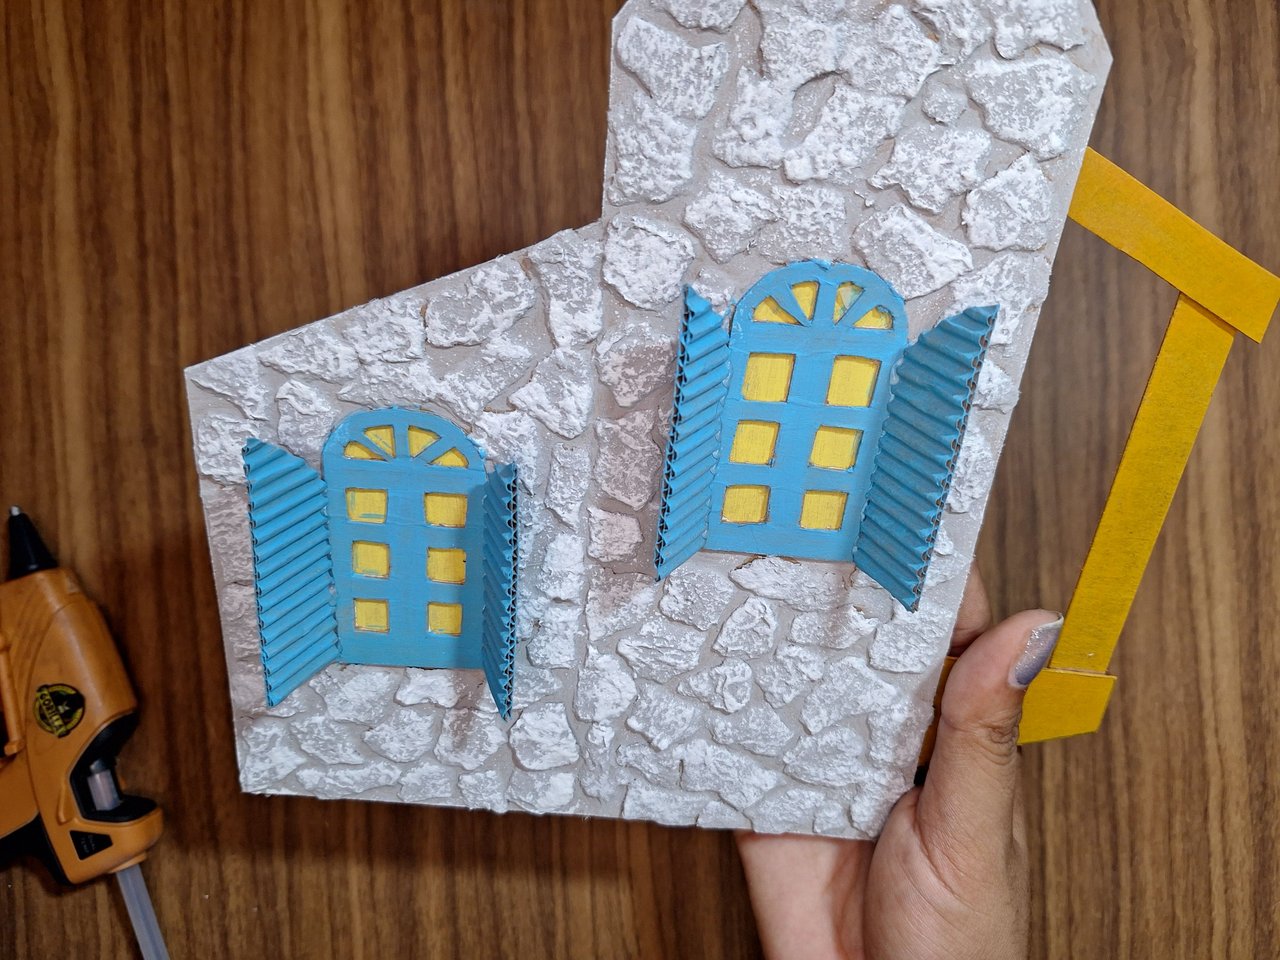
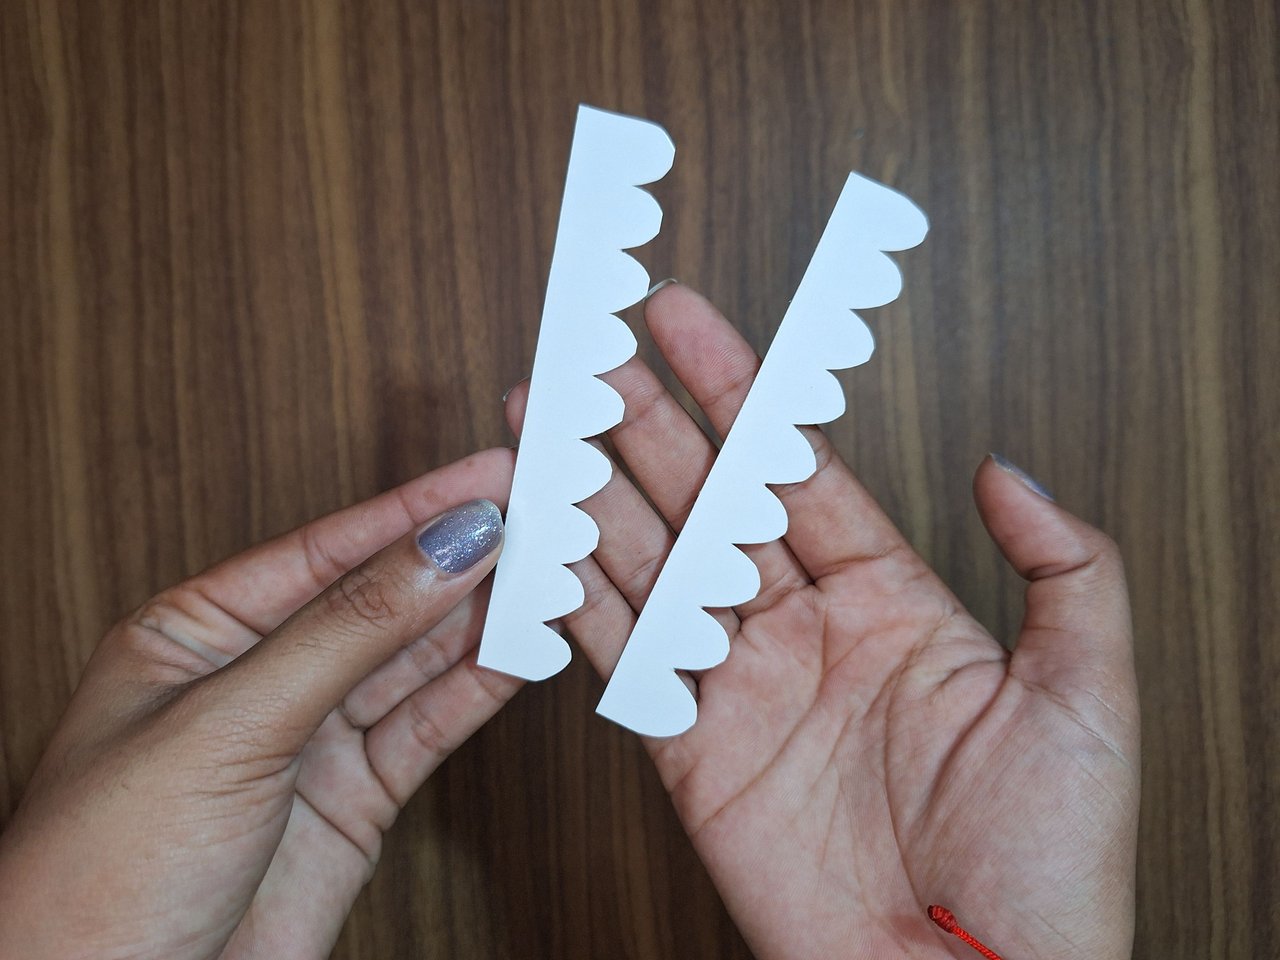
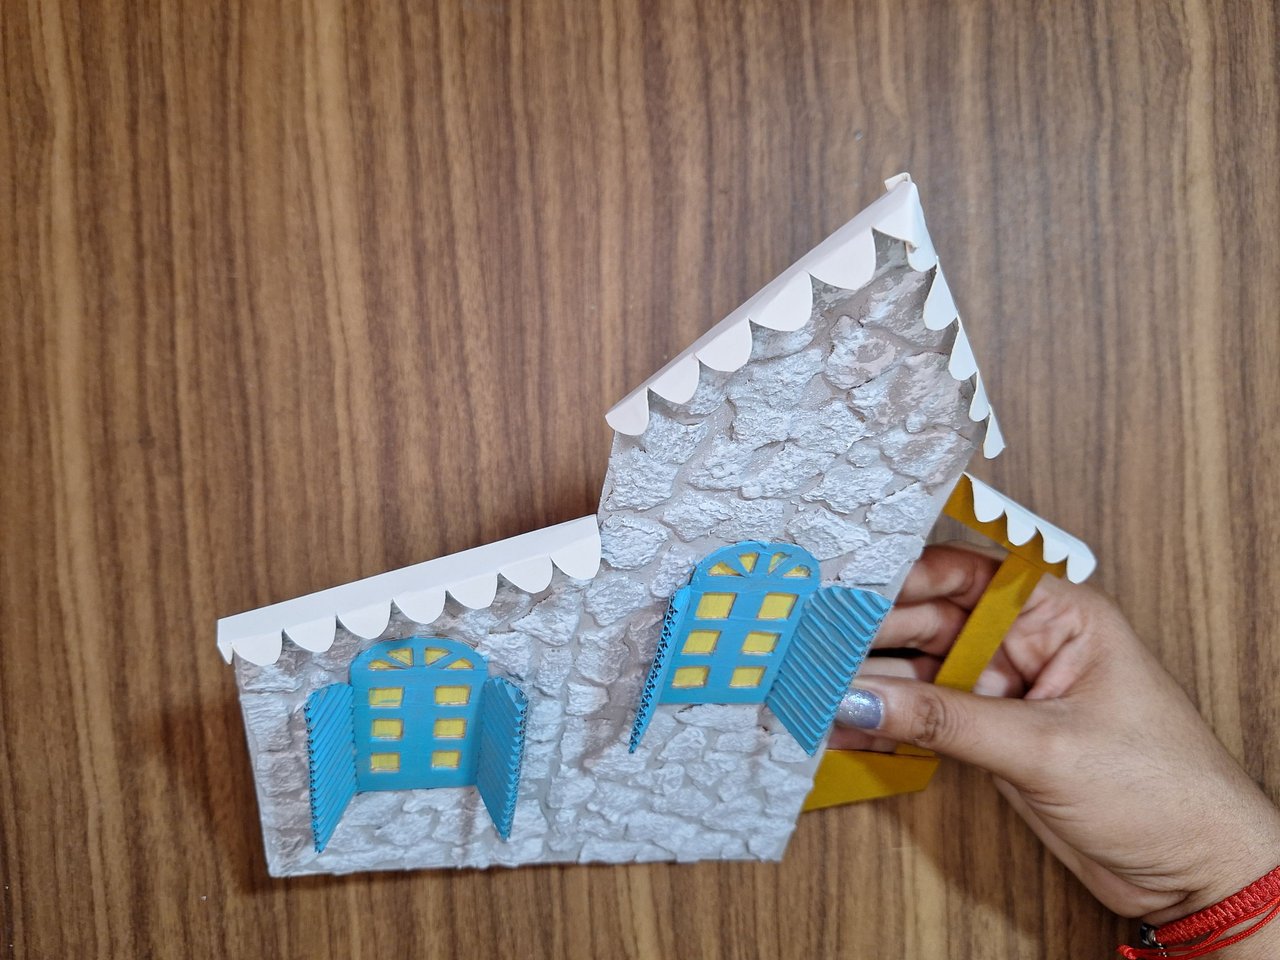
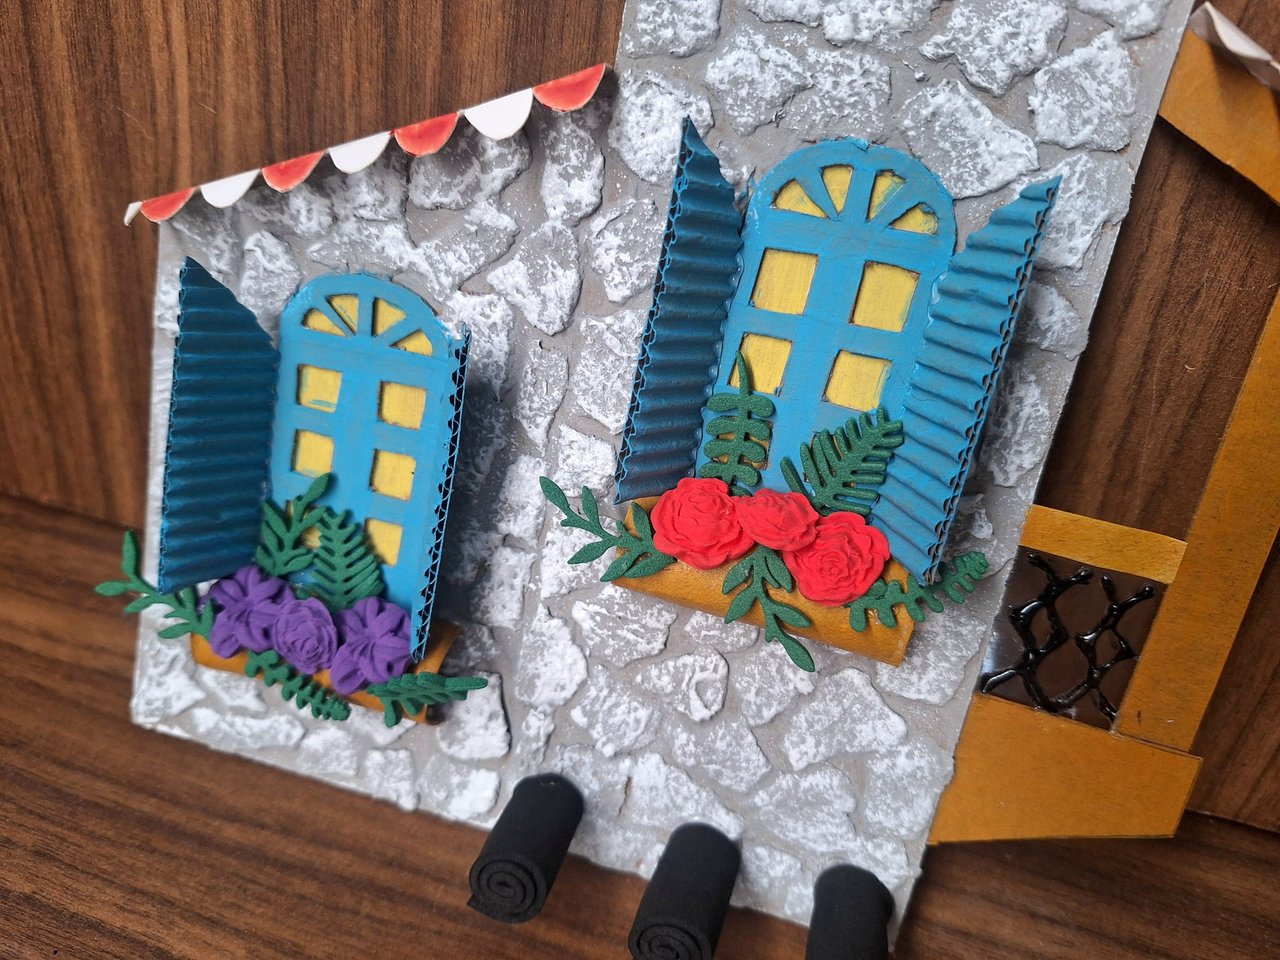
I removed a layer of cardboard so that I would have the corrugated part and with this I marked the shape of the open windows. I painted them and glued them in place. Then, with a white cardboard, I made a strip with a shell-shaped part to place on top as if it were the roof of the house. After gluing, I painted them with a red marker.
Retiré una capa de un cartón para que me quedara la parte ondulada y con este marqué la forma de las ventanas abiertas. Las pinté y pegué en su lugar. Después, con una cartulina blanca, hice una tira con una parte en forma de concha para colocarla en la parte superior como si fuera el techo de la casa. Después de pegadas, las pinté con un marcador rojo.
 |
 |
 |
 |
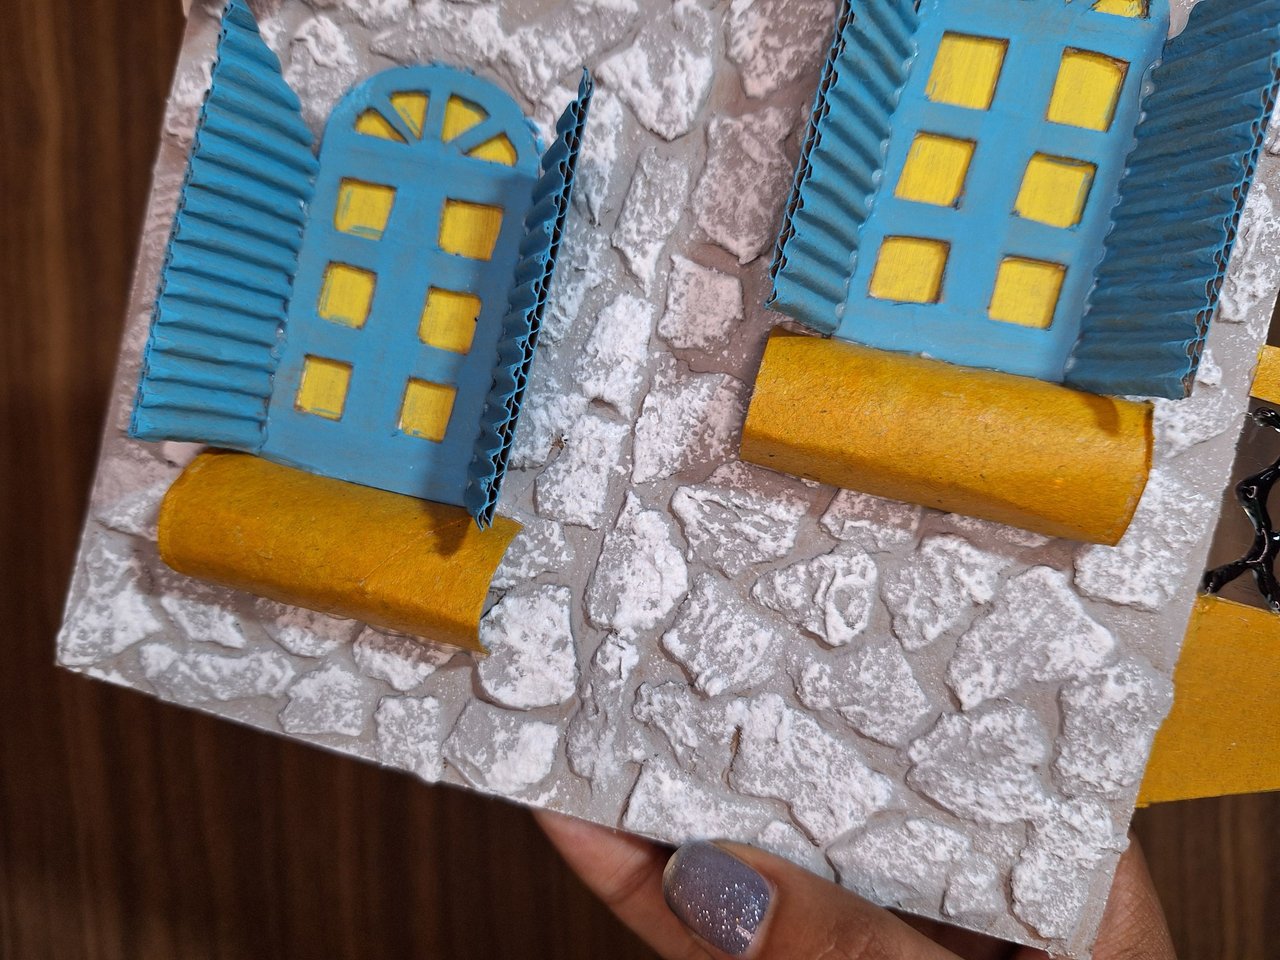 |
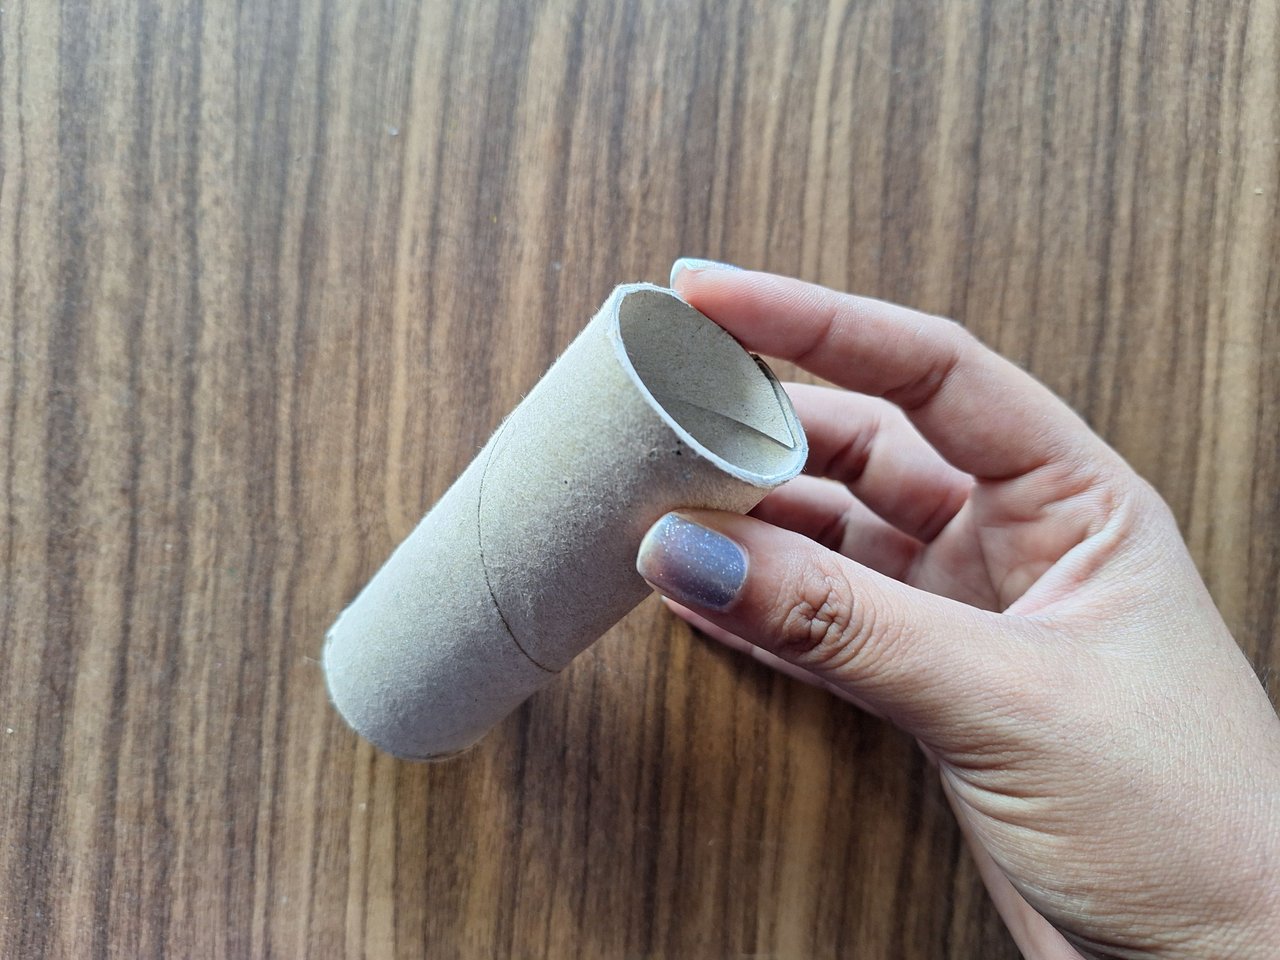
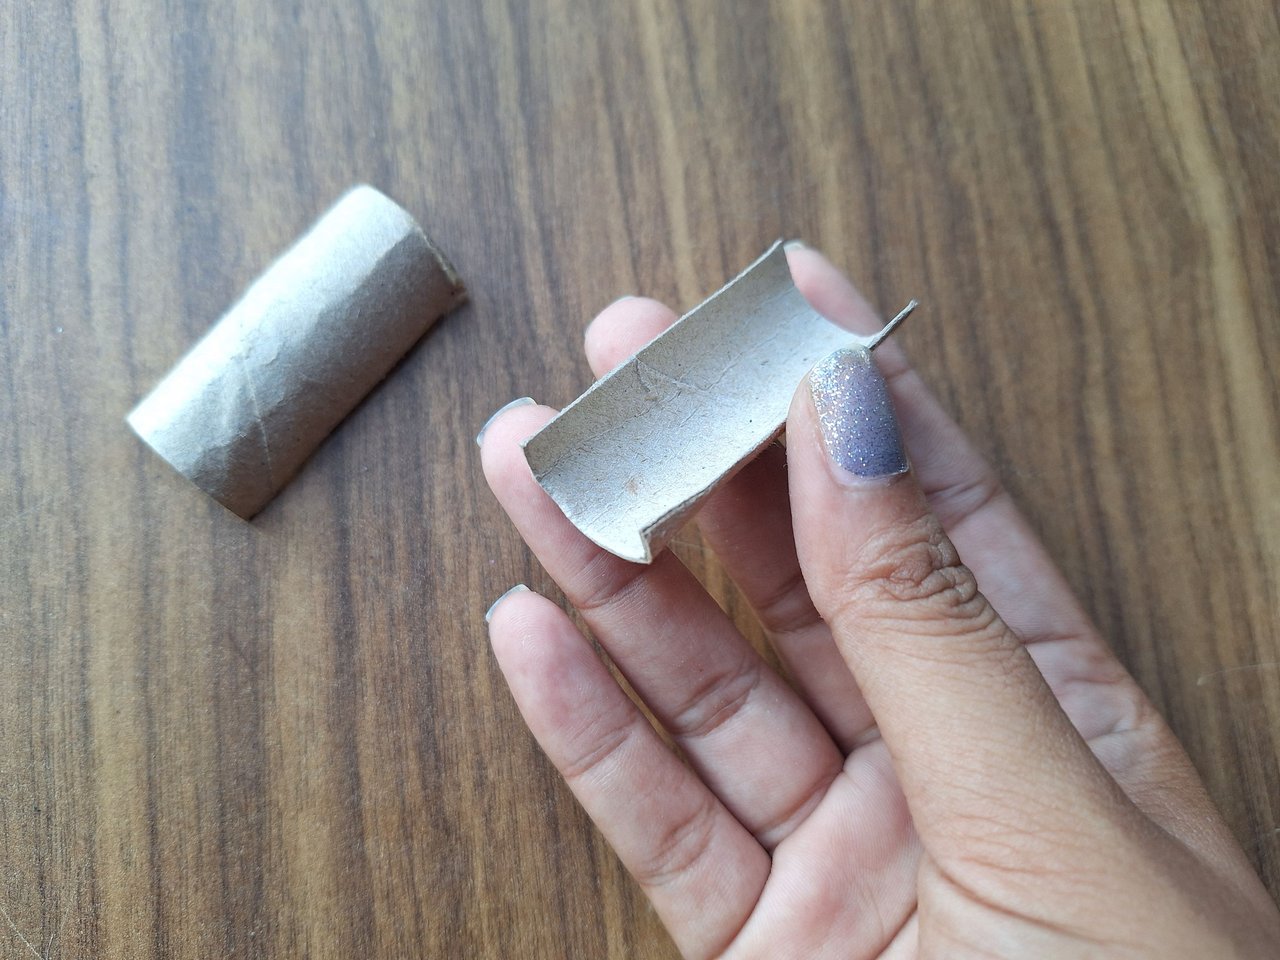
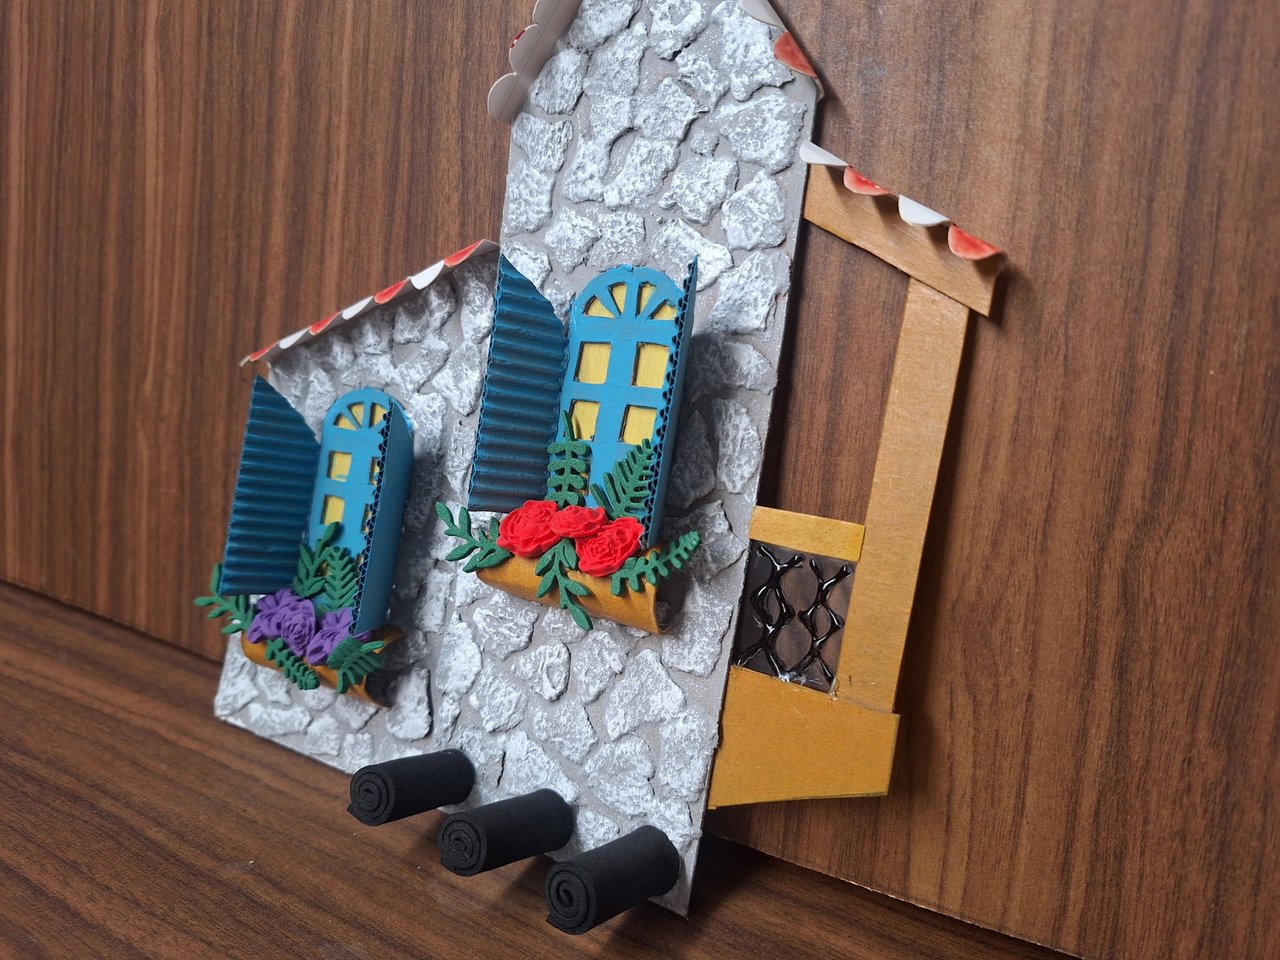
I took a piece of clear plastic plate and glued it on the back to make a balcony and with the silicone gun I made a few curves to try to make like a trellis. This I painted with a black marker. Then I cut a toilet paper tube to make two equal curved pieces, painted them and placed them under the windows to fill it with flowers.
Tomé un pedazo de placa de plástico transparente y la pegué por la parte trasera para hacer un balcón y con la pistola de silicona hice unas cuantas curvas para intentar hacer como un enrejado. Este lo pinté con un marcador negro. Luego corté un tubo de papel sanitario para hacer dos piezas iguales curvas, las pinté y coloqué debajo de las ventanas para llenarlo de flores.
 |
 |
 |
 |
 |
 |
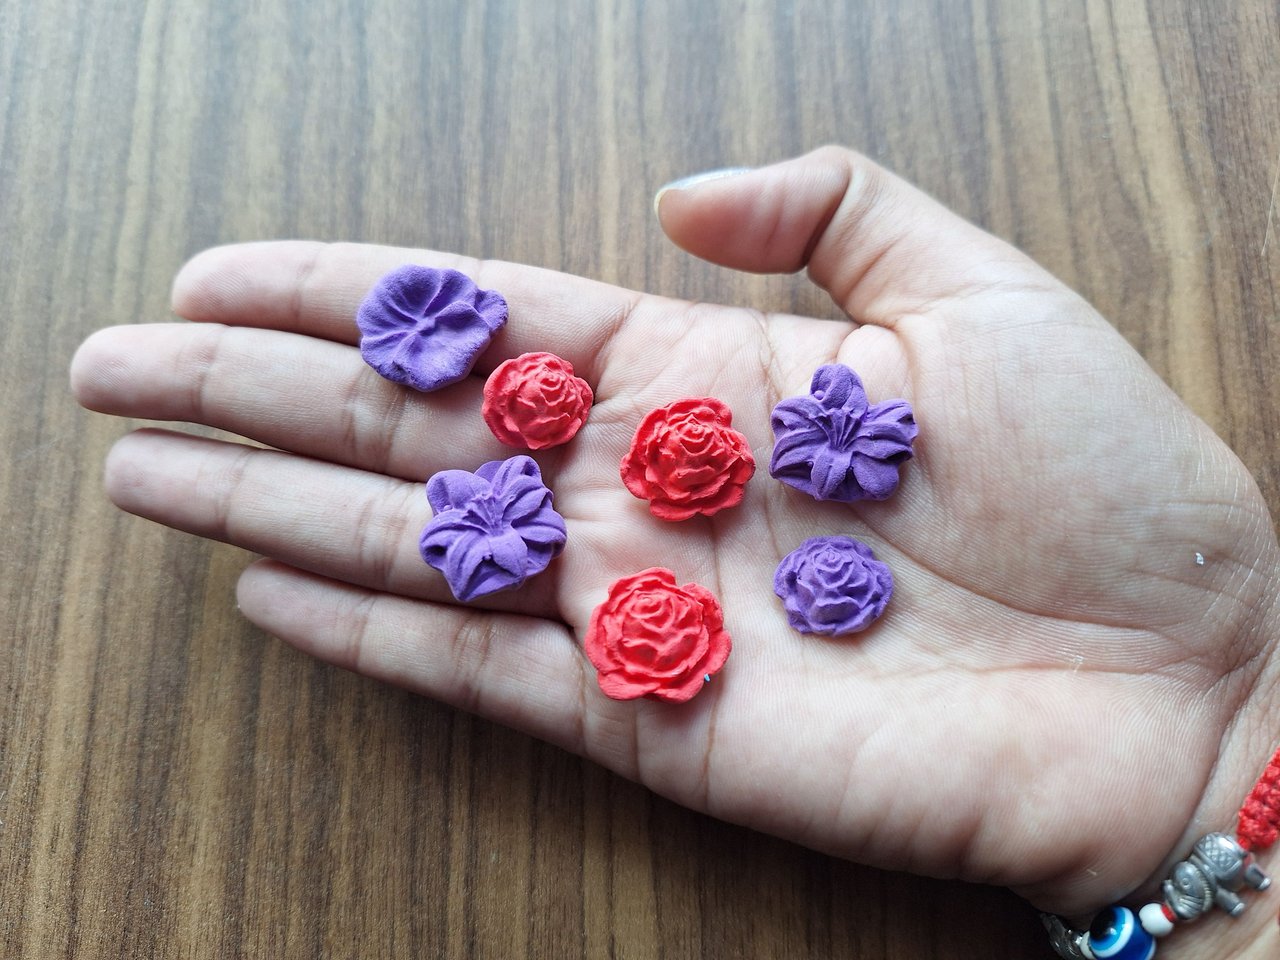
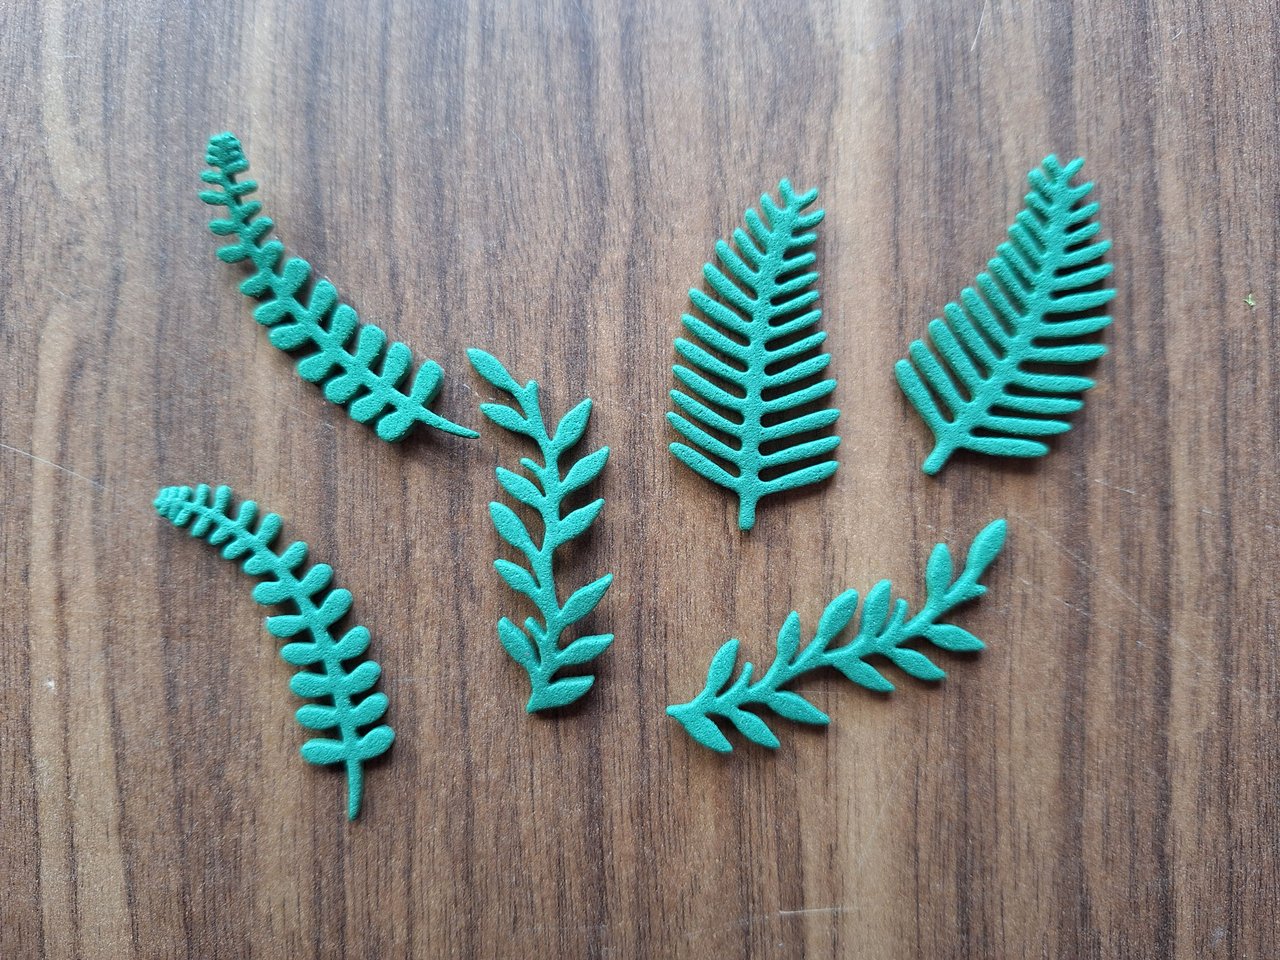
The flowers were made with moldable foami and with the help of a silicone mold to save me some time. They are also easy to make with our own hands. For the leaves I used cutting dies of various small shapes. I cut these leaves in half, as they were still too big, and glued them around the flowers.
Las flores las hice con foami moldeable y con la ayuda de un molde de silicona para ahorrarme un poco de tiempo. De igual forma es fácil hacerlas con nuestras propias manos. Para las hojas utilicé troqueles de corte de varias formas pequeñas. Estas hojas las corte a la mitad, pues todavía eran demasiado grandes y las pegué alrededor de las flores.
 |
 |
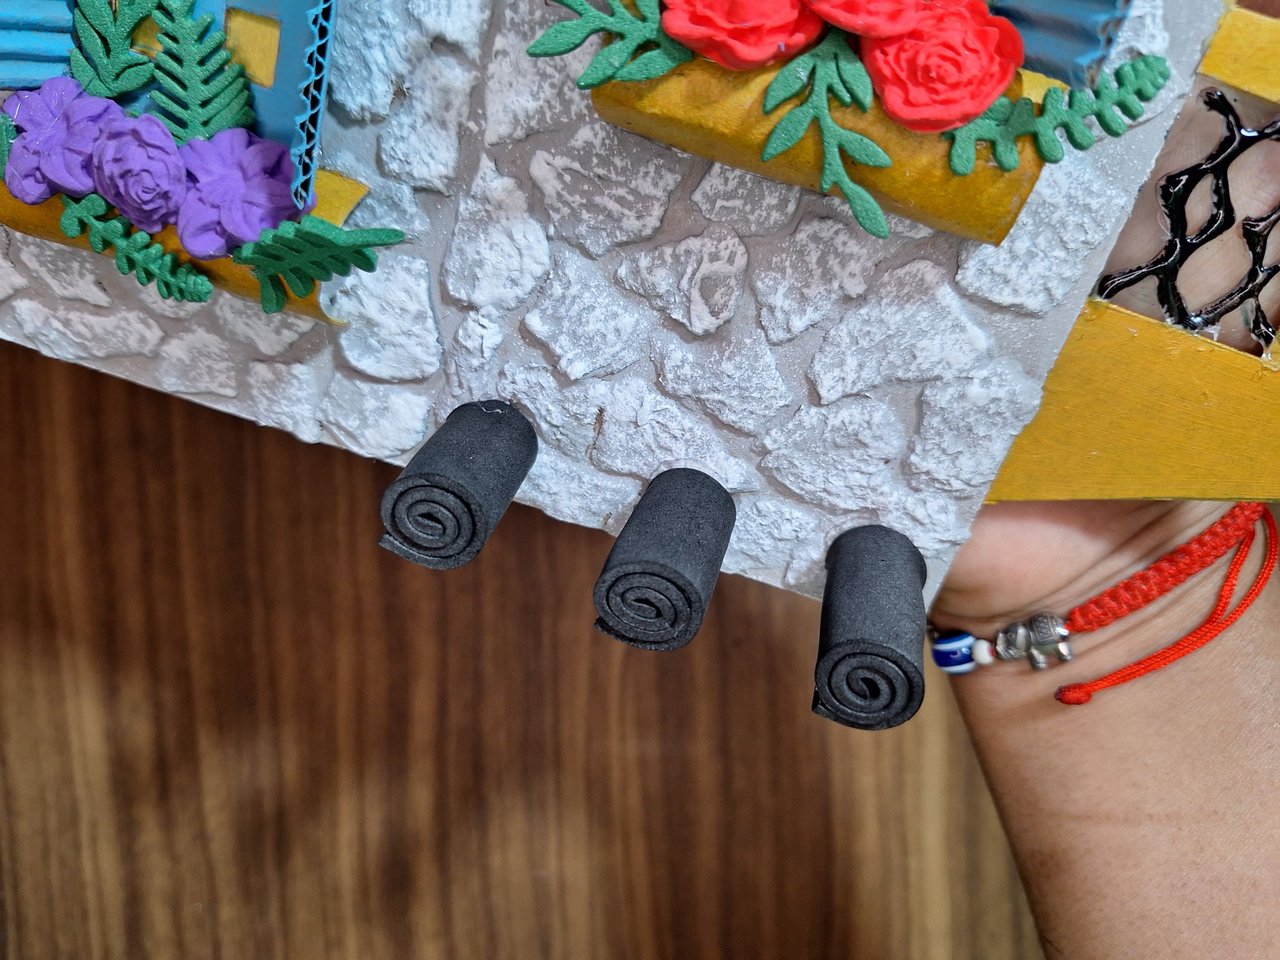 |
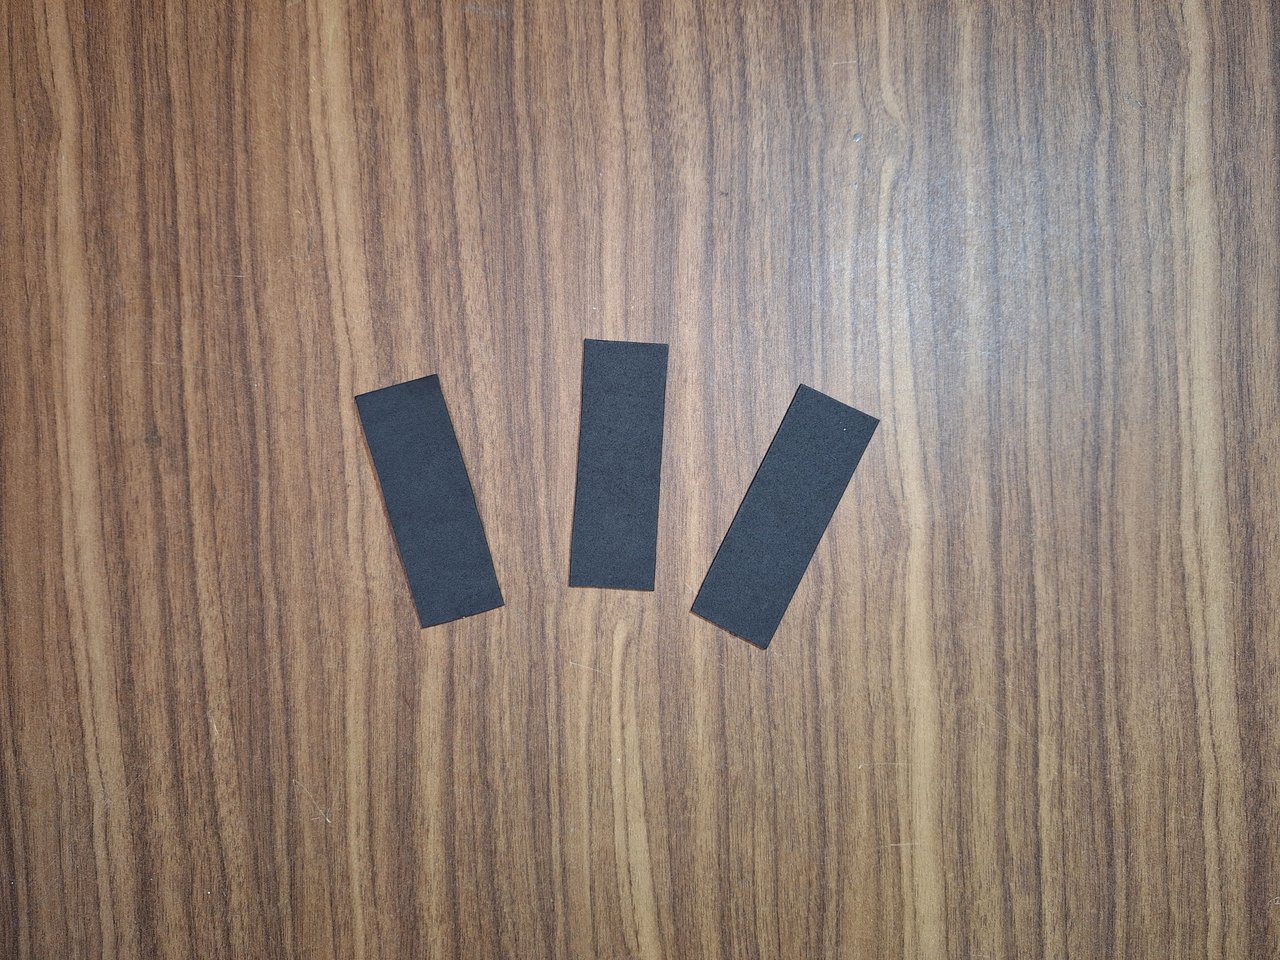
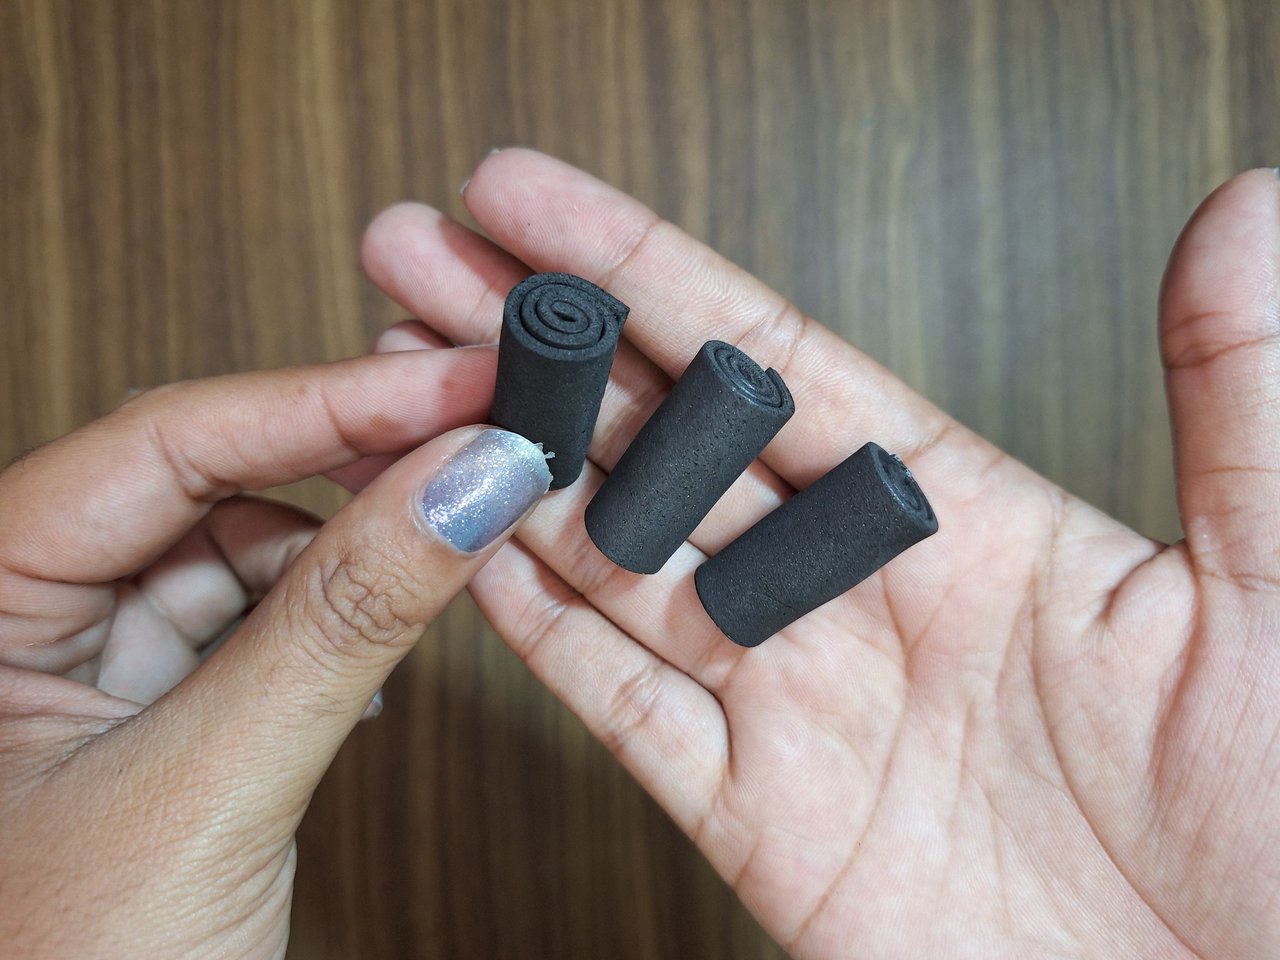
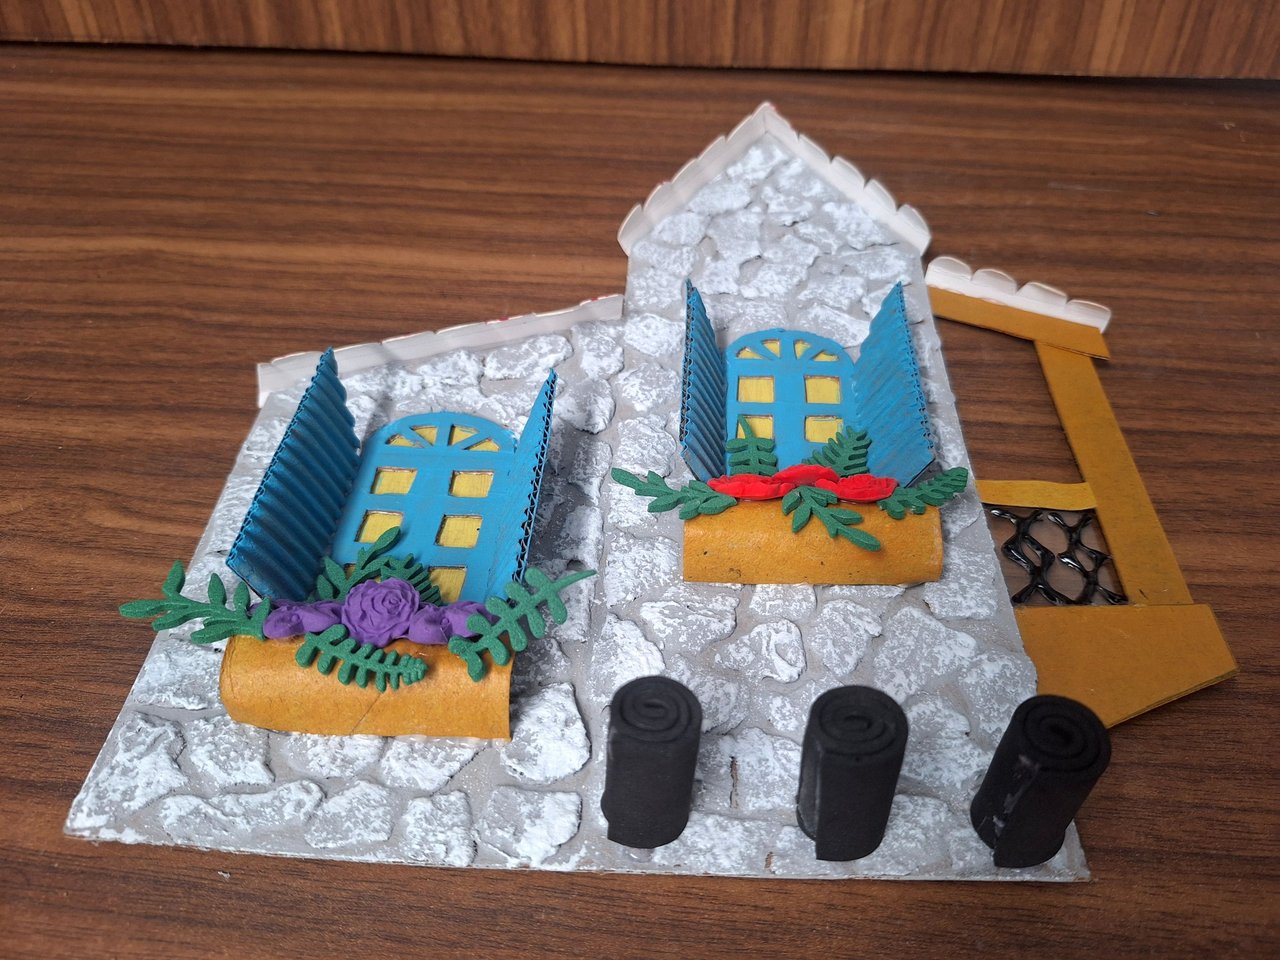
With black foami I made three rectangles and then rolled them up and glued them at the bottom, this is where the keys will be hung.
Con foami de color negro hice tres rectángulos para luego enrollarlos y pegarlos en la parte baja, aquí es donde se colgaran las llaves.
 |
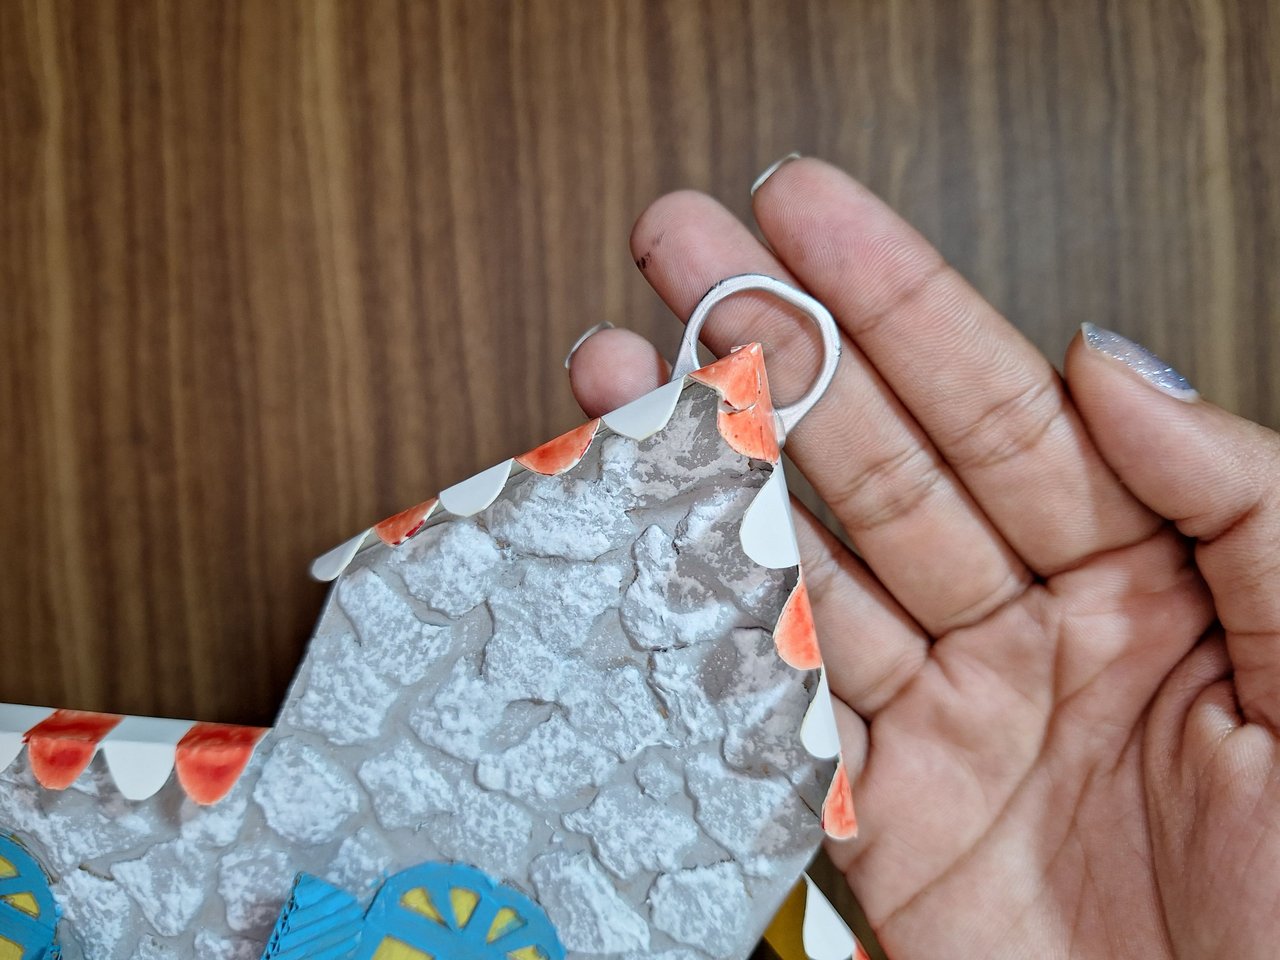 |
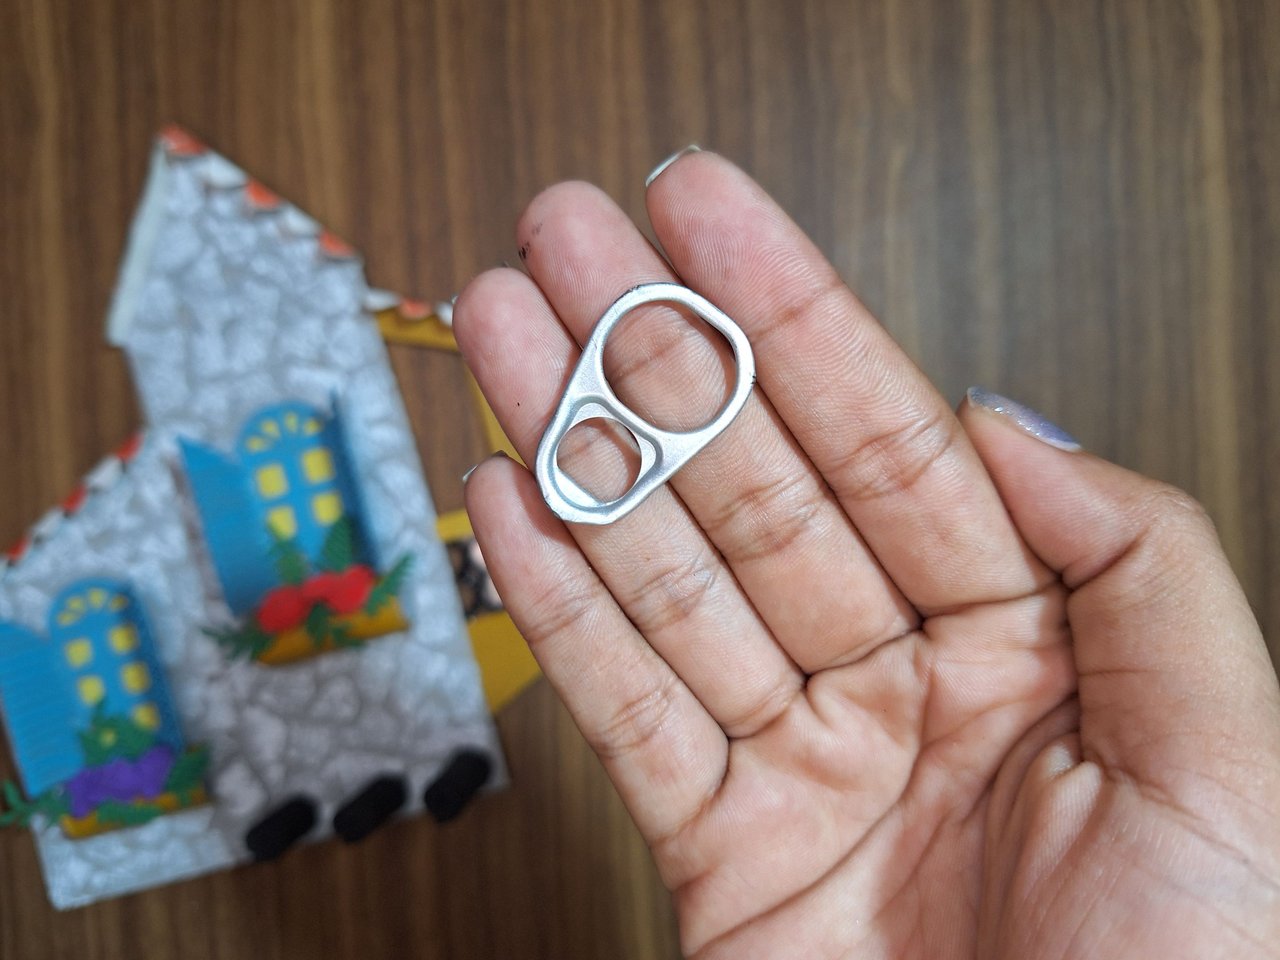
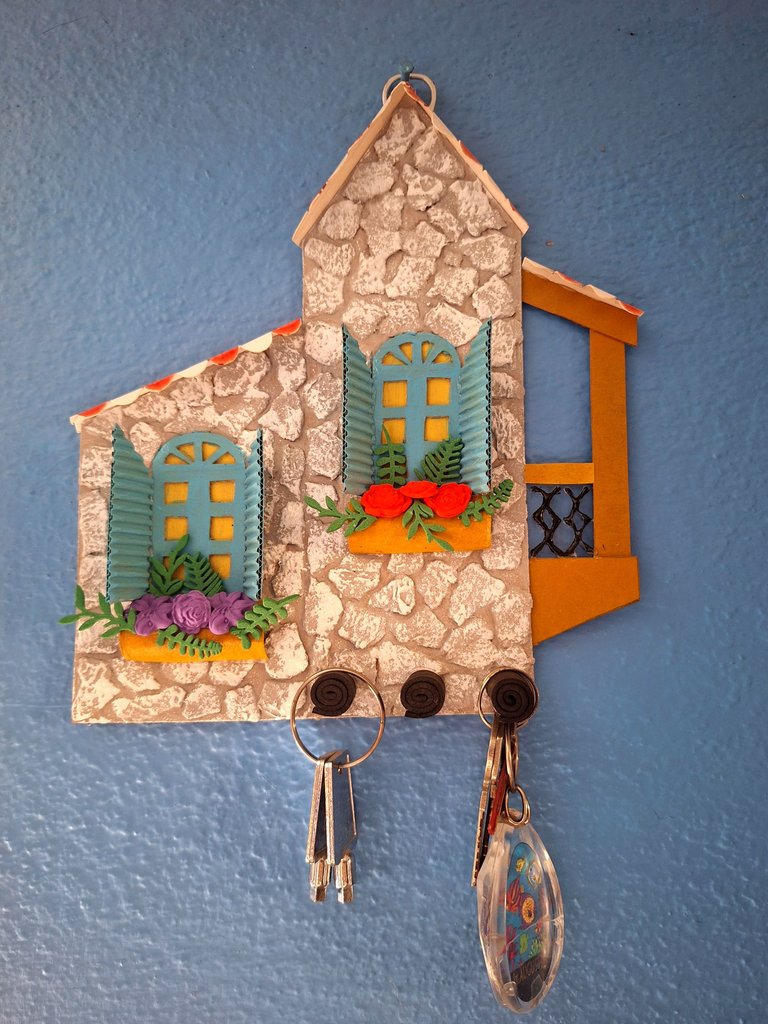
To finish, I took a plate from a sardine can and glued it on the back so I could easily hang the key holder. You can also attach a strip, a ring or something similar.
Para terminar, tomé una chapa de una lata de sardinas y la pegué por detrás para poder colgar fácilmente el portallaves. También puedes colocar una tira, una anilla o algo parecido.
 |
 |
 |
 |
 |
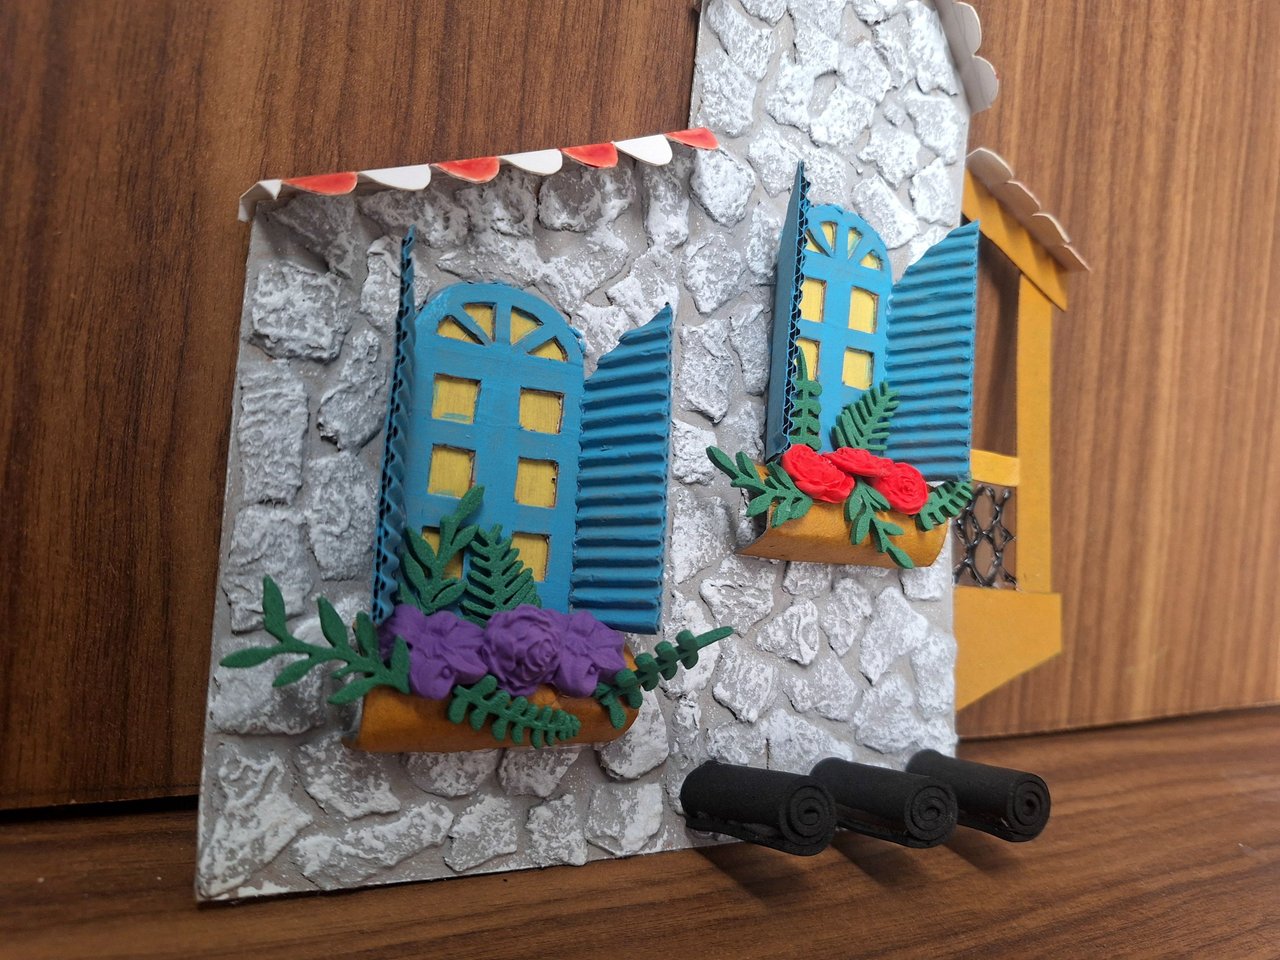
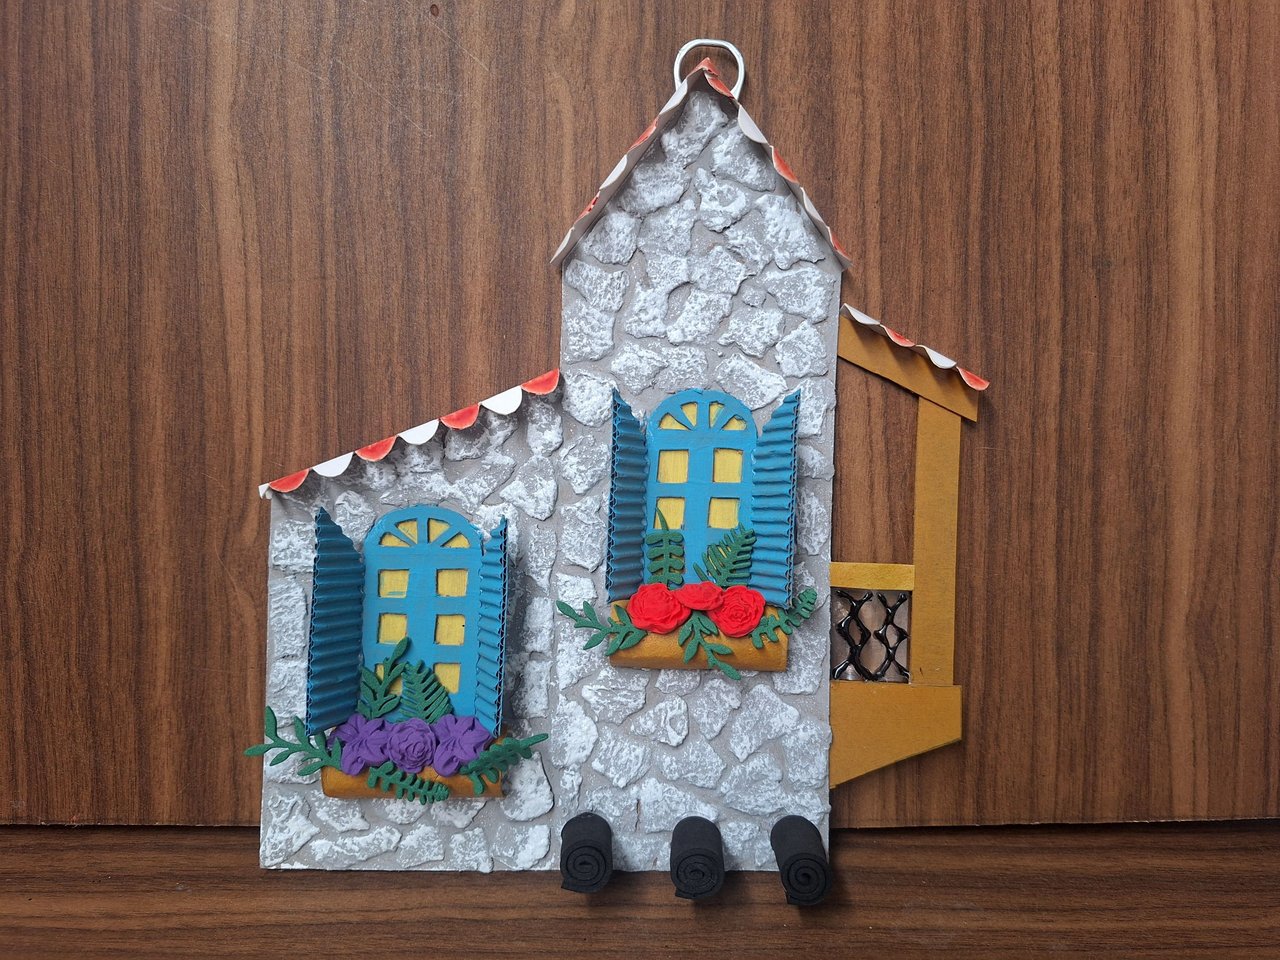
And thus is finished this beautiful diorama to decorate our homes or office. You can leave it alone as a diorama or turn it into a key holder as I did; the decision is yours. Either way it will add a touch of beauty to any corner where you choose to place it. I hope you liked it and it motivates you to make one, you know, most of them are recycled materials that we usually have at home and the rest are quite inexpensive. Let me know in the comments, what you thought and new suggestions. Best regards.
Y de esta forma se encuentra terminado este hermoso diorama para decorar nuestros hogares u oficina. Se puede dejar solo como un diorama o convertirlo en portallaves como yo lo hice; la decisión es tuya. De las dos formas le aportará su toque de belleza a cualquier rincón donde elijas colocarlo. Espero que te haya gustado y te motive a hacer uno, ya sabes, la mayoría son materiales reciclados que generalmente tenemos en casa y el resto son bastante económicos. Déjame en los comentarios, qué te pareció y nuevas sugerencias. Un saludo.
Cover made in Canva
English is not my native language, translated by DeepL
Reference image here
This is very beautiful and well made, it really an excellent craft work and I applaud your skills for that, wishing you all the best and good job
Thank you very much, it is a job that takes time but you can see the results 🤗.
This is n incredible craft work. Doubling as a key holder makes it even more amazing. Well done
Thank you very much, I wanted it to be not only beautiful but also practical.🤗
Ufff te quedó precioso, es increíble como se pueden hacer maravillas con material reciclado.
Muchas gracias 🥰,Así mismo es, la basura de unos es el tesoro de otros 😀
Indeed that it's art. Thanks my mom love it.
Thank you very much, I'm glad your mom likes it 🤗.
que lindo y creativo!
how cute and creative!
Gracias 🥰
Que bonito ha quedado
Muchas gracias 🥰