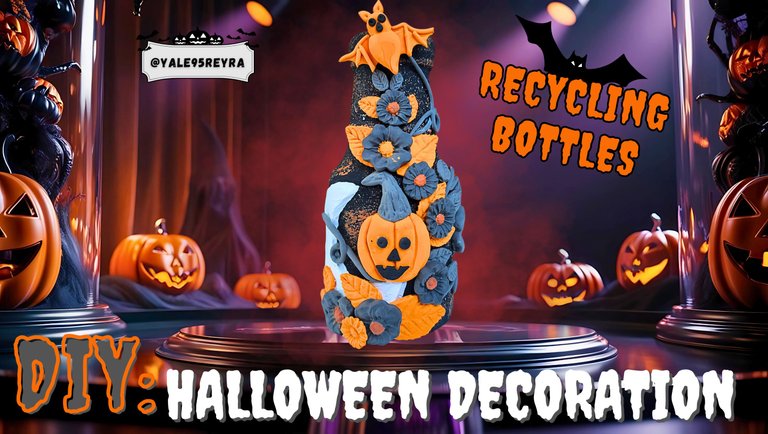
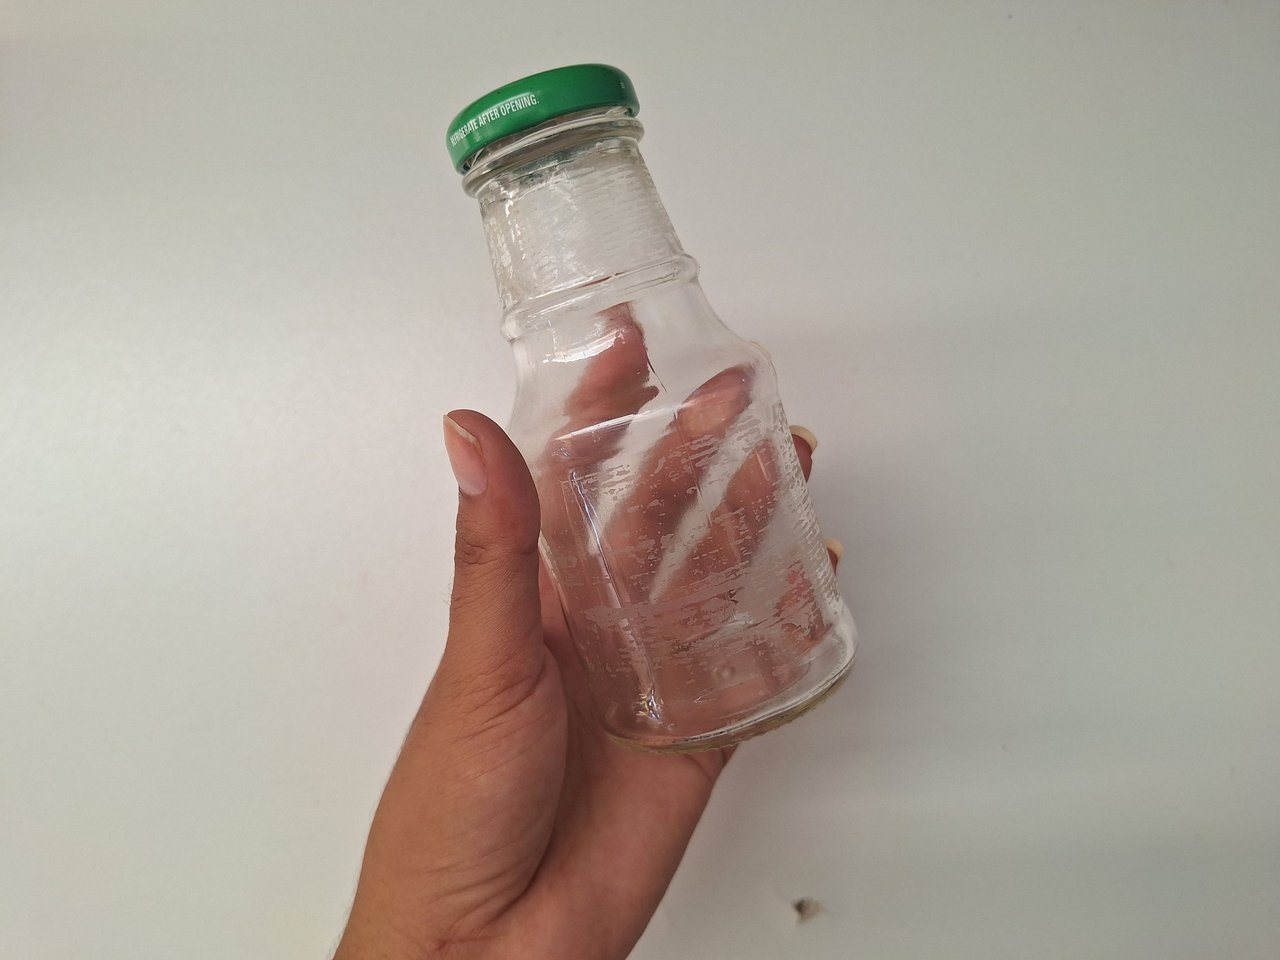
Hello dear craft lover friend, Halloween is days away, so I take this opportunity to show you another of my decorations for this special day. This time, I decorated a bottle, if you know me you will know that I love to do it, because I like to give a new life to recycled objects. I loved this bottle since I had it in my hands for its small and chubby shape, my sister gave it to me with guacamole sauce, because I love avocado, and recently its content was finished, so I knew at that moment and without hesitation that it was going to be the basis of my next craft.
For the decoration I selected traditional Halloween colors, orange and black, however, for the flowers I elaborated a shade of gray to make it stand out on top of the black but without changing the color palette. Below, I show you all the materials used and the step by step of the whole creative process.
Hola querido amigo amante de las manualidades, faltan días para la celebración de Halloween, por lo que aprovecho para mostrarles otra de mis decoraciones para este día tan especial. En esta ocasión, decoré una botella, si me conoces sabrás que me encanta hacerlo, pues me gusta darle una nueva vida a los objetos reciclados. Esta botella la adoré desde que la tuve en mis manos por su forma pequeña y gordita, mi hermana me la regaló con salsa de guacamole, porque me encanta el aguacate, y recientemente se acabó su contenido, pues supe en ese momento y sin dudarlo que iba a ser la base de mi próxima manualidad.
Para la decoración seleccioné colores tradicionales de Halloween, naranja y negro, sin embargo, para las flores elaboré un tono de gris para que resaltara encima del negro pero sin cambiar la paleta de colores. A continuación, te muestro todos los materiales utilizados y el paso a paso de todo el proceso creativo.

🎃Materials // Materiales🎃
- Recycled bottle / Botella reciclada
- Cardboard / Cartón
- Silicone / Silicona
- Brushes / Pinceles
- Yellow, red, black and white paint / Pintura amarilla, roja, negra y blanca
- Orange, black and white moldable Foami / Foami moldeable naranja, negro y blanco
- Liquid glue / Pegamento líquido
- Cooking paper / Papel de cocina
- Silicone molds of leaves and flowers / Moldes de silicona de hojas y flores
- Scissors / Tijera
- Sponge / Esponja
🎃Step by step // Paso a paso🎃
 |  |  |
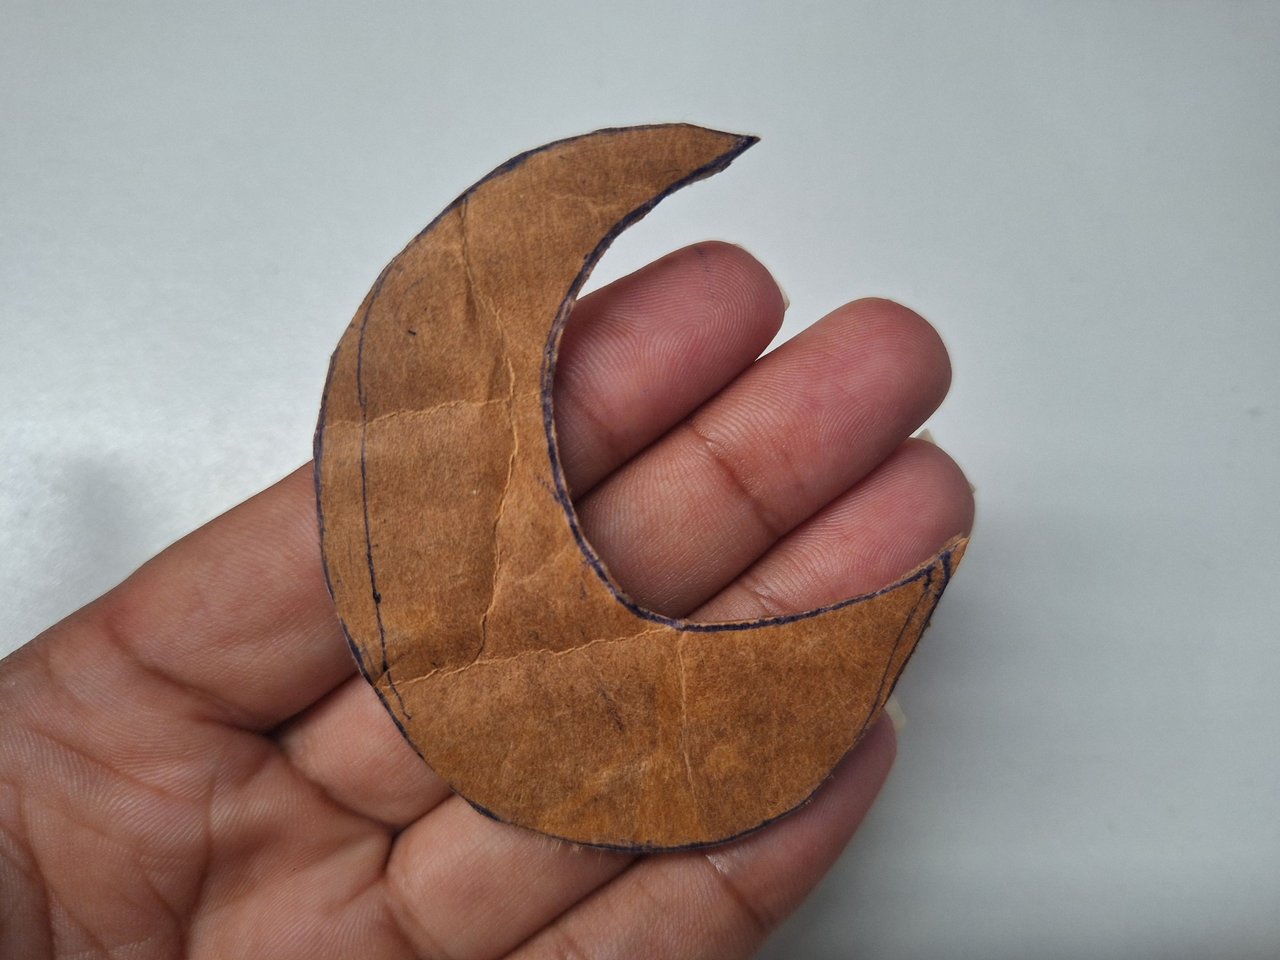 | 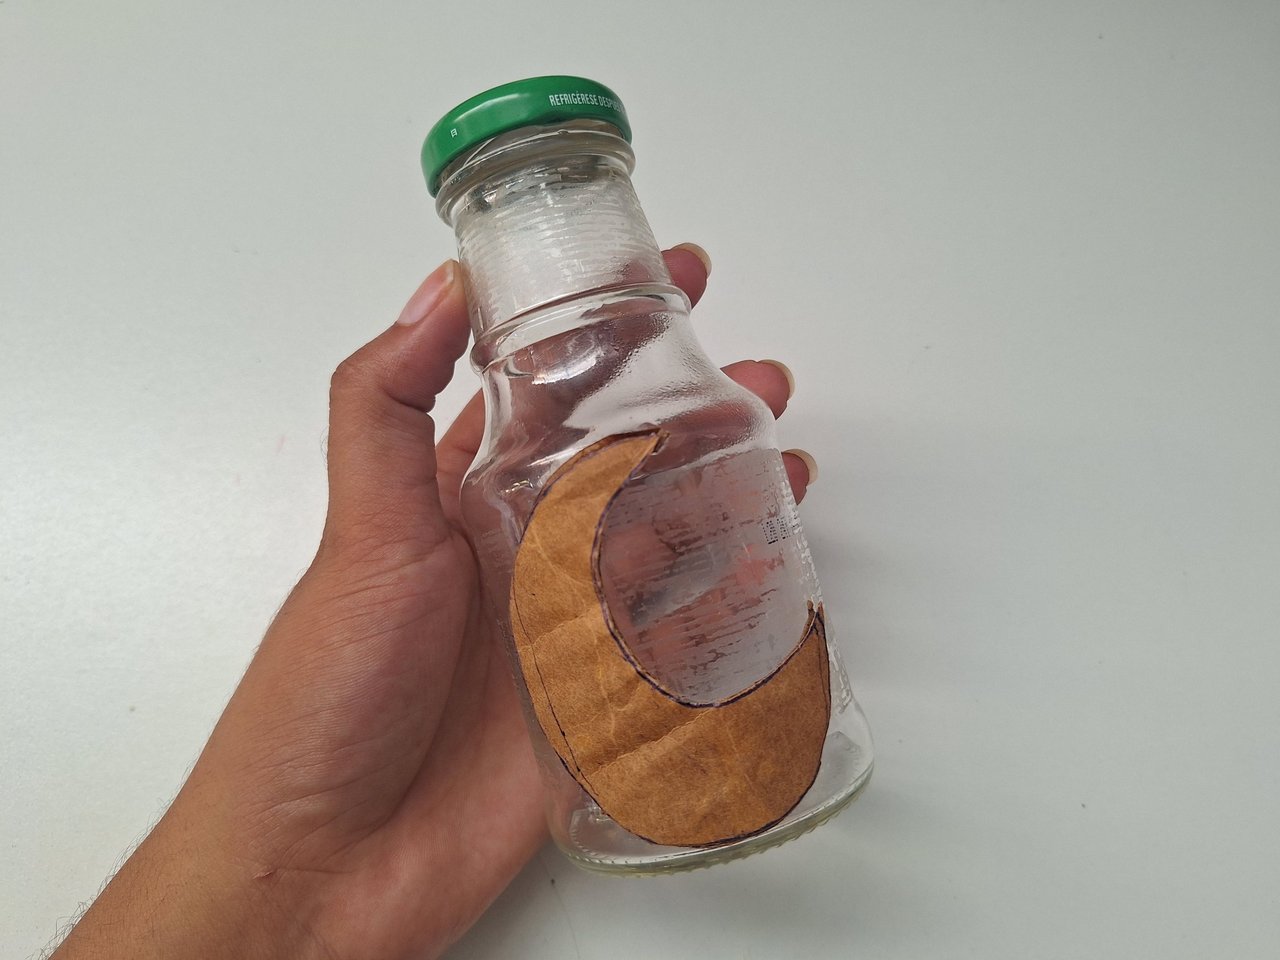 |
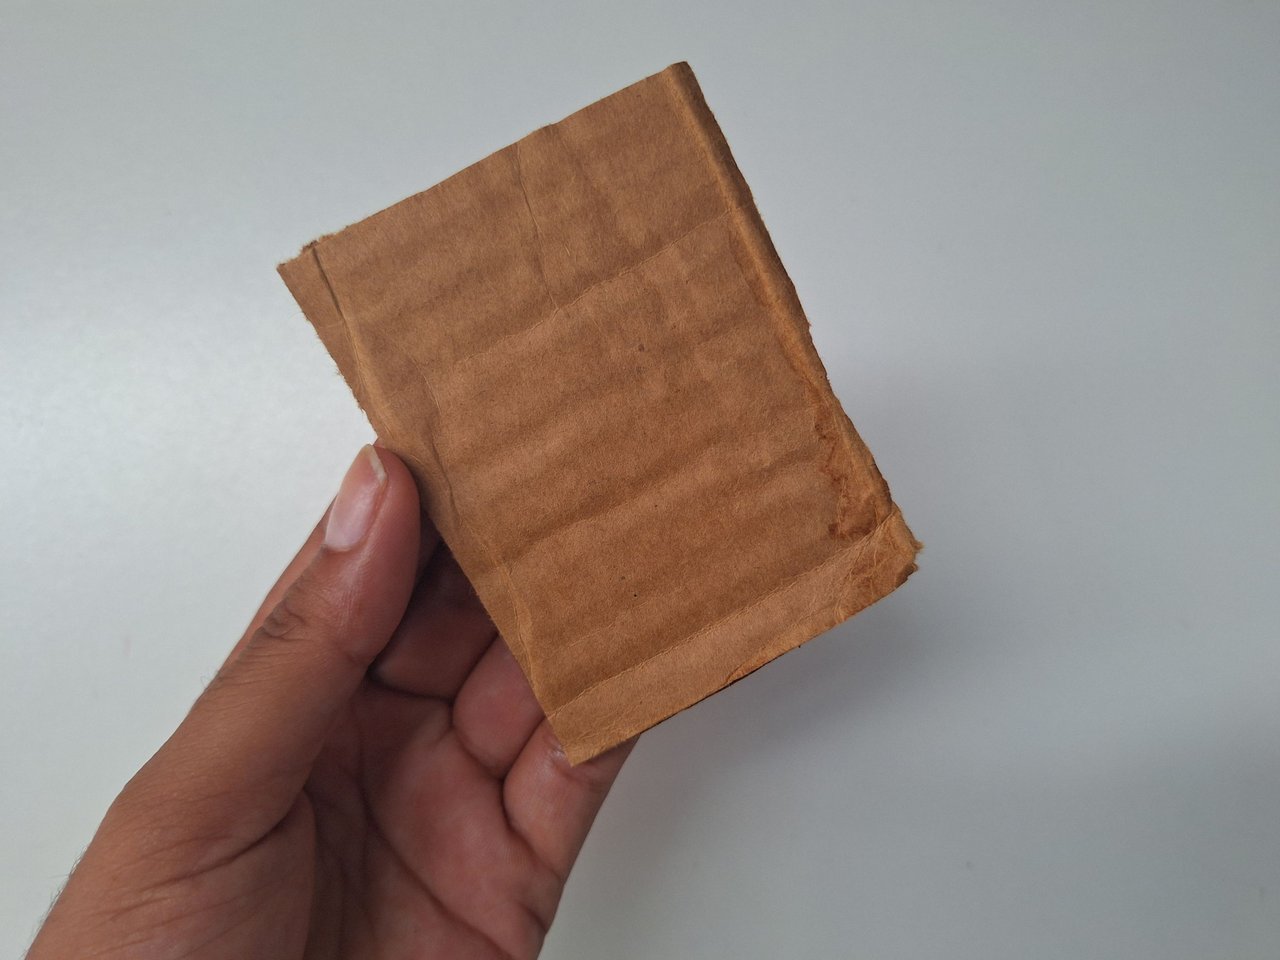
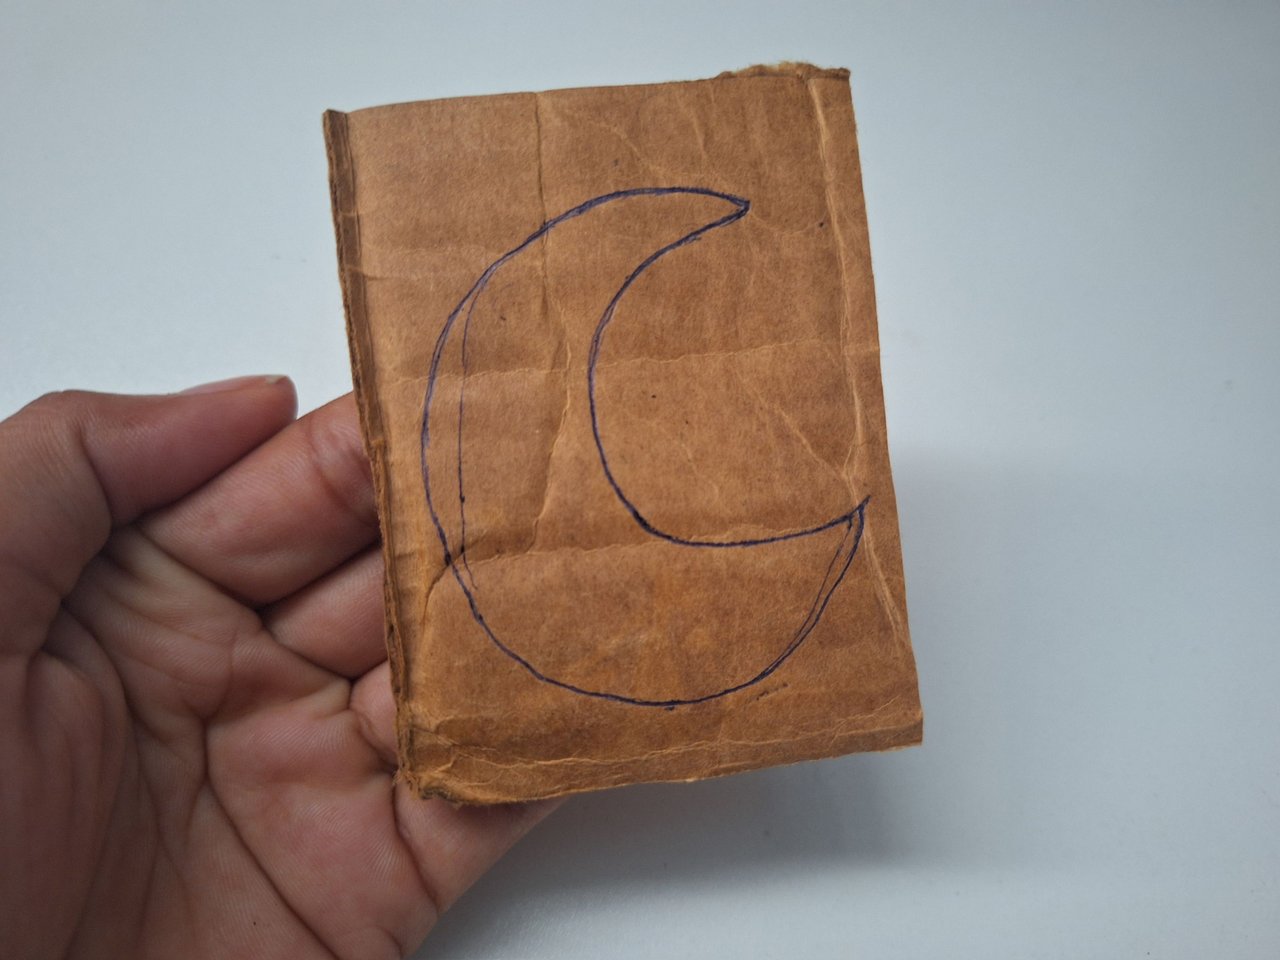
The first thing you need to do is to take a bottle, wash it well and completely remove the labels. Then draw the silhouette of a moon on a piece of thick cardboard, cut it out and glue it on the bottle.
Lo primero que debes hacer es tomar una botella, lavarla bien y eliminar completamente las etiquetas. Luego dibujar la silueta de una luna sobre una pieza de cartón grueso, recortar y pegar sobre la botella.
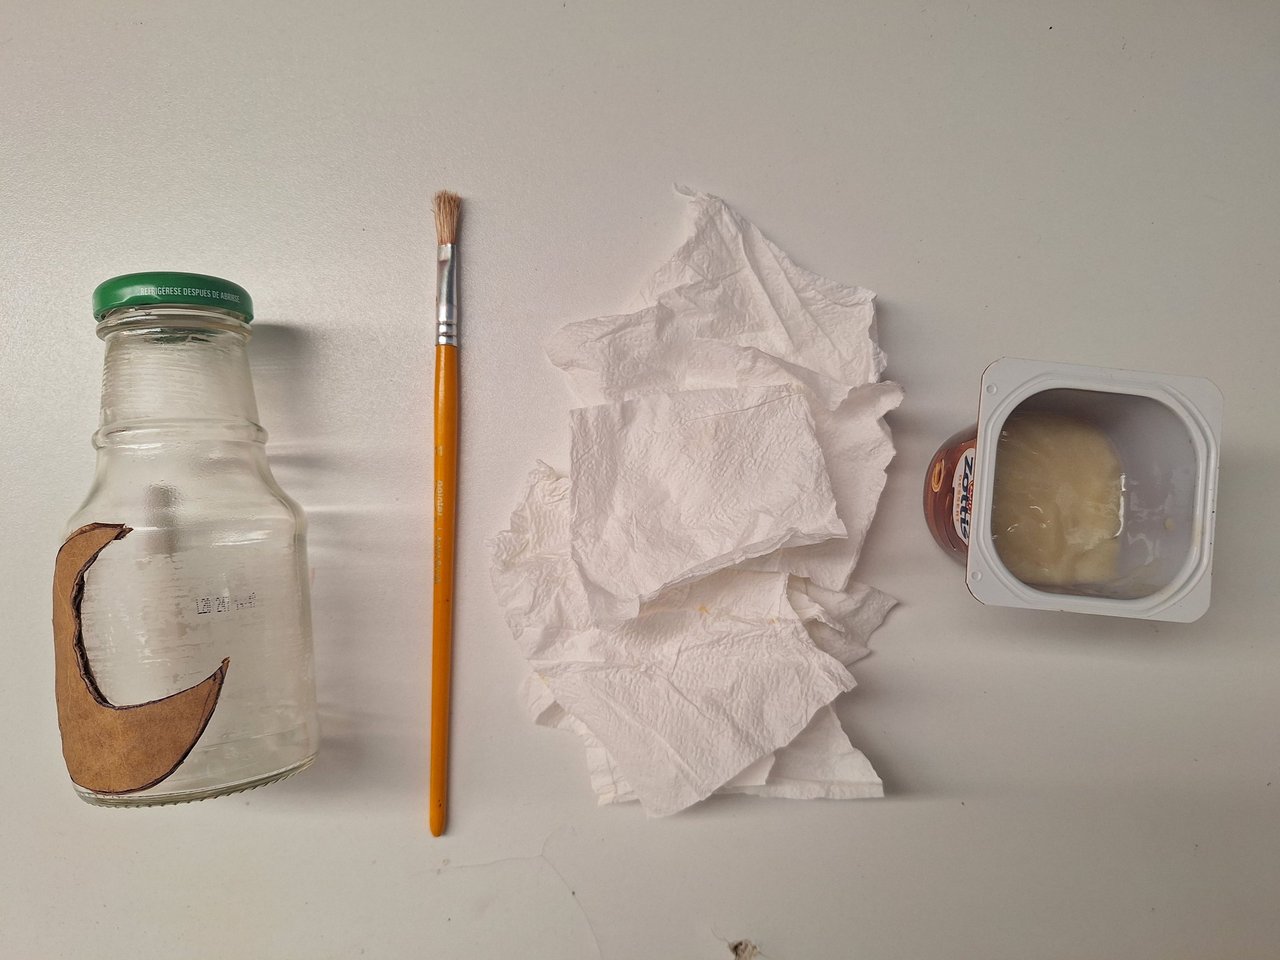 | 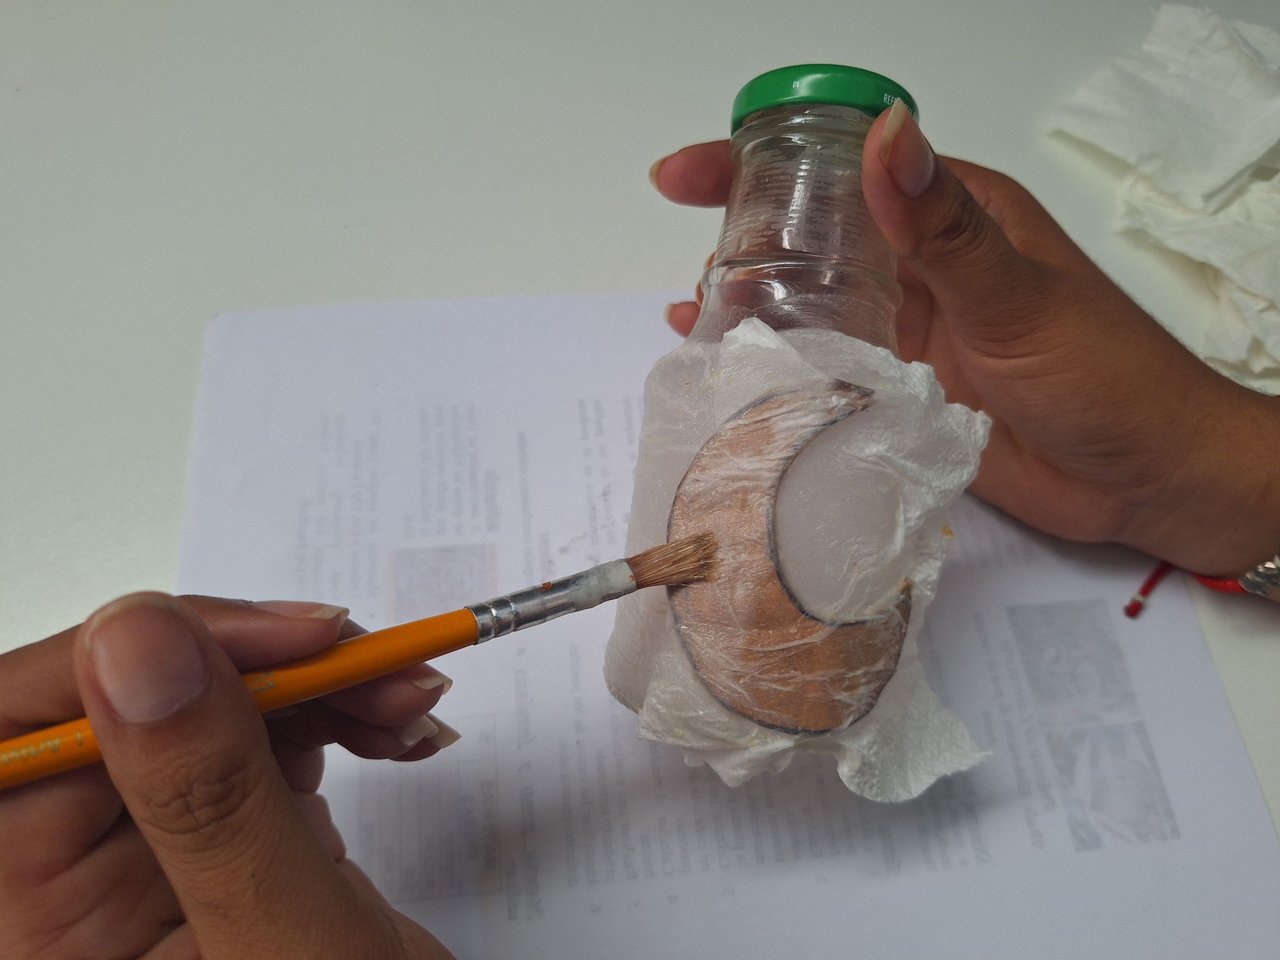 | 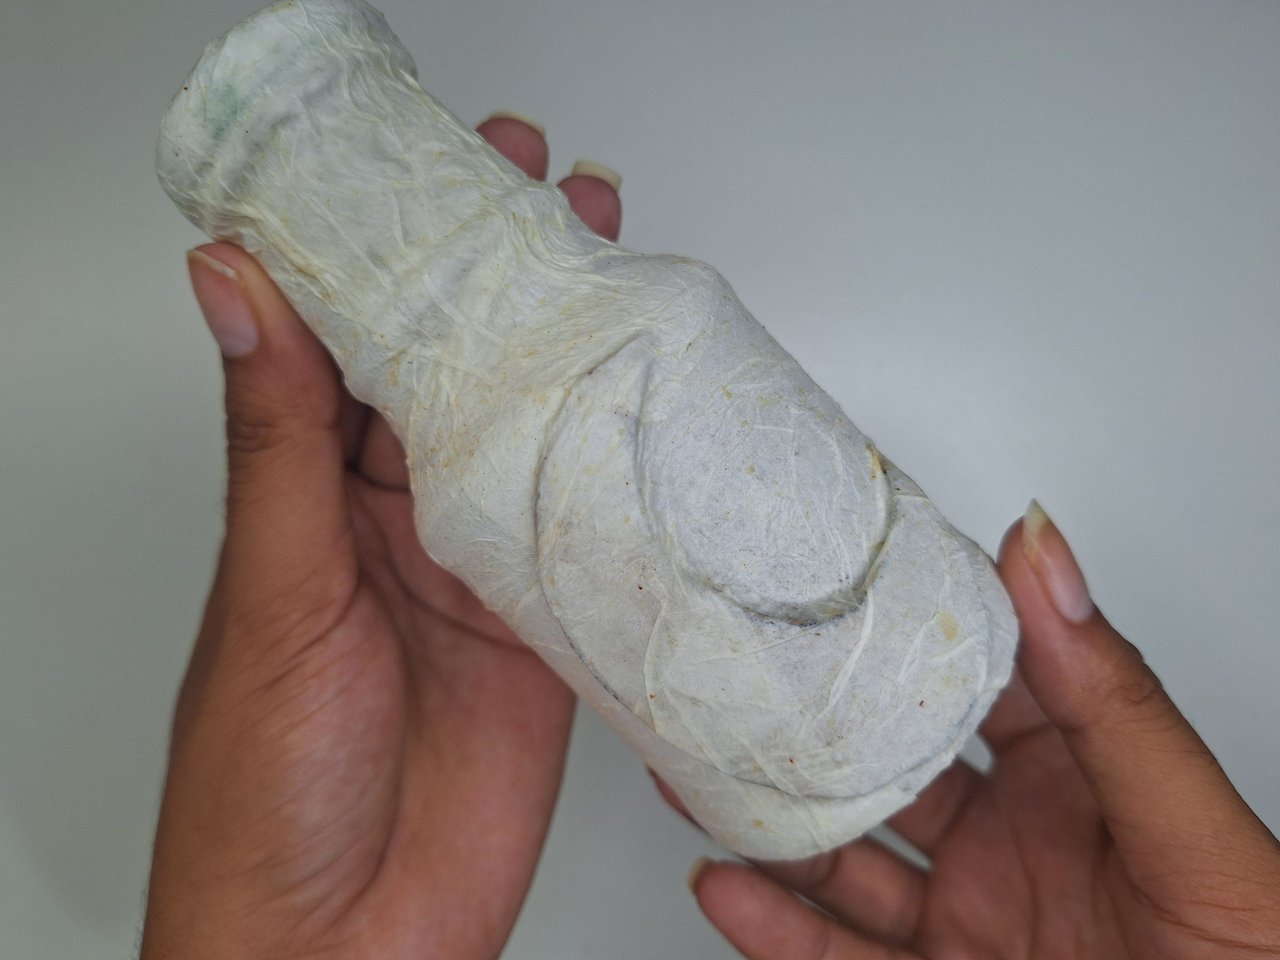 |
Using kitchen paper and liquid glue, paper the entire surface of the bottle, I always do this because the paint I use does not adhere well to the glass and otherwise there would be streaks from the brush strokes, also the papering gives some relief to the body of the bottle.
Utilizando papel de cocina y pegamento líquido, empapelar toda la superficie de la botella, esto siempre lo hago porque la pintura que utilizo no se adhiere bien al cristal y de lo contrario quedarían betas de los brochazos, además el empapelado le aporta cierto relieve al cuerpo de la botella.
 |  |  |
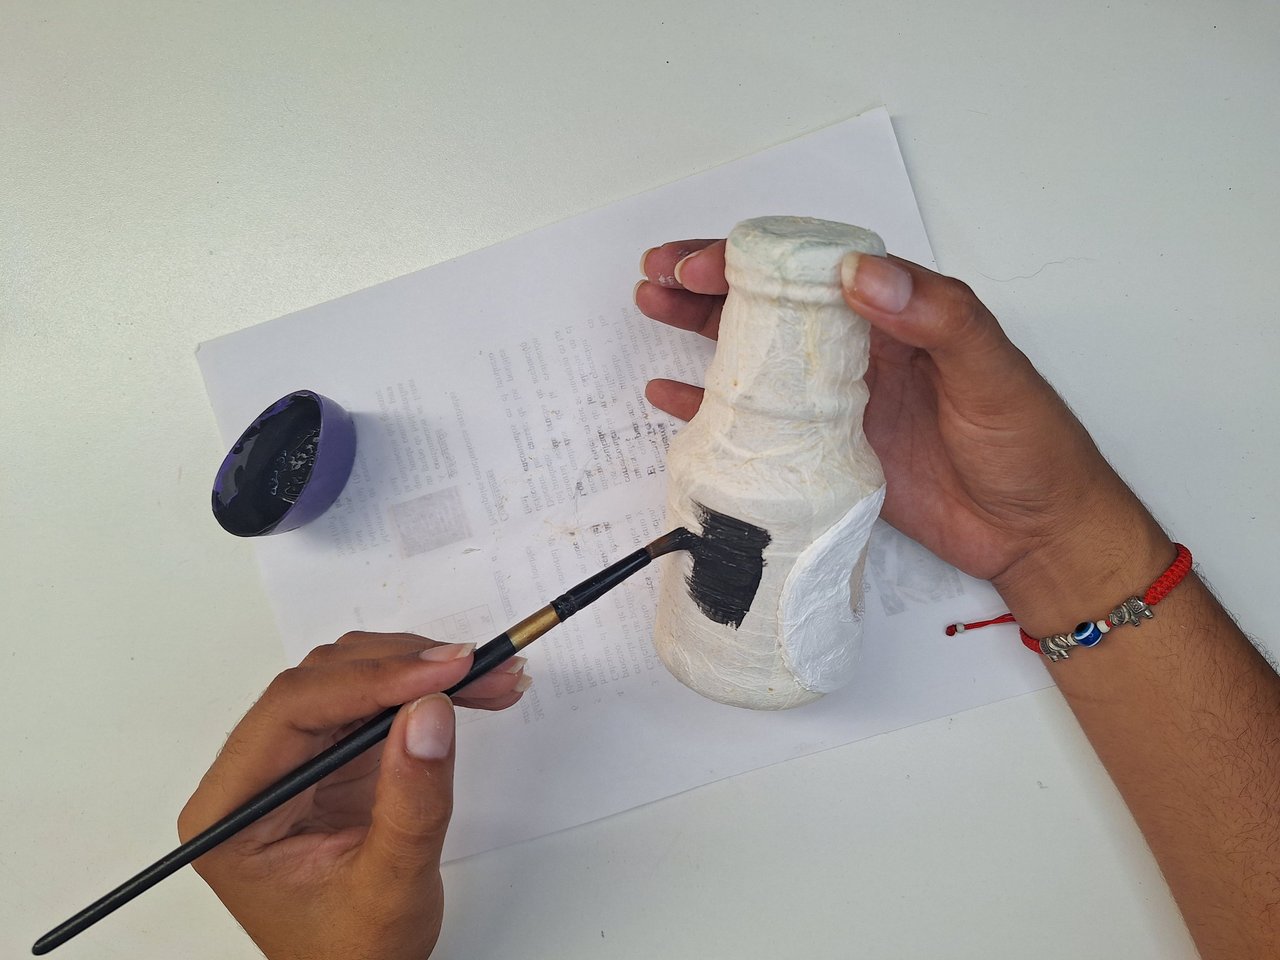 | 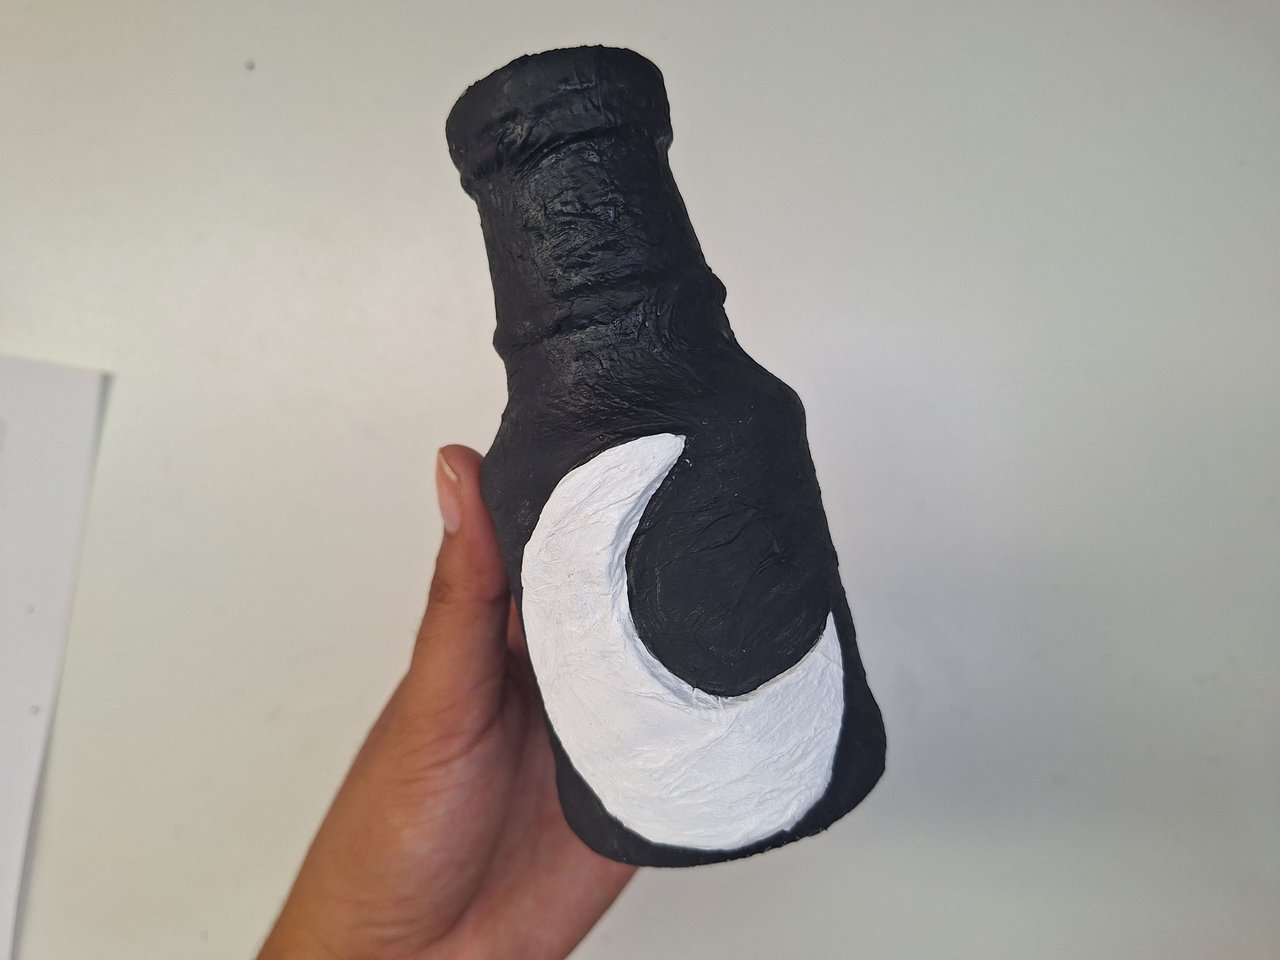 |
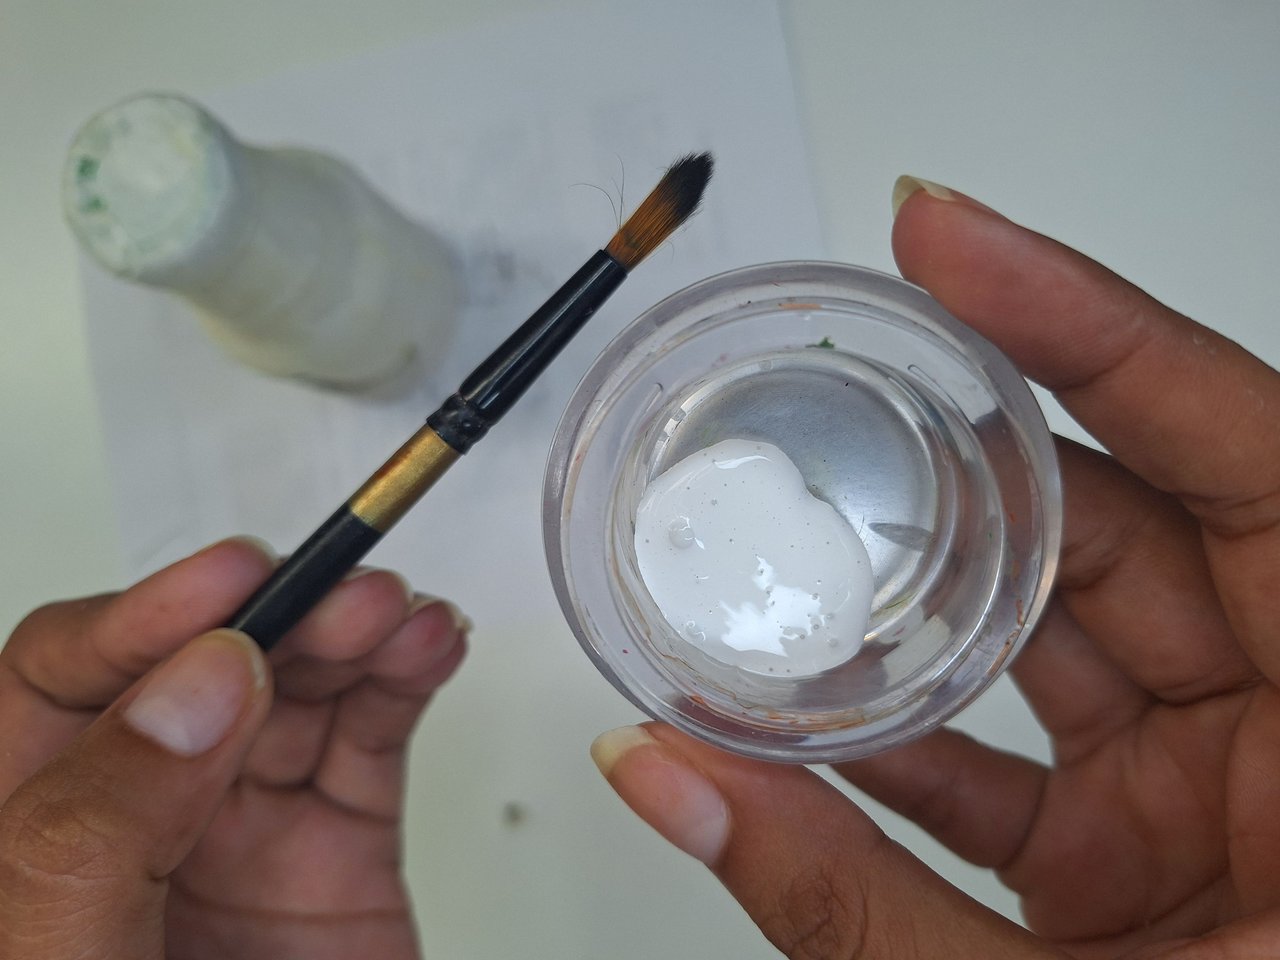
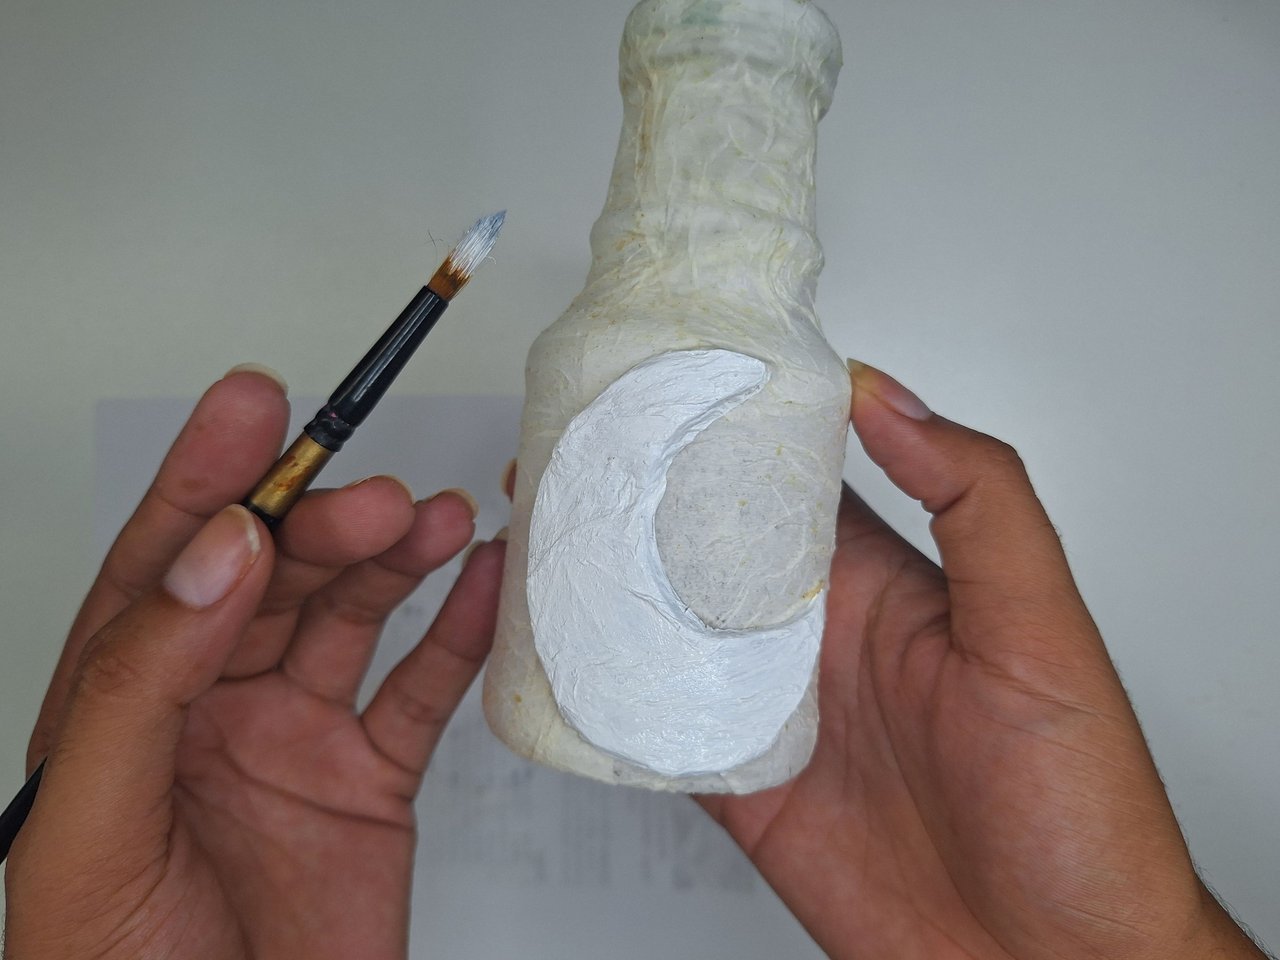
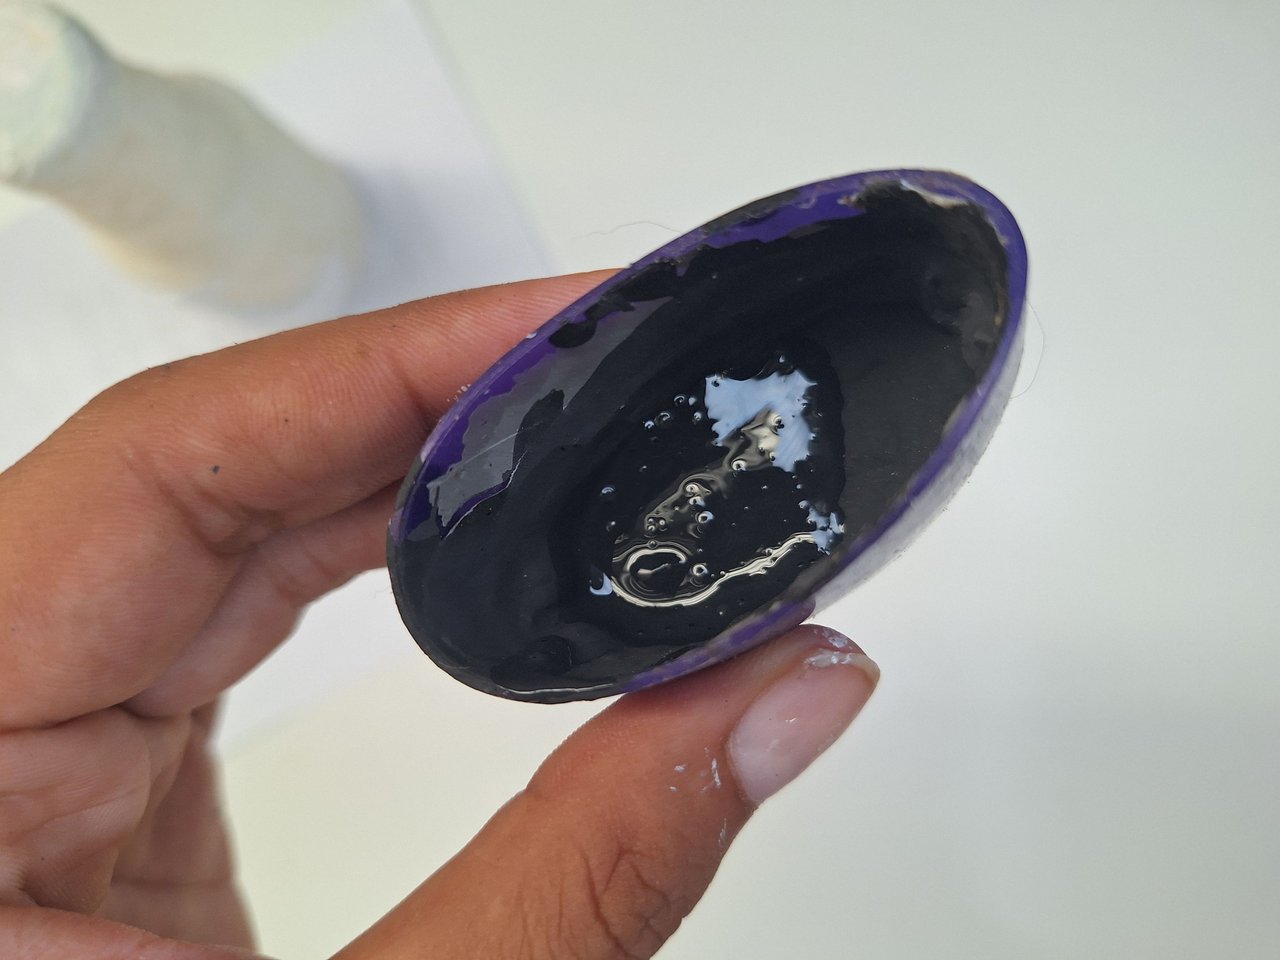
Paint the moon in white as usual, and the rest in matte black as a base color.
Pintar la luna de color blanco como es habitual, y el resto de color negro mate como base.
 |  |  |
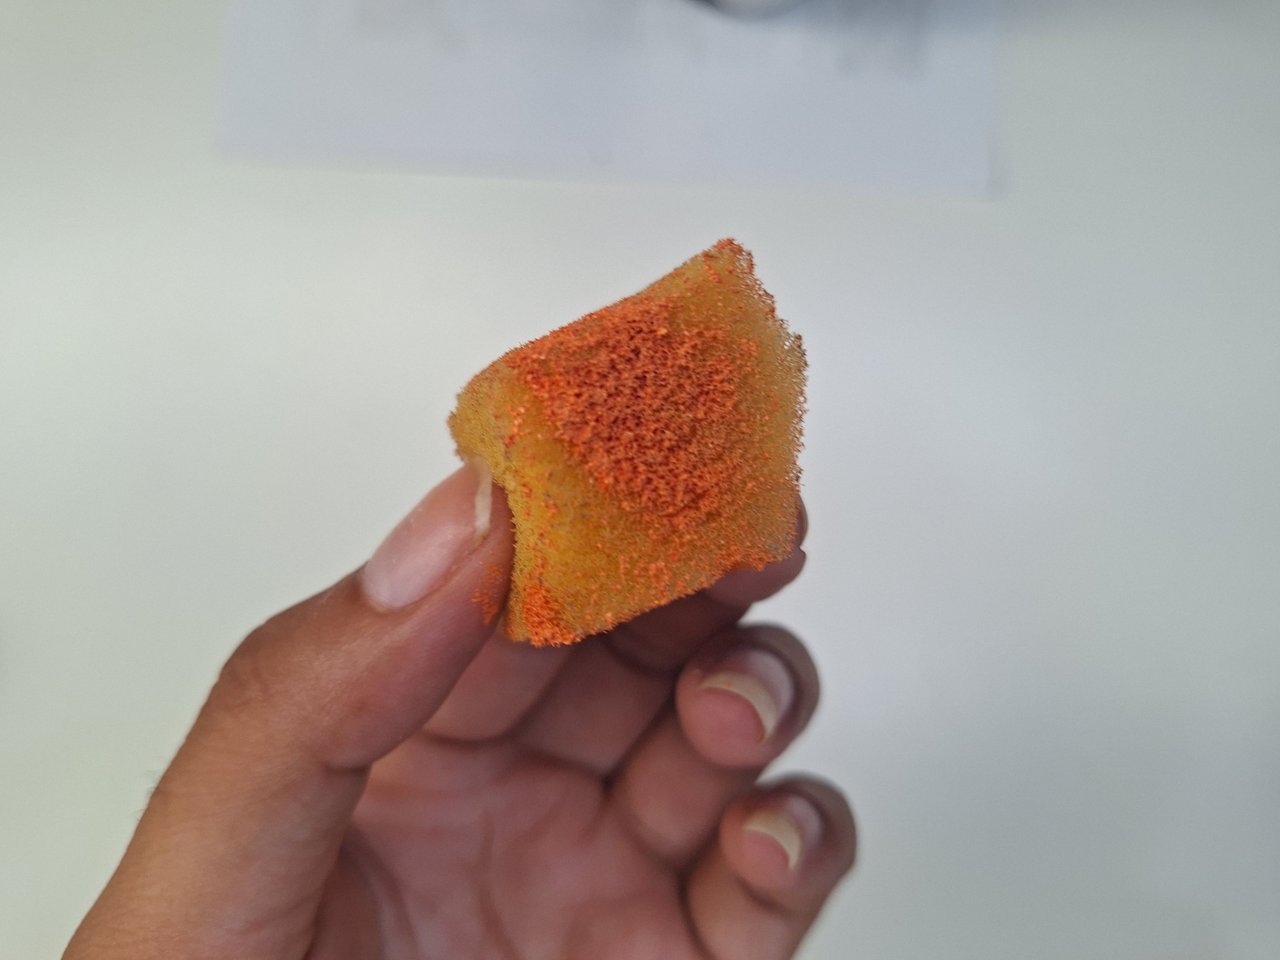 | 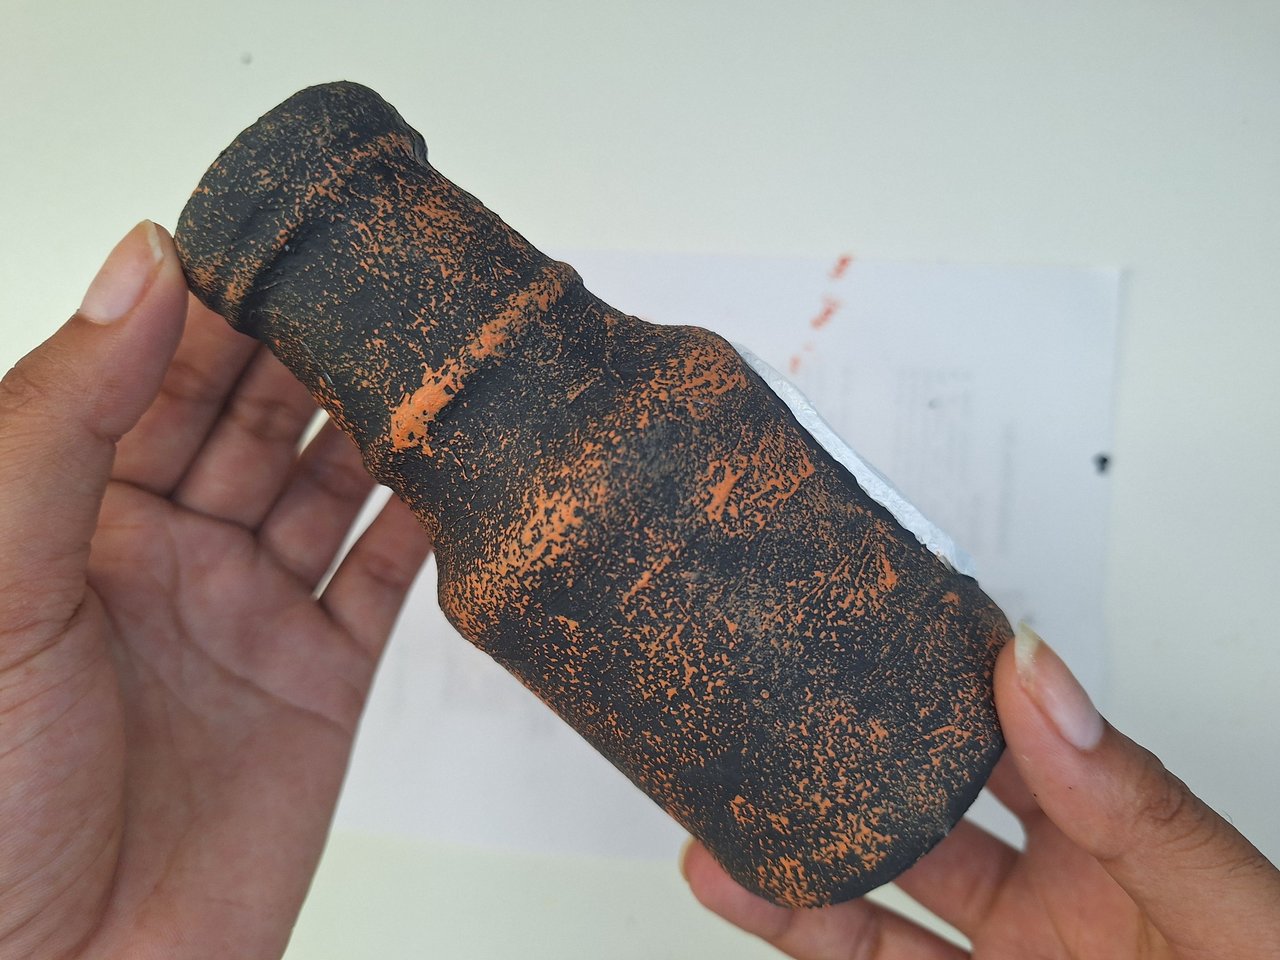 |
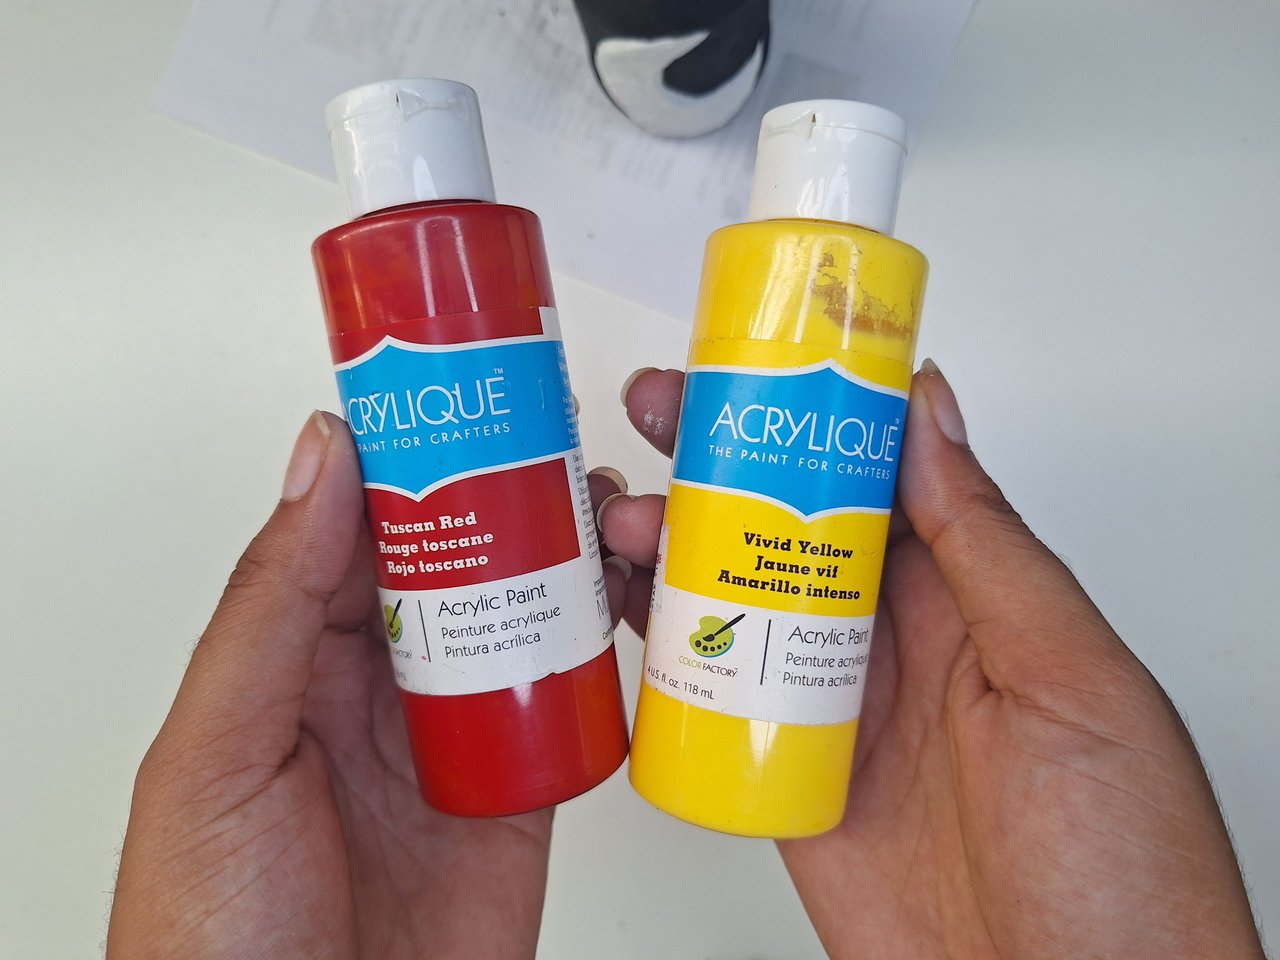
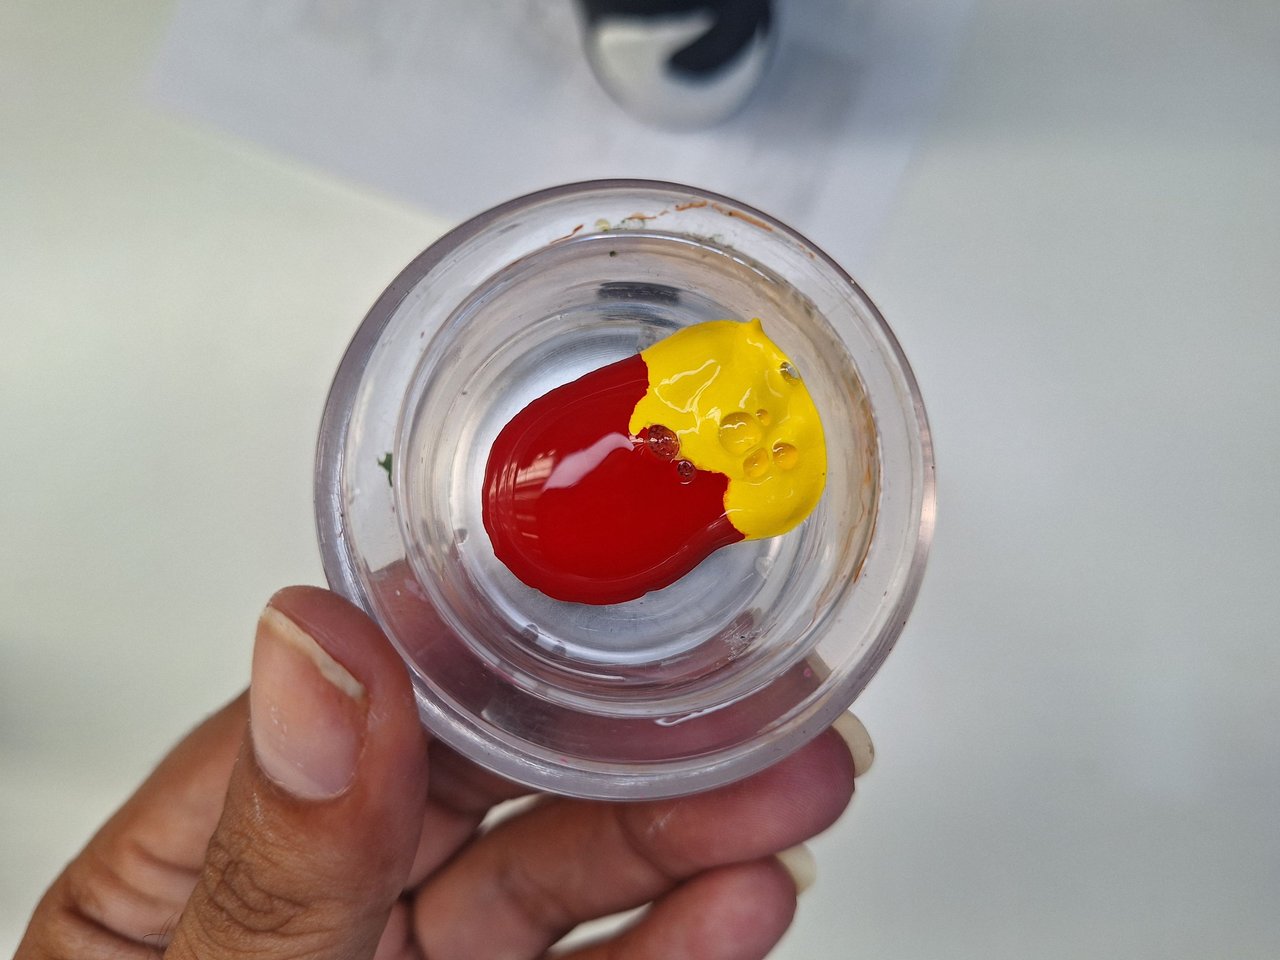
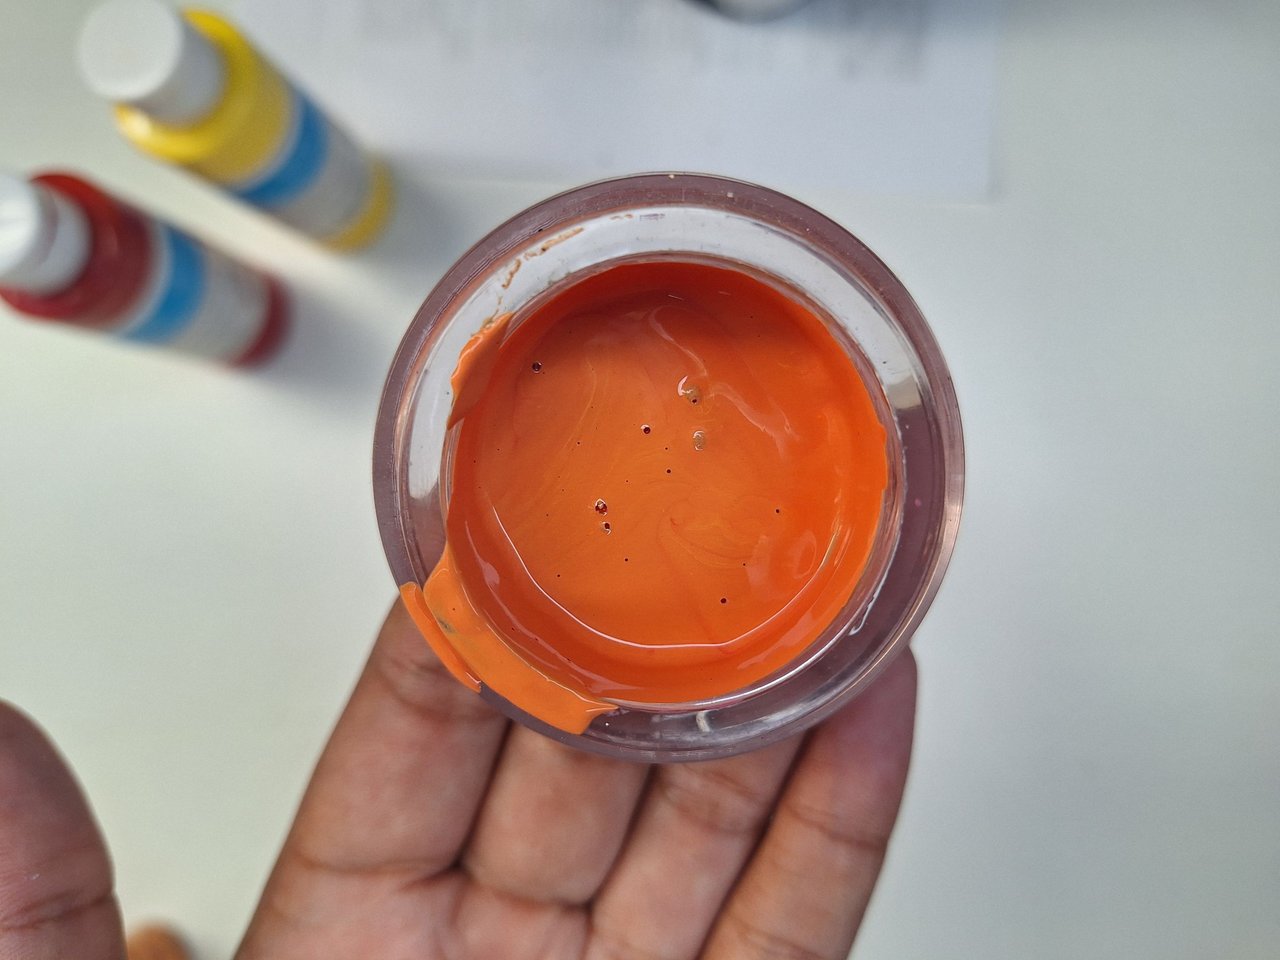
I didn't have orange paint, but that wasn't a problem, I just mixed red and yellow paint in a container until I got the shade I wanted. Then with the help of a piece of sponge go giving light touches all over the surface, I really like this technique.
No tenía pintura naranja, pero eso no fue problema alguno, solo mezclé pintura roja y amarilla en un recipiente hasta obtener la tonalidad que quería. Luego con ayuda de un pedazo de esponja ir dando leves toques por toda la superficie, me gusta mucho como queda esta técnica.
 |  |  |
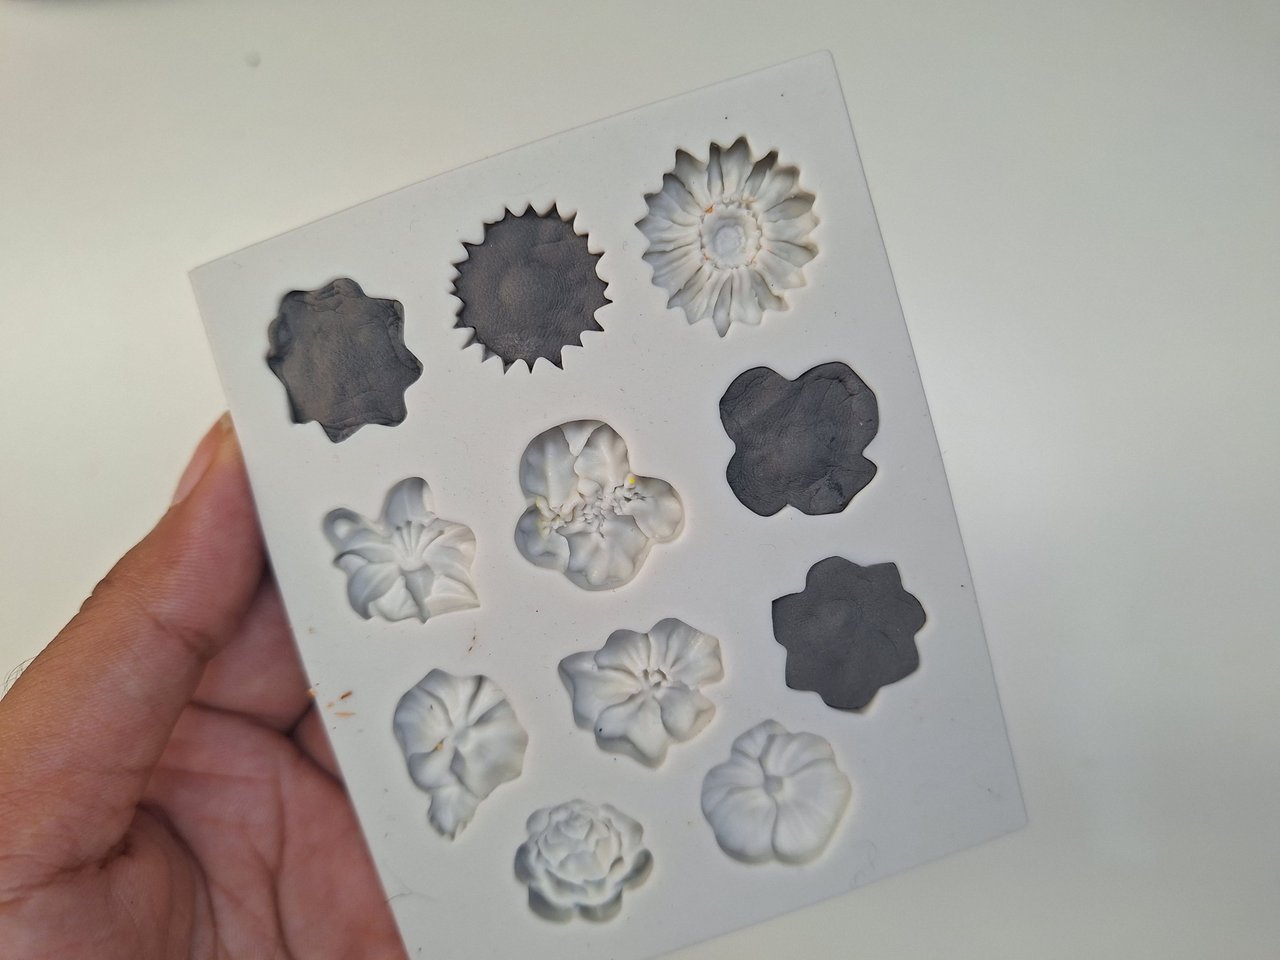 | 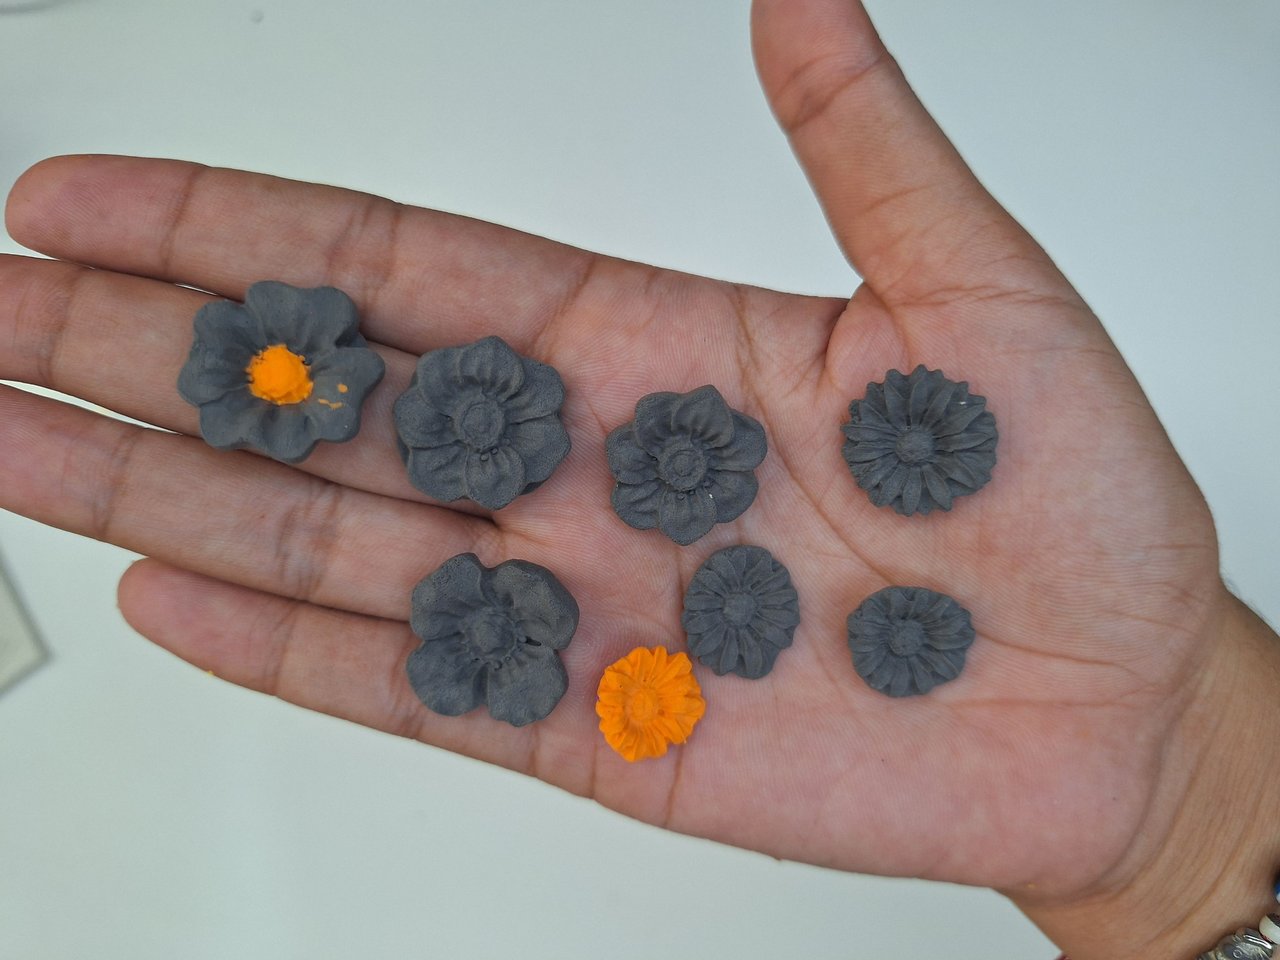 |
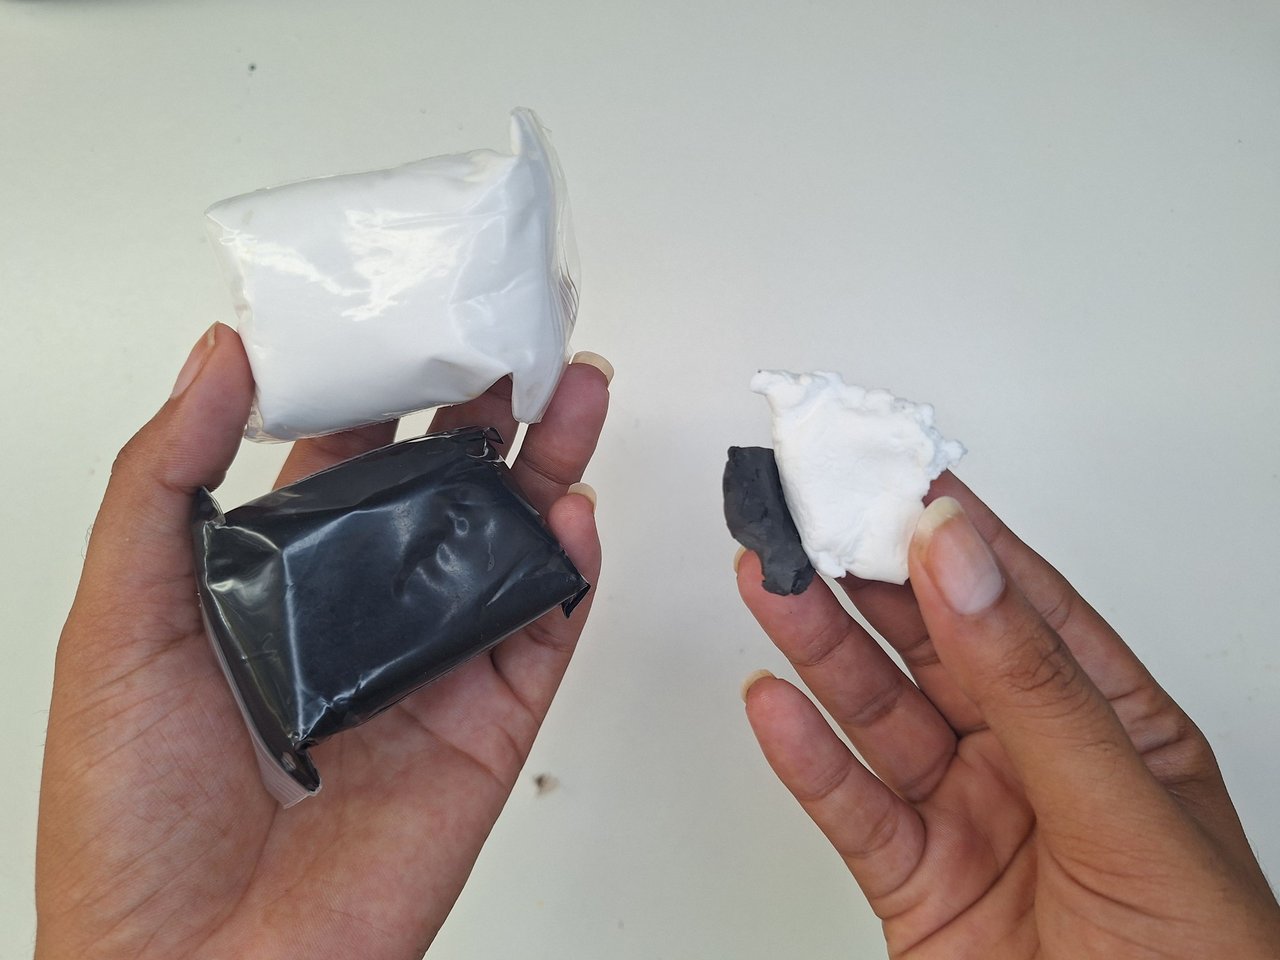
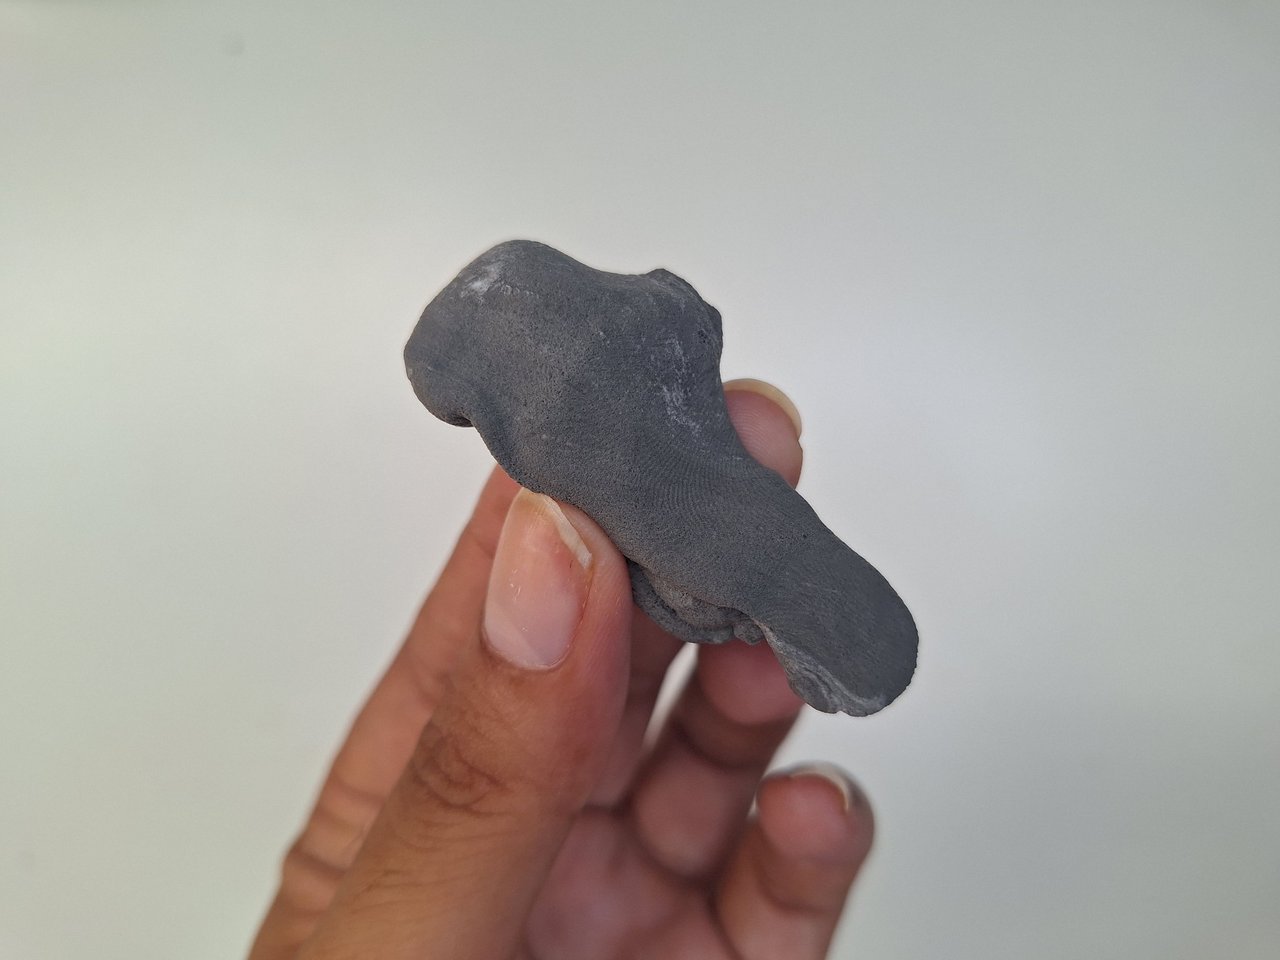
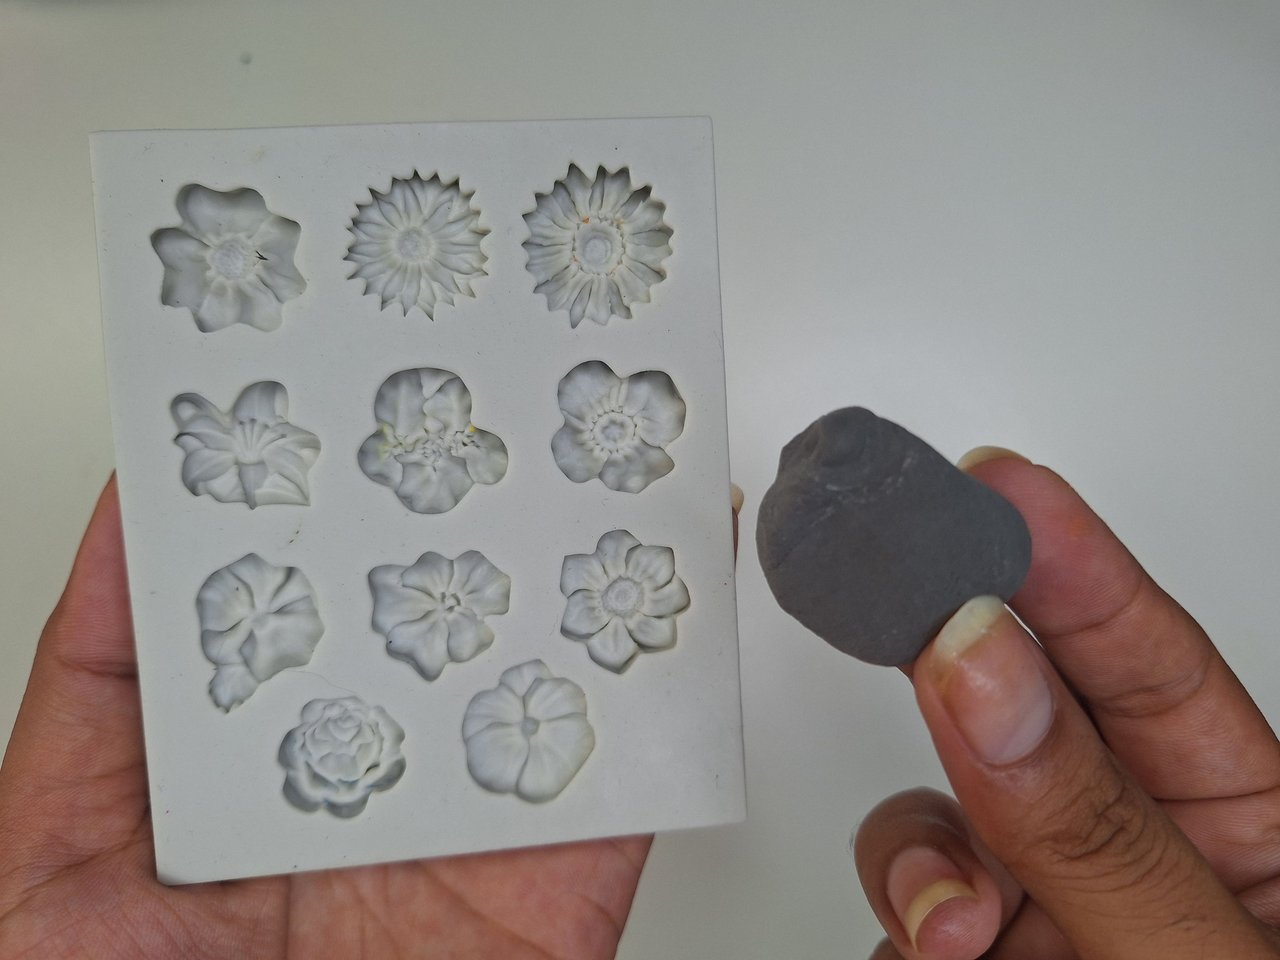
With black and white moldable foami you get the gray, depending on the quantity, the color tone varies. I used white, three times the amount of black. Then I placed the foami in the molds of the flowers I wanted to make, let it dry and then unmolded.
Con foami moldeable blanco y negro se obtiene el gris, según la cantidad, va variando el tono del color. Yo utilicé de blanco, el triple de la cantidad del negro. Luego coloqué el foami en los moldes de las flores que deseaba hacer, dejé secar y luego desmoldé.
 |  |  |
 |  |
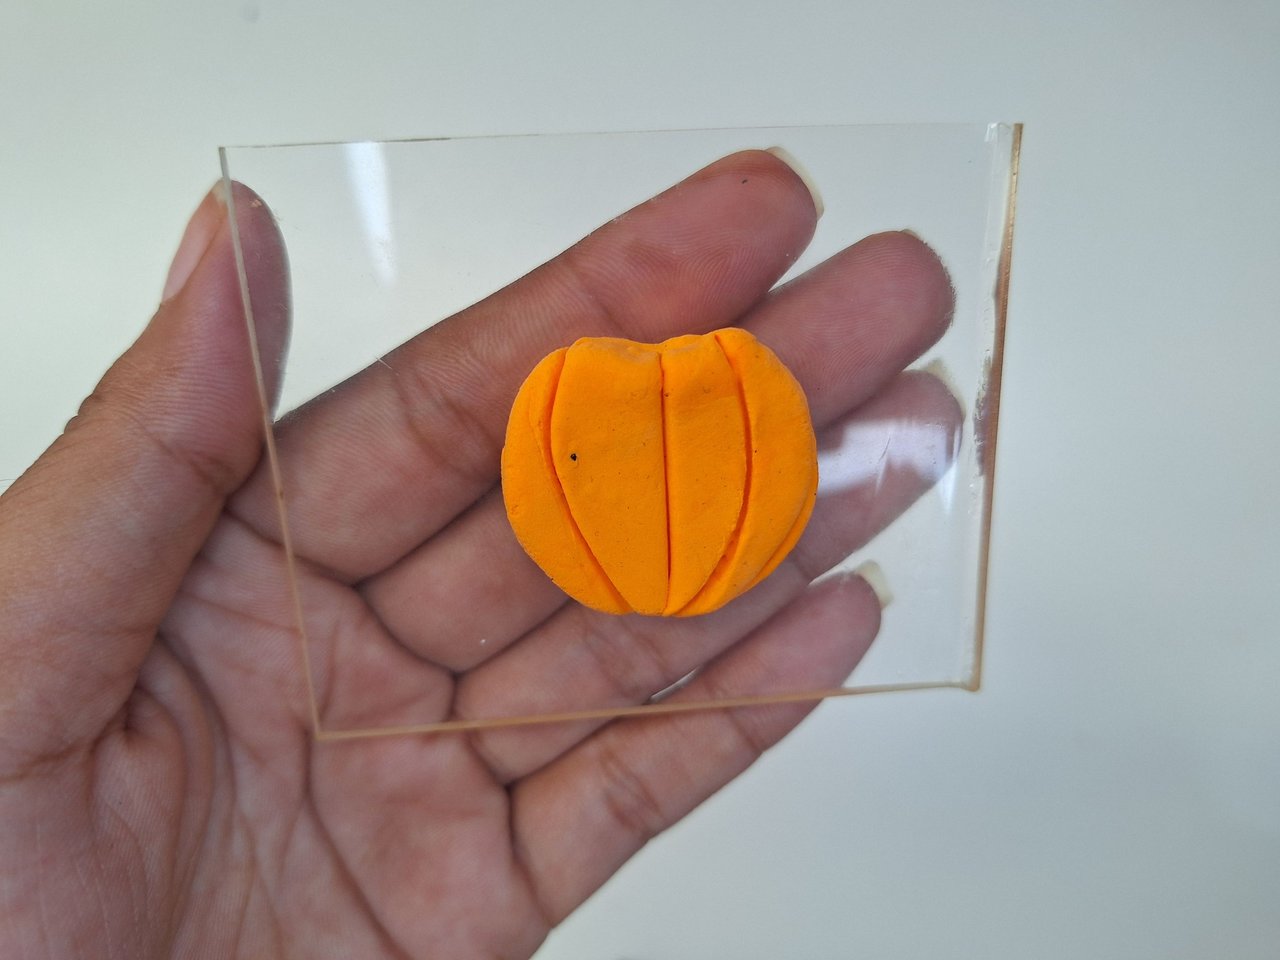 | 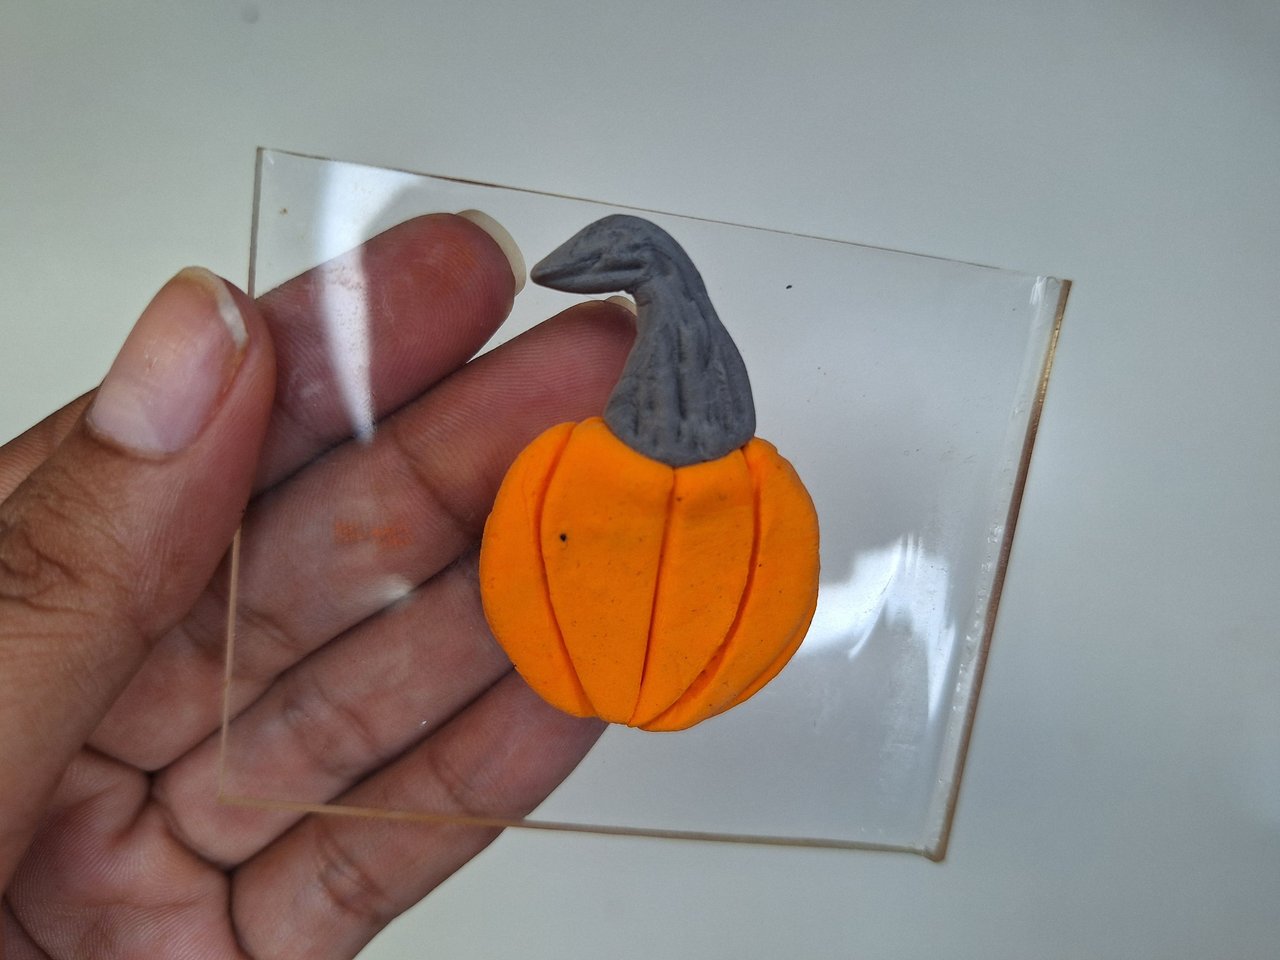 |
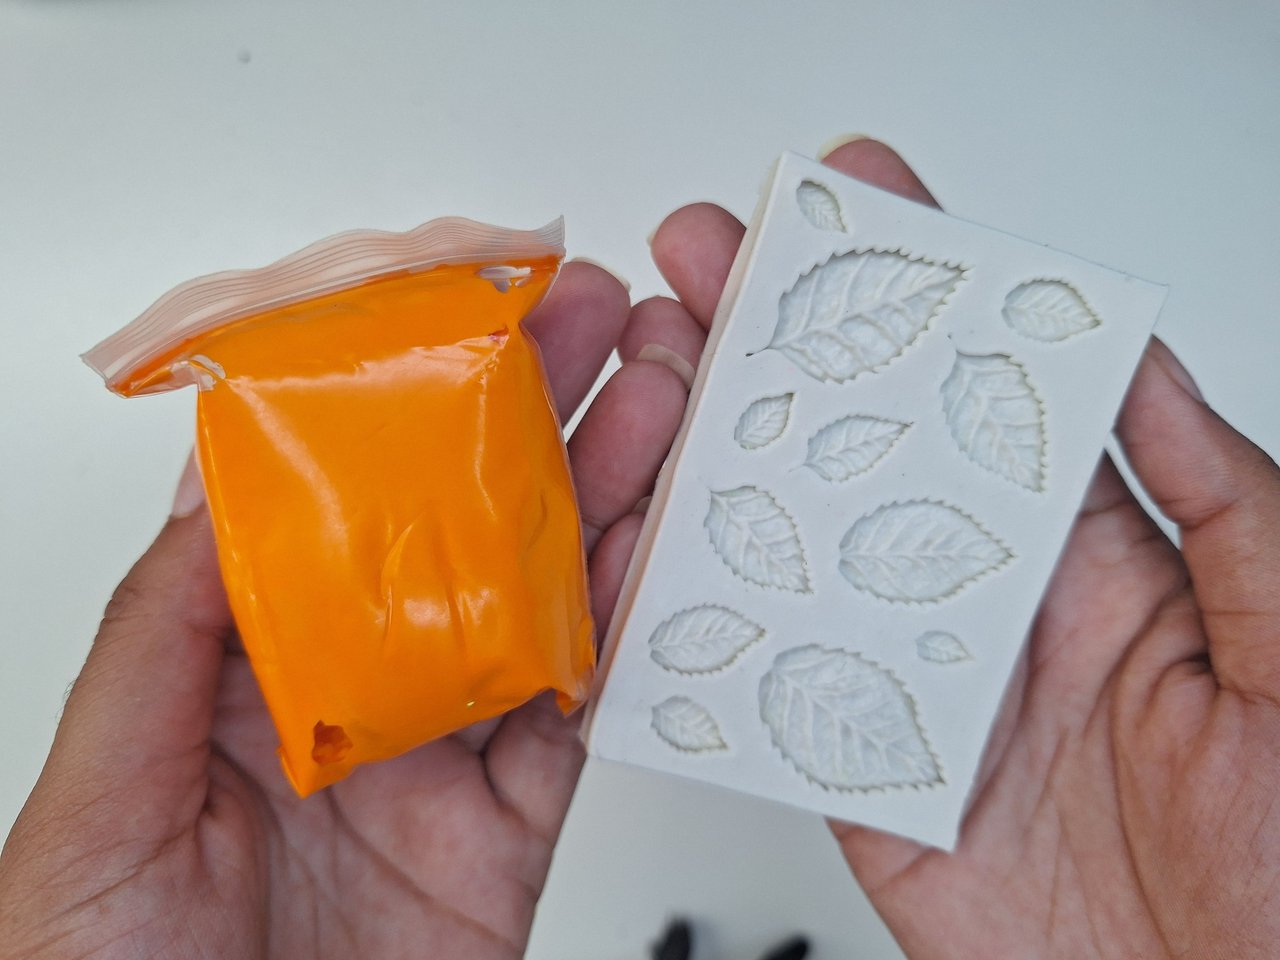
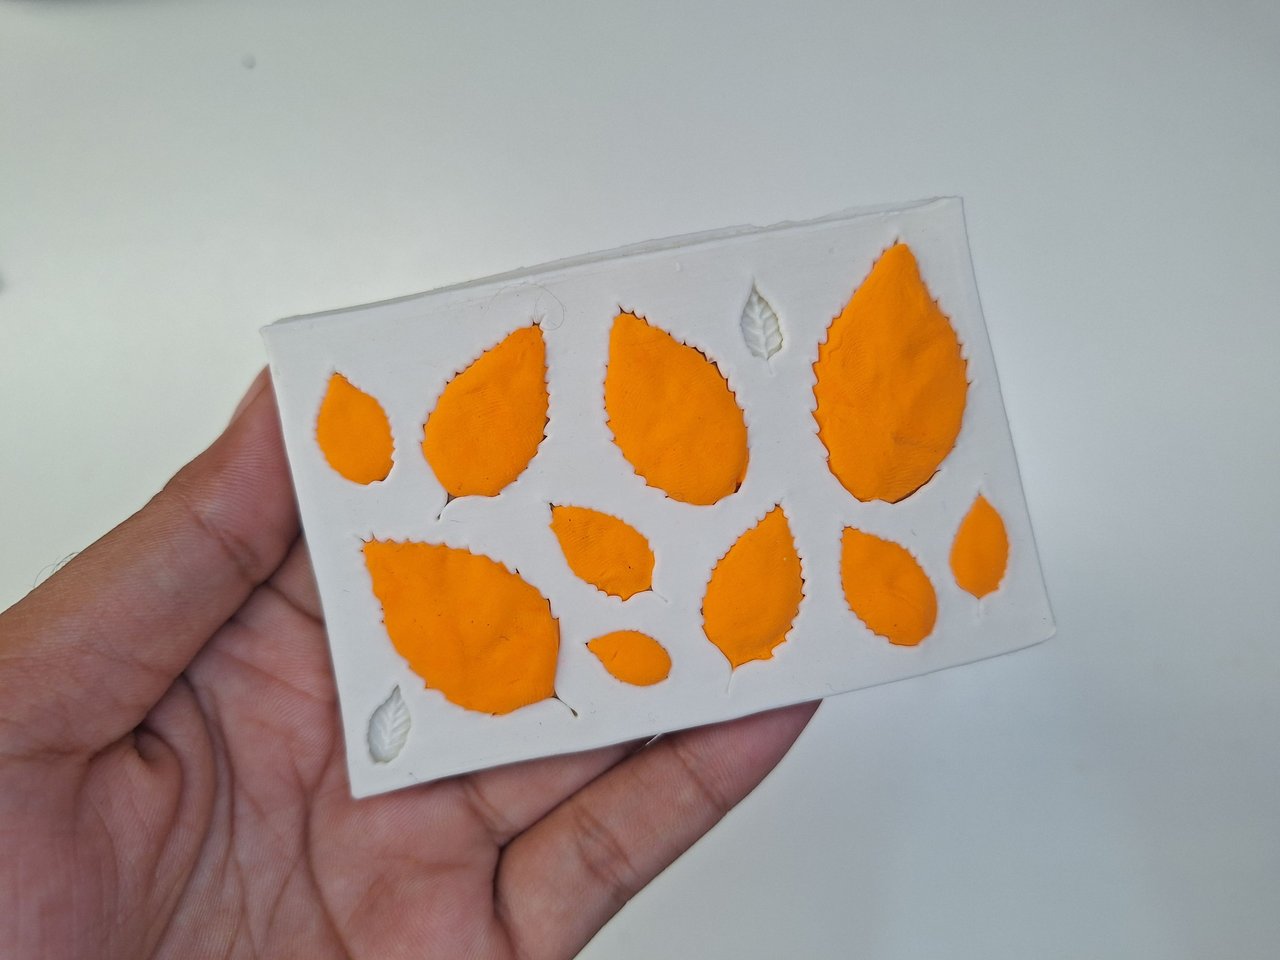
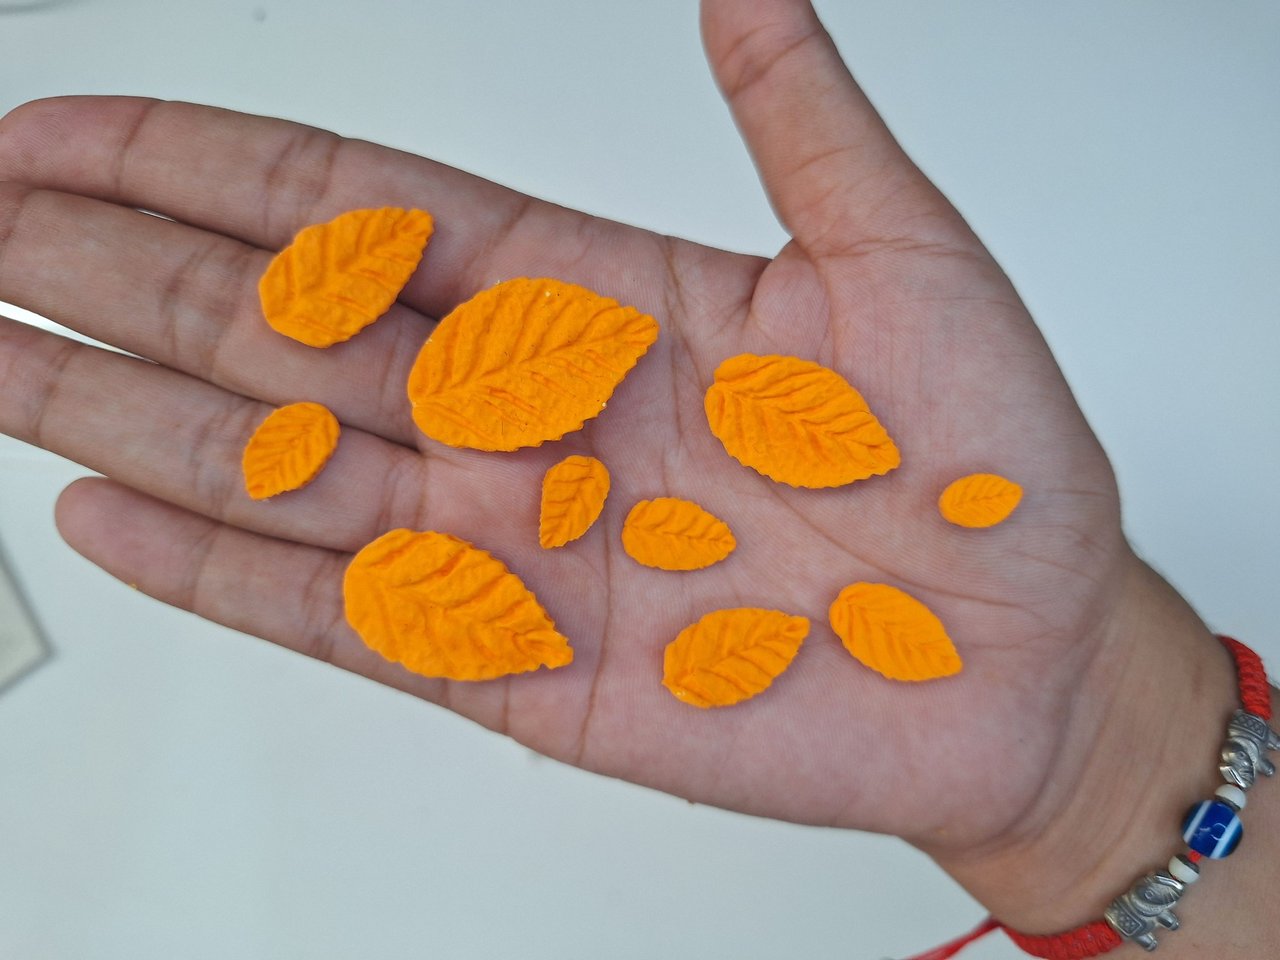
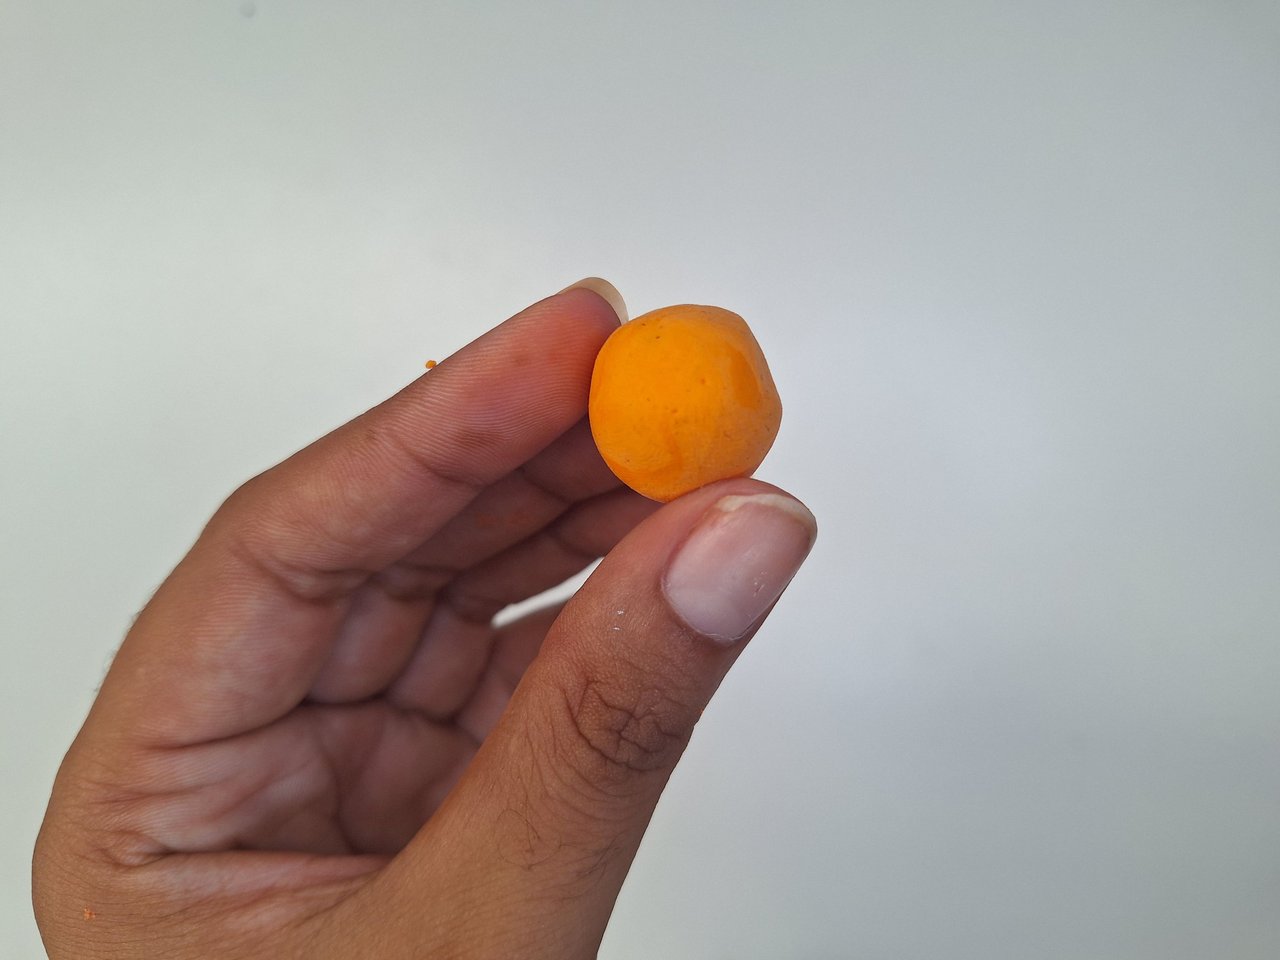
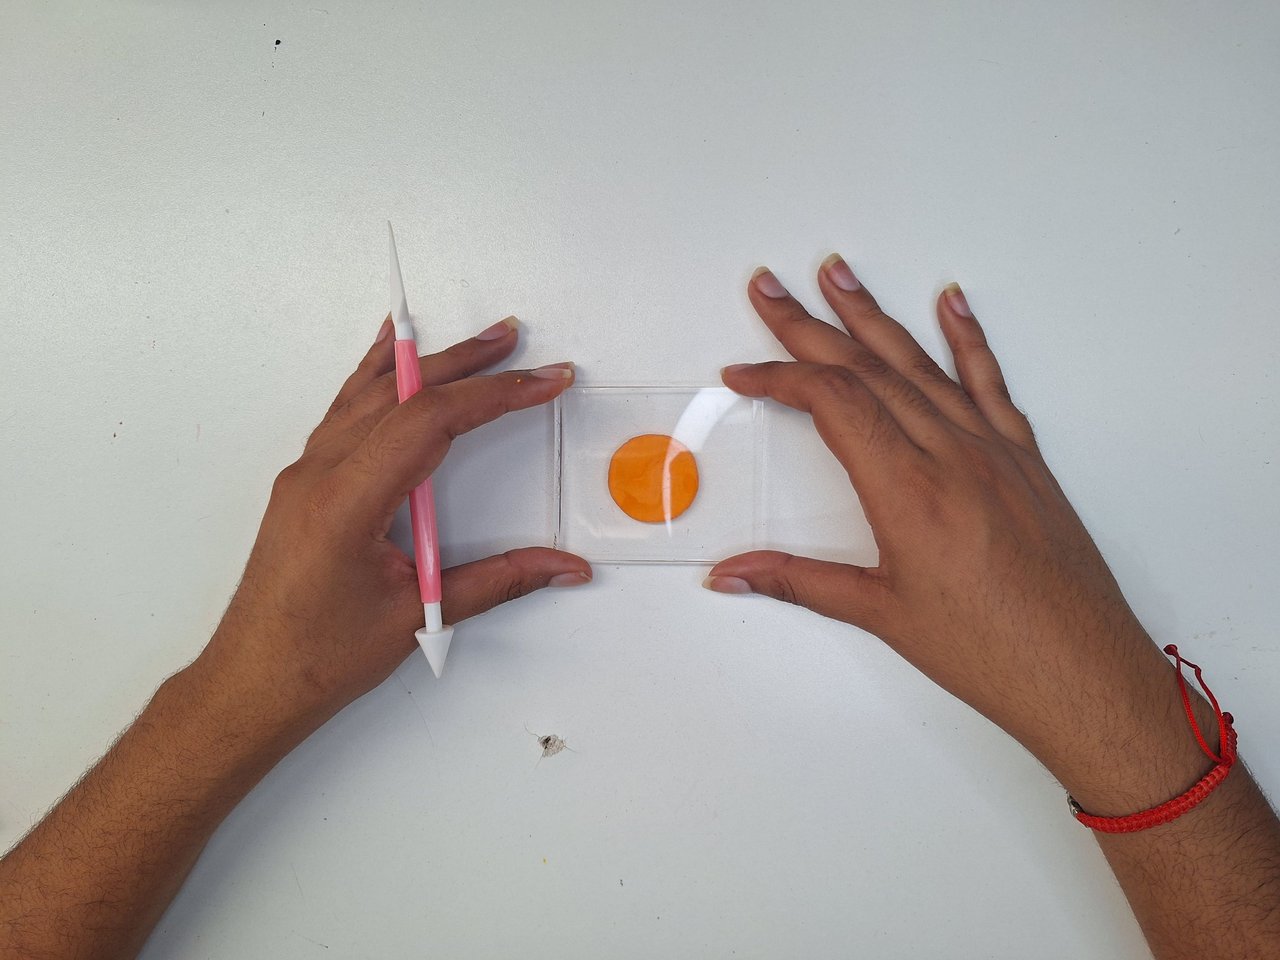
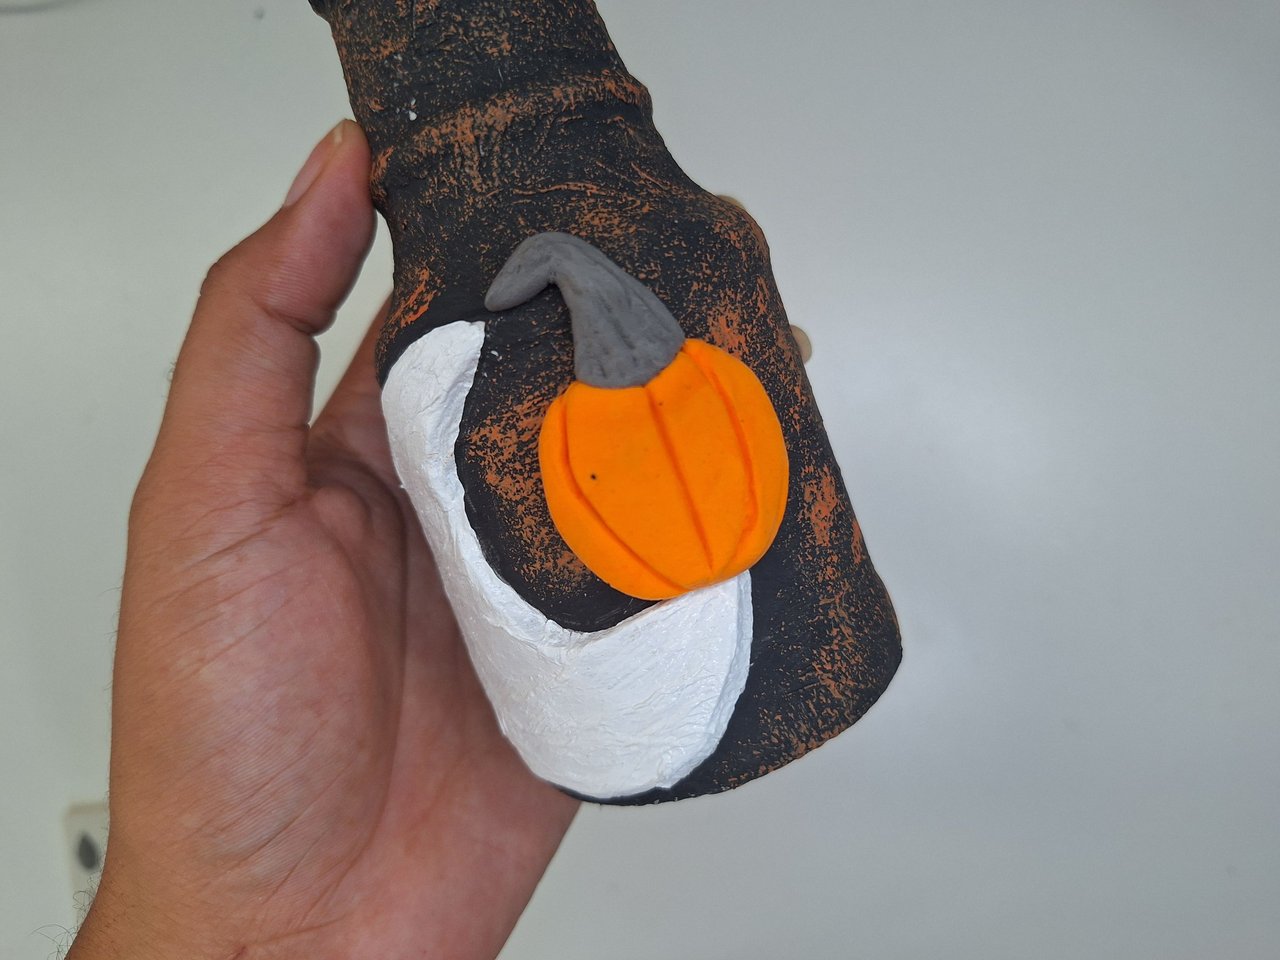
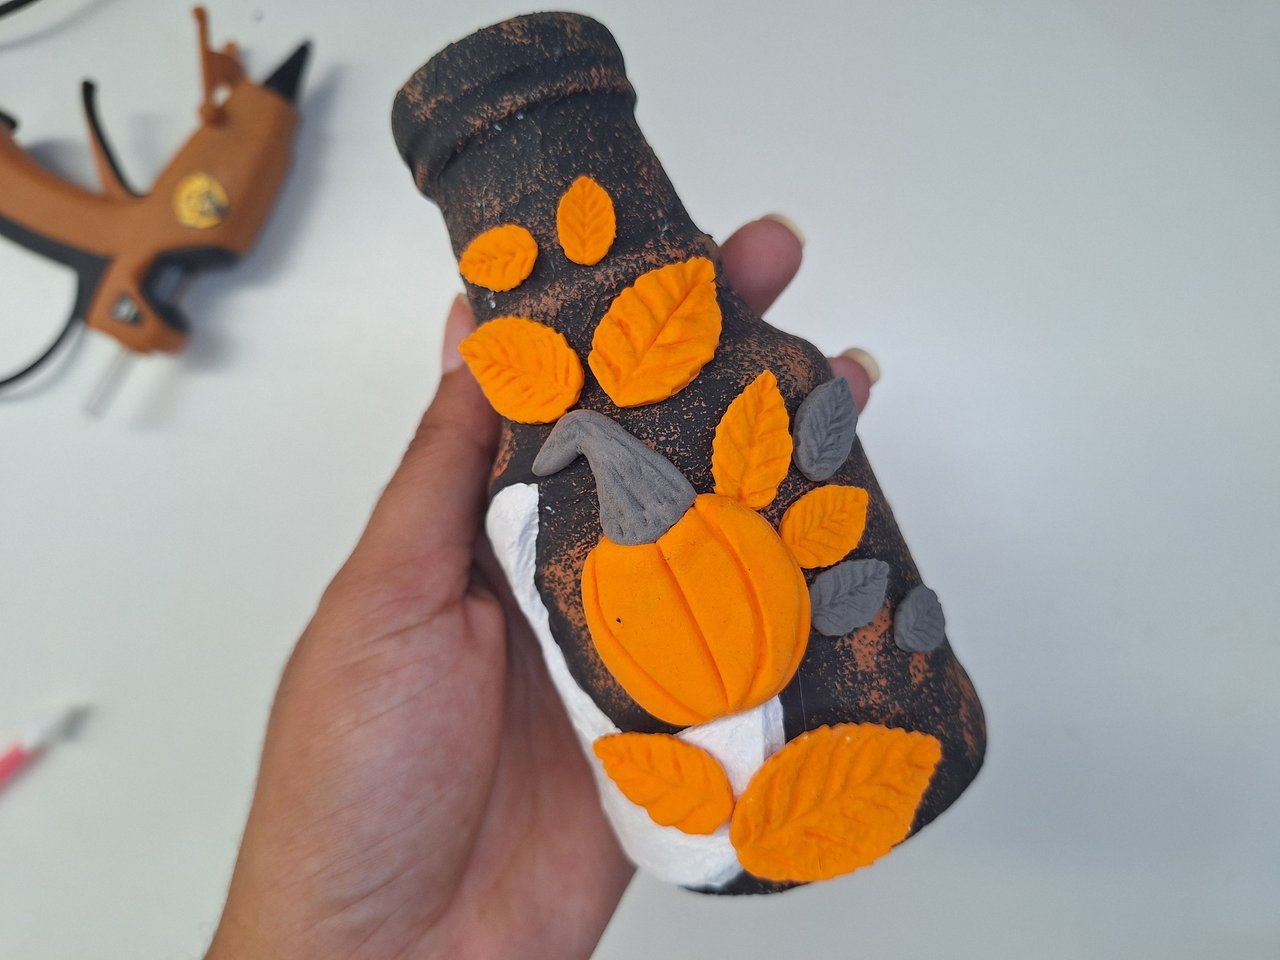
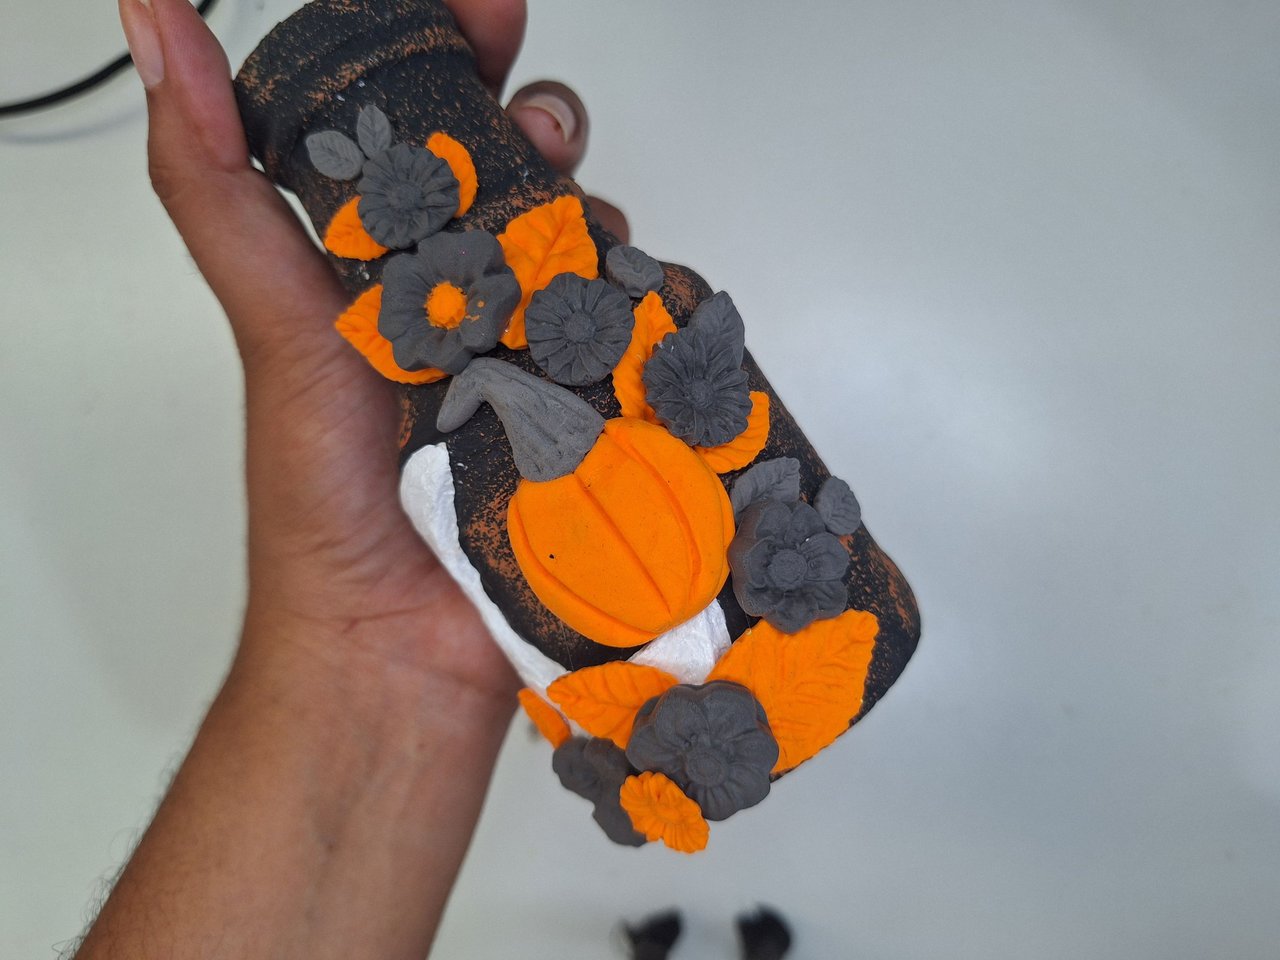
For the leaves I used orange moldable foami and a silicone mold. For the pumpkin make a ball, press a little but not flat to give it that 3D look and with a stake make some curved lines on the inside, for the stem I used the same gray tone that I had made.
Para las hojas utilicé foami moldeable color naranja y un molde de silicona. Para la calabaza hacer una bola, presionar un poco pero que no quede plano para darle ese aspecto 3D y con una esteca hacer unas líneas curvas en el interior, para el tallo utilicé el mismo tono gris que había elaborado.
 |  |  |
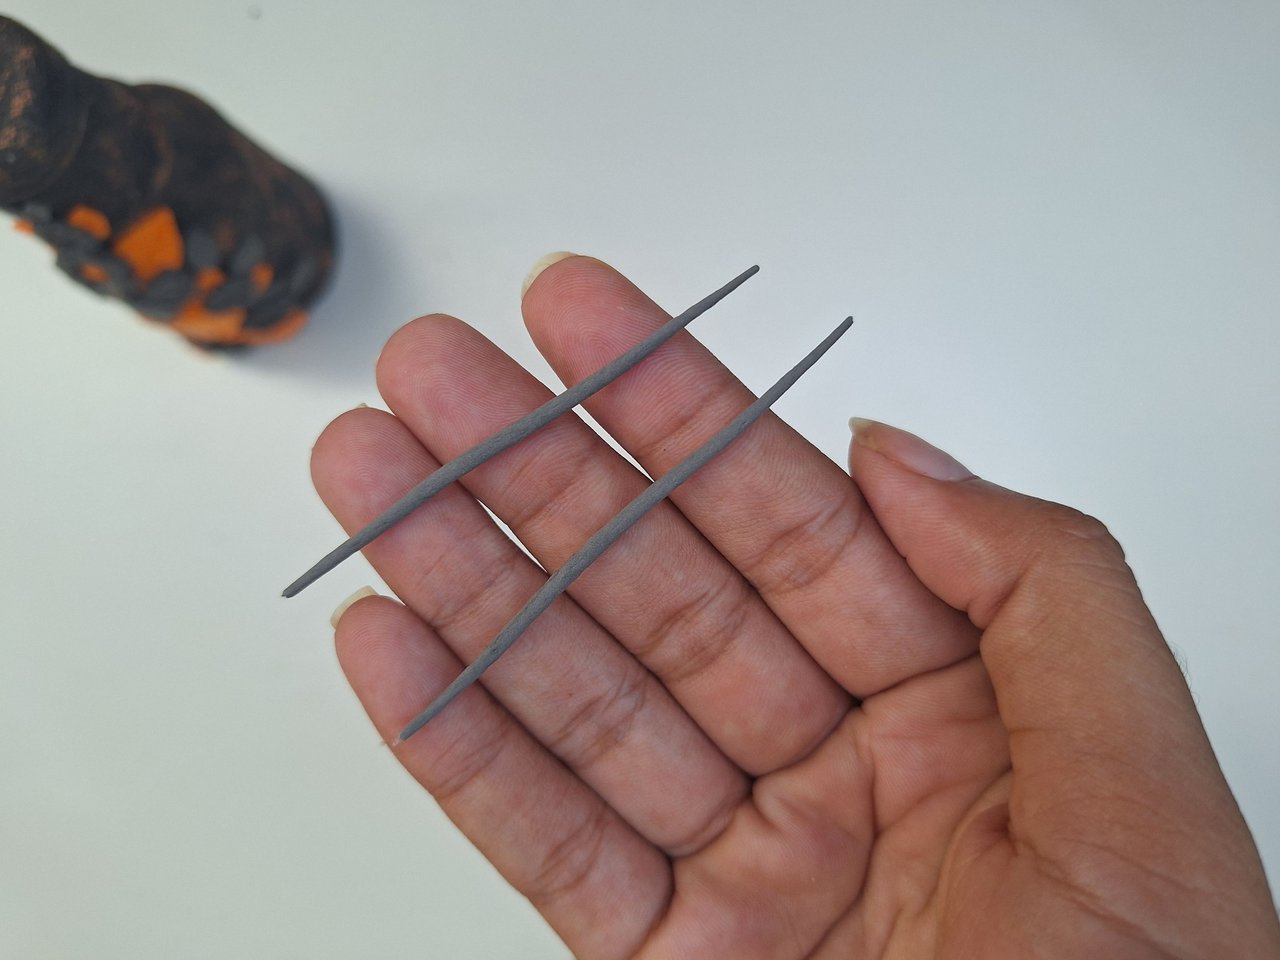 | 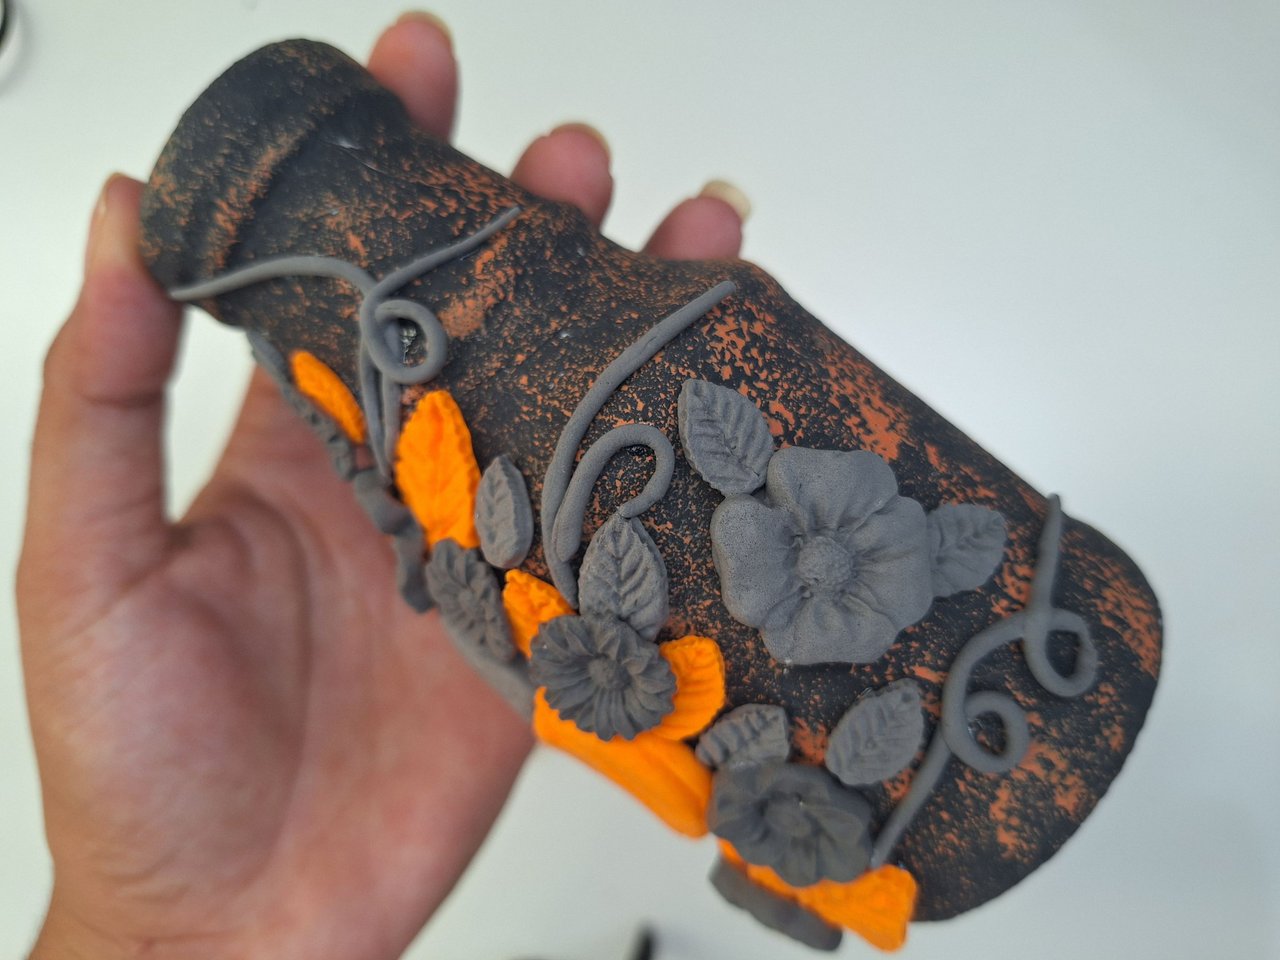 |
The pumpkin is placed at the bottom of the moon, then place the leaves all over the side and the flowers on top of them. With the leftover gray foami, make long thin strips and twist them like vines.
La calabaza se sitúa en la parte inferior de la luna, luego se colocan las hojas por todo el lateral y las flores encima de estas. Con el sobrante del foami gris, hacer unas tiras largas bien finas y enroscarlas como enredaderas.
 |  |
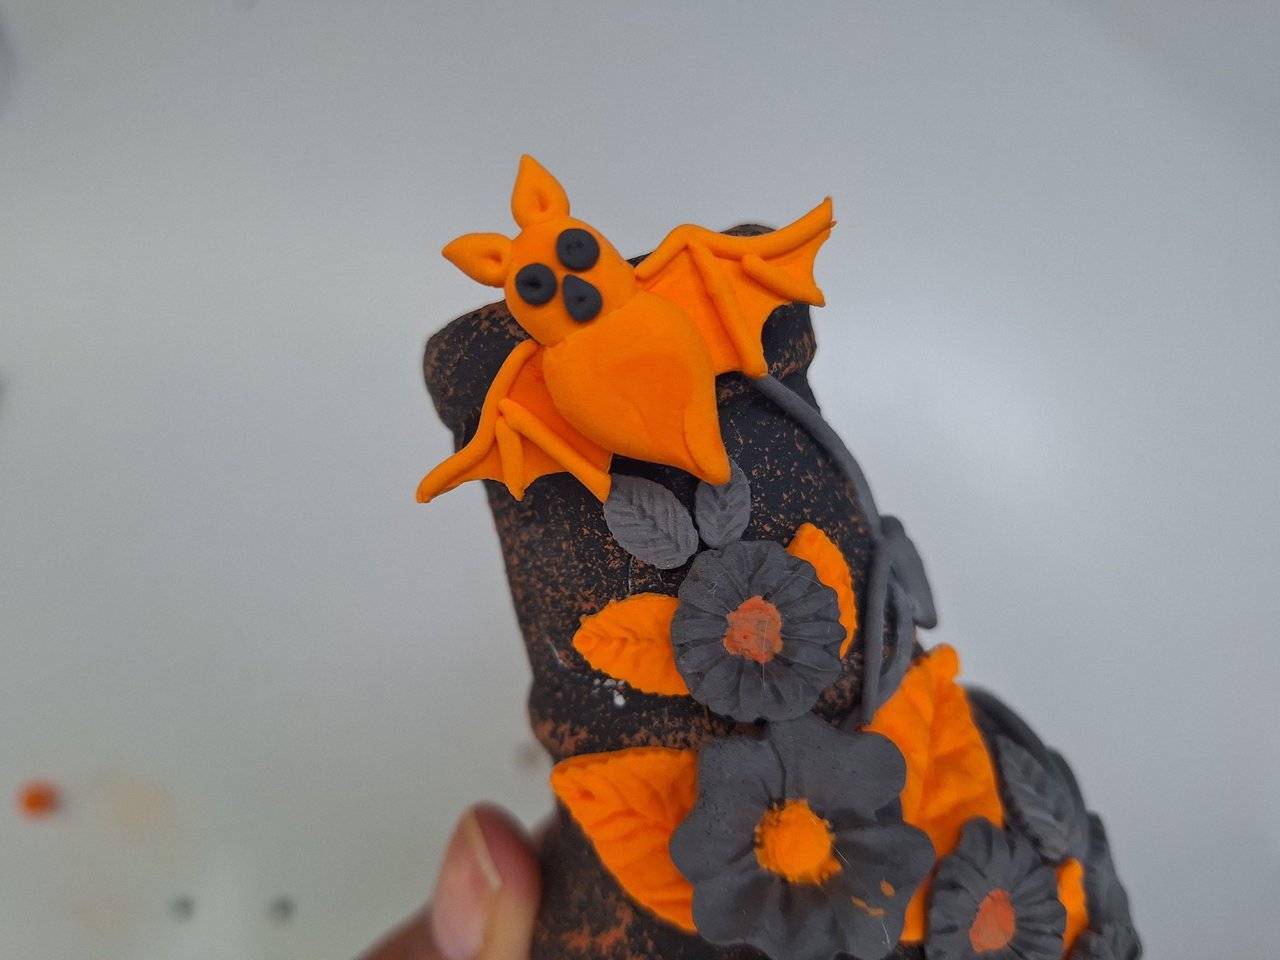 | 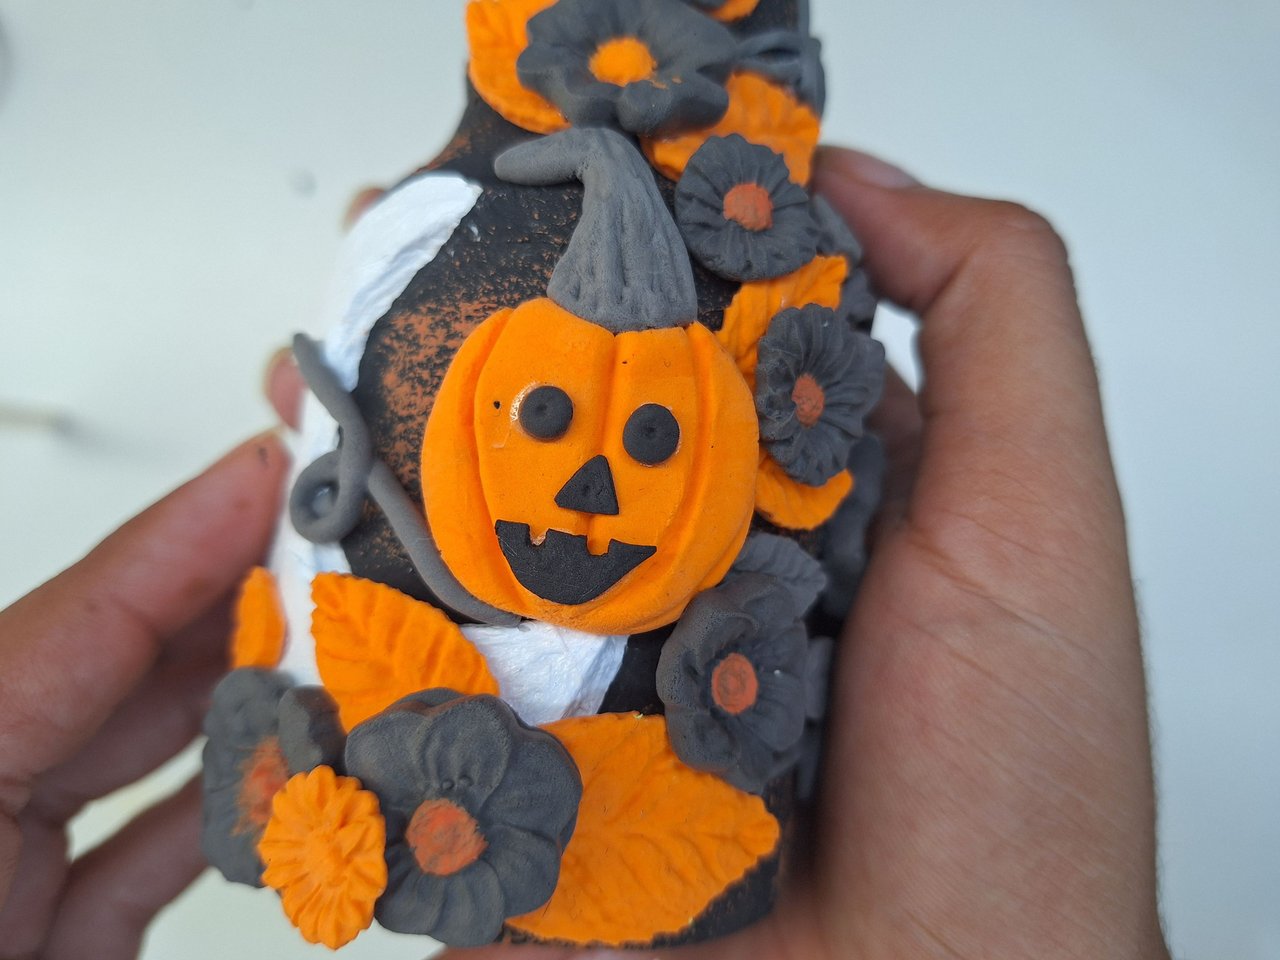 |
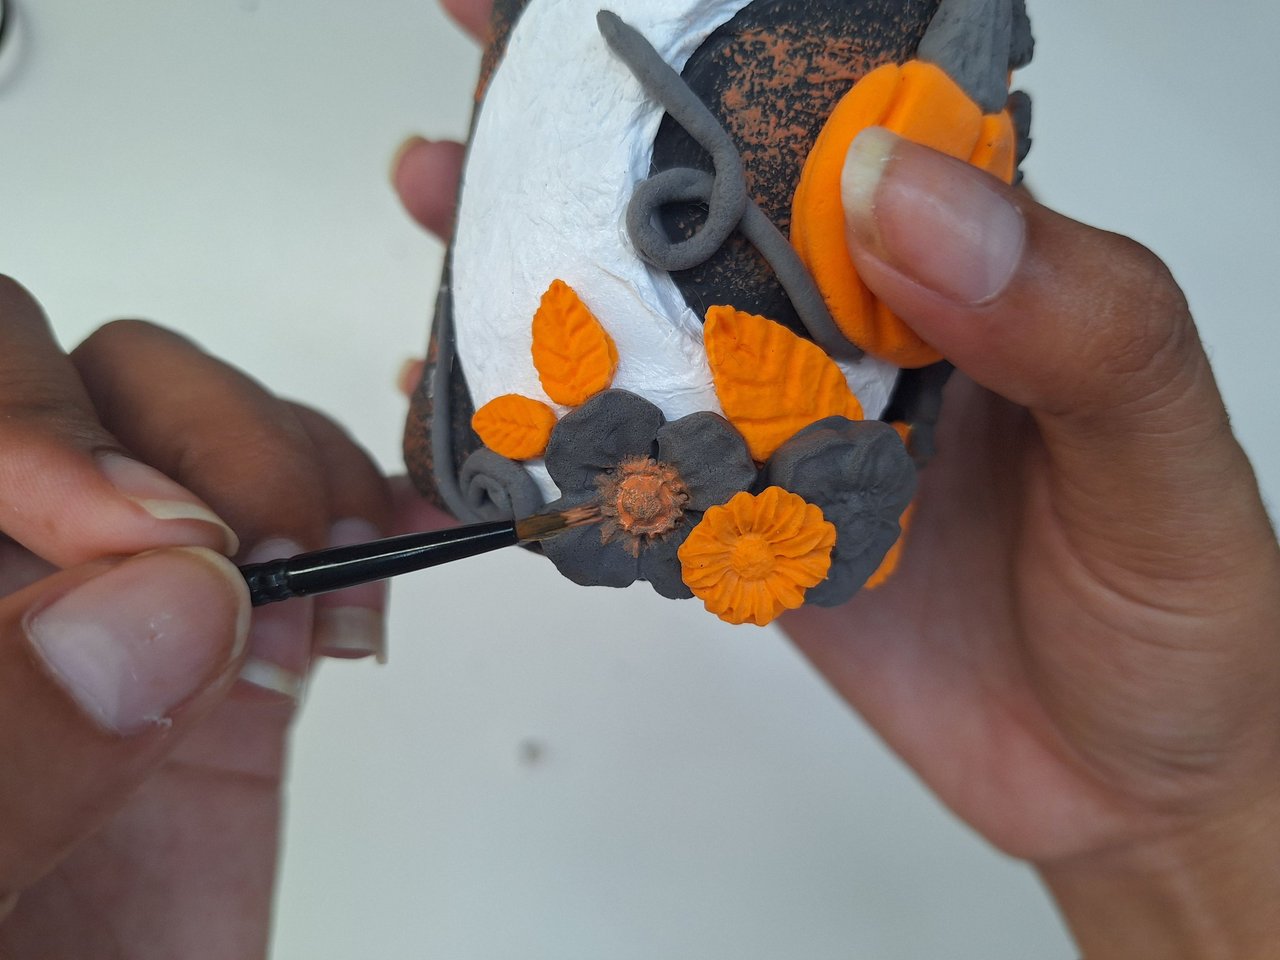
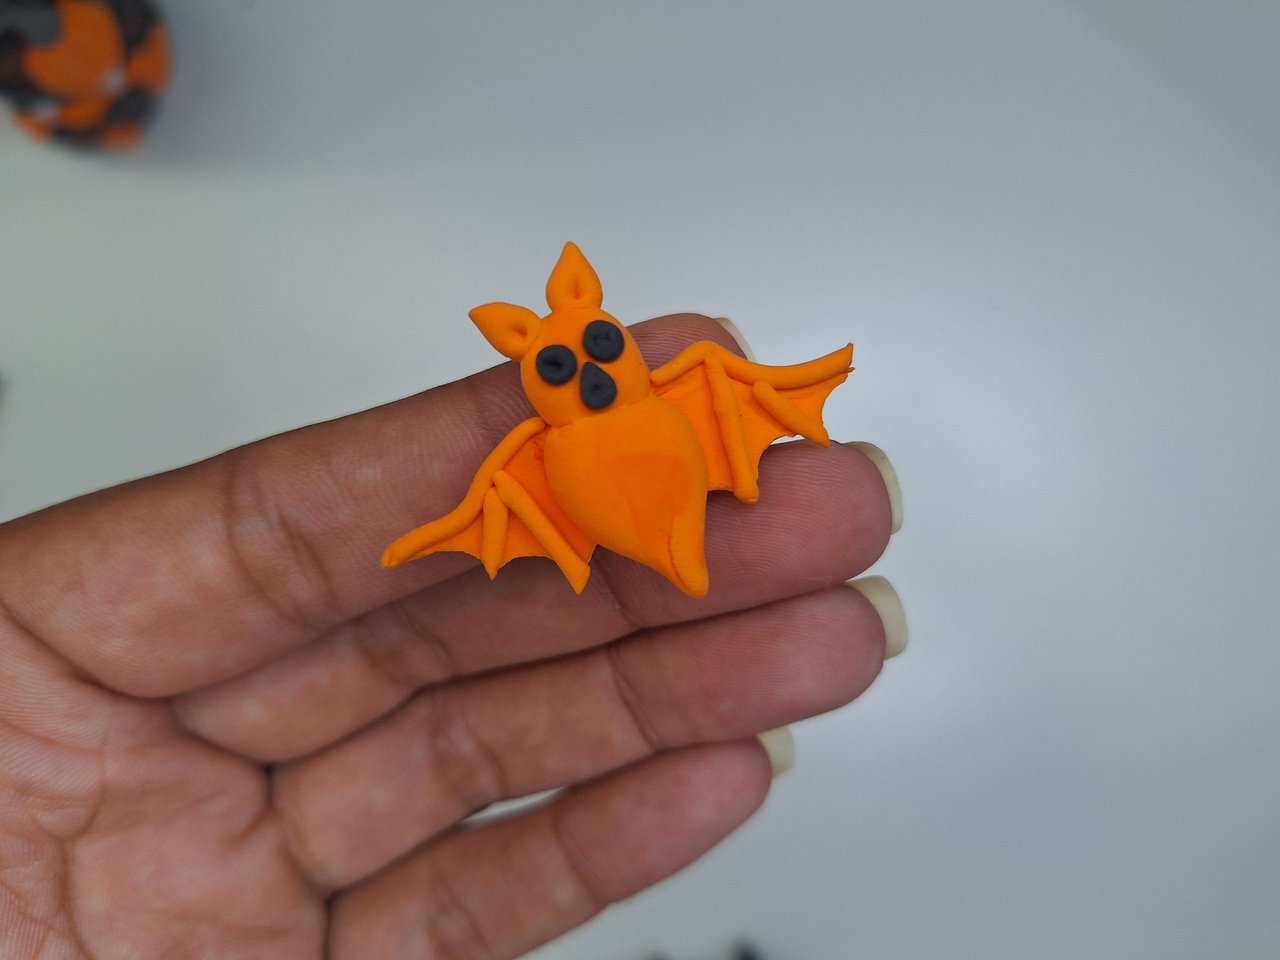
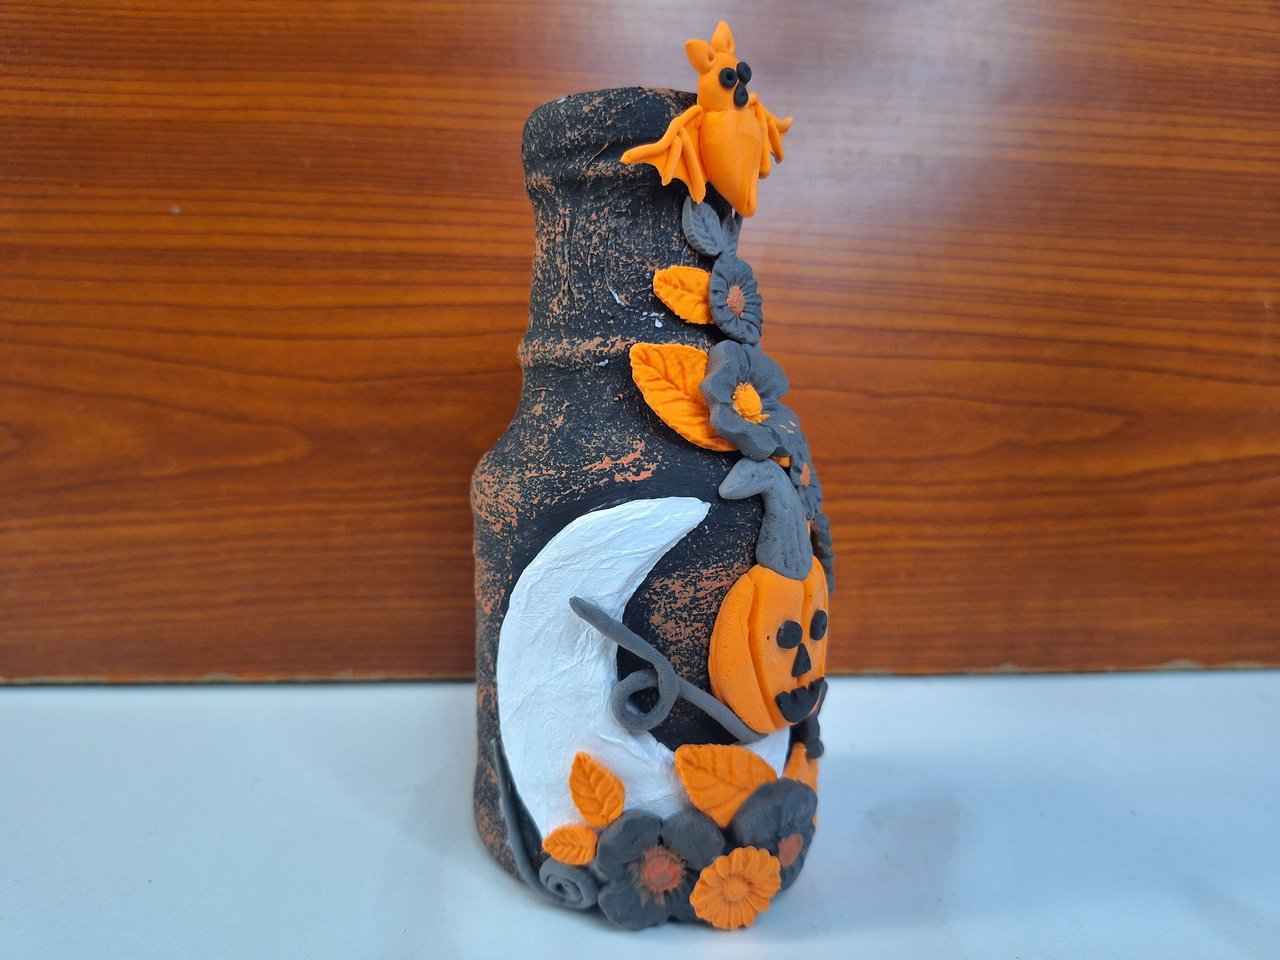
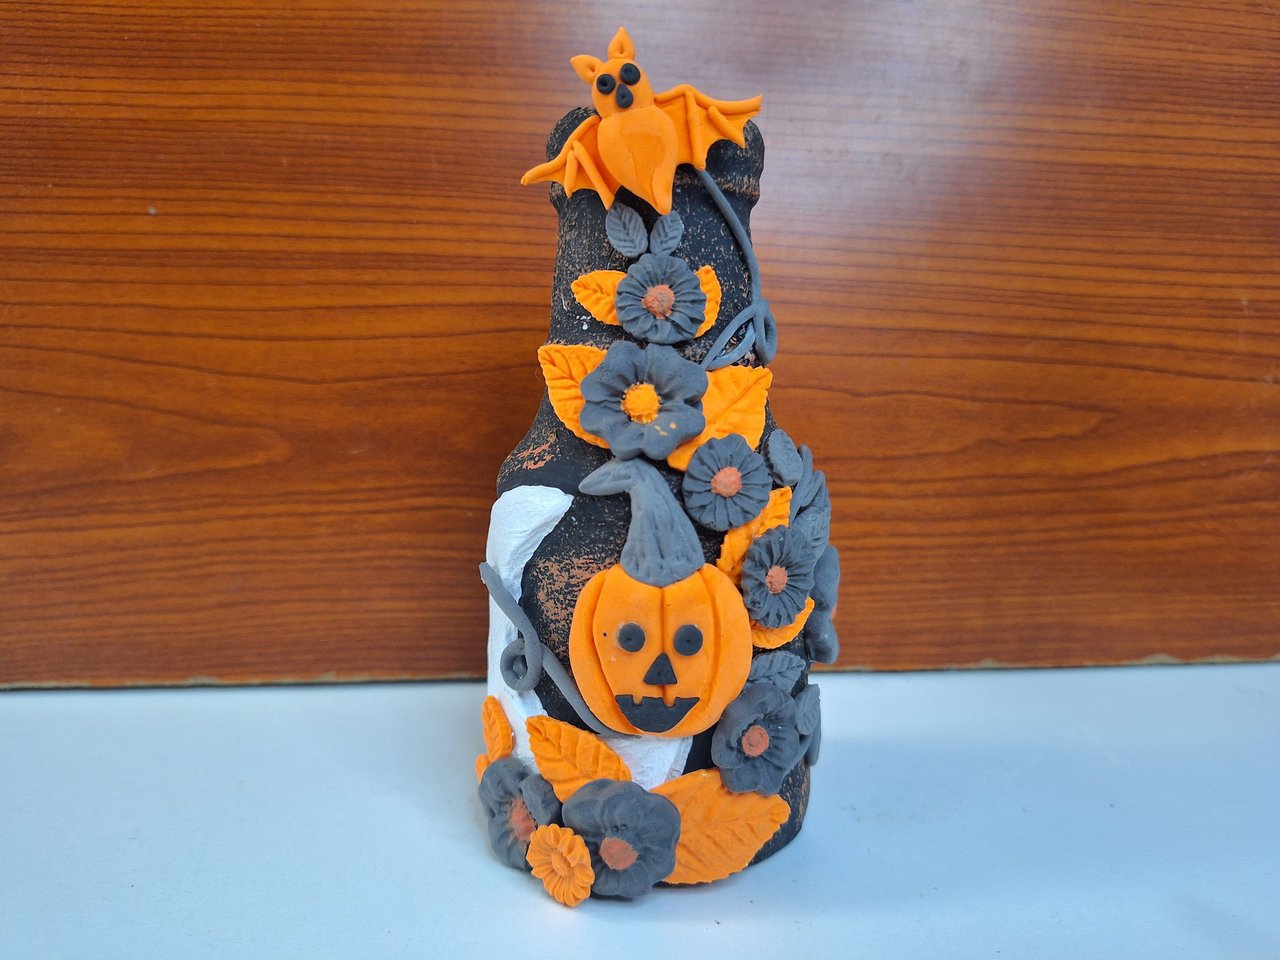
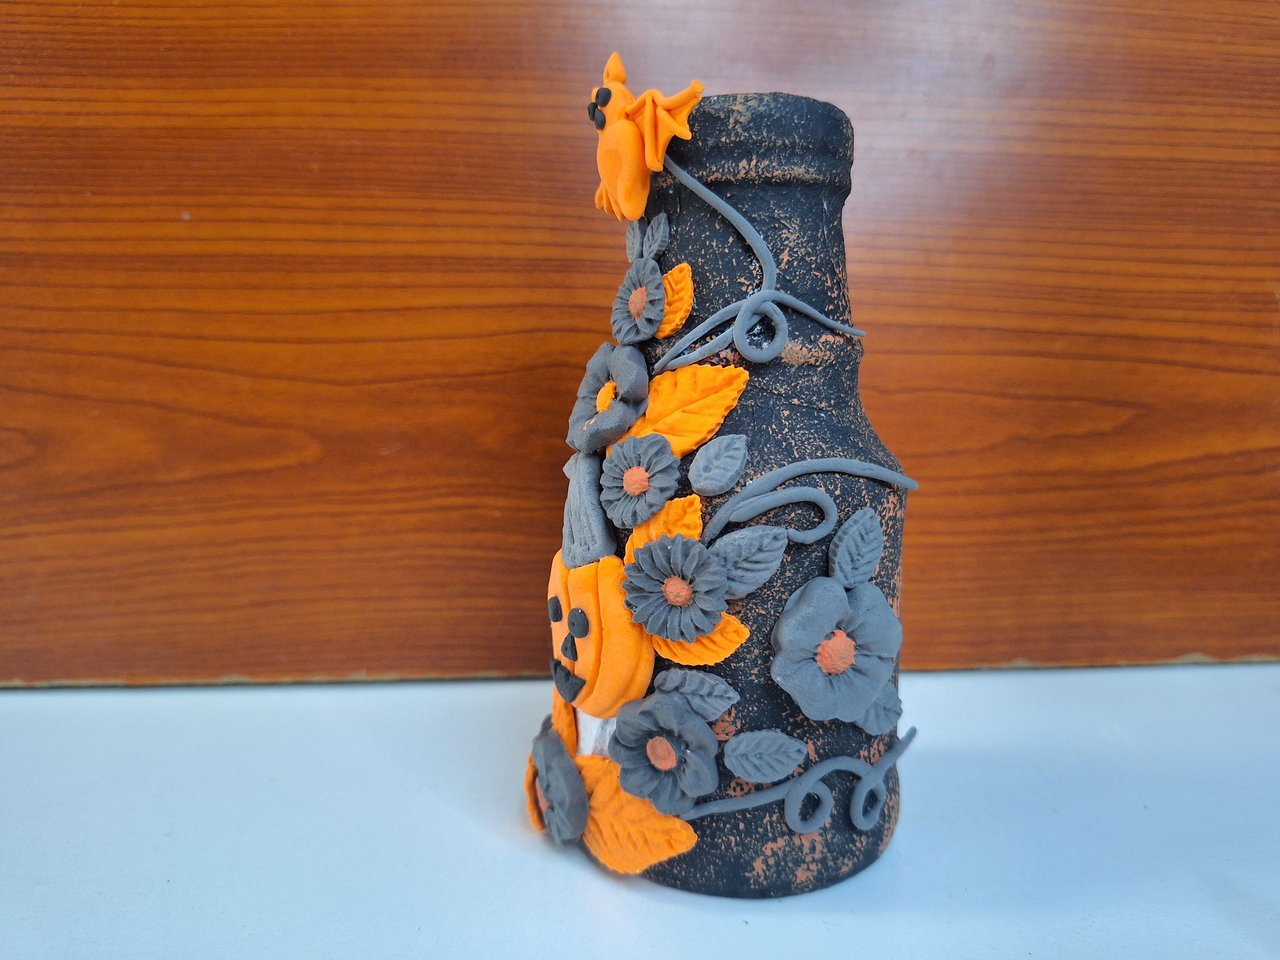
I used orange paint to highlight the center of the flowers. Then I had the idea of making this bat to make the design more terrifying, which I placed in the upper front part so that it could be seen in the foreground. Finally, I made the eyes, nose and mouth of the pumpkin out of black foami.
Con pintura naranja resaltar el centro de las flores. Luego tuve la idea de hacer este murciélago para hacer el diseño más terrorífico, el cual coloqué en la parte superior delantera para que se viera en un primer plano. Por último, elaboré los ojos, la nariz y la boca de la calabaza con foami negro.
 |  |  |
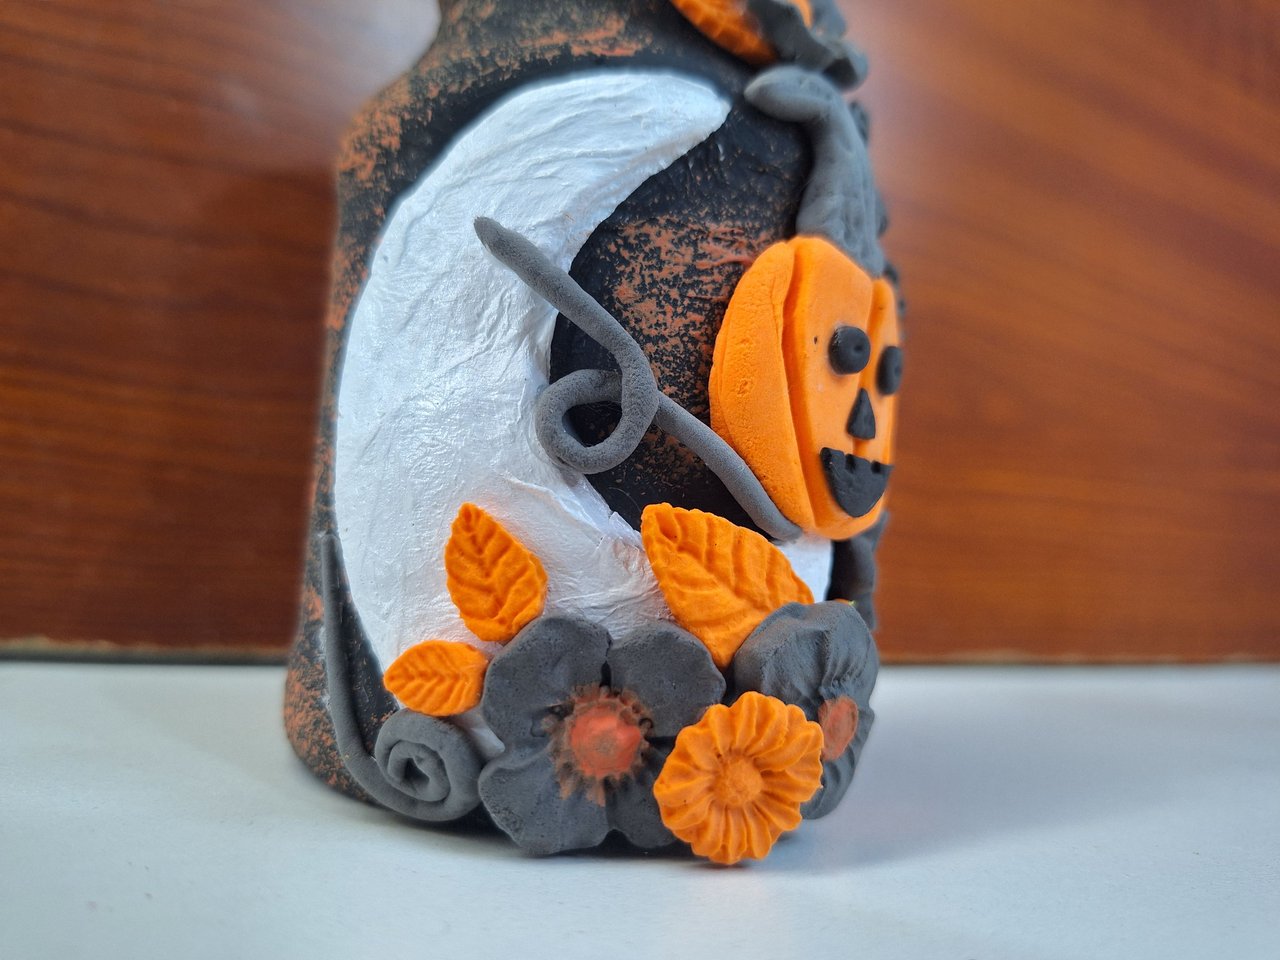 | 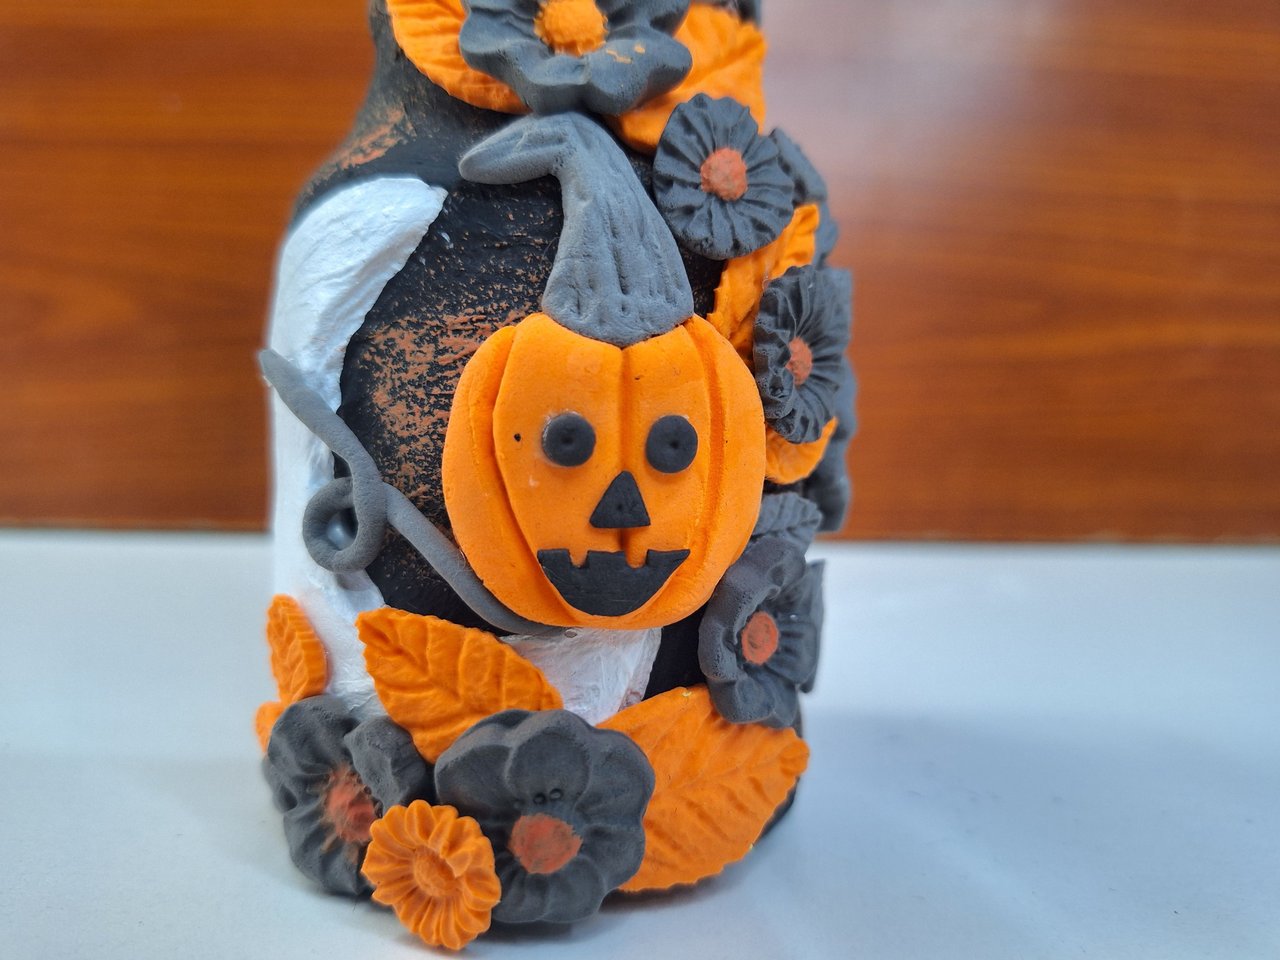 | 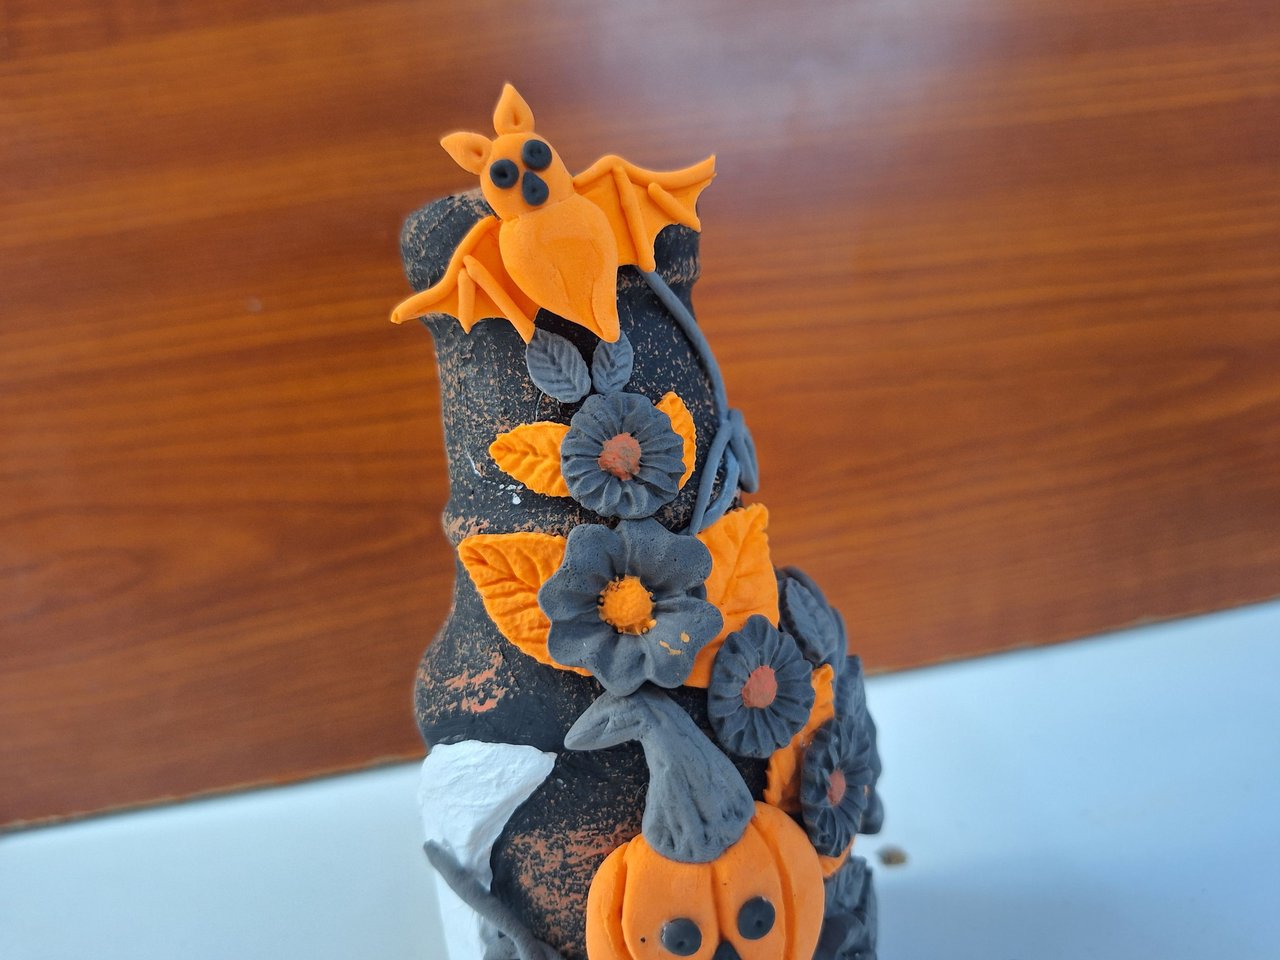 |
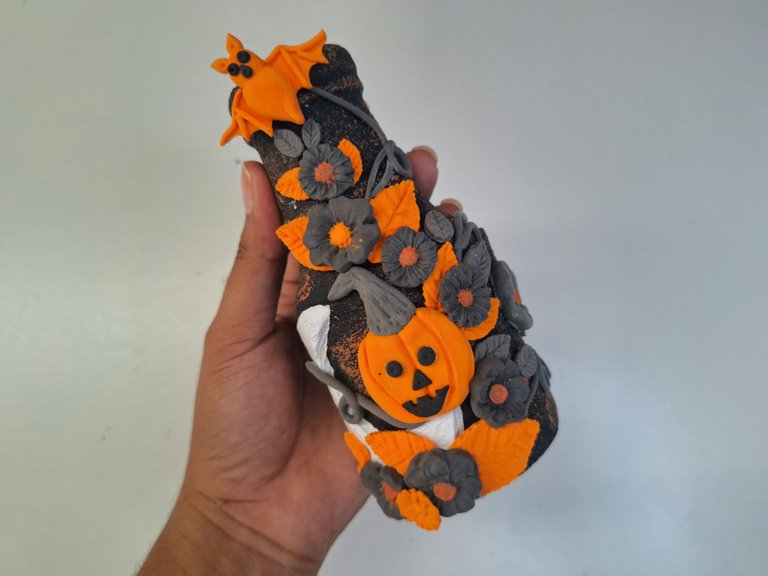
And thus is finished this terrifying and, at the same time, beautiful bottle decorated with Halloween theme. It can be a nice decoration to place in any corner of our homes, made with recycled and inexpensive materials. I hope you liked it, leave me in the comments what you thought and new suggestions. Best regards.
Y de esta forma se encuentra terminada esta terrorífica y, a la vez, hermosa botella decorada con temática de Halloween. Puede ser un lindo adorno para colocar en cualquier rincón de nuestros hogares, elaborado con materiales reciclados y económicos. Espero te haya gustado, déjame en los comentarios que te pareció y nuevas sugerencias. Un saludo.
Cover made in Canva
English is not my native language, translated by DeepL

Posted Using InLeo Alpha
Mira pero que creatividad, me encantó está decoración y con una botella, no pareciera, te felicito por esto, saludos.
Muchas gracias 🥰
Quedó bellísima. Me encantan tanto los colores como la temática.
Muchas gracias 🥰🎃
Uyyyy que bella te quedó, yo quiero una jjj
Muchas gracias 🥰, te voy a hacer una para tí 🎃
You put a lot of effort into creating this no doubt. You did an excellent job friend, thanks for sharing and for walking us through the process.
Thank you very much 🥰, as always it took a little time because of power outages that interrupt every so often the work but everything else quite easy, greetings 🤗.
quedo genial, muy creativo y excelente para esta época
It was great, very creative and excellent for this time of the year.
Muchas gracias 🥰
This is so creative,and I never would've thought it was made out of plastic bottle. Very well done 👍
Thank you very much, so you can see how many things can be done with recycled objects ♻️
!diy
You can query your personal balance by
!DIYSTATS