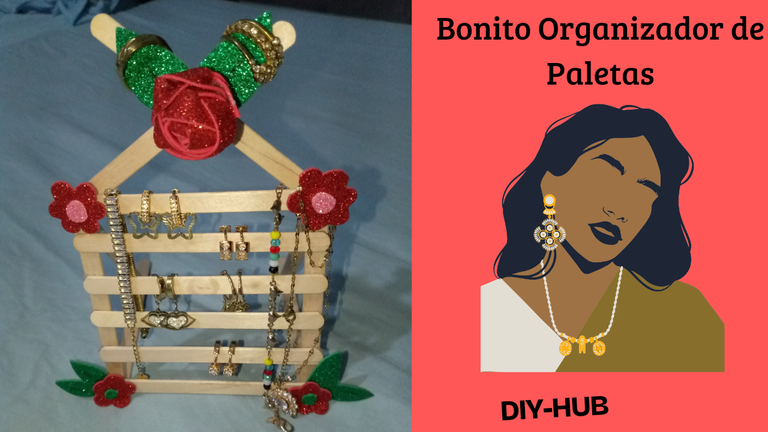
Hola queridos amigos de esta comunidad un gusto saludarlos espero que estén muy bien deseándoles una semana llena de muchas bendiciones prosperidad vida y salud para todos.
El día de hoy quiero mostrarles cómo realizar un hermoso organizador de zarcillos hecho en paletas de rosas en foami muy fácil de hacer realmente este organizador me ayuda a tener un poco más mis accesorios organizados y es muy fácil porque así puedo seleccionar rápido el accesorio que me voy a poner para mi outfit espero que realmente les guste y puedan animarse a realizarlo en casa.
Los materiales utilizados en la elaboración de mi organizador de paleta fueron los siguientes:
- Paletas de helado
- Faomi rojo y verde escarchado
- Tijera
- Lapicero
- Silicón
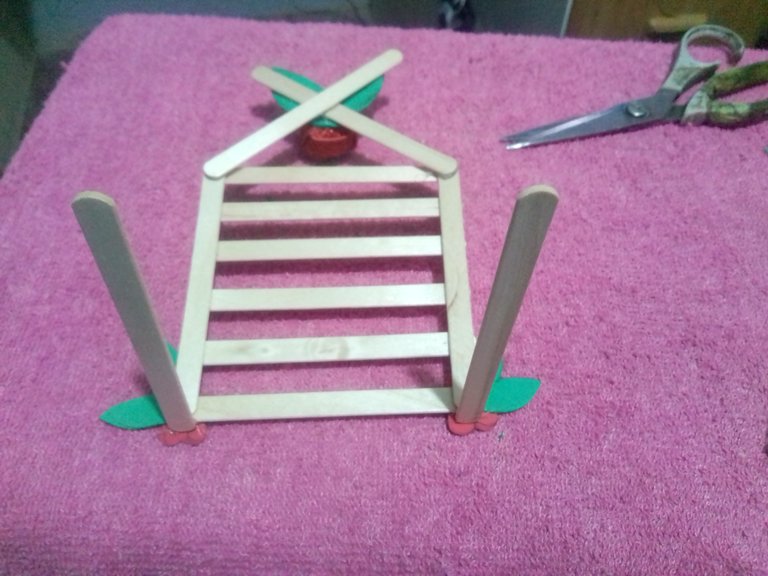
Lo primero que vamos a hacer es seleccionar cuatro paletas y la vamos a pegar en forma de cuadro ese es uno de los primeros pasos para hacer nuestro organizador luego lo siguiente que vamos a implementar es encima del cuadro de las cuatro paletas vamos a colocar seis paletas acostadas así de esta manera .
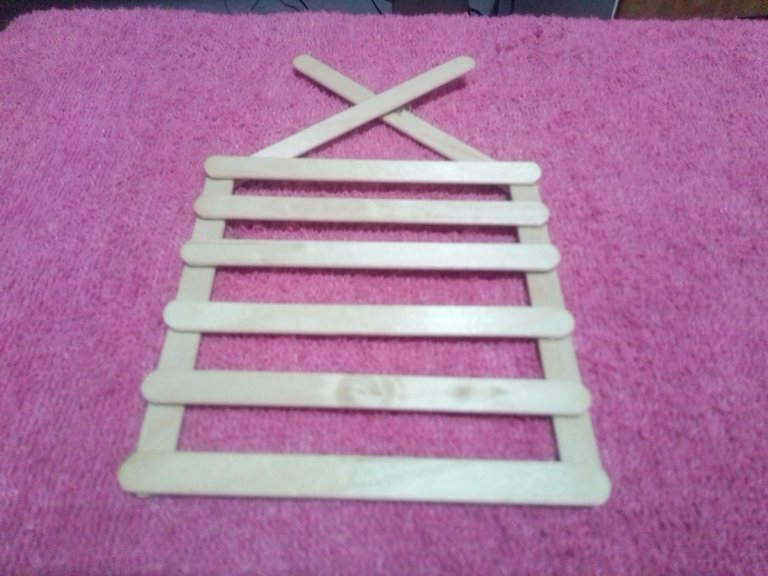
Luego con dos paletas vamos a ponerlas en formas de x y esta la vamos a pegar en las puntas esquineras del cuadro así de esta forma cómo está en la parte de arriba quise hacer todo completo y tomar la foto directamente ya que no se llevan muchos pasos y vamos a repetir los mismos espero que realmente puedan entender que es muy fácil de realizar.
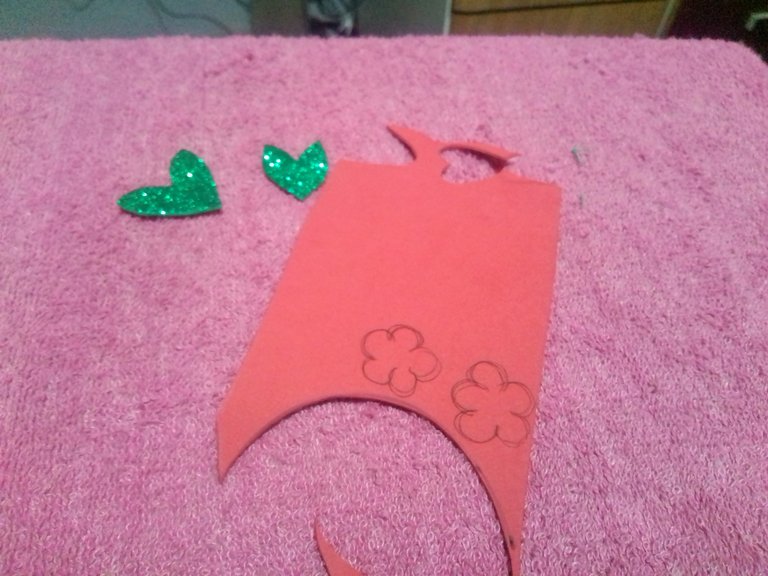
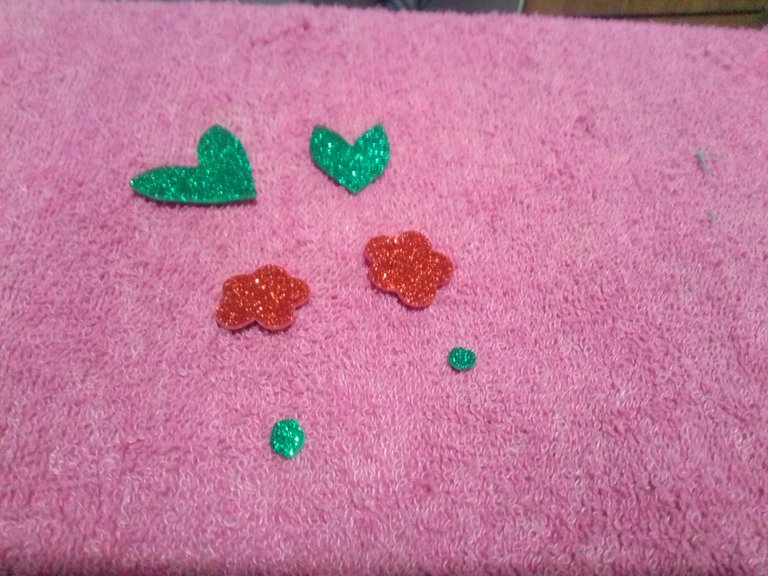
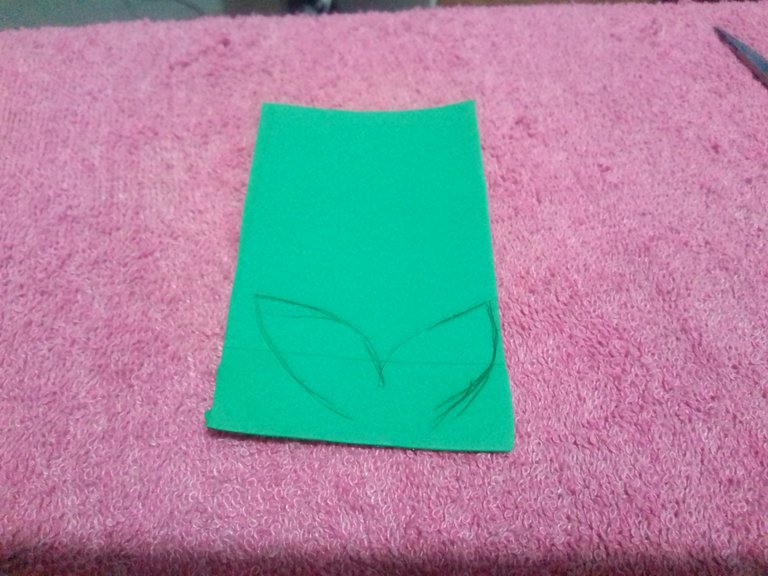
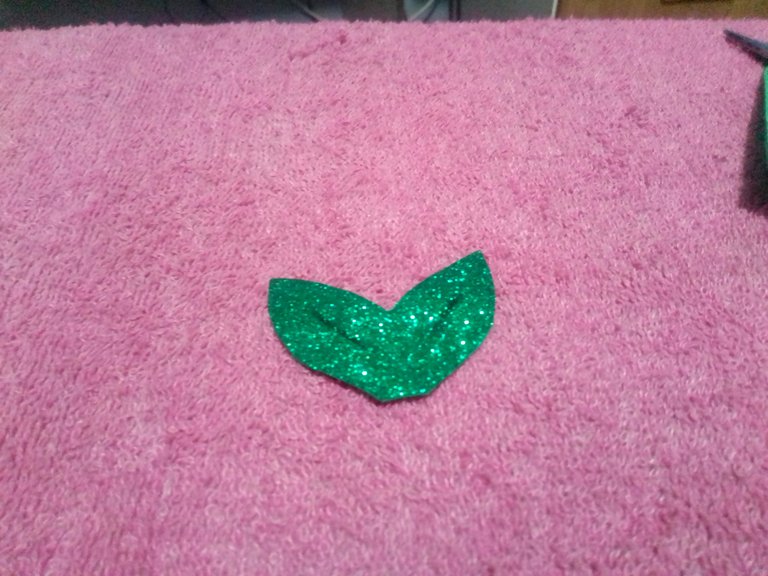
Con un lapicero nos vamos a encargar de hacer unas dos flores en rojo junto con sus hojas y los puntos verdes que van en el medio para ir decorando nuestro organizador.

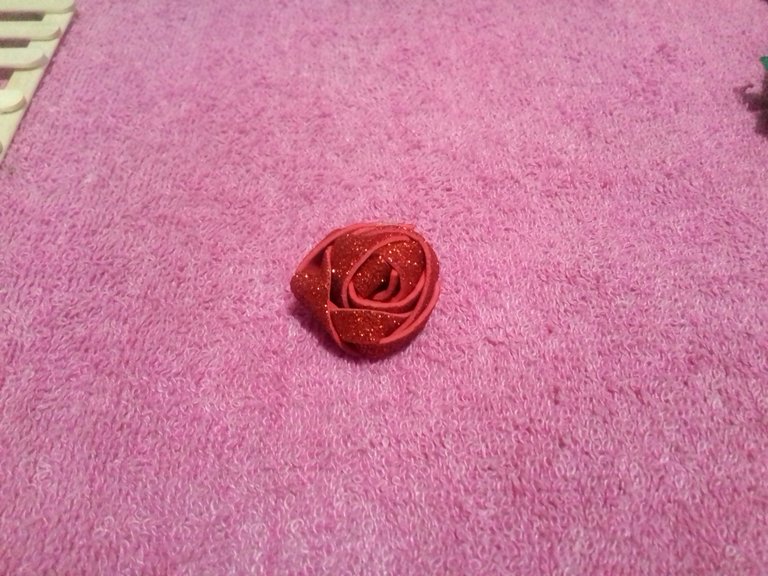
Esta pequeña Rosa la vamos a realizar con un pedazo de foami escarchado rojo lo vamos a recortar en tres tiras y luego lo vamos a tejer así como estuviésemos haciendo una trenza de tres lados una vez ya lista vamos a agregar un poquito de silicón para pegar las puntas y después lo que vamos a hacer es darle vueltas a esa trenza y de ese modo quedará nuestra hermosa rosa así de esta manera.
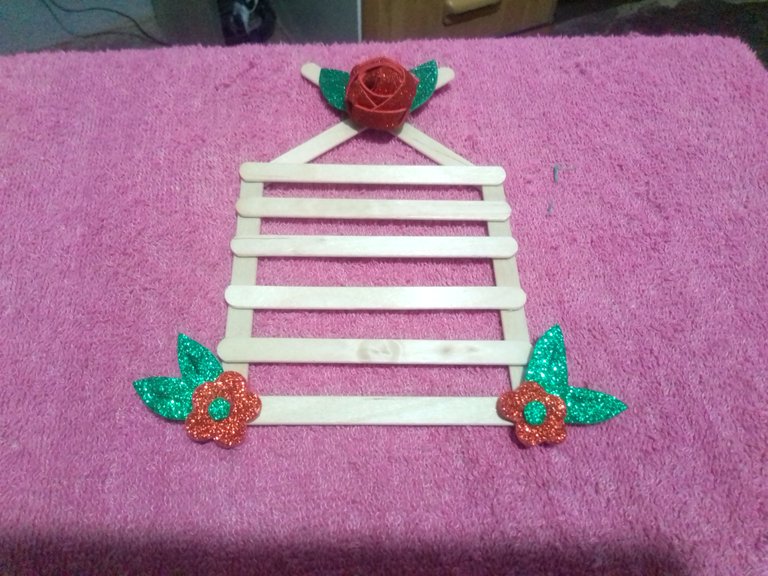
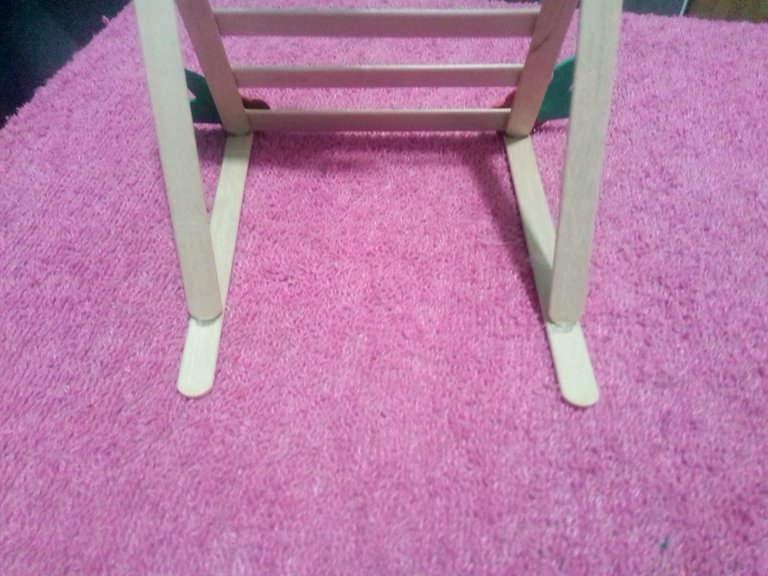
Solamente vamos a realizar los últimos pasos para así tener ya listo este organizador qué haremos vamos a agregar suficiente silicón en dos paletas y vamos a pegarlas en la parte debajo del cuadro de paletas así de esta manera una vez ya lista nos vamos a encargar de realizar el siguiente que va a ser colocar dos paletas en ambas partes laterales de el organizador para que pueda así sostenerse agregando suficiente silicón para que quede estable y pueda aguantar un poco de peso o para que no se vaya a desarmar.
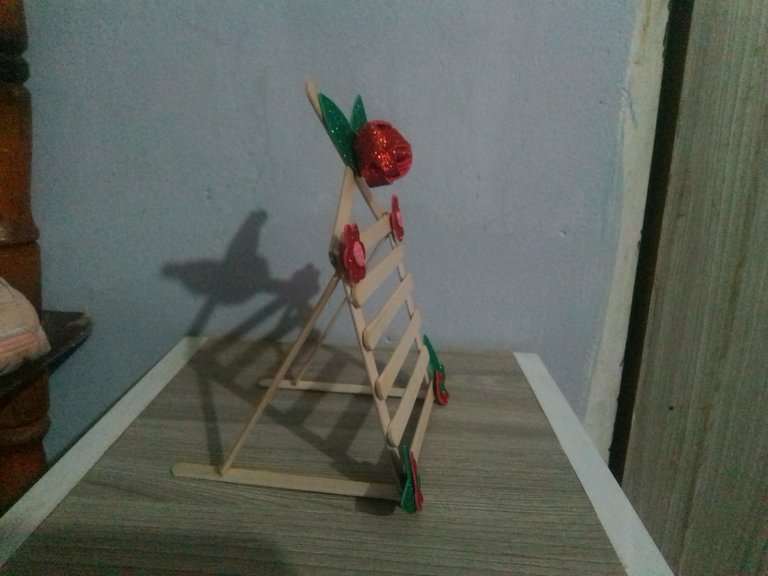
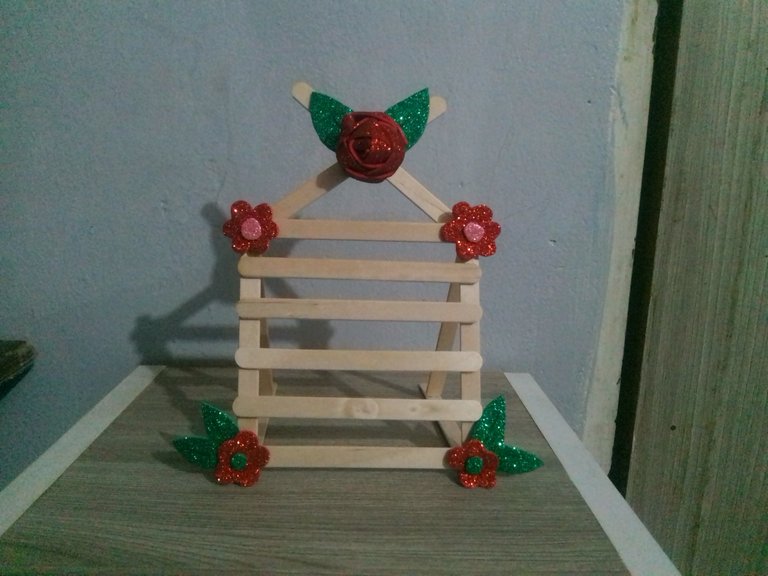
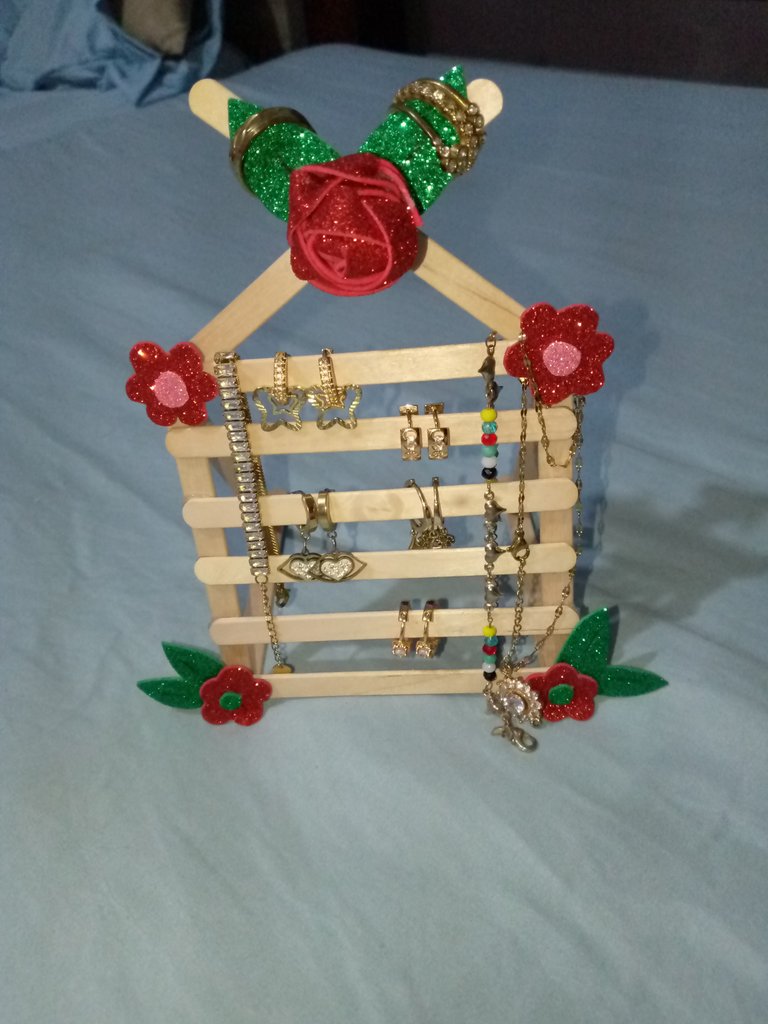
Cabe destacar que siempre a la hora de realizar manualidades tenemos que tener mucho cuidado al trabajar con silicón ya que existen riesgos de quemaduras y tenemos que hacerlo delicadamente bueno mi queridos amigos aquí les dejo el resultado de cómo quedó mi organizador de accesorios y que es una buena idea ya que puede ser para guindarlo o para colocarlo en nuestra peinadoras o repisas del cuarto o incluso hasta podemos regalarlo a amistades cercanas.
HASTA LA PRÓXIMA !!!

Hello dear friends of this community a pleasure to greet you I hope you are very well wishing you a week full of many blessings prosperity life and health for everyone.
Today I want to show you how to make a beautiful organizer of tendrils made in foami roses pallets very easy to do really this organizer helps me to have a little more my accessories organized and it is very easy because I can quickly select the accessory that I will wear for my outfit I hope you really like it and can be encouraged to make it at home.
The materials used in the elaboration of my popsicle organizer were the following:
- Popsicle sticks
- Red and green frosted Faomi
- Scissors
- Pencil
- Silicone
The first thing we are going to do is to select four pallets and we are going to glue them in the shape of a square, that is one of the first steps to make our organizer, then the next thing we are going to implement is on top of the square of the four pallets we are going to place six pallets lying down like this.

Then with two pallets we are going to put them in x shapes and this we are going to glue them on the corner points of the box like this how it is on the top I wanted to make everything complete and take the picture directly as it does not take many steps and we are going to repeat the same ones I hope you can really understand that it is very easy to make.
Traducido con DeepL https://www.deepl.com/app/?utm_source=android&utm_medium=app&utm_campaign=share-translation


With a pencil we are going to make two red flowers with their leaves and the green dots in the middle to decorate our organizer.


We are going to make this little rose with a piece of red frosted foami, we are going to cut it into three strips and then we are going to weave it as if we were making a three-sided braid. Once it is ready we are going to add a little bit of silicone to glue the ends and then what we are going to do is to twist the braid and our beautiful rose will look like this.

We are only going to do the last steps to have this organizer ready, what we are going to do is to add enough silicone on two pallets and we are going to glue them on the part below the pallet box so once it is ready we are going to do the next step which is going to be to place two pallets on both sides of the organizer so that it can stand up adding enough silicone so that it is stable and can hold a little weight or so that it will not fall apart.


It should be noted that always when making crafts we have to be very careful when working with silicone as there are risks of burns and we have to do it delicately well my dear friends here I leave the result of how my accessories organizer was and that is a good idea because it can be to hang it or to place it in our hairstyles or shelves of the room or even we can even give it to close friends.


Amiga eso quedó hermoso. No solo es muy útil para organizar accesorios sino que también sirve como exhibidor para manualidades relacionadas con la joyería.
Admirable Yanetzy, it is very nice and has an ideal size to be useful and to decorate. Thank you for sharing it on DIYHub, it is a very striking post and very useful for others...
Greetings Yanetzy! Your work with popsicle sticks is a very beautiful example of how to use recyclable material. It's a nice and very useful organizer, thanks for sharing it on DIYHub.
Very creative and beautiful, it is amazing and well done. Bravo and keep it on