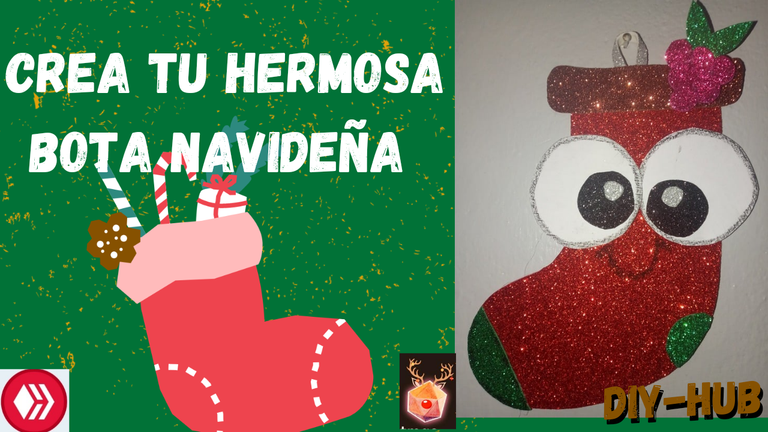
Hola, mis queridos amigos de esta maravillosa y muy creativa comunidad de @Diy-hub espero que esten muy bien, deseandoles a todos que esten con bueno salud alegria y llenos de bendiciones.
El dia de hoy quiero mostrarle como realizar una hermosa bota navideña linda lara decorar nuestras casas, en estas navidadws uniéndome en el concurso navideño de esta comunidad, espero que les guste y puedan animarse a hacer en casa manualidades creativas para estas fiestas.
Los materiales utilizados en la elaboración de la bota navideño fueron los siguientes:
❄️ Hoja reciclada
❄️ Lápiz
❄️ Tijera
❄️ Silicón
❄️ Foami escarchado rojo marrón verde fucsia negro y plateado.
¡Comencemos a Elaborar!
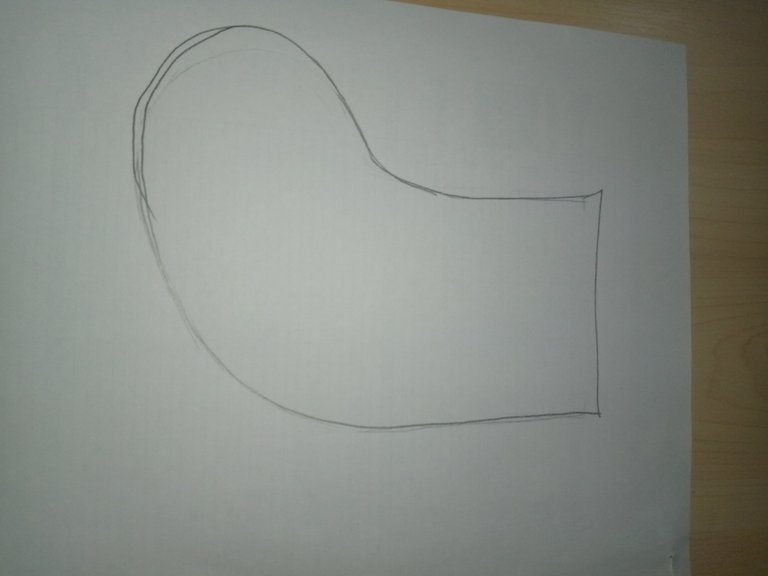
- Lo primero que vamos a hacer es tomar la hoja blanca y el lápiz que realizar un dibujo de una bota así de esta manera.
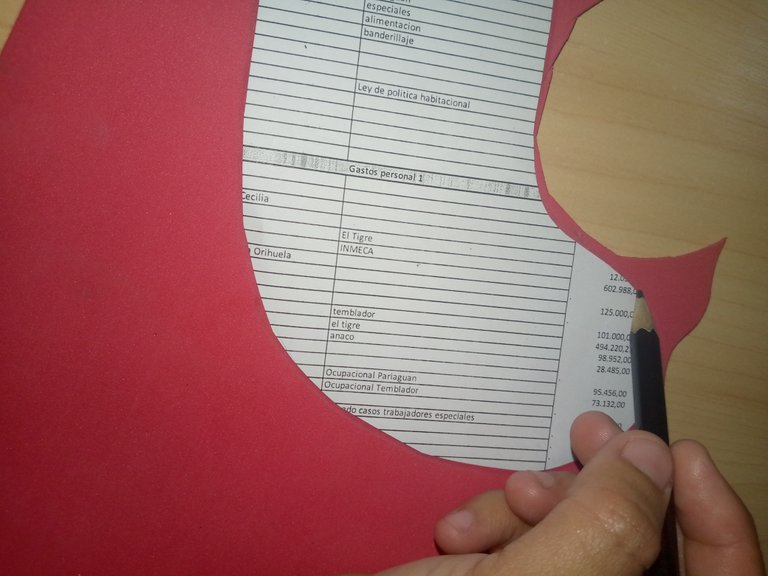
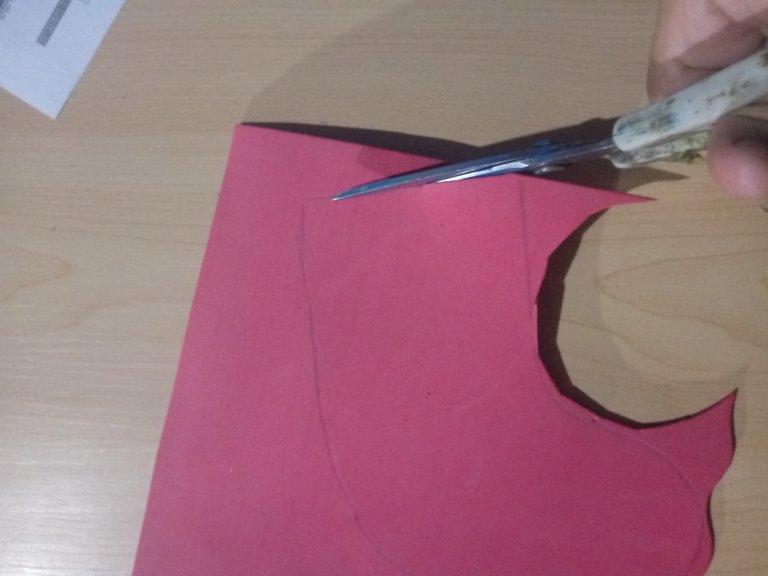
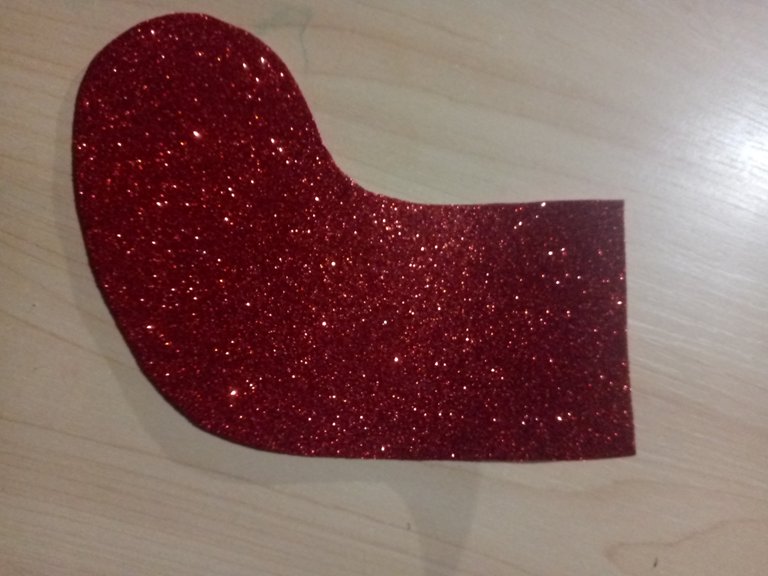
- Luego de haberla dibujado nos vamos a encargar de recortarla y con esta vamos a hacer un molde para el fomi rojo lo vamos a dibujar y lo vamos a recortar.
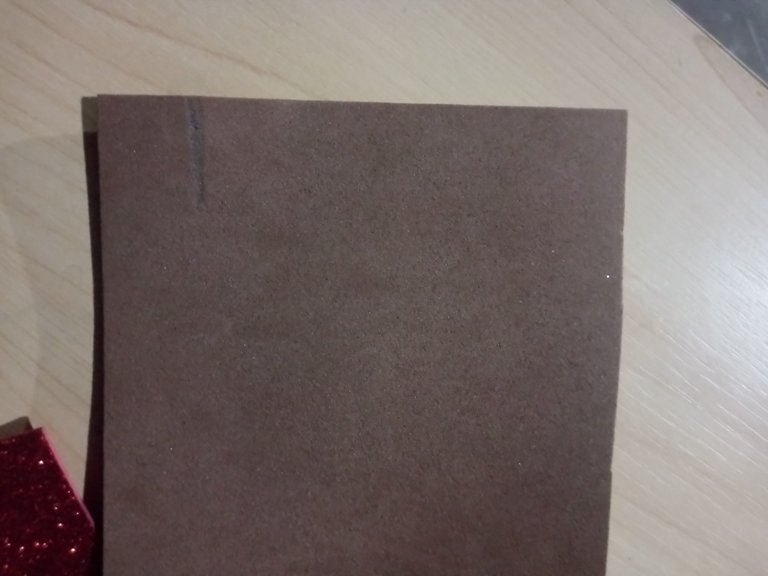
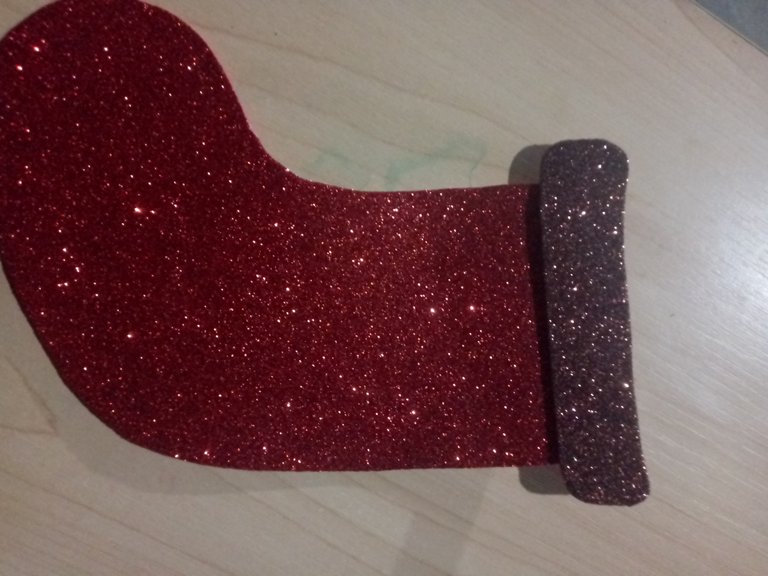
- Ahora con el fomi marrón vamos a realizar un pequeño cuadrito así de esta manera con las esquinas un poco onduladas para pegarlo en la parte de arriba de la bota.
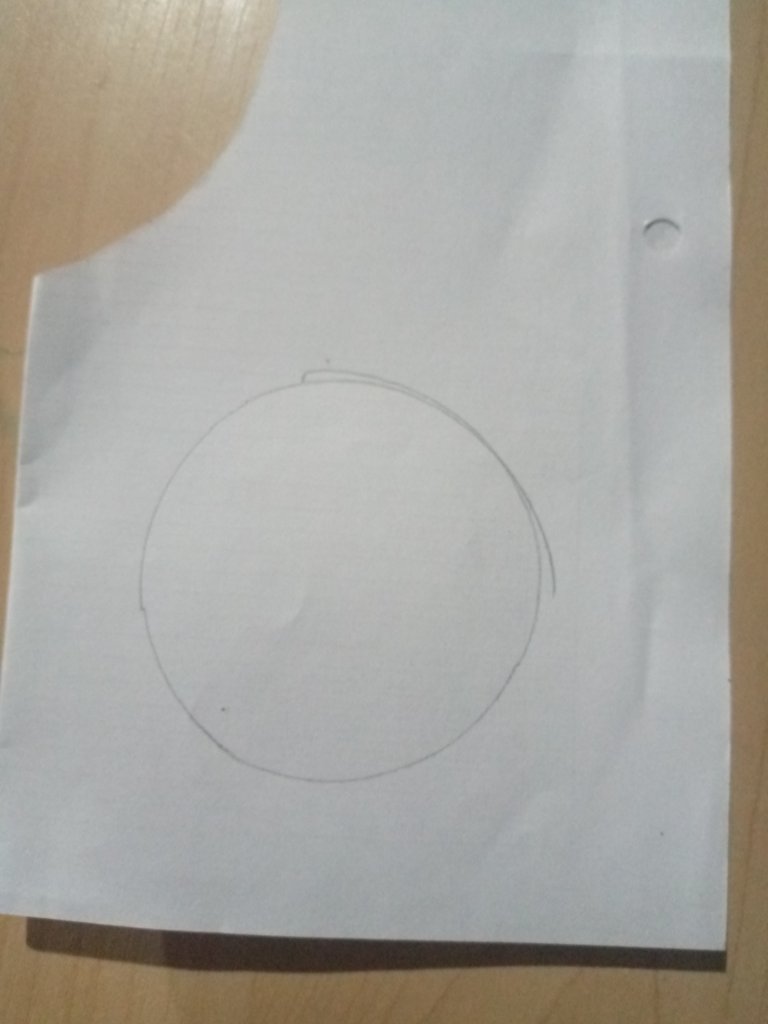
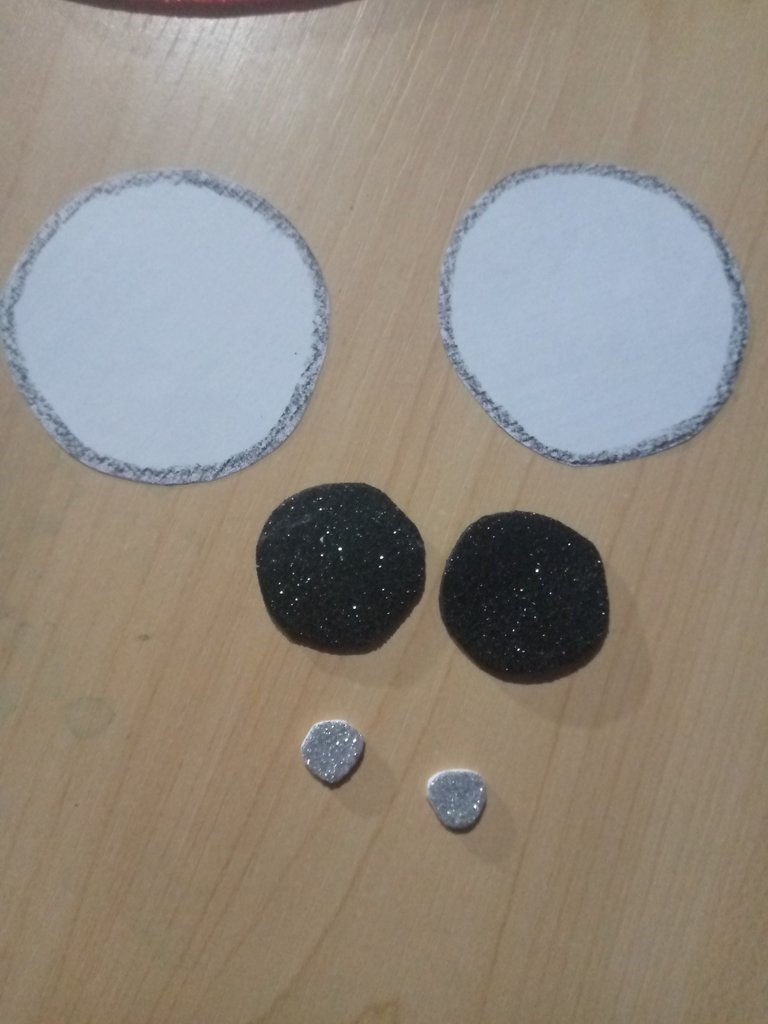
- Lo que vamos a hacer es con la hoja blanca realizar un pequeño círculo doble este lo vamos a recortar así de esta manera y luego con un lápiz color negro vamos a difuminar los alrededores de los círculos así de esta forma.
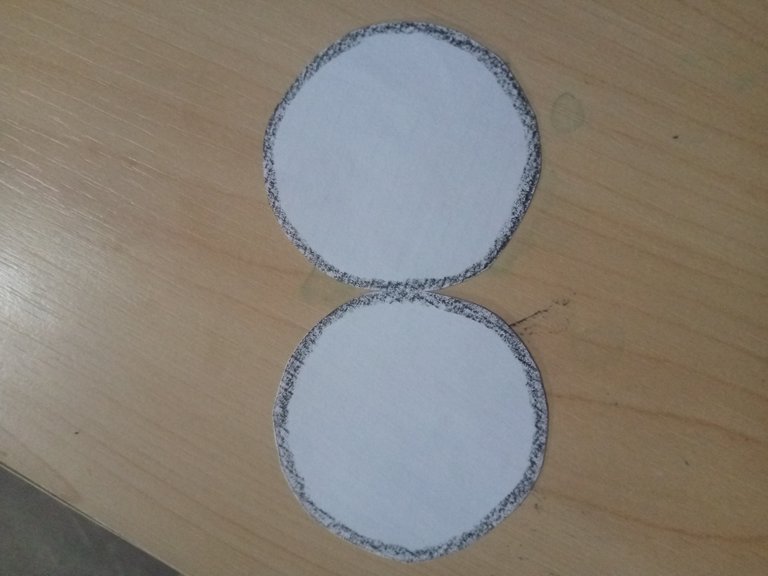
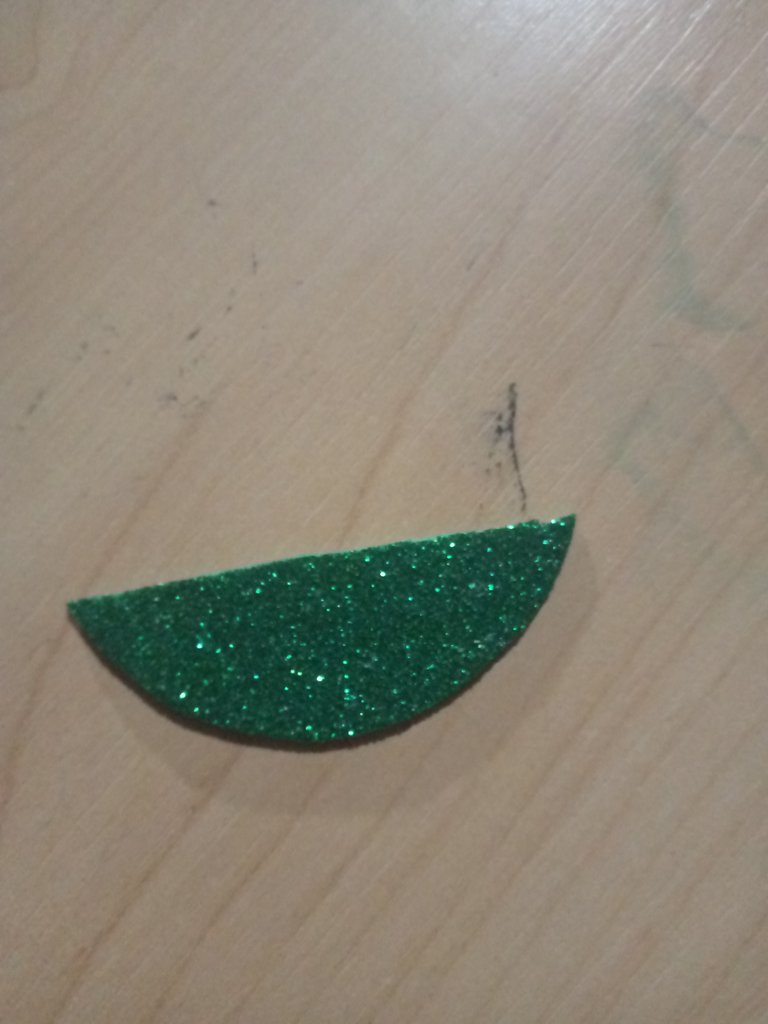
- Después vamos a tomar el foami verde y negro y vamos a hacer con el negro dos círculos y con el verde un círculo de media luna así de esta manera, también haciendo dos círculos con el foami plateado pequeños para los ojos.
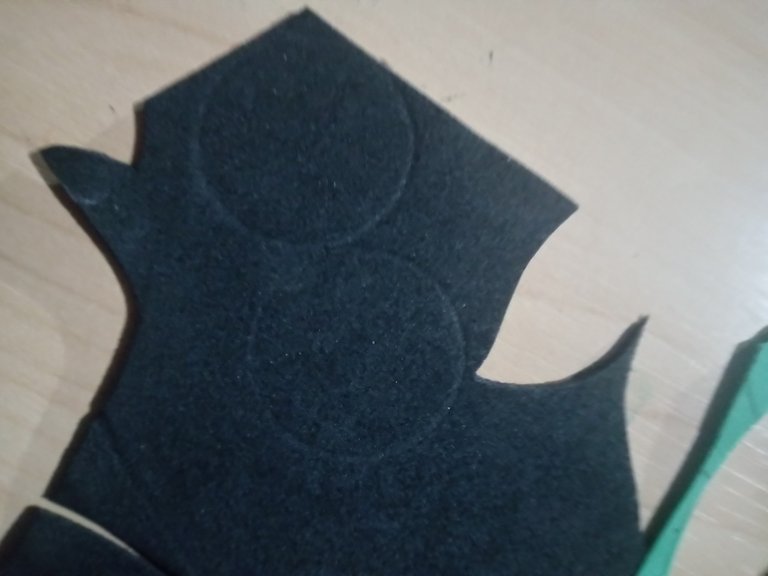
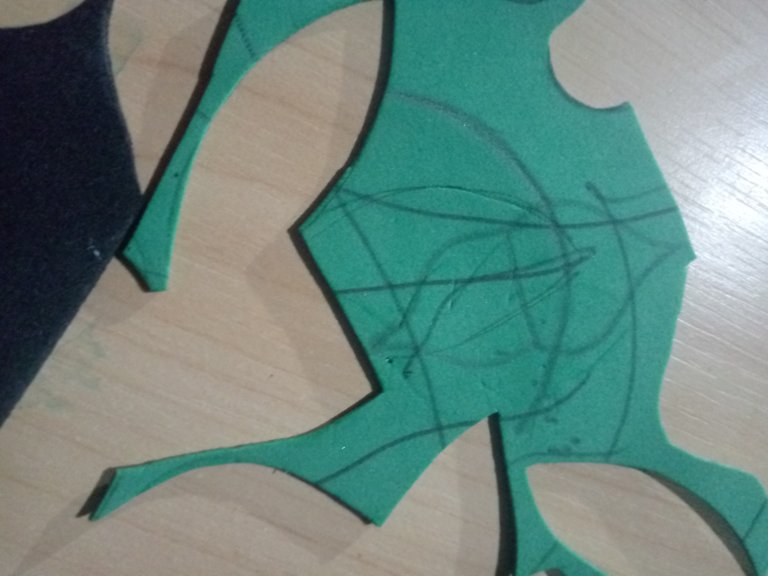
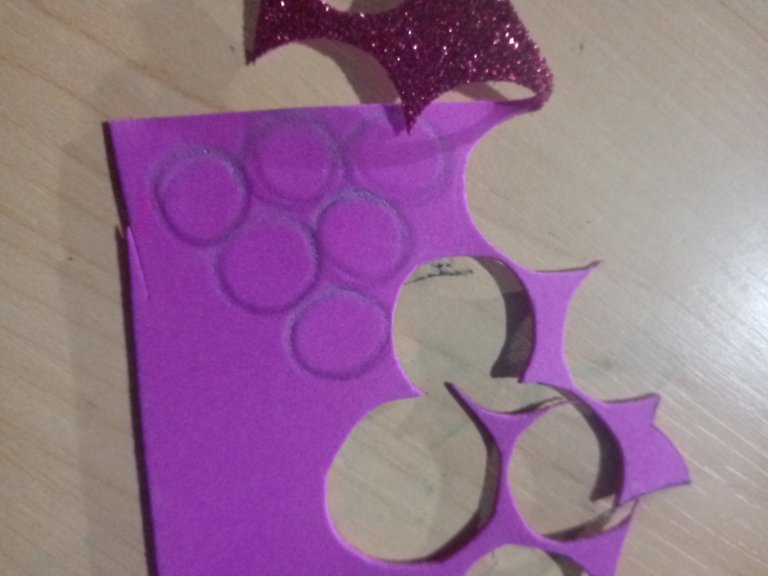
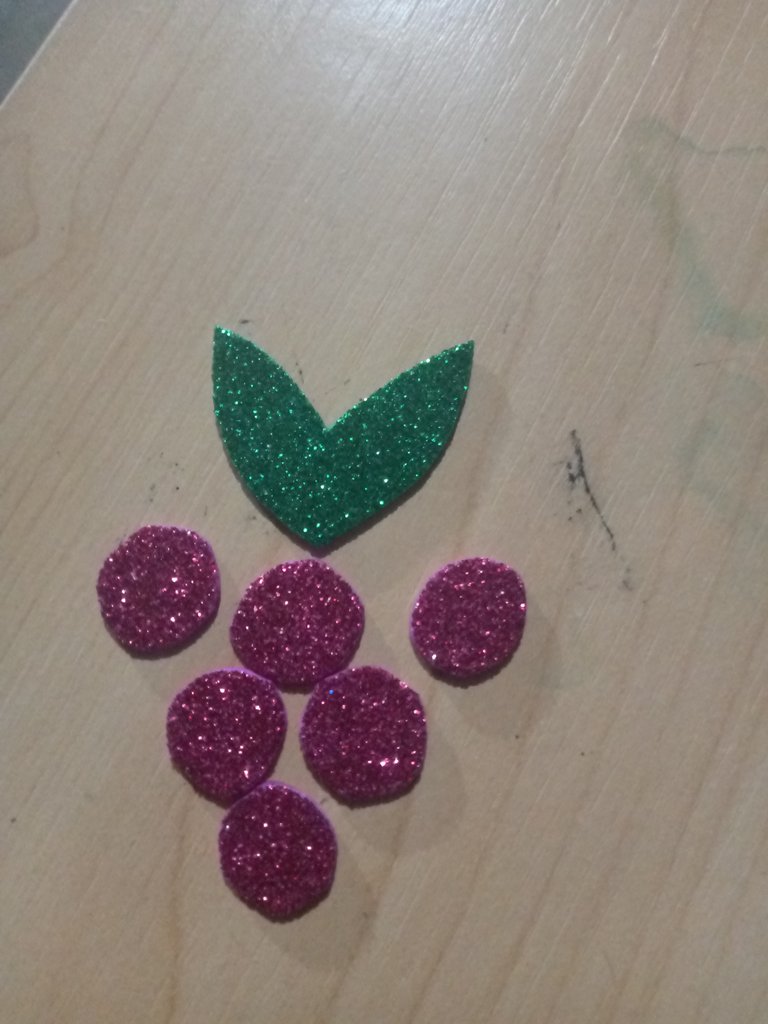
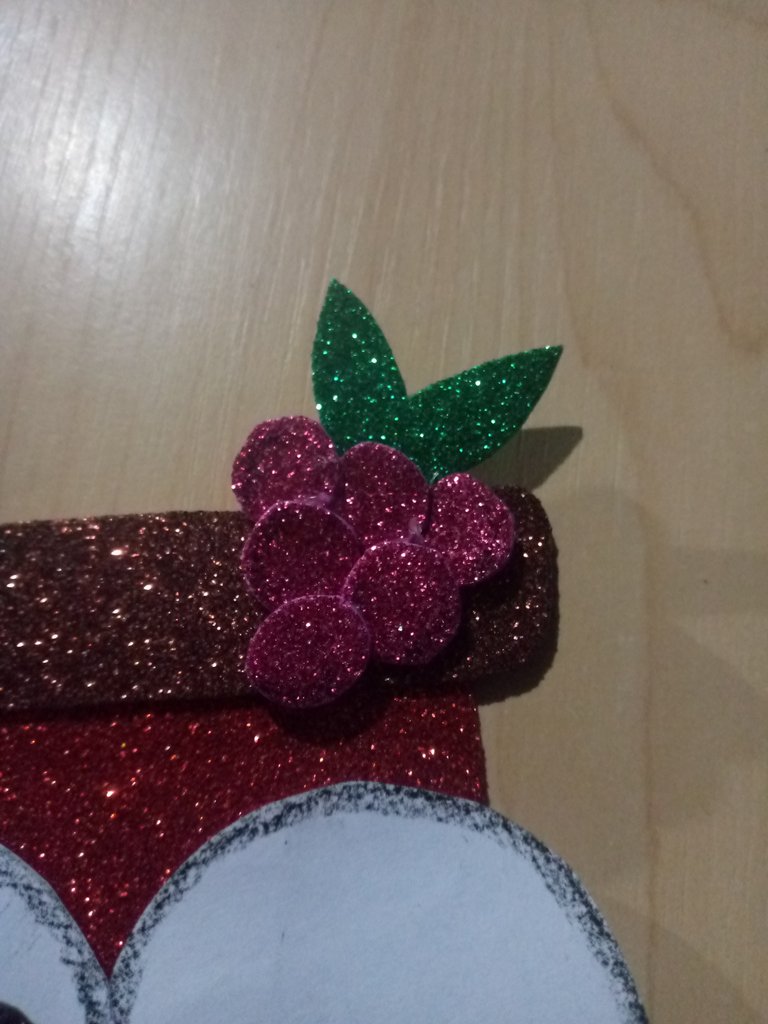
- Ahora con el foami morado nos vamos a encargar de realizar unos pequeños círculos junto con el foami verde unas dos hojas y estos vamos a formar Un ramito de uvas.
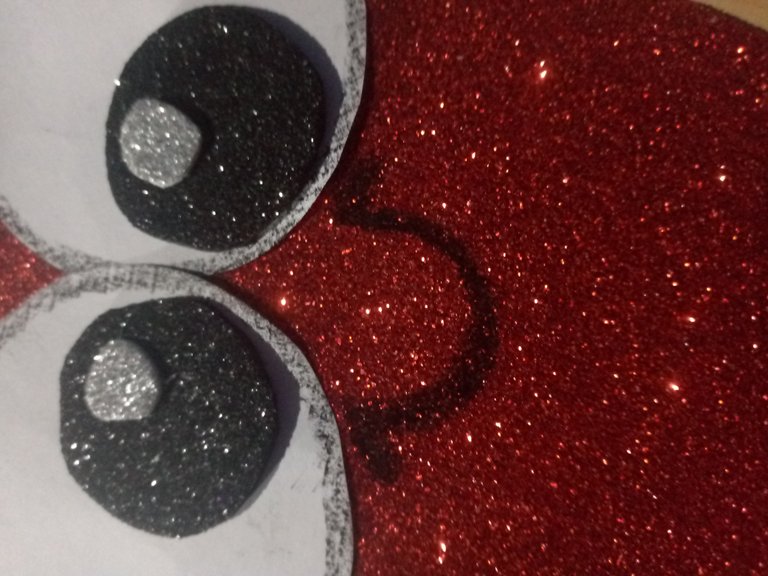
- Vamos a ir es construyendo toda nuestra bota así empezamos con los ojos.
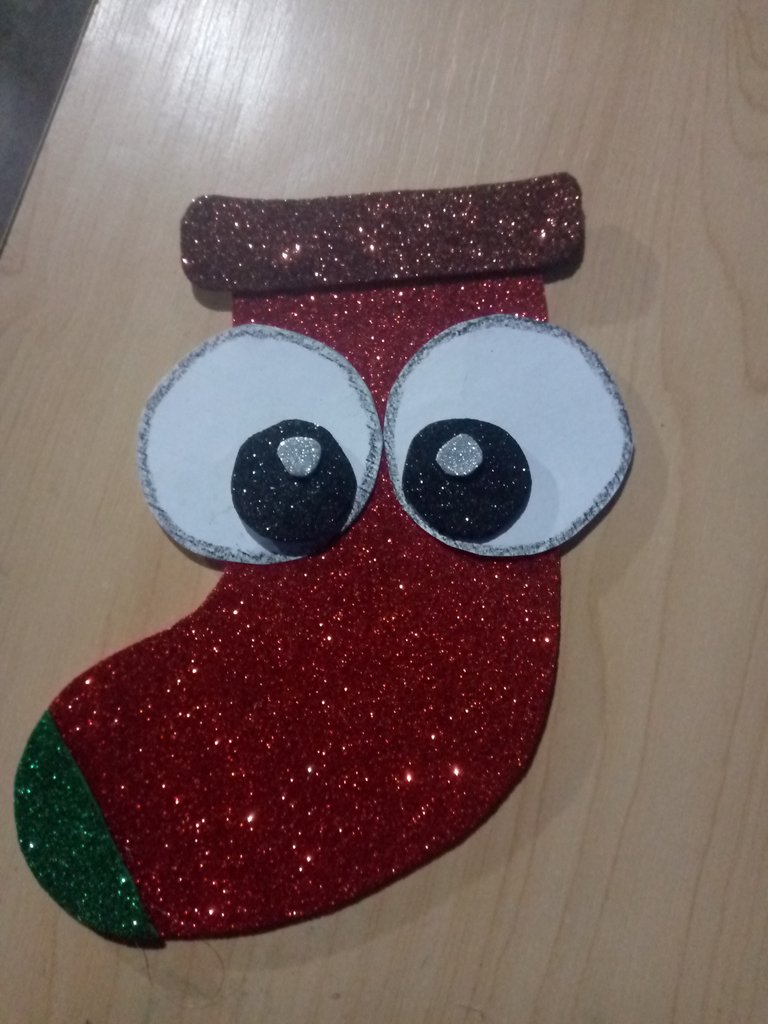
- Luego con la boquita dibujada con un lápiz negro, teniendo en cuenta que a la hora de utilizar también silicón debemos agregar lo suficiente y apretar fuerte para que quede muy bien.
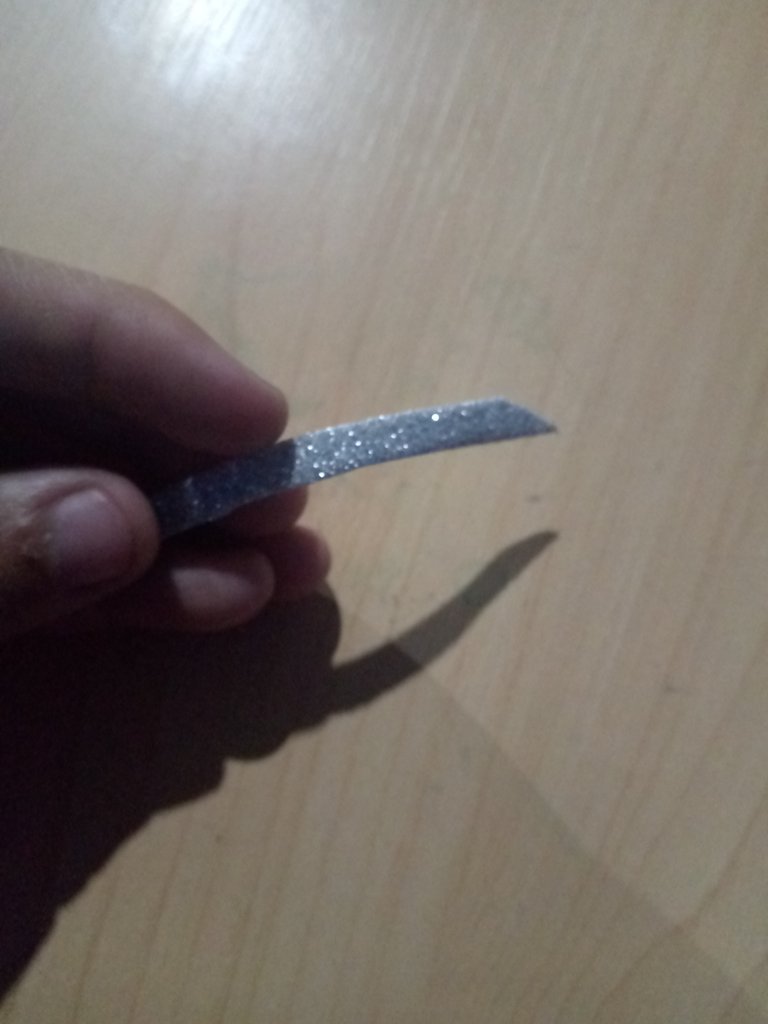
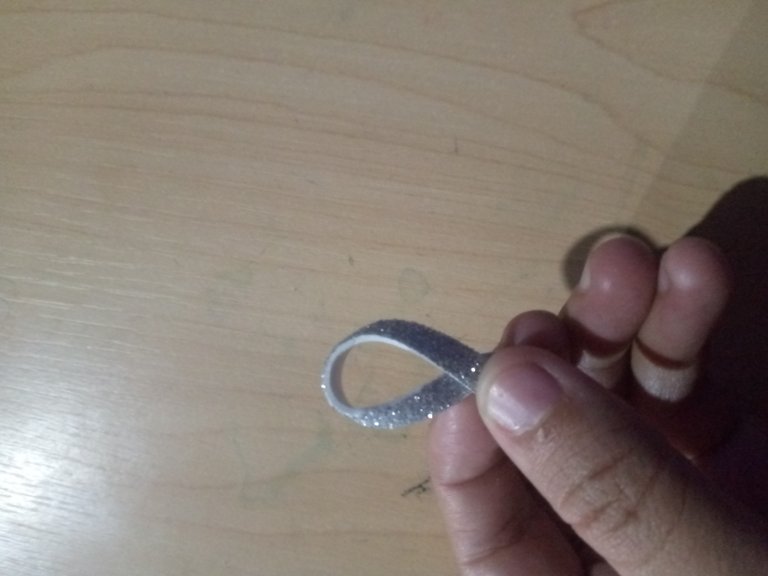
- Ahora lo que vamos a realizar va a ser un pequeño lazo para que lo podamos brindar en cualquier parte ya sea dentro o fuera de la casa todo dependiendo como lo querramos también sirve para ponerlo en arbolitos de navidad.
- Ahora vamos a pegar las uvitas en la parte de la esquina Y por último así hemos terminado nuestra bota muy linda y llamativa.
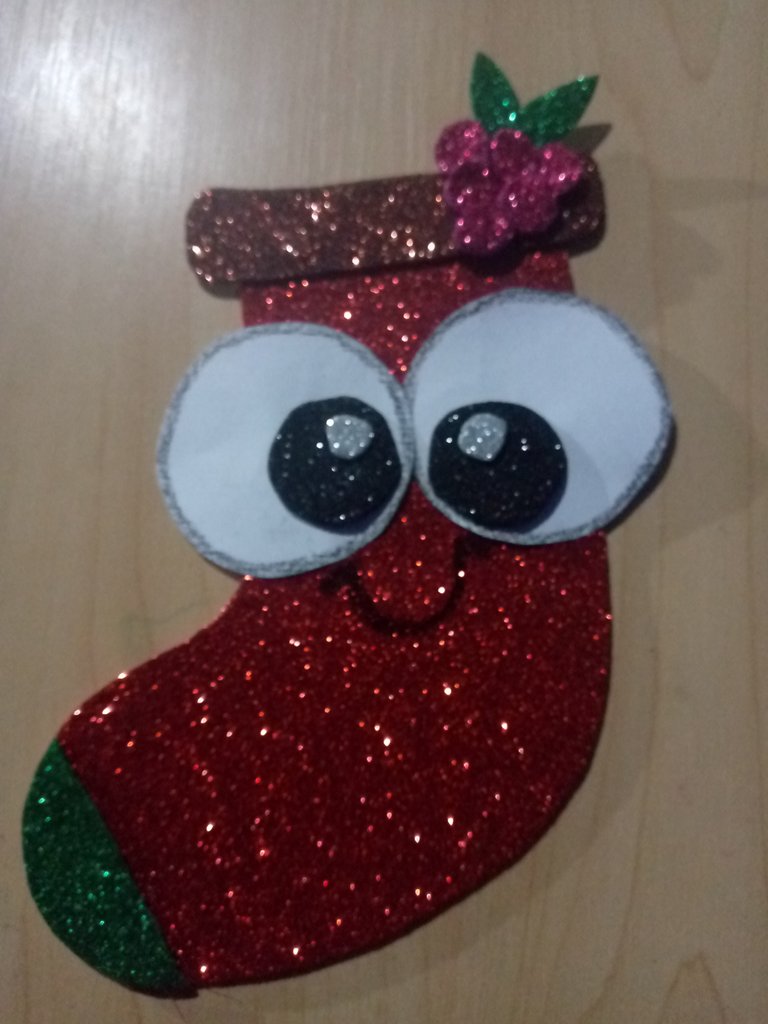
- Bueno mis queridos amigos espero que les guste mucho esta esta bota hecha con mucho amor y cariño para todos ustedes un fuerte abrazo y saludos.
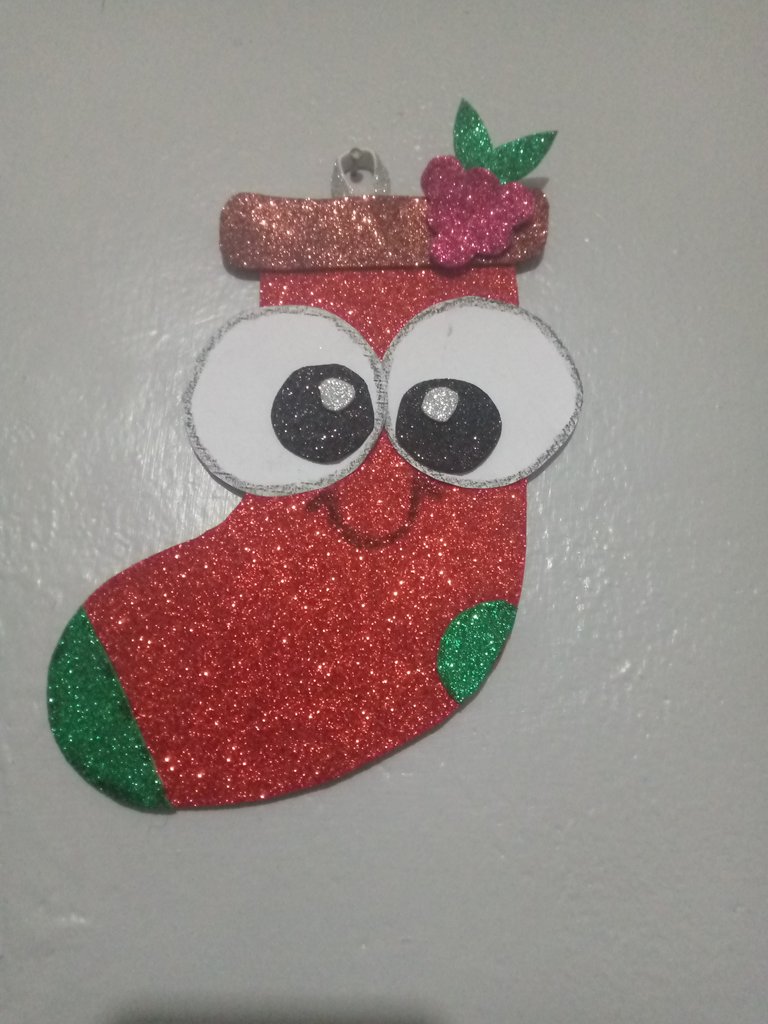
Hasta la próxima!❄️
Las imágenes son tomadas por mi teléfono tecno y me pertenecen.
Traductor utilizado:https://www.deepl.com
La imagen la edite mediante la aplicación de canva.

Hello, my dear friends of this wonderful and very creative community of @Diy-hub I hope you are very well, wishing you all to be in good health joy and full of blessings.
Today I want to show you how to make a beautiful Christmas boot cute lara decorate our homes, in these navidadws joining in the Christmas contest of this community, I hope you like it and can be encouraged to do at home creative crafts for this holiday season.
The materials used in the elaboration of the Christmas boot were the following:
❄️ Recycled leaf
❄️ Pencil
❄️ Scissors
❄️ Silicone
❄️ Foami frosted red brown green fuchsia black and silver.
Let's Start Elaborating!
- The first thing we are going to do is to take the white sheet of paper and the pencil and draw a picture of a boot like this.

- After we have drawn it we are going to cut it out and with this we are going to make a mold for the red fomi we are going to draw it and we are going to cut it out.


- Now we are going to make a little square like this with the corners a little wavy to glue it on the top of the boot.


- What we are going to do is to make a small double circle with the white sheet and cut it out like this and then with a black pencil we are going to blur the surrounding of the circles like this.


- Then we are going to take the green and black foami and we are going to make with the black one two circles and with the green one a half moon circle like this, also making two small circles with the silver foami for the eyes.


- Now with the purple foami we are going to make some small circles together with the green foami some two leaves and these we are going to form a bunch of grapes.


- Let's go is building our entire boot so we start with our eyes.

- Then with the little mouth drawn with a black pencil, keeping in mind that when using silicone we must also add enough and press hard so that it is very well.

- Now what we are going to do is to make a small ribbon so that we can give it anywhere inside or outside the house, depending on how we want it, it can also be used to put it on Christmas trees.


- Now we are going to glue the little grapes in the corner part. And finally we have finished our very pretty and eye-catching boot.


- Well my dear friends I hope you like this boot made with love and affection for all of you a big hug and greetings.

See you next time!❄️
Images are taken by my techno phone and belong to me.
Translator used:https://www.deepl.com
I edited the image using the canva application.
It is impressive the love and dedication you put into each creation. Your Christmas boot has a lot of personality and it's a very good post, anyone could imitate you with such a detailed step by step. Thanks for sharing a great job on DIYHub, we really appreciate it.
Thank you very much for always supporting my work, it really is something I do with a lot of love so that everyone can understand the way I work, thank you in advance Thousands of blessings to you.