
Hola Queridos Amigos de esta maravillosa comunidad, un gusto saludarlos nuevamente, dandole las gracias a Dios por un nuevo dia y por permitirme estar de vuelta en el mundo de las manualidades.
Feliz semana para todos llena de Ricas bendiciones.
El dia de hoy les traigo una excelente idea de como realizar un Porta llavero muy facil de hacer y con materiales facil de tener en casa, quedando como resultado un encantador porta llaves de 🌵 Cactus, quiero decirles que soy muy fanática de estás pequeñas plantas que puedes liberar un ambiente lleno de paz y tranquilidad.
Los Materiales utilizados en la elaboración de muestro porta llavero fieron los siguientes:
- tijera
- silicon
- Un tabla de carton
- hilo chino Rojo
- Foamy escarchado Blanco, Morado, Verde, rosado, amarillo y azul, negro.
- Lapicero
- marcador.
Bueno amigos empecemos a realizar el paso a paso de como hacerlo!!!
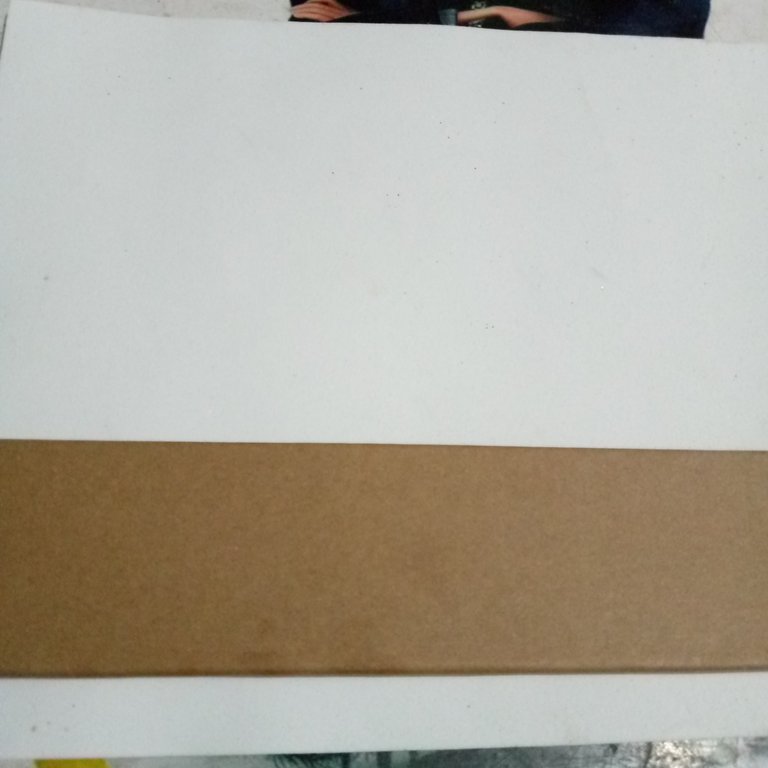
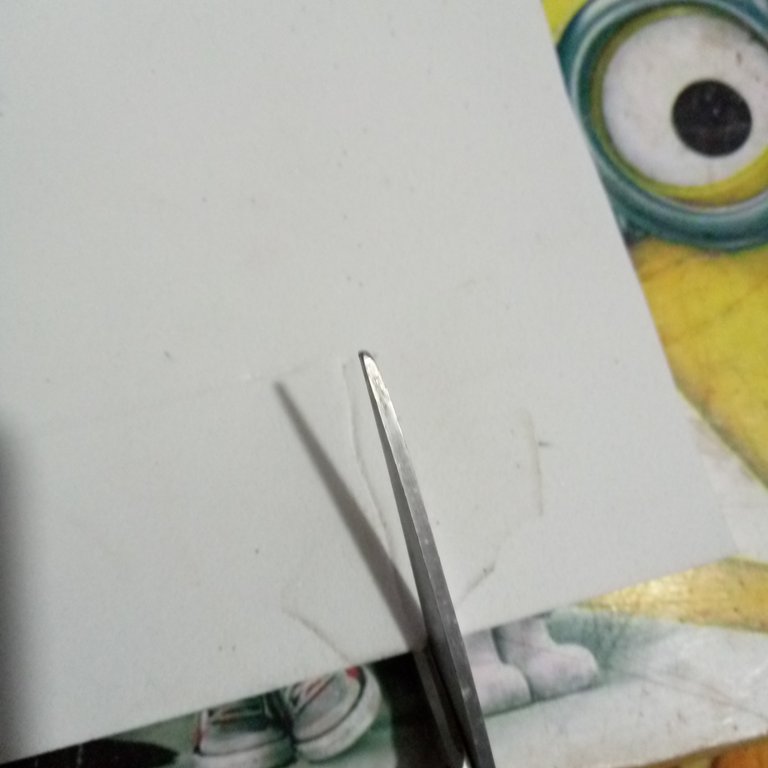
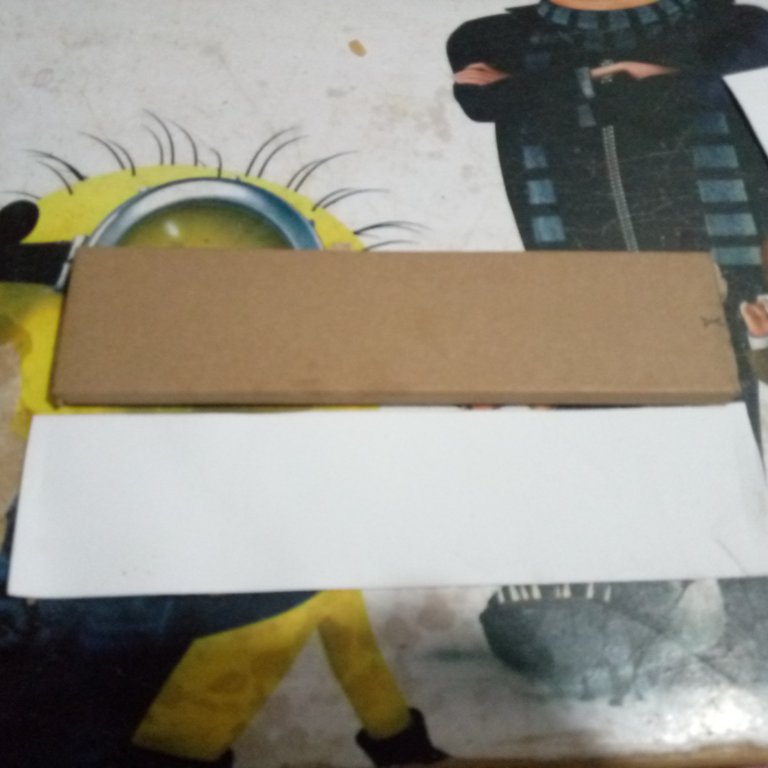
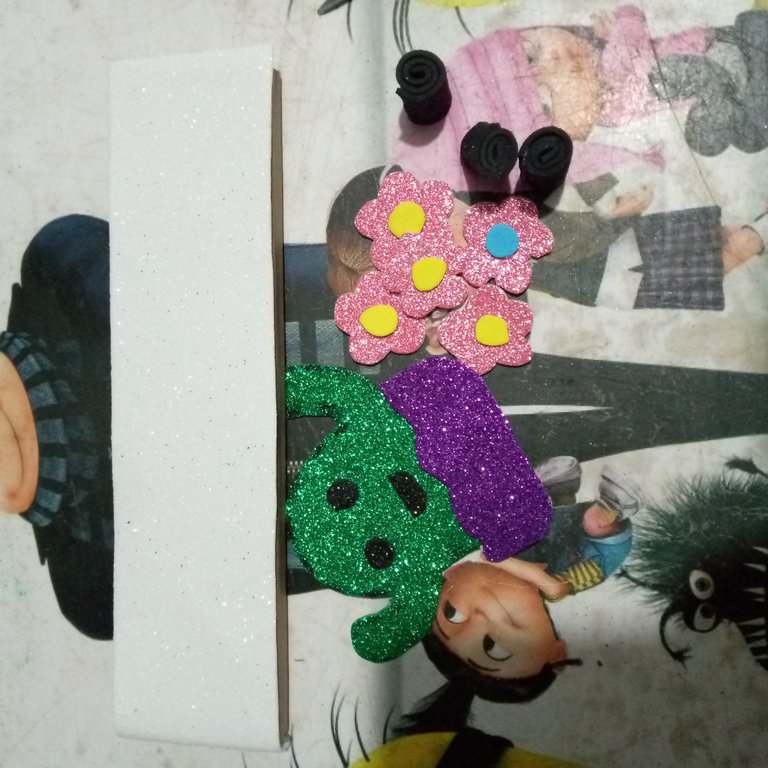
Lo primero que vamos a hacer es poner el foamy blanco y tener la tabla de carton al lado hacer las medidas de dicha tabla y luego delicadamente vamos a recortar asi de esta manera, luego de eso nos vamos a encargar de agregar suficiente silicon y pegar y asi terminamos con la primera parte.

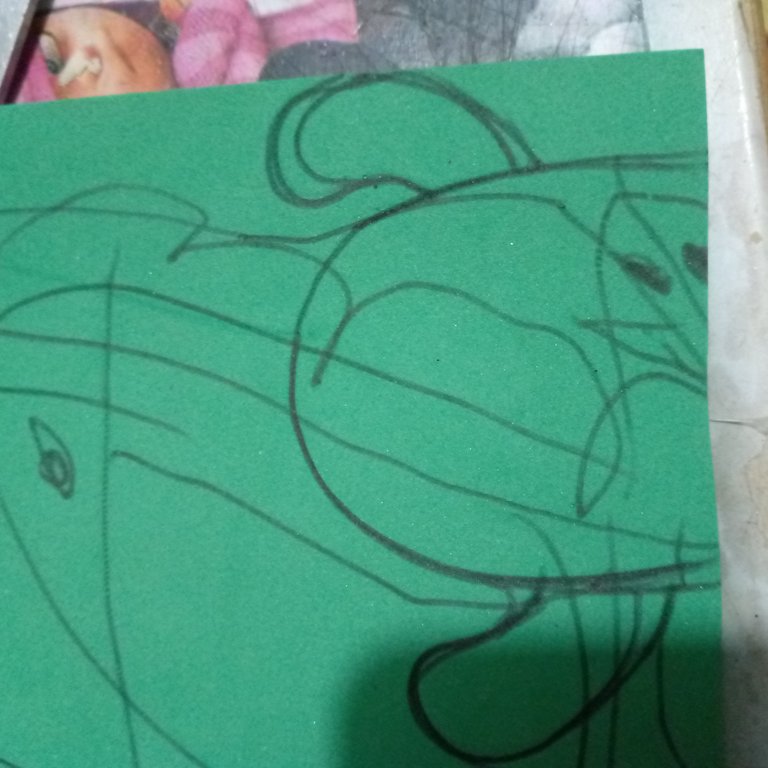
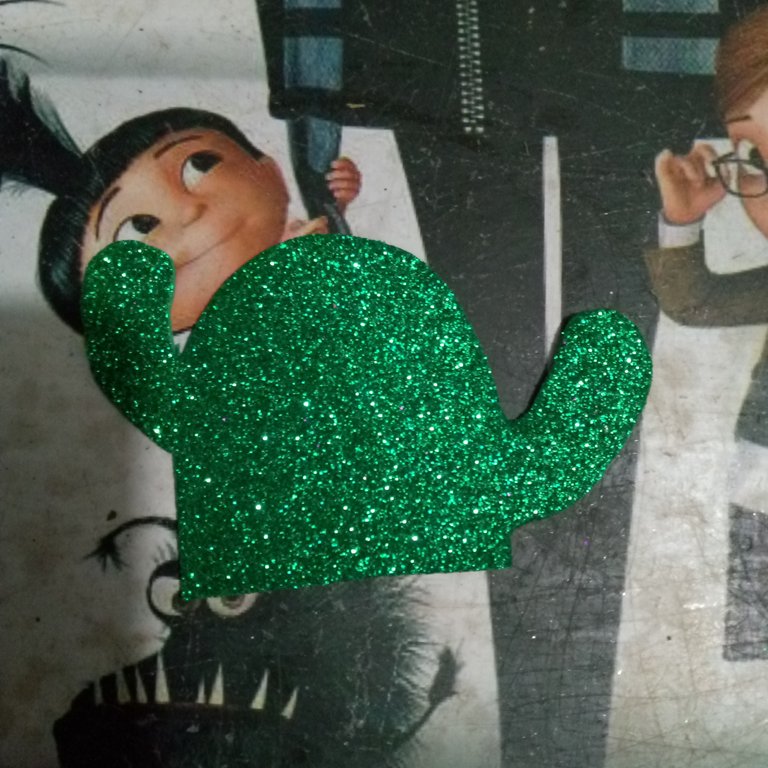
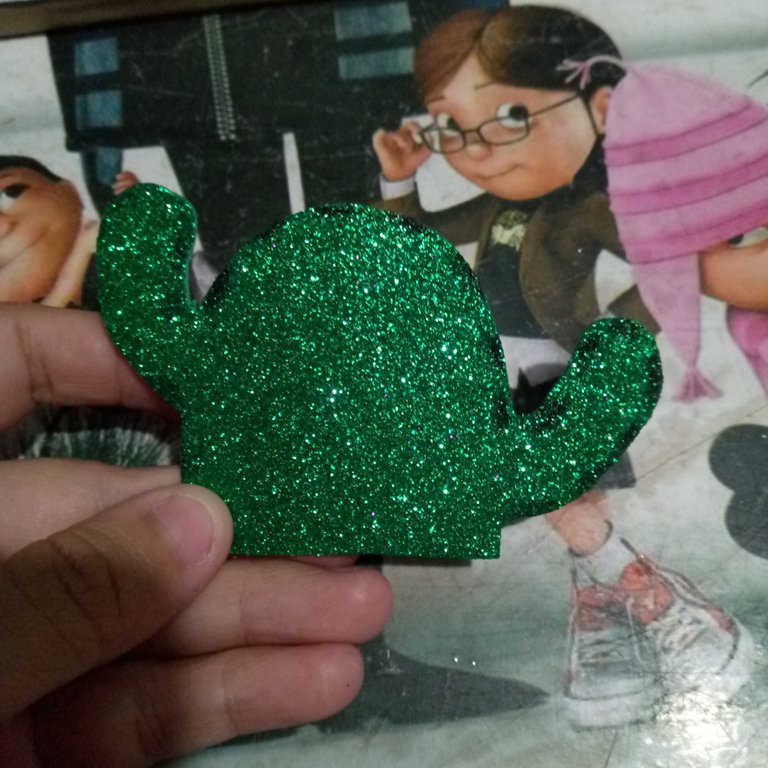
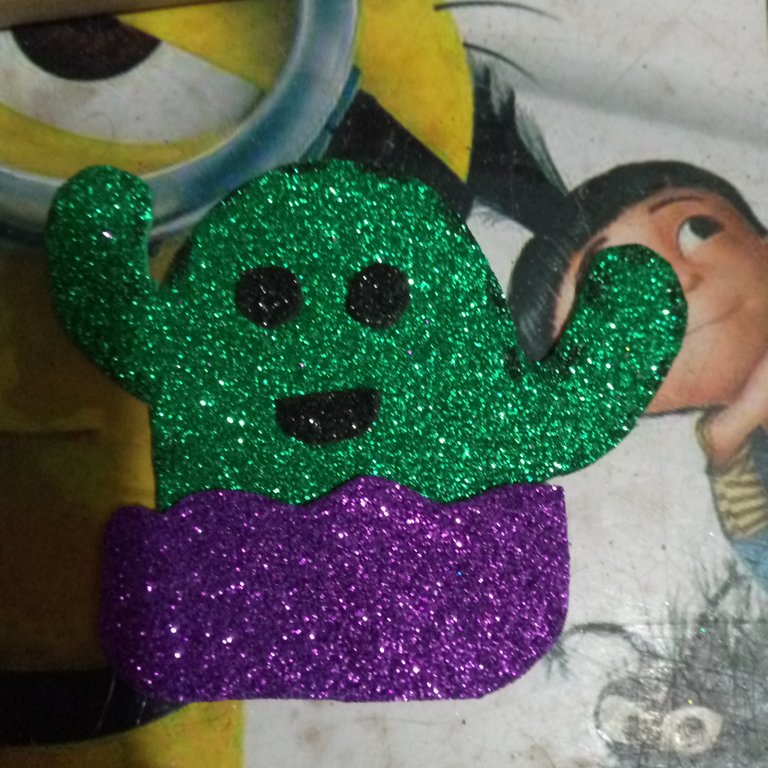
Ahora solo vamos a realizar un pequeño cactus 🌵 con el foamy verde y el lapicero vamos a dibujar la planta y luego vamos a recortarla asi de esta manera.
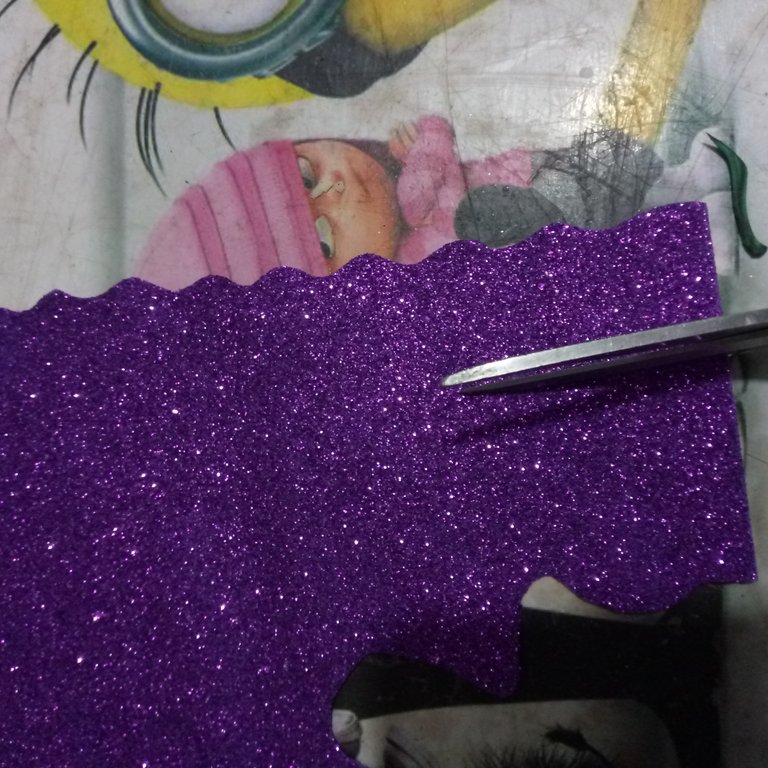
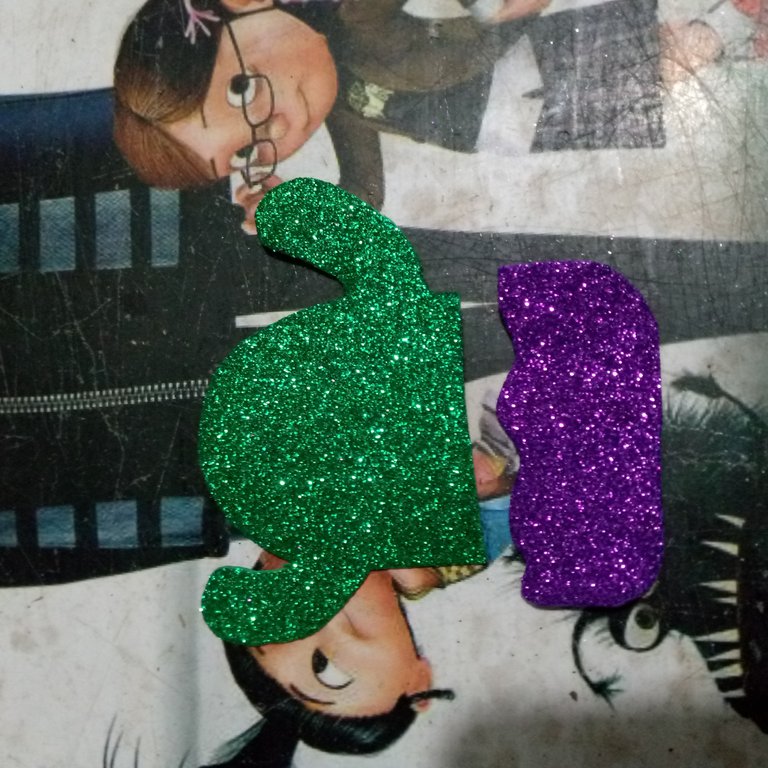
Ahora con el foamy morado ya tenia una acurela lista y obtuve un pequeño porron para el cactus lo hice en este color paravdarle un toque divertido y llamativo.
Luego tomamos el marcador negro y realizamos pequeñas marcas alrededor del cactus para darle un toque de profundidad asi de esta maneras.
Por ultimo con foamy negro hacemos pequeños circulos y una pequeña boca y nos encargamos de pegar todo para que quede asi de esta forma.
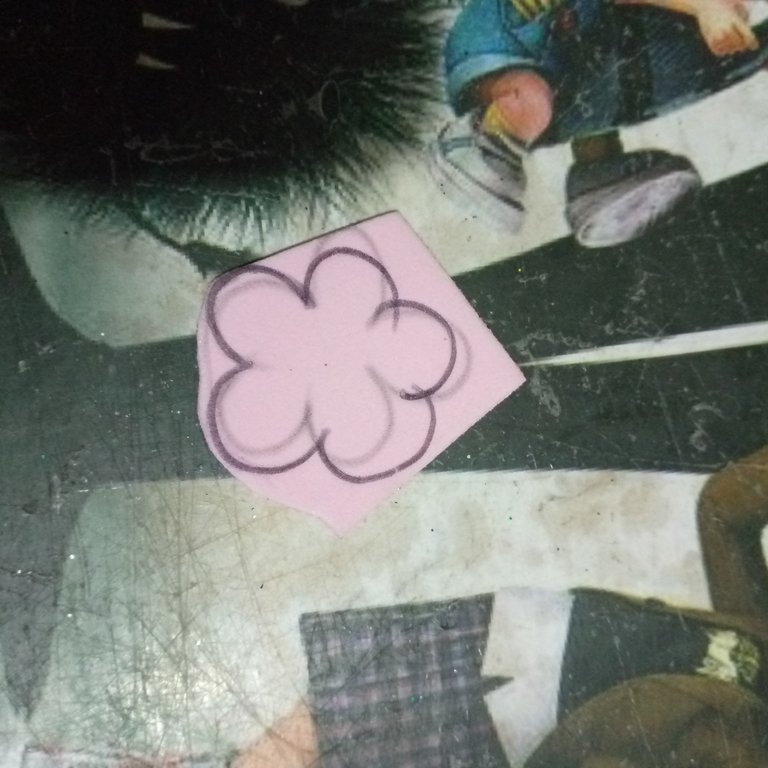
Seguimos realizando ahora pequeñas flores rosadas de cinco pétalos con el centro amarillo asi de esta manera muy facil de hacer.
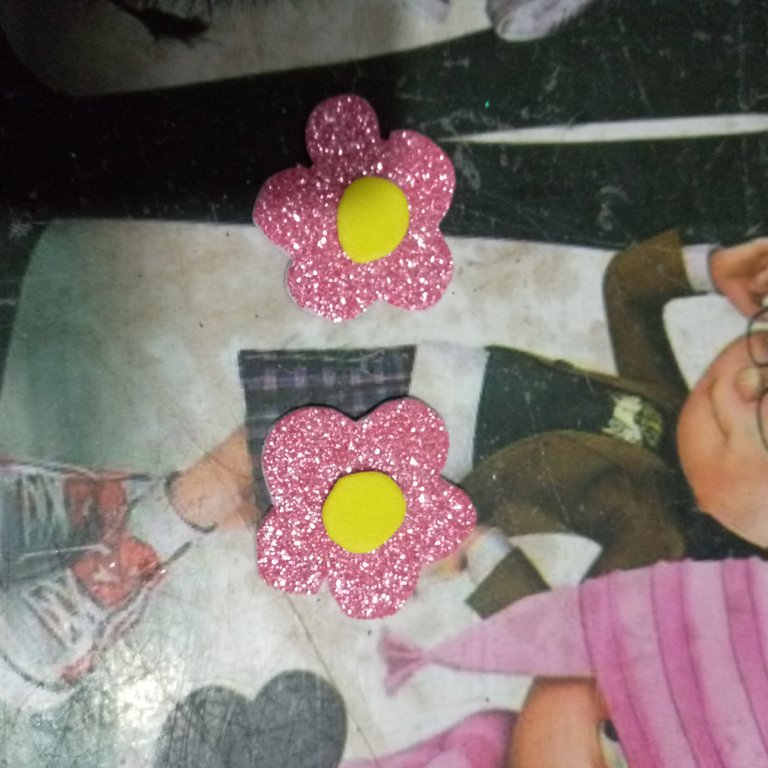
De estas vamos a realizar cinco flores que quedaran asi.
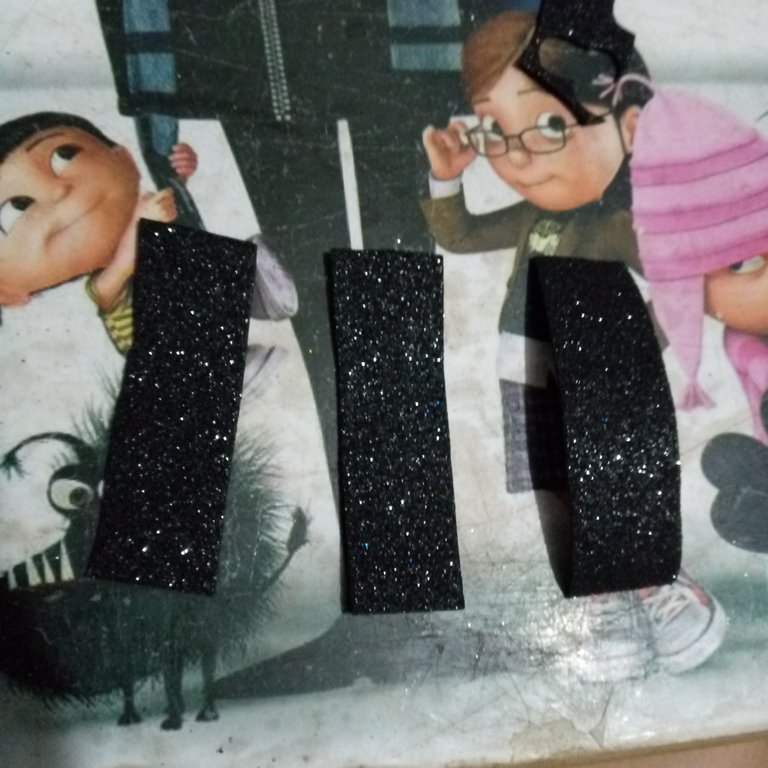
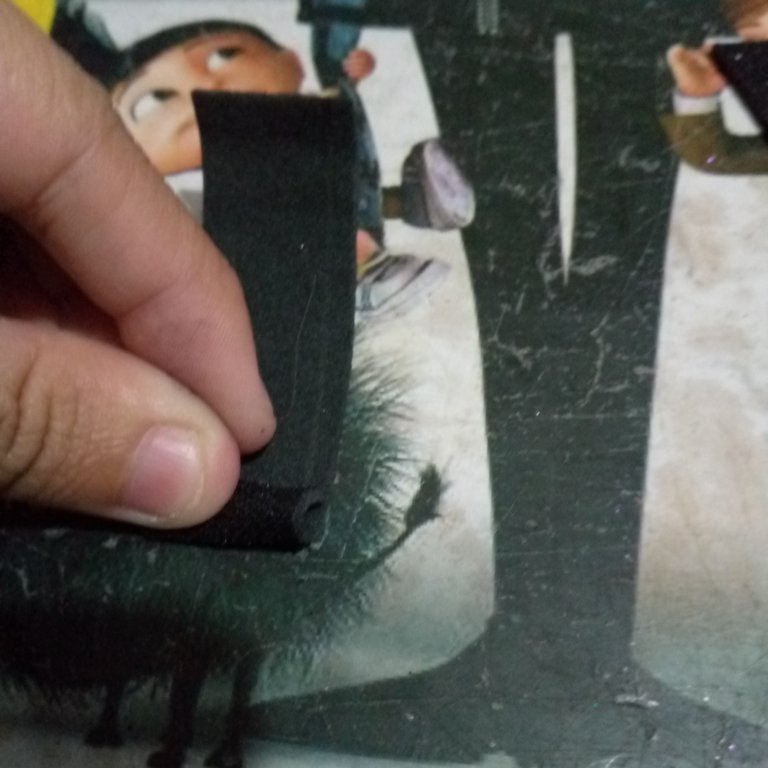
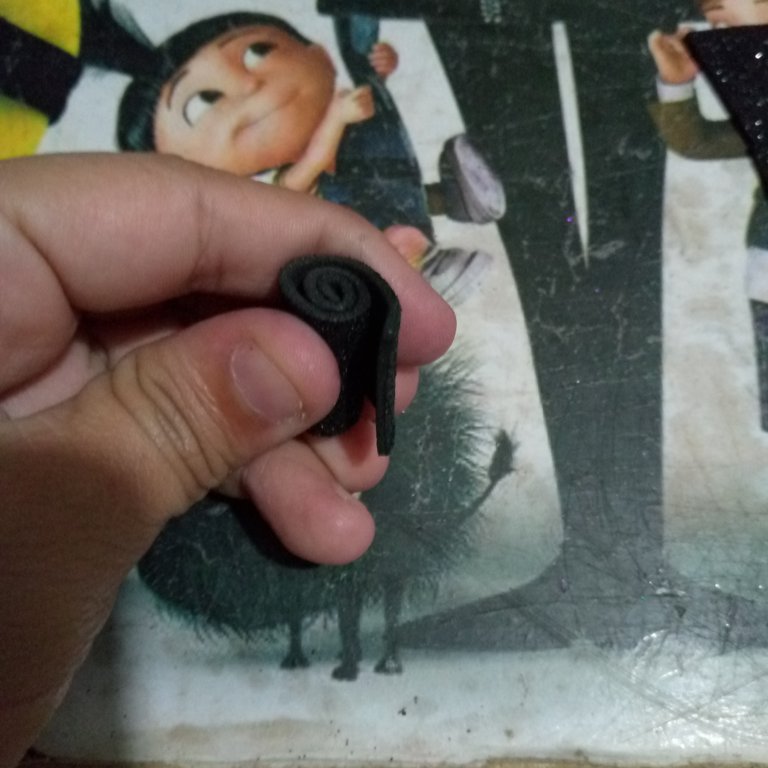
Depsues con pequeñas tiras vamos a hacer unos rollitos asi de esta maneras solo vamos a enrollar el foamy y luego agregamos suficiente silicon y listo asi quedaran los rollitos.

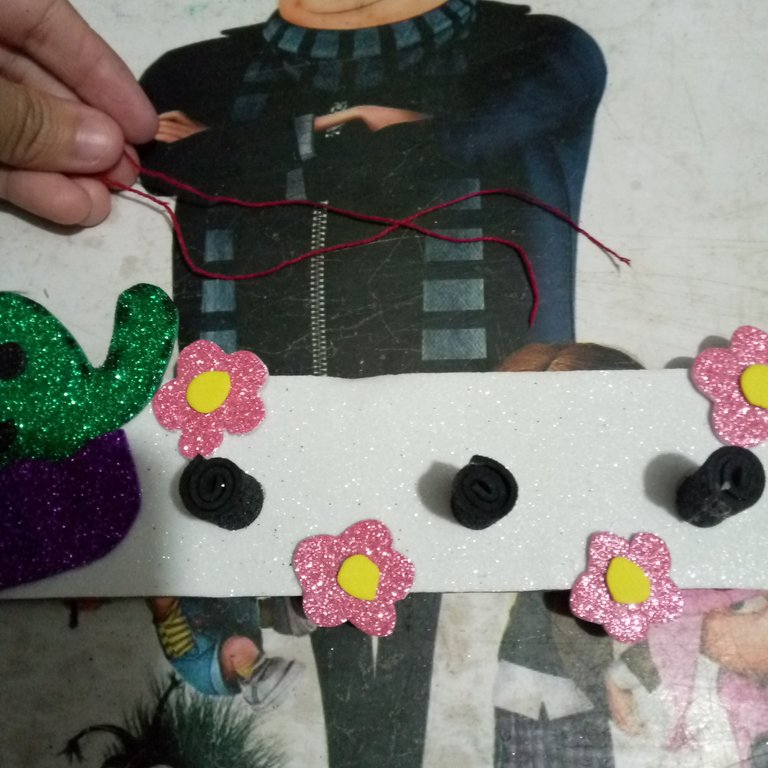
Una vez ya listos todos lo que vamos a utilizar nos encargamos de transformar y pegar en la tabla tomando en cuenta que este lo podemos hacer de la manera que uno quiera y asi cada uno le da su propio toque.

Al cactus nos falto pegarle una flor asi quedara.
Ahora vamos a pegar los faltantes y asi de esta manera terminamos en la parte delante nuestro porta llavero.
En la parte de atrás nos encargaremos de agregar suficiente silicon y dejamos el hilo asi de esta manera de ambos lados.
Para que quede estable y asi no pueda caerse.
RESULTADO FINAL DEL PORTA LLAVERO
Hasta la Próxima Amigos!🌵
Las imágenes son tomadas por mi teléfono tecno.
Traductor utilizado:https://www.deepl.com
La imagen fue editada mediante la aplicación de canva.
Hello Dear Friends of this wonderful community, a pleasure to greet you again, thanking God for a new day and for allowing me to be back in the world of crafts.
Happy week to all of you full of rich blessings.
Today I bring you an excellent idea of how to make a key holder very easy to make and with materials easy to have at home, resulting in a lovely key holder 🌵 Cactus, I want to tell you that I am very fond of these small plants that can release an atmosphere full of peace and tranquility.
The materials used in the elaboration of our key holder were the following:
- scissors
- silicon
- A cardboard board
- Red Chinese thread
- White, purple, green, pink, yellow, blue, black frosted foamy.
- Pencil
- marker.
Well friends let's start doing the step by step of how to do it!!!!
The first thing we are going to do is put the white foamy and have the cardboard board next to it make the measurements of that board and then delicately we are going to cut it out like this, after that we are going to take care of adding enough silicone and glue and so we are done with the first part.
Now we are just going to make a small cactus 🌵 with the green foamy and the pencil we are going to draw the plant and then we are going to cut it out like this.
Now with the purple foamy I had an acurela ready and I got a small piece for the cactus I did it in this color to give it a fun and flashy touch.
Then we took the black marker and made little marks around the cactus to give it a touch of depth like this.
Finally with black foamy we make small circles and a small mouth and we take care of gluing everything so that it looks like this.
We continue now making small pink flowers of five petals with a yellow center in this very easy to make way.
From these we are going to make five flowers that will look like this.
Then with small strips we are going to make some rolls like this, just roll the foamy and then add enough silicone and that's it, the rolls will look like this.
Once ready all that we are going to use we take care of transforming and pasting in the table taking into account that this we can do it in the way that one wants and thus each one gives it its own touch.
To the cactus we have to glue a flower so it will look like this.
Now we are going to glue the missing ones and this way we finish in the front part of our key holder.
On the back we will add enough silicone and leave the thread like this on both sides.
So that it is stable and can not fall off.
FINAL RESULT OF THE KEYCHAIN HOLDER
See you next time Friends!🌵
Images are taken by my techno phone.
Translator used:https://www.deepl.com
The image was edited using canva application.
Cactus plant is not common in my part of the world, but I often see it to be common in other parts, yours looks cute as well.
It is really pleasurable to visit and read your post, as it is noticeable that you make a remarkable effort to share the step by step of this beautiful keychain holder. The cover of your post is extraordinary, it would be great if you share the pictures of the process also in a collage for those of us who are learning from you to see it more practical in a single image, of course it is only a recommendation, but you have done a great job, thank you very much for sharing...
Muchas gracias amigo por tus lindas.palabras y por tus recomendaciones lo tomaré en cuenta, saludos y bendiciones 🐱
This is beautiful thank you for sharing your work with us.
We really like how you broke down the process using simple materials. It's great that you included everything from the tools needed to the creative details like adding flowers and texture. This not only inspires creativity but also makes it easy for beginners to follow along. Great job.
Thank you very much😀
The final result is so beautiful
Sending love and curation Ecency vote. keep giving the best♥️
Follow Eceny's curation trail to earn better APR on your own HP.
Thank you for your continued support🌵😊
You're welcome 🤗
me encanto, muy hermoso.
Muchas gracias amiga😻🌵
😊
Congratulations @yanetzi1! You have completed the following achievement on the Hive blockchain And have been rewarded with New badge(s)
Your next target is to reach 20000 upvotes.
You can view your badges on your board and compare yourself to others in the Ranking
If you no longer want to receive notifications, reply to this comment with the word
STOPMuy lindo detalle, La felicito por su trabajo realizado.