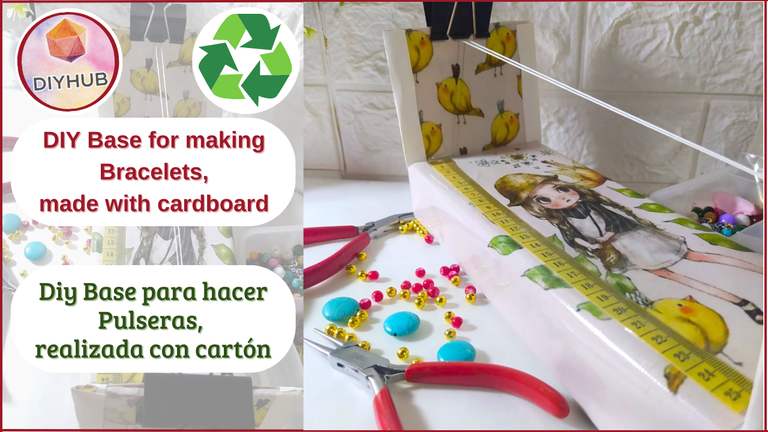
If you're like me, you probably enjoy creating unique and personalized bracelets. However, keeping your materials organized can be a challenge. That's why I set out to create a beautiful and functional bracelet base, using recycled materials for its structure.
In this tutorial I'll show you how you can make your own cardboard base, perfect for keeping your threads and beads in perfect order to create your beautiful bracelet designs.
Si eres como yo, seguramente disfrutas creando pulseras únicas y personalizadas. Sin embargo, mantener tus materiales organizados puede ser un desafío. Por eso, me di a la tarea de crear una base para pulseras funcional y hermosa, y lo mejor "utilizando materiales reciclados" para su estructura.
En este tutorial te mostraré cómo puedes hacer tu propia base de cartón, perfecta para mantener tus hilos y cuentas en perfecta disposición para crear tus hermosos diseños de pulseras.

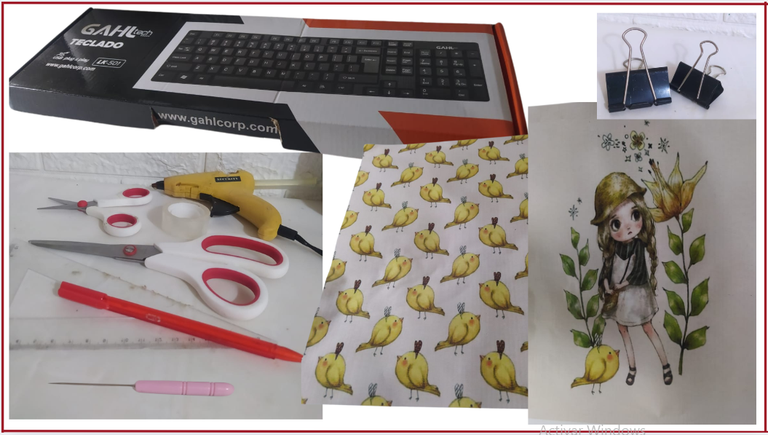
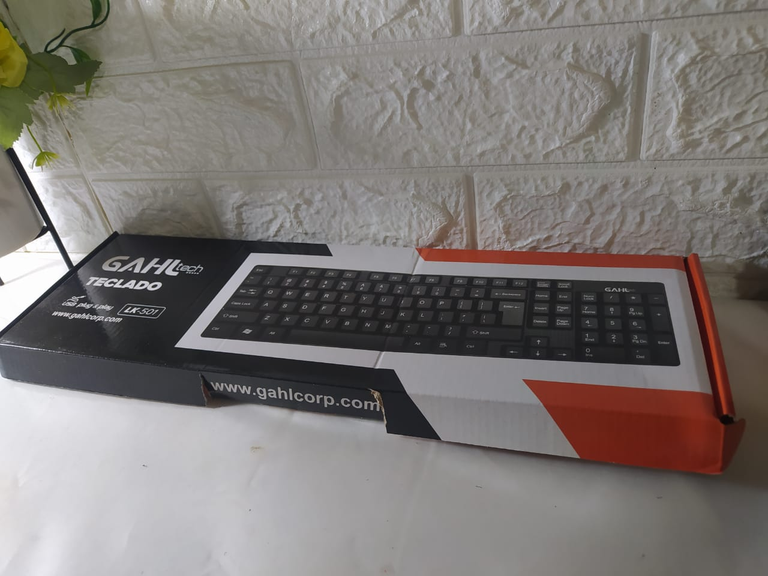
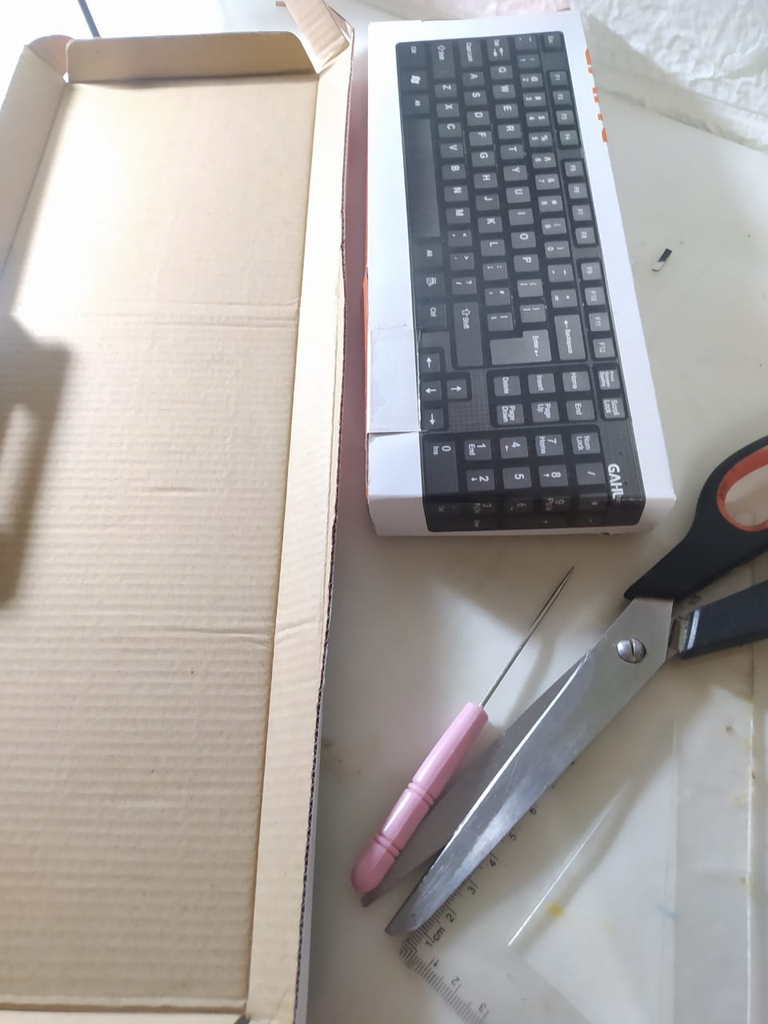
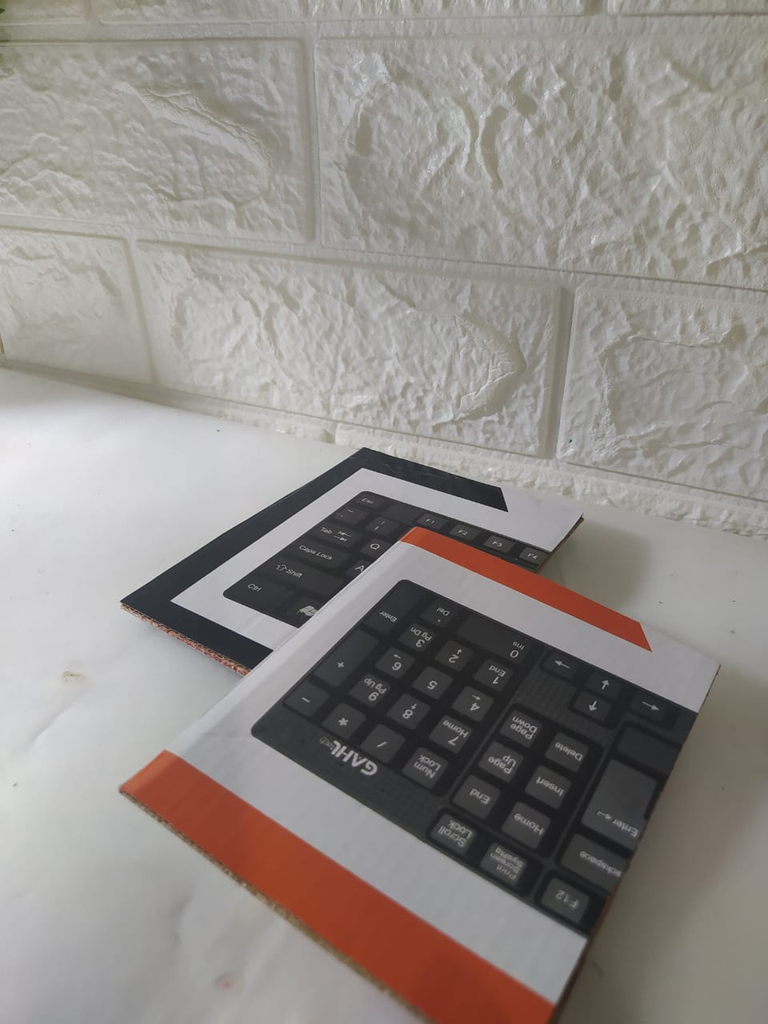
- Recycled box (in my case a keyboard box)
- Hot glue gun
- Scissors, ruler and pen
- Adhesive tape
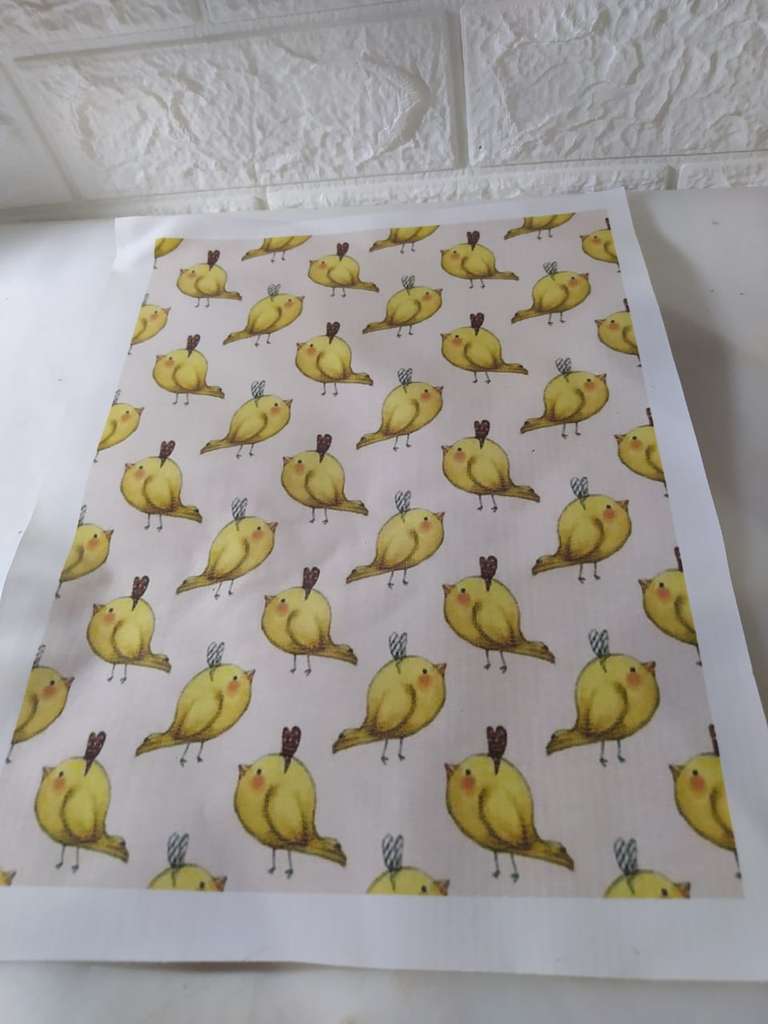
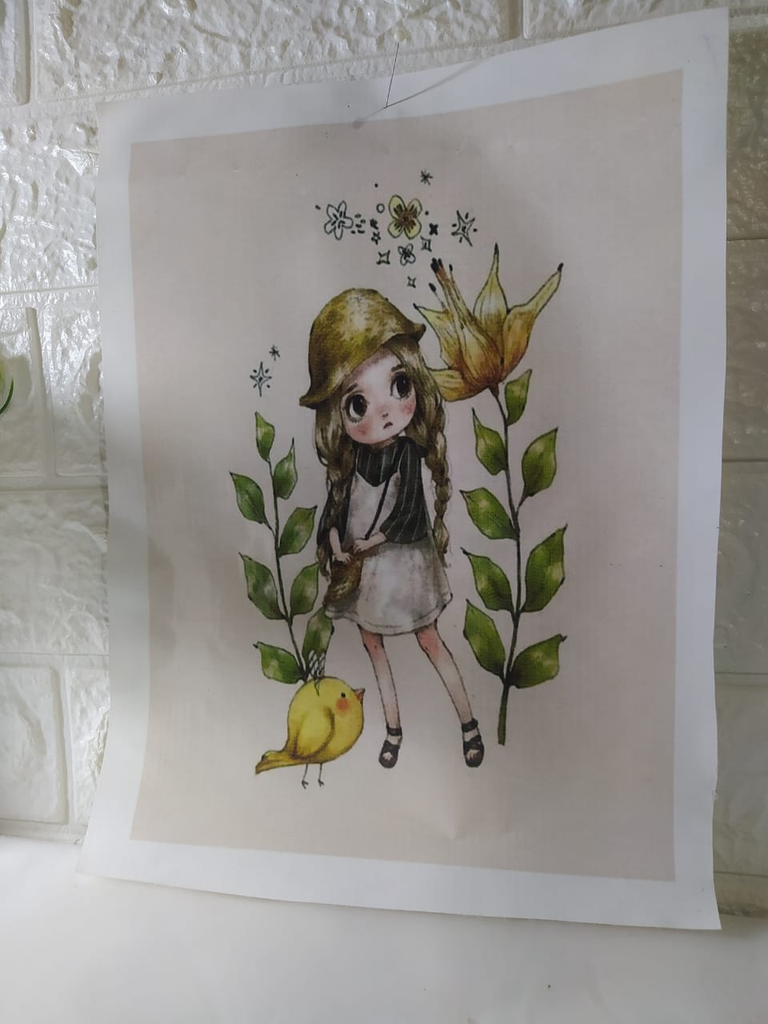
- Two prints on laminated canvas
- Awl or something sharp
- Two medium-sized pressure clips
- Caja reciclada (en mi caso una de un teclado)
- Pistola de silicón caliente
- Tijeras, regla y bolígrafo
- Cinta Adhesiva
- Dos impresiones en loneta plastificada
- Punzón o algo filoso
- Dos clips de presión medianos

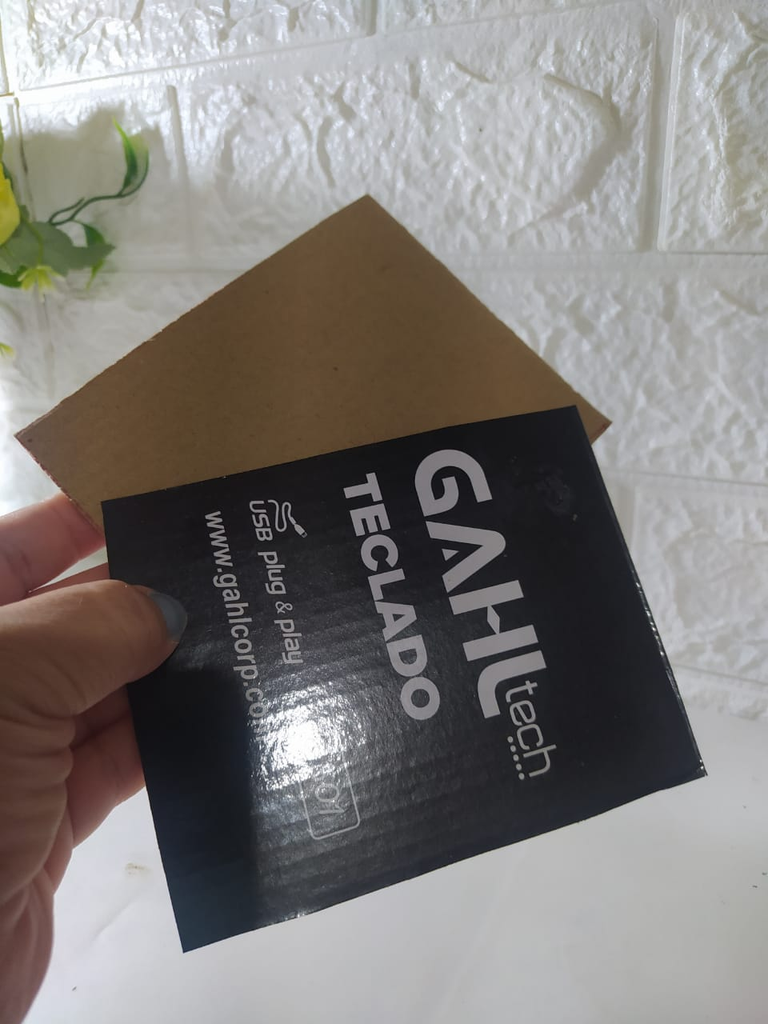
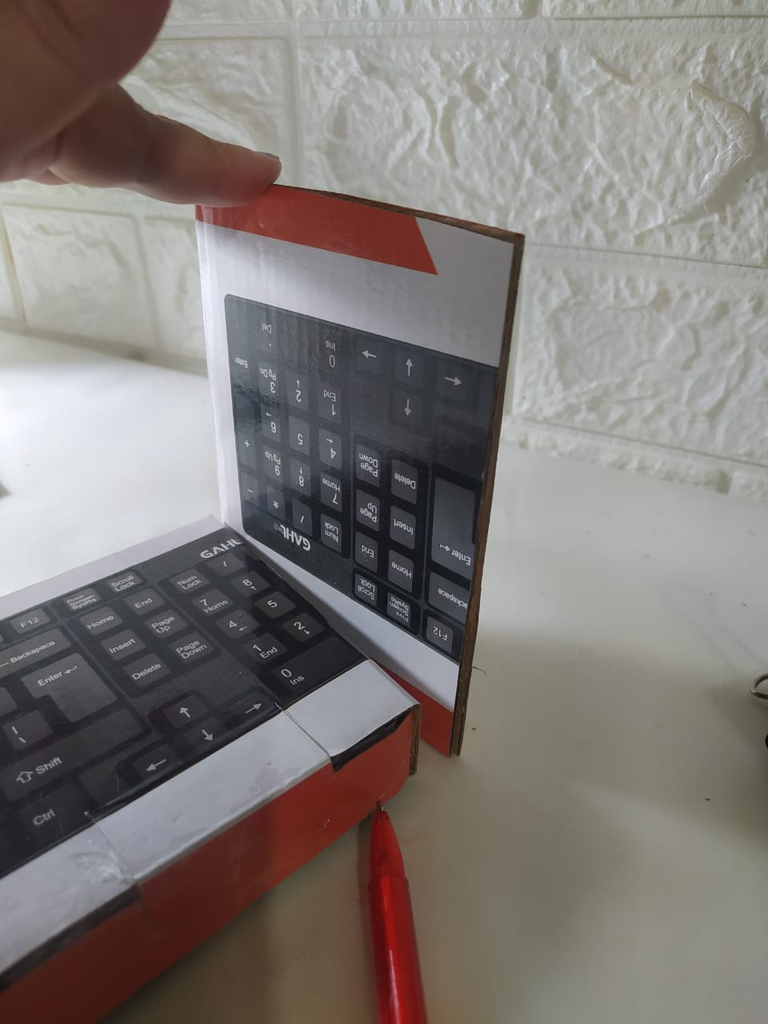
I decided to use this box from a keyboard that I bought a while ago, and kept for recycling, the reason being that the cardboard it is made of is very strong.
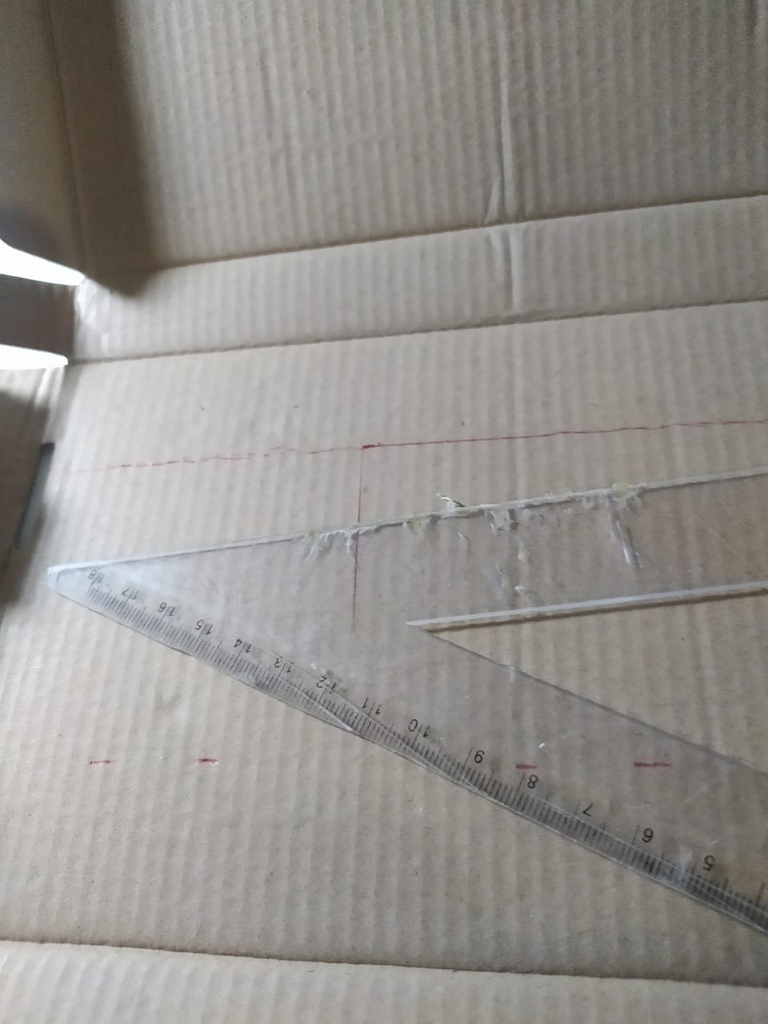
However, the measurements were not what I needed to make the Base for Making Bracelets.
Decidí utilizar esta caja de un teclado que compré hace un tiempo, y guardé para reciclarla, la razón es que es muy fuerte el cartón con la que está hecha.
Sin embargo, las medidas no eran las que necesitaba para realizar la Base para hacer Pulseras.
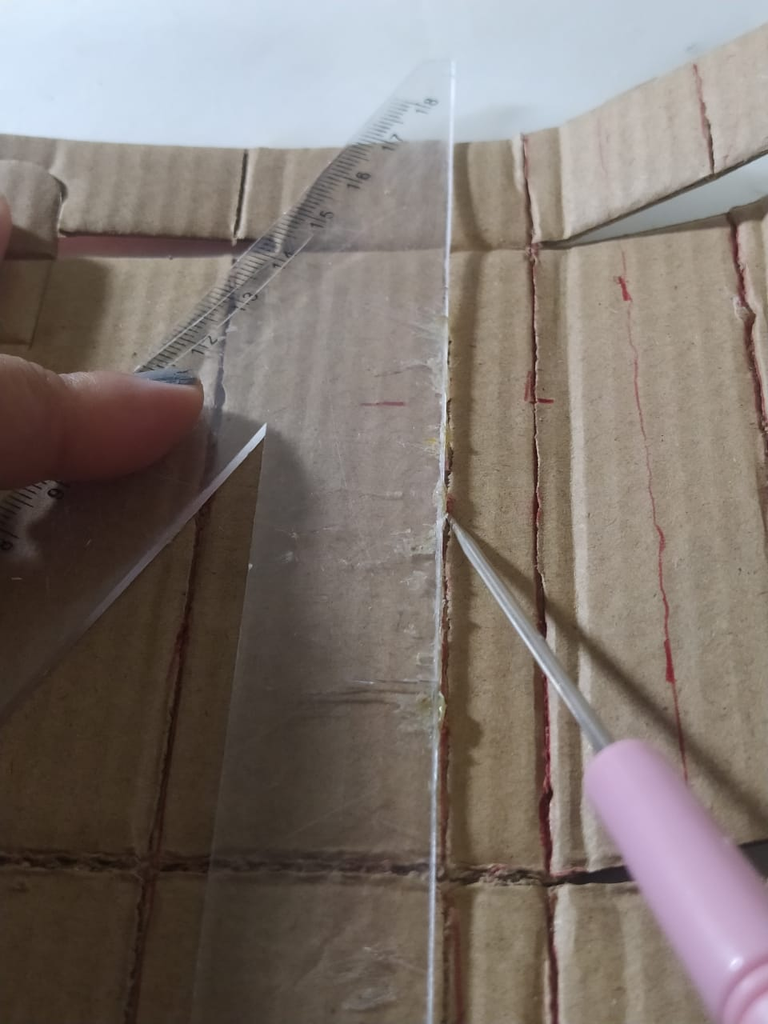
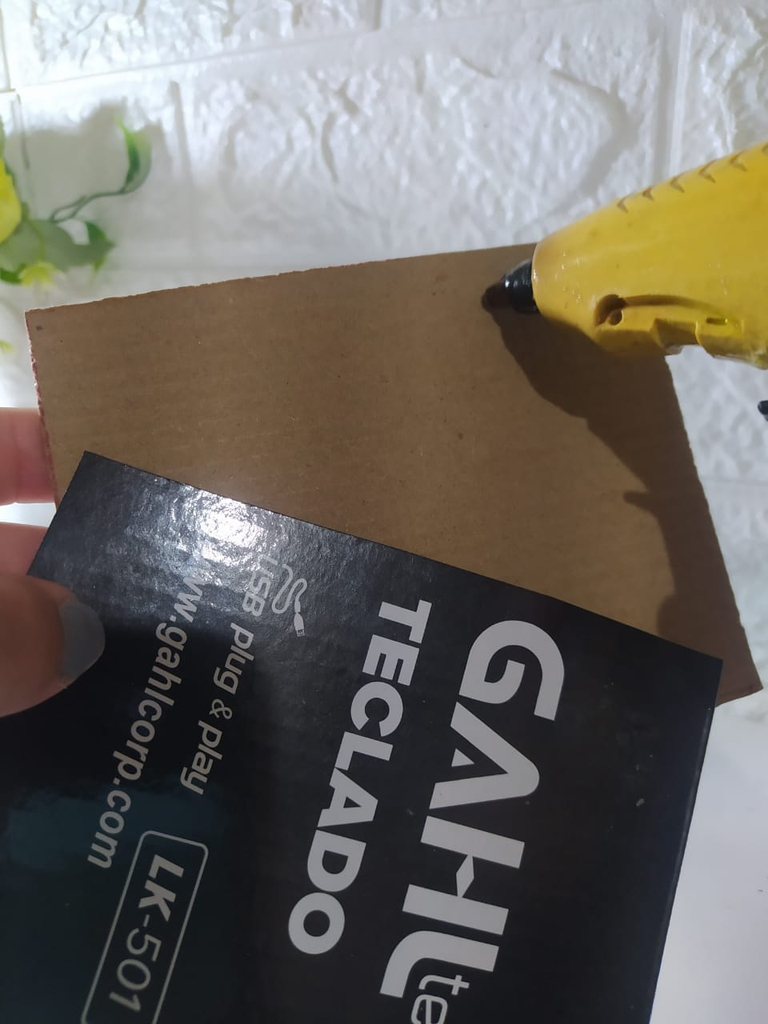
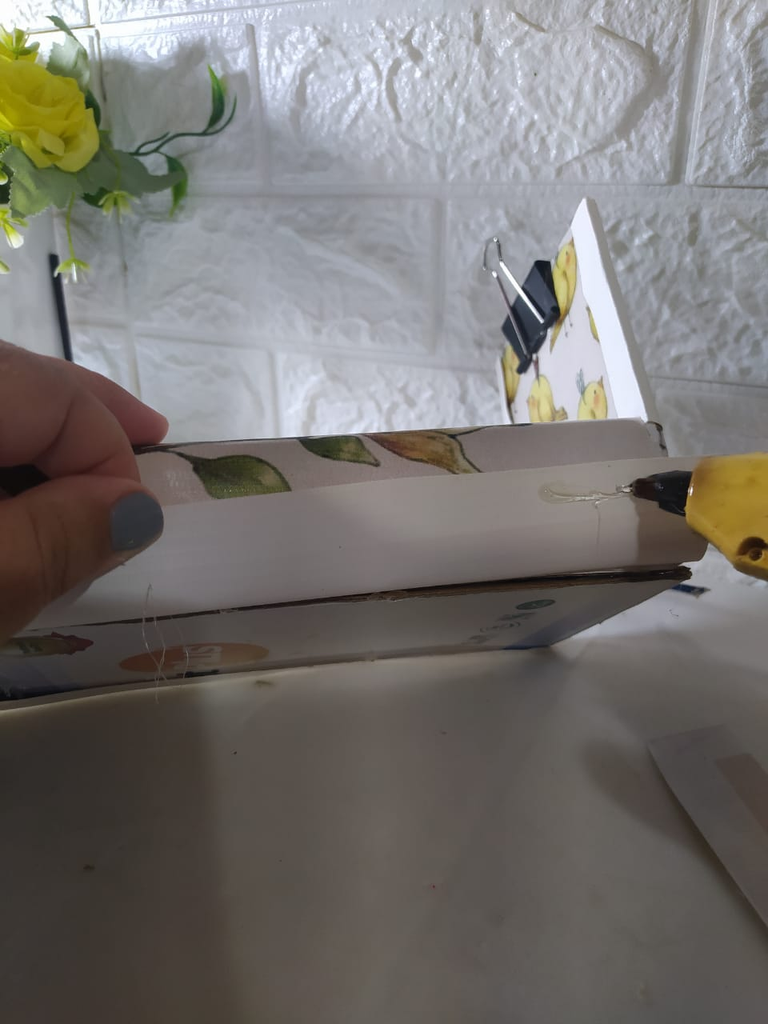
The first step was to adjust the size according to the measurements I wanted, which are a box of 36cm by 10cm. I take the box apart, draw the measurements I need with the ruler and pen, cut with scissors and assemble by gluing with hot silicone. I also cut out 4 rectangles of 10cm by 12cm.
El primer paso era ajustar el tamaño, de acuerdo a las medidas que deseaba, que son una caja de 36cms por 10cms. Desarmo la caja, trazo las medidas que necesito, con la regla y el bolígrafo, corto con la tijera y armo pegando con silicón caliente. También, recorté 4 rectángulos de 10cms por 12cms.
 |  |  |  |
|---|
I glue the rectangles that I cut out with hot glue, two by two, to make these pieces thicker and stronger.
Then, I glue them to the ends of the base box.
Los rectángulos que recorté, los pego con silicón caliente de 2 en 2, esto es para tener estas piezas más gruesas y fuertes.
Luego, las pego en los extremos de la caja base.
 |  |  |  |
|---|
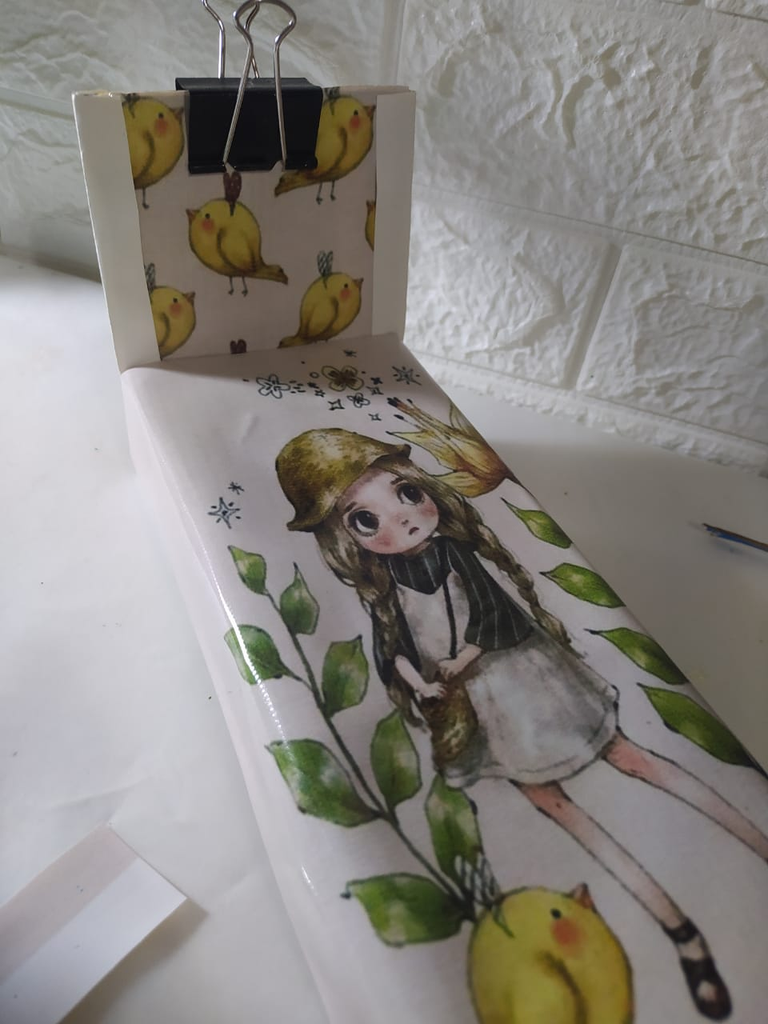
To cover the box I wanted a material that wouldn't get dirty easily, and I found these two laminated canvas sheets with beautiful designs.
I glued the one with the chick design on the sides, and on the base box this one with a very cute doll and some chicks.
Para forrar la caja quería un material que no se ensuciara fácilmente, y encontré estas dos lonetas plastificadas, con unos diseños hermosos.
Pegué en los laterales la que tenía el diseño de pollitos, y en la caja base esta con una muñeca muy linda y unos pollitos.
 |  |  |  |
|---|
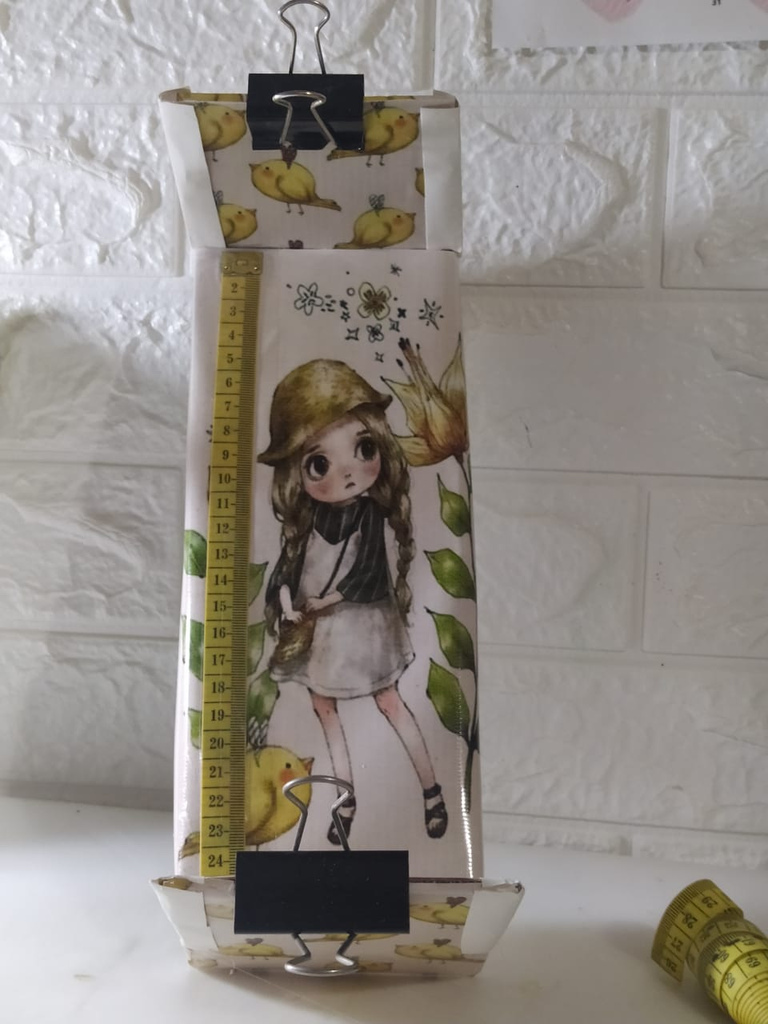
I already had the base and sides nicely lined and pretty, and I could now place the pressure clips on the ends.
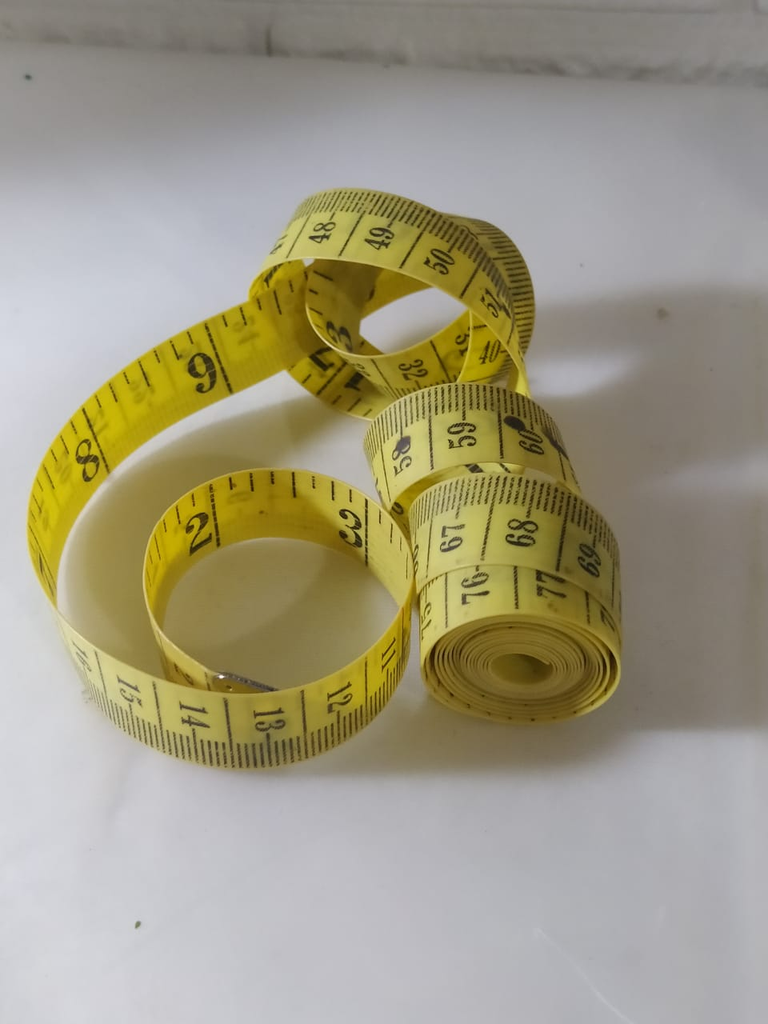
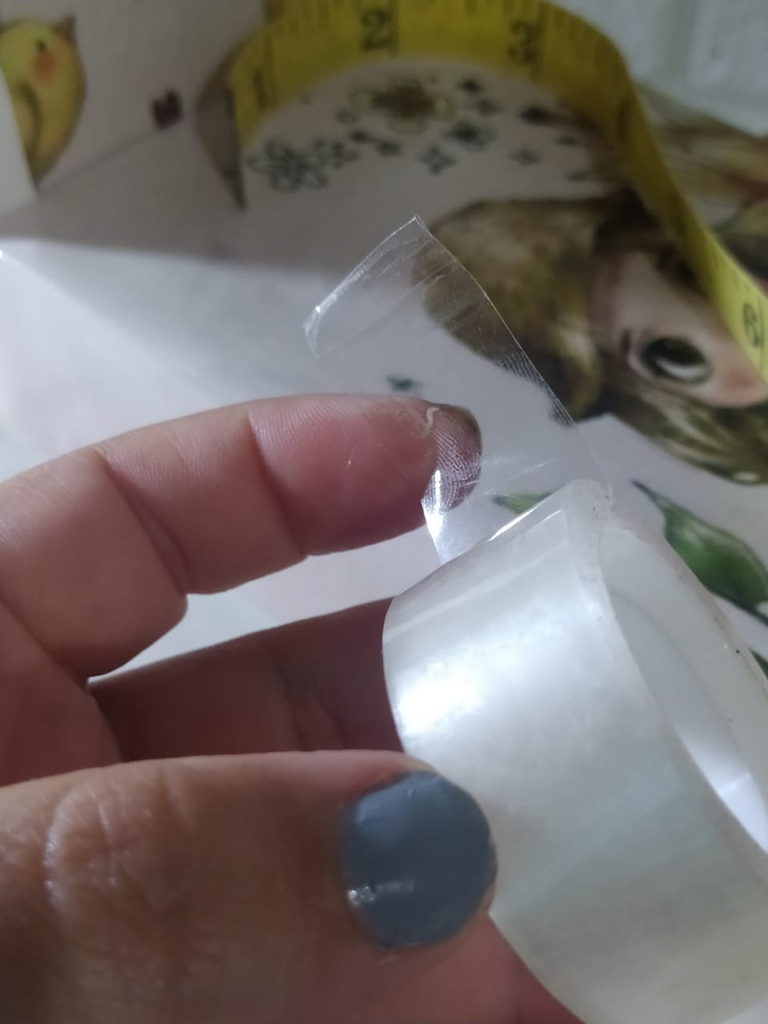
I decided to add a very functional aspect, which is a measuring tape on the base. I cut it the length of the box and stuck it on with clear plastic tape or adhesive tape, which stuck very easily to the plastic material I used to line the base.
Ya tenía la base y sus laterales bien forradas y hermosas, y ya podía colocar los clips de presión en sus extremos.
Decidí agregarle un aspecto muy funcional, que es una cinta métrica en la base. La corté del largo de la caja y la pegué con cinta plástica transparente o cinta adhesiva, la cual pegó muy fácil en el material plastificado que utilicé para forrar la base.
 |  |  |  |
|---|
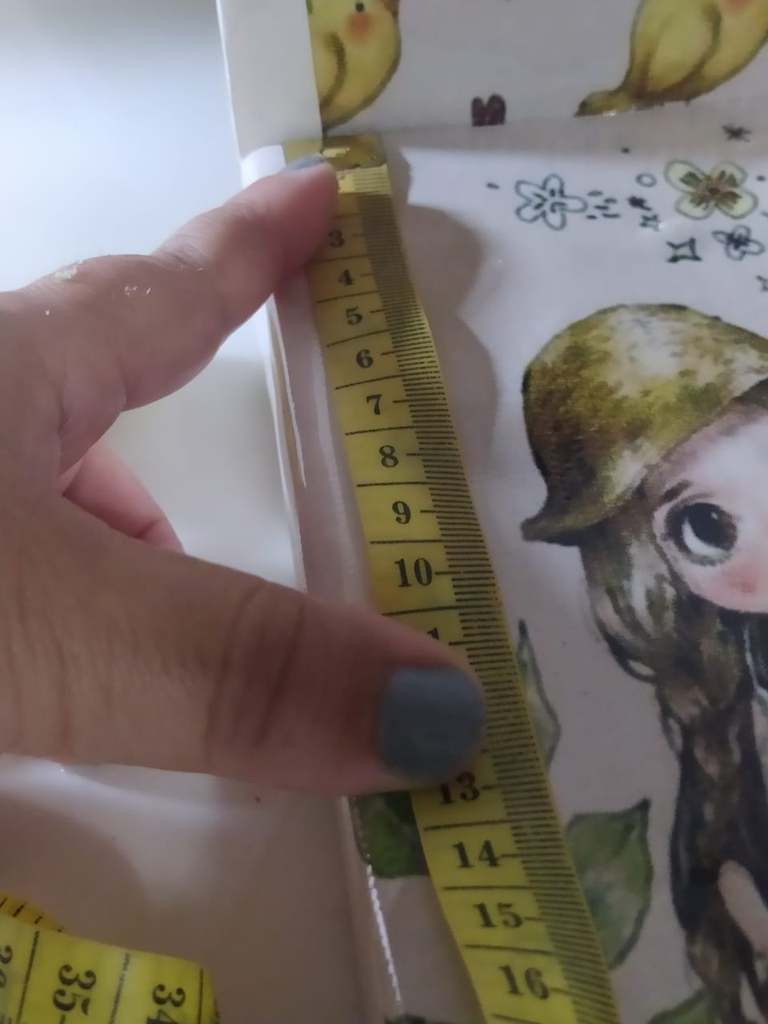
Now my Bracelet Making Base is ready, it looks beautiful and very functional with the measuring tape. When we make bracelets we usually consider knitting up to 7cm or 10cm for example, and now with this measuring tape attached to the base I won't have to look for one, I'll have it in sight up to where I'm knitting, which will save me time, it's a very functional added aspect.
Ahora si está lista mi Base para hacer Pulseras, quedó hermosa y muy funcional con la cinta métrica. Cuando realizamos pulseras generalmente tenemos en cuenta tejer hasta 7cms o 10cms por ejemplo, y ahora con esta cinta métrica pegada a la base no tendré que buscar una, ya tendré esta a la vista hasta donde tejer, lo que me hará ahorrar tiempo, es un aspecto añadido muy funcional.
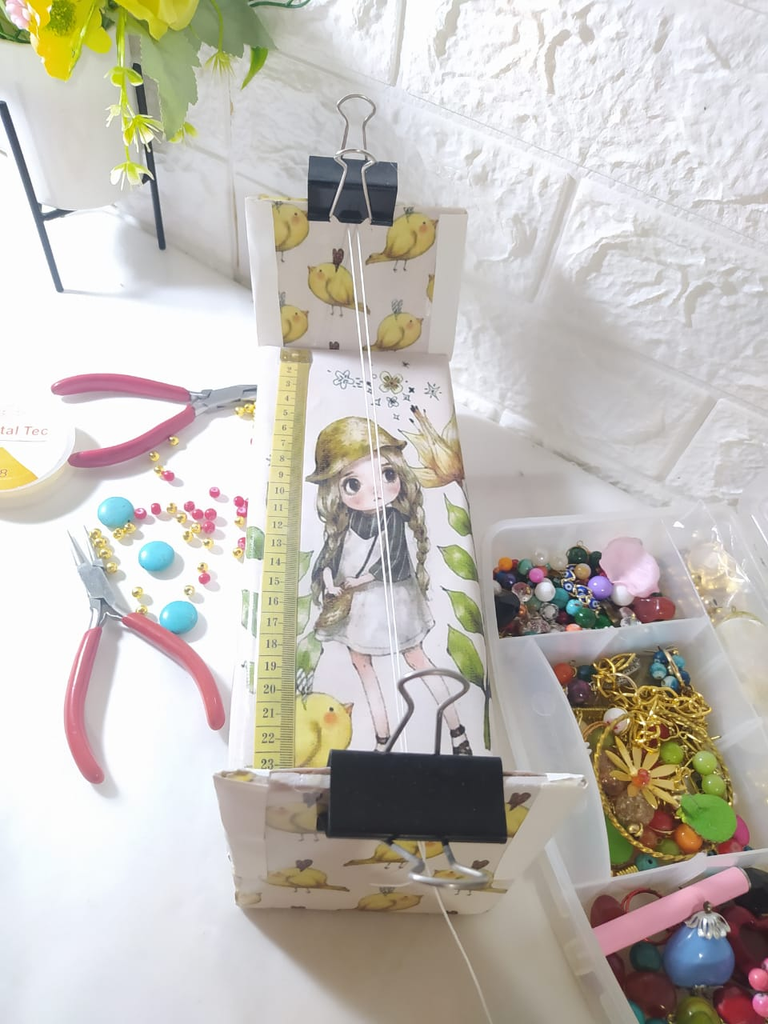
Here you can see how I fix the thread at the ends of the Base for making Bracelets, with the pressure clips, and it is very tight and it is very nice to have it ready to work on the woven Bracelets with the different techniques.
Aquí pueden ver cómo fijo el hilo en los extremos de la Base para hacer Pulseras, con los clips de presión, y queda bien tenso y es un muy agradable tenerlo en disposición y listo para trabajar las Pulseras tejidas con las diferentes técnicas.
I really enjoyed the process and loved the final product of this Bracelet Making Base, I can now create and make them more comfortably.
I hope you liked this Diy Hub proposal, and that you are encouraged to make it if you make Bracelets, I assure you that you will like it a lot.
Realmente disfruté el proceso y me encantó el producto final de esta Base para hacer Pulseras, ya puedo crear y confeccionarlas más cómodamente.
Deseo que te haya gustado esta propuesta Diy Hub, y que te animes a hacerla si haces Pulseras, te aseguro que te gustará mucho.
I took the photos with my phone Redmi Note 8
Apps I used:
Canva Pro for Cover, Collage and Banners
I used Deepl Translator
My social networks:
Discord: YennysYaneth#0189
Twitter: @yennysferm
Instagram: @yennysyaneth
Las fotos las tomé con mi teléfono Redmi Note 8
Apps que utilicé:
Canva Pro para la Portada, Collage y Banners
Utilicé el Traductor Deepl
Mi redes sociales:
Discord: YennysYaneth#0189
Twitter: @yennysferm
Instagram: @yennysyaneth
Amiga, hasta ahora las hacía pegando tiro o cinta adhesiva para fijar o sostener los hilos centrales de las pulseras, ahora será más fácil y cómodo con esta base.
Es una herramienta que existe y es de madera, pero quise improvisar una en casa y quedó genial. Te la recomiendo 💯
Gracias por tu comentario 🤗
Pero, ¿qué veo? Esto está hermosamente genial. Tengo una amiga de Hive que quiere empezar a hacer pulseras, así que le voy a compartir tu publicación. Saludos.
The final look is so beautiful ❤️
I really appreciate your work 🤗
Thanks @sahi1 Using quality materials is very important, you can combine it with some recycled materials, but it is essential to have materials that raise the quality of our creations.
Thanks for stopping by and commenting, I really appreciate it.
Me encantó como quedó la base, está muy Cutie 😍😍😍😍
Si, me encantó también. Te confieso que me sorprendí, quedó más lindo de lo que imaginaba.
Me encantó, gracias por esta idea 🤗
Me alegra que te haya gustado. Te recomiendo mucho hacerlo, para hacer nuestras Pulseras está genial.
Gracias por pasar y comentar
Bueno seguro es una gran idea para las personas que hacen este tipo de trabajo, creando sus lindas pulseras, saludos.
Wow, tú siempre haciendo maravillas, te quedó espectacular hermoso a la vista, y tiene una utilidad incalculable.
Realmente con lo que tienes en tus manos haces cosas espectaculares. Te felicito.
!discovery 35
!LADY
!HUG
!DIY
Your LOH token balance is not sufficient to send tips. Please hold a minimum of 25 LOH tokens to send tips.
This post was shared and voted inside the discord by the curators team of discovery-it
Join our Community and follow our Curation Trail
Discovery-it is also a Witness, vote for us here
Delegate to us for passive income. Check our 80% fee-back Program
Great work and very useful for many people who love jewelry. You show us how at such a low cost we can do something to obtain benefits and be able to undertake Thank you for leaving your good work in the community
You can query your personal balance by
@dayadam just sent you a DIY token as a little appreciation for your post dear @yennysferm71! Feel free to multiply it by sending someone else !DIY in a comment :) You can do that x times a day depending on your balance so:!DIYSTATSWow, so nice!! :) :)