Am super excited to share with you, my ever first experience with resin art.
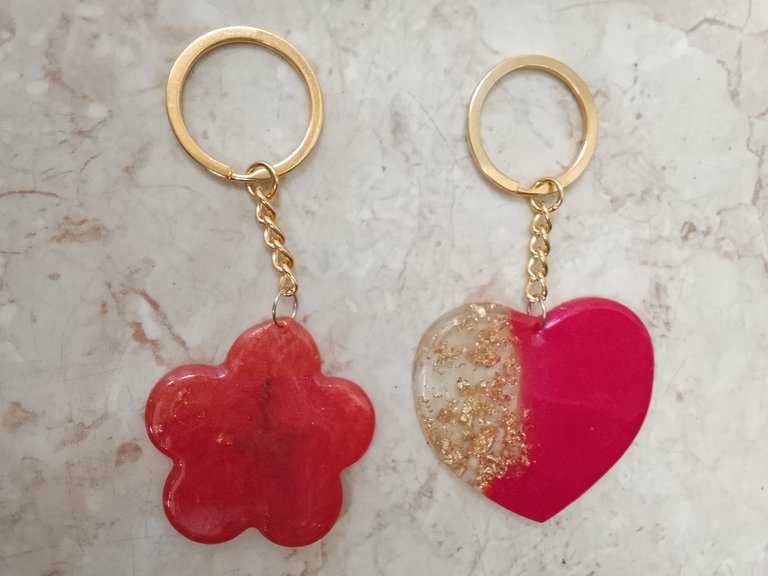
Resin art has always caught my attention,I had always loved the glossy finishes and mesmerizing beautiful designs that I see on web2 platforms. But never had the opportunity to try it myself.
I never knew I would be trying it myself until recently when my sister and I decided to take the plunge after coming across a video on Facebook which directed us to a paid class.
After getting the paid class and gathering some knowledge,we decided to order for the necessary equipments, which we happily did.
When the equipment arrived, the excitement in the air was palpable and we couldn't wait to start recreating what we learnt.
I weren't sure if l can perfectly mold it, so i decided to create something small but beautiful and meaningful just for a try.
I decided to create a beautiful heart -shaped keychain with red color.
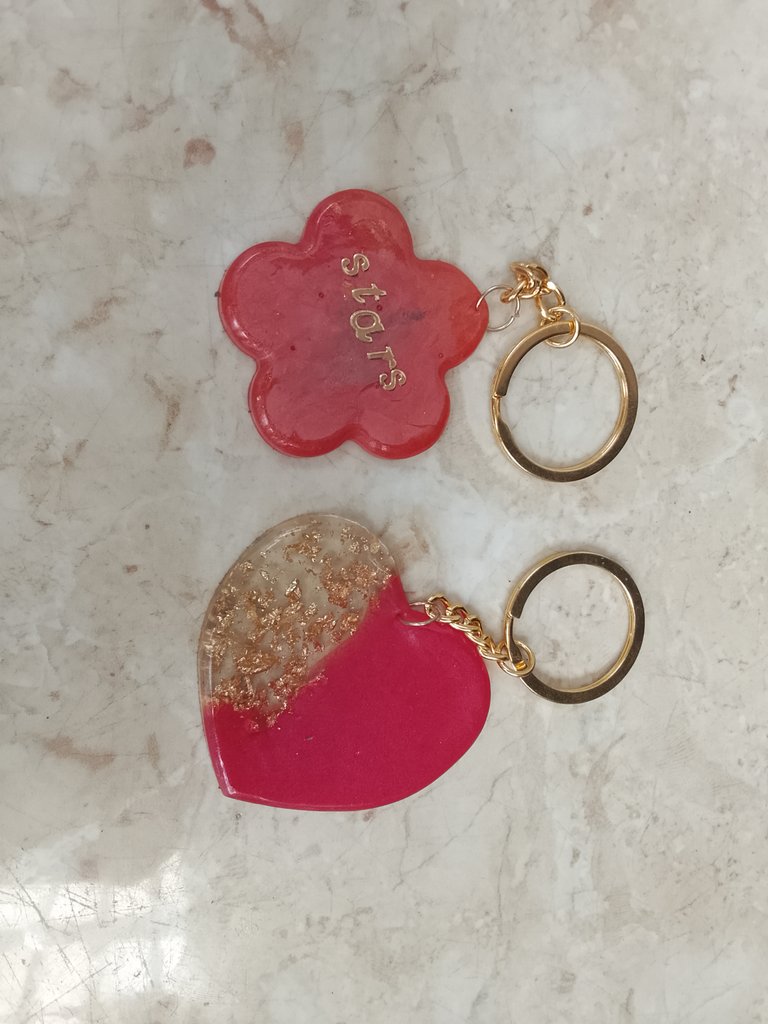
Red is the perfect color for anything that's heart-shaped.
I wanted it to come out really beautiful ,so I decided to add neutral color with gold foil.
Looking at my finished design, am rest assured that I choose the perfect colors for the keychains.
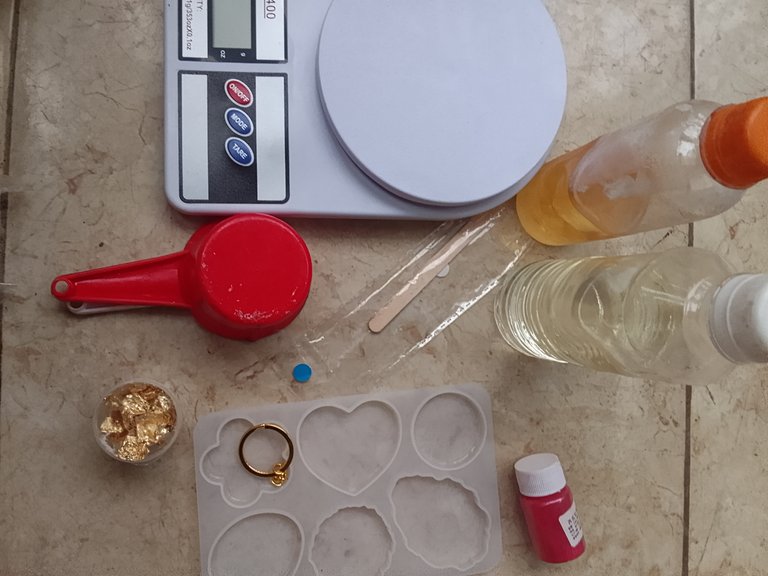
I started by bringing out all the necessary materials needed for the keychain,I brought out..
- Keychain mold
- Resin
- Hardener
- Measurements cups
- Manual scale
- Red color
- Gold foil
- Alphabet paper
- Keychain handle
- Popsicle stick
- Hand glove
I had fears working with resin for the first time, a lot of questions ran through my mind. Questions like, what if I didn't get it right?, what if it didn't come out strong ? And so many other questions but am not going to stop ,I mean we've come a very long way to stop.
I began with mixing my hardener with my resin in the right proportion i:e 1: 1 measurements.
I carefully stirred the mixture using my popsicle sticks and I avoided bubbles in every possible way.
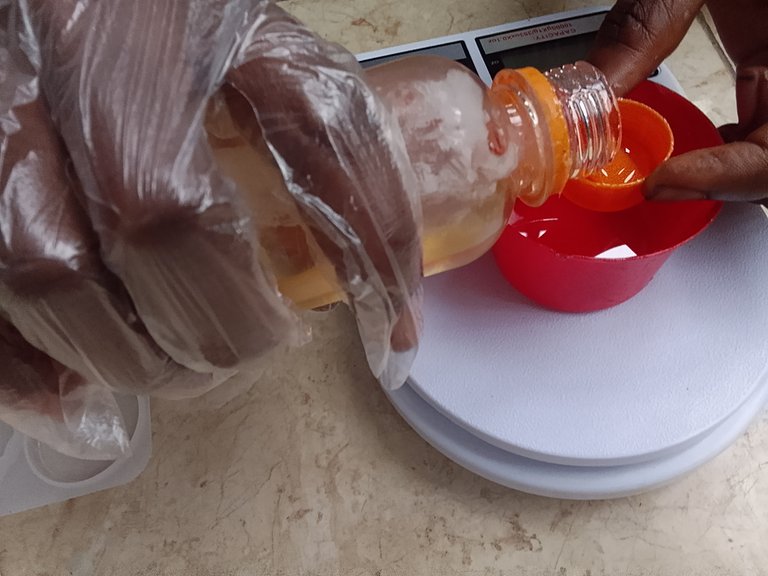
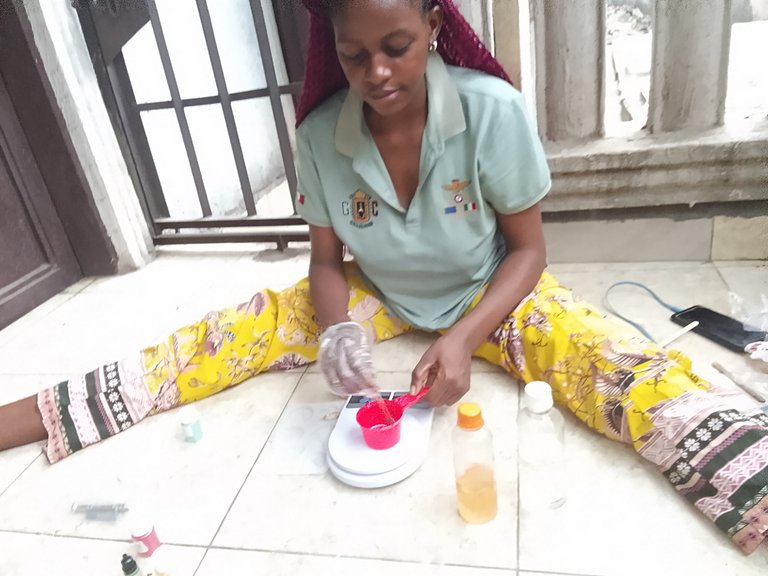
I poured half of the mixture in another measurements cup and add the right amount of red color to one cup and some gold foil to another cup , stirring the both with the popsicle stick.
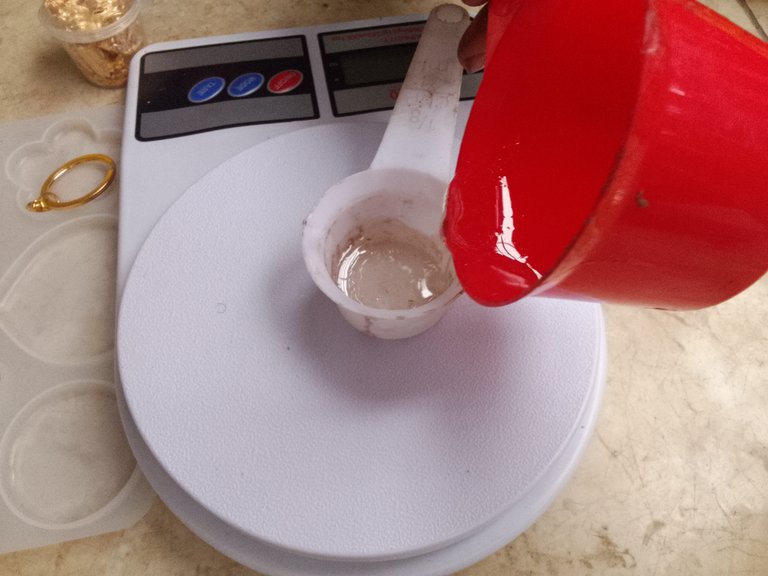
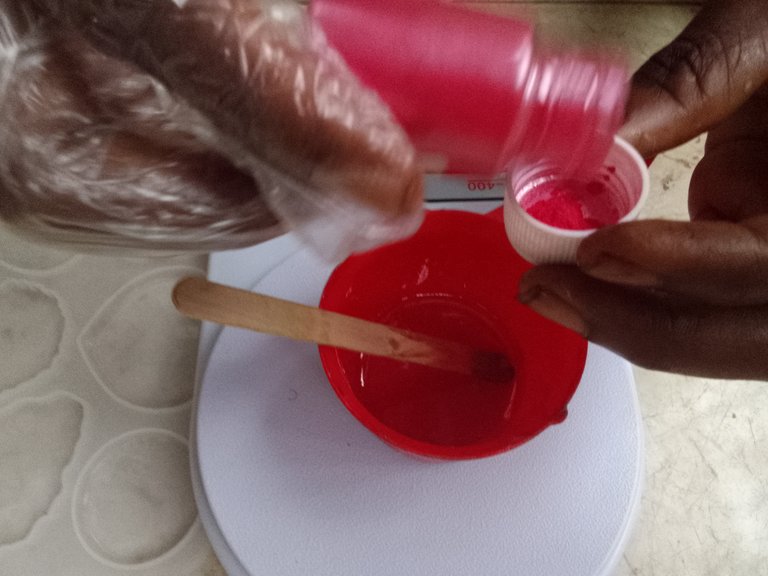
I poured the mixture into a keychain mold , I poured the both at the same time, the gold on one side and the red color on the other side.
I also poured the remaining resin mixture into a star shaped mode.
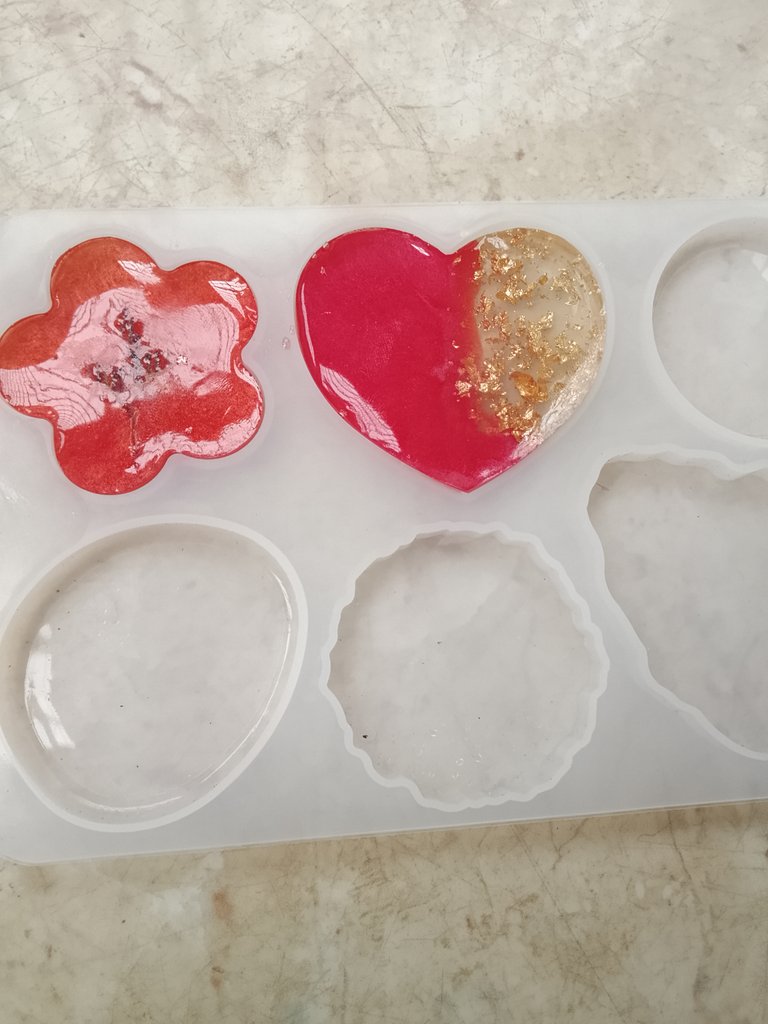
The hardest part was waiting for the resin to cure as it doesn't cure immediately, it took my keychain approximately 6-7 hours to cure.
During that long hour,I kept sneaking peek at it, excitedly watching to see how it turns out.
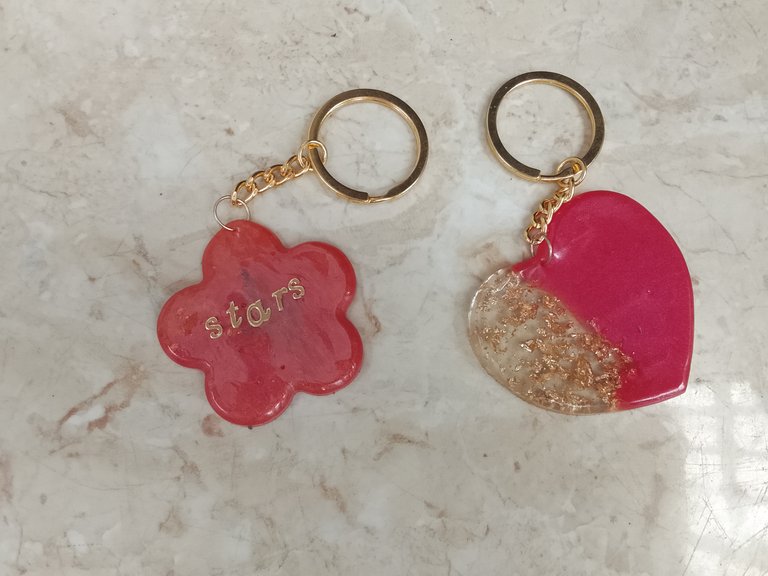
When I finally removed it from the mold, I was overjoyed at the outcome,the heart-shaped keychain looked absolutely stunning.
I took it to some of my neighbors, excitedly showing them,what I was able to create. I also took some pictures and showed my friends on WhatsApp and they loved it too.
One of my friend immediately requested that I make a pendent for him lol.
The gold and neutral color with gold foil blended perfect well, I couldn't believe I had made such a beautiful thing on my first try.
I completed the process by fixing the keychain handle to the keychain and voila, the key chain was ready.
If I could create such beauty on my first try, I wonder how the next one would look like and I can't wait to create more!
If you love my keychain and would want me to create more beautiful things like this, leave a comment, also suggest what you would like me to create and be rest assured that I would create it and dedicate it to you.
Thanks for visiting my blog,
All photos are my properties unless stated otherwise.
Yours faithfully:
@yummycruz1
It looked great! I too am very curious about how to work with resin. I loved watching your process, it looked like a lot of fun. Now your next investment should be a UV lamp to help you dry your creations faster. Great job! 🧡
Thank for stopping by, yes my next investment will certainly be a uv lamp for a faster result.
I truly appreciate your nice comment ❤️
I led a class on resin crafts when I was a librarian last year. We used UV-hardening resin for faster results, but I think there are more options with 2-part epoxy resin like it seems you used. UV resins also faster layering, though. For example, pour a base layer of clear, then add glitter, then a dyed layer, more glitter, and a clear top coat for added dimensionality without the cure time wait. It requires UV lamps, though, and can smell bad.
As a beginner,I don't know that there are two types of resin.
Maybe I'll search for the uv -hardening resin next i place my order for a faster result.
Thank for visiting my blog
Que pendientes tan bellos, es algo que debo aprender este año,hay mucho que se puede hacer con resina. Hermoso trabajo
Muchas gracias, me alegro de que te haya gustado. La adquisición de habilidades es muy importante.
To be the first, they look very nice
Thank you so much
This looks so good as a first timer
You did an amazing job
Thank you so much, I truly appreciate
Congratulations @yummycruz1! You have completed the following achievement on the Hive blockchain And have been rewarded with New badge(s)
Your next target is to reach 1000 replies.
You can view your badges on your board and compare yourself to others in the Ranking
If you no longer want to receive notifications, reply to this comment with the word
STOPque belleza, me encanta como quedo, buen trabajo!
what a beauty, I love how it turned out, good job!
Thanks a lot , I truly appreciate