Hello and nice day to all the creative friends of this craft community and to all the craft lovers around the world. I wish you all well, I for one am grateful and happy for the blessing of a new awakening for my family and me.
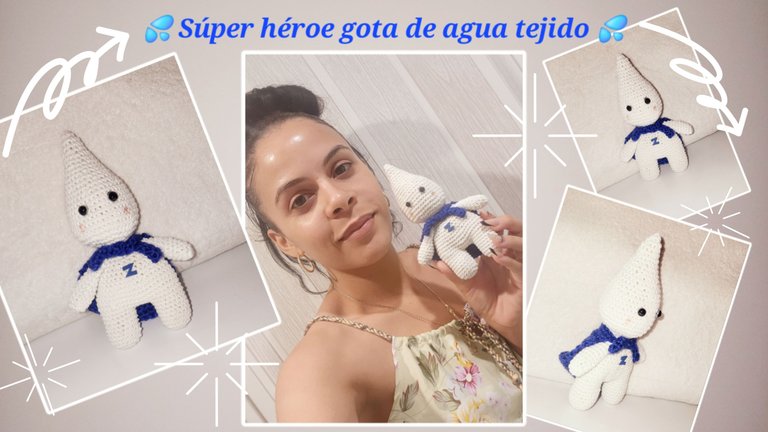
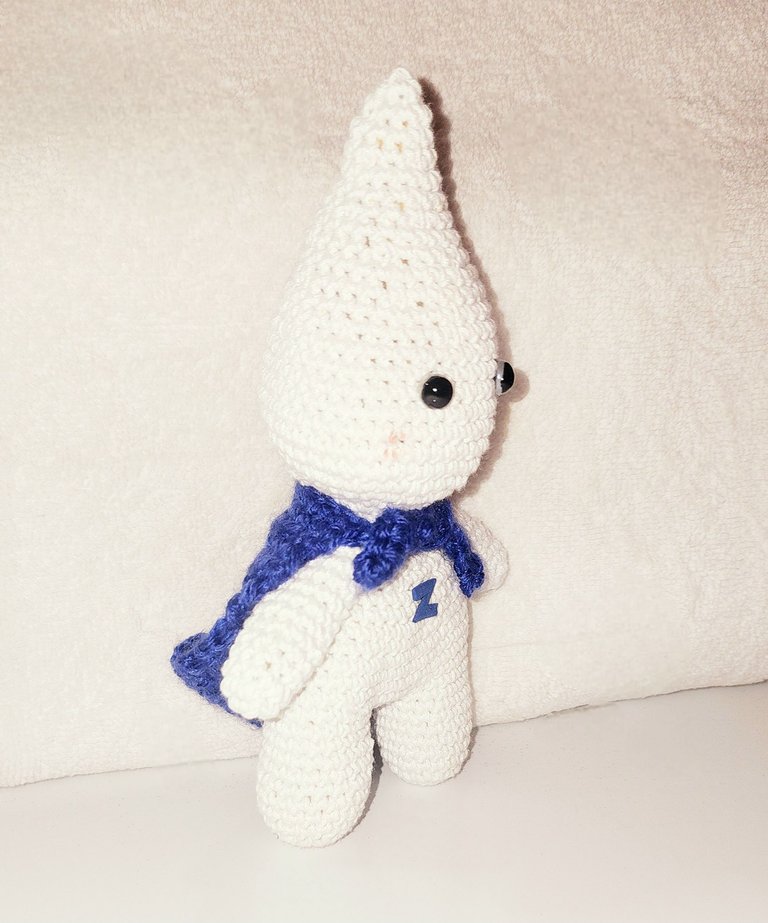
I am very excited to be able to join the contest of the month related to World Water Day. I love to knit so I wanted to crochet something related to this beautiful way of defending and caring for this natural resource. Among many ideas I had in my mind I decided to create an amigurumi that advocates something so important for all living things: water. So I created him as a superhero in the shape of a drop of water. I loved making him like that, giving him the importance of a superhero because that's how we should all see water. There are many of us who have the privilege of having clear and abundant water, but there are also many people who cannot have it in such an easy way. Without water life as we know it would not be possible, it is essential for life. So I take this opportunity to invite you all not only to join this contest, but also to be aware and not to waste it.
Without more to add friends I wish to show you the tutorial of how I made this superhero water drop.
💦 Materials 💦.
- White and blue wool.
(The white yarn I used is a blouse I knitted at the beginning of learning and I wanted to stop it). - Needle.
- Scissors.
- Wool needle.
- Half beads.
- Black paint.
- Blue foami.

💦 Step by step
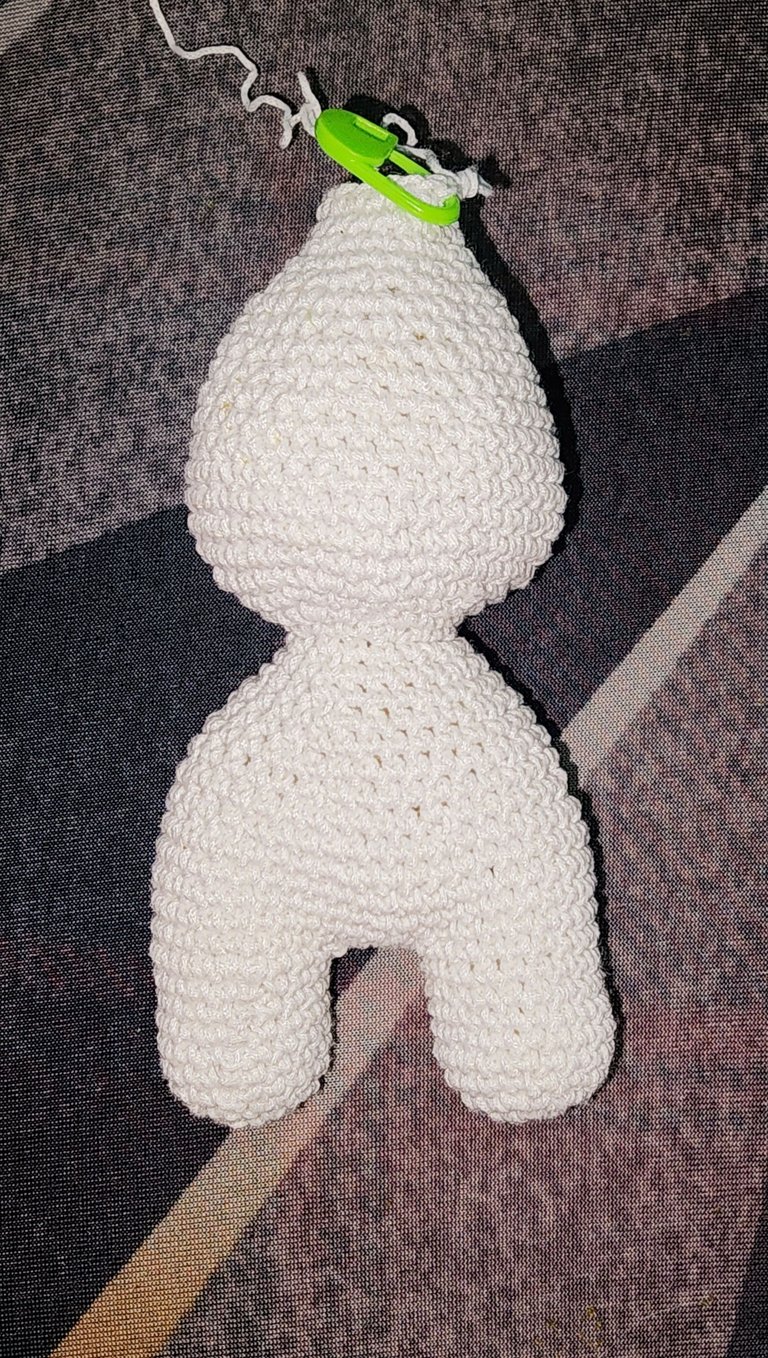
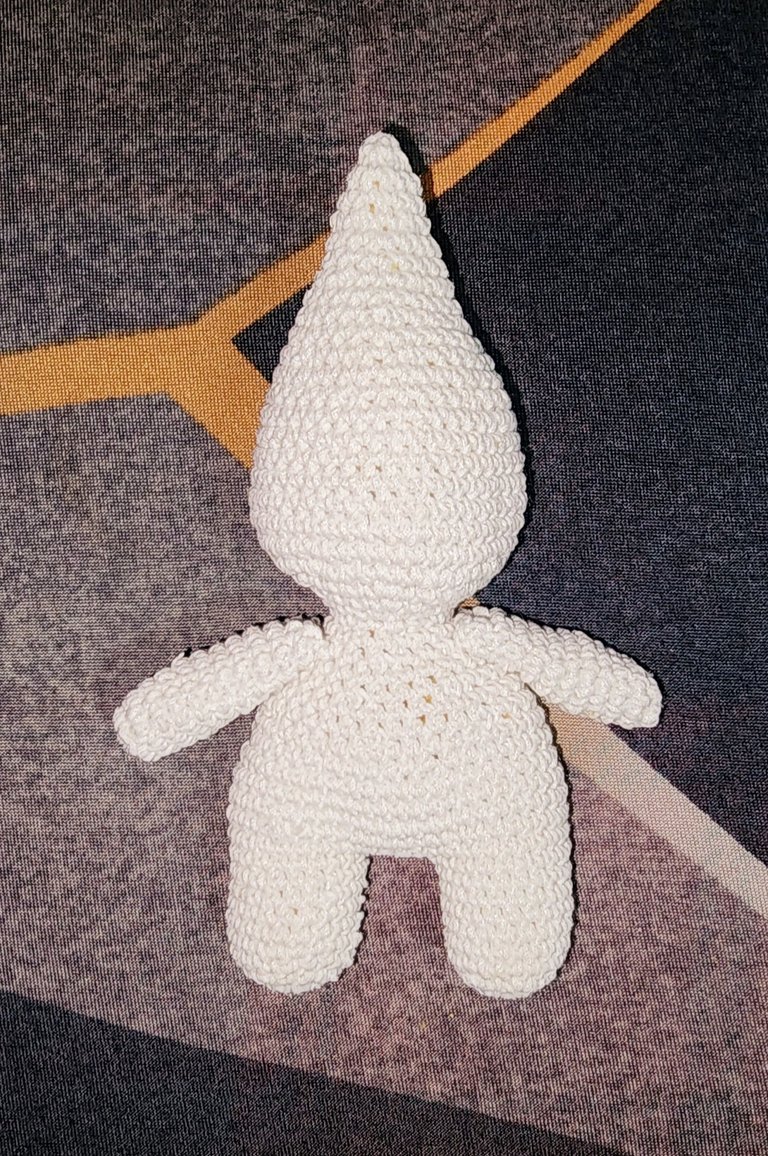
💦 Body
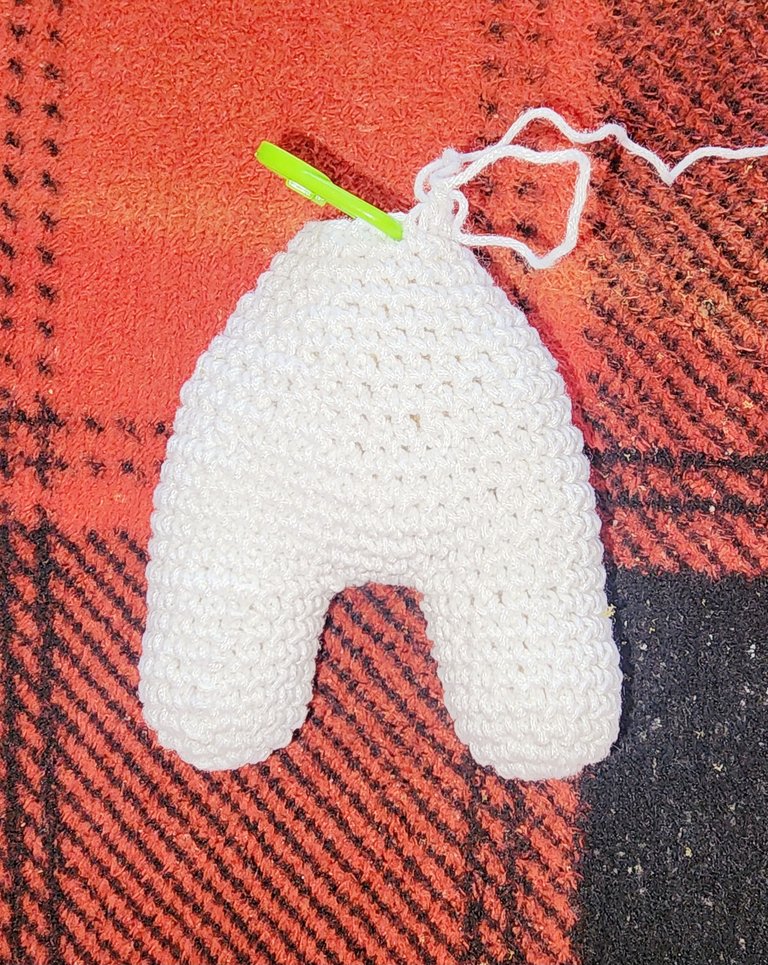
V1- We start by making magic ring and inside we make 6 sts.
V2- We make 6 increases remaining a total of 12 bp.
V3- We make sequences of 1 bp + 1 increase remaining a total of 18 bp.
V4- V9- We make these 18 sts without increases or decreases.
We close with slipped stitch, cut yarn from the first piece and make another one exactly the same, but we don't cut yarn.
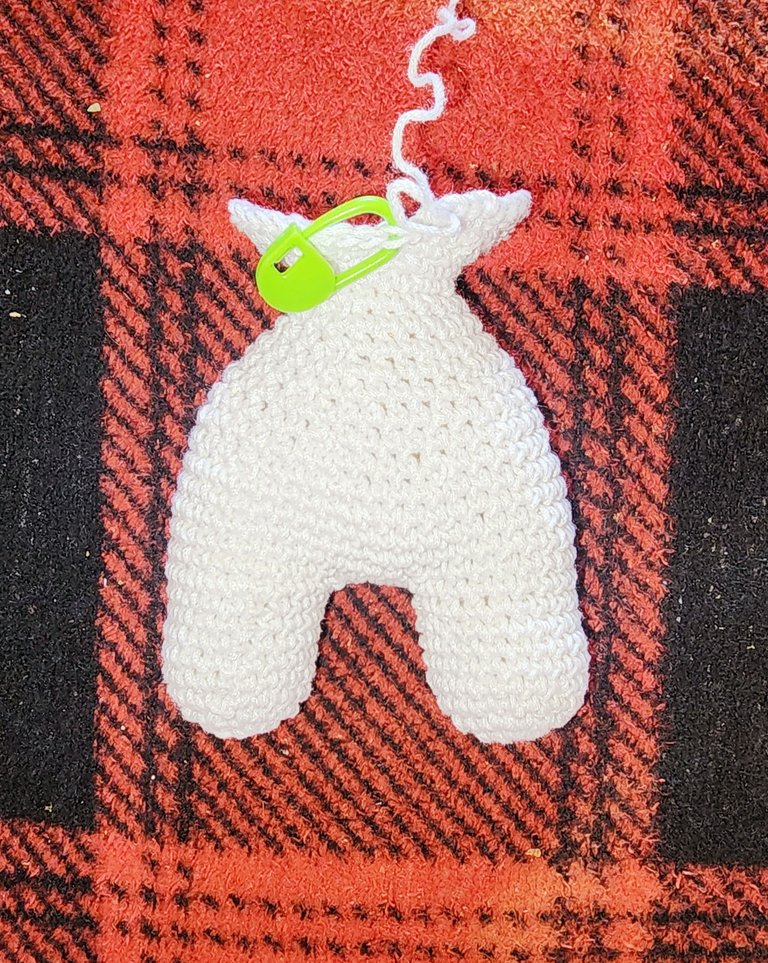
💦 After having this second piece exactly the same as the first one, we are going to make four chains and join it with slipped stitch to the first piece we made.
V10- Now we are going to make 18 sts in the first piece, we make the 4 sts of the chain stitch, on one side, we make the 18 sts of the other piece and the 4 sts of the chain stitch on the other side, obtaining a total of 44 sts.
V11- V15- Now we are going to make these 44 sts without increases or decreases.

V16- We are going to make sequences of 5 sts + 1 decrease and at the end we will have 2 sts left, leaving a total of 38 sts.
V17- We make these 38 bp without increases or decreases.
V18- V23- We make a row of decreases and another row with these remaining stitches.
V24- V28- We are going to make increases in all the rows, starting in row 24 with sequences of 1 sts + 1 increase and so on until row 28 with sequences of 4 sts + 1 increase, leaving a total of 42 sts.
V29- V35- We make these 42 sts without increases or decreases.
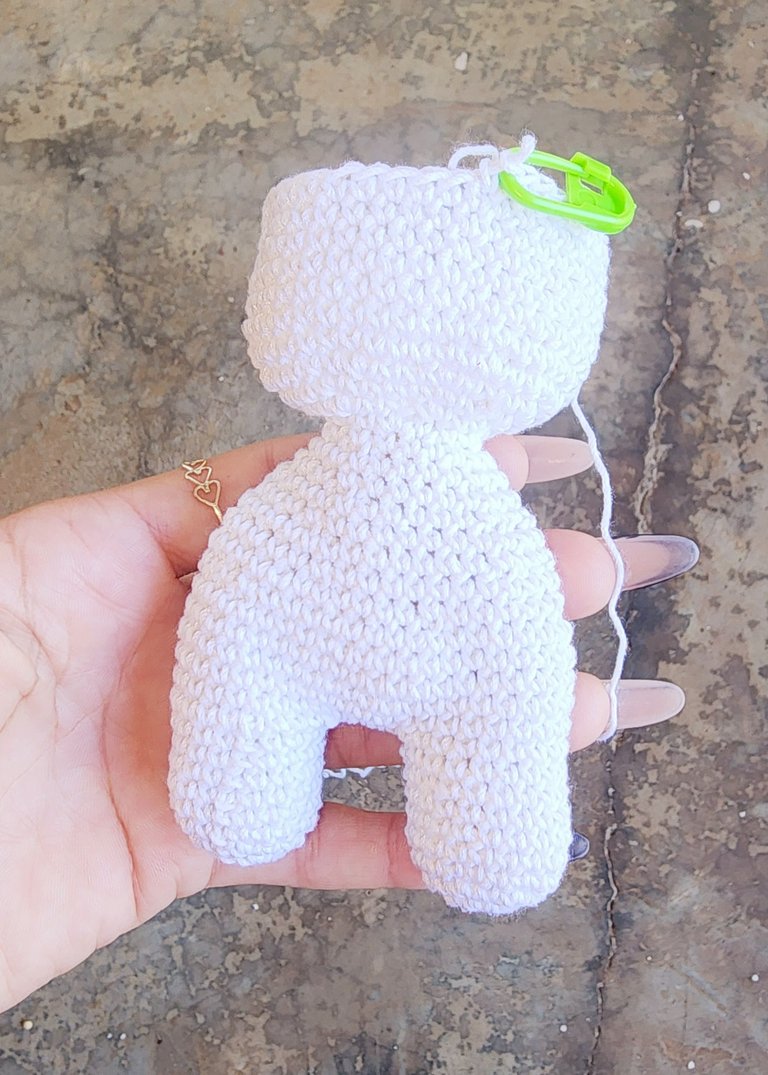
V36- We make sequences of 5 bp + 1 decrease for a total of 36 bp.
V37- We make these 36 bp without increases or decreases.
V38- We make sequences of 4 bp + 1 decrease for a total of 30 bp.
V39- We make these 30 bp without increases or decreases.
V40- We make sequences of 3 bp + 1 decrease for a total of 24 bp.
V41- We make these 24 bp without increases or decreases.
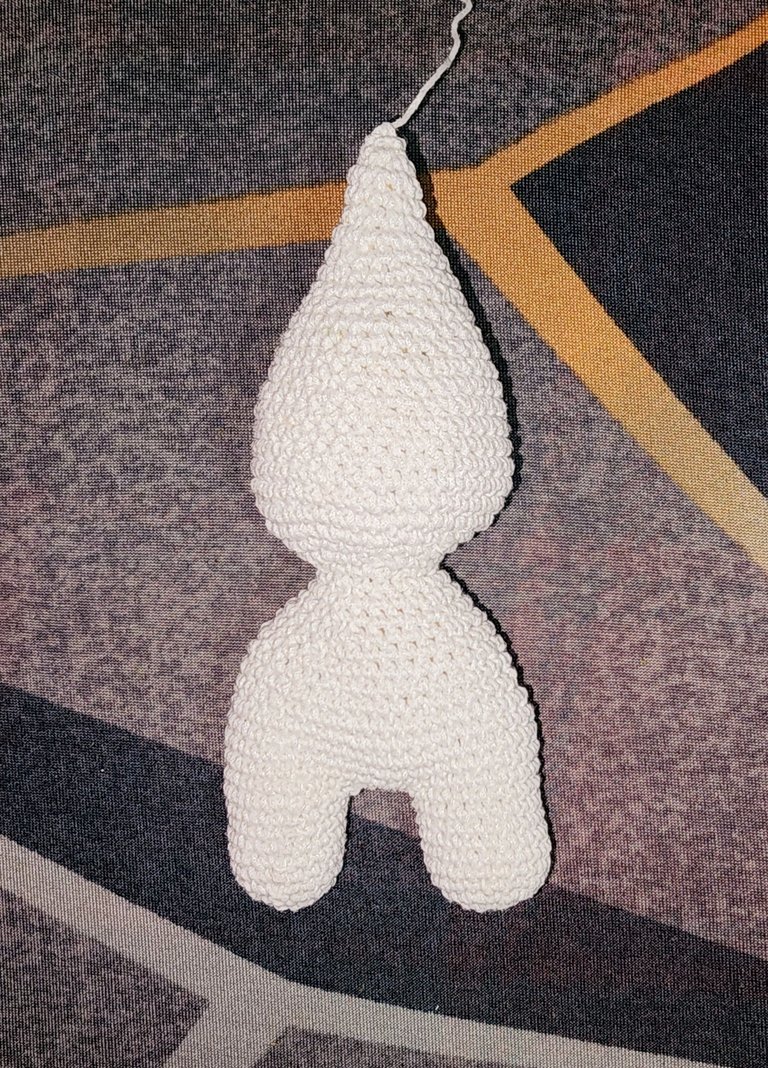
V42- We make sequences of 2 bp + 1 increase for a total of 18 bp.
V43- V44- We make these 18 bp without increases or decreases.
V45- We make sequences of 1 bp + 1 decrease for a total of 12 bp.
V46- V47- We make these 12 bp without increases or decreases.
V48- We make 6 decreases for a total of 6 sts.
Now with the help of a wool needle we pass the yarn through the 6 stitches from inside to outside, then we tighten the yarn to close and hide yarn.
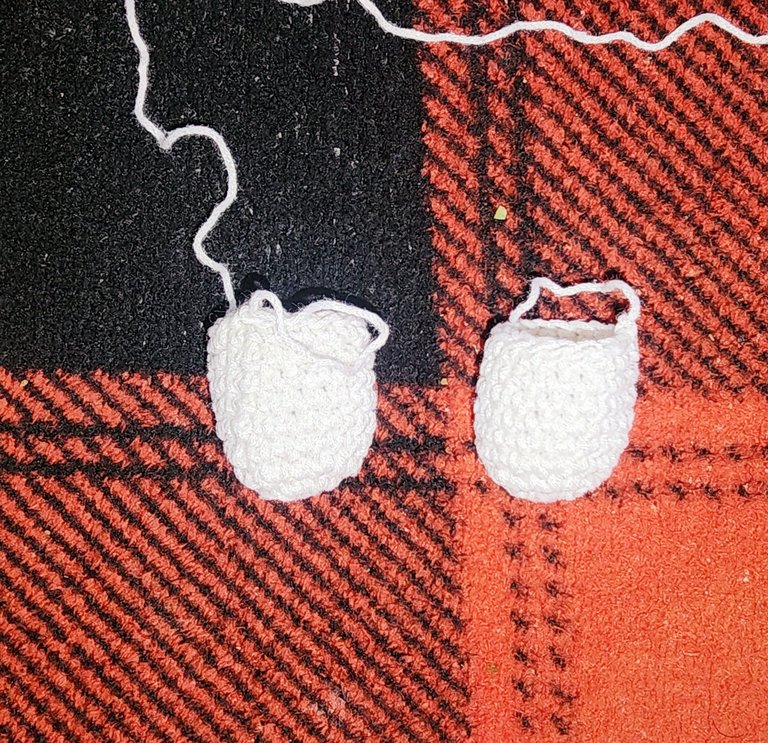
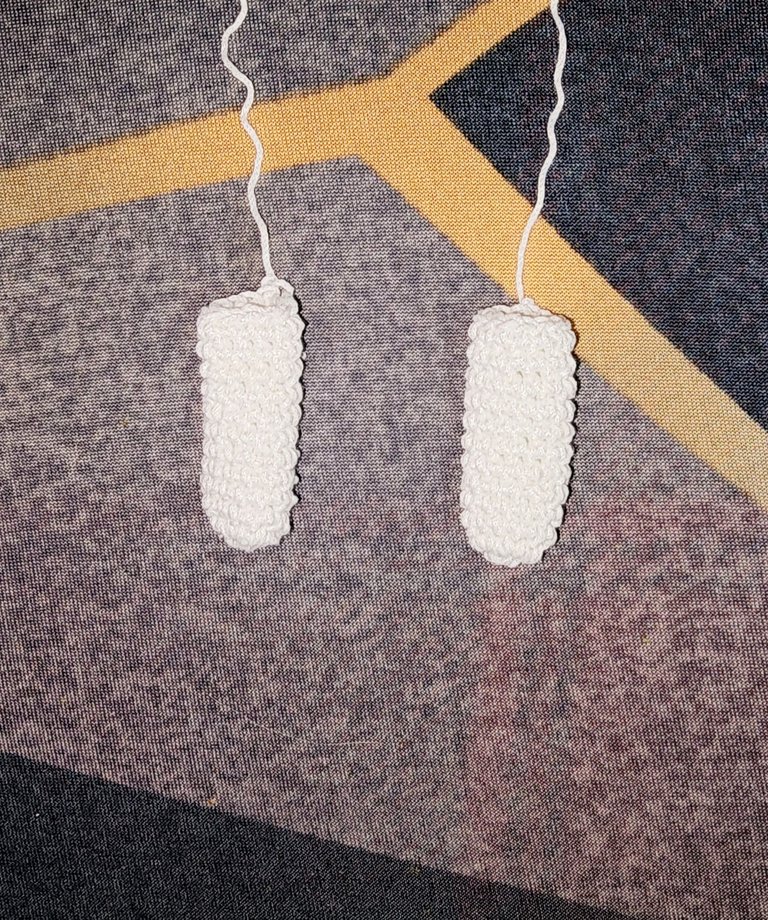
💦 Arms
V1- We start with magic ring and inside we make 6 stitches.
V2- We make 6 increases remaining a total of 12 sts.
V3- V12- We make these 12 sts without increases or decreases.
Close with slip stitch, cut long yarn to sew.
We make two equal arms.
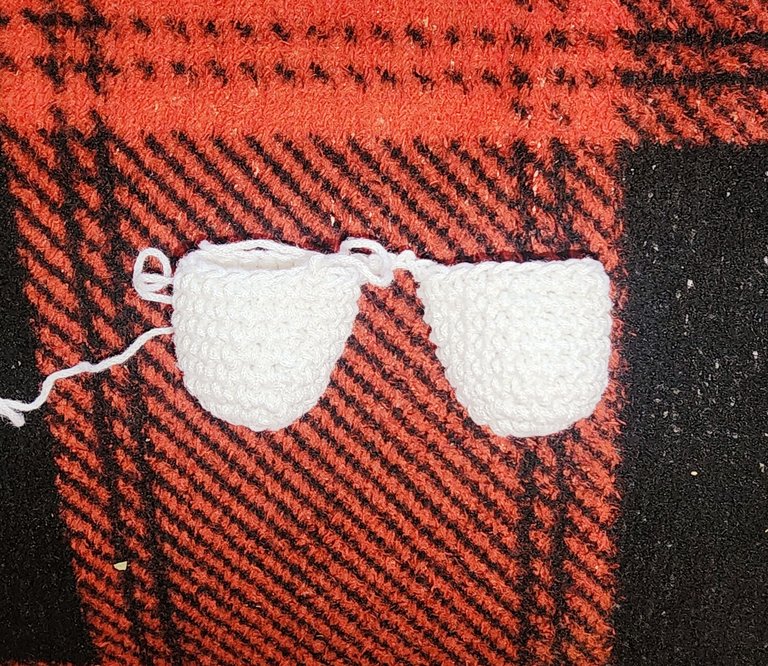
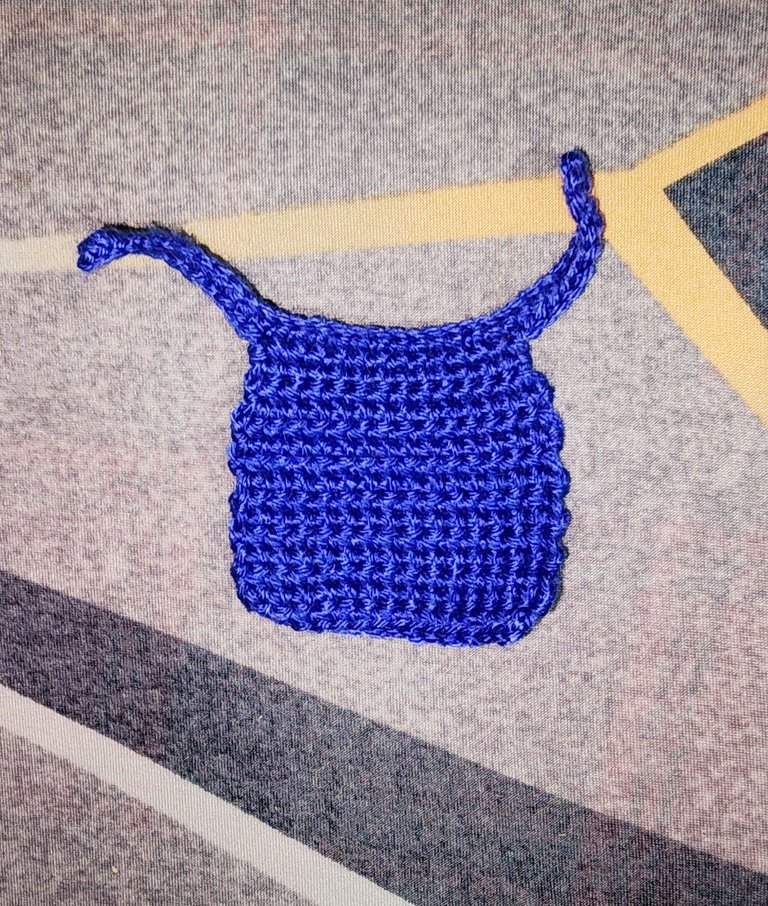
💦 Layer
V1- We start by making 36 chains and in the second chain we make our first single crochet all the way to the end for a total of 35 sts.
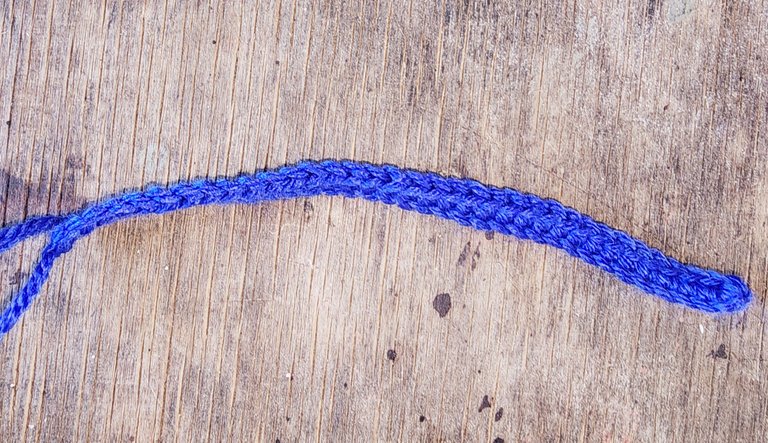
V2- Now in chain 12 we are going to put the hook in and start making low stitches up to chain number 24 leaving 11 solid chains at the beginning and at the end.
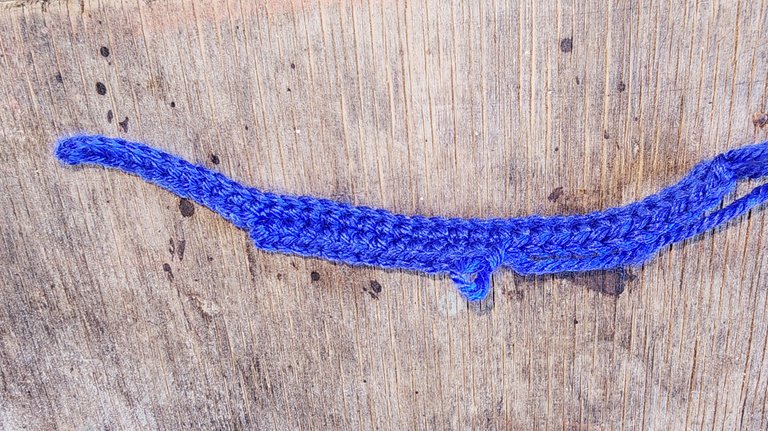
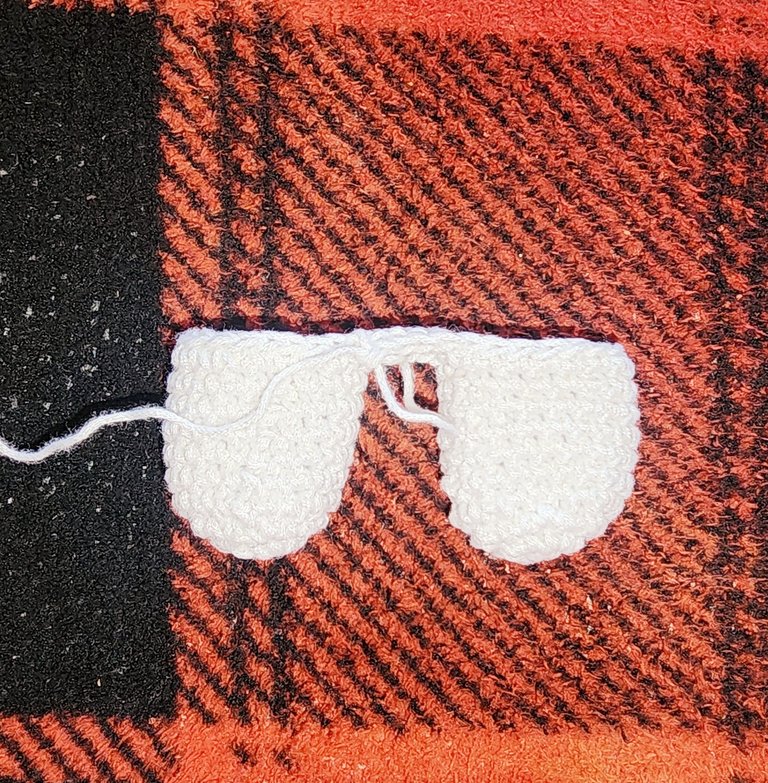
V3- Turn knit, go up 1 chain and cast on these 13 sts.
V4- Turn knit, go up 1 chain and make 1 increase at the beginning and end of the row.
V5- We turn knit, go up 1 chain and make 1 increase at the beginning and end of the row.
V6- V16- We will turn knit, go up 1 chain and make these 15 sts.
We cut yarn and hide.
💦 Now we just need to join the arms to the body with the help of a wool needle between the 23rd and 24th rows of the body.
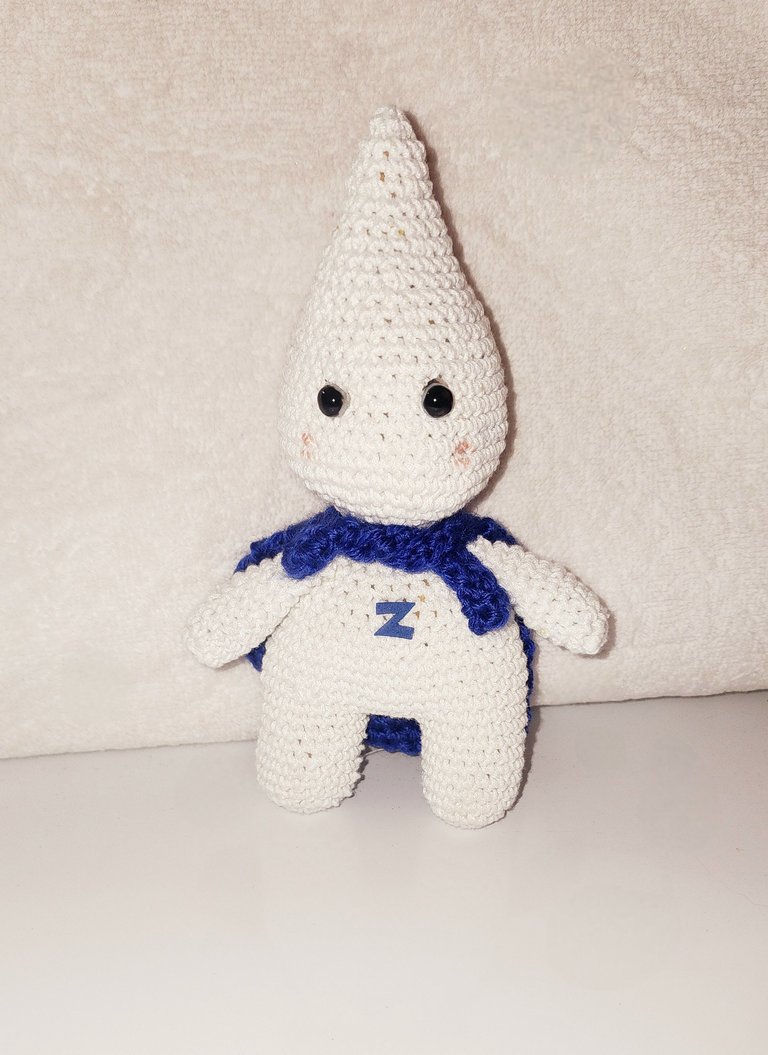
The eyes are placed between rows 32 and 33, leaving 4 stitches between them. I placed white half pearls and then painted them black, these already have their glue on the back.
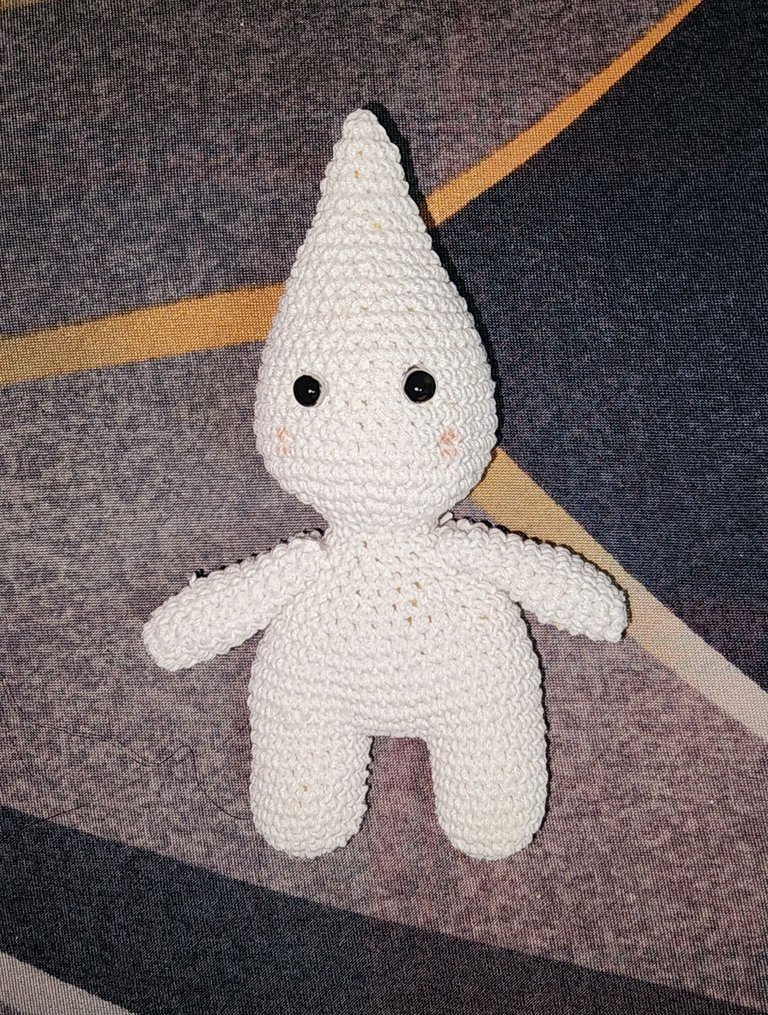
💦 With foami I made a sign in blue as if it represented more of a hero and placed it in the center of the chest.
💦 Then I placed the cape and tied it around the neck.
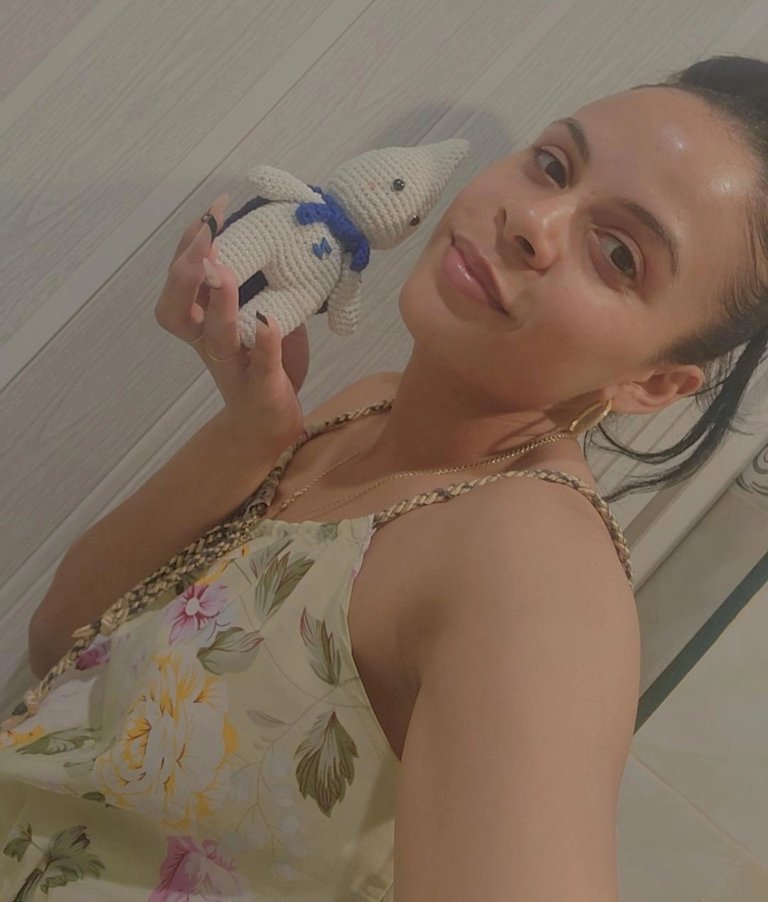
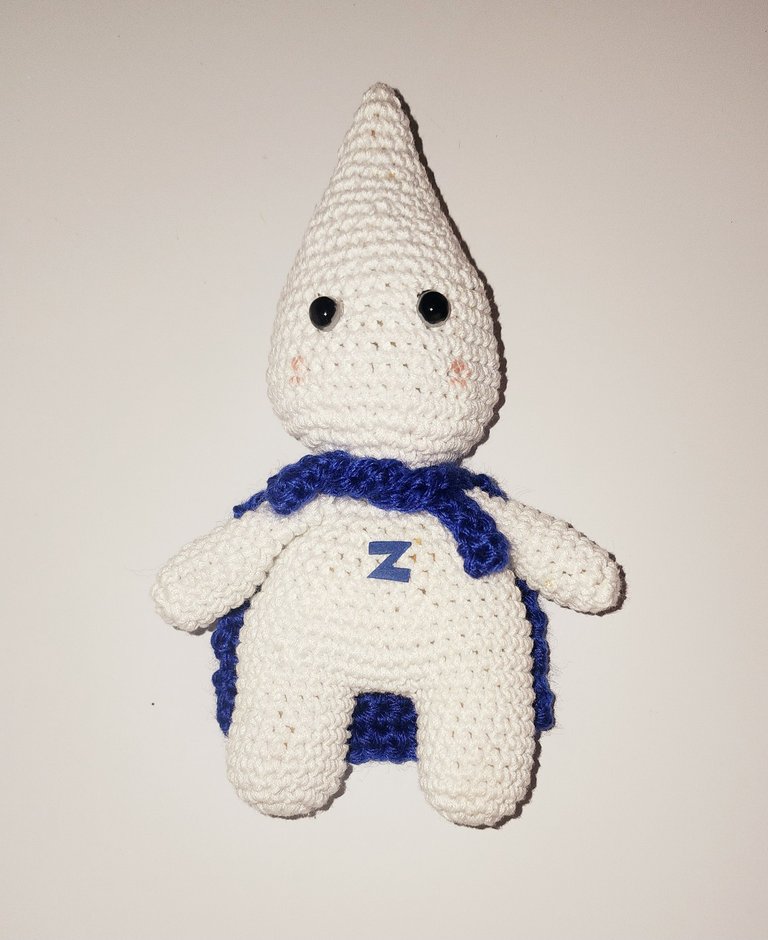
And that's it friends, this is how this superhero water drop was finished, I hope you like it.
For me it is always a pleasure to create and share my crafts and my crochet works.
Thanks in advance for reading me so far.
Blessings, thousands 😊, virtual hugs 🤗 and until a new publication ✨️.
💦 Español 💦
Hola y lindo día a todos los amigos creativos de esta comunidad artesana y a todos los amantes de las manualidades del mundo entero. Deseo que se encuentren muy bien, yo por mi parte estoy agradecida y feliz por la bendición de un nuevo despertar para mi familia y para mí.
Me siento muy emocionada de poder sumarme al concurso del mes relacionado con el Día Mundial del agua. Amo tejer así que quise hacer algo a crochet que se relacionara con esta manera tan bonita de defender y cuidar este recurso natural. Entre muchas ideas que tenía en mi mente me decidí por crear un amigurumi que abogara algo tan importante para todos los seres vivos: el agua. Así que lo creé como todo un superhéroe en forma de gota de agua. Amé realizarlo así, dándole esa importancia de superhéroe porque así debemos ver todos al agua. Somos muchas las personas que tenemos el privilegio de poseer la clara y abundante pero también son muchas las personas que no la pueden tener de una manera tan fácil. Sin agua la vida tal como la conocemos no sería posible, esta es esencial para la vida. Así que aprovecho esta ocasión para invitarlos a todos no solo a sumarnos a este concurso, sino también a ser conscientes y no desperdiciarla.
Sin más que agregar amigos les deseo mostrar el tutorial de como realicé este superhéroe gota de agua.
💦 Materiales 💦
- Lana de color blanco y azul. ( El hilo blanco que utilicé es una blusa que tejí al inicio de aprender y la quería detener).
- Agujeta.
- Tijera.
- Aguja lanera.
- Medias perlas.
- Pintura negra.
- Foami de color azul.
💦 Paso a paso 💦
💦 Cuerpo
V1- Comenzamos haciendo anillo mágico y dentro hacemos 6 pb.
V2- Hacemos 6 aumentos quedando un total de 12 pb.
V3- Hacemos secuencias de 1 pb + 1 aumento quedando un total de 18 pb.
V4- V9- Hacemos estos 18 pb sin aumentos ni disminuciones.
Cerramos con punto deslizado, cortamos hilo de la primera pieza y hacemos otra exactamente igual, pero no cortamos hilo.
💦 Luego de tener esta segunda pieza exactamente igual a la primera, vamos a realizar cuatro cadenas y unirla con punto deslizado a la primera pieza que hicimos.
V10- Ahora vamos a realizar 18 pb en la primera pieza, hacemos los 4 pb de la cadeneta, por un lado, realizamos los 18 pb de la otra pieza y los 4 pb de la cadeneta por el otro lado, obteniendo un total de 44 pb.
V11- V15- Ahora vamos a hacer estos 44 pb sin aumentos ni disminuciones.
V16- Vamos a realizar secuencias de 5 pb + 1 disminución y al finalquedaránn 2 pb quedando un total de 38 pb.
V17- Realizamos estos 38 pb sin aumentos ni disminuciones.
V18- V23- Vamos haciendo una vuelta de disminuciones y otra vuelta con esos puntos que van quedando.
V24- V28- Vamos a ir realizando aumentos en todas las vueltas, comenzando en la vuelta 24 con secuencias de 1 pb + 1 aumento y así sucesivamente hasta la vuelta 28 con secuencias de 4 pb + 1 aumento, quedando un total de 42 pb.
V29- V35- Hacemos estos 42 pb sin aumentos ni disminuciones.
V36- Hacemos secuencias de 5 pb + 1 disminución quedando un total de 36 pb.
V37- Hacemos estos 36 pb sin aumentos ni disminuciones.
V38- Hacemos secuencias de 4 pb + 1 disminución quedando un total de 30 pb.
V39- Hacemos estos 30 pb sin aumentos ni disminuciones.
V40- Hacemos secuencias de 3 pb + 1 disminución quedando un total de 24 pb.
V41- Hacemos estos 24 pb sin aumentos ni disminuciones.
V42- Hacemos secuencias de 2 pb + 1 aumento quedando un total de 18 pb.
V43- V44- Hacemos estos 18 pb sin aumentos ni disminuciones.
V45- Hacemos secuencias de 1 pb + 1 disminución quedando un total de 12 pb.
V46- V47- Hacemos estos 12 pb sin aumentos ni disminuciones.
V48- Hacemos 6 disminuciones quedando un total de 6 pb.
Ahora con ayuda de una aguja lanera vamos pasando el hilo por los 6 puntos de adentro para afuera, luego tensamos el hilo para cerrar y escondemos hilo.
💦 Brazos
V1- Comenzamos con anillo mágico y dentro hacemos 6 pb.
V2- Hacemos 6 aumentos quedando un total de 12 pb.
V3- V12- Hacemos estos 12 pb sin aumentos ni disminuciones.
Cerramos con punto deslizado, cortamos hilo largo para coser.
Hacemos dos brazos iguales.
💦 Capa
V1- Comenzamos haciendo 36 cadenas y en la segunda cadena hacemos nuestro primer punto bajo hasta el final quedando un total de 35 pb.
V2- Ahora en la cadena 12 vamos a meter el gancho y comenzar a hacer puntos bajos hasta la cadena número 24 quedando 11 cadenas sólitas al inicio y al final.
V3- Giramos tejido, subimos 1 cadena y realizamos estos 13 pb.
V4- Giramos tejido, subimos 1 cadena y hacemos 1 aumento al principio y al final de la vuelta.
V5- Giramos tejido, subimos 1 cadena y hacemos 1 aumento al principio y al final de la vuelta.
V6- V16- Vamos a girar tejido, subir una cadena y hacer estos 15 pb.
Cortamos hilo y escondemos.
💦 Ahora solo nos queda unir los brazos al cuerpo con ayuda de una aguja lanera entre las vueltas 23 y 24 del cuerpo.
💦 Los ojos los colocamos entre las vueltas 32 y 33 dejando 4 puntos entre ellas. Yo coloqué medias perlas blancas y luego las pinté de negro, estas ya traen su pegamento por la parte trasera.
💦 Con foami hice un signo en azul como que representara más un héroe y se lo coloqué en el centro del pecho.
💦 Luego le coloqué la capa haciéndole un amarre en el cuello.
Y listo amigos, así quedó terminado este superhéroe gota de agua, espero les guste.
Para mí siempre es un placer poder crear y compartir mis manualidades y mis trabajos crochet.
Gracias de antemano por leerme hasta aquí.
Bendiciones, miles 😊, abrazos virtuales 🤗 y hasta una nueva publicación ✨️.
Recursos empleados
| RECURSO / RESOURCE | FUENTE / SOURCE |
|---|---|
| Edición / Edition: | @yunacrochet |
| Imágenes / Pictures: | Samsung Galaxy s22 Ultra |
| Translated / Traducción: | Deepl Translate by @noakmilo |
Que hermoso te quedó, lo haces tan fácil, algún día creo que voy a intentar aprender a hacerlos. Saludos, bendiciones y mucho éxito en el concurso 🤗🥰
Muchas gracias amiga 🤗, luego que aprendes como hacer los puntos es super fácil, cuando desees aprender solo me dices 😊. Bendiciones y muchos éxitos para ti también en el concurso 🤗.
Here you have a really extraordinary work, an example for our DIYHub community, thank you very much for sharing it, it is very pleasing...
Thank you very much my friend, it makes me very happy that you like my work, I loved the idea of the contest and I put my hands to work. Blessings 🤗.
The water drop superhero design is so creative. The crochet details are clean and well done. great work
Thank you so much 🤗, I loved making this superhero. Blessings 🤗.
Congratulations @yunacrochet! You have completed the following achievement on the Hive blockchain And have been rewarded with New badge(s)
Your next target is to reach 50 posts.
You can view your badges on your board and compare yourself to others in the Ranking
If you no longer want to receive notifications, reply to this comment with the word
STOPCheck out our last posts:
Thank you so much, I'm so excited 🤗. Blessings 🤗.
Admirable all this work was very nice, I wish you success in the contest.
Thank you very much 🤗, it was very beautiful idea this contest. Blessings 🤗.
Amen, Blessings to you too.
Bravo!
Muchas gracias. Bendiciones 🤗.