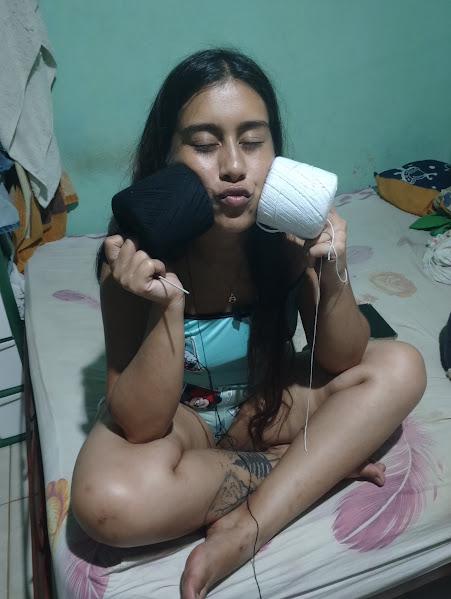
Hi friends, these days I was knitting some coasters with 3 geometric shapes for my brother-in-law @takeru255, for these coasters different knitting techniques are used for each one, and here I show you one of the techniques to make a triangle, I hope you like them.
Hola amigos, estuve estos días tejiendo unos porta-vasos con 3 formas geométricas para mi cuñado @takeru255, para estos porta-vasos se utilizan distintas técnicas de tejidos para cada unos, y aquí te muestro una de las técnicas para realizar un triangulo, espero les gusten.

Procedure: / Procedimiento:
For the two-tone triangle in black and white.
Para el triángulo bicolor en negro y blanco.
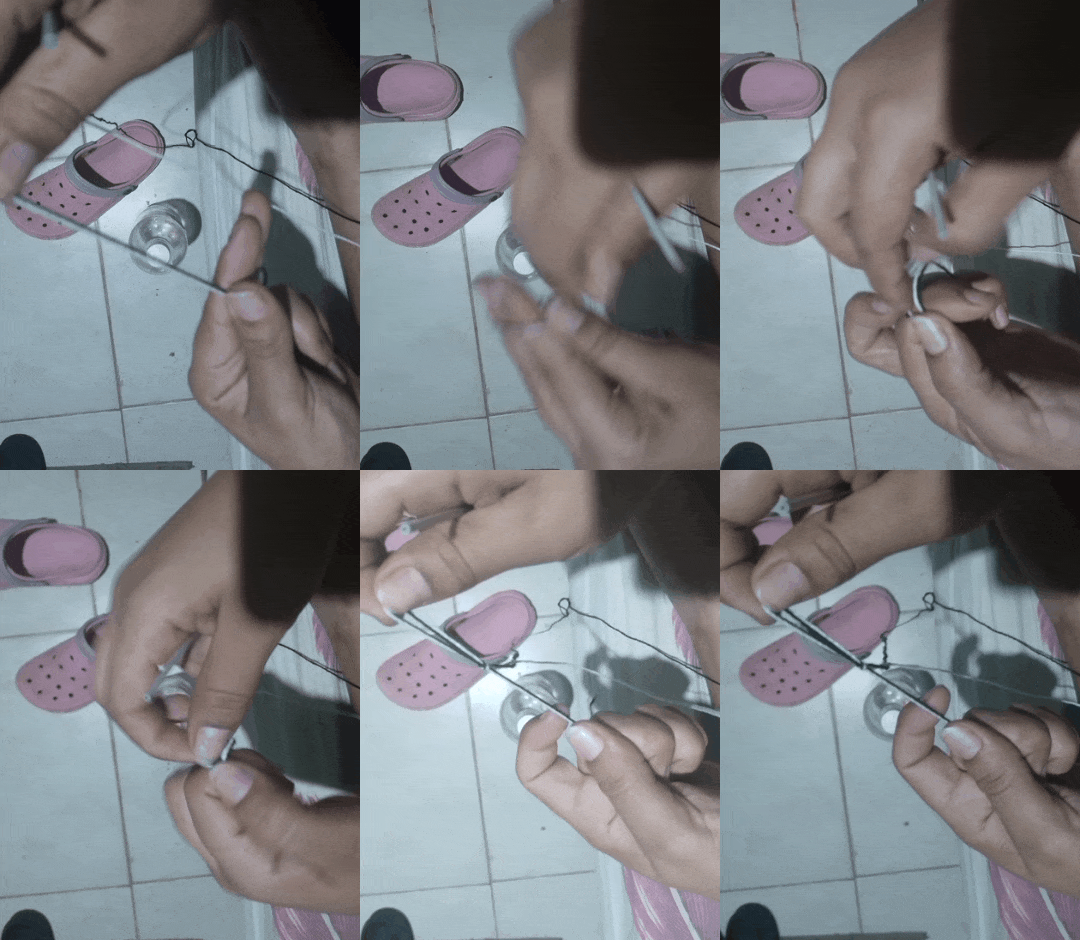
We start by making a slip knot. In the photos of the description, I left a GIF to show those who do not know how to make the slip knot.
Empezamos haciendo un nudo corredizo. En las fotos de la descripción, dejé un GIF para mostrarles a quienes no sepan cómo se hace el nudo corredizo.
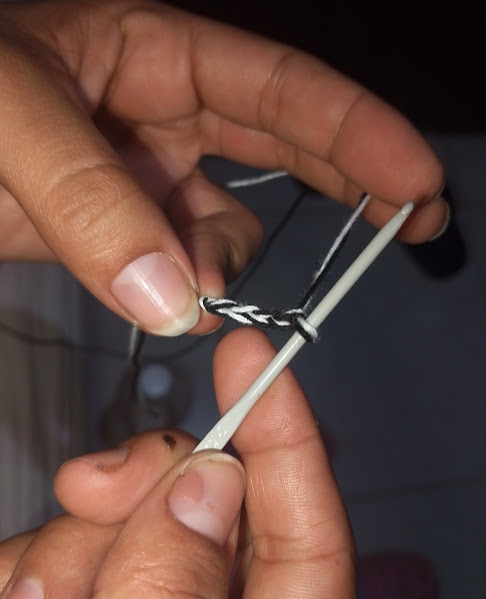
We start from this slip knot and make 4 chains, closing with a slip stitch in the first chain. We make three more chains that will make the first double crochet of the first round.
Partimos de este nudo corredizo y hacemos 4 cadenas, cerramos con un punto deslizado en la primera cadena. Hacemos tres cadenas más que harán el primer punto alto de la primera vuelta.

Next, make 4 double crochets in the middle of the chains; we look at the base and we can see a small, single circle right in the middle of all 4 chains. There we crochet the 4 stitches to obtain 5 double crochets counting the first 3 chains in height.
Después, toca hacer 4 puntos altos en el medio de las cadenas; miramos en la base y se alcanza a ver un pequeño y único círculo justo en el medio de todas las 4 cadenas, ahí tejemos los 4 puntos para obtener 5 puntos altos contando las 3 primeras cadenas de altura.
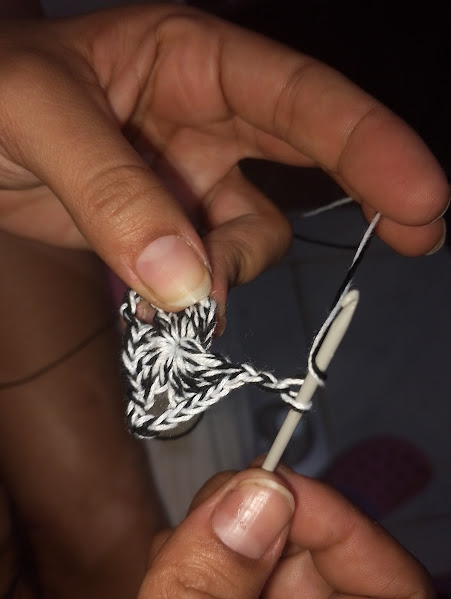
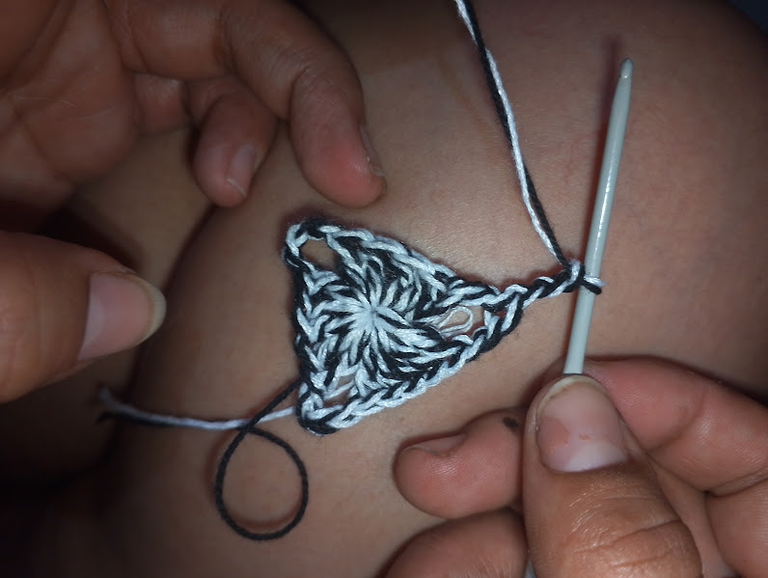
We separate 4 chains that will make the points of our triangle. We repeat this procedure 3 times in this round, but at the end, in the part of the chains, there is a small change: we will only make 2 chains and, to close the round, we will do it with a double crochet on the third chain at the beginning of this first round so that our weaving begins in the middle of the point of the triangle.
Separamos con 4 cadenas que irán haciendo las puntas de nuestro triángulo. Repetimos este procedimiento 3 veces en esta vuelta, pero a lo último, en la parte de las cadenas, hay un pequeño cambio: solo haremos 2 cadenas y, para cerrar la vuelta, lo haremos con un punto alto sobre la tercera cadena de inicio de esta primera vuelta para lograr que nuestro tejido comience en el medio de la punta del triángulo.

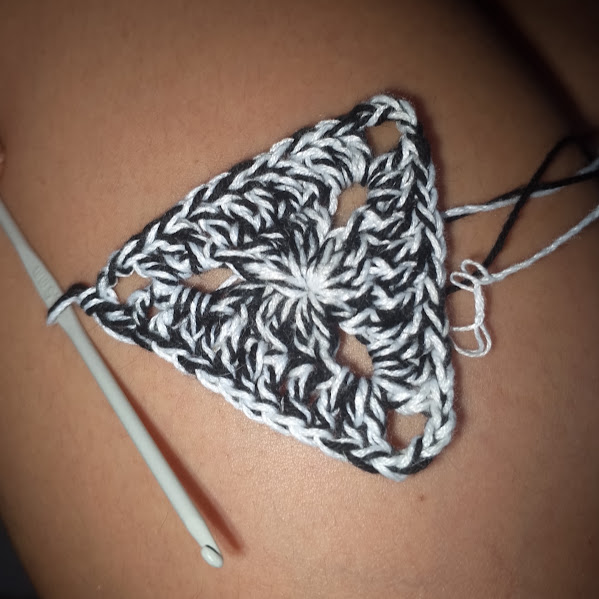
Second round: / Segunda vuelta:
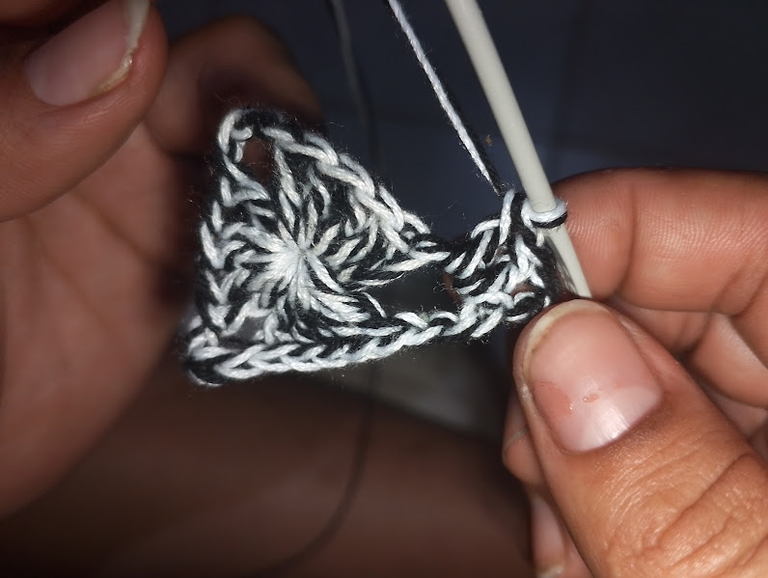
We will make three chains of height that count as the first stitch, then 2 double crochets over the double crochet with which we closed the first round and thus we will have our first increase for the second round of three double crochets.
Haremos tres cadenas de altura que cuentan como primer punto, luego 2 puntos altos sobre el punto alto con el que cerramos la primera vuelta y así tendremos nuestro primer aumento para la segunda vuelta de tres puntos altos.

Then, in the third chain from the start of the first round, we will make our 4 double crochet and double crochet over double crochet and three double crochets over the chains from the previous round, 4 chains and three double crochets. We repeat double crochets over double crochets and 3 double crochets over the chains from the previous round, and so on until we have three equal groups in each round.
Luego, en la tercera cadena de inicio de la primera vuelta, haremos nuestro 4 punto alto y punto alto sobre punto alto y tres puntos altos sobre las cadenas de la vuelta anterior, 4 cadenas y tres puntos altos. Repetimos puntos altos sobre puntos altos y 3 puntos altos sobre las cadenas de la vuelta anterior, y así sucesivamente hasta tener tres grupos iguales en cada vuelta.

We always close with 2 chains and a double crochet in the third starting chain, and so on until we obtain the desired size of your triangle. I only made mine with 4 rows because it is to be used as a coaster that matches 3 more in different geometric shapes, which I will be showing later in other posts.
Cerramos siempre con 2 cadenas y un punto alto en la tercera cadena de inicio, y así sucesivamente hasta obtener el tamaño deseado de tu triángulo. El mío solo lo hice con 4 vueltas porque es para usarlo como posavasos que hacen juego con otros 3 más en diferentes figuras geométricas, que estaré mostrando luego en otras publicaciones.
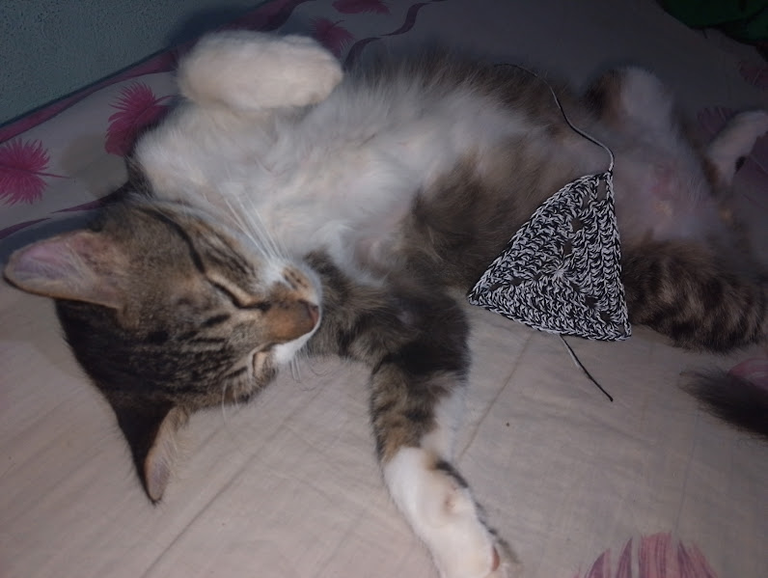

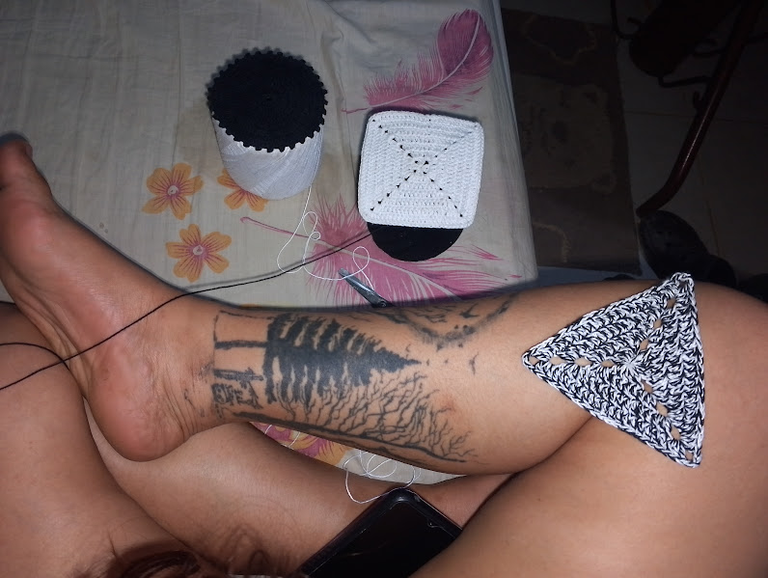
All that remains is to make an open chain, cut the thread and pull to seal the fabric and hide the thread strands between the stitches of our pattern. This way you get 1 of the 3 geometric shapes.
Solo queda, al final, hacer una cadena al aire, cortar el hilo y halar para sellar el tejido y esconder las hebras de hilo entre los puntos de nuestro patrón. Así obtienes 1 de las 3 formas geométricas.

Considera unirte a nuestro trail de curación en HIVEVOTE haciendo click en la imagen inferior, Les agradecemos todo el apoyo.
A todos los artistas ahí afuera en HIVE, si alguna vez se sienten solos y perdidos, unanse al canal de discord de Bokura No Digital World


Congratulations @zeli! You have completed the following achievement on the Hive blockchain And have been rewarded with New badge(s)
Your next target is to reach 3250 upvotes.
You can view your badges on your board and compare yourself to others in the Ranking
If you no longer want to receive notifications, reply to this comment with the word
STOPCheck out our last posts:
Muy lindo tu trabajo, de lo mas psicodelico me gusto bastante!
!pizza
nota: yo tengo unas crocs rosadas tambien!

Que esperas para unirte a nuestro trail de curación y formar parte del "proyecto CAPYBARA TRAIL"
@tipu curate 8
Upvoted 👌 (Mana: 0/75) Liquid rewards.